
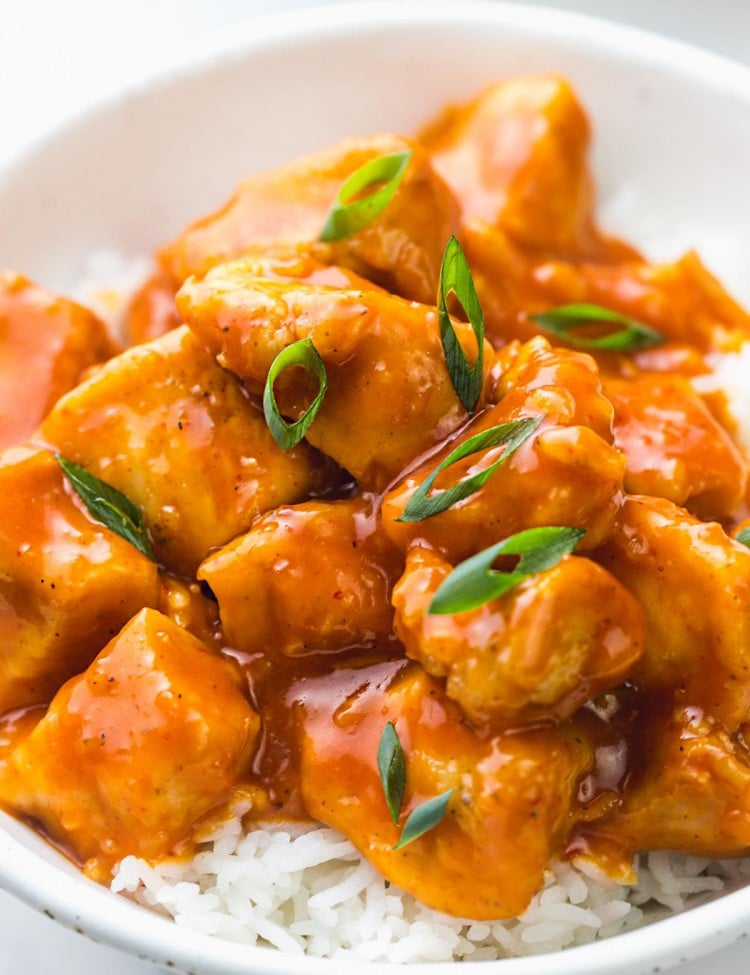
A fan of hibachi-style cooking? Then you’re going to love this hibachi chicken dinner, cooked in the Instant Pot quickly with very minimal effort!
Last month, we shared our Instant Pot hibachi steak recipe with you, and it went viral! So many people have made it, and loved it! Thanks to everyone who shared pictures, left feedback on the recipe, and asked questions, we realized that it was a good idea to try a chicken version in the Instant Pot. A few days later, my husband came home with the ingredients needed and started testing the recipe.
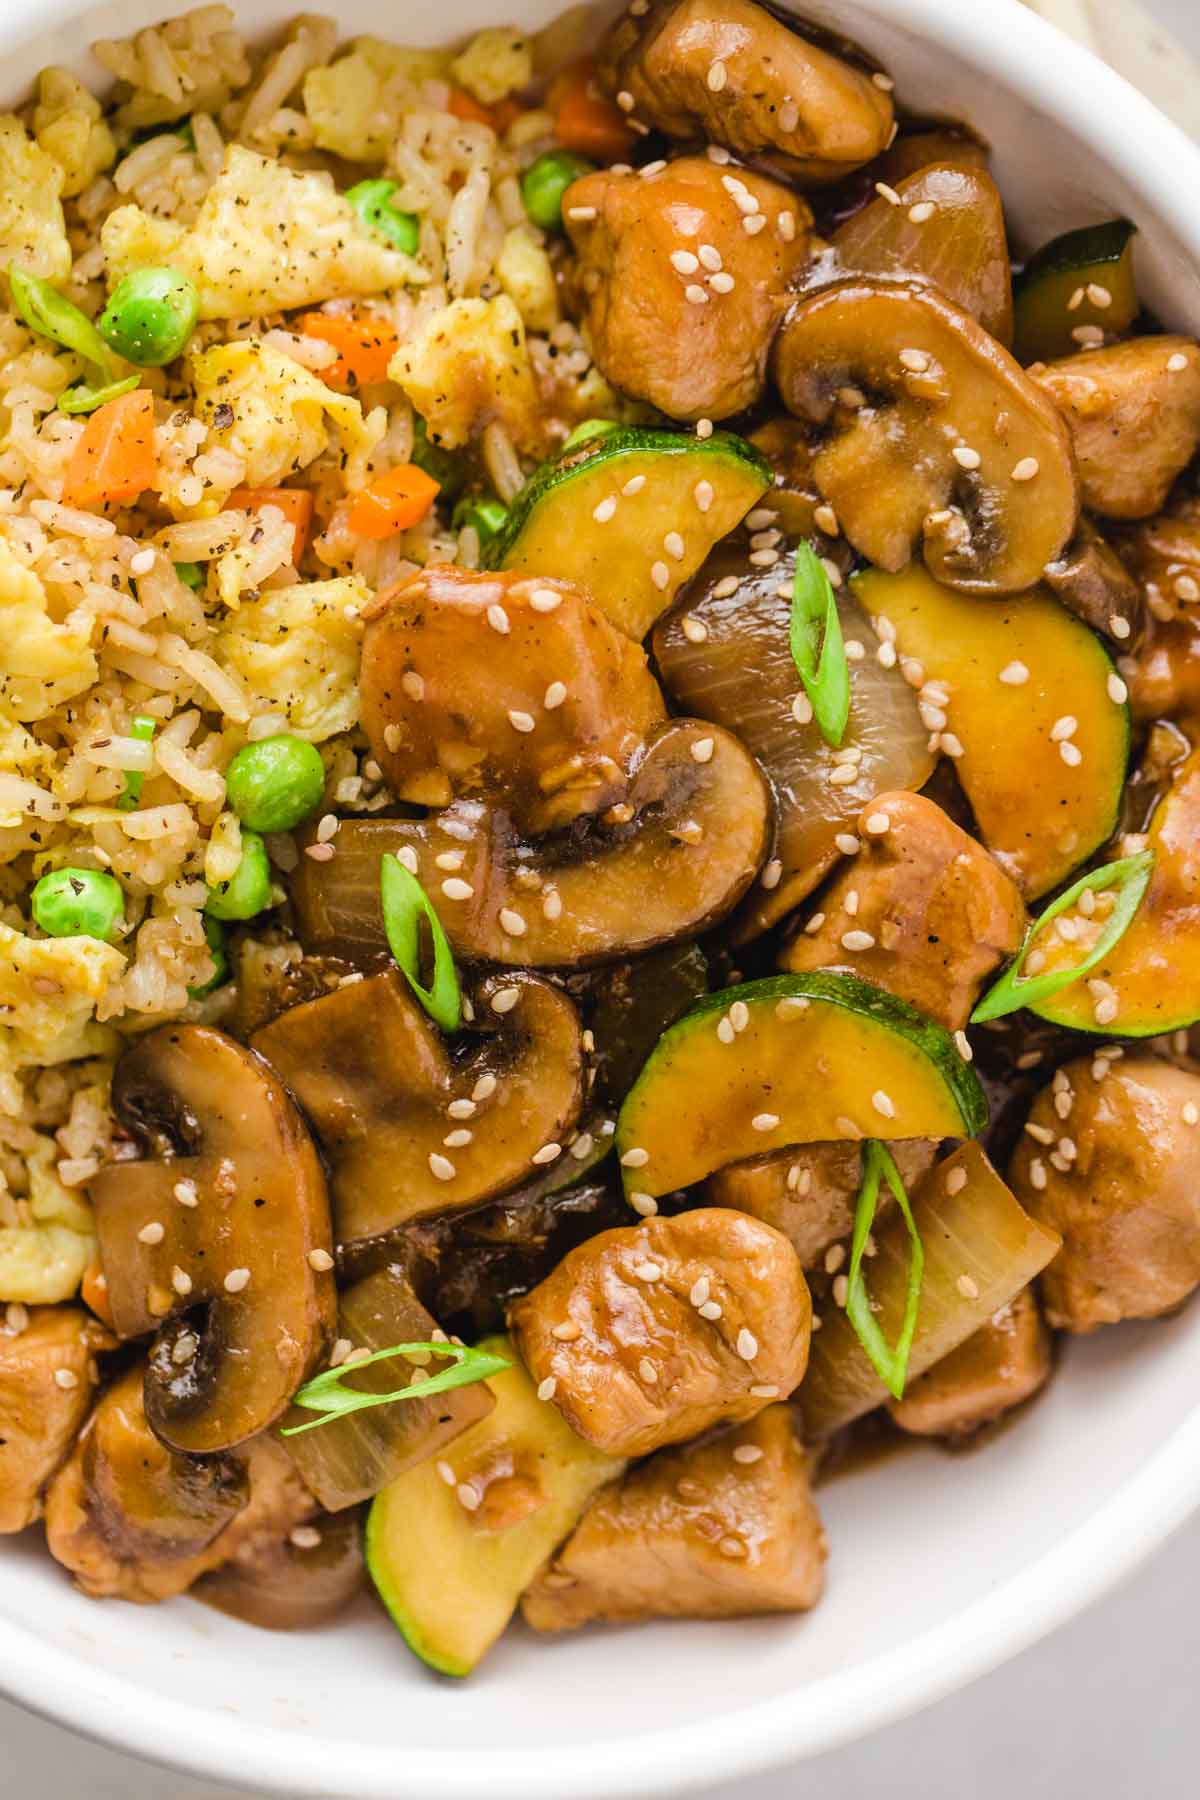
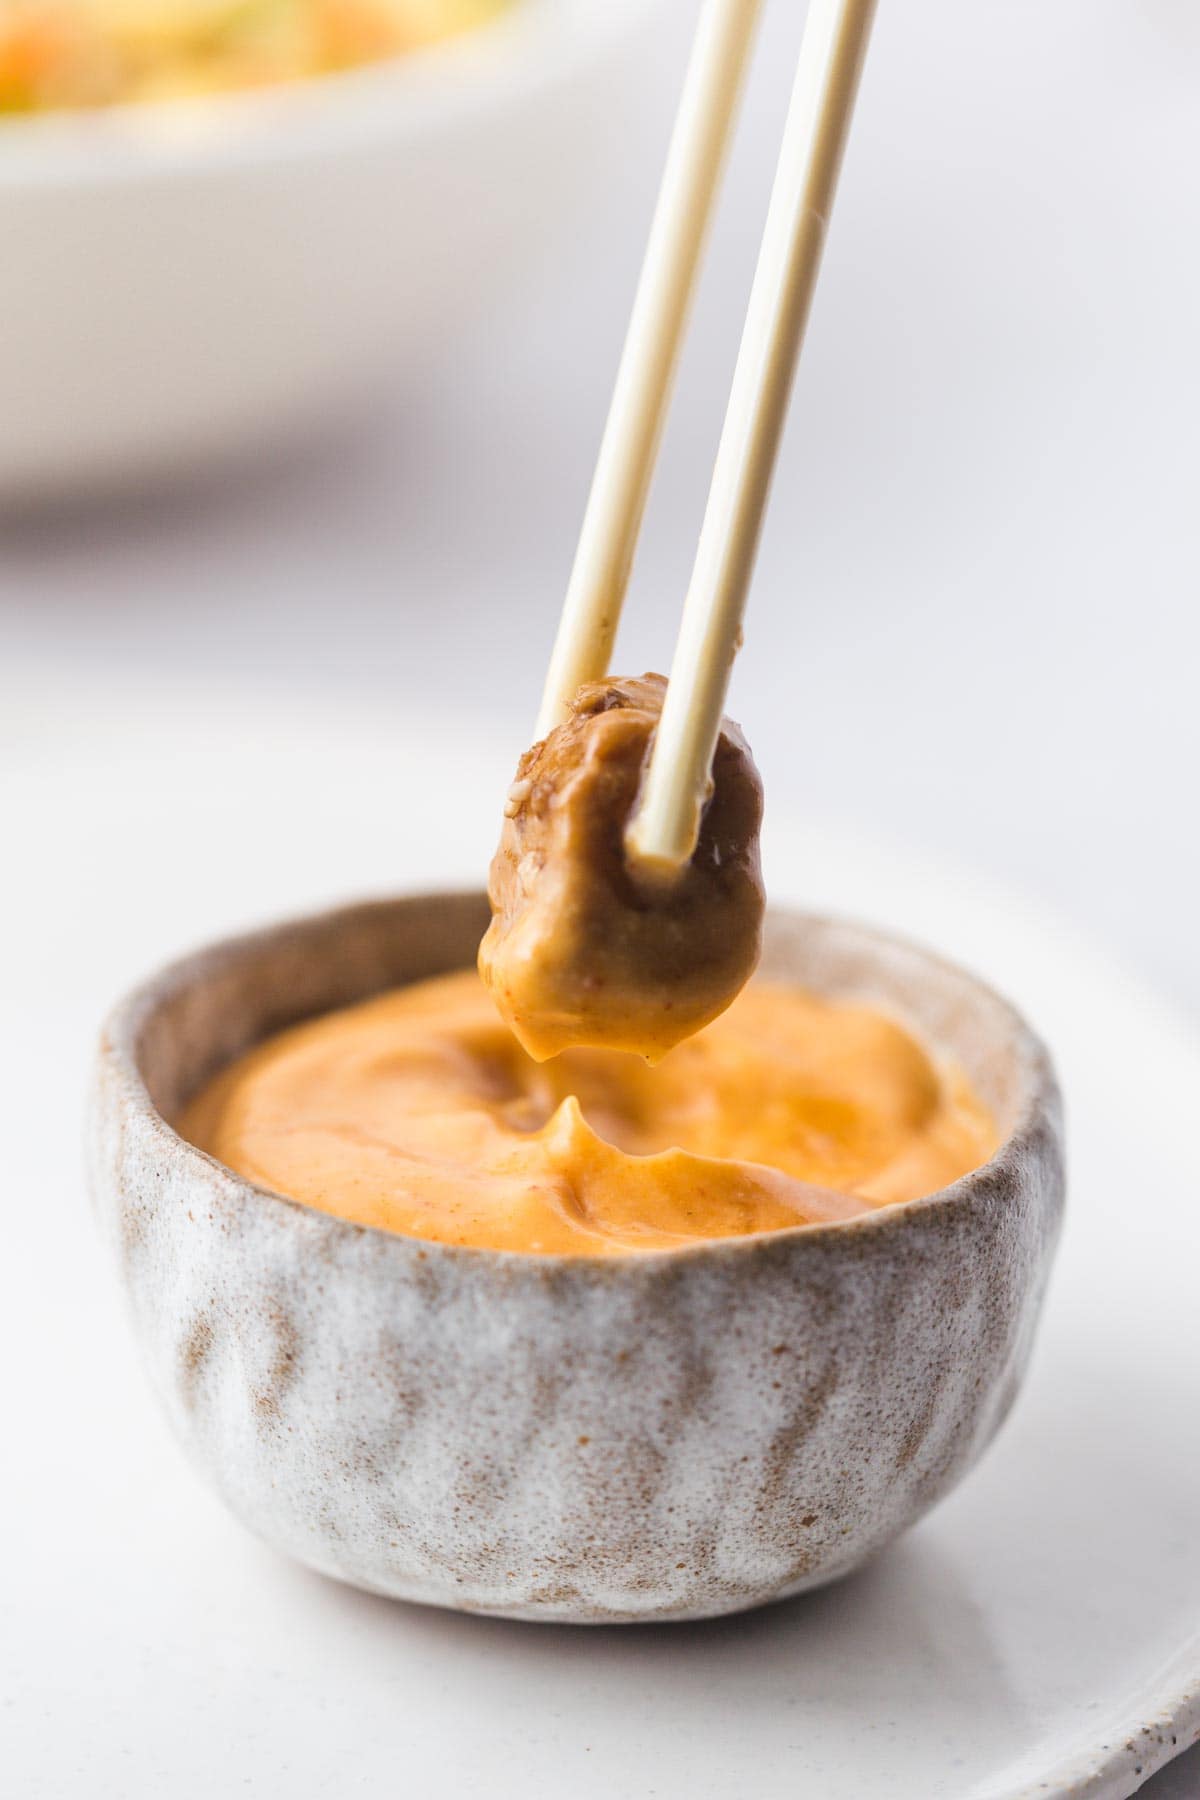
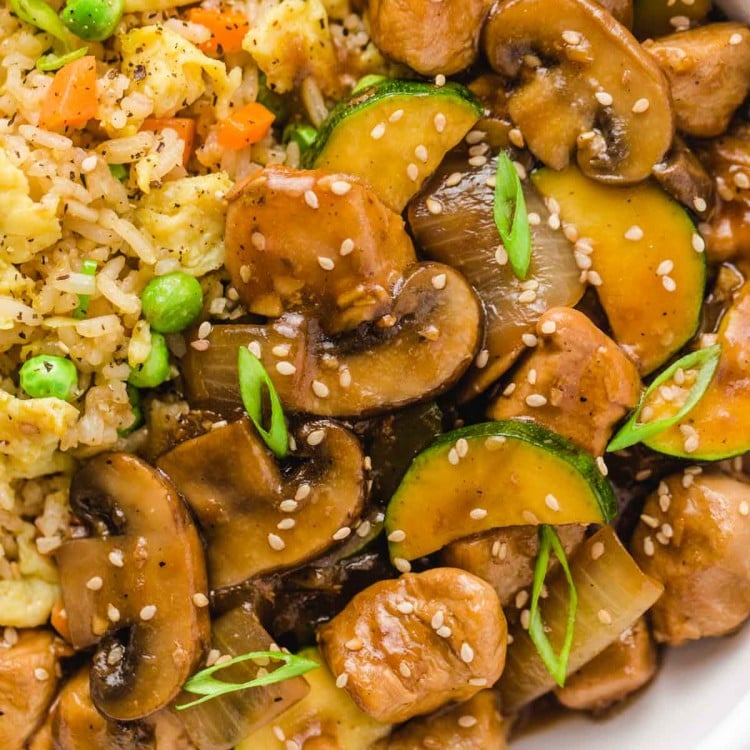
The result? AMAZING dinner made in just 20 minutes that tasted as good as the hibachi steak and hibachi shrimp! And my favorite part? We served it over the most amazing Instant Pot fried rice, homemade Yum yum sauce, and ginger sauce that you would get at a hibachi restaurant. And what if I tell you that a home-cooked hibachi meal for 4 cost me what I would pay per person at a hibachi restaurant?! 😍
And whether you prefer chicken, beef, or shrimp, now I have all versions posted on this website for you!
How to Make Instant Pot Hibachi Chicken
It doesn’t matter if you’re an experienced chef, or still a beginner. You’re still going to really enjoy this! The flavors turn out just right, and everything is perfectly cooked.
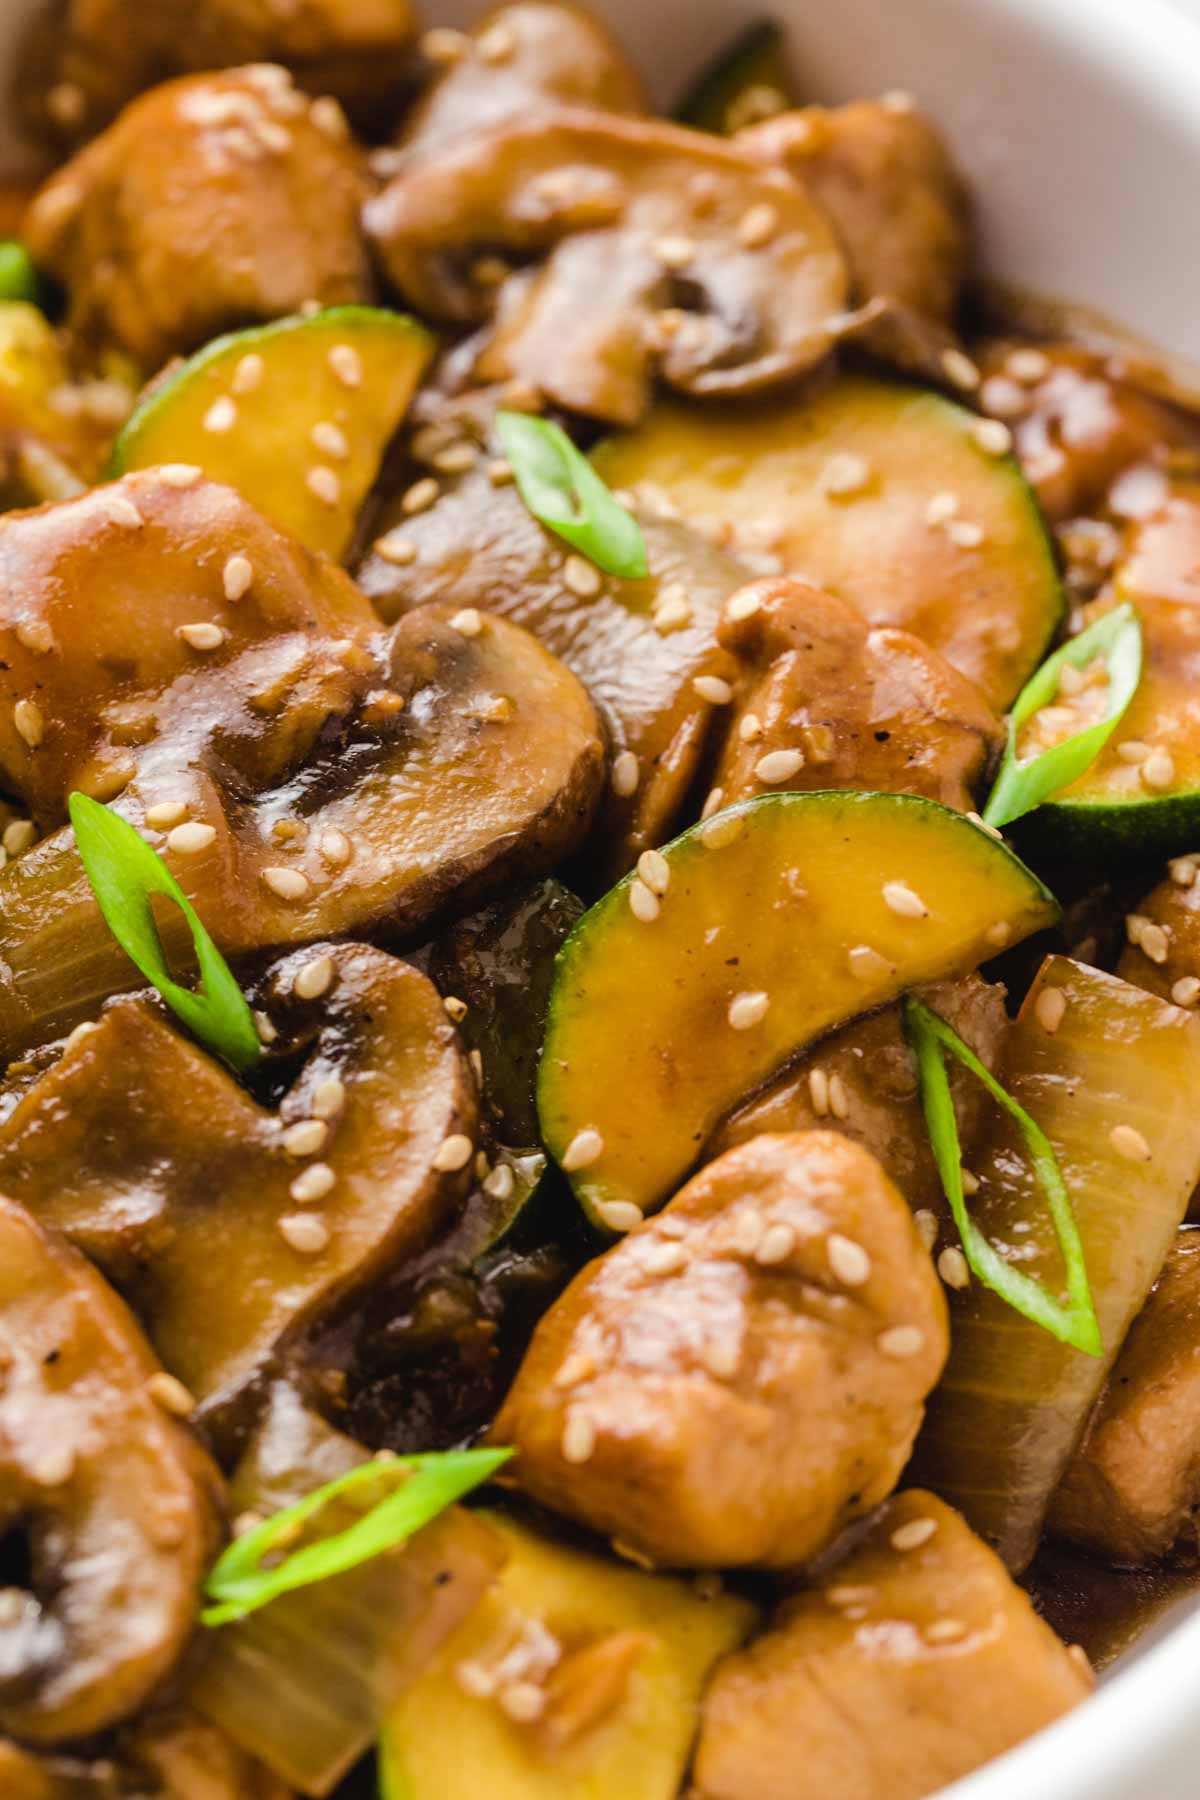
Making this hibachi chicken in the Instant Pot is really easy. All you have to do is prep the veggies and cube the chicken, add the sauce ingredients along with the rest of the ingredients to the Instant Pot, and let it cook the dinner for you!
- Start by slicing the onion, the zucchini, and the mushrooms into ¼-inch slices. Cut the chicken into 1-inch pieces, mince the garlic, and grate the ginger (if you don’t have them fresh, you can use jarred paste).
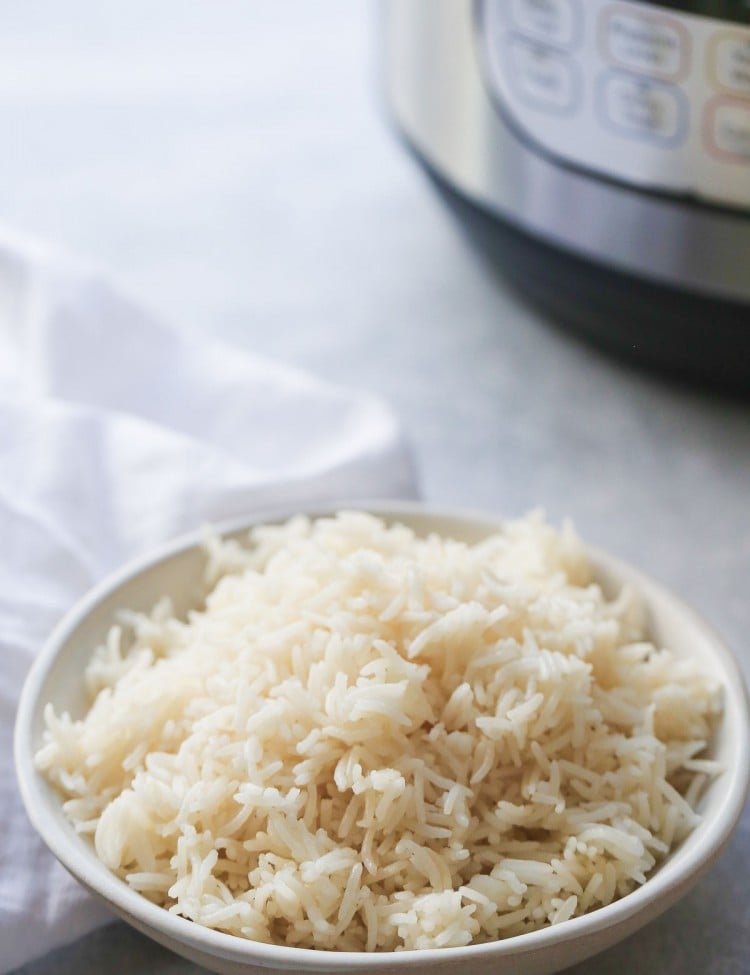
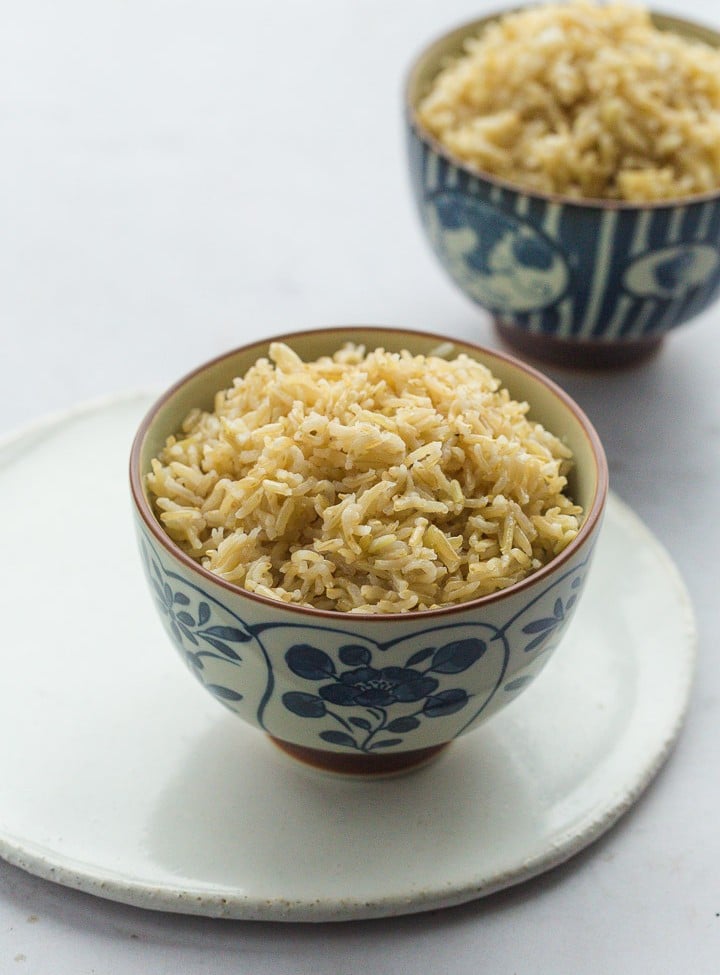
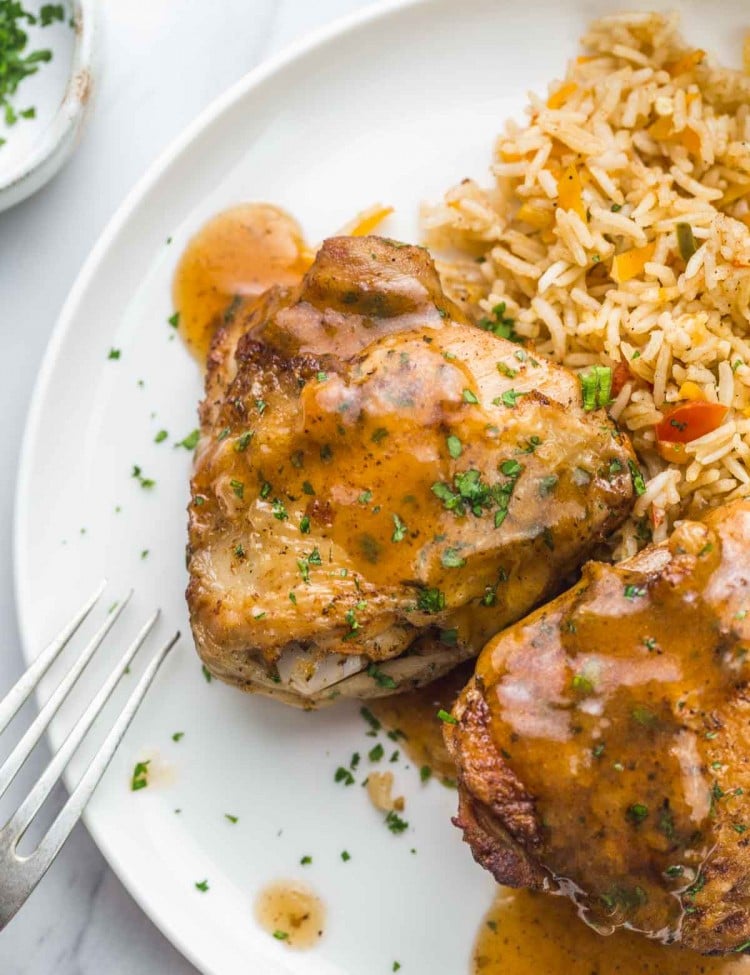
- As you do this, cook the rice so it’s ready at the same time as the hibachi chicken. You can either make Instant Pot white rice (so easy and perfect every time!), or take it a step further and make hibachi-style Instant Pot fried rice! This is the reason why I have 3 Instant Pots in my kitchen 😆
- Add the sauce ingredients to the bottom of the pot, followed by the veggies (leave out the zucchini for later if you like it crunchy), the chicken, and give everything a quick mix.
- Cover with the lid, seal the vent and cook on high pressure for 3 minutes.
- Once the cooking is finished, quickly release the steam and carefully open the lid.
- Thickening the sauce is optional, but I highly recommend it.
How to Thicken the Sauce
I take the veggies out of the pot if I’m pressure cooking the zucchini as it will become mushy when cooked for very long.
Press on the SAUTE setting and let the sauce simmer, then stir in the corn starch slurry (1 tablespoon of cornstarch mixed with 1 tablespoon of water), whisk the sauce with the cornstarch slurry until it’s thickened. If it’s not thick enough, add more cornstarch slurry and cook for 1 more minute. When you’re done, put the veggies back in to serve.
Serve over rice, garnish with chopped green onion and sesame seeds.

If You Like the Veggies With a Firmer Texture
Cooking the zucchini in the Instant Pot for 3 minutes will make it really tender. When our readers made our hibachi steak, some loved it, and others commented on the zucchini turned out mushy. If you don’t mind tender veggies, then cook everything together as instructed in the recipe card below. If you like the zucchini a bit firmer, do not add it to the pot before pressure cooking and steam it separately, then mix it in with the rest of the ingredients after thickening the sauce.
Or just add in raw zucchini slices to the sauce as you’re thickening it or after thickening, cover with the lid and let the zucchini “steam” in there for a few minutes.
Hibachi Sauces
If you’ve been to a Japanese steakhouse before, you probably already know and love these sauces:
- Yum yum sauce – my favorite sauce at Hibachi restaurants!
- Ginger sauce – a reader favorite, a 5-star recipe that you’re gonna love.
- Not hibachi style, but I love this homemade sweet and sour sauce!
Recommended Tools and Ingredients
- An Instant Pot. I have this Instant Pot, it’s my favorite!
- I love these stainless steel measuring cups and use them every time I cook, as well as those measuring spoons.
- White vinegar or apple cider vinegar.
- Cornstarch
- Sesame seeds
More Great Instant Pot Recipes
- Instant Pot cajun shrimp
- Instant Pot chicken wings
- Instant Pot burrito bowl
- Instant Pot fajita rice
- Instant Pot steak fajitas
- Instant Pot chicken fajitas
- Or check out my Instant Pot recipe collection!

Did you make this? Be sure to leave a review below and tag me on Facebook, Instagram, or Pinterest!
Instant Pot Hibachi Chicken
Recipe Video
Equipment
Ingredients
For the sauce:
- ¼ cup low-sodium soy sauce
- ¼ cup water
- 2 tablespoons wine vinegar or apple cider vinegar
- 1 tablespoon fresh ginger grated – or from a jar
- 2 cloves garlic minced
- 1 tablespoon granulated sugar or honey or maple syrup
- ¼ teaspoon ground white pepper or black pepper
For the chicken and vegetables:
- 1½ pounds (700 grams) chicken breasts cut into bite-size pieces
- 2 zucchini sliced into ¼-inch rounds then halved
- 1 onion sliced or quartered
- 6 mushrooms sliced into ¼-inch slices
To Garnish:
- green onion chopped
- toasted sesame seeds toasted
Instructions
- Add the sauce ingredients to the Instant Pot. Soy sauce, water, vinegar, ginger, garlic, sugar, and white or black ground pepper.
- Then add the chicken, onion, zucchini (if you decide to pressure cook it, important to see notes below), and mushrooms.
- Secure the lid and set the vent to SEALING. Select the PRESSURE COOK/MANUAL setting and set the cooking time for 3 minutes at high pressure. The Instant Pot will take around 7-10 minutes to come to pressure and start cooking. When the cooking program ends, quickly release the steam.
To Thicken the Sauce
- Press on SAUTE, and once the sauce comes to a gentle simmer, add the cornstarch mixed with water. Whisk until the sauce is thickened (it thickens very quickly).
- Serve over rice, and garnish with sesame seeds and chopped green onion.
Notes:
- If you don’t mind tender veggies, then pressure cook everything together (I did this in the past, but now I prefer to add the zucchini only after pressure cooking). If you like the zucchini a bit firmer, do not add it to the pot before pressure cooking and steam it separately, then mix it in with the rest of the ingredients after thickening the sauce.
- To steam the zucchini, just add it to the Instant Pot after pressure cooking the rest of the ingredients and thickening the sauce. Cover with the lid, and let it “steam” in there for a few minutes.
- It’s important to use low-sodium soy sauce, otherwise, your sauce will turn out too salty.
Nutrition Information
This website provides approximate nutrition information for convenience and as a courtesy only. Nutrition data is gathered primarily from the USDA Food Composition Database, whenever available, or otherwise other online calculators.
© Little Sunny Kitchen
Dava says
Loved the flavor, but it definitely did not come out this rich brown color, more like gravy before you add the kitchen bouquet look. I thickened with 1 T cornstarch/1T cold water, looked too thin and did another 1T/1T. Next time I would do only the only the first 1T/1T.
Little Sunny Kitchen says
Thank you for trying my recipe and for the feedback!
Vee says
Can you substitute chicken thighs? If so, would that change the cooking time?
Little Sunny Kitchen says
The cooking time should be the same with boneless chicken thighs. Enjoy!