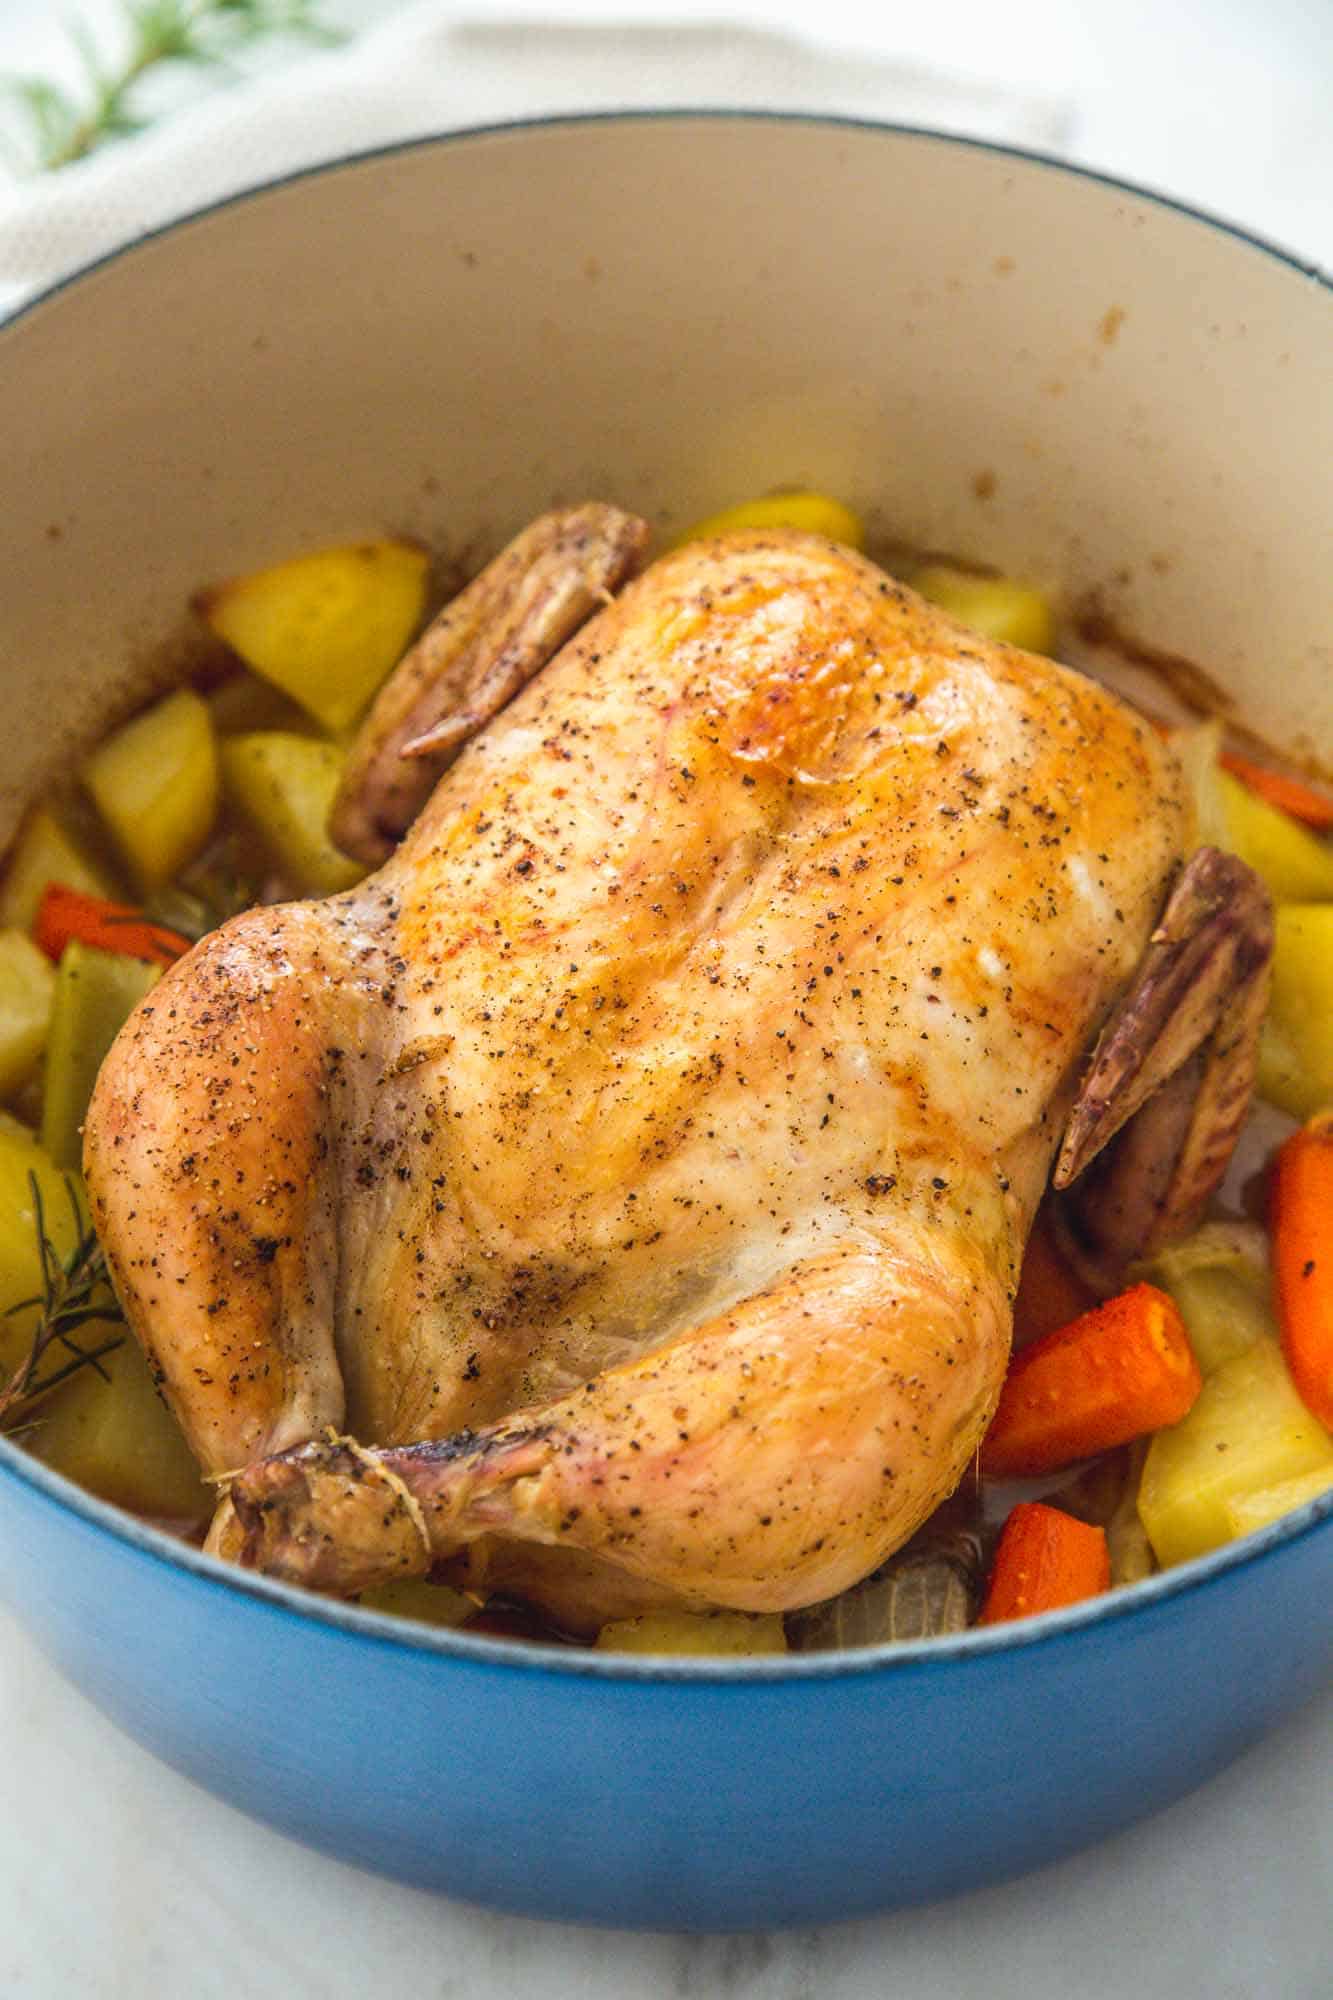
This Dutch oven whole roast chicken recipe is a one‑pot, unforgettable comfort meal, seasoned with simple ingredients like salt, pepper, and fresh rosemary. The whole chicken roasts to golden perfection with crispy skin, while the potatoes, carrots, celery, and onions soak up all the flavors in the pot. With minimal prep and easy cleanup, it’s a delicious dinner for the whole family.

The Easiest Comfort Dinner I Know
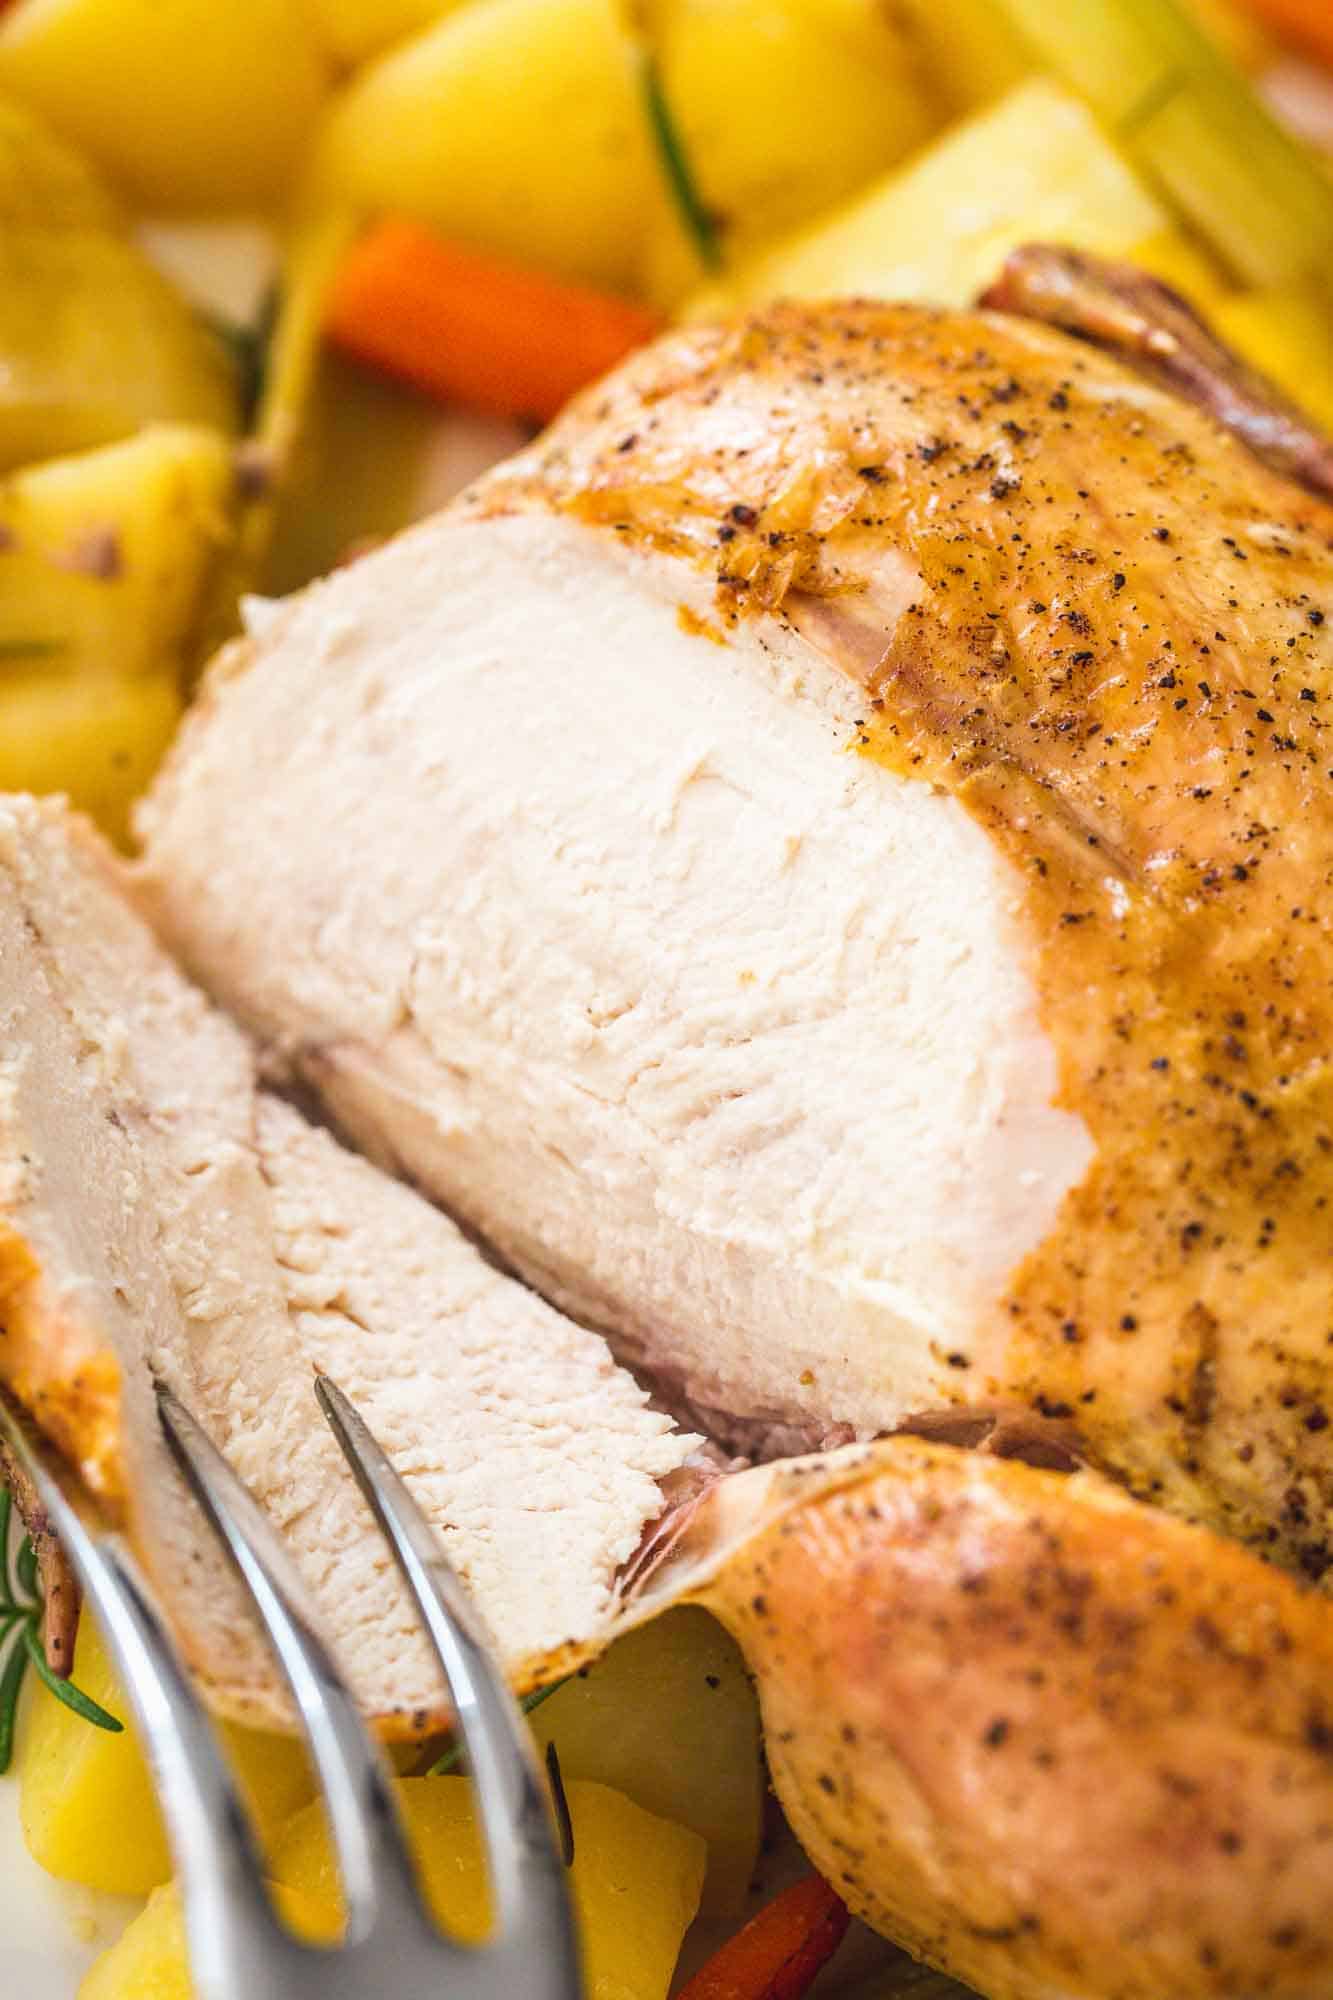
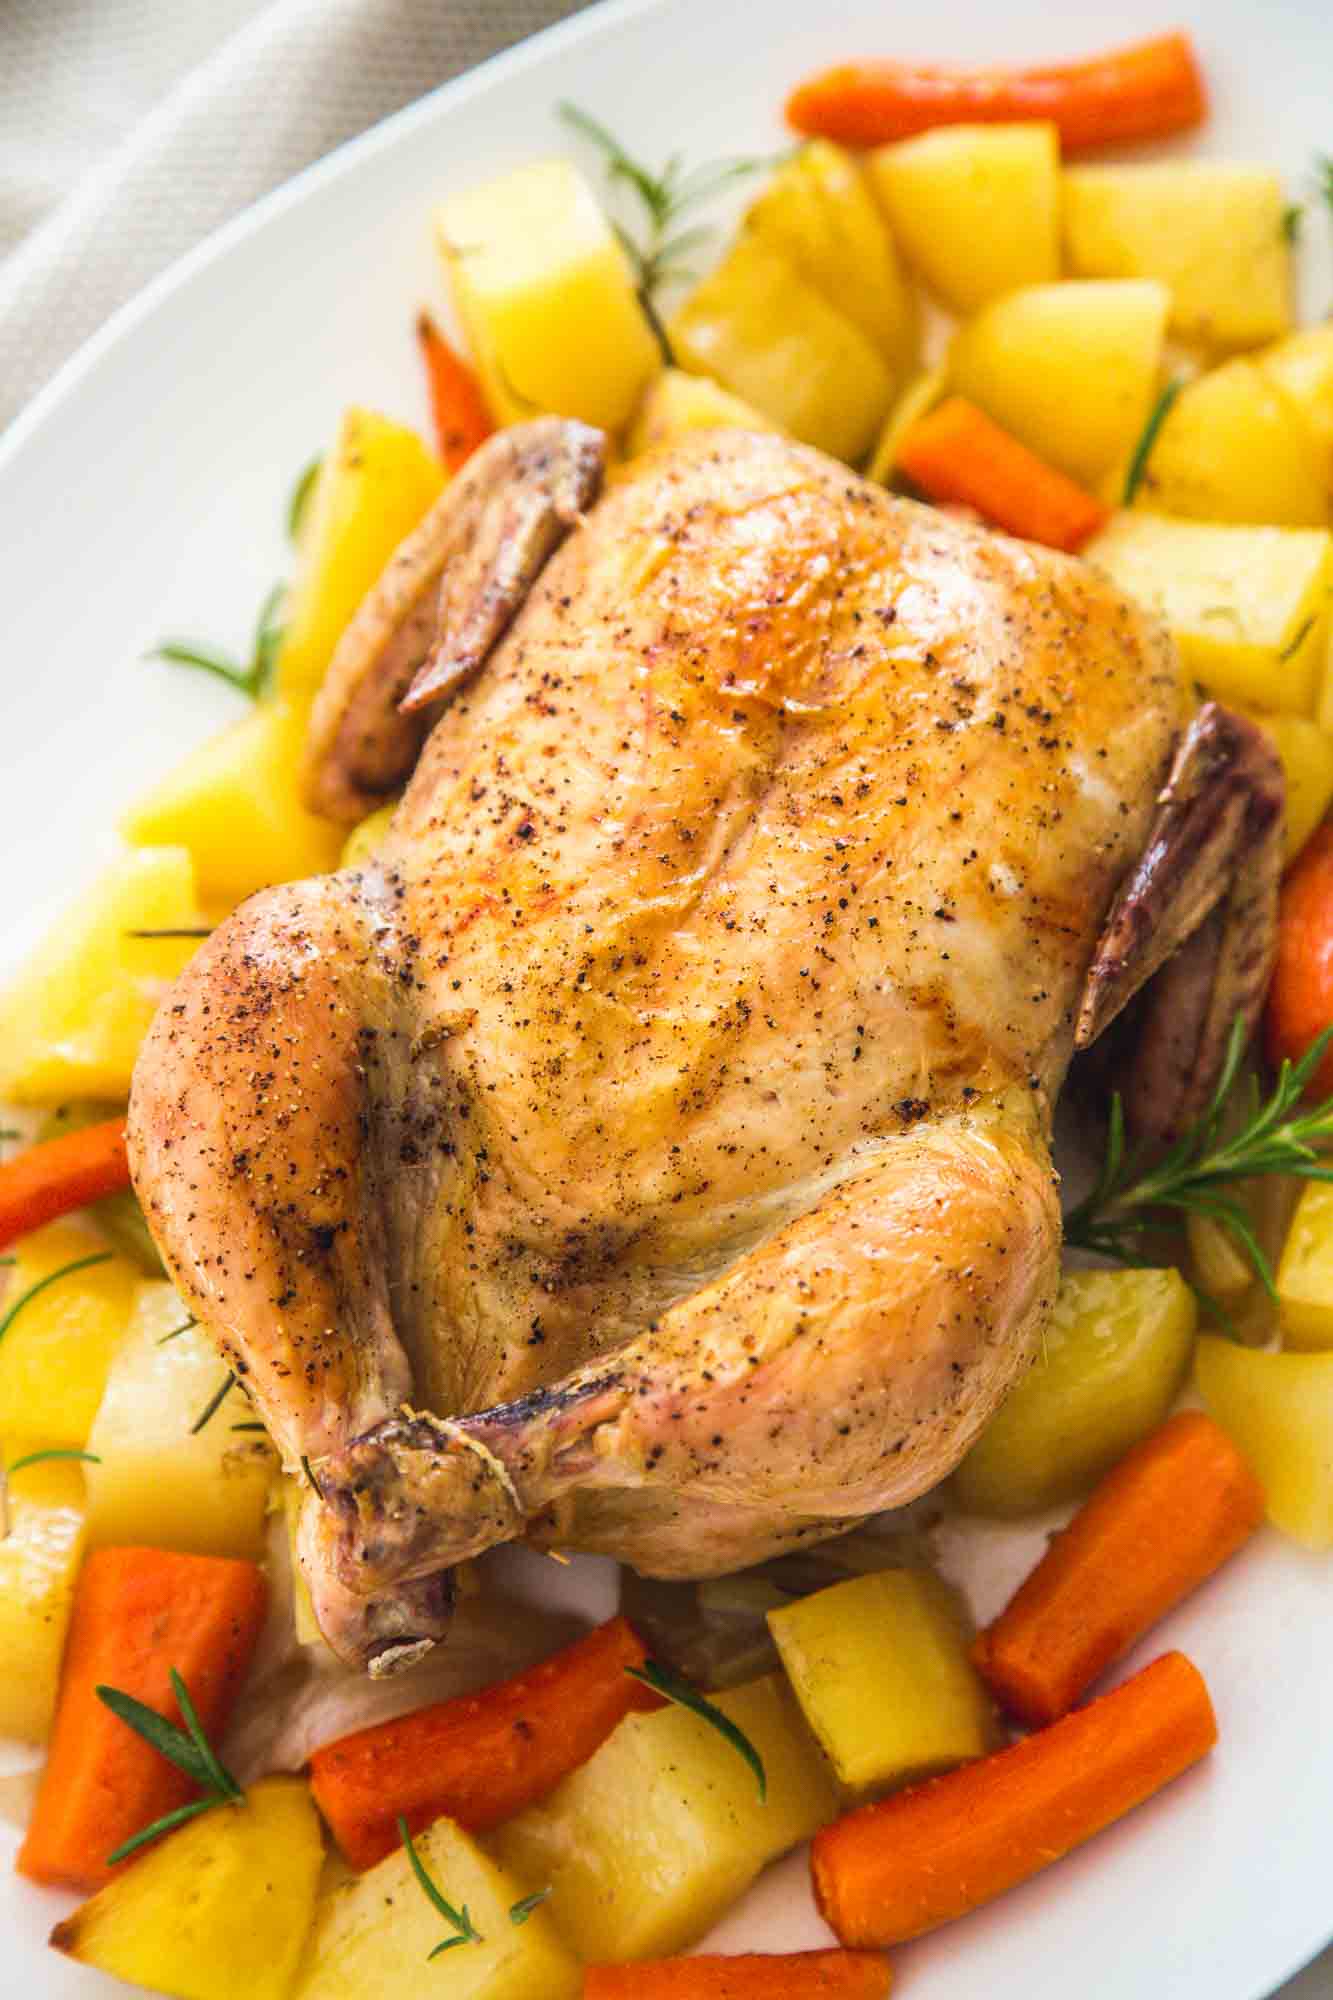
I love how this Dutch oven chicken practically makes itself. I can prep everything in about 15 minutes, then the pot does the rest while the kitchen fills with the most incredible smell. It is a true one-pot meal with a whole chicken, potatoes, carrots, celery, and onions all cooking together until the chicken is tender and the vegetables are full of flavor. The skin gets perfectly golden and crispy, and every bite is pure comfort.
Most of the time I serve it just like this, but if I feel like adding a little extra to the table, I will make a simple tossed green salad, some fluffy basmati rice, or a batch of warm Olive Garden breadsticks. My family never complains either way. It is the kind of dinner that works just as well for a busy weeknight as it does for a cozy Sunday with the whole family gathered around the table. Enjoy!
This recipe for Dutch oven chicken is one of the easiest, foolproof ways to cook a succulent chicken roast that has a mouthwatering crispy skin, with minimal prep time. With the Dutch oven’s unique ability to cook an entire chicken evenly, you’ll never have to worry about dried meat or burnt skin again. It’s magic!
Dutch oven whole chicken is perfectly seasoned, with a simple blend of salt & pepper, along with fresh rosemary for a herbaceous flavor. You’ll also get tender potatoes, celery, onions, and carrots, that are cooked at the same time bringing out their own natural flavors while absorbing all of the juices and surrounding flavors.
Everything is done in one pot, making it a complete meal with very little clean-up. It’s an easy hearty family meal that is simple enough for weekday dinners and elegant enough to serve a small dinner party. Serve with an optional side salad and a basket of garlic bread and you’ll have everyone incredibly satisfied.
When it comes to dutch oven chicken recipes, this is hands down one of my favorites! When the chicken is done, don’t forget to use the carcass for soup!
Is a Dutch Oven Good for Roasting Chicken?
If you thought a Dutch Oven was only meant for baking bread or cooking a pot of stew, think again! Cooking a whole chicken in a Dutch oven is about to transform the way you think about this pot.
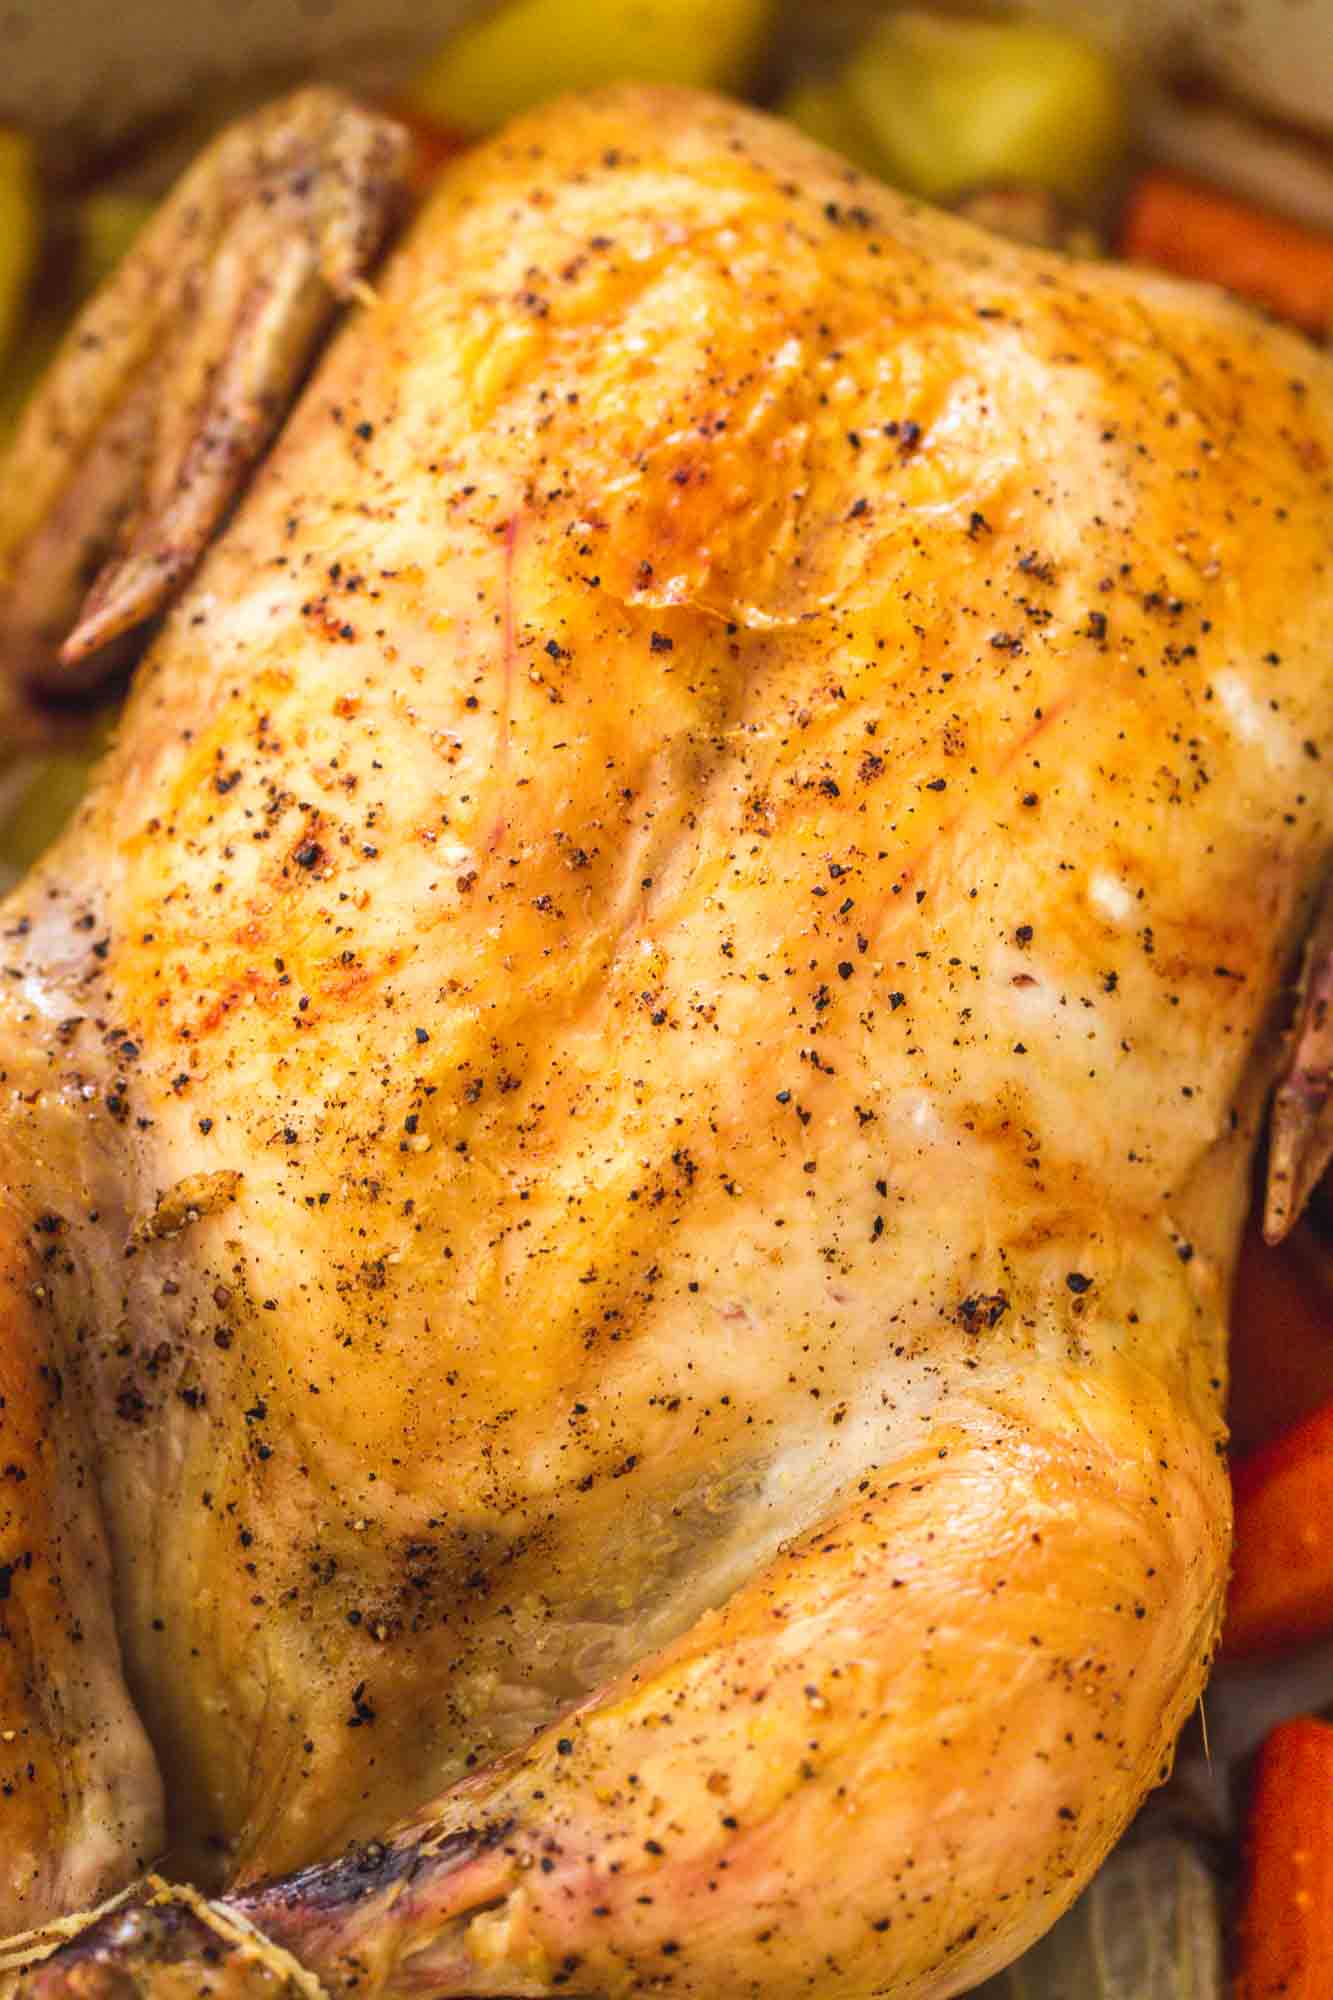
A Dutch oven has high sides, which means it blocks outside air from circulating into the pot and it captures the moisture, and keeps it in there. Cooking it with the lid on first means the steam thoroughly cooks the chicken throughout while keeping the moisture inside and never drying it out. Then, once the lid is removed, the outer skin has a chance to catch up for even cooking. As an added bonus, placing it under the broiler for a few minutes in the end, results in deliciously and perfectly salty, crispy skin.
By using the Dutch oven you do not have to worry about brining it first, using foil, or changing the temperature of the oven partway through, and there’s no more worrying about pink in some spots and burnt in others. This easy-to-follow recipe for a Dutch oven roast will become your new favorite way to cook a whole chicken!
However, if the time allows, definitely brine the chicken as it will only add moisture and flavor to your chicken. I have an AMAZING chicken brine recipe for you to try!
Delicious!! Loved this recipe!! I will make again.
Jana
What If I Don’t Have a Dutch Oven?
You can still make this recipe without a Dutch oven. Try one of these options:
- Oven-Safe Skillet with Lid: A cast iron or stainless steel skillet works well. If it doesn’t have a lid, cover it tightly with foil.
- Roasting Pan: Place the chicken on a rack inside the pan to keep it from sitting in the juices. Tent with foil during the first part of cooking to trap steam, then uncover to brown.
- Deep Casserole Dish: Choose one that’s big enough for the chicken with space around it for air to circulate. Cover with a lid or foil.
The key is to trap heat and moisture so the chicken cooks evenly and stays juicy.
Kitchen Tools for Making Dutch Oven Chicken
- A Dutch Oven – I use this le Creuset dutch oven that I absolutely LOVE! Another great option that is budget friendly is this Lodge dutch oven.
- Meat thermometer – No need to spend a lot, a budget-friendly thermometer is all you need.
- Chef’s knife – For easy slicing once the chicken is ready to be served.
- Cutting boards – One for preparing raw chicken and one for slicing cooked chicken.
- Twine – For tying your chicken legs together, if you choose to.
Ingredients You’ll Need (for this juicy chicken recipe)
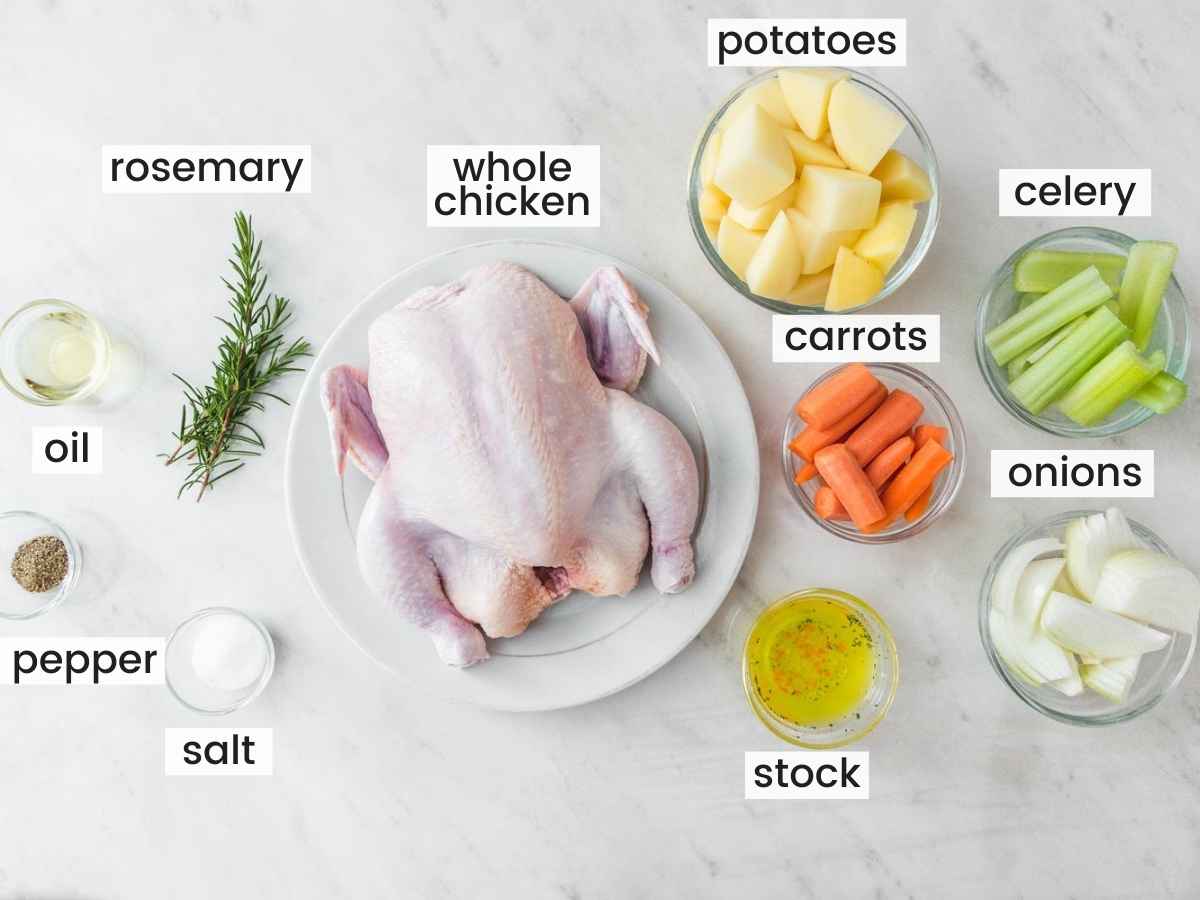
Complete list of ingredients and amounts can be found in the recipe card below.
- Whole Chicken – You’ll need anywhere from a 2.5-4 lb whole chicken. Fresh, if possible, for optimal results, but thawed from frozen will work just fine.
- Salt & pepper – No fancy seasoning here! A generous amount of salt and pepper both inside and out will give this chicken so much flavor.
- Onion – An aromatic used for not only stuffing the cavity and flavoring the chicken but once cooked, it can be eaten as part of the side dish.
- Celery – Cooked celery becomes tender and so juicy.
- Rosemary – Fresh rosemary is a signature herb that pairs so well with chicken. It’s incredibly flavorful but not overpowering. It adds a delicate layer of added deliciousness!
- Vegetable oil – Used to coat the chicken as well as the bottom of the pan for even cooking of the chicken and the veggies. It will also help to crisp up the skin and keep the seasoning sticking to the chicken.
- Potatoes & Carrots – When the chicken sits on top of the remaining veggies at the bottom of the pot, they get to absorb the flavor of the broth but also the drippings from the chicken. They become fork-tender and scrumptious by the time they’re done.
- Broth – Either vegetable or chicken broth is a great choice to help create steam and add moisture and enhance the flavor of the chicken.
How to Make Dutch Oven Chicken
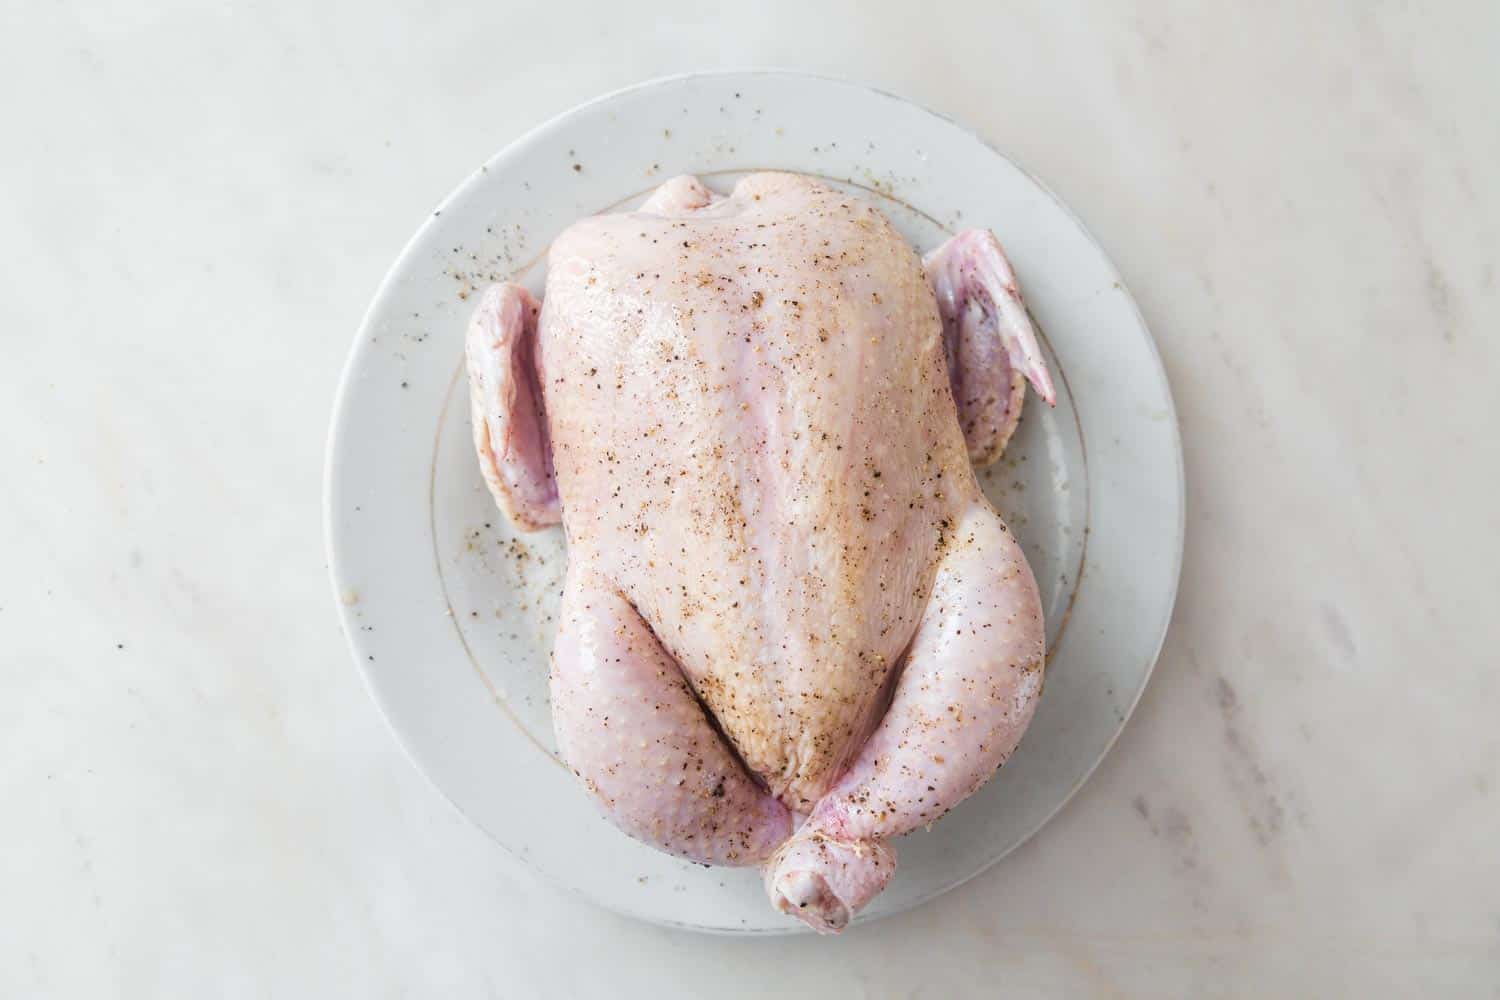
- Preheat the oven and remove any giblets from inside the cavity of the chicken if yours comes with any.
- Season the chicken generously inside the cavity with salt and pepper and stuff it with half of the onion, celery, and a sprig of Rosemary. An optional (but recommended) step is to truss the legs with twine at this point.
Tip!
Tying the legs together (aka trussing the chicken) helps with even cooking. When they are not held together towards the body of the chicken, the chicken thighs are then exposed to more heat, therefore drying them out. Bonus, it also helps to keep the stuff inside the cavity from falling out if maybe you added too much!
- Coat the chicken with half the oil and season liberally with salt and pepper. Add the remaining oil to the Dutch oven so it lightly covers the bottom.
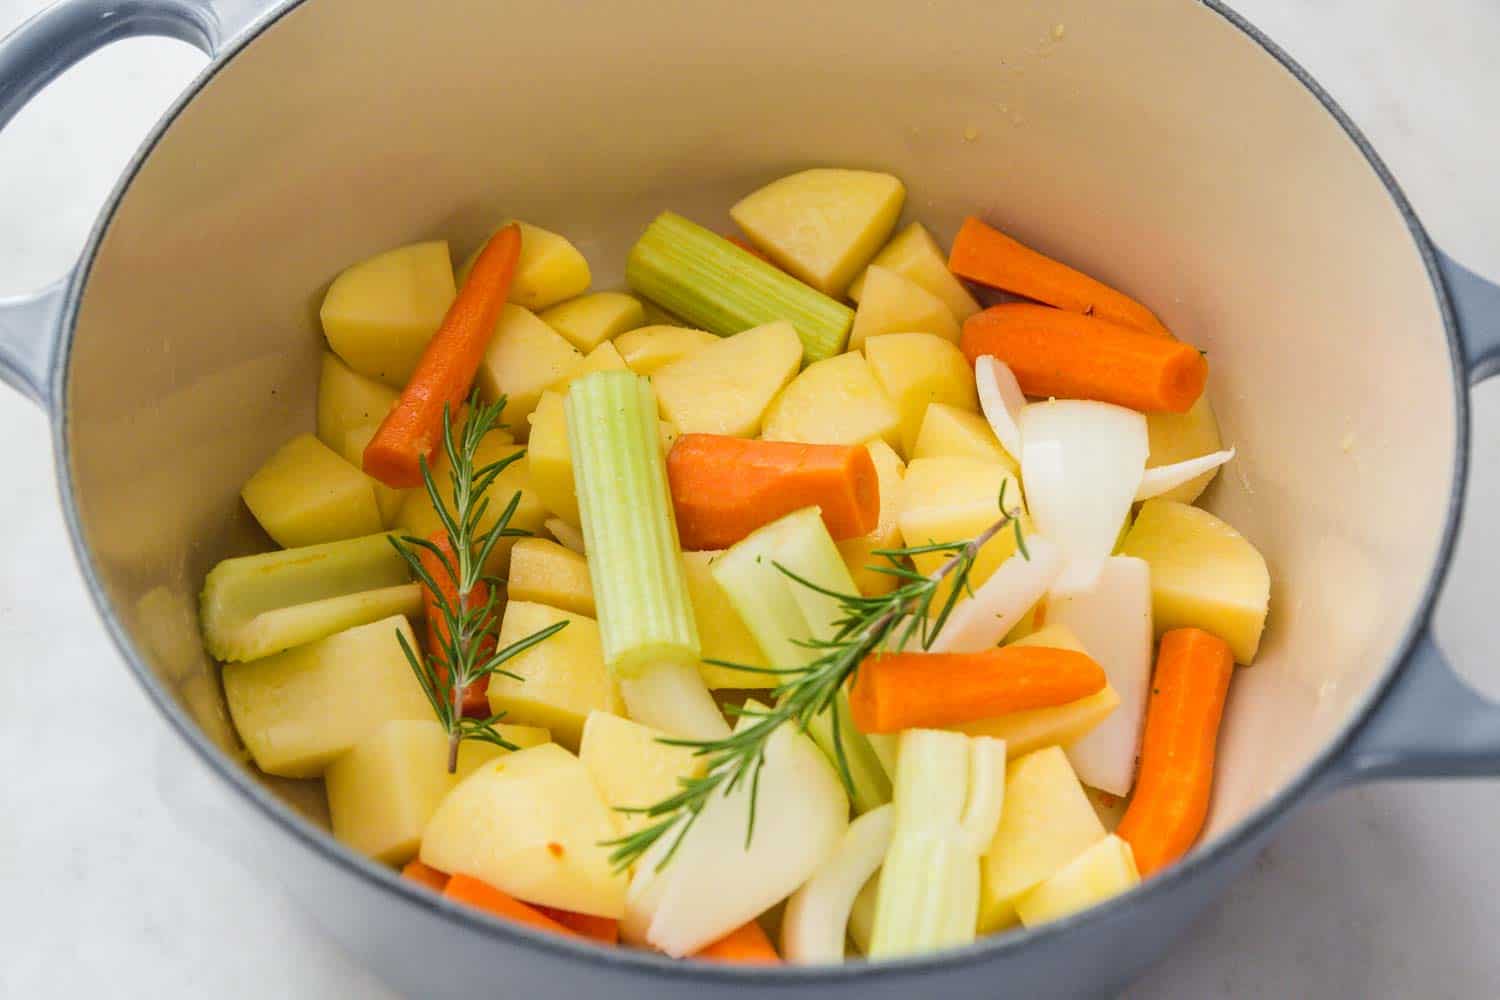
- Add the potatoes, remaining onion and celery, carrots, and broth. Season with salt and stir. Toss in the remaining sprigs of Rosemary.
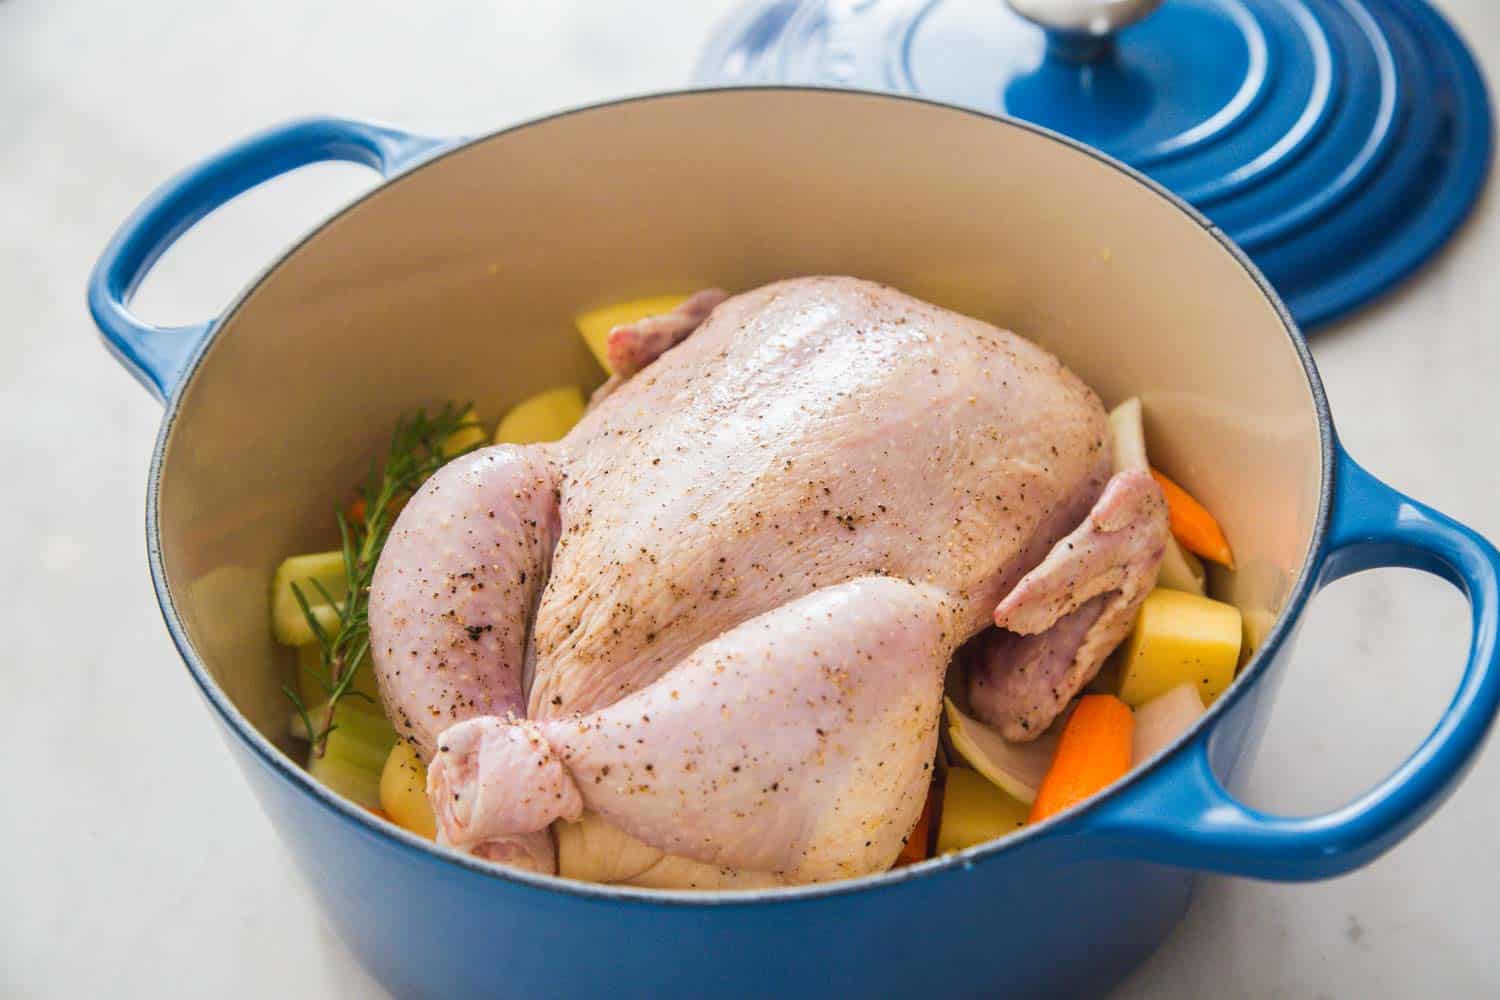
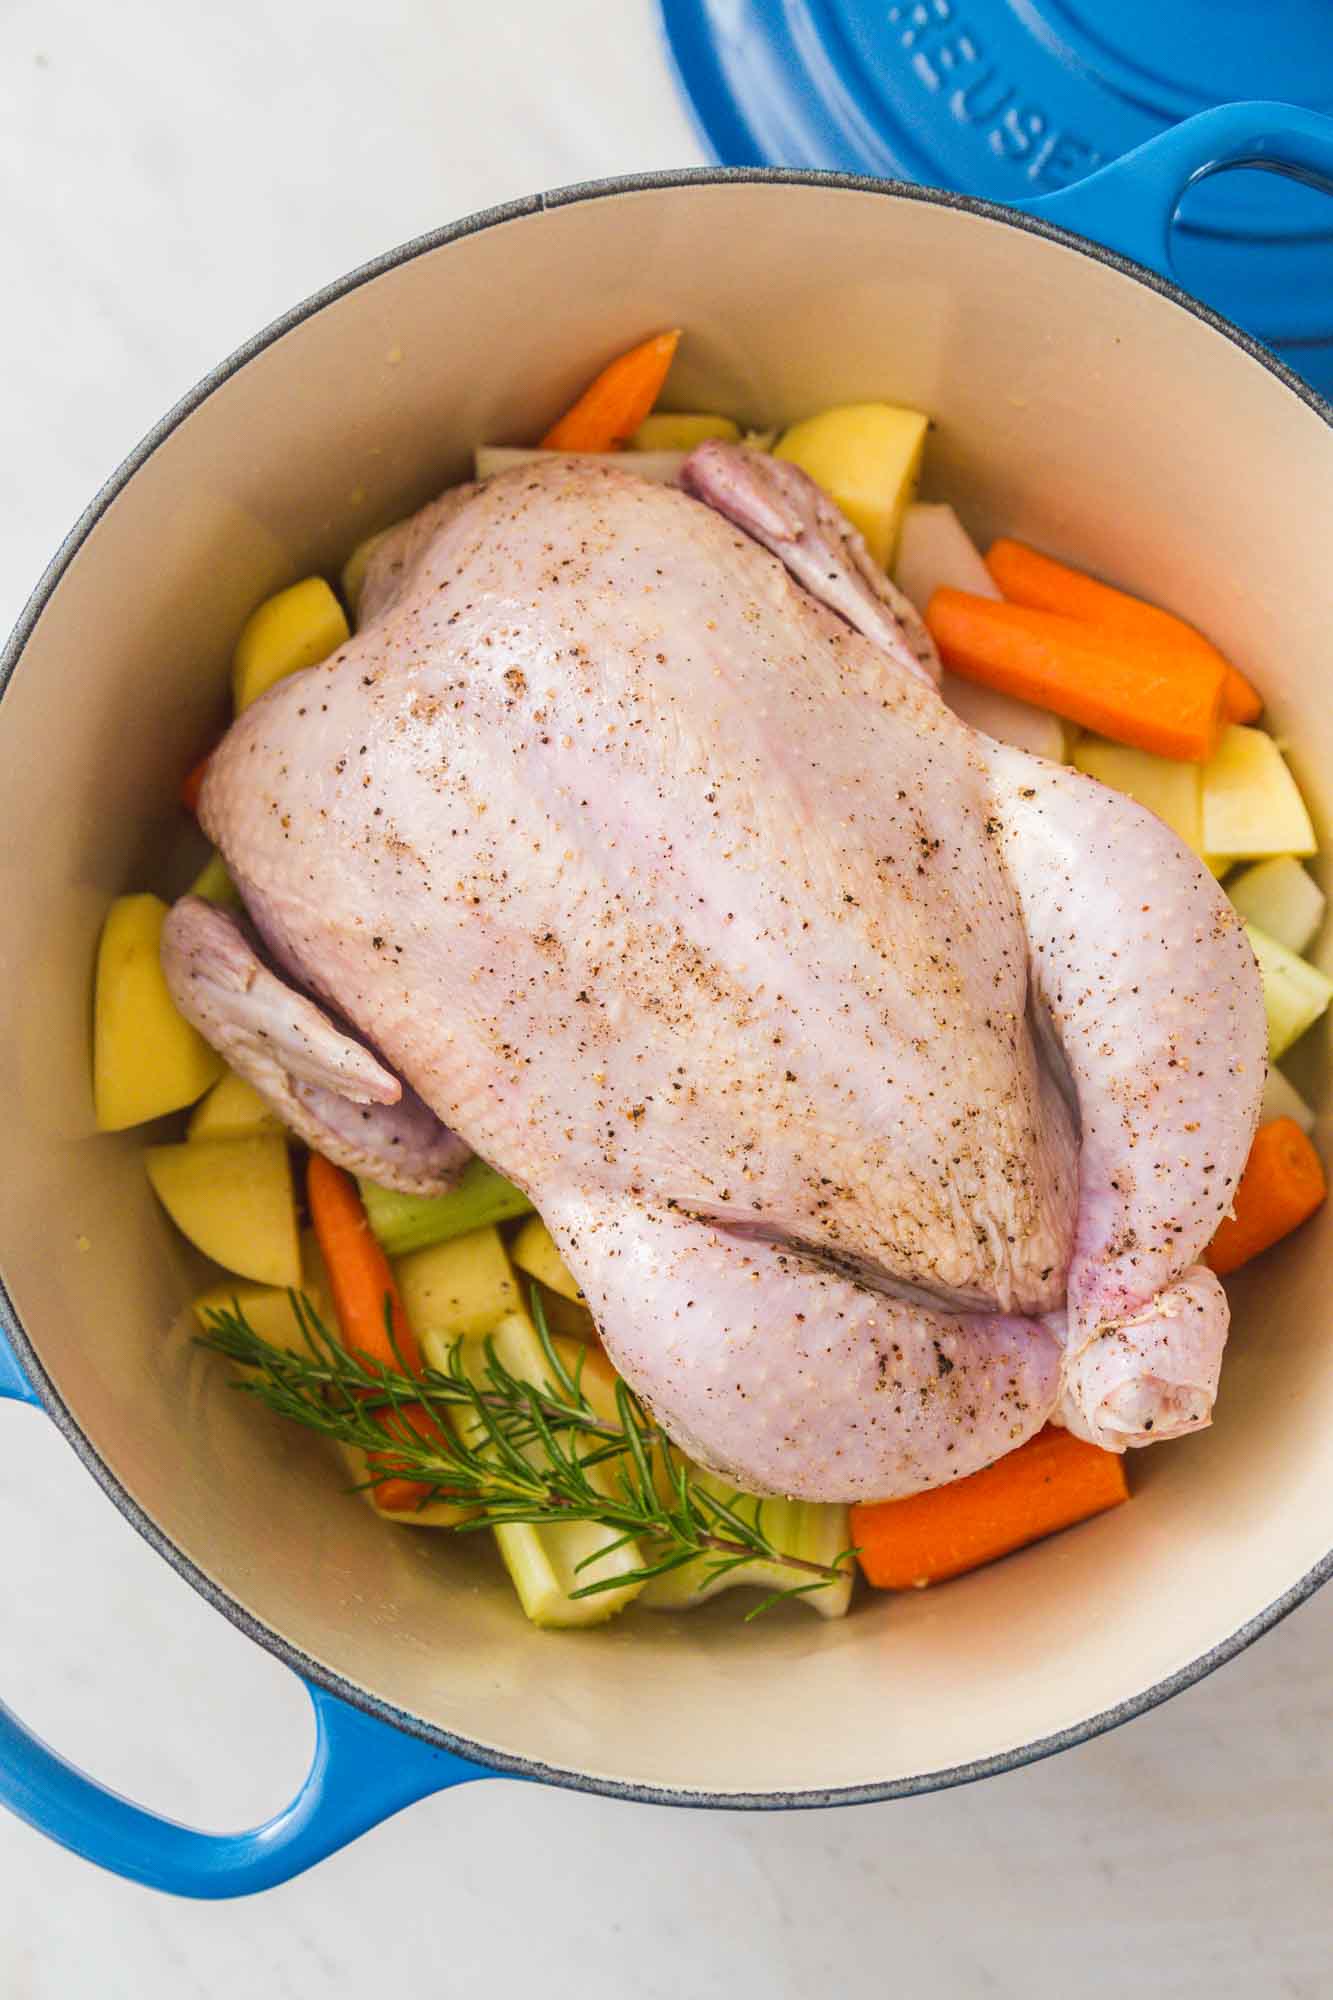
- Place the chicken on top of the veggies so it sits on top of them, not quite touching the bottom of the Dutch oven. Cover with the lid.
- Transfer the Dutch oven to the oven and bake for 45 minutes. Remove the lid then cook the chicken for 30 minutes more. Using a meat thermometer, the internal temperature should read 165°F/74°C. For extra crispy skin, place under the broiler for 3-5 minutes.
- Remove the chicken from the oven and transfer it to a clean serving tray or board. Allow it to rest for 10-15 minutes before carving. Check out my How To Carve a Chicken Tutorial to learn how to carve like a pro!
Tip!
Allowing your chicken to rest before slicing will help keep the juices intact as it relaxes. Otherwise, if you cut too early, all of the juices will run out losing all of that succulent moisture.
Dutch Oven Chicken Tips & Tricks
- Pat your chicken dry first, absorbing as much external moisture as you can. Seems counterintuitive, I know, but it will help evenly coat the oil to help hold all the yummy seasonings.
- If using a frozen chicken, make sure it is completely thawed before cooking. Otherwise, it will throw the timing off.
- Check for giblets. If you’re lucky they’ll come in a bag for easy removal. Actually, if you’re really lucky, this will have already been done for you 🙂 Otherwise, you’re going to want to look in both ends of the chicken and remove any of the liver, neck, heart, kidneys, and gizzard. Don’t worry it sounds worse than it is! Plus, they make amazing homemade gravy.
- Season generously! This doesn’t only mean using enough, it also means making sure to rub the seasoning into and onto the chicken, making sure it gets into all the nooks and crannies. This will help keep the moisture in the chicken and avoid having it dry out.
- Celery, carrots, and onions cook faster than the chicken and potatoes, therefore making sure you cut them into nothing smaller than large chunks. Cutting them too small will lead to overcooked, mushy, or even burnt, veggies.
- If you decide to broil at the end, keep an eye on it. Broiling happens fast and you don’t want to burn the skin after all that!
- Keep the carcass for later! If you’re not going to use it right away, keep it frozen until you’re ready to make some bone broth, stock, or soup!
Easy Variations & Alternatives to Try
- Substitute sweet potatoes for white potatoes or a combination of both!
- Stuff the cavity with garlic cloves and lemon wedges and save all of the veggies for the bottom of the pot.
- Season chicken with your choice of seasoning variation. Think Italian seasoning, garlic powder, lemon pepper, the sky’s the limit.
- Using your favorite compound butter (herb and garlic, for example), add a little underneath the skin (lifting carefully so as not to rip the skin). It will add a ton of flavor.
Did you make this? Be sure to leave a review below and tag me on Facebook, Instagram, or Pinterest!
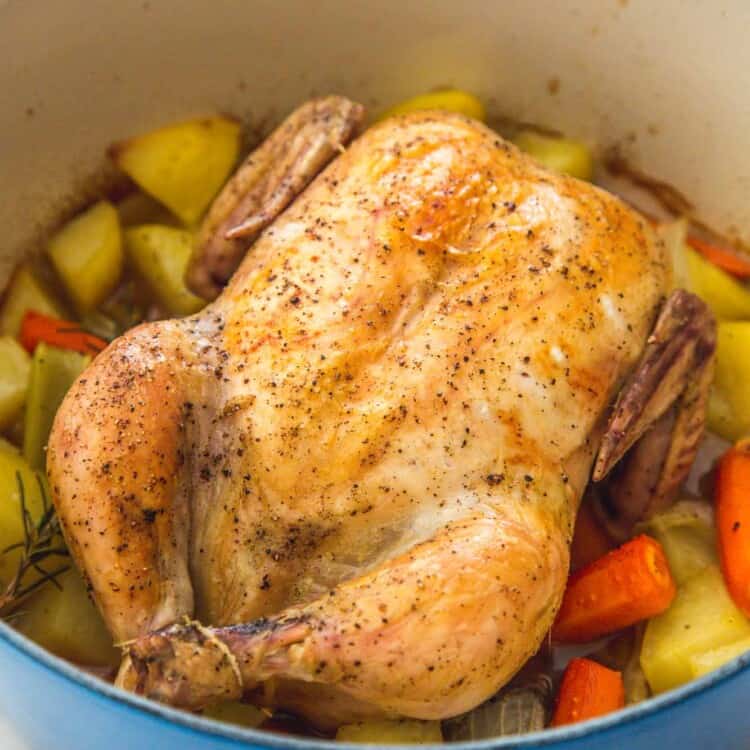
Dutch Oven Whole Roast Chicken
Equipment
Ingredients
- 3 pound (1.4 kilogram) whole chicken (use broiler or fryer chicken, can be between 2.5lb to 4lb)
- 2 teaspoons salt
- ½ teaspoon ground black pepper
- 1 large yellow onion cut into eighths
- 2 ribs celery chopped into 2 inch pieces
- 3 fresh rosemary sprigs
- 1 tablespoon vegetable oil
- 2 large potatoes cut into chunks, 3cm (or use more if you want)
- 2 carrots peeled and chopped into 2 inch pieces
- ¼ cup (60 ml) chicken or vegetable broth or water
Instructions
- Preheat the oven to 375°F/190°C.
- Season the chicken cavity with salt and pepper, then stuff with half the onion, celery, and one sprig of rosemary. Truss the legs with kitchen twine if desired.
- Drizzle half of the oil all over the chicken, and season it with salt and pepper (season liberally).
- Add the remaining vegetable oil to the dutch oven so it covers so it lightly covers the bottom. Add the potatoes, remaining onions and celery, carrots and broth to the dutch oven. Season with salt, and give them a quick stir. Throw the remaining sprigs of rosemary in the dutch oven.
- Transfer the chicken to the dutch oven so it sits over the chopped vegetables, cover with the lid.
- Transfer the dutch oven to the oven and bake for 45 minutes.
- Remove the dutch oven from the oven, remove the lid, and cook for 30 more minutes UNCOVERED or until the internal temp reaches 165°F/74°C (use kitchen thermometer). For crispy skin, place under the broiler for 3-5 minutes if desired.
- Allow the chicken to rest for 10 minutes before carving.
Notes:
- Pat your chicken dry first, absorbing as much external moisture as you can.
- If using a frozen chicken, make sure it is completely thawed before cooking. Otherwise, it will throw the timing off.
- Check for giblets. If you’re lucky they’ll come in a bag for easy removal.
- Celery, carrots, and onions cook faster than the chicken and potatoes, therefore making sure you cut them into nothing smaller than large chunks. Cutting them too small will lead to overcooked, mushy, or even burnt, veggies.
- If you decide to broil at the end, keep an eye on it. Broiling happens fast and you don’t want to burn the skin after all that.
- Keep the carcass for later! If you’re not going to use it right away, keep it frozen until you’re ready to make some bone broth, stock, or soup!
Nutrition Information
This website provides approximate nutrition information for convenience and as a courtesy only. Nutrition data is gathered primarily from the USDA Food Composition Database, whenever available, or otherwise other online calculators.
© Little Sunny Kitchen
FAQs
There are no hard and fast rules about this. It really depends on the recipe you’re following and what your end goal is. Some people prefer to roast uncovered for crispy skin without broiling it. Then, if it’s getting too brown too quickly, they will cover it. While others will go the opposite route and start with it covered to cook it through first and then worry about the skin. The Dutch oven is great for cooking with the lid first, because of the high sides and lid that traps moisture, it self-bastes, making sure to lock in all the moisture. Then, when the lid is removed, the skin can crisp up!
There are a couple of things that will determine how long you roast a chicken. The size of the chicken and the temperature of the oven. The easiest and fail-safe way to know when your chicken is done cooking is to cook to an internal temperature of 165°F/74°C. If you have yet to invest in a meat thermometer I highly recommend doing so. The general rule of thumb is that for every 1 lb of chicken, you’ll need 20-27 minutes of roasting time in a 350°F/180°C degree oven.
If you don’t have a thermometer, you can always use the method of poking the thickest part of the chicken with the tip of a knife to see if the juices run clear. If it does it’s an indication (not a foolproof one) that your chicken is fully cooked.
NO! You may have seen this done or have heard of people doing this, but it’s completely unnecessary and can become unsafe. The chicken splatter can get under your tap, and in your sink and bacteria can make it down your drain. Cooking chicken will get rid of unwanted bacteria so there is absolutely no need to wash a chicken before cooking it.
If you’re lucky enough to have some chicken leftovers, don’t let it go to waste! Toss in some chicken on top of your simple green salad for added protein or use it to make this Asian chicken salad. Add it to this buffalo chicken dip or make a wrap for lunch. Crockpot white chicken chili is a favorite around here that you could try or if you are looking for a Taco Tuesday upgrade, use the leftover chicken for these baked chicken tacos.
What to Serve with Dutch Oven Chicken
When planning a leisurely Sunday supper, especially for a larger crowd, think about making an entire menu. Below are a few recipe ideas to spark inspiration!
Serve a starter: Bacon wrapped asparagus, cream cheese rangoons, Mediterranean baked feta dip, Instant Pot spinach artichoke dip, and bruschetta with tomato are all different types of appetizers that are all easy and crowd-pleasing.
Along with other sides: A three bean salad, an asparagus tart, or easy naan bread would all pair nicely with a chicken and potatoes meal.
For dessert: What’s a complete meal without dessert? Finish off the evening with an easy, light, and delicious cinnamon baked apple slices, apple crumble, or orange juice cake. For something a little decadent go for this pumpkin bundt cake with a cream cheese frosting or molten chocolate mug cake.
A complete flavorful one-pot meal that Sunday dinner dreams are made of! Now that you know the secret to a perfectly cooked whole chicken, don’t forget to share this recipe with others!
Other Easy Whole Chicken Recipes
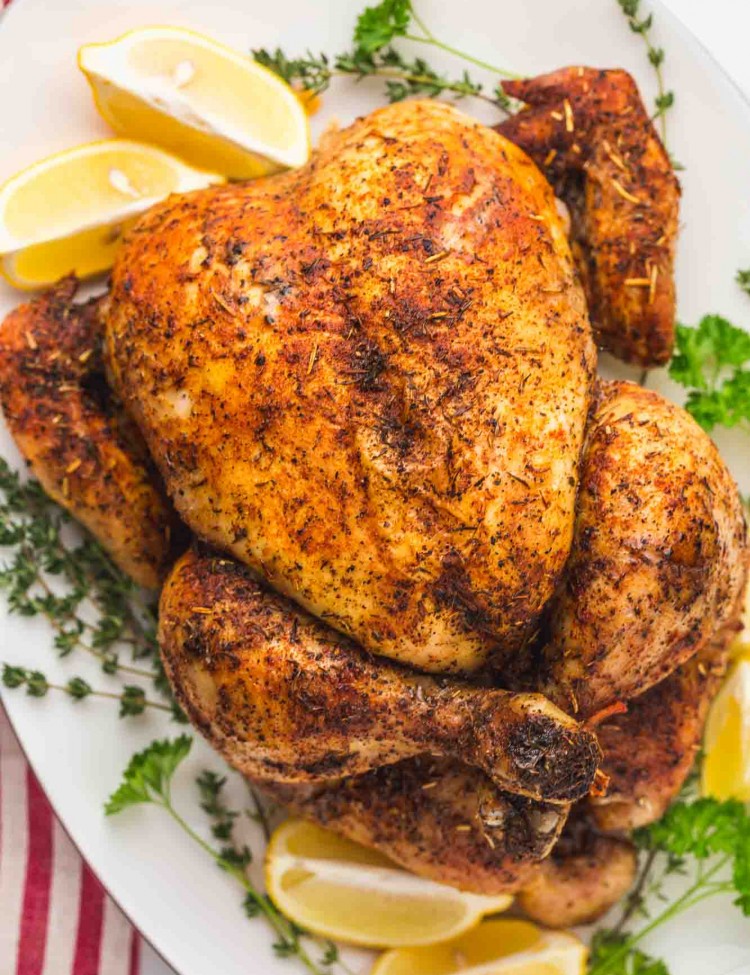
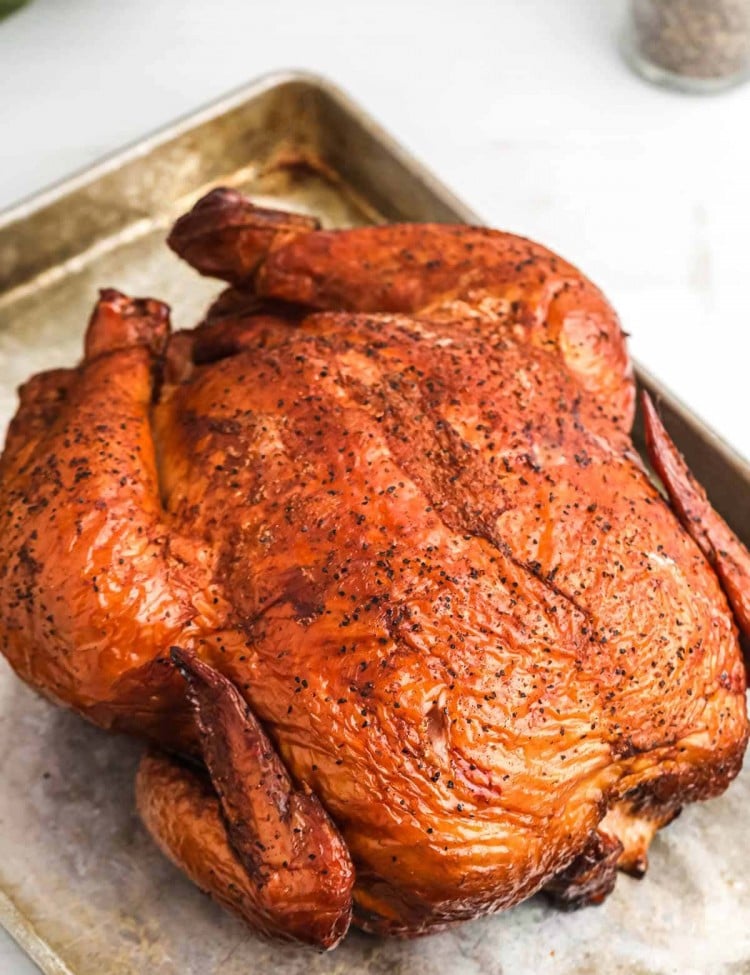
- Smoked Whole Chicken
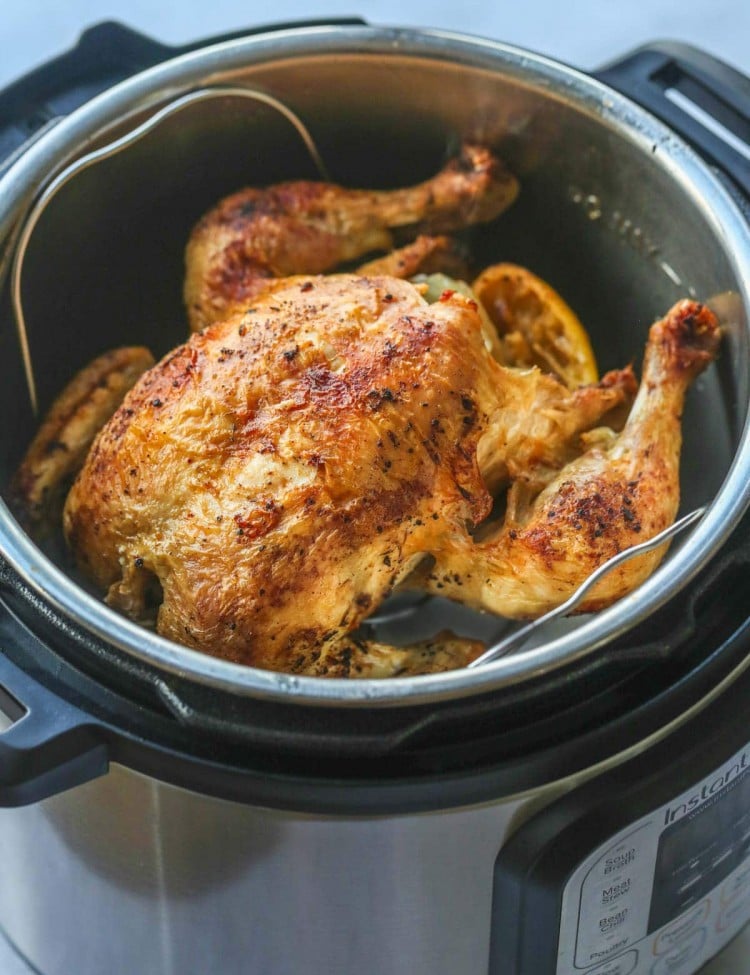
- Instant Pot Whole Chicken
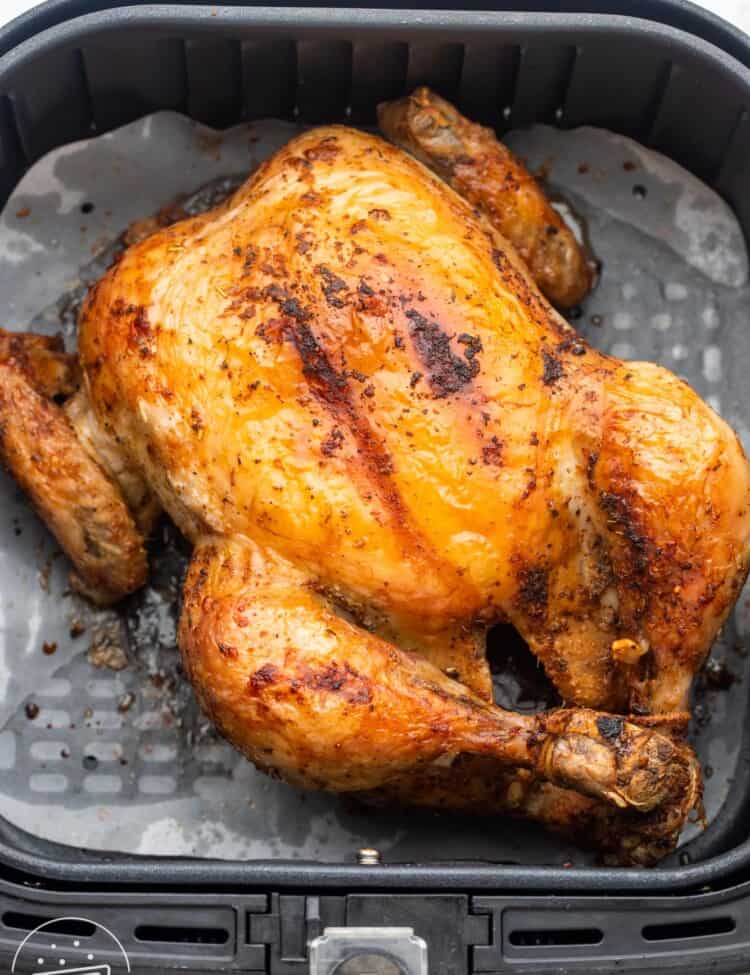
- Easy Air Fryer Whole Chicken
- Beer Can Chicken Recipe
- Peruvian Chicken (with the best ever green sauce!)
- Easy Spatchcock Chicken


Eileen says
Not a fan of rosemary, what could do as a sub?
THANKS
Diana says
Hi Eileen! If you’re not a fan of rosemary, you can try using thyme, oregano, or even a bit of sage instead. They all work well with roast chicken. Hope you enjoy it!
sandie says
Can you use a 5 lb chicken and how long to cook?
Little Sunny Kitchen says
Hi Sandie, a 5-lb chicken doesn’t fit well in my dutch oven, so I haven’t tried one to see exactly how long it takes. I would expect another 30 minutes or more. Stop back and let us know if you try it!
Jana says
Delicious!! Loved this recipe!! I will make again.
Diana says
Happy to hear that, Jana! Thanks for trying the recipe!
Dee says
I made this for Sunday lunch and it was delicious!..The only variation was in time and temp.
My chicken weighed approximately 5lbs. so …I increased the temp to 400 degrees an increased the cooking time by 15 minutes.
Was hoping to have leftovers for chicken sandwiches tomorrow but seriously doubt it will make it! Thanks
Diana says
I’m so glad it turned out delicious for Sunday lunch. Here’s hoping you manage to save a bit for those sandwiches!