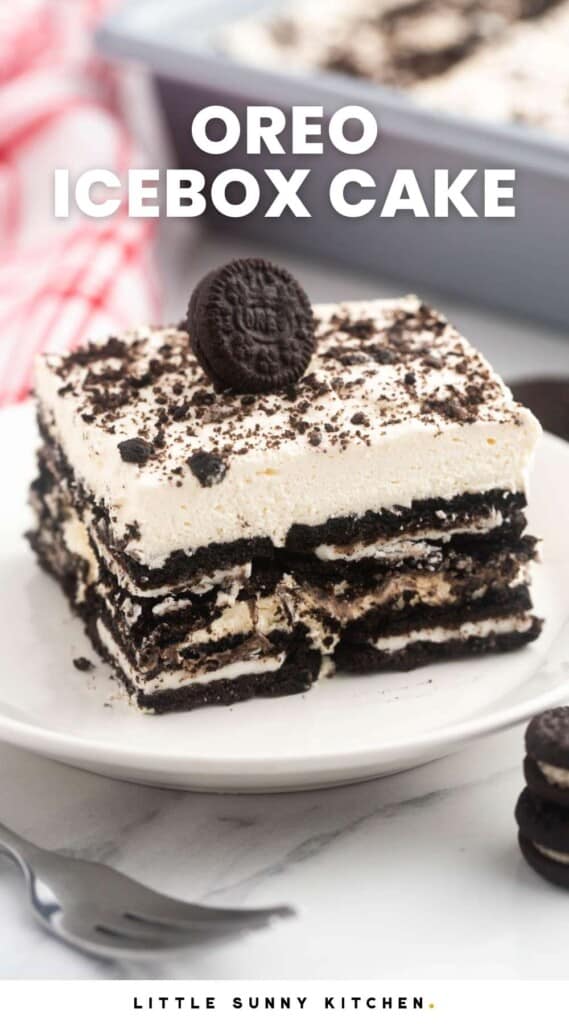
This creamy and delicious Oreo Icebox Cake is the easiest dessert ever! Everyone will be begging you to make this no-bake Oreo cake for every occasion.
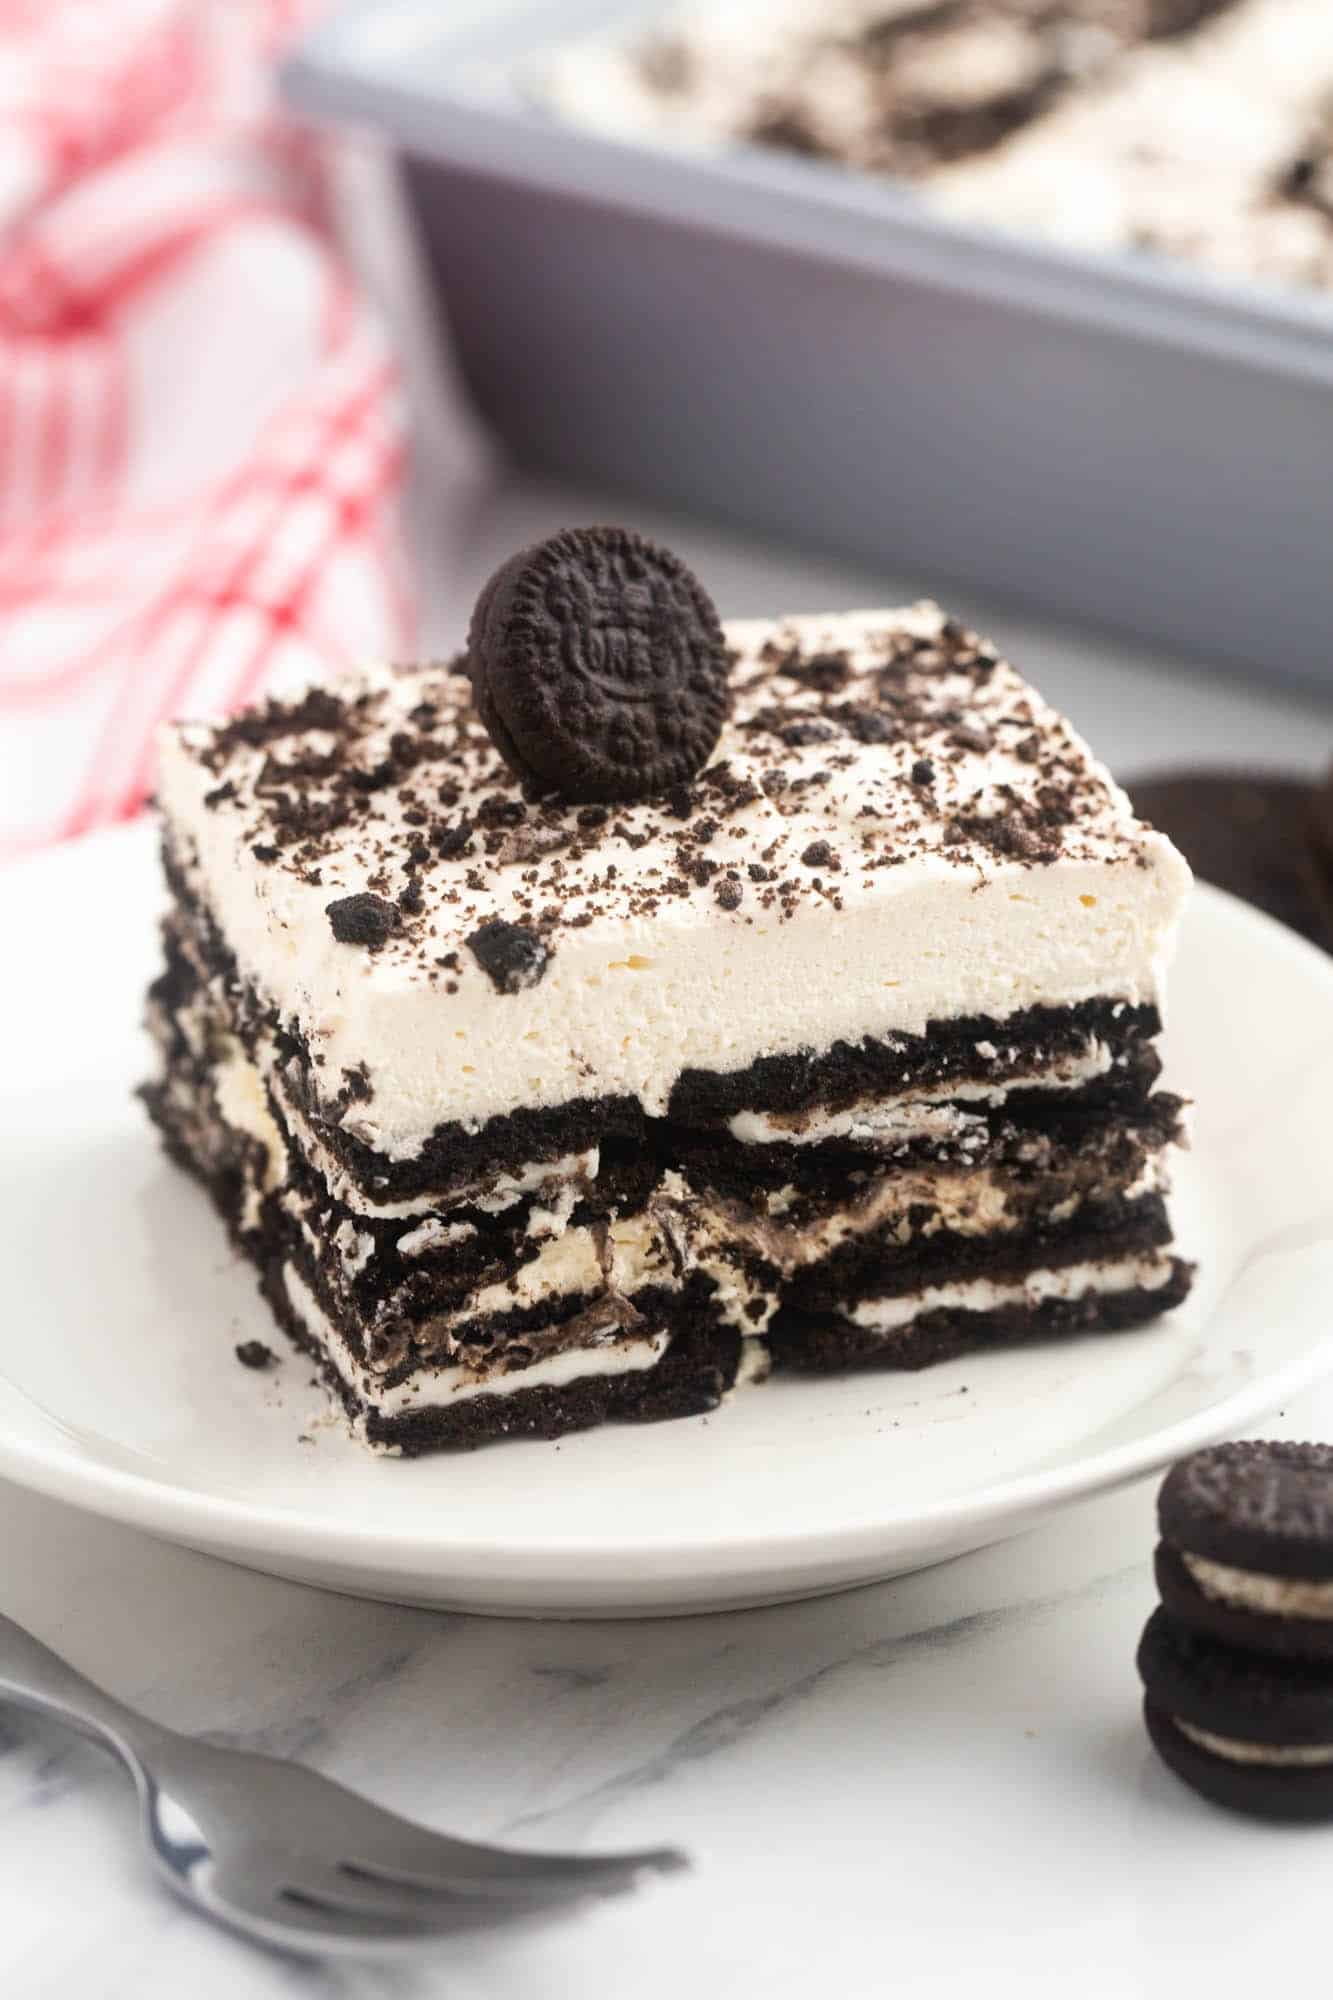
If you love Oreos dunked in milk, you’ll absolutely go nuts for this easy no-bake dessert featuring the famous chocolate sandwich cookies and lots of whipped cream!
This layered Oreo cake is always a hit when I serve it at a girls’ night in, or as a simple dessert after a casual dinner. It’s similar to my No Bake Oreo Pie, but significantly easier to make!
This is because icebox cakes are so, so simple to throw together. If you aren’t already familiar with the concept, an icebox cake is typically some sort of cookie, layered with whipped cream. When you refrigerate it, the cookies soften and create a dense, sweet, creamy-textured dessert. Yum!
I’ve been whipping up all types of no bake desserts lately! Try my Banana Icebox Cake, Orange Jello Salad or a classic Million Dollar Pie if you need some new ideas.
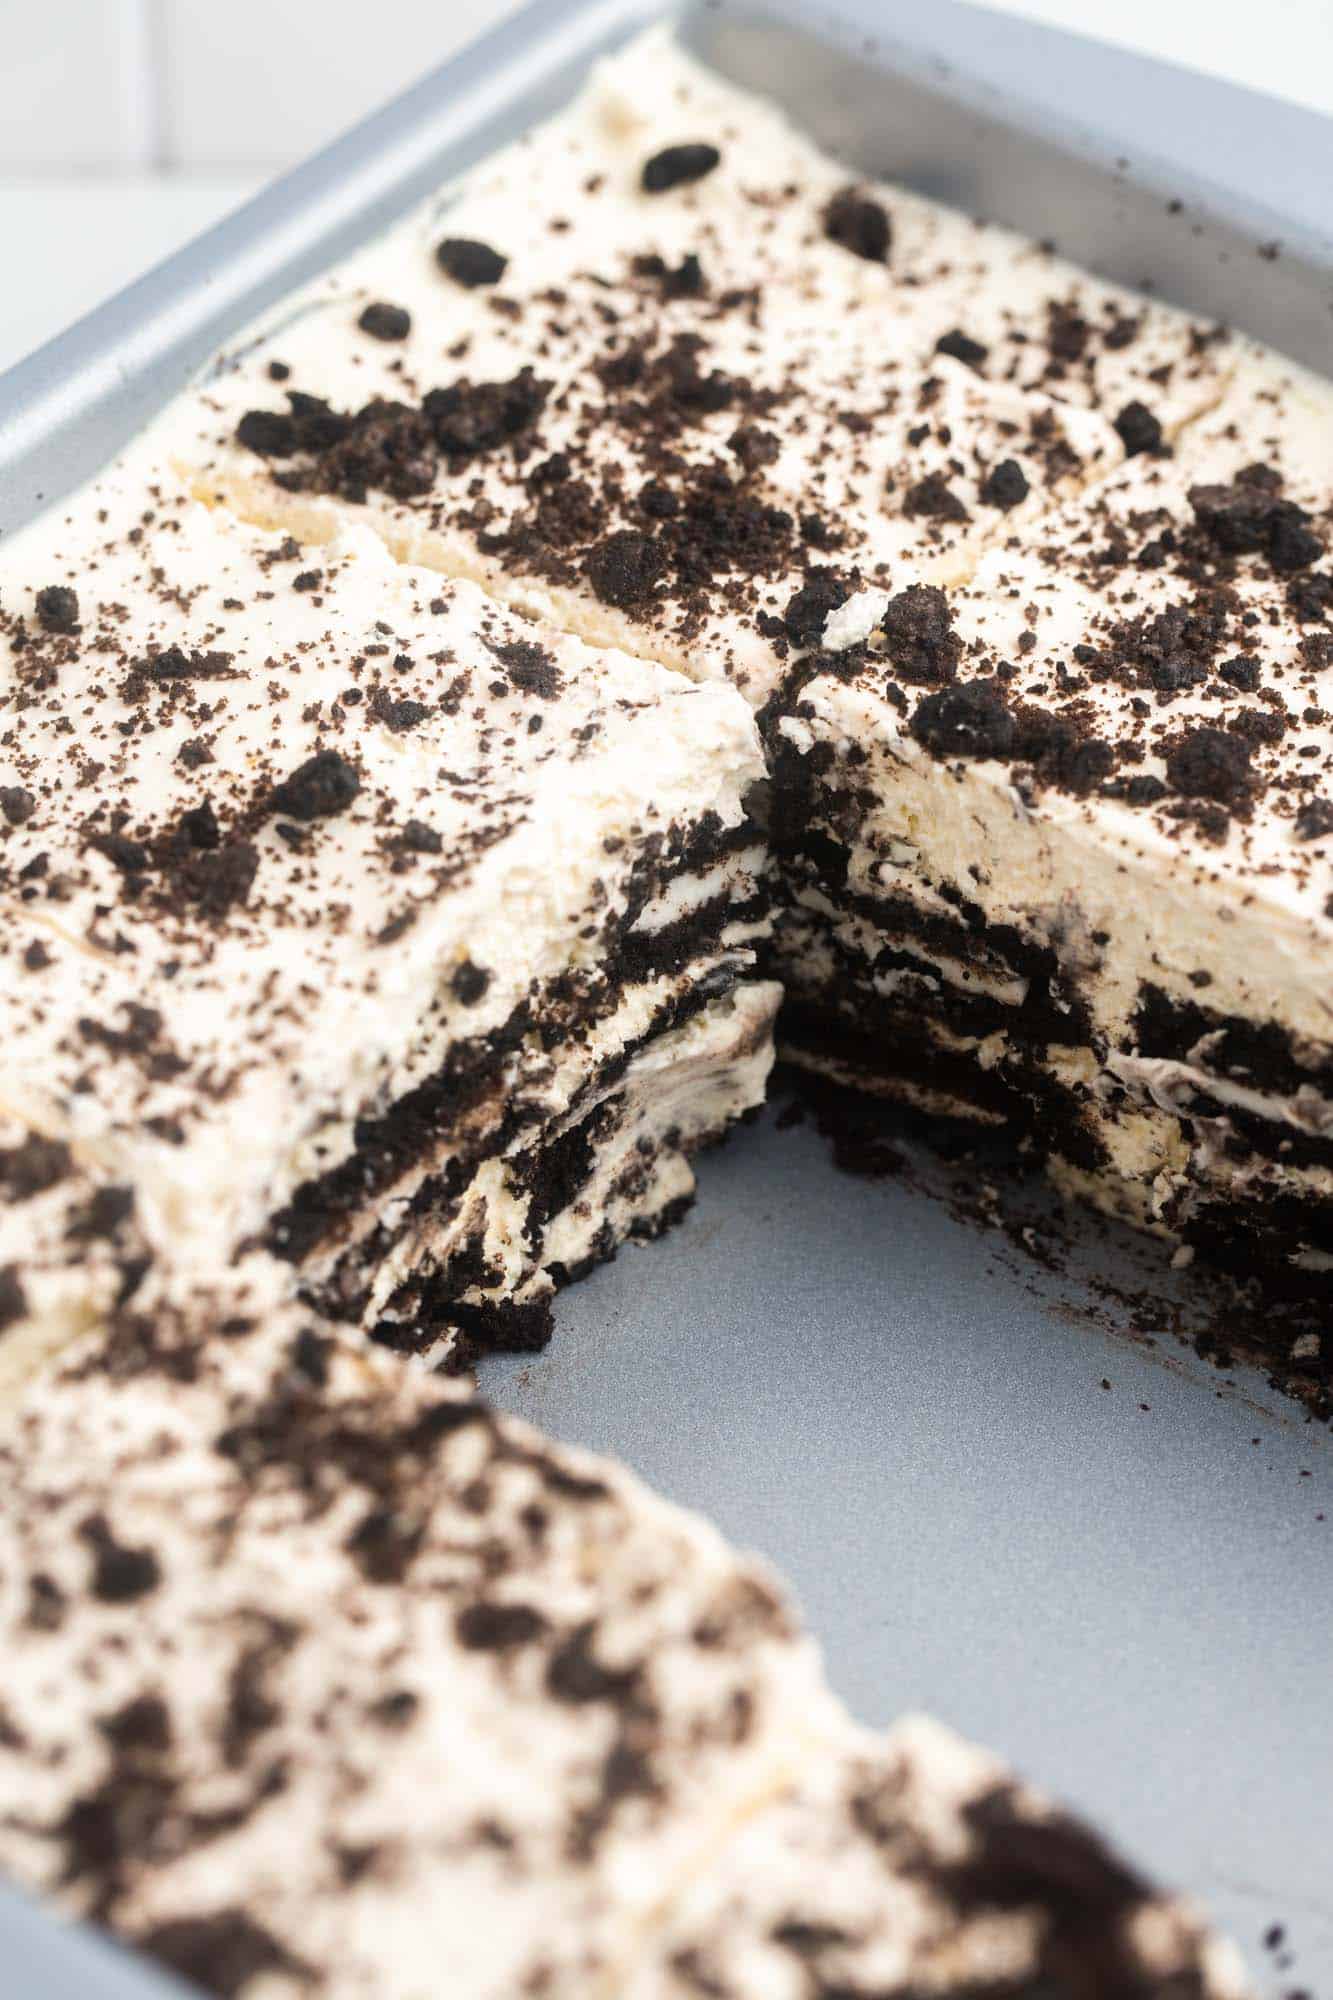
Why You’ll Love This Oreo Icebox Cake Recipe
- Just 4 Simple Ingredients– Oreos and homemade sweetened whipped cream come together perfectly without anything extra. It’s amazing how simple this Oreo whipped cream cake is!
- Quick and Easy Dessert – Icebox cakes do not require any cooking! You can put this cake together in just a few minutes, then store it in the fridge until it’s time for dessert.
- Fun for Kids – Because there’s no cooking involved with this recipe, it’s a great one to make with your kids. They can help layer the cookies, whip the fresh cream, or they can even make the whole recipe on their own.
Ingredients In Oreo Ice Cream cake
Oreo Refridgerator cake needs exactly four ingredients:
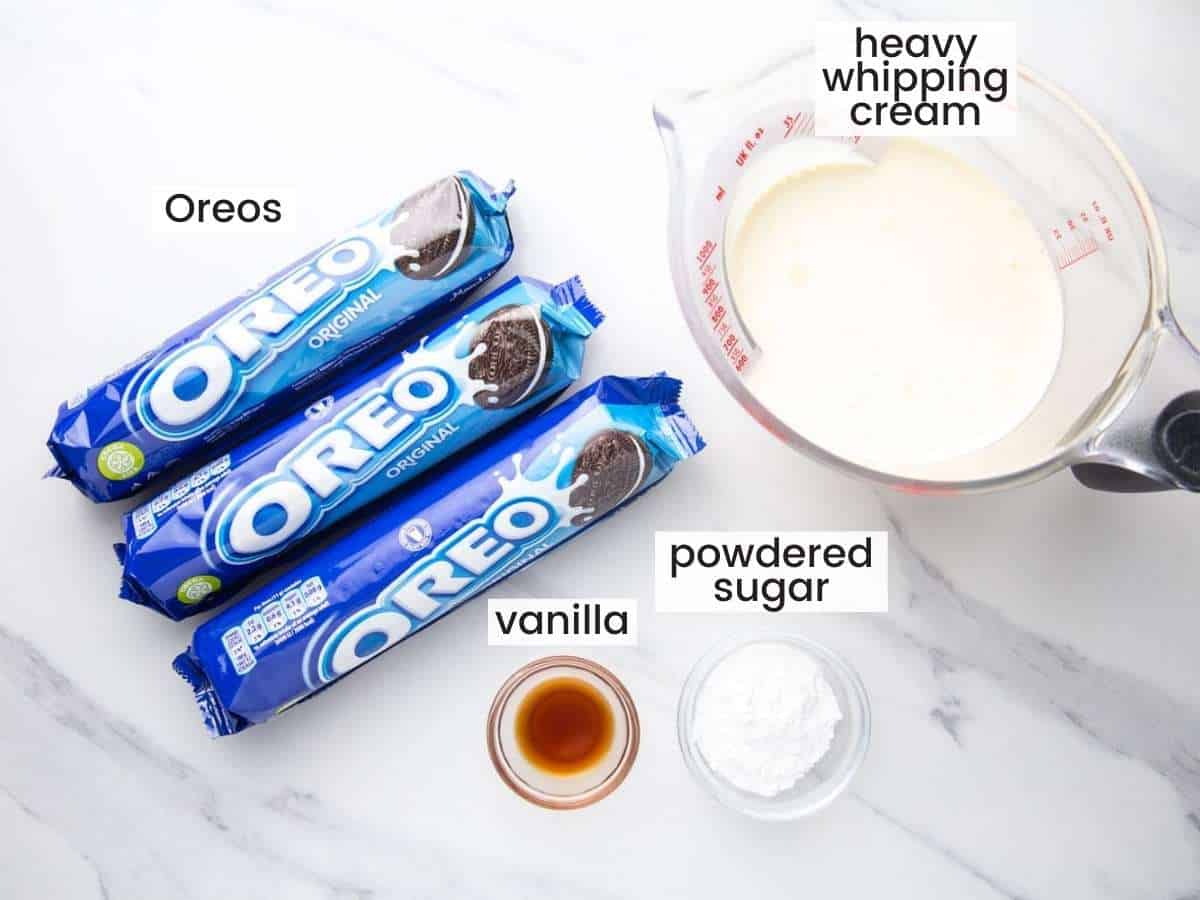
Complete list of ingredients and amounts can be found in the recipe card below.
- Oreos – Of course we need lots of Oreo Cookies! I used precisely 32 Oreos to create this icebox cake in an 8-inch square cake pan. Then I crushed up 3 more to sprinkle over the top.
- Whipped Cream – I love to make fresh whipped cream for my desserts. It’s actually pretty simple to make, and much tastier than the pre-made kind. To make it you’ll need heavy whipping cream, vanilla extract, and a bit of powdered sugar.
How To Make Oreo Icebox Cake
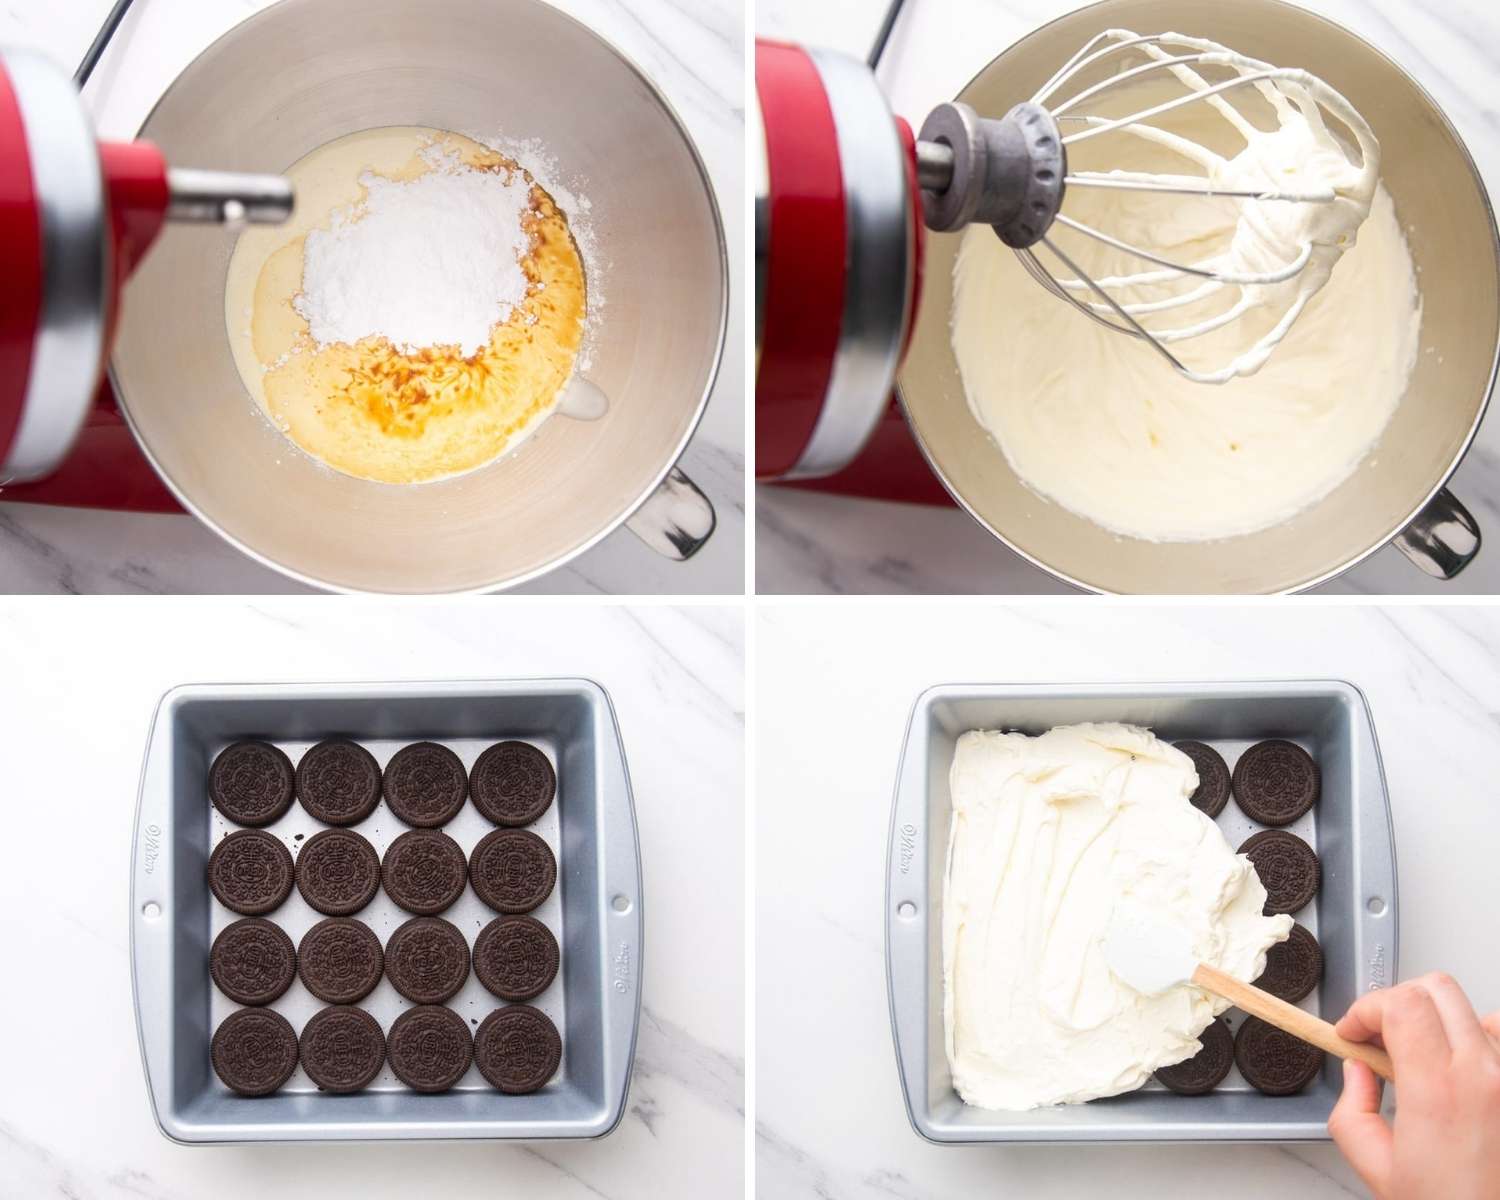
- Make Fresh Whipped Cream – To the bowl of a stand mixer (or use a hand mixer), add heavy cream, powdered sugar, and vanilla extract. Beat until whipped and creamy, but be careful not to overwhip.
- Start Layering: Add a layer of 16 Oreo cookies to the bottom of an 8-inch square pan, then top with half of the whipped cream. Smooth the cream over the cookies with a spatula.
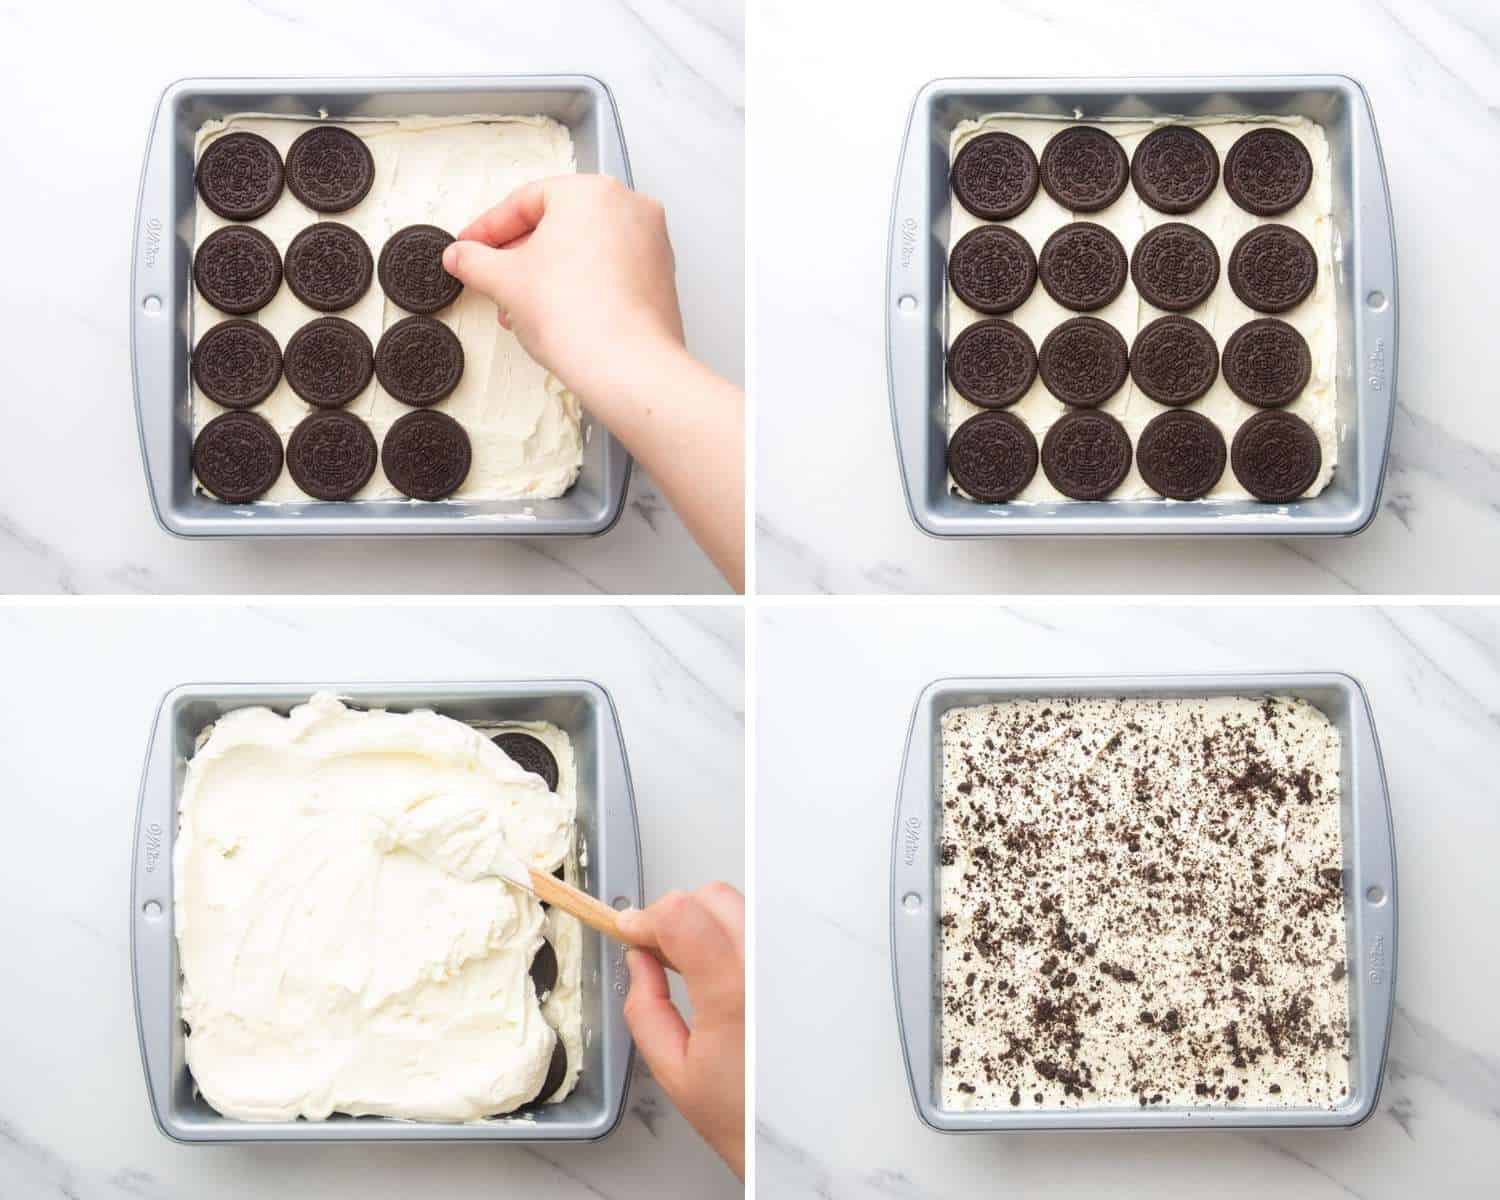
- Add another layer: Repeat with another layer of cookies, and the rest of the whipped cream.
- Finish and Chill: Crush a few Oreos to sprinkle over the top of the icebox cake. Cover with plastic wrap and chill in the fridge for at least 4 hours, or overnight.
Tip!
If you whip fresh cream too much, it will start to turn into butter! Stop whipping once the mixture is thickened and still fluffy.
Recipe Tips
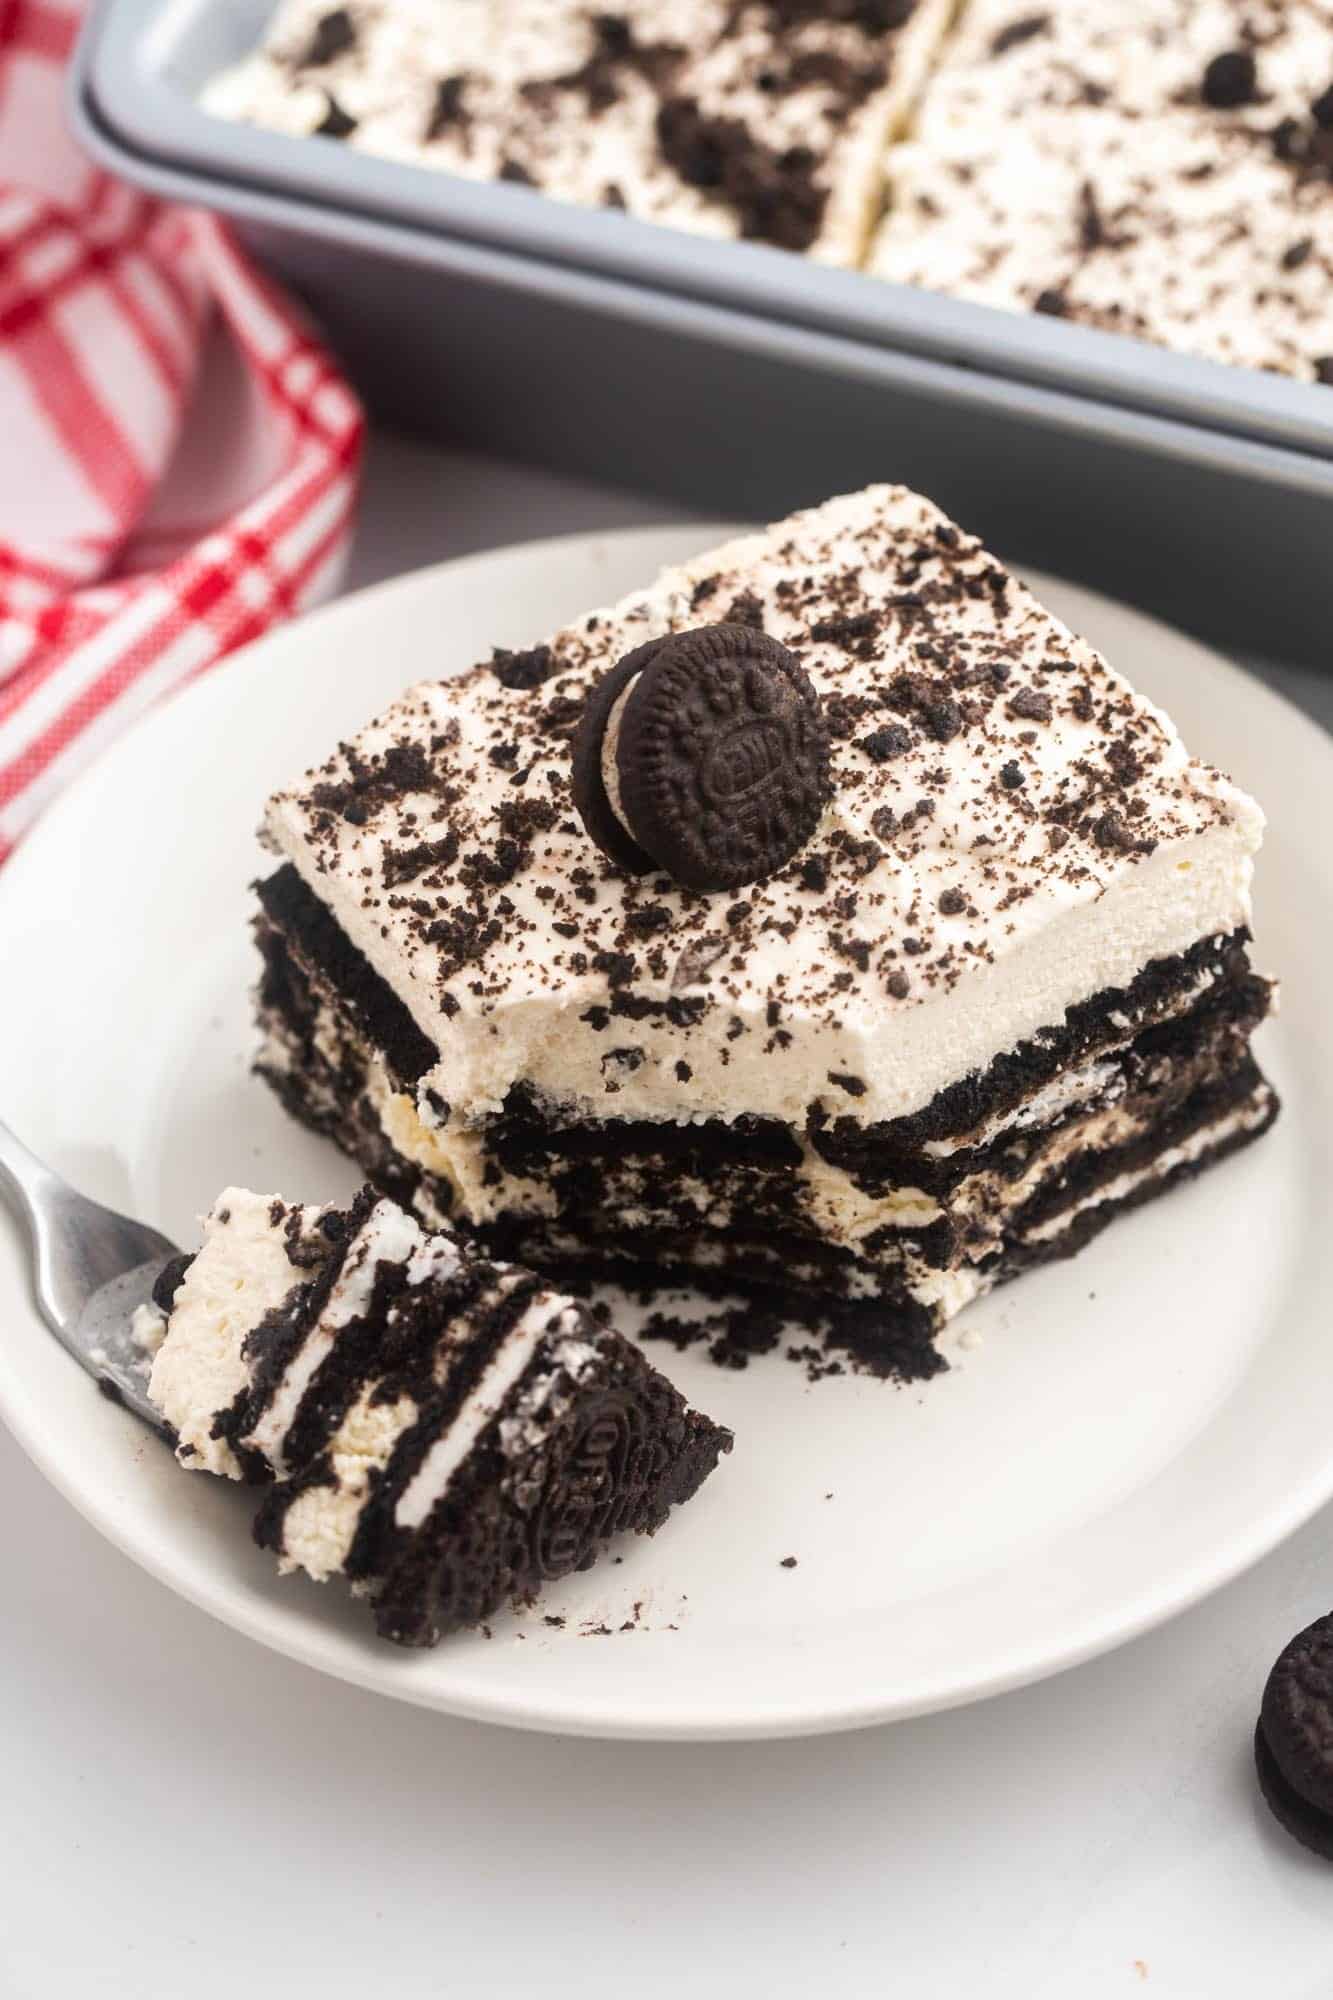
- To get neat, clean slices of this Oreo no-bake cake, pop the whole thing in the freezer for just 30 minutes before you’re going to serve it. This won’t freeze the whole dessert, but it will firm it up just enough so that it’s easy to cut.
- Make it ahead of time: No-Bake desserts like this one can generally be made and then stored in the refrigerator for up to 3 days.
- Use any type of Oreos: This cake will be delicious if made with different flavored oreos. Try Golden Oreos, or the lemon or mint chocolate ones.
- Make a Gluten Free Icebox Cake: Just pick up a package of gluten-free Oreos!
Storing Tips
Keep this icebox cake covered, in the refrigerator, for up to 4 days.
More Oreo Desserts You’ll Love
Oreos are one of my favorite cookies to bake with and create no-bake desserts with! Try these Oreo recipes too:
- Oreo Cheesecake
- Chocolate Covered Oreos
- Oreo Tiramisu
- Chocolate Oreo Truffles
- Oreo Stuffed Chocolate Chip Cookies
FAQs
Yes, you can use double-stuff Oreos if that’s what you have. The cake will be a bit taller, and also sweeter since there is more Oreo cream. I don’t think any of that is a bad thing though!
It might sound like this is a frozen dessert, but it’s not! Keep your Oreo icebox cake in the refrigerator. The only exception is that you can pop it in the freezer for no more than a half-hour if you want it to be easily sliced.
You can make a similar dessert using Cool Whip whipped topping instead of fresh whipped cream. Personally, I like my whipped cream version better! If you want to use Cool Whip, I suggest briefly dipping the Oreos in milk before layering them, since they won’t absorb as much liquid from the whipped topping as they do with the fresh cream.
Two layers of 16 Oreos each fit perfectly in an 8×8 cake pan, so that’s what I recommend using. You can use a 9×9 pan, but you’ll need a few extra Oreos, cut in half, to fill in that space. If you like, you can carefully layer the Oreos and cream on a plate to create a round Oreo Icebox cake too.
Keep a package of Oreos on hand and you’ll be able to make this easy Oreo Icebox cake dessert on short notice! Be sure to Pin the recipe for more people to enjoy too!
Did you make this? Be sure to leave a review below and tag me on Facebook, Instagram, or Pinterest!
Oreo Icebox Cake
Equipment
- 8-inch square pan
- Electric Hand mixer or Stand mixer
Ingredients
- 2 cups (480 ml) heavy whipping cream
- 2 tablespoons powdered sugar
- 1 teaspoon pure vanilla extract
- 32 regular whole Oreo cookies from a one 13.3 ounce (377 g) package
- 3 Oreo cookies crushed
Instructions
- To a bowl of a stand mixer, add heavy cream, powdered sugar, and vanilla extract. Beat until whipped and creamy (be careful not to overwhip).
- In an 8-inch square pan, layer Oreo cookies in one layer. Top with half of the whipped cream, and smooth out with a spatula. Repeat with one more layer.
- Top with crushed Oreos, cover with plastic wrap, and chill in the fridge for at least 4 hours and preferably overnight.
- For clean slices, freeze for 30 minutes before serving. Slice and serve.
Notes:
- You can make this recipe with any flavor of Oreos you want!
- To Store/To Make Ahead: Icebox cake can be kept covered in the fridge for up to 3 days before serving.
- Using gluten-free Oreos can make this a gluten-free icebox cake.
Nutrition Information
This website provides approximate nutrition information for convenience and as a courtesy only. Nutrition data is gathered primarily from the USDA Food Composition Database, whenever available, or otherwise other online calculators.
© Little Sunny Kitchen
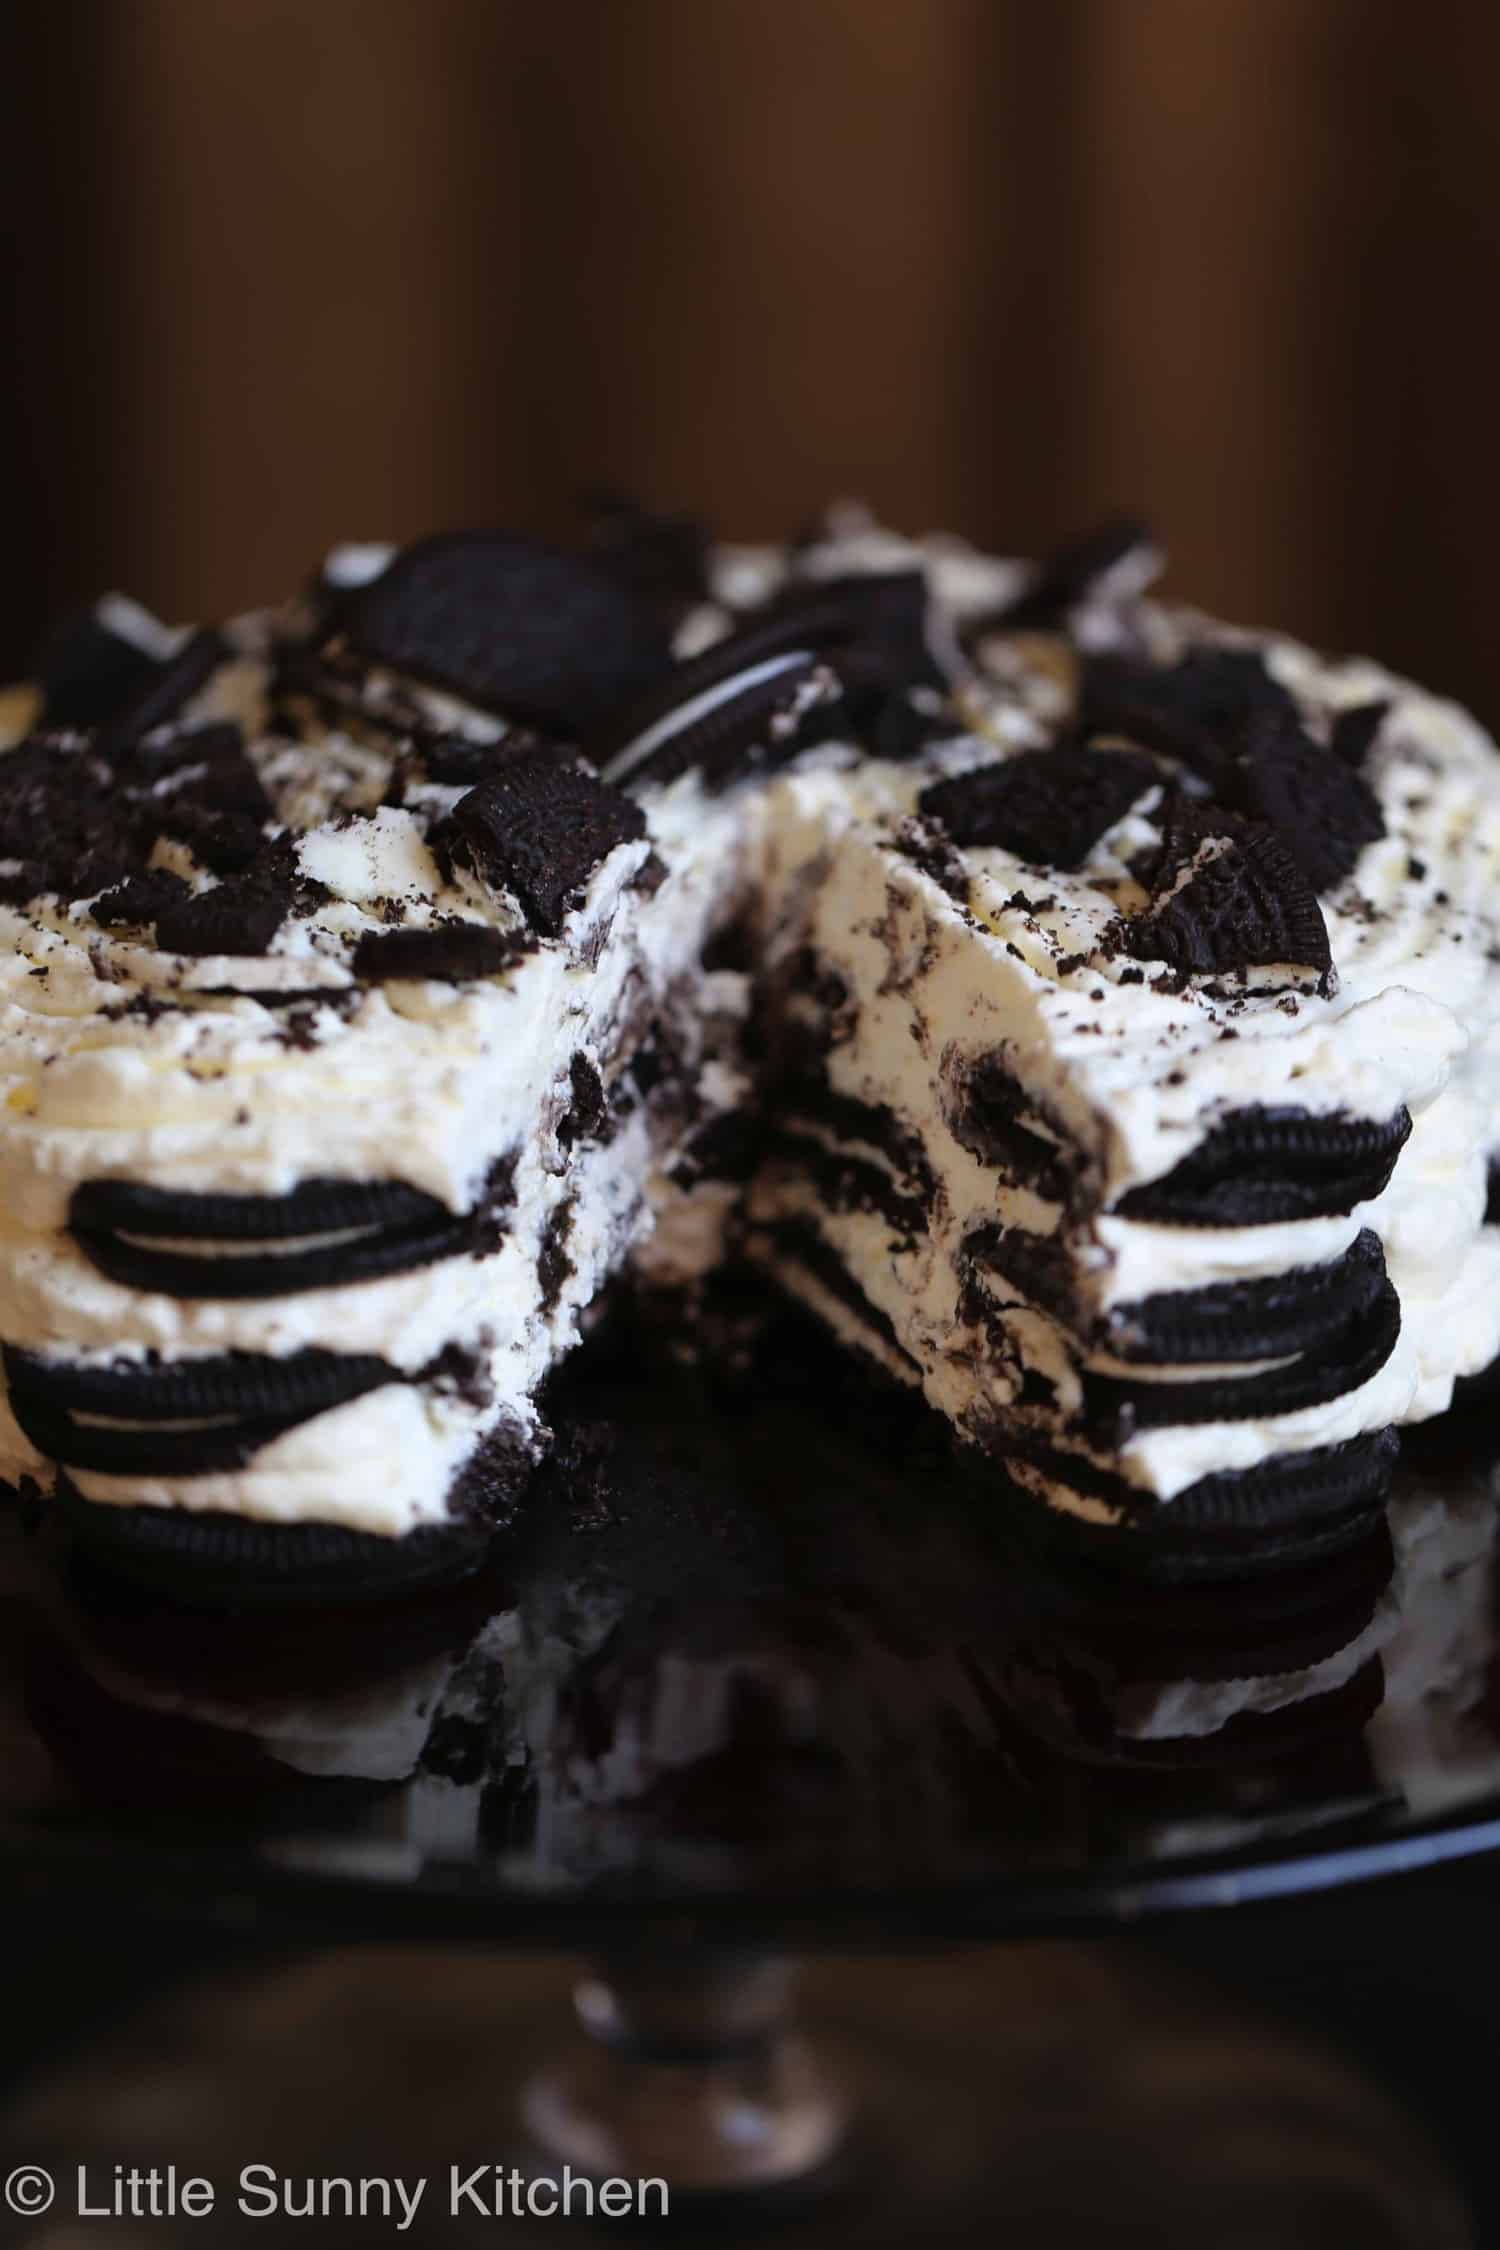
This recipe was first shared on Little Sunny Kitchen in August, 2015. We updated it with new images and improved the recipe in June, 2022. Below is the original image!






Lucy @ BakingQueen74 says
Yum, this looks delicious! What a great idea. Thanks for linking to my,Oreo recipe too.
Andrea @ Made With Pink says
I love stuff like this! So simple, but so delicious. It takes me straight back to my childhood.
Solange of Pebble Soup says
Who would have thought, no bake. Amazing.
Thank you for linking to #InheritanceRecipes and best of luck. Just can’t imagine what weird and wonderful would come out of your kitchen with a cake pans set.
Diana says
Thank you! If I win I will create a special dessert using the cake pans set! 😀
Bintu | Recipes From A Pantry says
What a really fantastically easy and delicious looking recipe.
Jacqueline Meldrum says
Simple but delicious and so, so naughty! Thanks for linking to me.