• Skip to primary navigation
  • Skip to main content
  • Skip to primary sidebar
  • Skip to footer

Little Sunny Kitchen

  • All Recipes
    • Cuisine
      • American
      • Asian
      • Greek
      • Indian
      • Italian
      • Mexican
      • Middle Eastern
      • Russian
    • Meal Type
      • Appetizers
      • Main Dishes
      • Sides
      • Pasta
      • Soups
      • Salads
      • Grilling
      • Beverages
      • Desserts
      • Sauces, Dressings and Seasonings
      • Vegan
  • Dinner
  • Instant Pot
  • Air Fryer Recipes
  • Shop
  • About/Contact
    • About
    • Contact
    • Privacy
go to homepage
Homepage link
  • Recipe Index
  • Dinner
  • Appetizers
  • Instant Pot
  • Air Fryer Recipes
  • Recipe Videos
  • Join our Facebook group
    • Facebook
    • Instagram
    • Pinterest
    • YouTube
  • ×
    Home » Instant Pot » Instant Pot Hibachi Shrimp

    Instant Pot Hibachi Shrimp

    Published on January 22, 2020 | updated on January 23, 2021 by Diana

    Jump to Recipe

    Easy dump and start Instant Pot hibachi shrimp cooked in 0 minutes on low pressure!

    The sauce is made with soy, ginger, garlic, and sesame oil, it’s so tasty so doubling the amount might be a good idea!
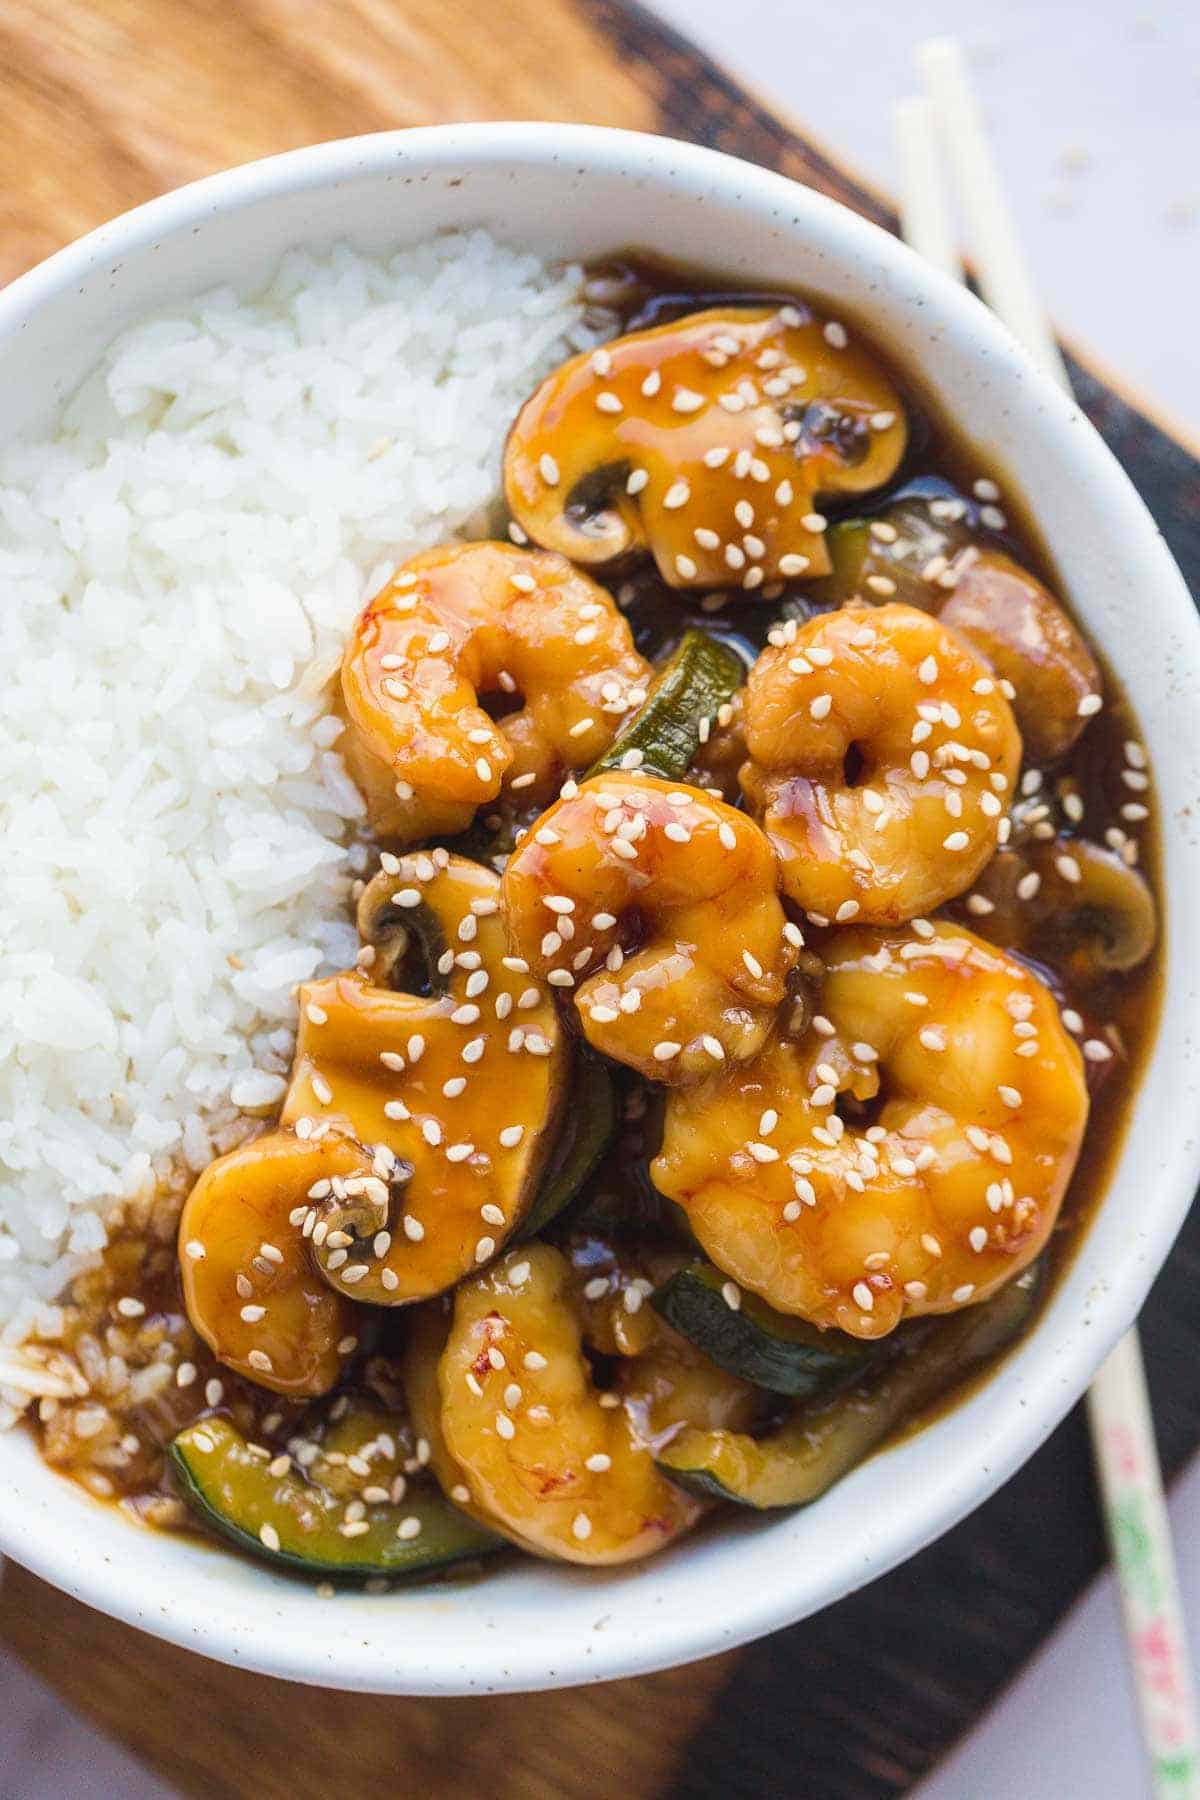
    Shrimp hibachi served with white rice in a bowl

    Our Instant Pot Hibachi recipes are so popular, so it’s about time to share a shrimp version. You guys loved my Instant Pot hibachi steak, as well as the Instant Pot chicken hibachi version, so here I am sharing the shrimp one with you because I know that you will love it!

    Shrimp is cooked in a tasty sauce for 0 minutes on low pressure, which means that the pressure cooker needs to come to pressure and that’s it! Shrimp cooks very quickly, and this will also ensure that the veggies stay a bit firm.
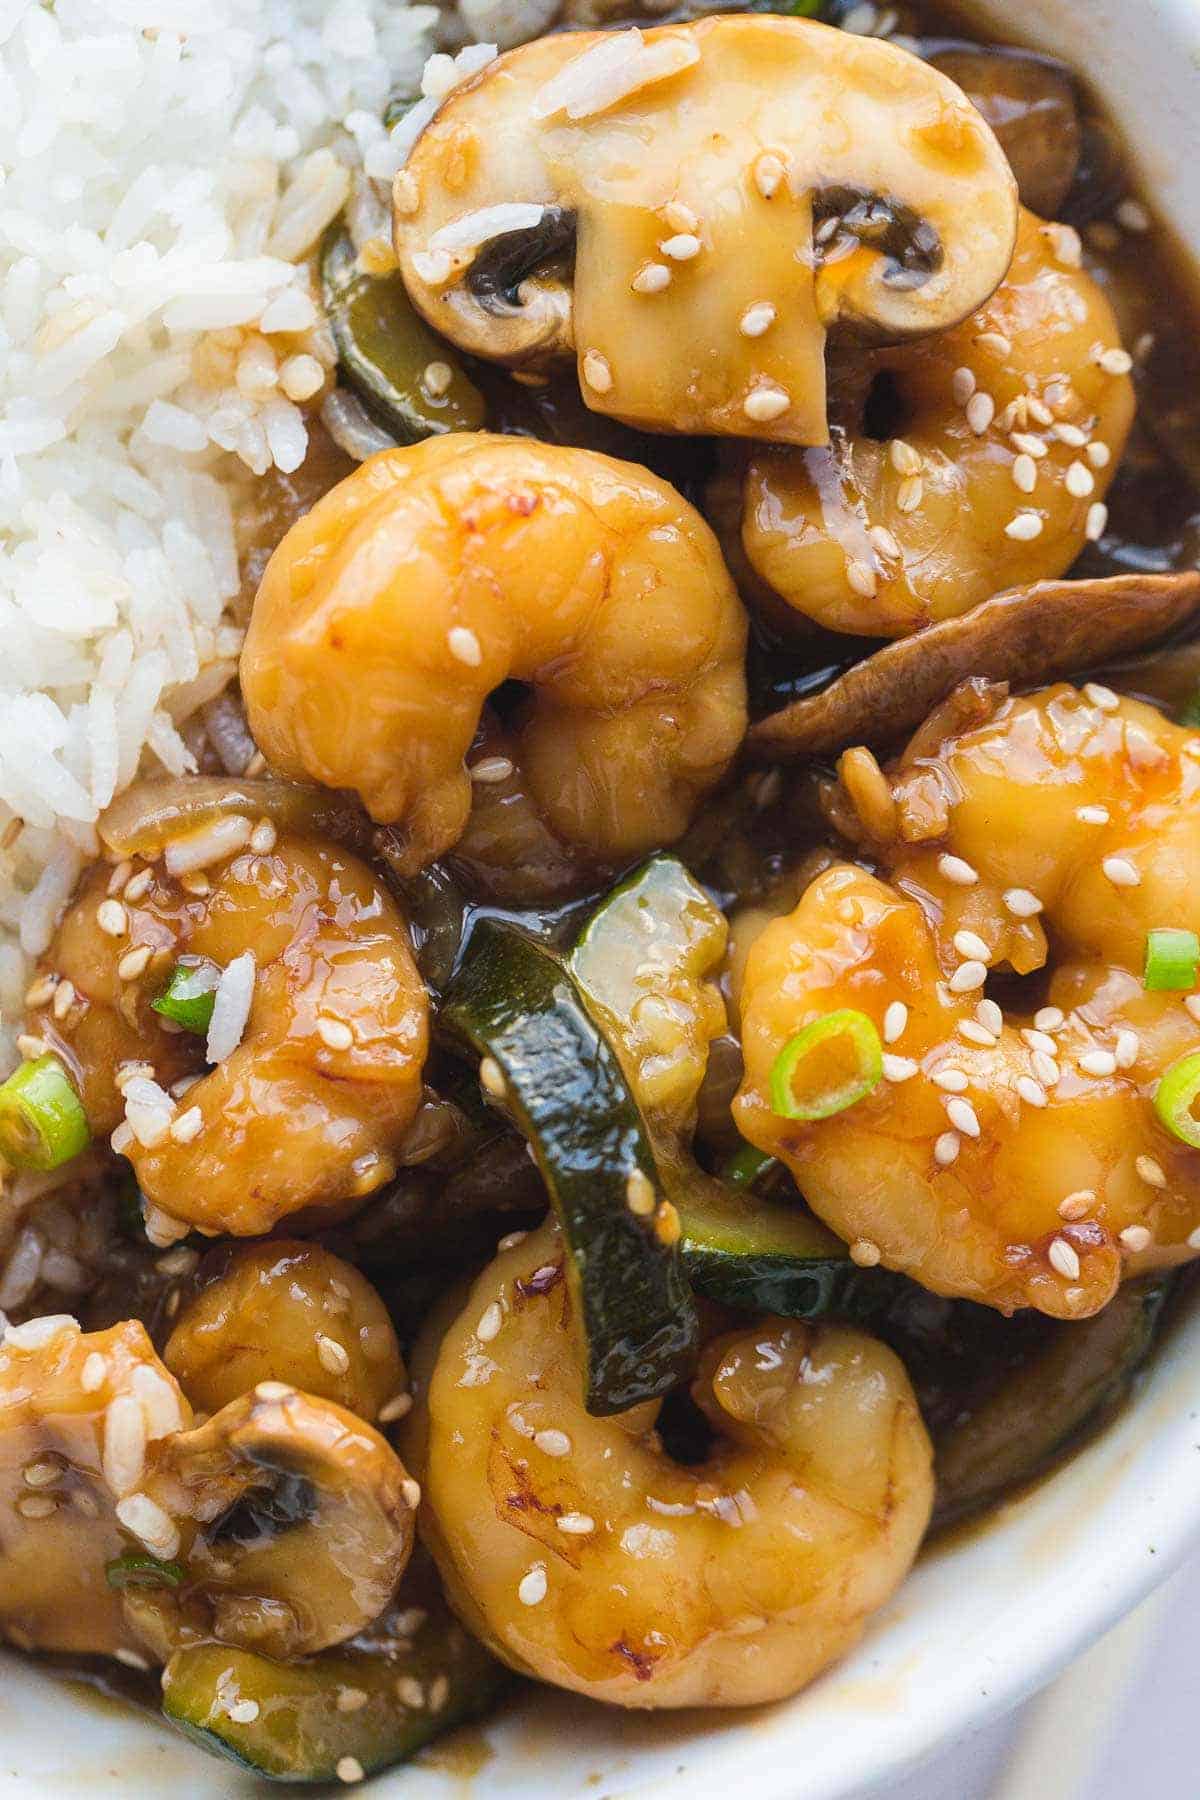
    A close up shot of the shrimp hibachi
    Table of Contents hide
    1 What is Hibachi Cooking?
    2 The Ingredients
    3 How to Make Hibachi Shrimp in the Instant Pot
    4 How to Thicken the Sauce?
    5 Difference Between Using Raw and Frozen Shrimp
    6 Hibachi Sauces
    7 More Great Instant Pot Recipes
    8 Instant Pot Hibachi Shrimp

    What is Hibachi Cooking?

    The word hibachi is Japanese and translates to “Firepit”, it refers to both the grill that is used and to the dish.

    To make a hibachi-style dish, you will need either meat, seafood, or poultry, sliced vegetables (the most common veggies used are onions, mushrooms, and zucchini, soy sauce, and ginger. This dish is usually served with rice and garnished with toasted sesame seeds.
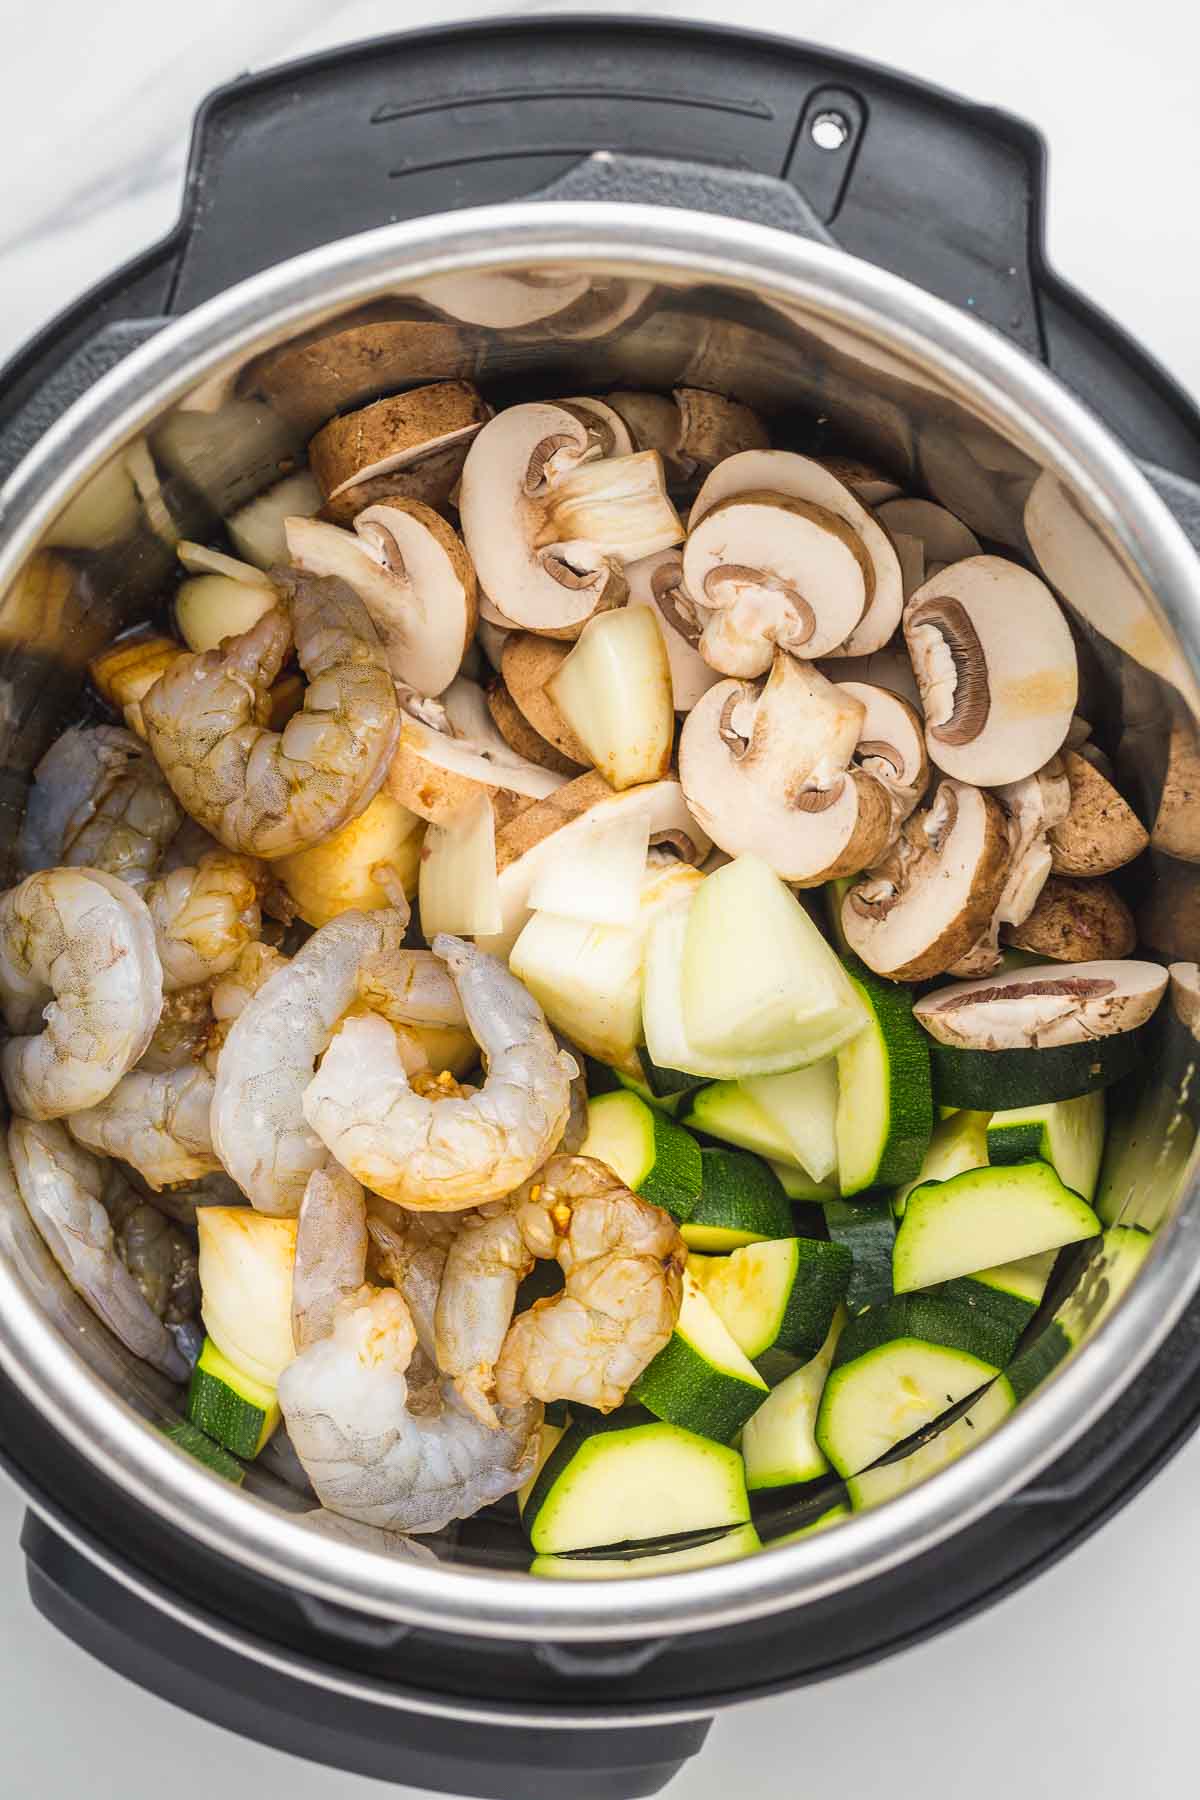
    The ingredients in the Instant Pot. Raw thawed shrimp, sliced zucchini, onion, mushrooms.

    The Ingredients

    • Shrimp – use raw, thawed shrimp. Preferably jumbo shrimp.
    • Mushroom, zucchini, and onion.
    • Ginger and garlic – I prefer to use fresh garlic and ginger for better flavor. If you don’t have fresh ginger, substitute with ⅓ teaspoon of ground ginger.
    • Soy sauce – use low-sodium soy sauce as otherwise, your dish might turn out too salty.
    • Vinegar – I use rice wine vinegar. Substitute with apple cider vinegar.
    • Sugar – you can use granulated sugar, brown sugar, honey, or maple syrup.
    • White pepper – substitute with ground black pepper.
    • Sesame oil and toasted sesame seeds.

    Complete list of ingredients and amounts can be found in the recipe card below.
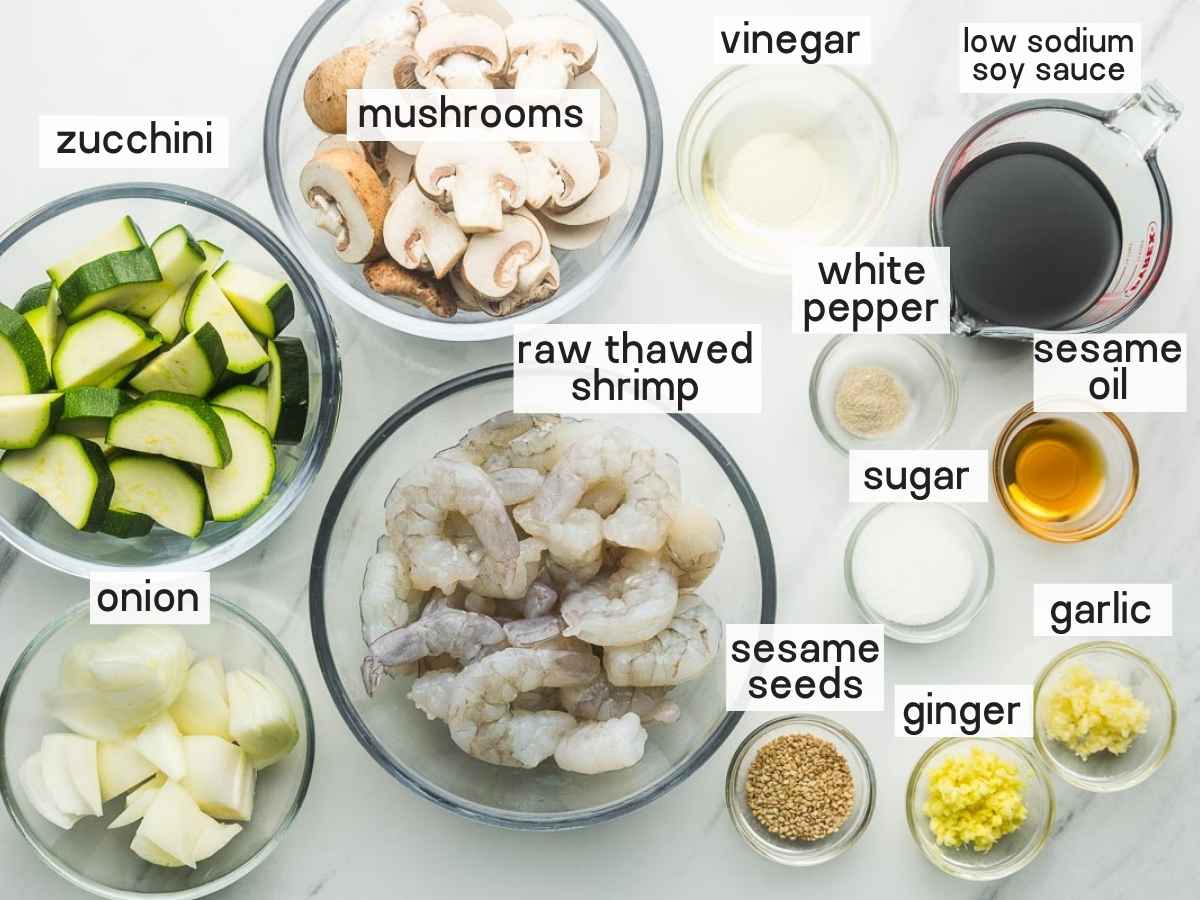
    Ingredients needed to make Instant Pot Hibachi Shrimp

    How to Make Hibachi Shrimp in the Instant Pot

    • Start by slicing the onion, the zucchini, and the mushrooms. Make sure that the slices are quite thick, otherwise, the veggies can become mushy.
    • As you prep the veggies and cook this in the Instant Pot, cook the rice over the stovetop or in another Instant Pot so that it’s ready at the same time as the hibachi shrimp. I usually make Instant Pot white rice (so easy and perfect every time!).
    • Add the sauce ingredients to the bottom of the pot, followed by the veggies and the shrimp, and give everything a quick mix.
    • Cover with the lid, seal the vent and cook on low pressure for 0 minutes.
    • Once the cooking is finished, quickly release the steam and carefully remove the lid.
    • Thicken the sauce (read below).
    • Serve with Instant pot rice and yum yum sauce!
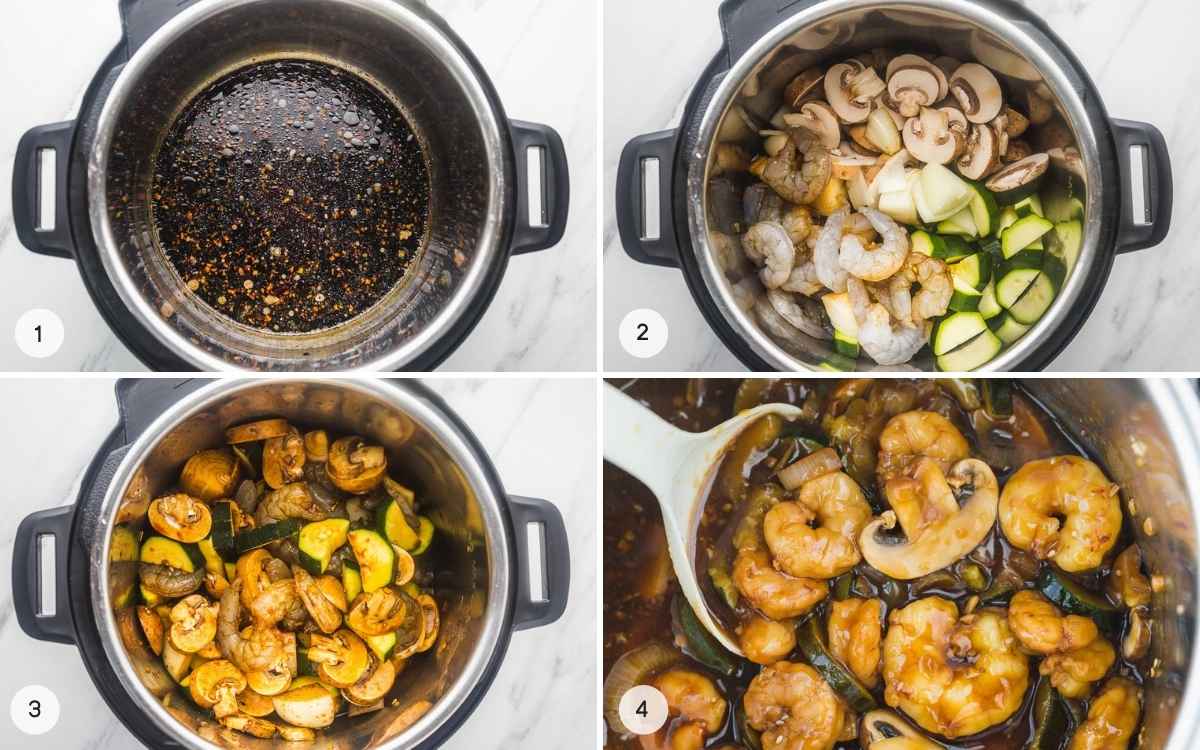
    A collage with 4 images on how to cook hibachi shrimp in the Instant Pot

    How to Thicken the Sauce?

    You have 2 choices, you either take the veggies out of the pot, or leave them in. Note, that the veggies might become quite soft if cooked for longer.

    Add cornstarch slurry which is 1 tablespoon of cornstarch mixed with 1 tablespoon of water (room temperature).

    Press on SAUTE mode on the Instant Pot, and add in the slurry. Mix with a wooden spoon as the mixture simmers, and the sauce will be thickened. If for some reason the sauce is not thick enough, add one more 1 tablespoon of slurry and cook for 1 more minute.

    Serve over white rice, garnish with chopped green onion or parsley and sesame seeds.
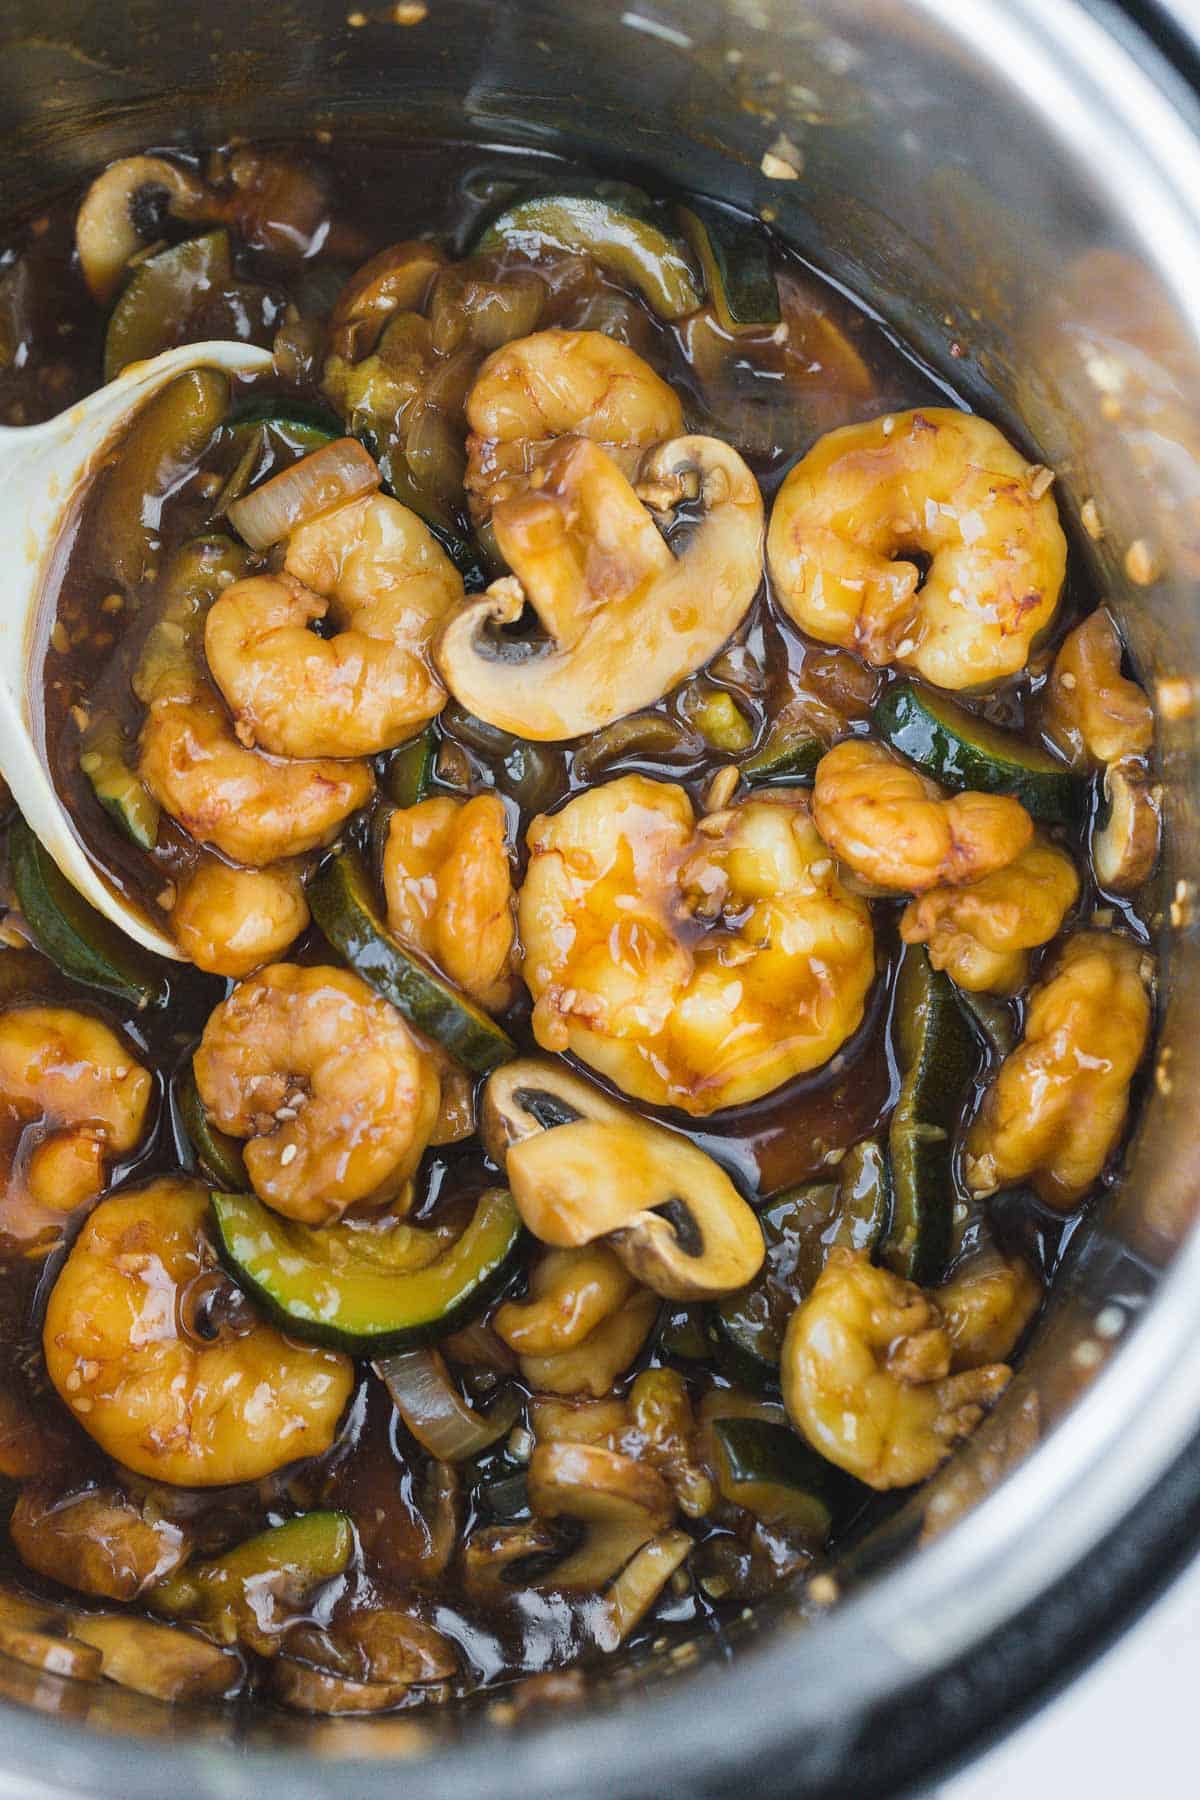
    Shrimp hibachi cooked in the instant pot photographed with a serving spoon

    Difference Between Using Raw and Frozen Shrimp

    When you use frozen shrimp, the Instant Pot will take longer to come to pressure. In that case, the zucchini might be overcooked and become a bit mushy. If you don’t mind that then just add all of the ingredients at once and follow the instructions in the recipe card below.

    If you like your veg a bit firm, then add it in after pressure cooking and cover with the lid to let it steam for a few minutes before serving.
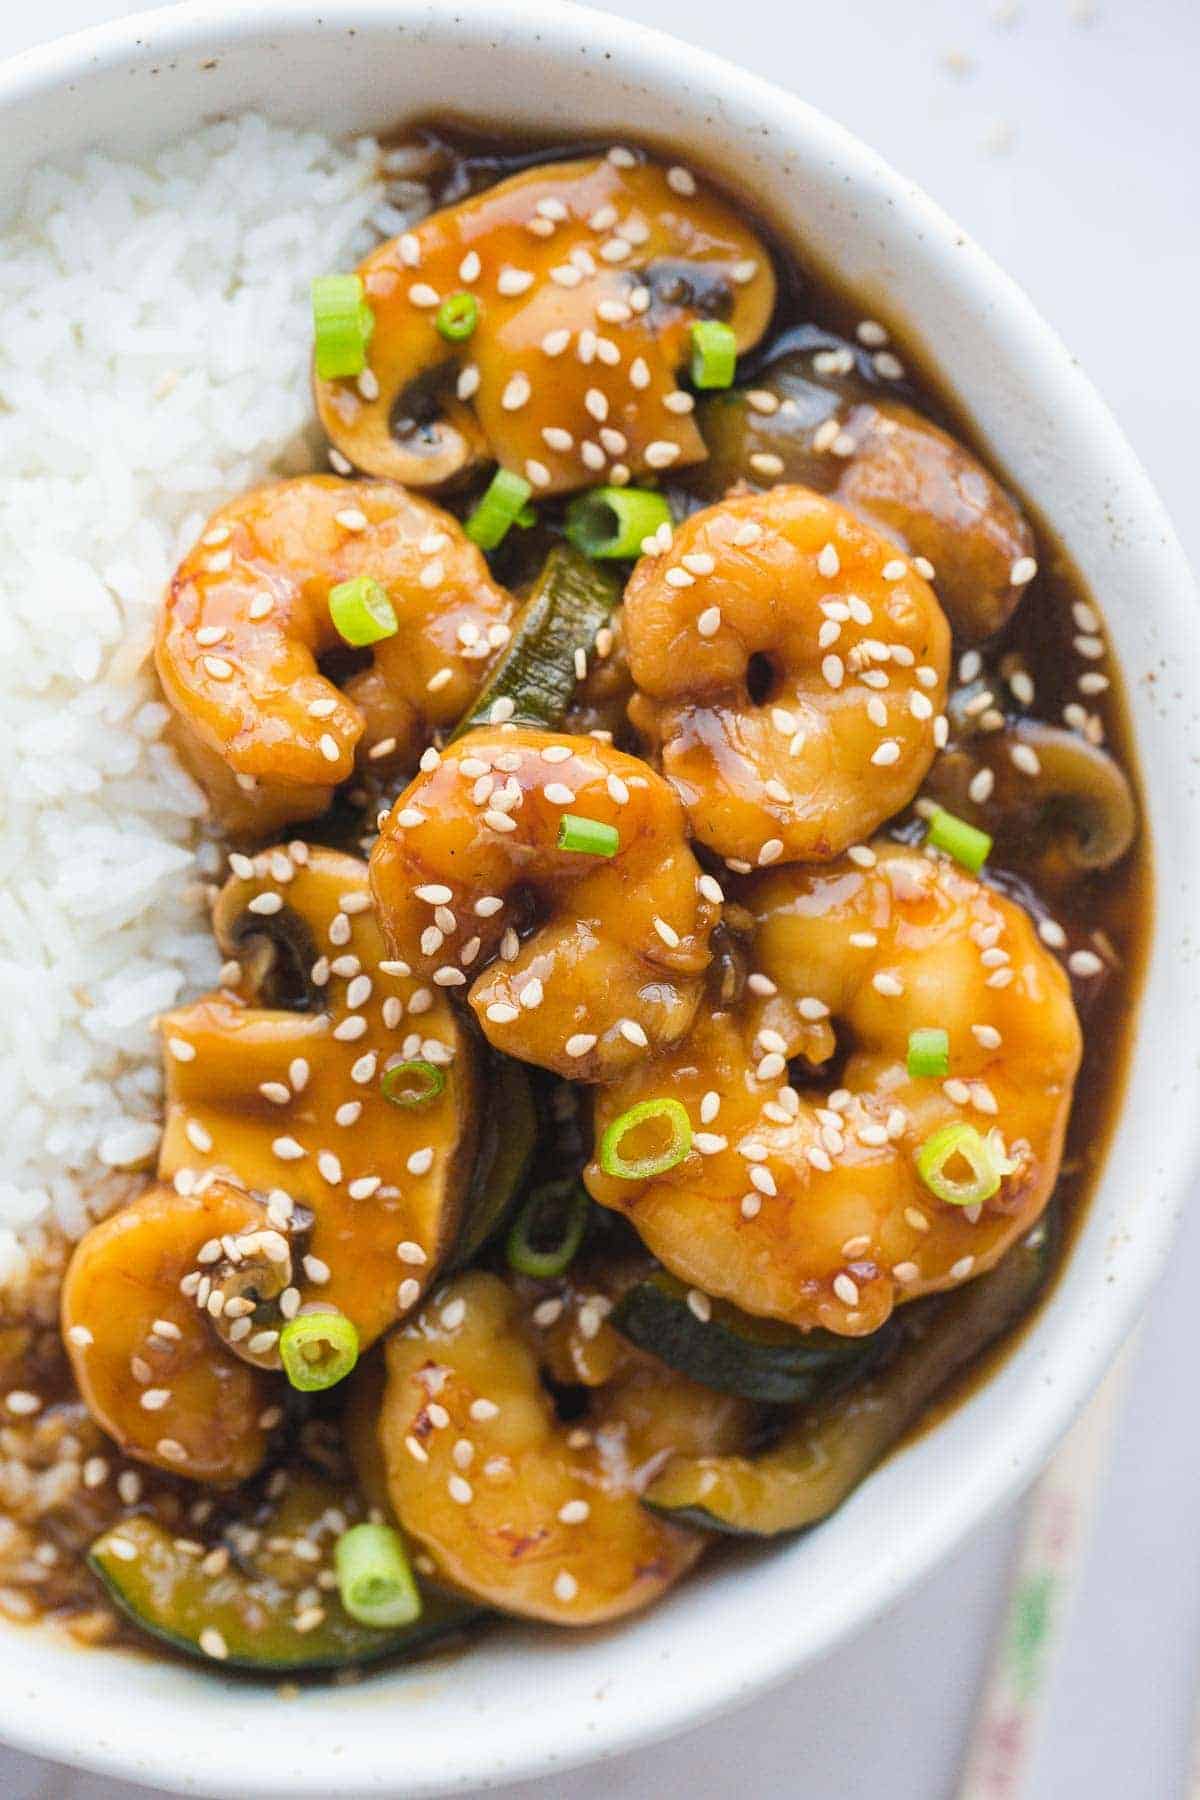
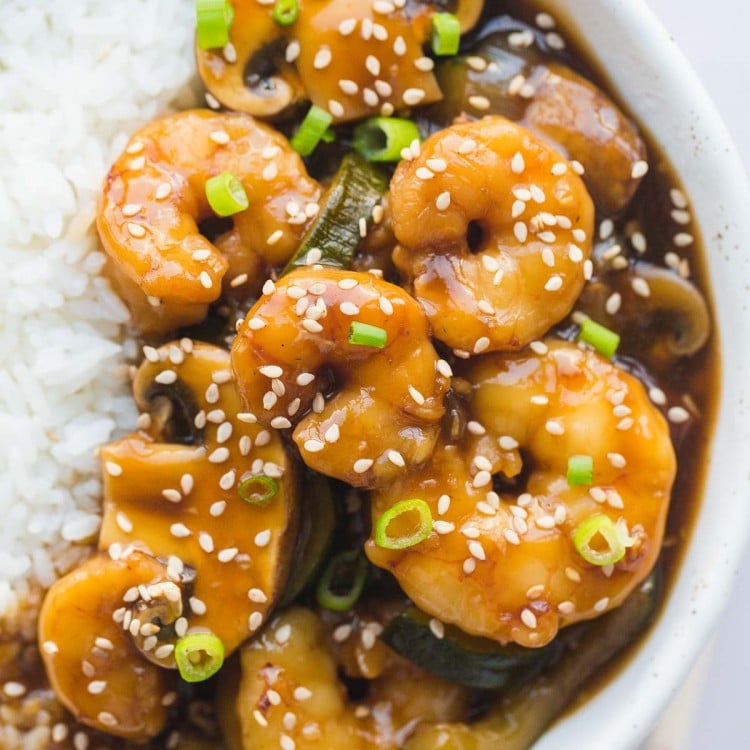
    A close up of the shrimp hibachi dish, garnished with sesame seeds and chopped green onion

    Hibachi Sauces

    If you’ve been to a Japanese steakhouse before, you probably already know and love these sauces:
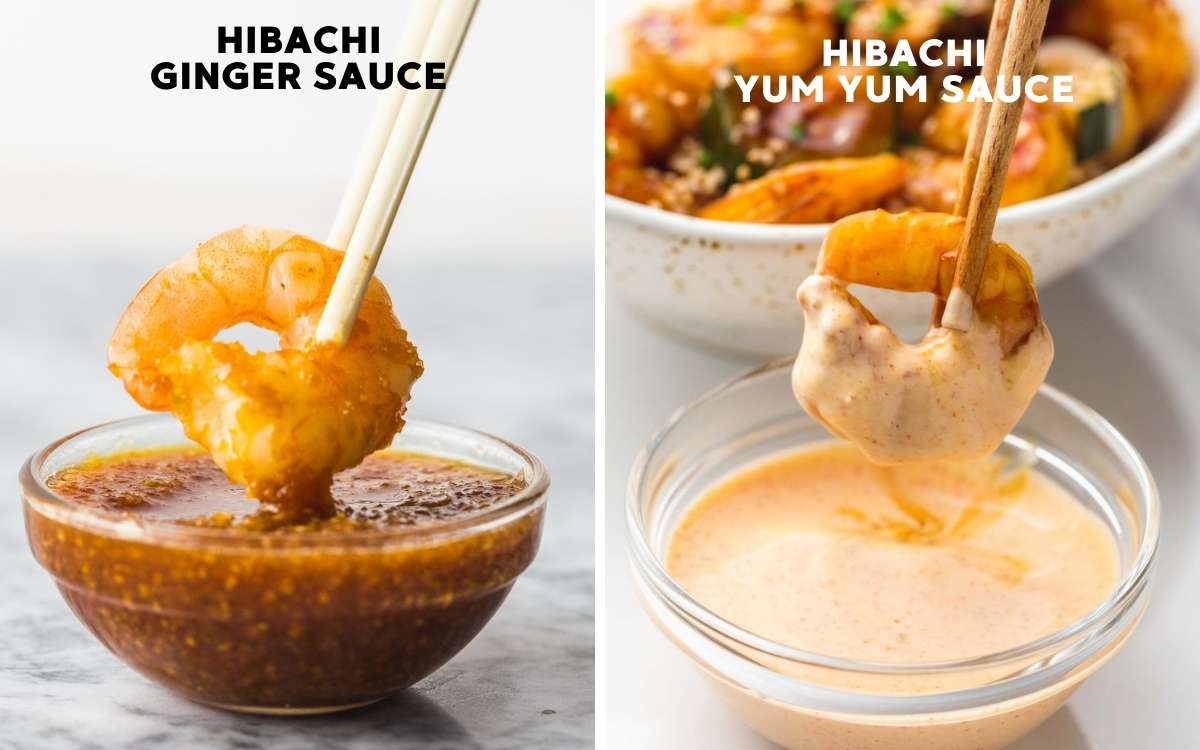
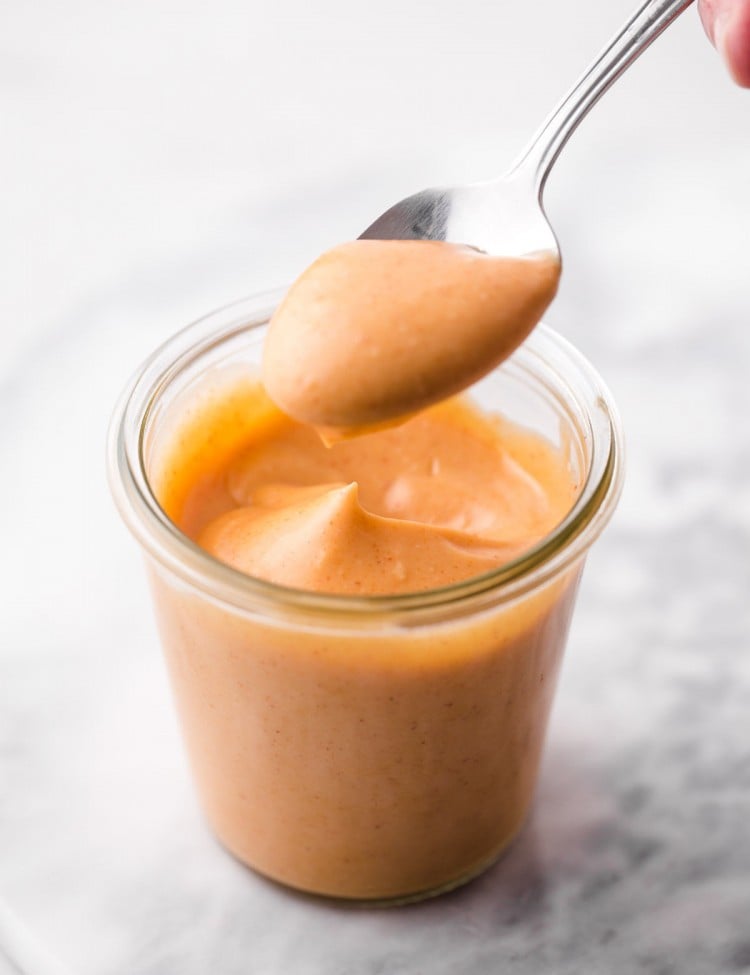
    • Yum yum sauce
    • Ginger sauce
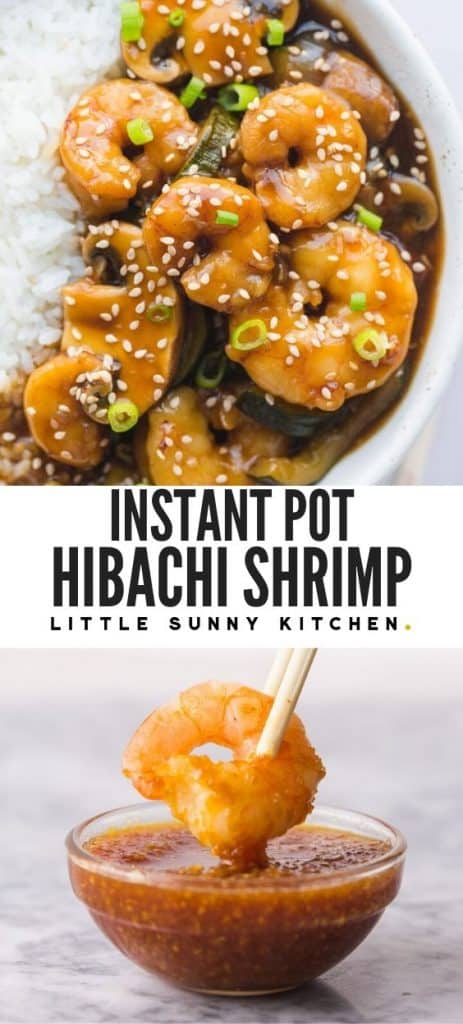
    Dipping hibachi shrimp in yum yum sauce and ginger sauce

    More Great Instant Pot Recipes

    • Instant Pot chicken and shrimp Rasta Pasta
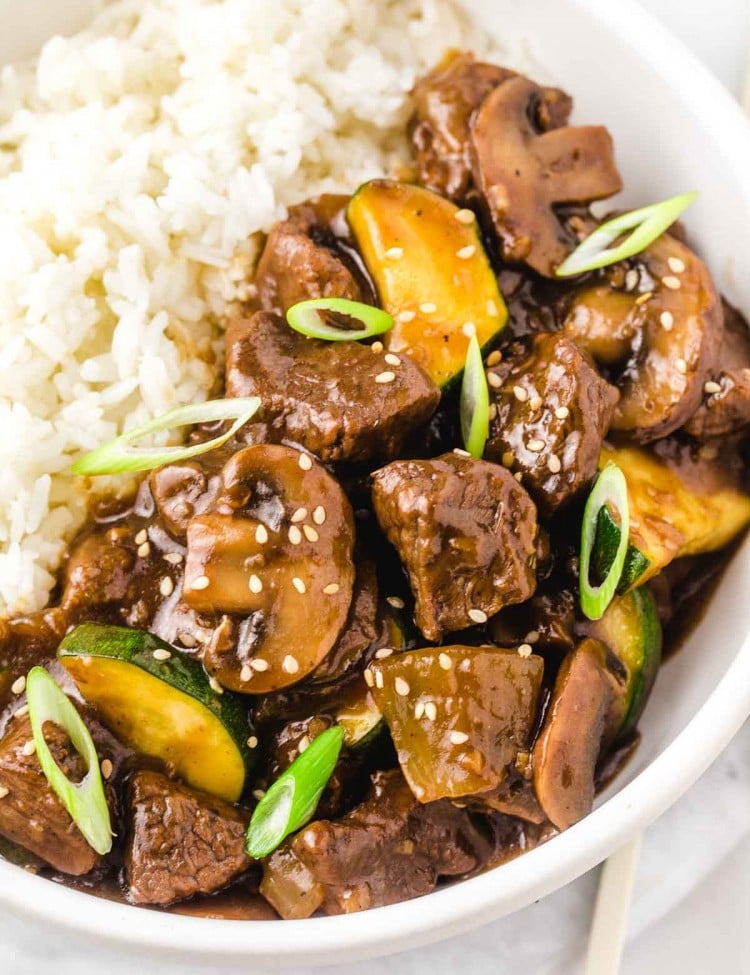
    • Instant Pot hibachi steak
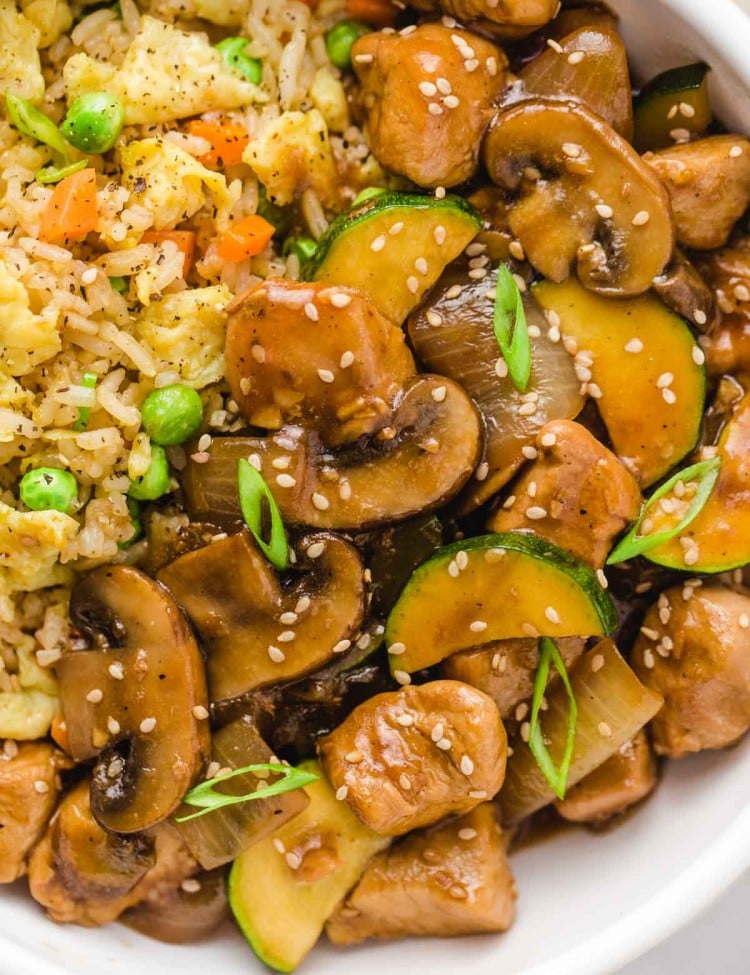
    • Instant Pot hibachi chicken
    • Instant Pot beef and broccoli
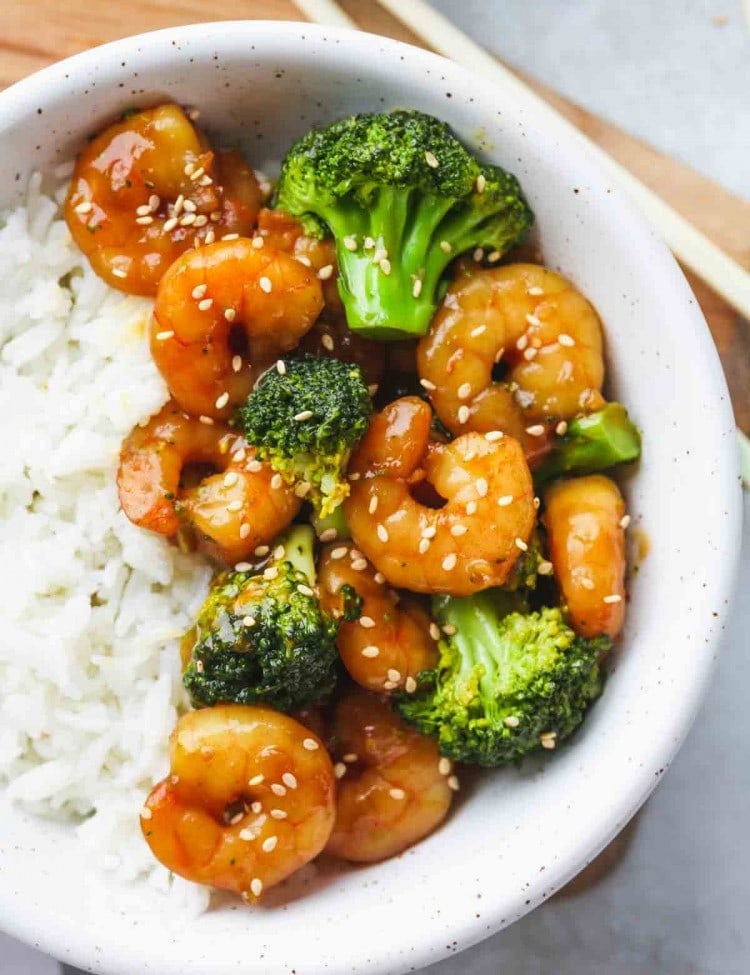
    • Instant Pot shrimp and broccoli
    • Instant Pot sesame chicken
    • Instant Pot cube steak and potatoes
    • Or check out my Instant Pot recipe collection!

    Join our private Instant Pot and Air Fryer Facebook group where we share exclusive recipes, and answer all of your IP and AF questions! We hope to see you there!

    Instant Pot and Air Fryer Recipes and Hacks
    Private group · 15,000+ members
    Join Group
    Welcome to the Instant Pot and Air Fryer recipes and hacks group! In this group we share great and some exclusive recipes that you can make in your In…

    Subscribe to my Newsletter, and follow me on Facebook, Instagram, and Pinterest for more tasty recipes!

    I don’t feel like I say this often enough, or that I could ever thank you enough. But THANK YOU for all of your support, for visiting my blog, commenting, and sharing my recipes with your friends and family. I am SO thankful for you!

    If you make this recipe or any of my recipes, then don’t forget to rate it and leave a comment below. I would LOVE to hear about your experience and your comments just make my day!

    I hope that you love every recipe that you make! – Diana x

    Instant Pot Hibachi Shrimp

    Easy dump and start Instant Pot hibachi shrimp cooked in 0 minutes on low pressure! The sauce is made with soy, ginger, garlic, and sesame oil, it's so tasty so doubling the amount might be a good idea!
    4.99 from 53 votes
    Print Pin Rate
    Course: Main Course
    Cuisine: American, Japanese
    Prep Time: 10 minutes
    Cook Time: 10 minutes
    Total Time: 20 minutes
    Servings: 4
    Calories: 244kcal
    Author: Diana

    Ingredients

    For the sauce:

    • ¼ cup low sodium soy sauce
    • ¼ cup water
    • 2 tablespoons rice vinegar or apple cider vinegar
    • 1 tablespoon fresh ginger grated
    • 1 tablespoon garlic minced (about 2 cloves)
    • 1 tablespoon granulated sugar or honey or maple syrup
    • 1 teaspoon toasted sesame oil
    • ¼ teaspoon ground white pepper or ground black pepper

    For the shrimp and vegetables:

    • 24 oz (680g) thawed raw shrimp
    • 1 zucchini sliced in ¼-inch rounds then halved
    • 1 yellow onion quartered into wedges then halved
    • 6 mushrooms sliced in ¼-inch slices

    To Garnish:

    • green onion, chives, or parsley chopped
    • toasted sesame seeds

    For the cornstarch slurry

    • 1 tablespoon cornstarch use more if needed
    • 1 tablespoon water

    Instructions

    • Add the sauce ingredients to the Instant Pot. Soy sauce, water, rice wine vinegar, ginger, garlic, sugar, sesame oil, and white or black pepper.
    • Then add the shrimp, onion, zucchini, mushrooms.
    • Cover with the lid, make sure that the valve is in sealing position. Press on manual or pressure cook, and cook on LOW for 0 minutes. When the cooking is finished, quickly release the steam and carefully remove the lid. (If the sauce is not thick enough, then remove the vegetables or leave them in, and add the slurry which is 1 tablespoon of cornstarch mixed with 1 tablespoon of water, and cook on saute for 1 minute, then return the veggies after the sauce is thickened).
    • Serve over rice and garnish with toasted sesame seeds and chopped green onion or parsley.

    Video

    Notes

    • It’s important to use low-sodium soy sauce.
    • It is best to use raw thawed shrimp for best results.
    • Make sure that you slice the zucchini and mushrooms into thick slices (¼-inch slices), as otherwise, they will become mushy. If you prefer a firmer texture, then cook them separately in a pan and add them to the shrimp and sauce at the end.
    • Initially, the recipe called for half a cup of low-sodium soy sauce, but we decided to change this to just fourth a cup after we received feedback that the sauce turned out too salty.

    Nutrition

    Calories: 244kcal | Carbohydrates: 12g | Protein: 42g | Fat: 3g | Saturated Fat: 1g | Cholesterol: 447mg | Sodium: 3008mg | Potassium: 634mg | Fiber: 2g | Sugar: 8g | Vitamin A: 196IU | Vitamin C: 27mg | Calcium: 293mg | Iron: 5mg
    Did you make a recipe?Tag @littlesunnykitchen or hashtag it #littlesunnykitchen!

    As an Amazon Associate and member of other affiliate programs, I earn from qualifying purchases.

    Previous Post: « Creamy Tomato Bisque (with grilled cheese croutons!)
    Next Post: Air Fryer Chicken Drumsticks »

    Reader Interactions

      Leave a Review or Question

      Type your question or comment below, and click Post Comment. You'll see it on this page after we review it.

      Cancel reply

      Your email address will not be published. Required fields are marked *

      Cooked this? Rate this recipe!


    1. Ann

      January 05, 2021 at 12:56 am

      5 stars
      Used raw thawed shrimp and it turned out amazing! 5-star recipe!

      Reply
    2. Bud

      January 04, 2021 at 9:53 pm

      Um…cook for 0 minutes? How does that work?

      Reply
      • Diana

        January 05, 2021 at 2:05 am

        You set the timer to “0” minutes, which means that the Instant Pot will come to pressure and that’s it. Enjoy!

        Reply
    3. Nina Barrett

      January 04, 2021 at 8:56 pm

      How do you cook for 0 minutes….I am new to instapot

      Reply
      • Diana

        January 05, 2021 at 2:05 am

        You set the timer to “0” minutes, which means that the Instant Pot will come to pressure and that’s it. Enjoy!

        Reply
    4. Emily

      December 30, 2020 at 3:54 pm

      4 stars
      I think I’ll have to use frozen shrimp if I try this again, I used thawed and they came out a bit over cooked. I also didn’t have any zucchini so I threw in some sugar snap peas I had and those also ended up a bit mushy so I’ll have to try the zucchini next time!

      Reply
    5. Kim

      December 14, 2020 at 10:13 pm

      Cook on High for 0 minutes??

      Reply
    6. Arin

      December 13, 2020 at 2:17 pm

      5 stars
      So delicious the sauce is amazing. Do not get a generic store brand of soy sauce; definitely get Kikomon. I did half Kikomon and half liquid Ameno.
      I used my slicer and did thin slices of carrots, shallots, yellow onion and zucchini.
      I also browned some bay scallops and added it in. Next time I will add bok choy and cooked chicken.
      I’m definitely keeping this recipe as my basic starter for hibachi!!

      Reply
    7. Nancy

      December 09, 2020 at 2:35 am

      5 stars
      Made this tonight and my family loved it. Easy ingredients and great flavor. I served it over Thai noodles

      Reply
    8. Patricia

      December 02, 2020 at 11:51 pm

      5 stars
      I made this last night and it was delicious! Next time I make it I will make Coconut rice to go with I used frozen shrimp 🍤

      Reply
    9. Kelly D.

      December 02, 2020 at 11:38 pm

      5 stars
      I made this tonight for dinner. I used Costco’s frozen stir fry blend as my veggies. It was super easy and my family loved it! This will be one of my new “go to” recipes on a busy night! 🙂

      Reply
    10. Alicia Jaramillo

      December 01, 2020 at 7:28 pm

      My shrimp is frozen, do I need to thaw it first or do I cook the frozen shrimp on 0 minutes as well.

      Reply
      • Diana

        December 01, 2020 at 8:06 pm

        Cook for 0 minutes without thawing. Enjoy!

        Reply
      • Patricia

        December 02, 2020 at 11:53 pm

        I used frozen shrimp for 0 minutes and it was perfect

        Reply
    « Previous Page 1 2 3 4 5 6 Next Page »

    Primary Sidebar

    Connect with me!

    • Facebook
    • Instagram
    • Pinterest
    • RSS
    • Twitter
    • YouTube

    Join our Facebook Group »

    Hello and welcome to Little Sunny Kitchen! I'm Diana and I love cooking with fresh, and seasonal ingredients. I'm a trained chef, food blogger, and photographer. More about me!

    Dinner Tonight

    Homemade Hamburger Helper (Stovetop, Instant Pot)

    Air Fryer Shrimp Fajitas Recipe

    Egg Roll in a Bowl

    Cheesy Chicken Fajita Casserole

    Most Popular

    Chocolate Macarons

    Penne Arrabbiata

    French Fry Seasoning

    Alfredo Sauce Recipe

    Crispy Oven Baked Chicken Tenders

    Chicken Caesar Wrap

    Best Coleslaw Recipe

    Air Fryer Chicken Breast

    Footer

    Copyright © 2021 Little Sunny Kitchen

    We use cookies on our website to give you the most relevant experience by remembering your preferences and repeat visits. By clicking “Accept”, you consent to the use of ALL the cookies.
    Cookie settingsACCEPT
    Manage consent

    Privacy Overview

    This website uses cookies to improve your experience while you navigate through the website. Out of these, the cookies that are categorized as necessary are stored on your browser as they are essential for the working of basic functionalities of the website. We also use third-party cookies that help us analyze and understand how you use this website. These cookies will be stored in your browser only with your consent. You also have the option to opt-out of these cookies. But opting out of some of these cookies may affect your browsing experience.
    Necessary
    Always Enabled

    Necessary cookies are absolutely essential for the website to function properly. These cookies ensure basic functionalities and security features of the website, anonymously.

    CookieDurationDescription
    cookielawinfo-checbox-analytics11 monthsThis cookie is set by GDPR Cookie Consent plugin. The cookie is used to store the user consent for the cookies in the category "Analytics".
    cookielawinfo-checbox-functional11 monthsThe cookie is set by GDPR cookie consent to record the user consent for the cookies in the category "Functional".
    cookielawinfo-checbox-others11 monthsThis cookie is set by GDPR Cookie Consent plugin. The cookie is used to store the user consent for the cookies in the category "Other.
    cookielawinfo-checkbox-necessary11 monthsThis cookie is set by GDPR Cookie Consent plugin. The cookies is used to store the user consent for the cookies in the category "Necessary".
    cookielawinfo-checkbox-performance11 monthsThis cookie is set by GDPR Cookie Consent plugin. The cookie is used to store the user consent for the cookies in the category "Performance".
    viewed_cookie_policy11 monthsThe cookie is set by the GDPR Cookie Consent plugin and is used to store whether or not user has consented to the use of cookies. It does not store any personal data.

    Functional

    Functional cookies help to perform certain functionalities like sharing the content of the website on social media platforms, collect feedbacks, and other third-party features.

    Performance

    Performance cookies are used to understand and analyze the key performance indexes of the website which helps in delivering a better user experience for the visitors.

    Analytics

    Analytical cookies are used to understand how visitors interact with the website. These cookies help provide information on metrics the number of visitors, bounce rate, traffic source, etc.

    Advertisement

    Advertisement cookies are used to provide visitors with relevant ads and marketing campaigns. These cookies track visitors across websites and collect information to provide customized ads.

    Others

    Other uncategorized cookies are those that are being analyzed and have not been classified into a category as yet.

    SAVE & ACCEPT