
Easy 2-ingredient yogurt flatbreads that are ready in a pinch! They’re soft, pliable, and can be made in a pan over the stovetop or grilled on an outdoor grill. Yogurt adds a pleasant flavor to the bread, and you’re going to love it.
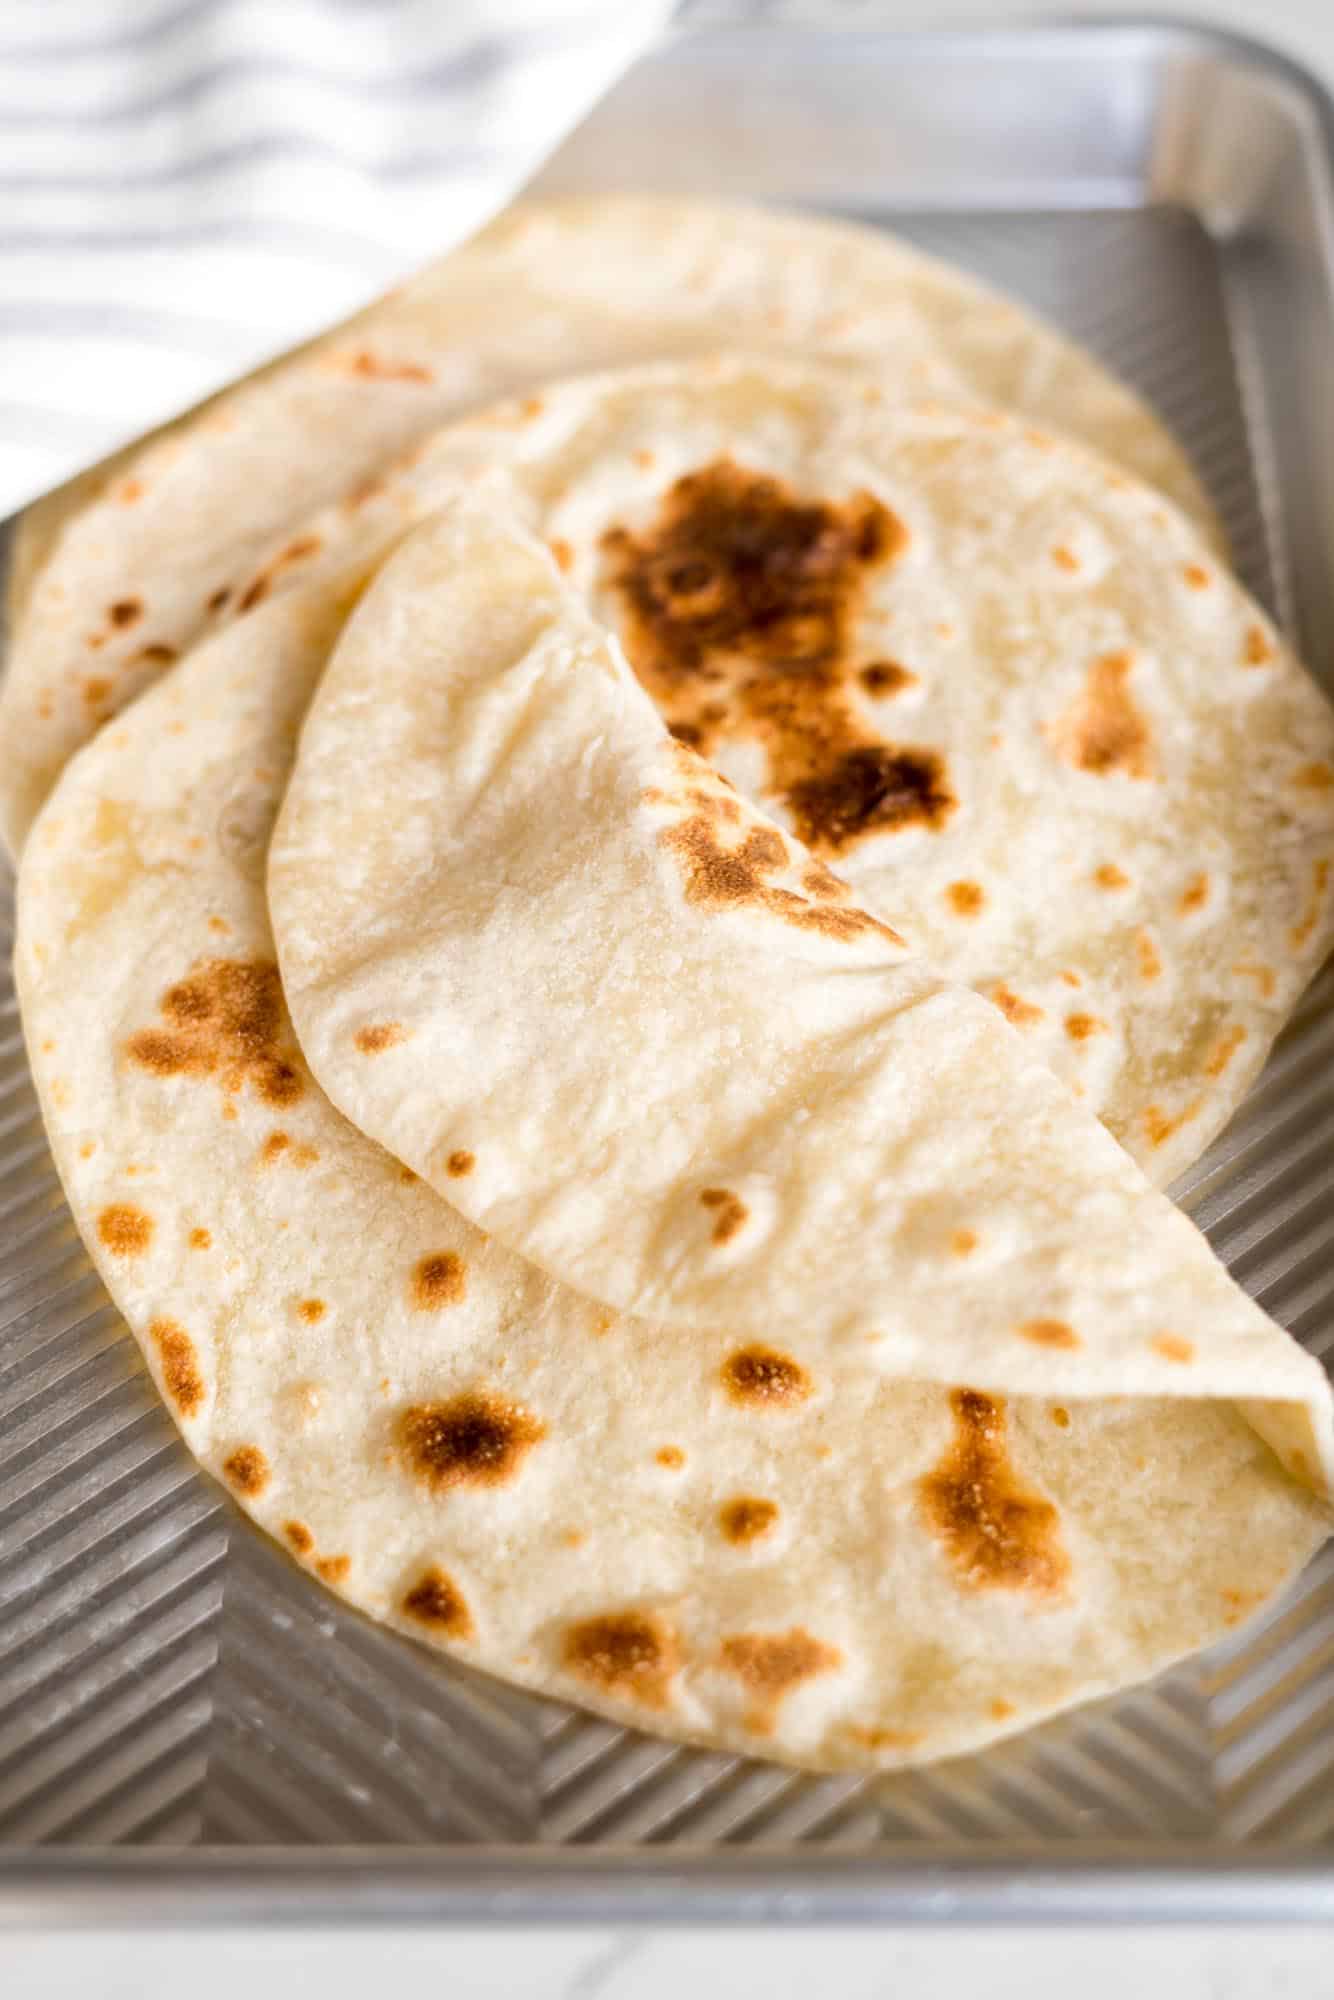
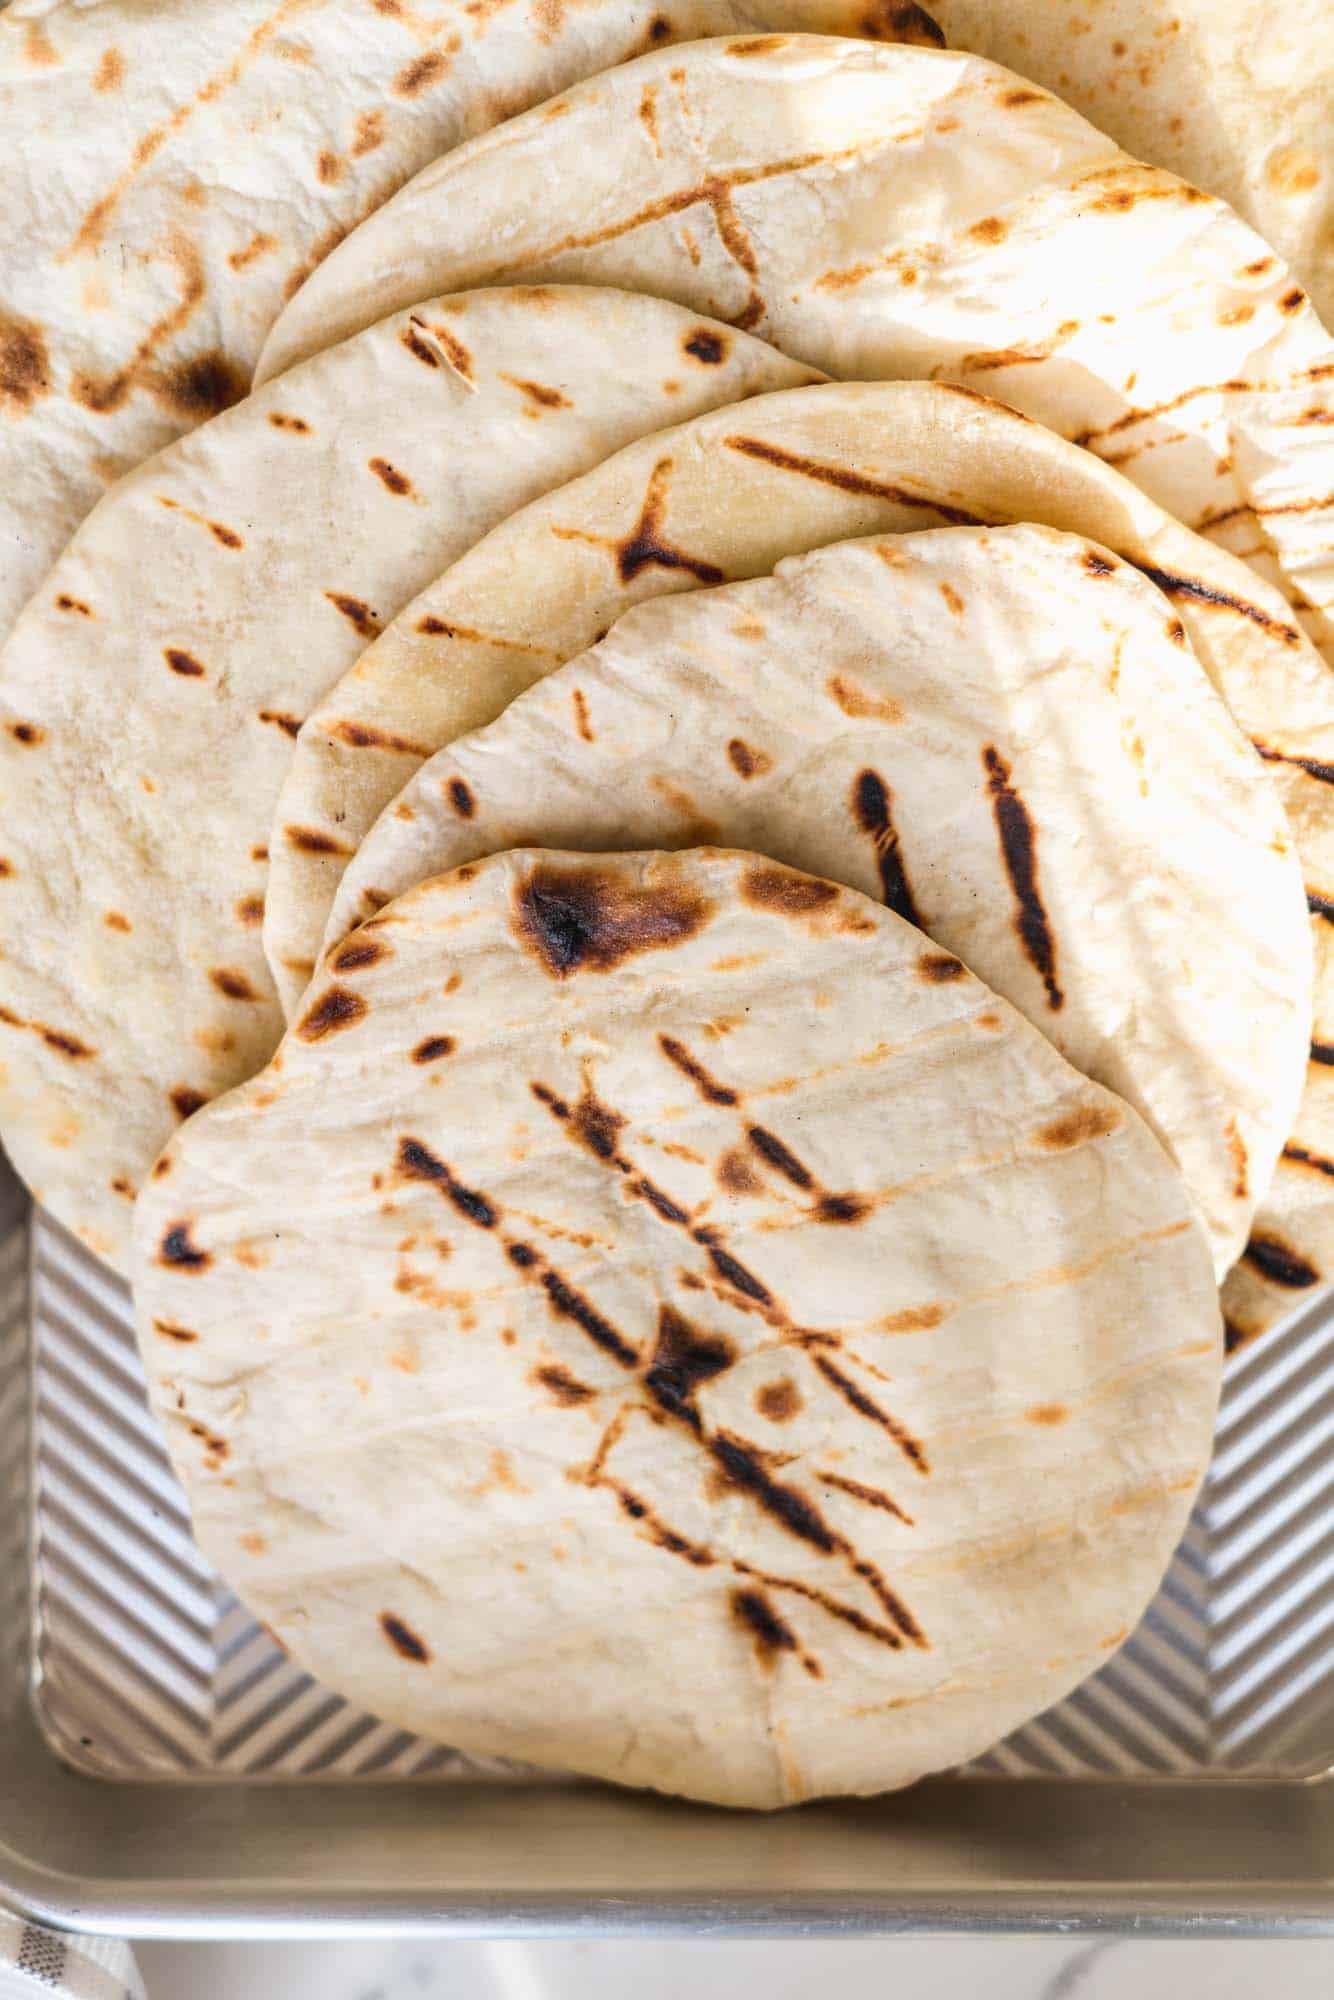
Making yogurt flatbread is easy and only requires two simple ingredients, all purpose flour, and yogurt! You can make them on a pan or on the grill, the result is tender flatbreads that you can serve with your favorite foods such as grilled chicken, dips, use for wraps, or in salads. This recipe is very versatile and can be used for a variety of dishes and flavored in different ways.

Brilliant and easy, store well in the freezer, my new go to for flat breads, thank you
David
Why You’ll Love This Recipe
- You only need 2 ingredients! Flour and yogurt are staples that can be found in any kitchen. So these flatbreads are perfect to make on days when you run out of bread and need something quick!
- No rising time. These flatbreads come together so quickly, you don’t need to wait for the dough to rise. Just mix the ingredients, knead or mix for a few minutes until the dough comes together, and you’re ready to bake!
- Versatile. You can use these flatbreads to make wraps, top with your favorite toppings, or serve as a side dish with your meals or with Middle Eastern dips.
The Ingredients
Here’s what you’ll need to make these flatbreads:
Complete list of ingredients and amounts can be found in the recipe card below.
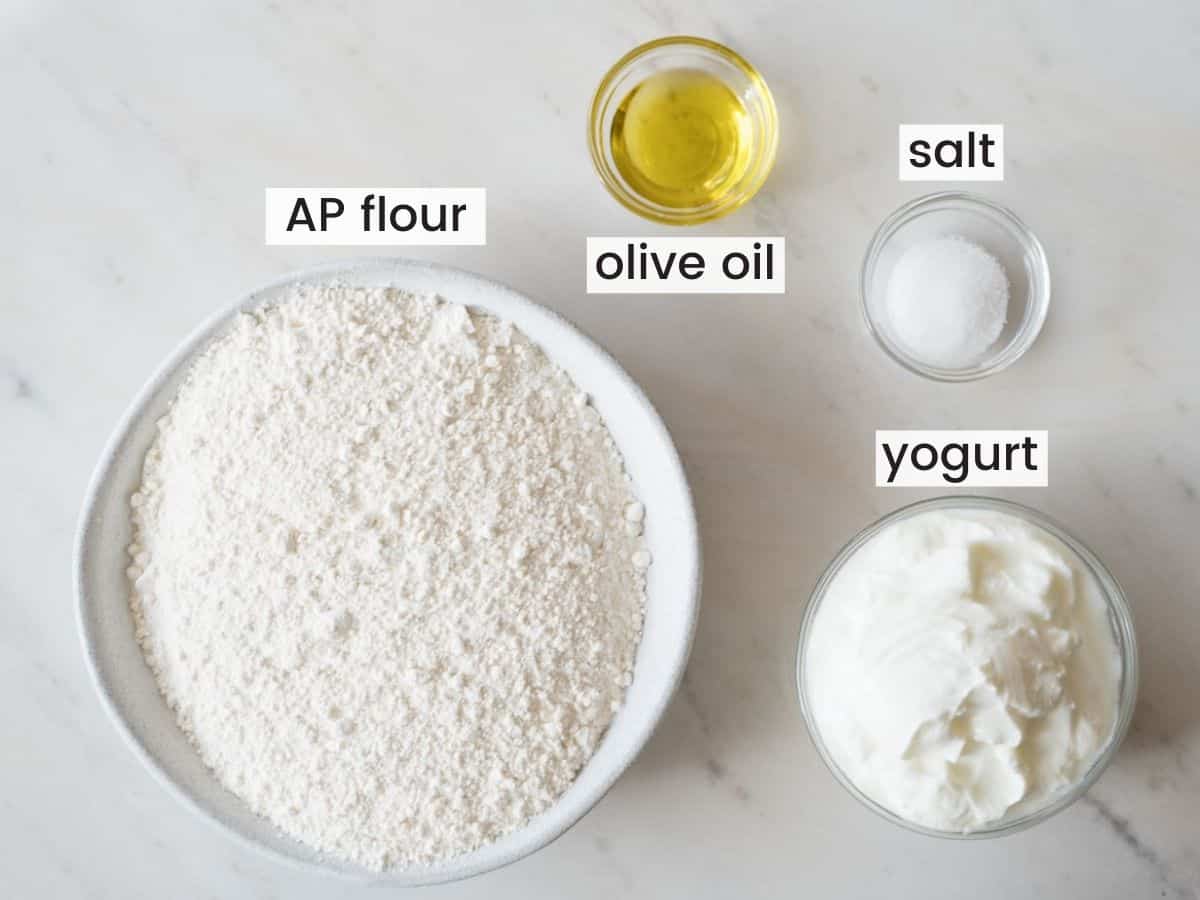
- Flour. I use all purpose (plain) flour here, but if you have 00 then you can use that too. If you use bread flour, keep in mind that the texture will be chewier. And if you’re looking to try this whole wheat flour, I suggest using 50% whole wheat and 50% all purpose flour.
- Yogurt. Plain milk yogurt or Greek yogurt work fine here. You want yogurt that is rich, thick, and scoopable. Both low fat or full fat yogurt work well, and if your yogurt is too runny, just add more flour and you’re good to go.
- Olive Oil. Added for flavor! So if you prefer oil free flatbreads, you can totally skip the oil.
- Salt. This is the only seasoning that we’re using in the recipe.
How To Make Yogurt Flatbreads
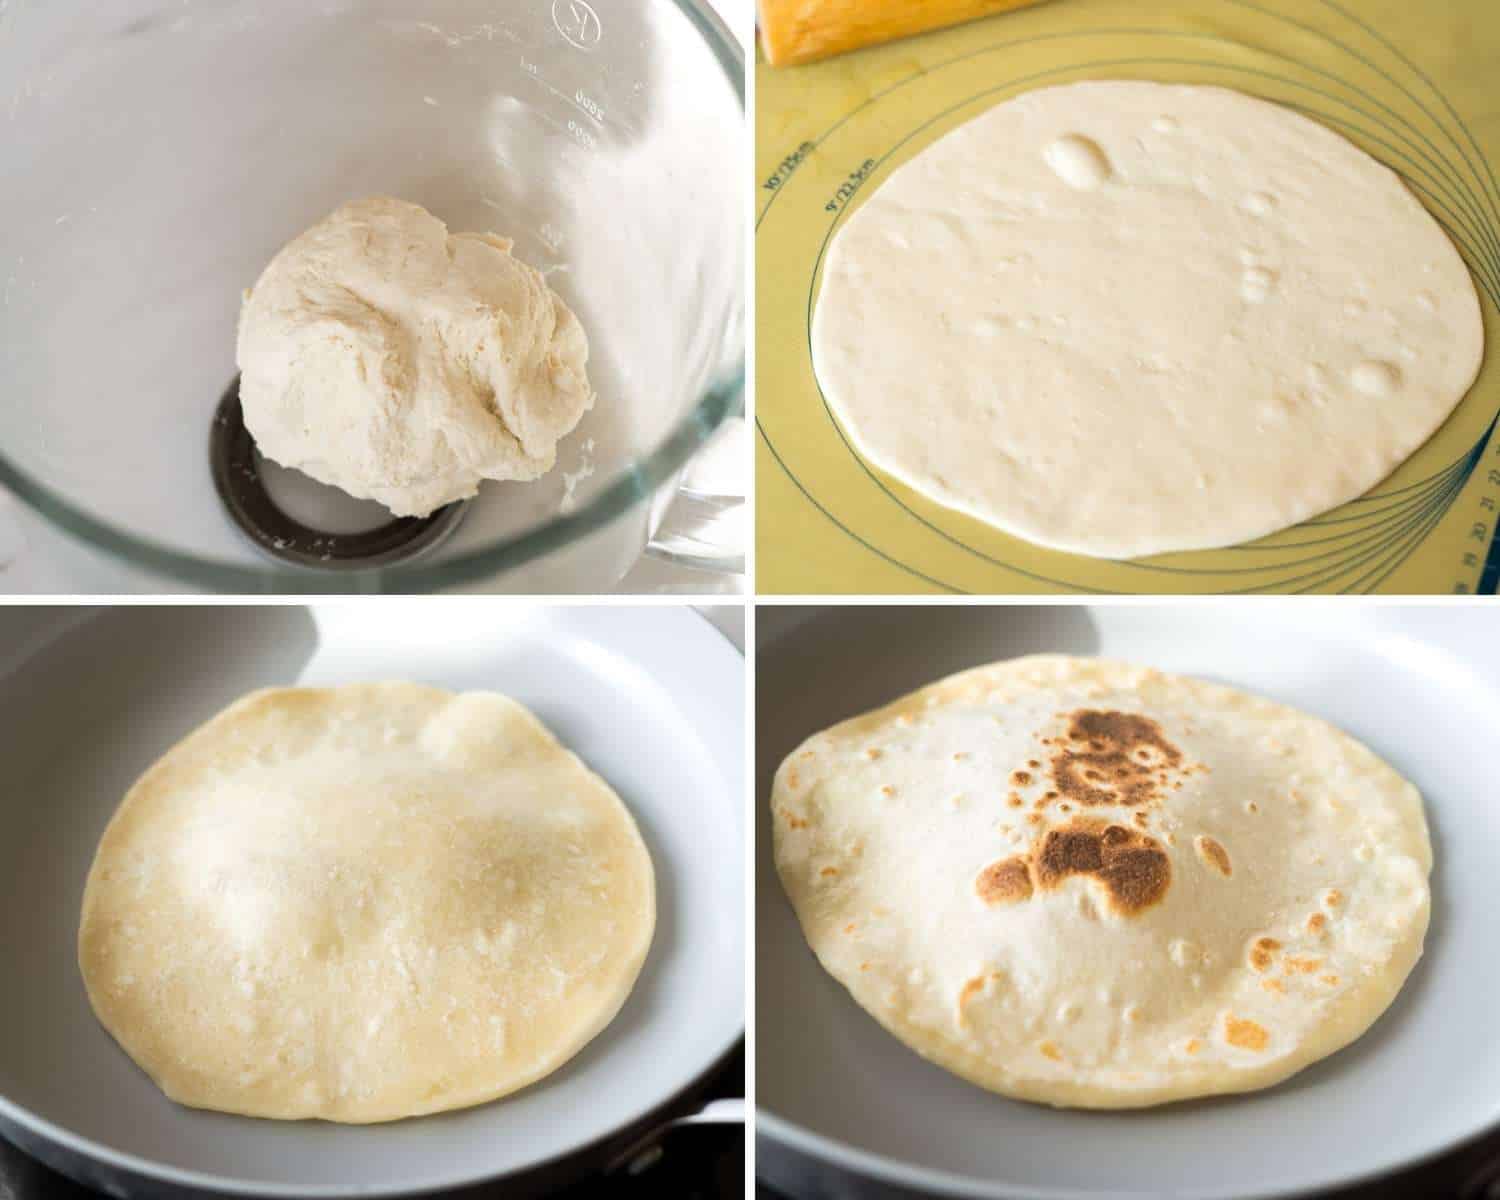
- In a large bowl or a bowl of a stand mixer, combine the flour with yogurt, olive oil, and salt. Use the dough hook and knead for a few minutes or until a dough ball comes together. At first, it will be crumbly and you’ll be tempted to add liquid but just wait and see how it magically turns into a beautiful pliable dough ball.
- Divide the dough into 6 smaller pieces (90g each). If you have time, you can cover them and allow to rest for 15-20 minutes. This helps the flour absorb the moisture and makes it more plaible and easy to roll out.
- Using a rolling pin, roll the dough on a lightly oiled (or floured) surface to 8-inch in diameter circles. The dough will be thin, but a little thicker than what you’d do when making tortillas.
using a dry skillet
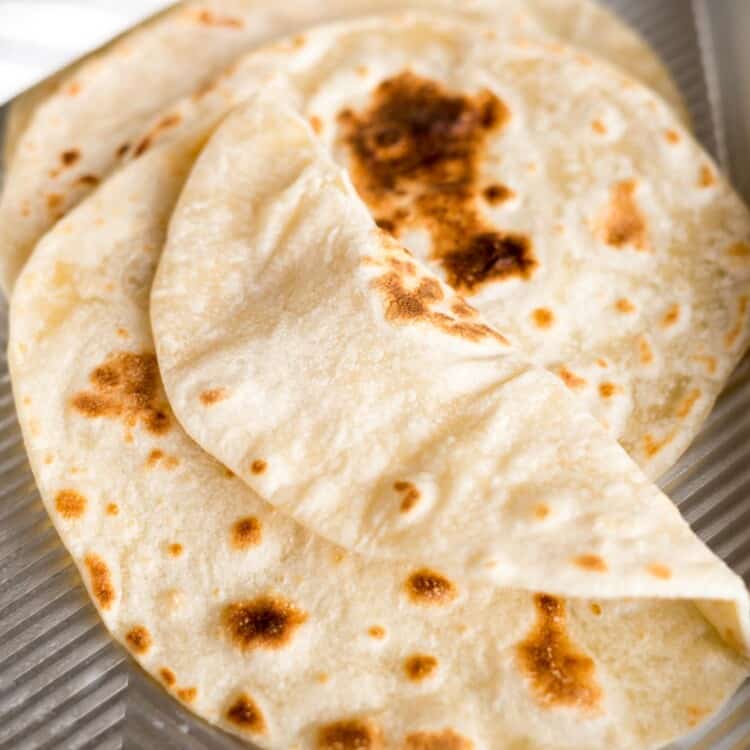
- Heat a skillet or a non stick pan, and cook on both sides until lightly browned and a little puffy. You might be lucky and get a huge air pocket, or get several smaller ones.
- Remove from the pan, cover with a towel and repeat with the remaining dough balls.
Using an outdoor Grill
In the summer, we do most of our cooking on our outdoor grill including these flatbreads! Here’s how you grill them:
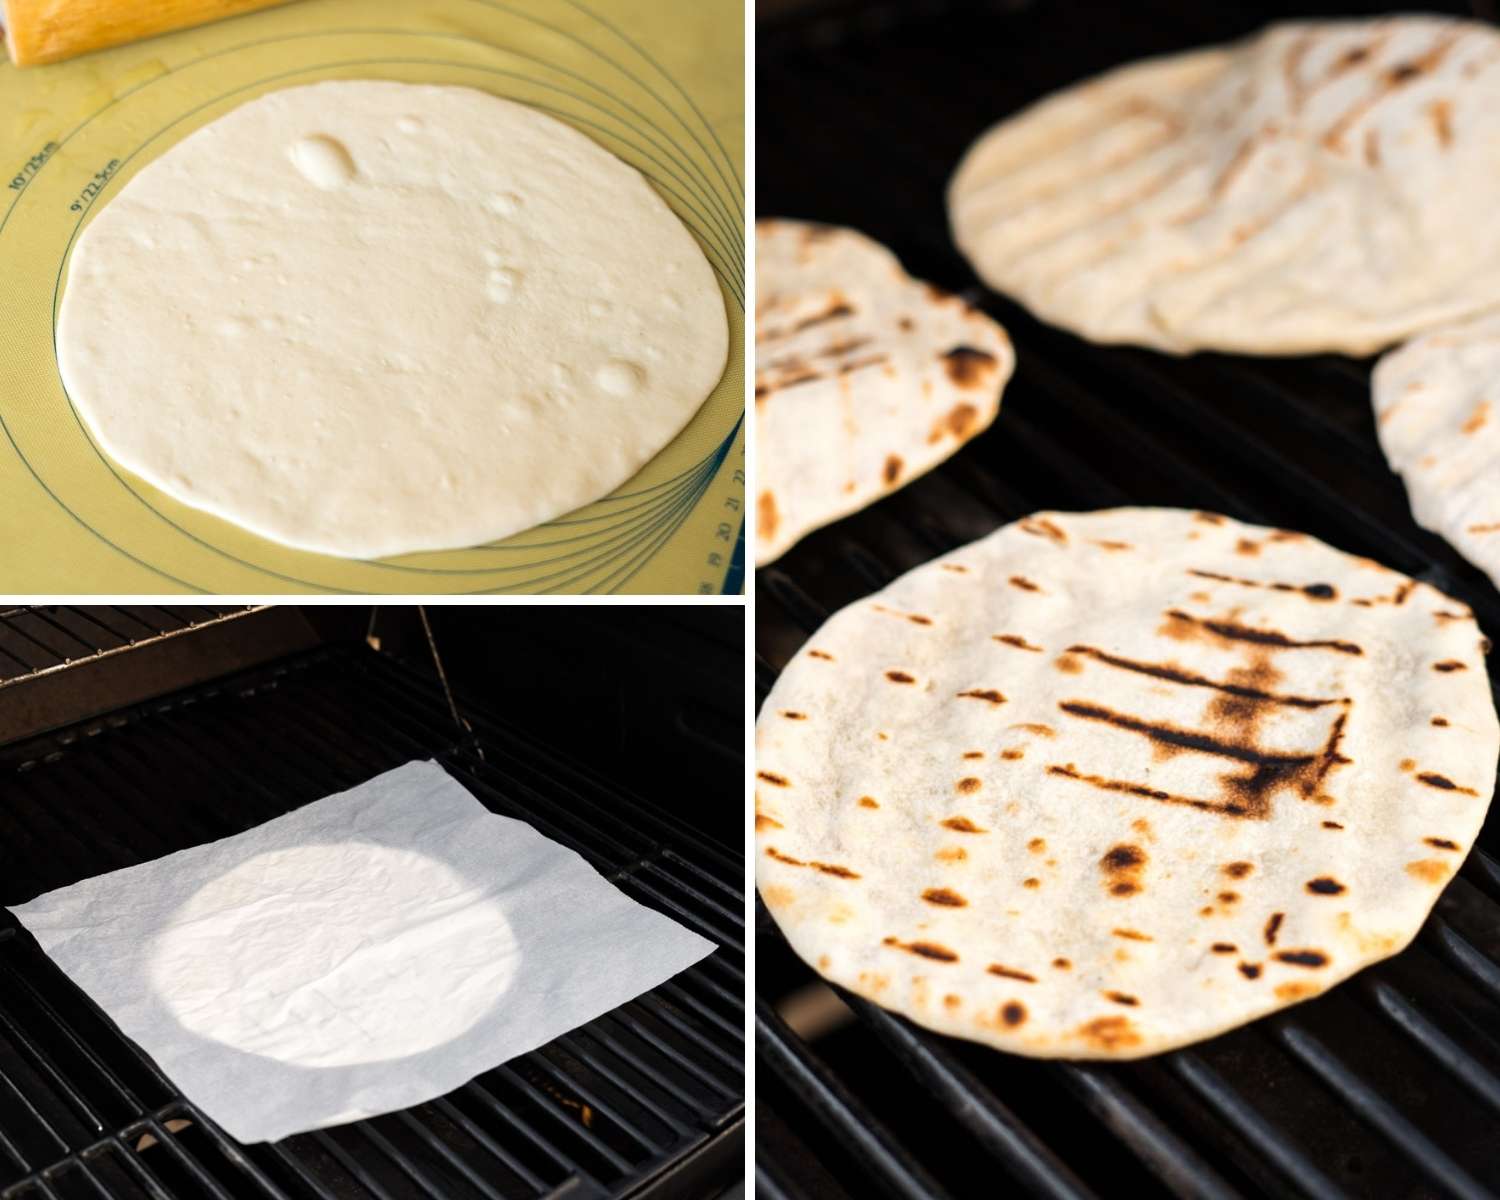
- Make the dough following the instructions above, roll it out and brush with a little oil. Take a piece of parchment paper and stick it to the dough (see image above) and then flip it over so that the dough is underneath the parchment paper. Brush the dough side with more olive oil. This makes it easier to transfer the dough to the grill, and makes sure that the dough does not stick to the grill grates. It’s the same technique I use for Grilled Pizza.
- Once you place it on the grill, peel off the parchment paper. Cover and grill for 1-2 minutes per side. Watch it closely as it cooks very quickly!
Tip!
Don’t forget to clean and oil the grill grates too!
Recipe Tips
- If The Dough is Too Sticky, dust with a little more flour. If it’s too dry, add a tablespoon of water and knead again.
- You Can Knead The Dough By Hand. If you don’t have a stand mixer, you can do this using a bowl with a wooden spoon, and knead the dough by hand (you don’t really need to “knead it” but mix it well until you get a smooth dough ball). I just find using the mixer less work!
- Let it Rest. Letting the dough rest covered allows the flour to hydrate, and will give you better results.
- Do Not Overcook. It’s easy to dry out these flatbreads, so do not walk away as you make them and remove them from the pan/grill as soon as they’re cooked through.
- Save it for the Next Day. You can definitely make these ahead, by storing the divided dough balls in a container in the fridge (and up to 24 hours). Before rolling out and cooking, let them come to room temperature by sitting on the counter for 15-20 minutes.

Storing Tips
Store dough balls covered in the fridge for up to 24 hours.
If you have leftover flatbreads, you can store them in the fridge covered for up to 2 days, or freeze them for up to 1 month.
What To Serve With
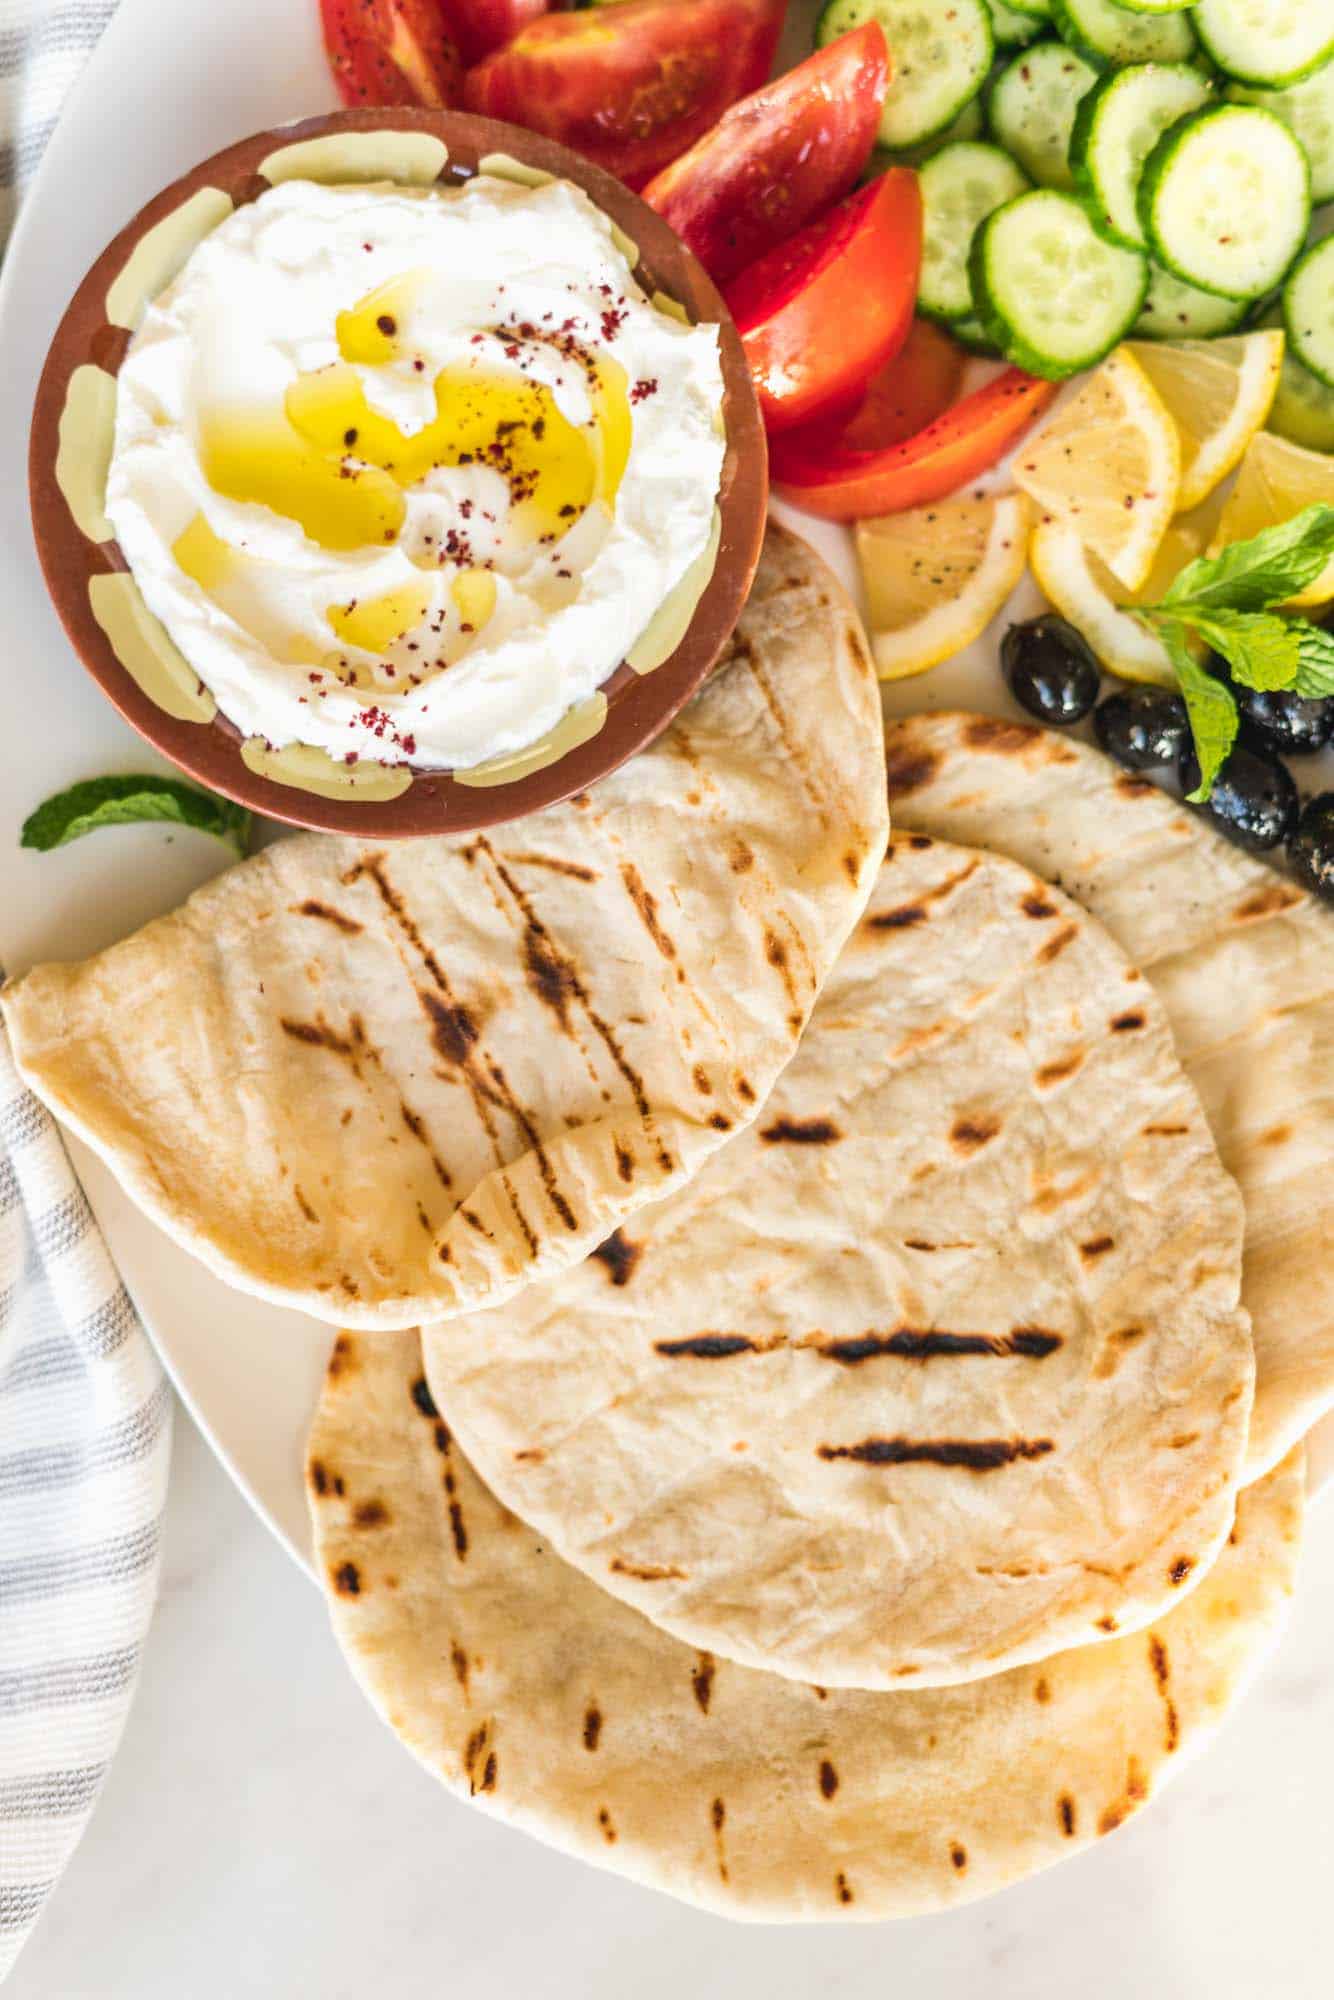
These flatbreads are perfect for dipping, rolling, or topping.
Serve with a Middle Eastern style dip such as Hummus, Labneh, Muhammara, or Baba Ganoush.
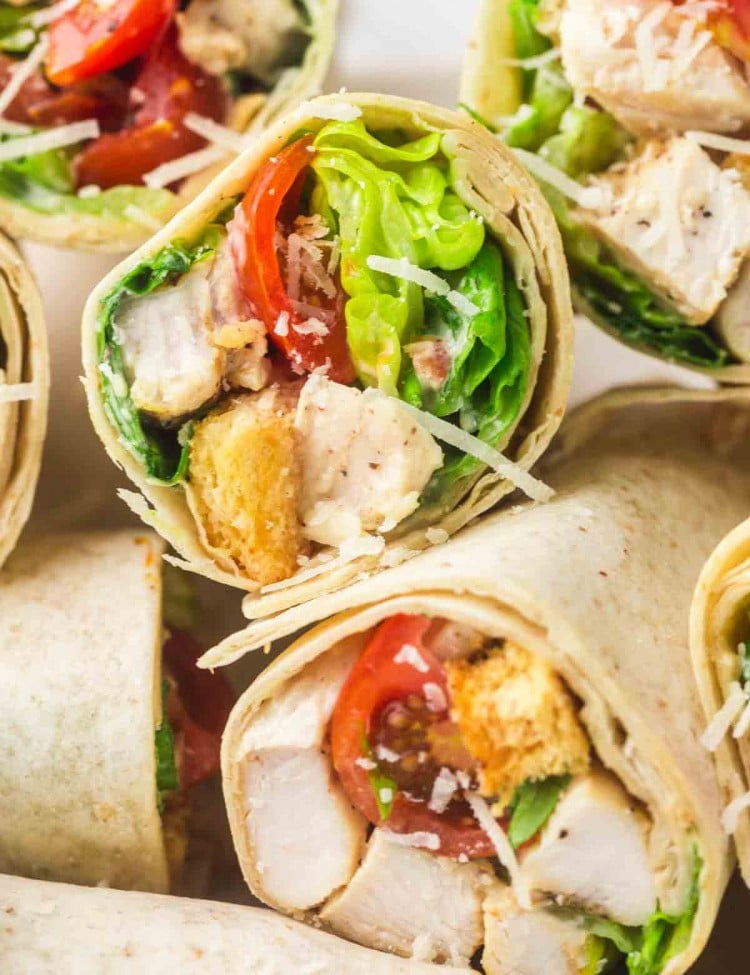
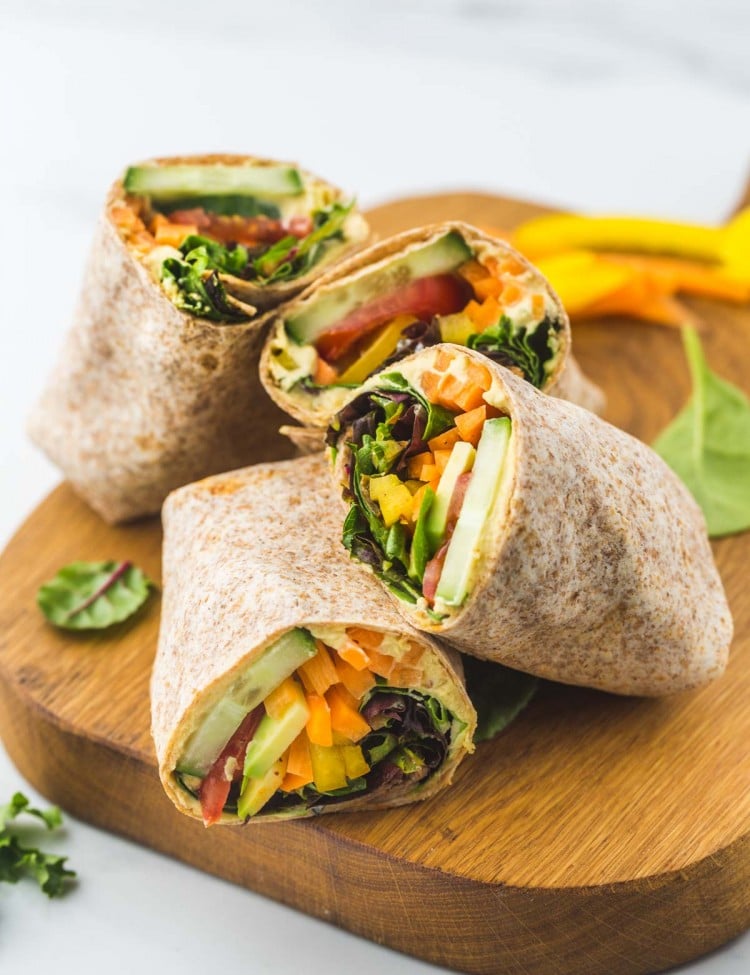
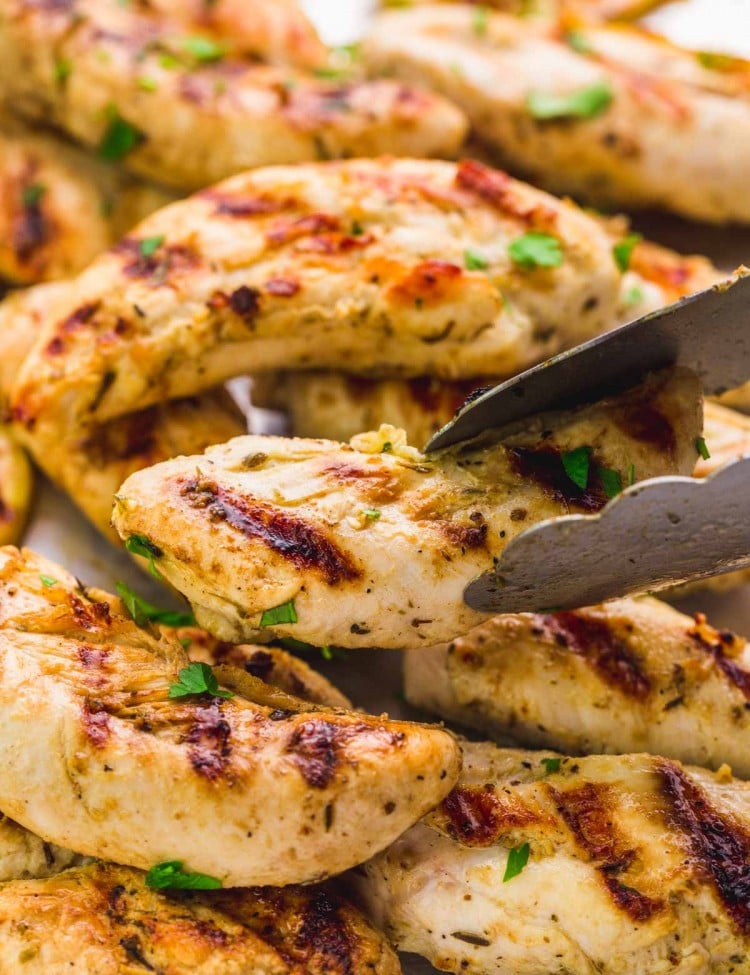
Or use to make a delicious wrap. Try my Hummus Veggie Wrap, Chicken Caesar Wraps, or Grilled Chicken Wraps.
You can also cut it up into pieces and fry the bread to use as croutons and top your Fattoush Salad, or use in Fattet Hummus.
FAQs
These flatbreads are quite similar to pita, but pita is slightly leavened and has a different flavor. Yogurt flabreads are a little tangy, pitas are more neutral in flavor.
I personally prefer making these on pan or on the grill, but if you wish to bake them in the oven then preheat the oven to 400°F/200°C, and bake them on a hot surface for 7-8 minutes or until cooked through.
These flatbreads can become brittle as they sit for hours. Brush them with a little water and let them sit under a towel for a minute or 2, then briefly reheat them in a skillet until they’re warmed up and soft again.
More Easy Breads To Try
All Bread ➜
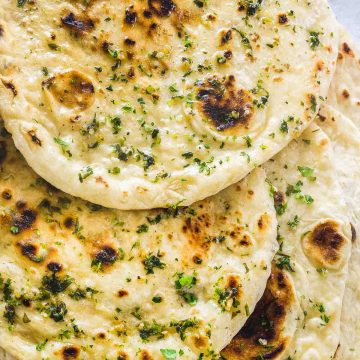


I hope that you give these easy 2-ingredient flatbreads a try and love them as much as I do! Serve them plain, or with a brush of minced herb and garlic for extra flavor. Your family will be asking you to make them over and over again!
Did you make this? Be sure to leave a review below and tag me on Facebook, Instagram, or Pinterest!
Yogurt Flatbreads
Equipment
- Stand mixer with a dough hook
- Grill
Ingredients
- 2½ cups (315)g all purpose flour
- 1 cup (240g) plain yogurt or Greek yogurt
- 1 teaspoon salt
- 1 tablespoon olive oil optional
Instructions
Make the Dough:
- In a large bowl or a bowl of a stand mixer, combine the flour with yogurt, olive oil, and salt. Use the dough hook and knead for 5 minutes or until a dough ball comes together. At first, it will be crumbly and you’ll be tempted to add liquid but just wait and see how it magically turns into a beautiful pliable dough ball.
- Divide the dough into 6 smaller pieces (90g each). Then cover them and allow them to rest for 15-20 minutes.
- Roll out on a lightly oiled (or floured) surface to 8-inch in diameter circles.
Cook on a Skillet:
- Heat a skillet or a non stick pan, and cook on both sides until lightly browned and a little puffy. You might be lucky and get a huge air pocket, or get several smaller ones.
- Remove from the pan, cover with a towel and repeat with the remaining dough balls.
Cook on an outdoor Grill:
- Make the dough following the instructions above, roll it out and brush with a little oil.
- Take a piece of parchment paper and stick it to the dough and then flip it over so that the dough is underneath the parchment paper. Brush the dough side with more olive oil.
- Place it on the grill, and peel off the parchment paper.
- Cover and grill for 1-2 minutes per side. Watch it closely as it cooks very quickly!
Notes:
- If The Dough is Too Sticky, dust with a little more flour. If it’s too dry, add a tablespoon of water and knead again.
- You Can Knead The Dough By Hand. If you don’t have a stand mixer, you can do this using a bowl with a wooden spoon, and knead the dough by hand (you don’t really need to “knead it” but mix it well until you get a smooth dough ball). I just find using the mixer less work!
- Let it Rest. Letting the dough rest covered allows the flour to hydrate, and will give you better results.
- Do Not Overcook. It’s easy to dry out these flatbreads, so do not walk away as you make them and remove them from the pan/grill as soon as they’re cooked through.
- Save it for the Next Day. You can definitely make these ahead, by storing the divided dough balls in a container in the fridge (and up to 24 hours). Before rolling out and cooking, let them come to room temperature by sitting on the counter for 15-20 minutes.
- Storing. Store dough balls covered in the fridge for up to 24 hours. If you have leftover flatbreads, you can store them in the fridge covered for up to 2 days, or freeze them for up to 1 month.
Nutrition Information
This website provides approximate nutrition information for convenience and as a courtesy only. Nutrition data is gathered primarily from the USDA Food Composition Database, whenever available, or otherwise other online calculators.
© Little Sunny Kitchen

David says
Brilliant and easy, store well in the freezer, my new go to for flat breads, thank you
Little Sunny Kitchen says
Hi David! Thank you so much for trying my recipe and for the 5-star review.