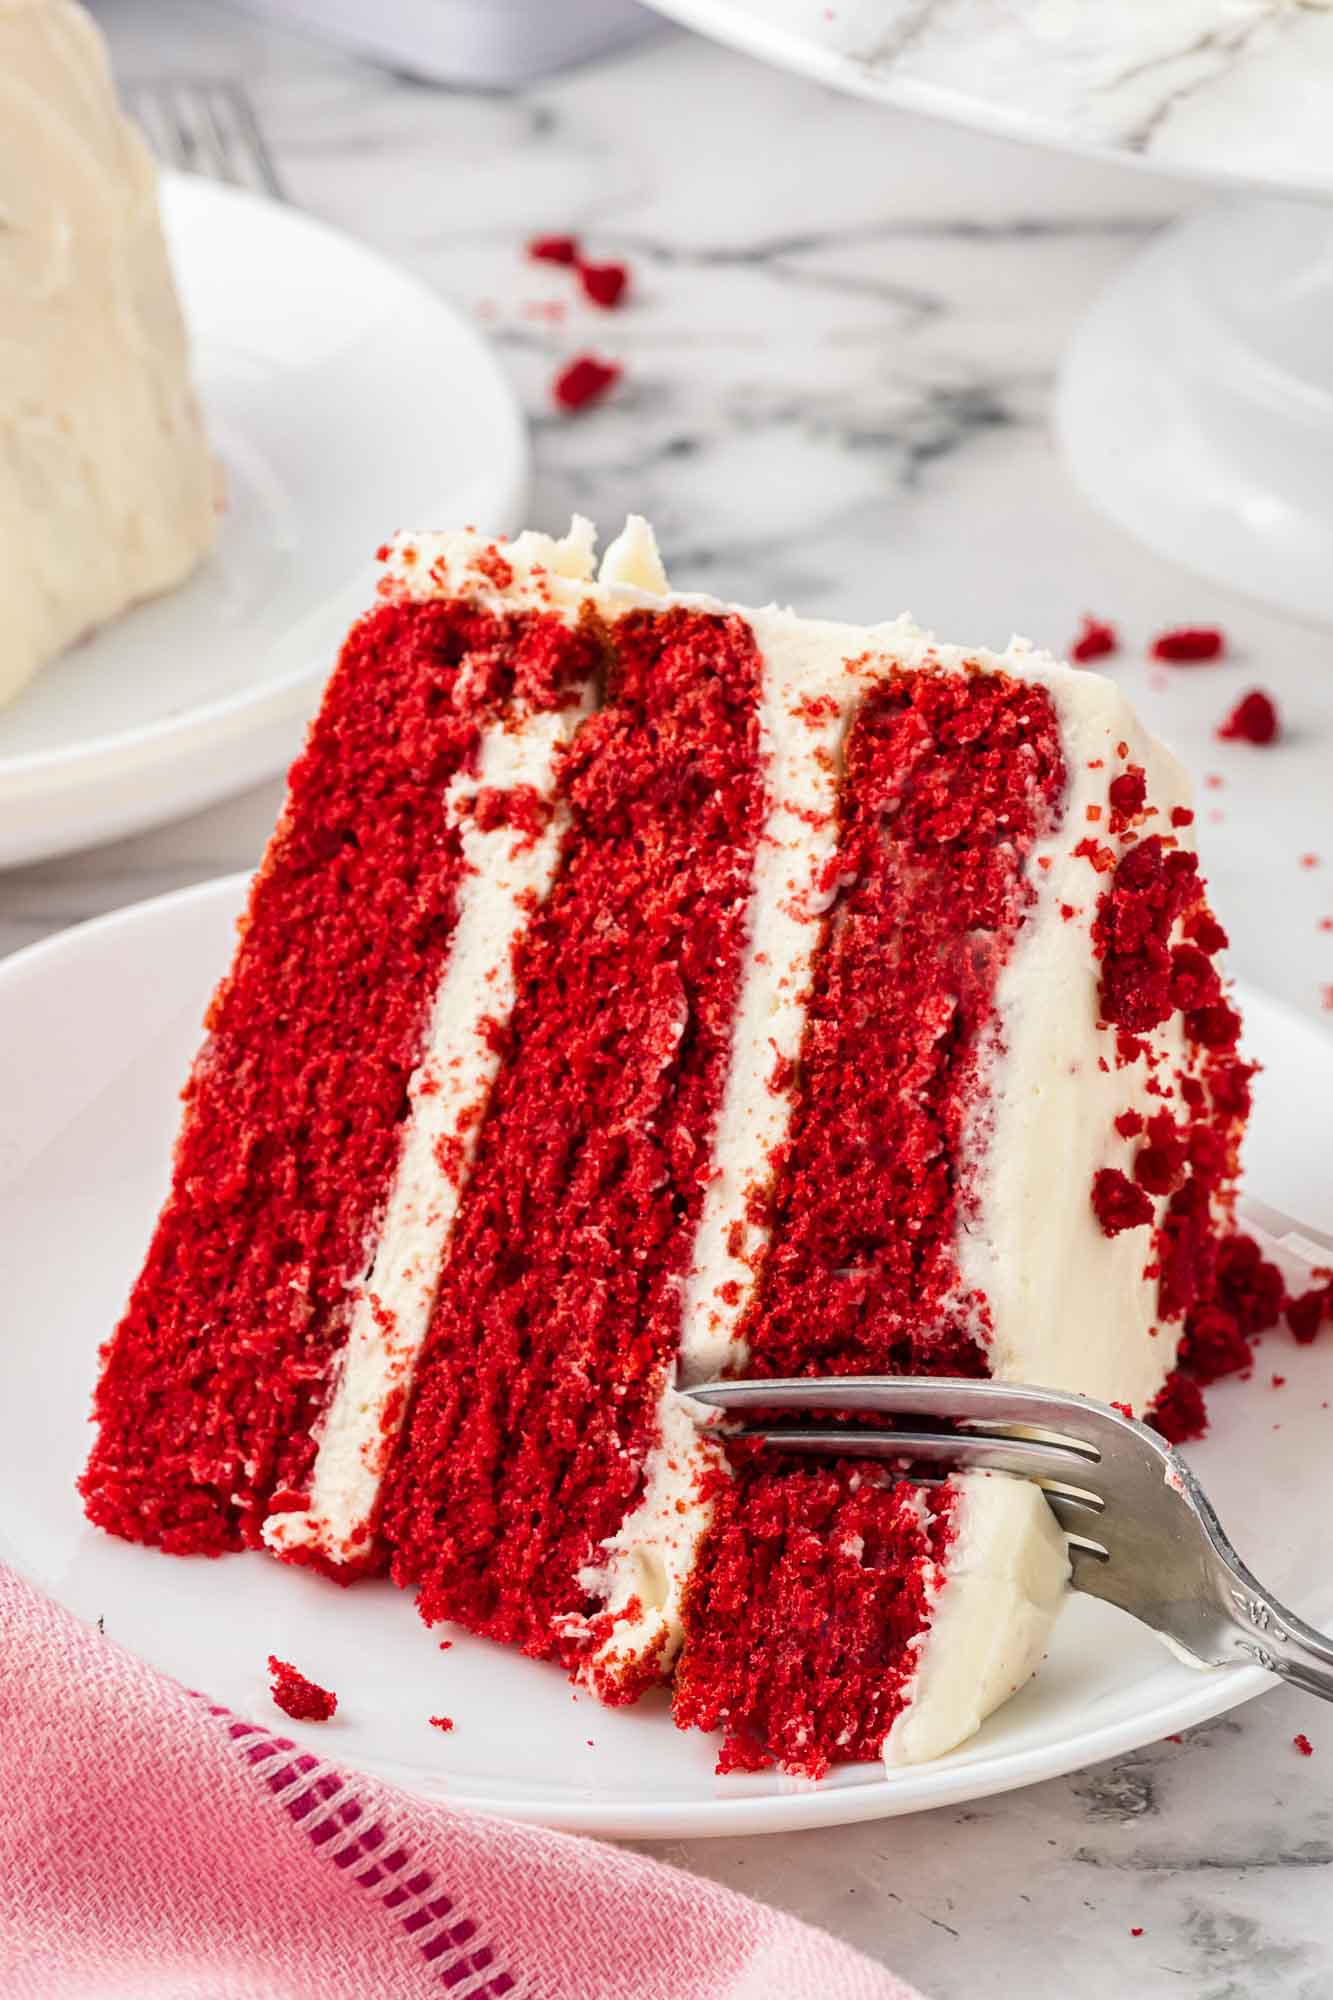
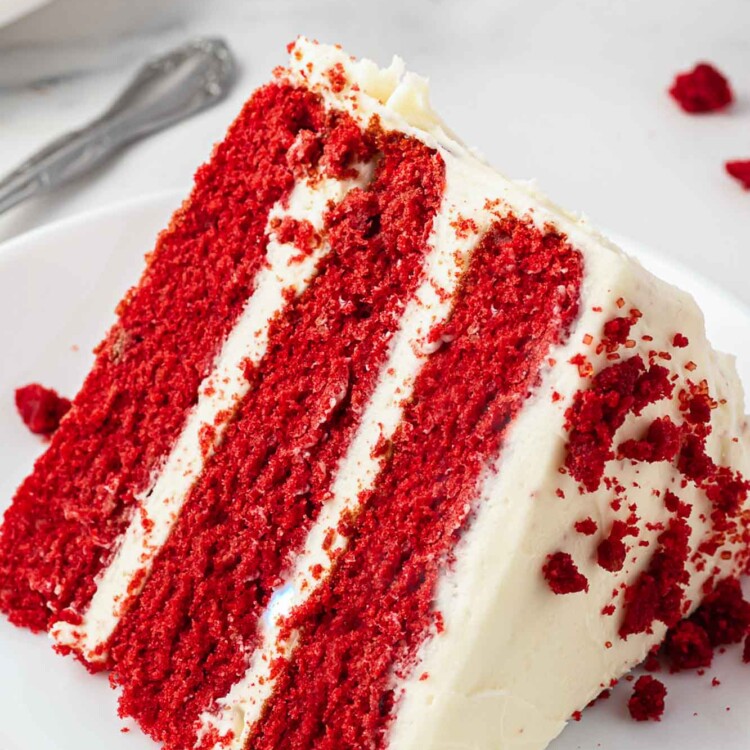
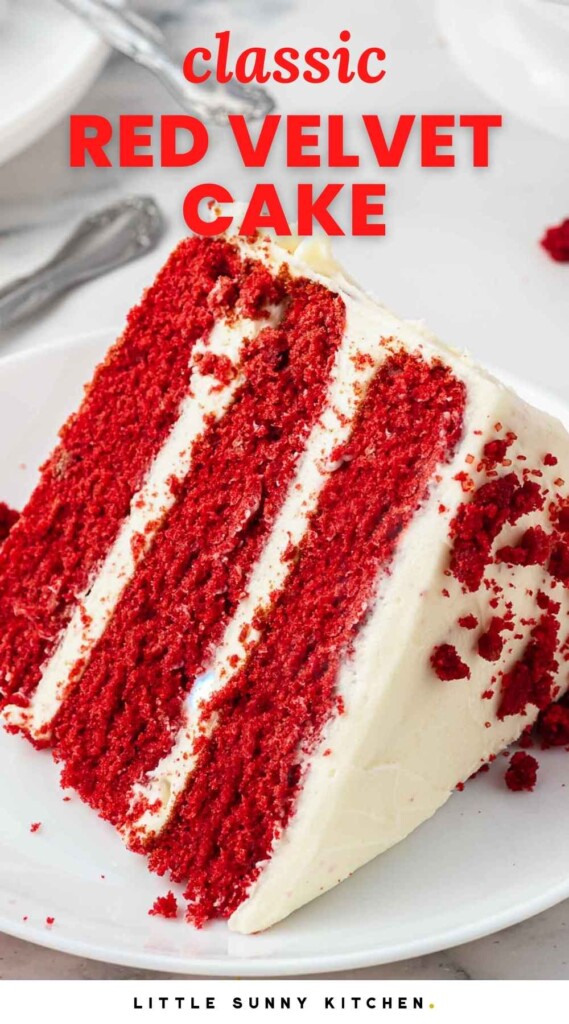
This classic Red Velvet Cake Recipe makes the most delicious, moist, and tender layer cake, topped and filled with a sweet cream cheese frosting. You’ll love the bright red color and decadent red velvet flavor of this cake that’s perfect for your next special occasion.
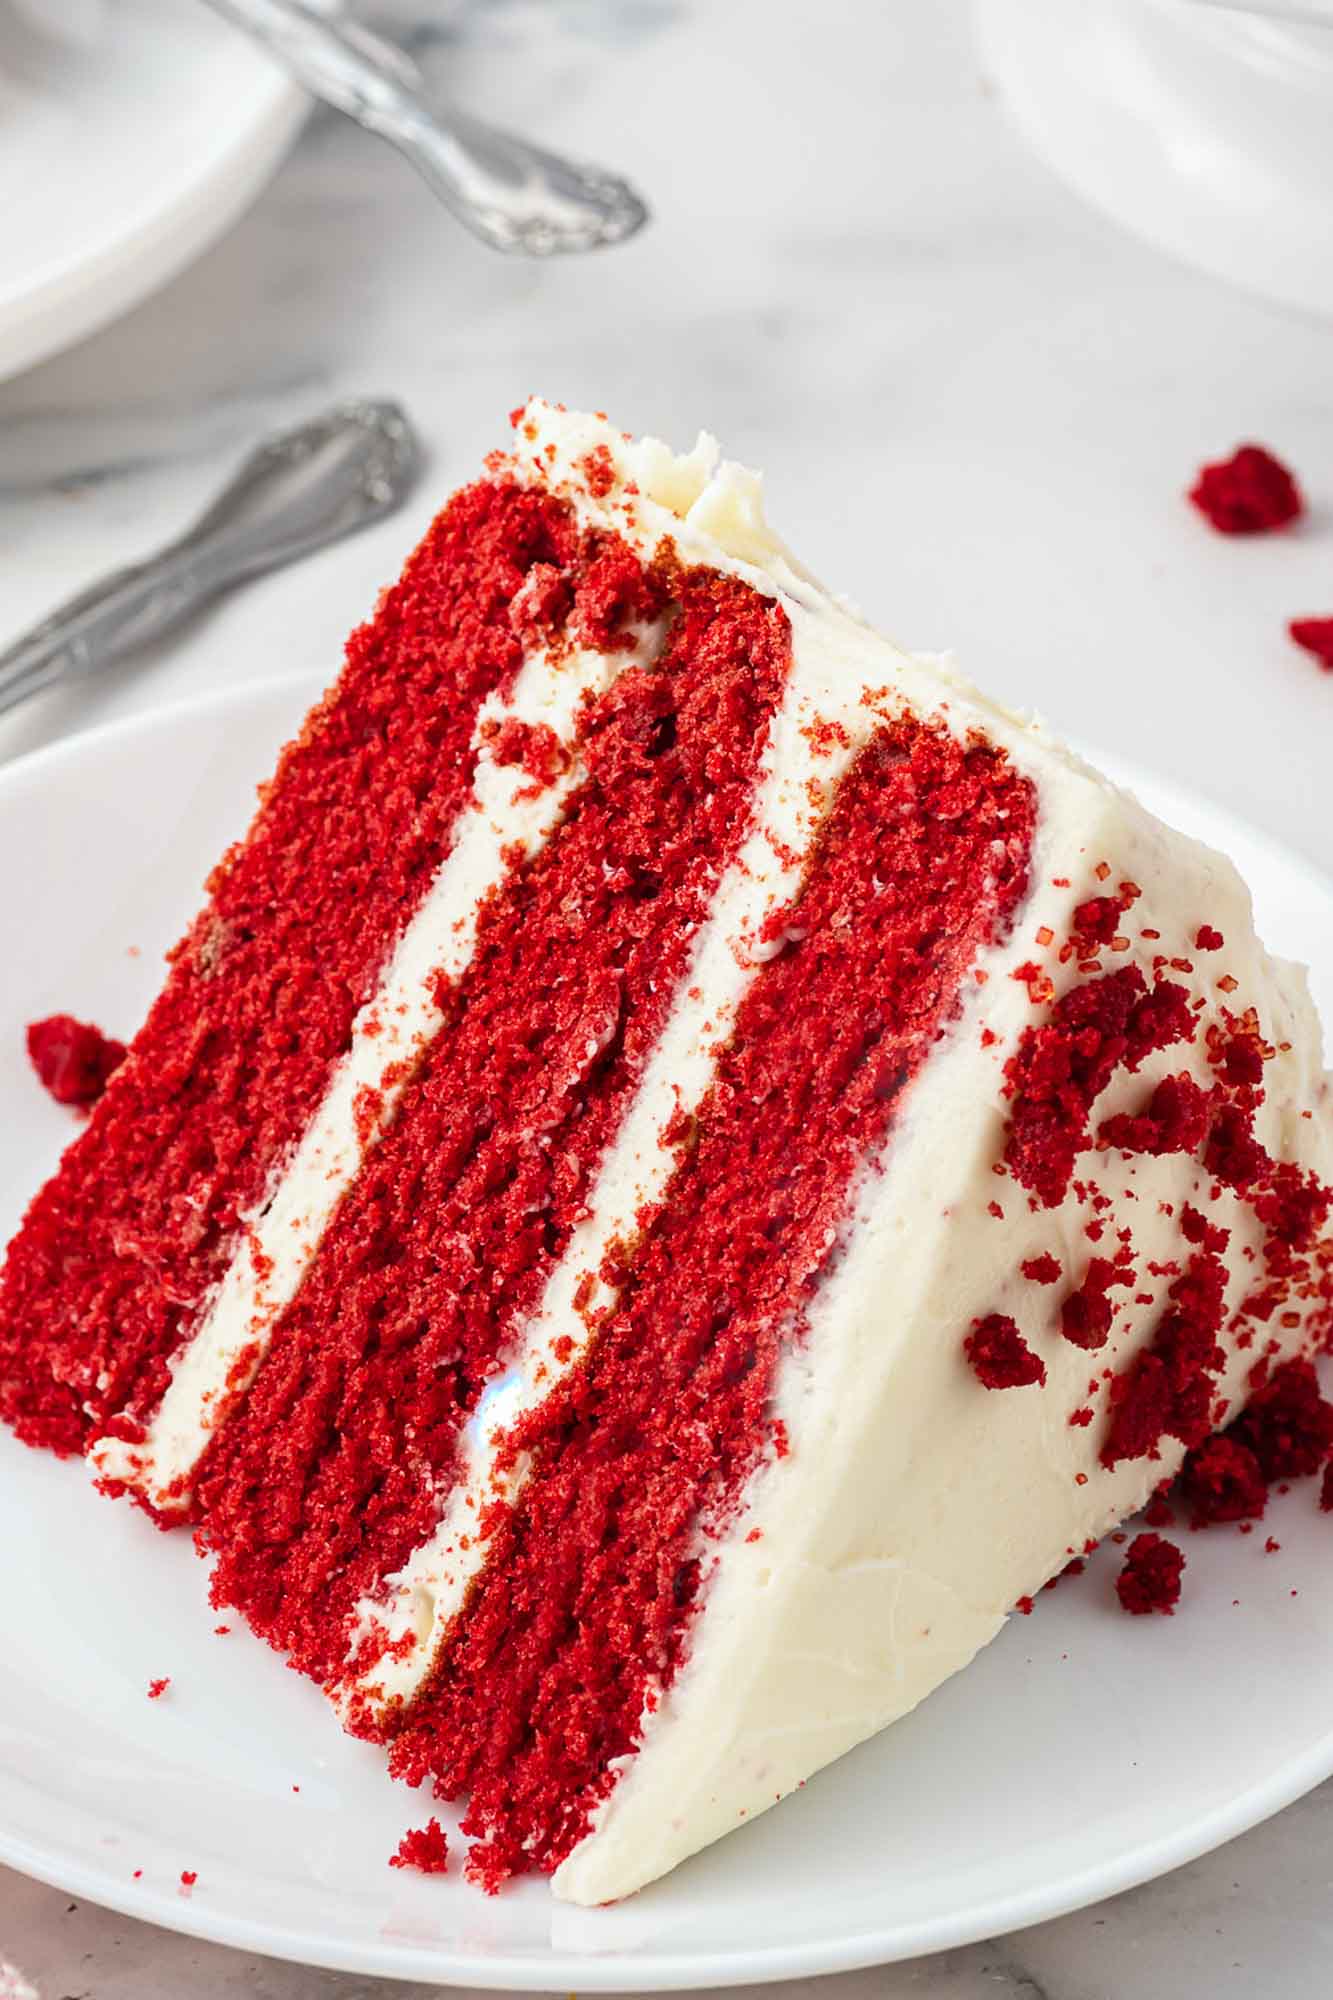
You’ll find red velvet cakes on dessert tables for Christmas, Valentine’s Day, and other special meals like birthdays. When you want to make a cake that everyone will ooh and ahh over, This Red Velvet recipe is the one to choose. There’s something special about this smooth, rich, and brightly colored cake that everyone just loves.
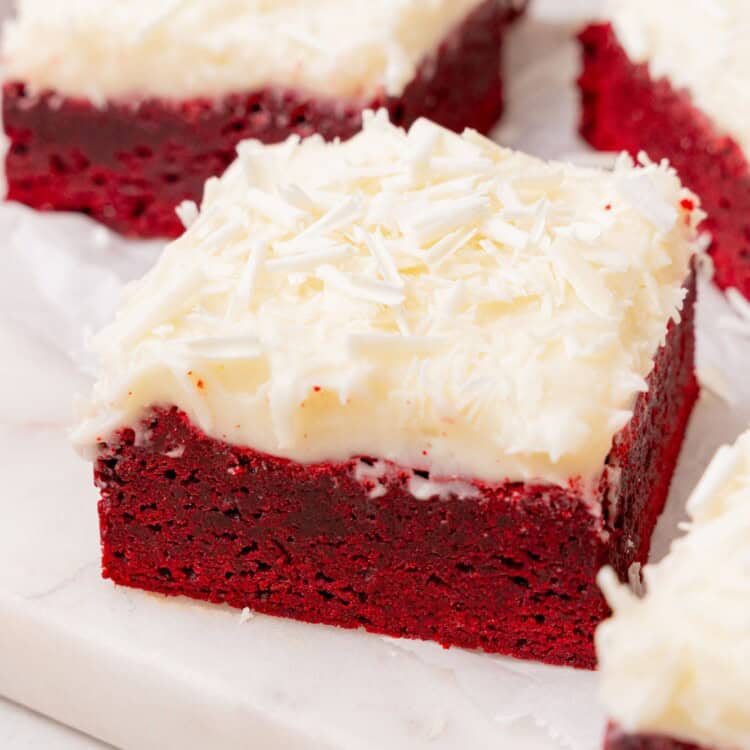
Would you rather have cupcakes? Try this easy recipe for Red Velvet Cupcakes with cream cheese frosting. Or make my delicious Red Velvet Brownies, or an easy Red Velvet Pound Cake in a bundt pan!
Is Red Velvet Just Chocolate Cake with Red Food Coloring?
While it might seem that we’re making a chocolate cake and dying it red, there is actually a taste difference between red velvet cake and chocolate cake. The combination of cocoa powder, vinegar, and buttermilk gives this cake a distinctly special flavor and a smooth velvety texture. These ingredients combined also create a chemical reaction that turns what should be a brown cake into a deep red/maroon color.
Why You’ll Love This Recipe
- Step by Step Instructions: If you’ve never made a beautiful layer cake like this one, my recipe will teach you how to bake, stack, and fill a red velvet layer cake perfectly.
- Rich Red Velvet Flavor: Red velvet is a distinct flavor that’s hard to describe, but if you’ve had it you’ll know! This cake recipe gives the perfect amount of red velvet flavor.
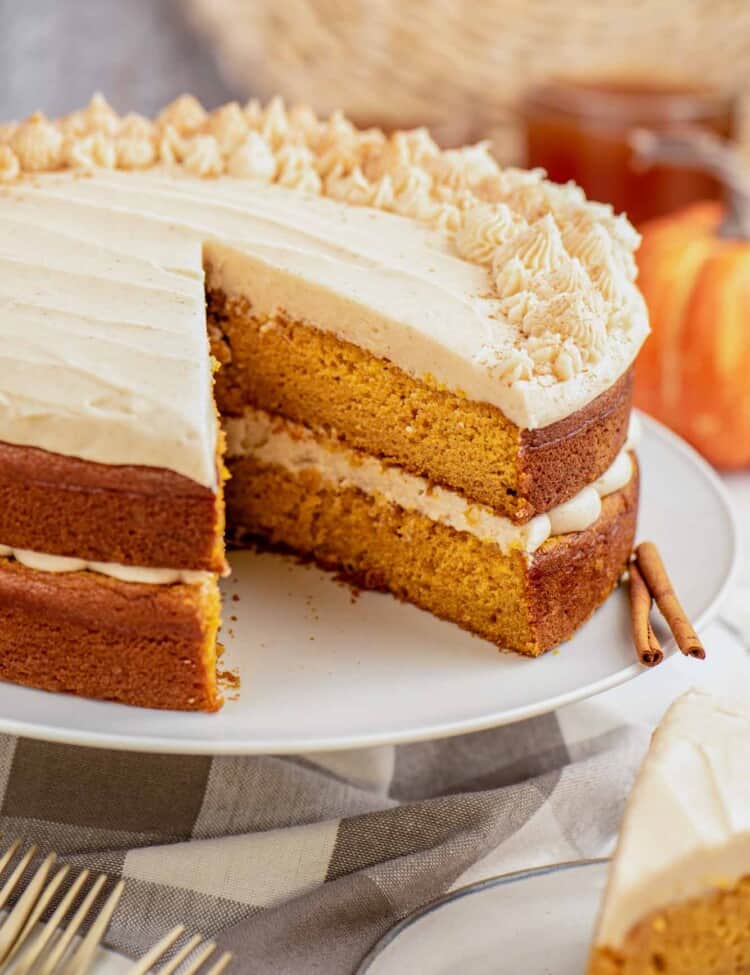
- Cream Cheese Frosting: It’s not quite right to frost a red velvet cake with anything other than a tangy and sweet cream cheese frosting, and that’s fine with me! I love a decadent and rich cream cheese frosting, like the cinnamon cream cheese frosting I use for my Pumpkin layer cake.
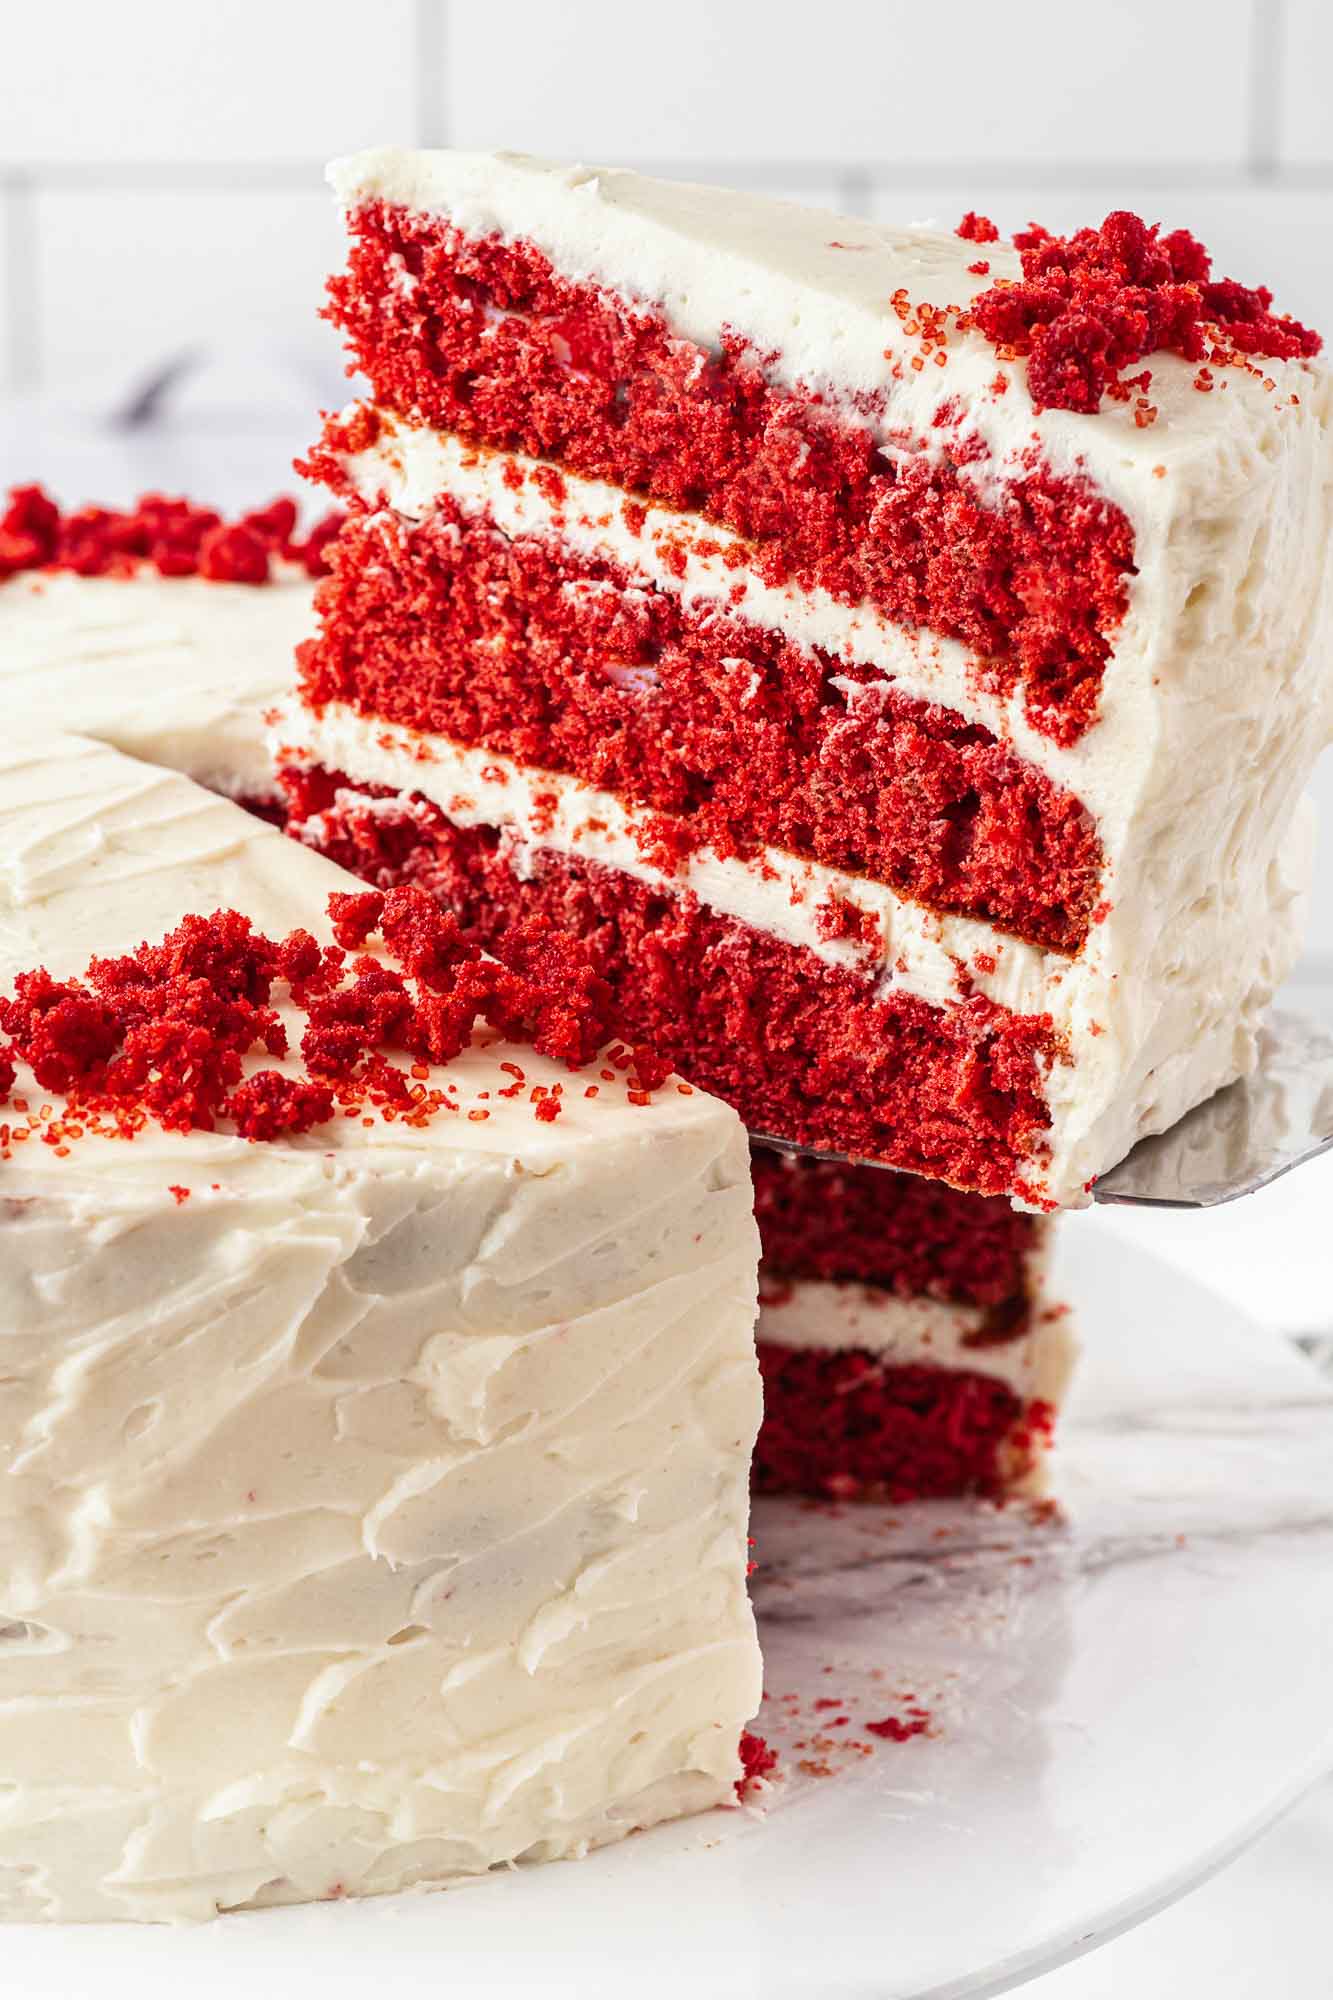
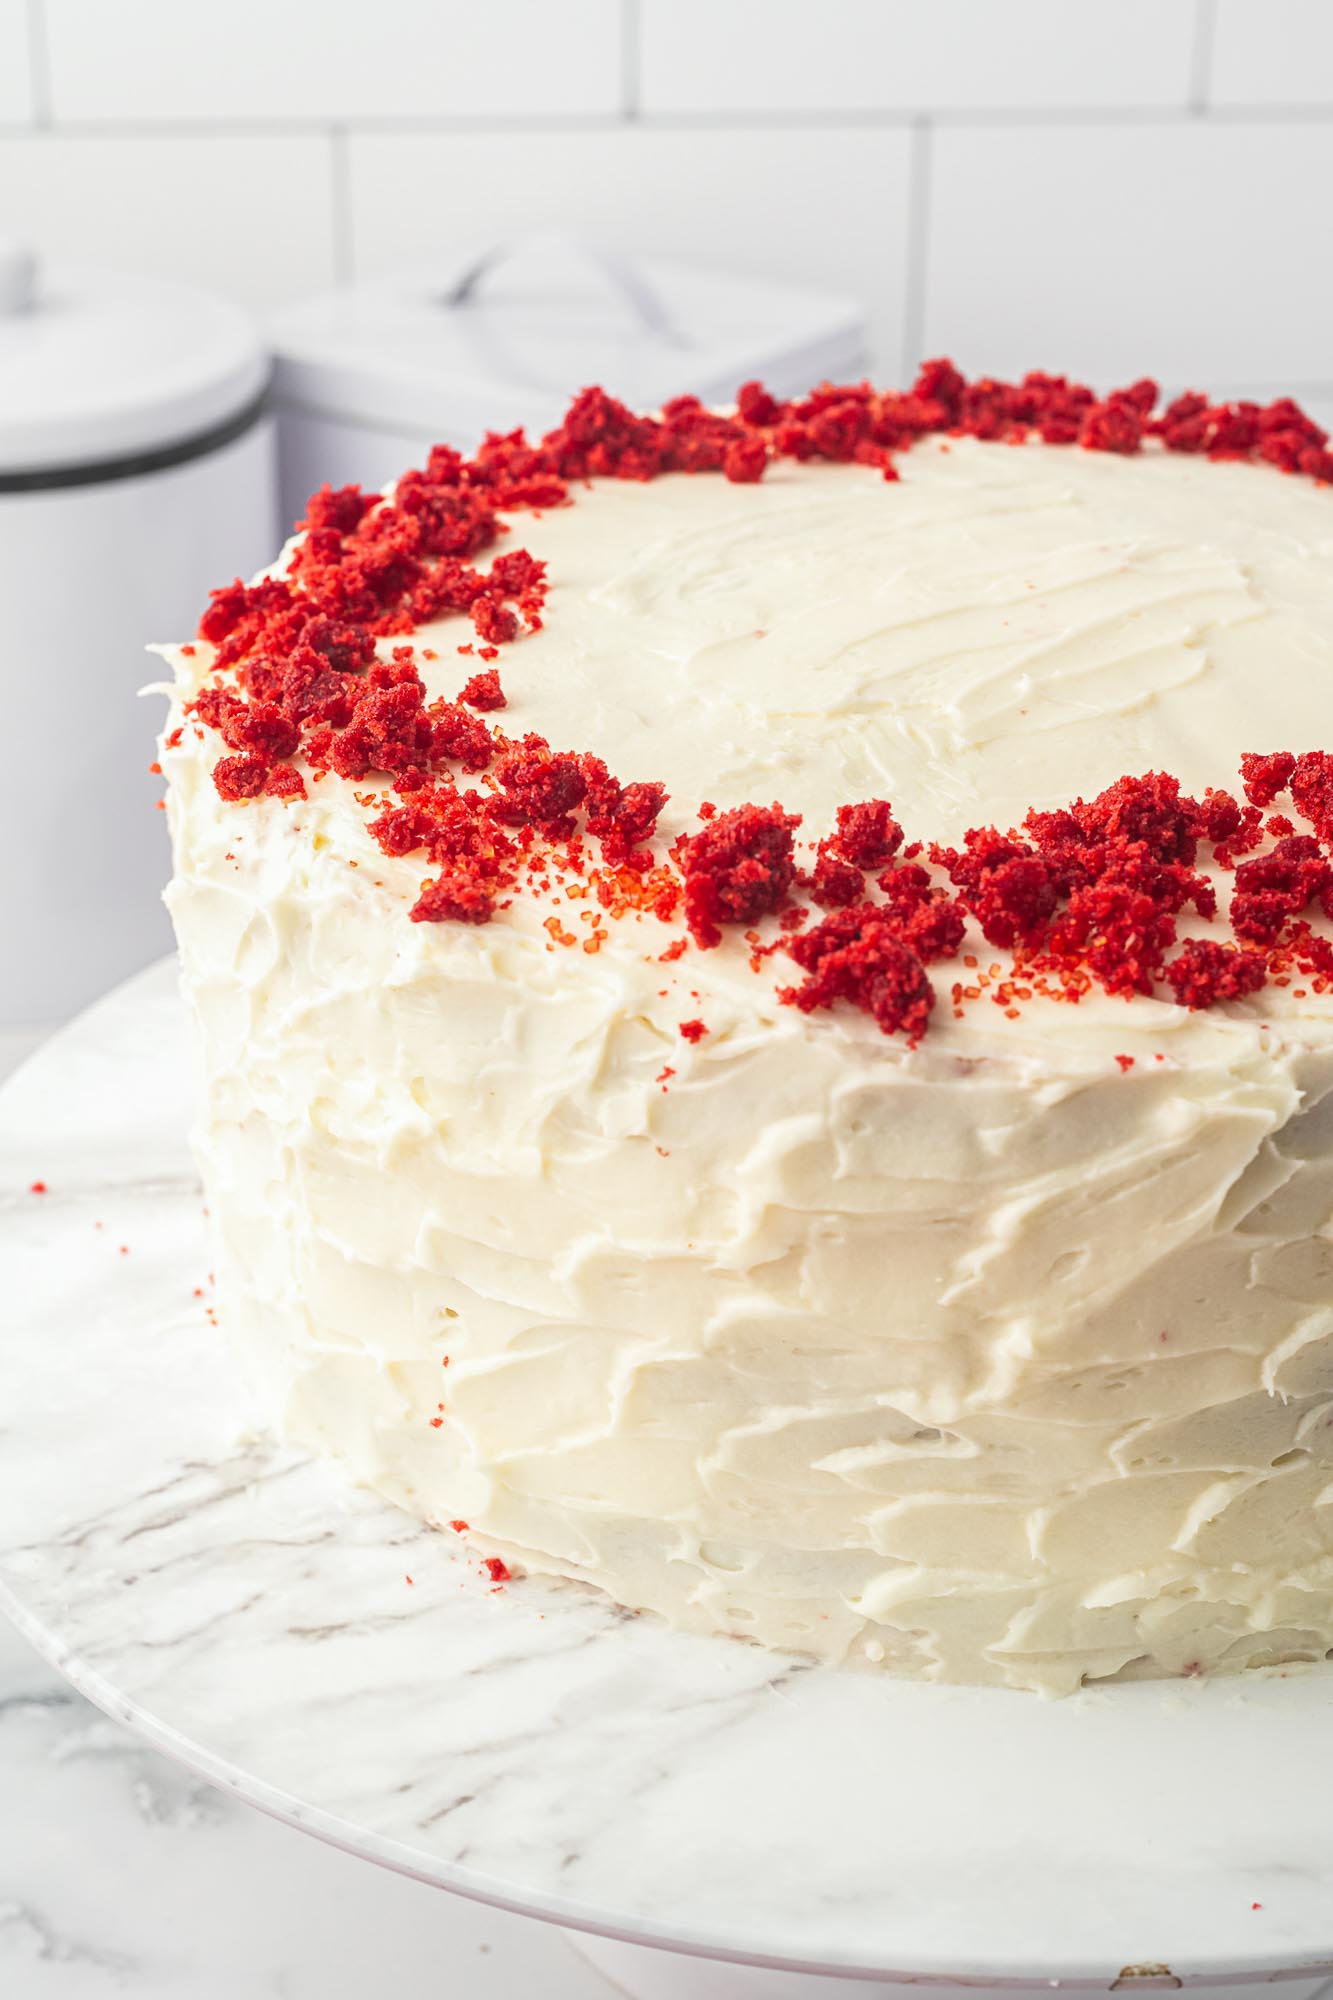
- Easy to Decorate: You don’t need to do anything fancy to decorate a Red Velvet Cake. My favorite thing to do is to sprinkle some cake crumbs right on top.
Key Ingredients for Red Velvet Cake
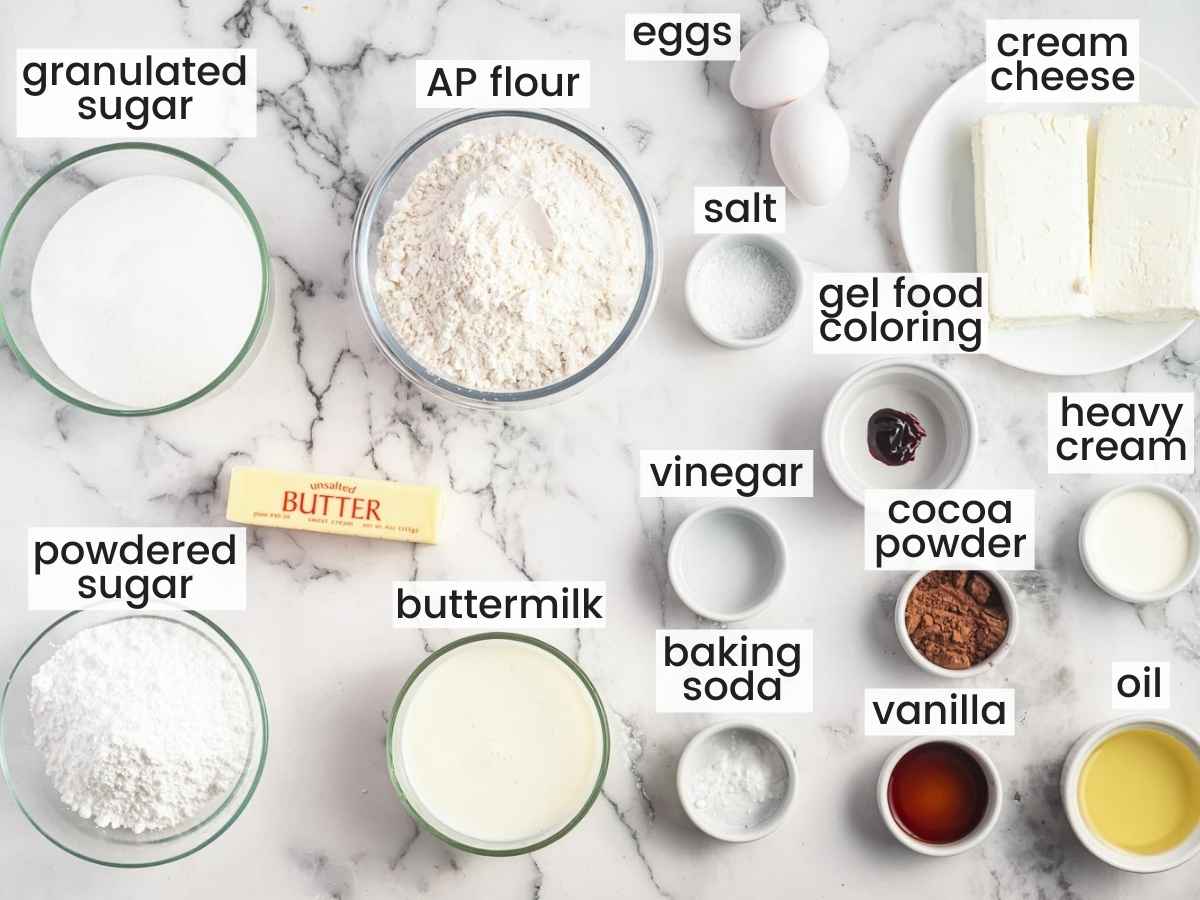
Complete list of ingredients and amounts can be found in the recipe card below.
- All-Purpose Flour: We don’t need to use cake flour for this recipe, because the added acidic ingredients in red velvet help to break down the gluten for us.
- Cocoa Powder: Unsweetened cocoa powder gives us the chocolatey red velvet flavor and also helps to create the beautiful color and texture of this classic cake.
- Baking Soda and Salt: To complete out our dry ingredients mixture, we need these two common baking ingredients.
- Unsalted Butter: Soften the butter before mixing up your batter.
- Granulated Sugar: This gives us the perfect amount of sweetness.
- Eggs: You need a few eggs to make a cake! I suggest letting your eggs come to room temperature before adding them to any baked good recipe.
- Buttermilk and Vinegar: These two ingredients are key to the texture of red velvet cake. Both are acidic and react with the alkaline baking soda and cocoa powder in the best way.
- Canola Oil: Both butter and oil go into this moist cake recipe.
- Vanilla Extract and Red Food coloring: The finishing touches to our red velvet cake batter are added to the wet ingredients for rounding out the flavors and perfecting the red velvet color.
- Cream Cheese Frosting: Instructions are below for making my best cream cheese frosting using butter, cream cheese, powdered sugar, vanilla extract, and heavy cream. You might want to make extra, this stuff is SO good!
Complete list of ingredients and amounts can be found in the recipe card below.
How to Make Red Velvet Cake
- Get Ready: Preheat the oven to 350°F (180°C) or 160°C if you have a fan oven. Grease three 9-inch cake pans with shortening, and dust each pan with 1 tablespoon of flour.
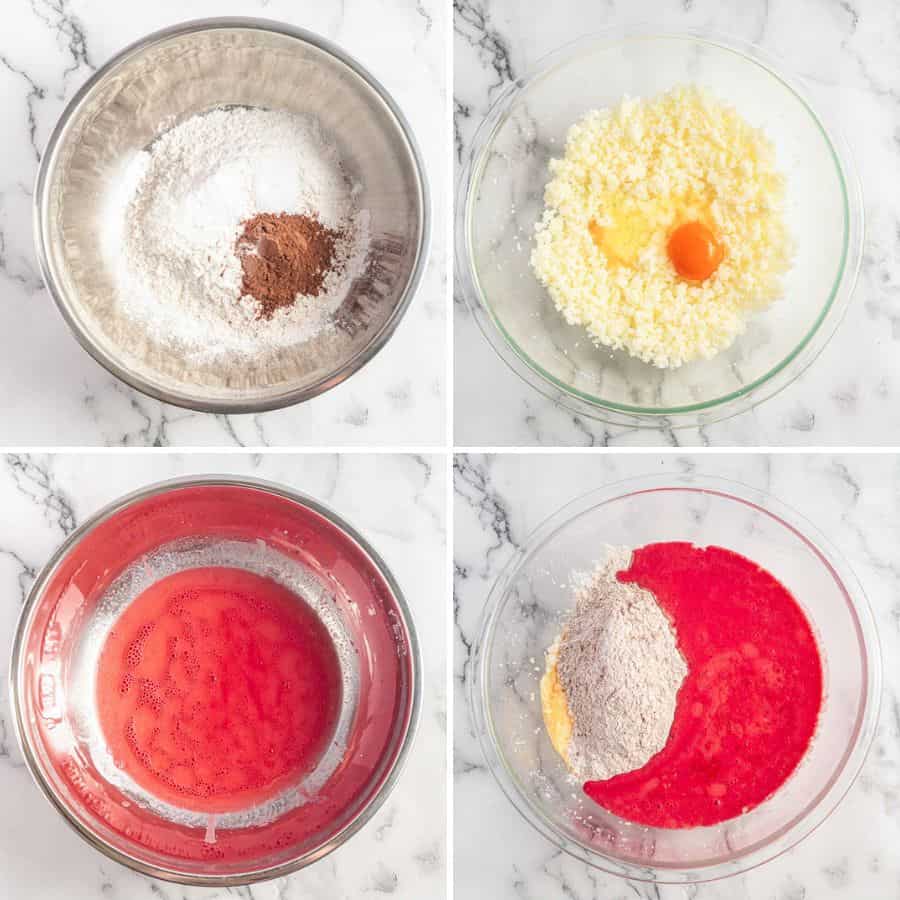
- Mix Dry Ingredients: In a large bowl, whisk together the flour, cocoa powder, baking powder, and salt. Set the bowl aside.
- Cream: In a separate large bowl, cream together the butter and sugar until pale and fluffy. Add the eggs, one at a time, and blend together with an electric mixer on low speed. In a third bowl, whisk together the buttermilk, oil, vinegar, vanilla extract, and red gel food coloring.
- Mix Batter: Pour the buttermilk mixture into the creamed butter and eggs along with half of the dry ingredients. Blend together with an electric mixer on low. When just combined, add in the rest of the dry ingredients. Continue mixing on low until all the ingredients are well combined.
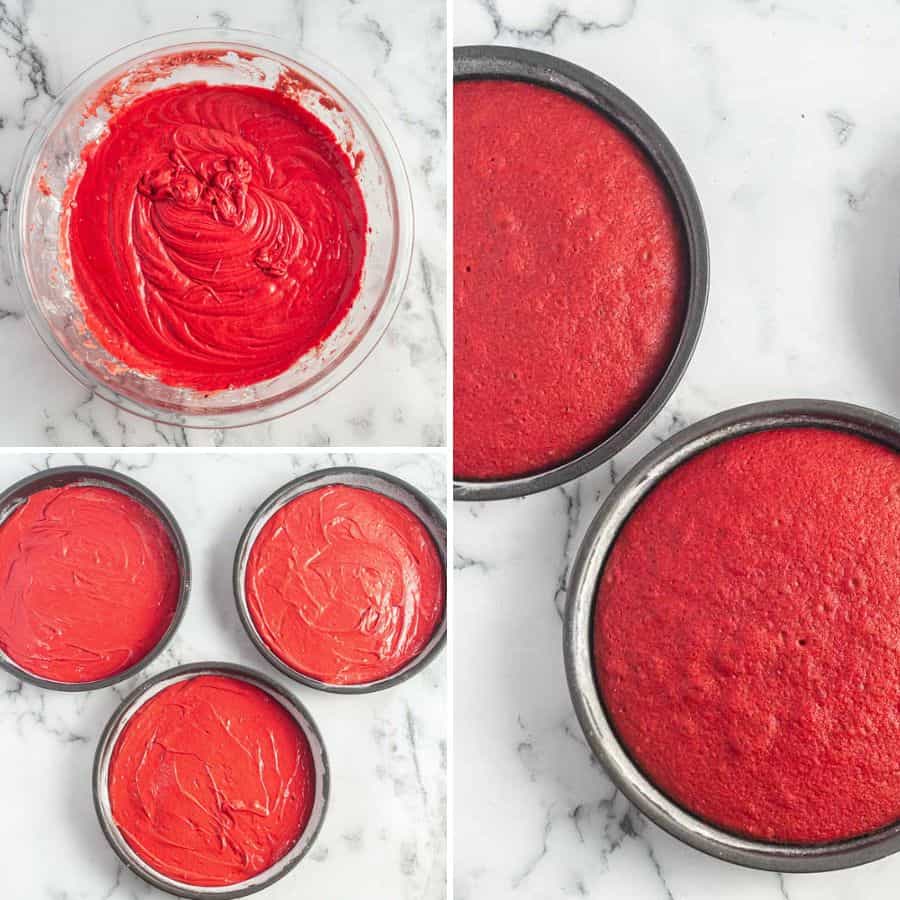
- Bake: Pour the batter evenly into the three cake pans, filling each about halfway full. Bake in the preheated oven for 20-25 minutes, or until a toothpick put in the center of the cake comes out clean. Remove cakes from the oven and let them cool in the pans for 10 minutes. Then remove onto a cooling rack and let rest until completely cool.
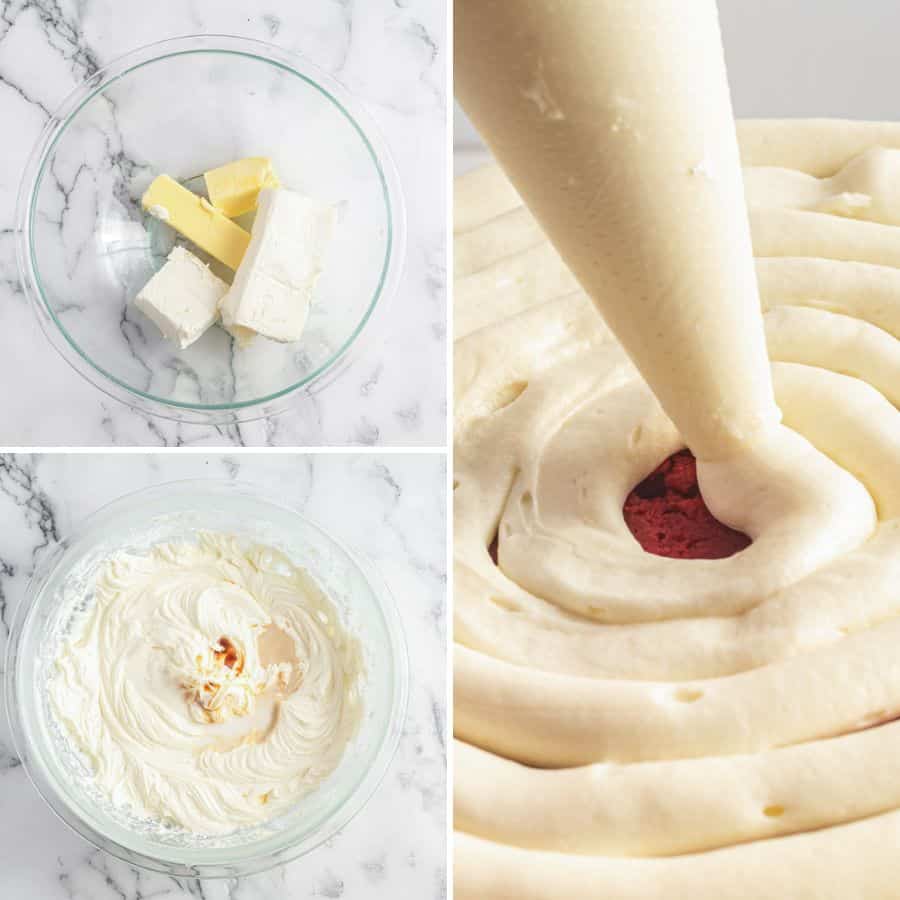
- Make Frosting: White the cakes are cooling, in a large bowl cream together the softened butter and cream cheese with an electric mixer. Gradually add the powdered sugar until it is all combined and mixed smooth. Add two tablespoons of heavy whipping cream and vanilla extract. Blend until smooth. Adjust the consistency if needed by adding additional cream.
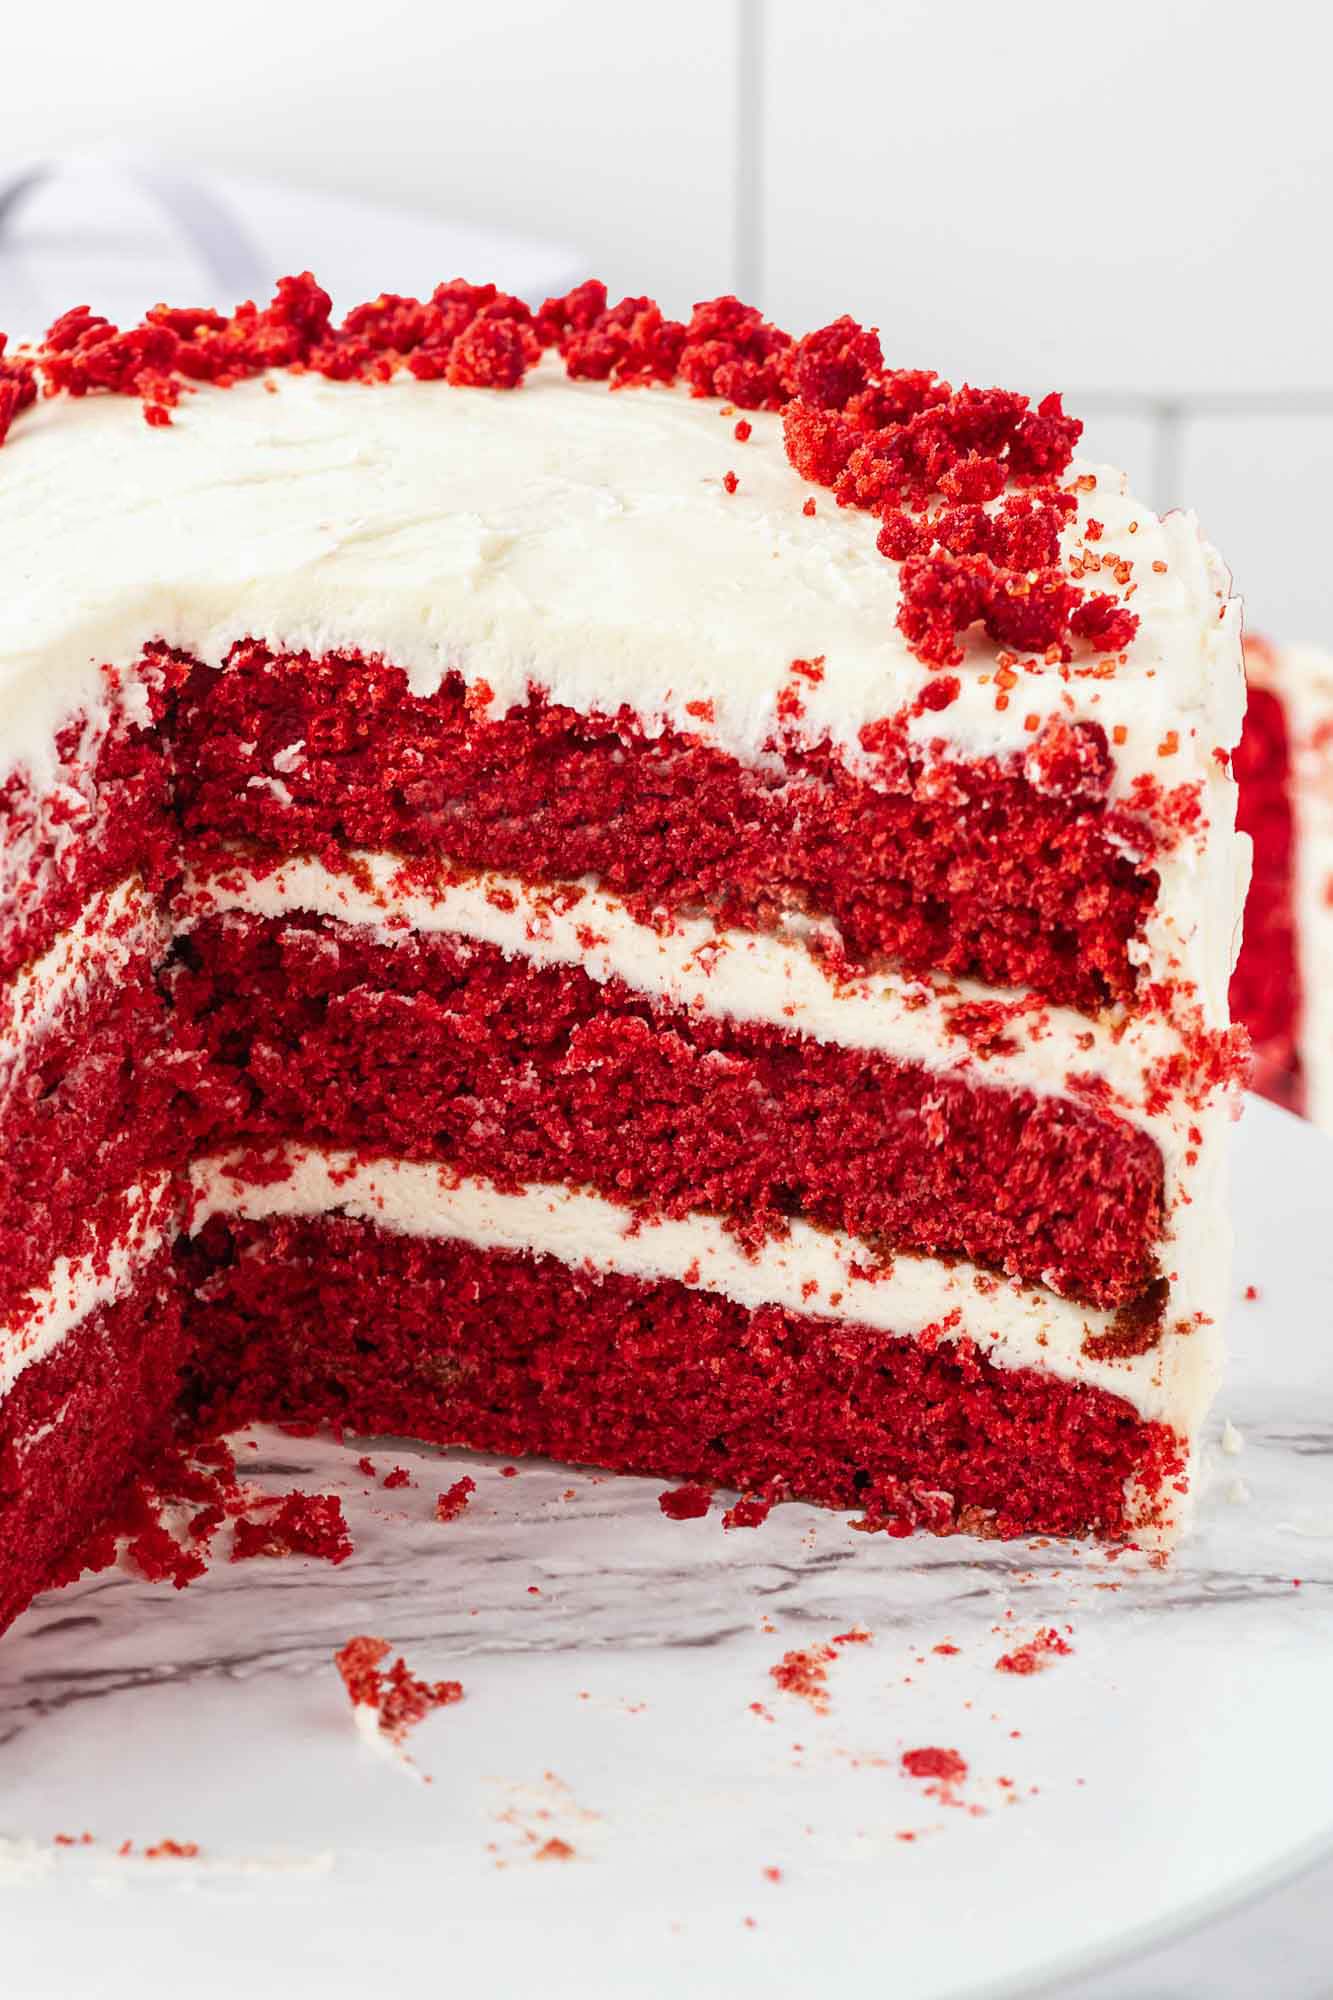
- Layer the Cake: Add your cream cheese frosting to a large piping bag fitted with a large round tip. On a large plate, cake stand, or platter, pipe a dollop of frosting in the middle This will keep the bottom layer of the cake from sliding around. Place one layer of the cake on the plate. Pipe cream cheese frosting on top in a circle, continuing into the middle until the entire top surface is covered in frosting. Spread with a spatula, then repeat with the second and third layers.
- Crumb Coat: Using a spatula or knife, spread a thin layer of frosting on all sides to seal in the crumbs. Place the cake in the fridge for 10-20 minutes.
- Finish: Spread the rest of the frosting onto the sides and top of the Red Velvet Cake. Decorate with red velvet crumbs, extra cream cheese frosting, or sprinkles. Serve and enjoy!
Tip!
If your cake layers dome up too much, you may need to trim or level them for stacking. This is okay though, crumble those pieces and use the crumbs to decorate your red velvet cake!
Red Velvet Cake Tips
Use Gel Food Coloring: You will get a much more vibrant color from using gel-based food coloring, and you won’t be adding additional liquid that could interfere with the recipe. I like Wilton Gel Food Coloring best. If you’re in the UK, I strongly recommend using gel food coloring, the liquid stuff doesn’t work very well here.
Avoid Overmixing: an overmixed cake batter will turn into a tough cake after baking. Mix ingredients just until combined.
Measure Correctly: I have some tricks for making sure you’re measuring your ingredients correctly! When baking, it’s important to accurately measure everything to get the best results in the end.
Use Good Cake Pans: For beautiful layer cakes, straight-sided cake pans will give you the best results. I use these 9-inch nonstick pans and get amazing results every time.
For Easier Frosting: Use an offset spatula to get smooth frosting on your cakes easily. It’s great for frosting cookies and cupcakes too.
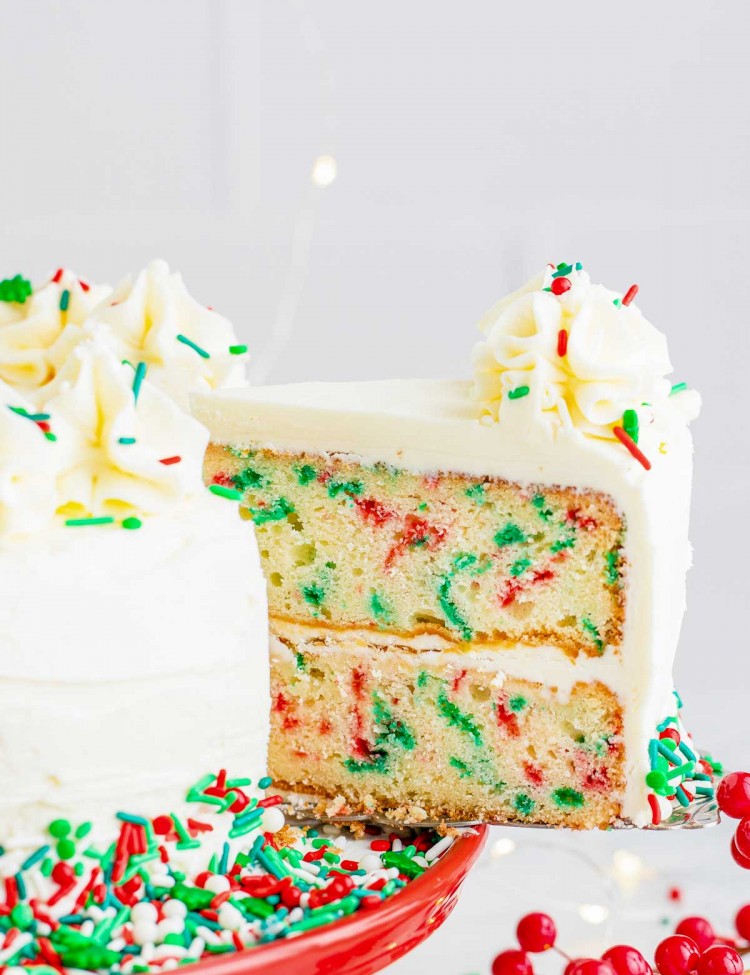
Love Layer Cakes? Try making this amazing (and gluten-free!) Carrot Cake, an Easy Banana Cake, a Chocolate Sunflower Cake, or a Funfetti Layer Cake.
How to Store Red Velvet Cake
Store your cake in the refrigerator in an airtight container for up to three days. You can also freeze this cake and frosting, separately, if you plan to serve it in the next 3 months. Wrap each cake layer with plastic wrap and place it into an airtight container before freezing. Allow to thaw fully before stacking and frosting.
What to Serve with Red Velvet Cake
It depends. What special occasion are you celebrating with a Red Velvet Cake?
For a special, romantic Valentine’s Day Dinner, Serve Marry Me Chicken or Salmon Wellington.
Is it Christmas? You should make this Honey Baked Ham with Broccoli Casserole.
To impress everyone at a big Family Dinner, try making my Bacon Wrapped Chicken Breasts, or a delicious Garlic Herb Butter Roast Chicken. Serve either with creamy Boursin Mashed Potatoes.
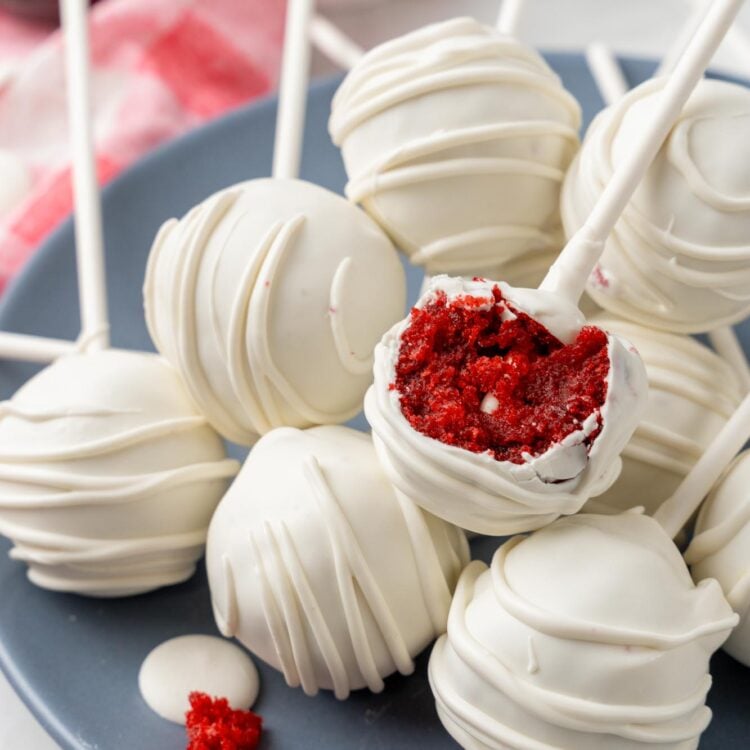
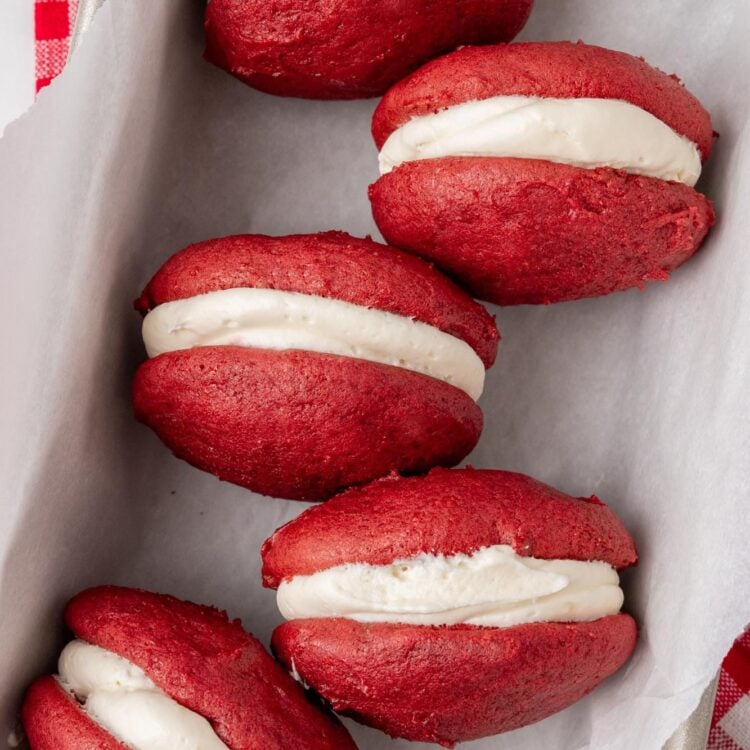
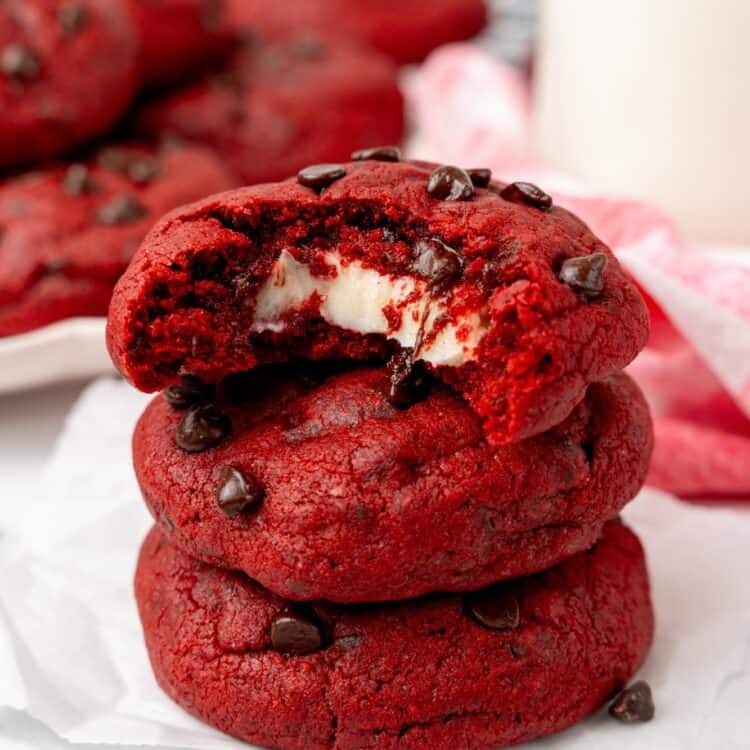
More Red Velvet Recipes
This classic cake recipe is the basis for many other tasty red velvet treats. Try one, or Pin them all to bake later!
Recipe FAQs
The flavor of red velvet cake is similar to the flavor of chocolate, but also very different. The combination of ingredients such as vinegar and buttermilk in red velvet cake give it a finer, richer, smoother chocolate flavor. Nothing else tastes quite like red velvet cake, it is its own distinct flavor.
Velvet cakes were made popular in the Victorian era. The practice of adding cocoa powder, corn starch, or almond flour to wheat flour softened the protein in the cakes, making them smoother than other cakes, with a texture similar to velvet. Velvet cakes were considered luxurious and fancy.
You can! Make faux buttermilk by adding an extra tablespoon of vinegar to 1 cup of whole milk. Give it a stir and let it sit for a few minutes, it will thicken up and work just the same as buttermilk in this cake recipe.
Save this recipe! I know that after you taste it you’ll want to make it again and again!
Did you make this? Be sure to leave a review below and tag me on Facebook, Instagram, or Pinterest!
Red Velvet Cake
Equipment
- 3 9-inch cake pans 22 cm
Ingredients
For the Cake:
- 2 ½ cups (310 grams) all purpose flour plus extra for dusting pans
- 2 tablespoons unsweetened cocoa powder
- 1 teaspoon baking soda
- 1 teaspoon salt
- ½ cup (113 grams) unsalted butter 1 stick, softened
- 1 ½ cups (300 grams) granulated sugar
- 2 large eggs at room temperature
- 1 cup (225 grams) buttermilk 8 ounces
- ¾ cup (180 ml) vegetable oil
- 1 teaspoon white vinegar
- 1 teaspoon pure vanilla extract
- 1 ½ teaspoons red gel food coloring
For the Cream Cheese Frosting:
- ¾ cup (170 grams) unsalted butter 1 and ½ sticks, softened
- 12 ounces (340 grams) cream cheese 1 and ½ blocks, softened
- 5 cups (650 grams) powdered sugar
- 2 teaspoons pure vanilla extract
- 2 tablespoons heavy whipping cream (double cream in the UK)
Instructions
- Preheat oven to 350°F/180°C. Grease three 9-inch cake tins with shortening, and dust each pan with 1 tablespoon of flour.
- In a large bowl, whisk together the flour, cocoa powder, baking powder, and salt. Set aside.
- In a separate large bowl, cream together the butter and sugar until pale and fluffy.
- Add the eggs, one at a time, and blend together with an electric mixer on low speed.
- In a third bowl, pour the buttermilk, oil, vinegar, vanilla extract, and red gel food coloring, and whisk together briefly.
- Pour the buttermilk mixture into the creamed butter and eggs, along with half of the dry ingredients.
- Blend together with an electric mixer on low. When just combined, add in the rest of the dry ingredients. Continue mixing on low until all the ingredients are well combined.
- Pour the batter into the cake pans about halfway full, using a digital kitchen scale to make sure amounts are equal.
- Bake in the preheated oven for 20-25 minutes, or until a toothpick put in the center comes out clean.
- Let the cakes cool in the pans for 10 minutes, then remove from the pans onto a cooling rack. Leave the cakes to rest until completely cool.
- While the cakes are cooling, in a large bowl cream together the softened butter and cream cheese with an electric mixer.
- Gradually add the powdered sugar until it is all combined and mixed smooth.
- Add 2 tablespoons of heavy whipping cream and the vanilla extract, and blend until smooth. If the frosting is still thick, add the last tablespoon of heavy whipping cream. Put the cream cheese frosting in a piping bag with a large round piping tip.
- On a large plate, cake stand or platter, pipe a dollop of frosting in the middle. This will keep the bottom layer of the cake from sliding around.
- Place one layer of the cake on the plate. Pipe the cream cheese frosting on top in a circle, continuing into the middle until the entire top surface is covered in frosting. Spread out the frosting with a spatula, then repeat with the second and third layers.
- Using a spatula or a knife, spread a thin layer of frosting on the sides. Refrigerate the cake for 10 to 20 minutes.
- Spread on the rest of the frosting on to the sides of the cake.
- Decorate with red velvet crumbs, extra cream cheese frosting, or sprinkles. Serve and enjoy!
Notes:
- Use Gel Food Coloring: You will get a much more vibrant color from using gel-based food coloring, and you won’t be adding additional liquid that could interfere with the recipe. I like Wilton Gel Food Coloring best. If you’re in the UK, I strongly recommend using gel food coloring, the liquid stuff doesn’t work very well here.
- Store your cake in the refrigerator in an airtight container for up to three days. You can also freeze this cake and frosting, separately, if you plan to serve it in the next 3 months. Wrap each cake layer with plastic wrap and place it into an airtight container before freezing. Allow to thaw fully before stacking and frosting.
Nutrition Information
This website provides approximate nutrition information for convenience and as a courtesy only. Nutrition data is gathered primarily from the USDA Food Composition Database, whenever available, or otherwise other online calculators.
© Little Sunny Kitchen
Mary Kate says
I just made this recipe and put the pans in the oven. I’m so confused though, because I followed the ingredients to a T, even using my scale to use grams for dry ingredients and buttermilk, however, I was only able to fill TWO 9-inch round pans to almost halfway, so I wouldn’t have been able to fill halfway anywhere near three pans. I don’t understand how one gets three 9” pans filled halfway with this.
Little Sunny Kitchen says
Different cake pans might be different depths. I think the best way is to just ensure that each pan has the same amount of batter in it. That way, you’ll have three even cake layers. Hope that helps!
Freya says
My sister loves red velvet cake— it is by far her favourite dessert. For her birthday this year, I decided to make her one myself using this recipe, and she adored it! She said it was the best red velvet cake she’s ever had (and she’s had a lot). It’s the perfect combo of moist, sweet, and rich, and the cream cheese icing is the exact right mix of ingredients so that none of them overpower the others. Will definitely be making this again, and will for sure be my go-to recipe for red velvet from now on!
Little Sunny Kitchen says
Thank you so much for trying my recipe, Freya! I’m so happy that your sister loved it for her birthday.