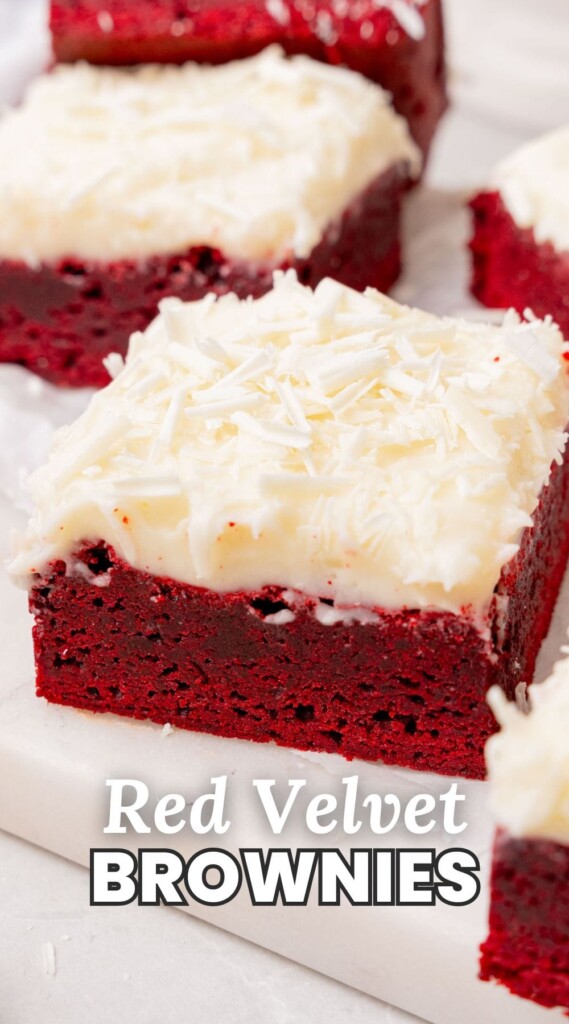
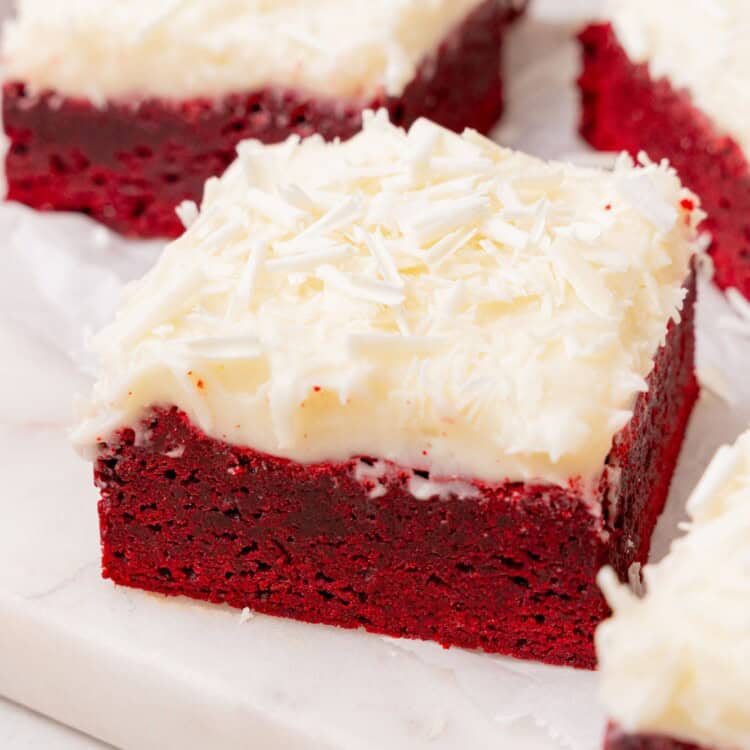
These homemade Red Velvet Brownies are the ultimate red velvet dessert!
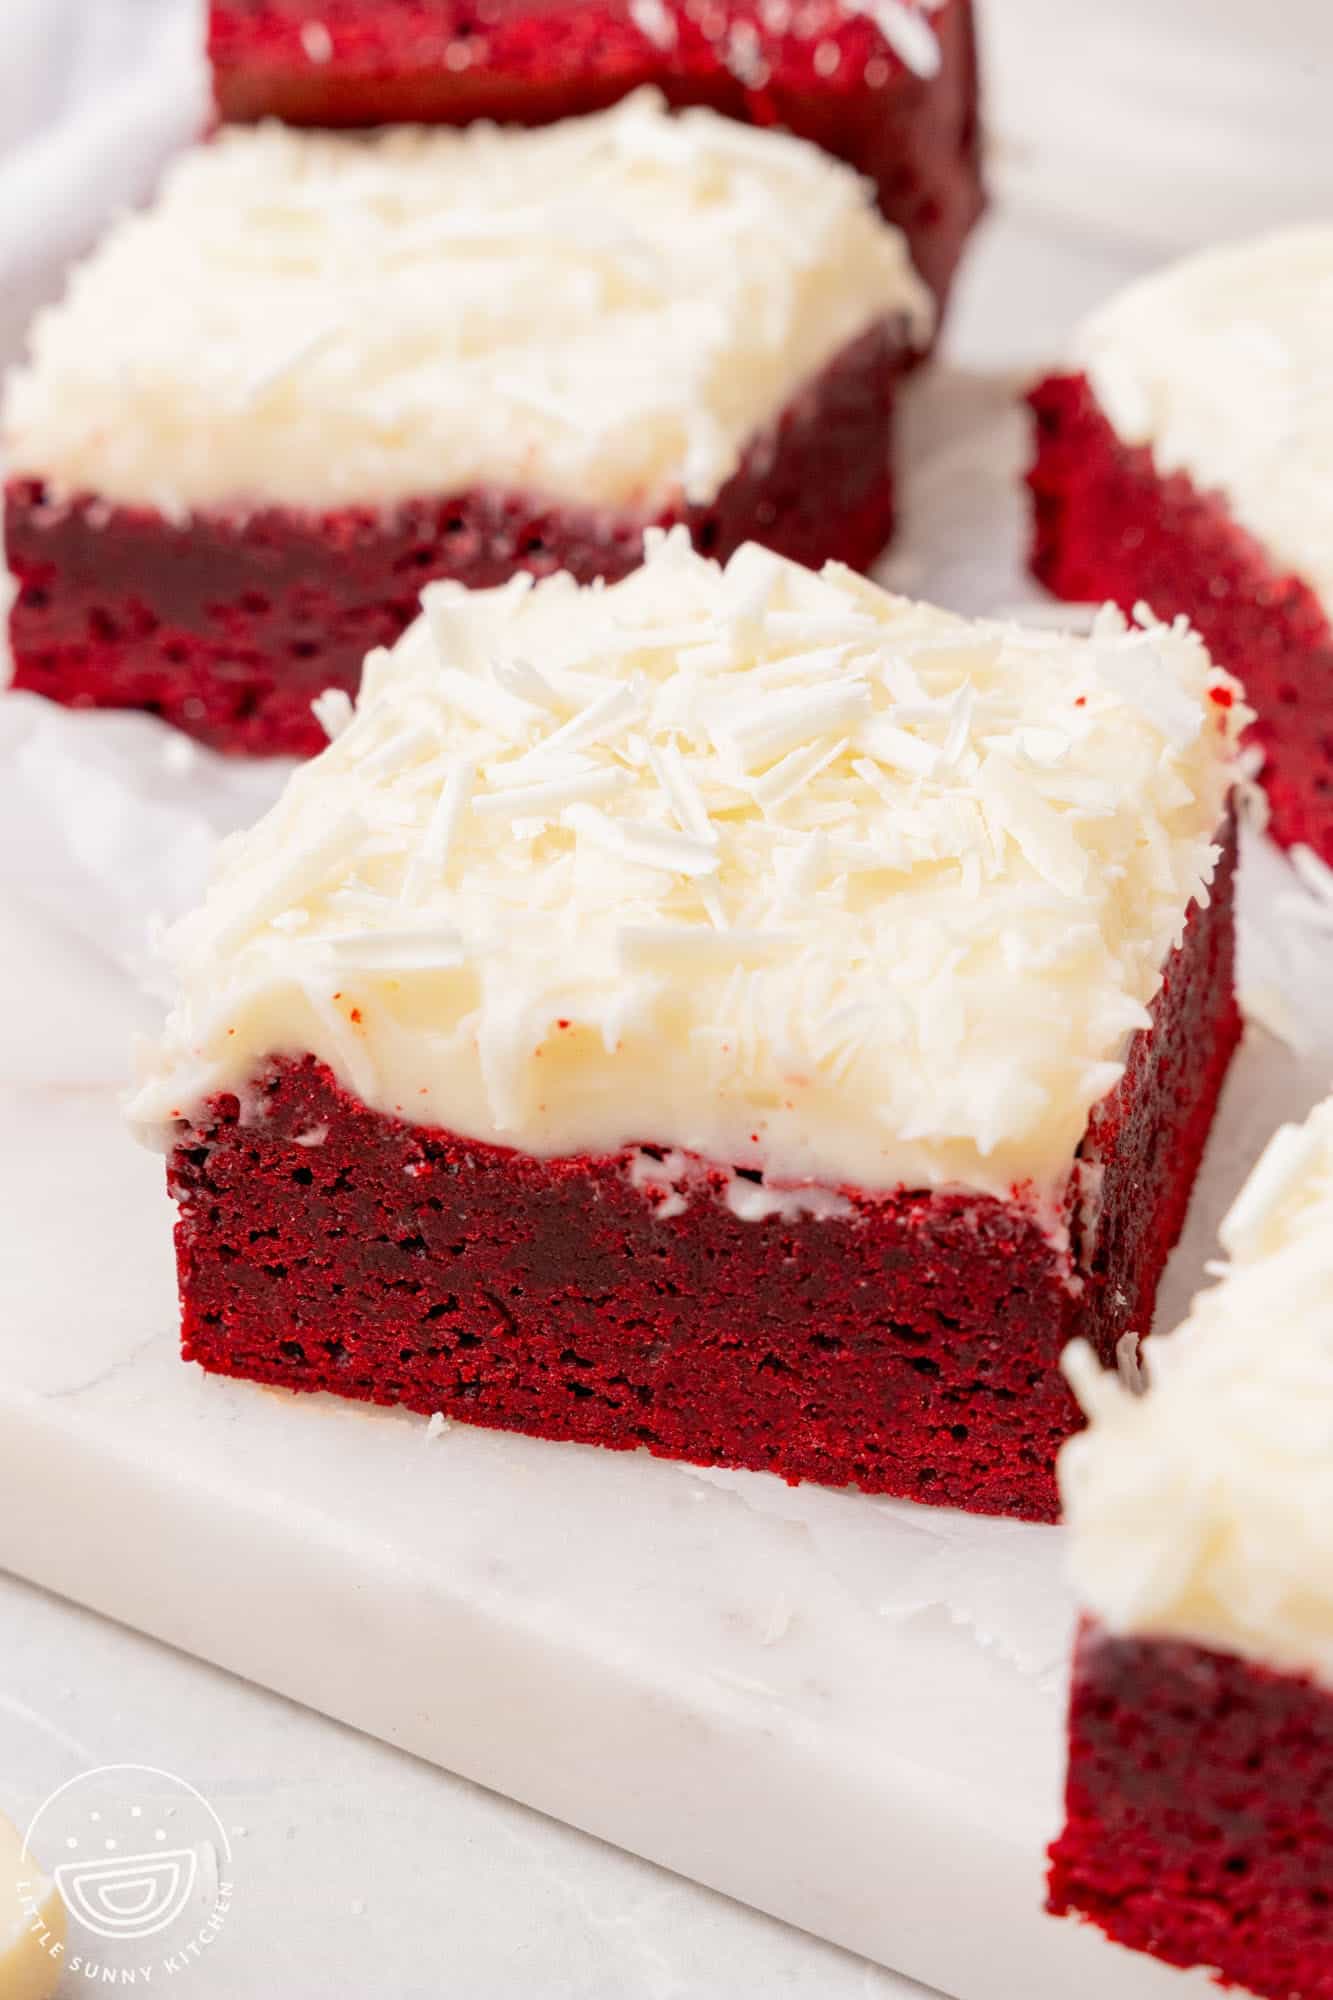
Soft and chewy brownies with the classic deep burgundy color of red velvet are topped with a tangy cream cheese frosting and white chocolate shavings to make them extra special.
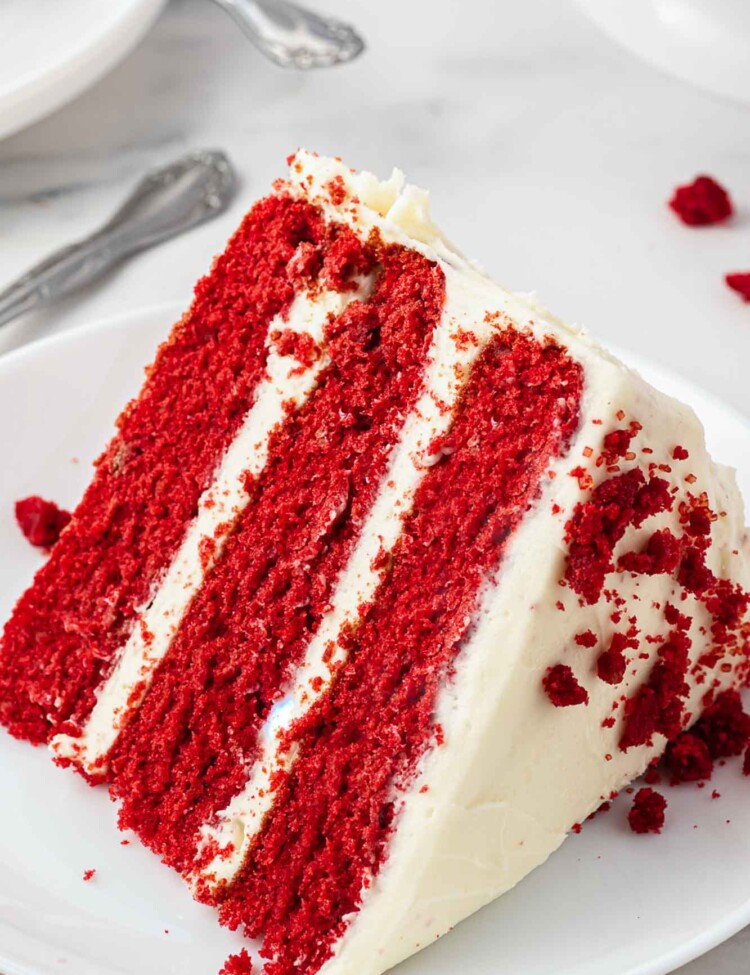
This recipe for red velvet brownies is just as amazing as my red velvet layer cake, but with fewer steps! It’s the easiest way to get a decadent red velvet and cream cheese frosting dessert on the table with minimal fuss.
About Red Velet
Have you ever wondered why red velvet is red? Or maybe you aren’t quite sure what flavor red velvet is, or what makes it so special? Here’s a little bit of info before we get to baking.
Velvet cakes were created in the 1800’s when bakers started adding cocoa to cakes to make them more special. The type of cocoa used back them was different than the processed cocoa powder we use now, and so when it was mixed in cake batters with tenderizing agents like buttermilk or vinegar, it created a chemical reaction. The chocolate flavored cake turned a reddish brown color!
Modern red velvet recipes rely on food coloring to create the traditional red color of this velvety-textured cake, but the classic flavor is still there. In my red velvet brownies, I add apple cider vinegar to create the tender texture and unique flavor that red velvet is known for.
If you’re looking for more fun and unique red velvet dessert recipes, try these Red Velvet Brookies, Red Velvet Pound Cake, or Red Velvet Thumbprints.
The Best Red Velvet Brownies
- Fun for Valentine’s Day – Red velvet desserts have become popular for Valentine’s day because of their rich red flavor. These are perfect for your holiday celebrations, and you can easily double the recipe if you’re having a party.
- Fudgy, soft, and chewy – With the tangy and creamy frosting on top, these brownies have the perfect balance of flavors and texture.
- An Easy Recipe – These red velvet brownies are made with common pantry ingredients and come together primarily all in one bowl. Follow along with the recipe and you’re sure to have the perfect plate of red brownies in no time!
Red Velvet Brownies Ingredients
Here’s what you need to make these decadent homemade brownies:
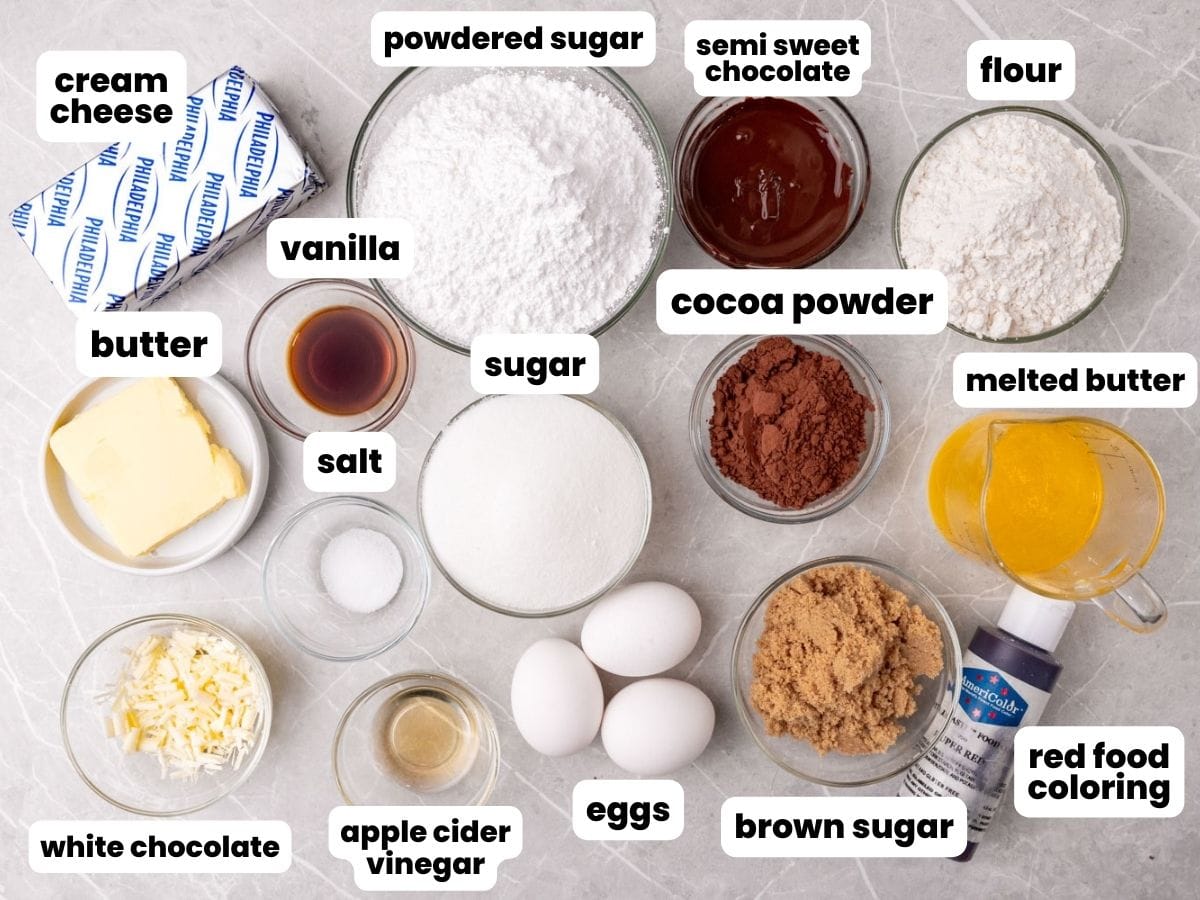
- Dry Ingredients: All purpose flour, cocoa powder, and salt.
- Sugar: To get the perfect soft texture, I’m using mostly granulated sugar with a bit of light brown sugar too.
- Eggs: Allow your eggs to come to room temperature before you mix up the brownie batter. This is the key to getting a smooth, well-mixed brownie recipe.
- Chocolate: to impart even more chocolate flavor, a few ounces of melted semi-sweet chocolate. You can use chocolate chips, or a bar of chocolate that you’ve chopped and melted.
- Butter: Melted unsalted butter gives us the perfect amount of moisture and buttery flavor.
- Vanilla Extract: Vanilla elevates the chocolate flavor, making it even more rich.
- Apple Cider Vinegar: This ingredient is important! The acidity that vinegar adds to the brownie batter is what makes the brownies velvety smooth.
- Red Food Coloring: It’s best to use gel food coloring, as you’ll need to add a good amount of it to this recipe, and you won’t be able to reach the deep red color you want using liquid food colors.
- For the Frosting: Softened cream cheese and butter are blended with powdered sugar. Add shaved white chocolate too!
Complete list of ingredients and amounts can be found in the recipe card below.
How To Make Red Velvet Brownies
Start by preheating the oven to 350°F (180°C). line a 9×9-inch baking pan with parchment paper and set it aside while you make the brownie batter.
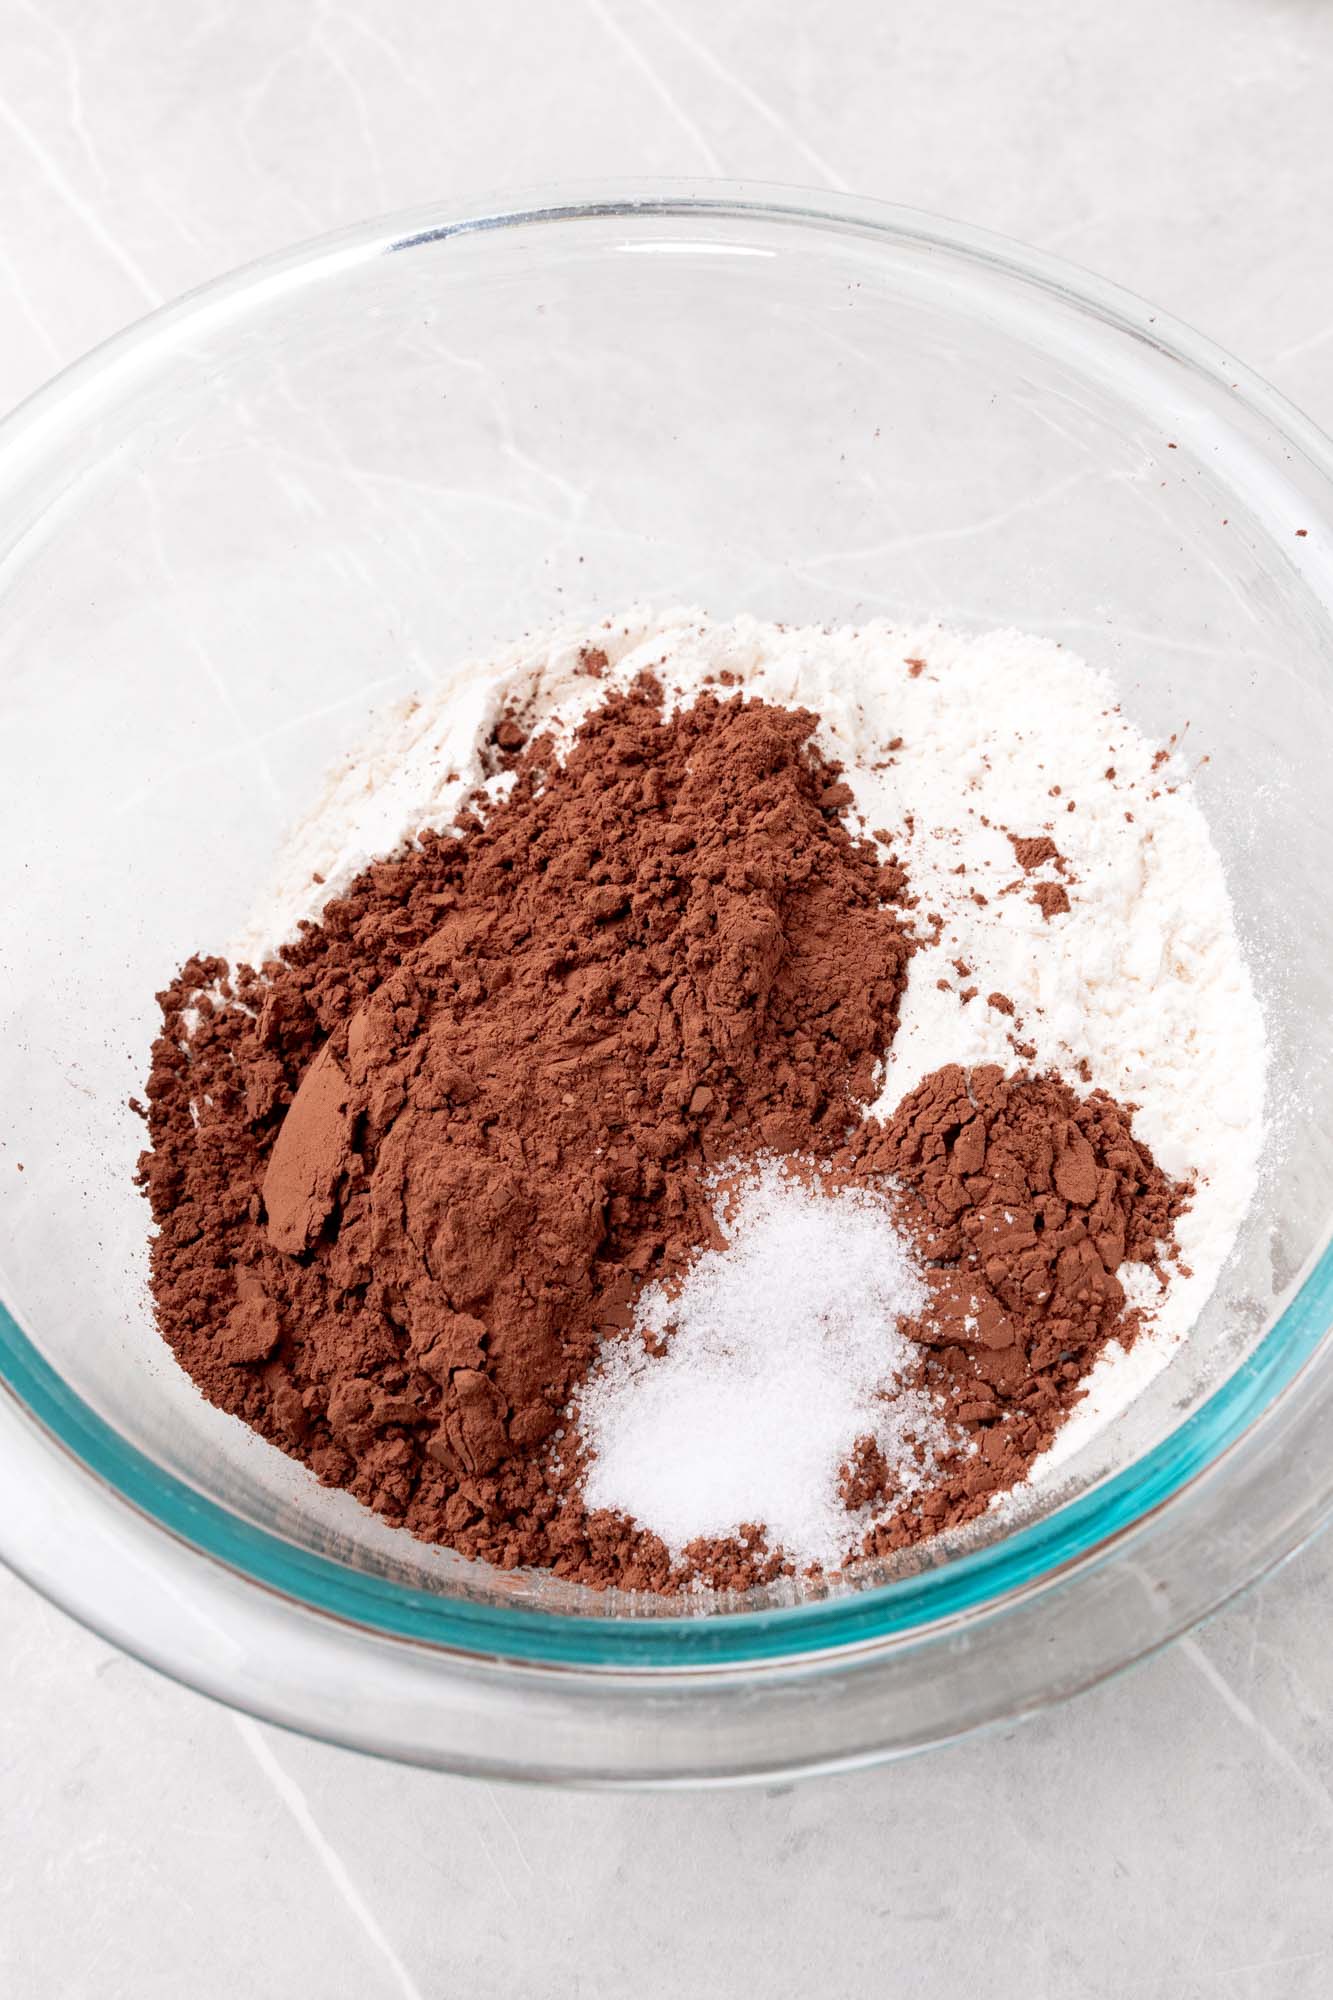
- Mix the Dry Ingredients: In a medium bowl, whisk together the flour, cocoa powder, and salt; set aside.
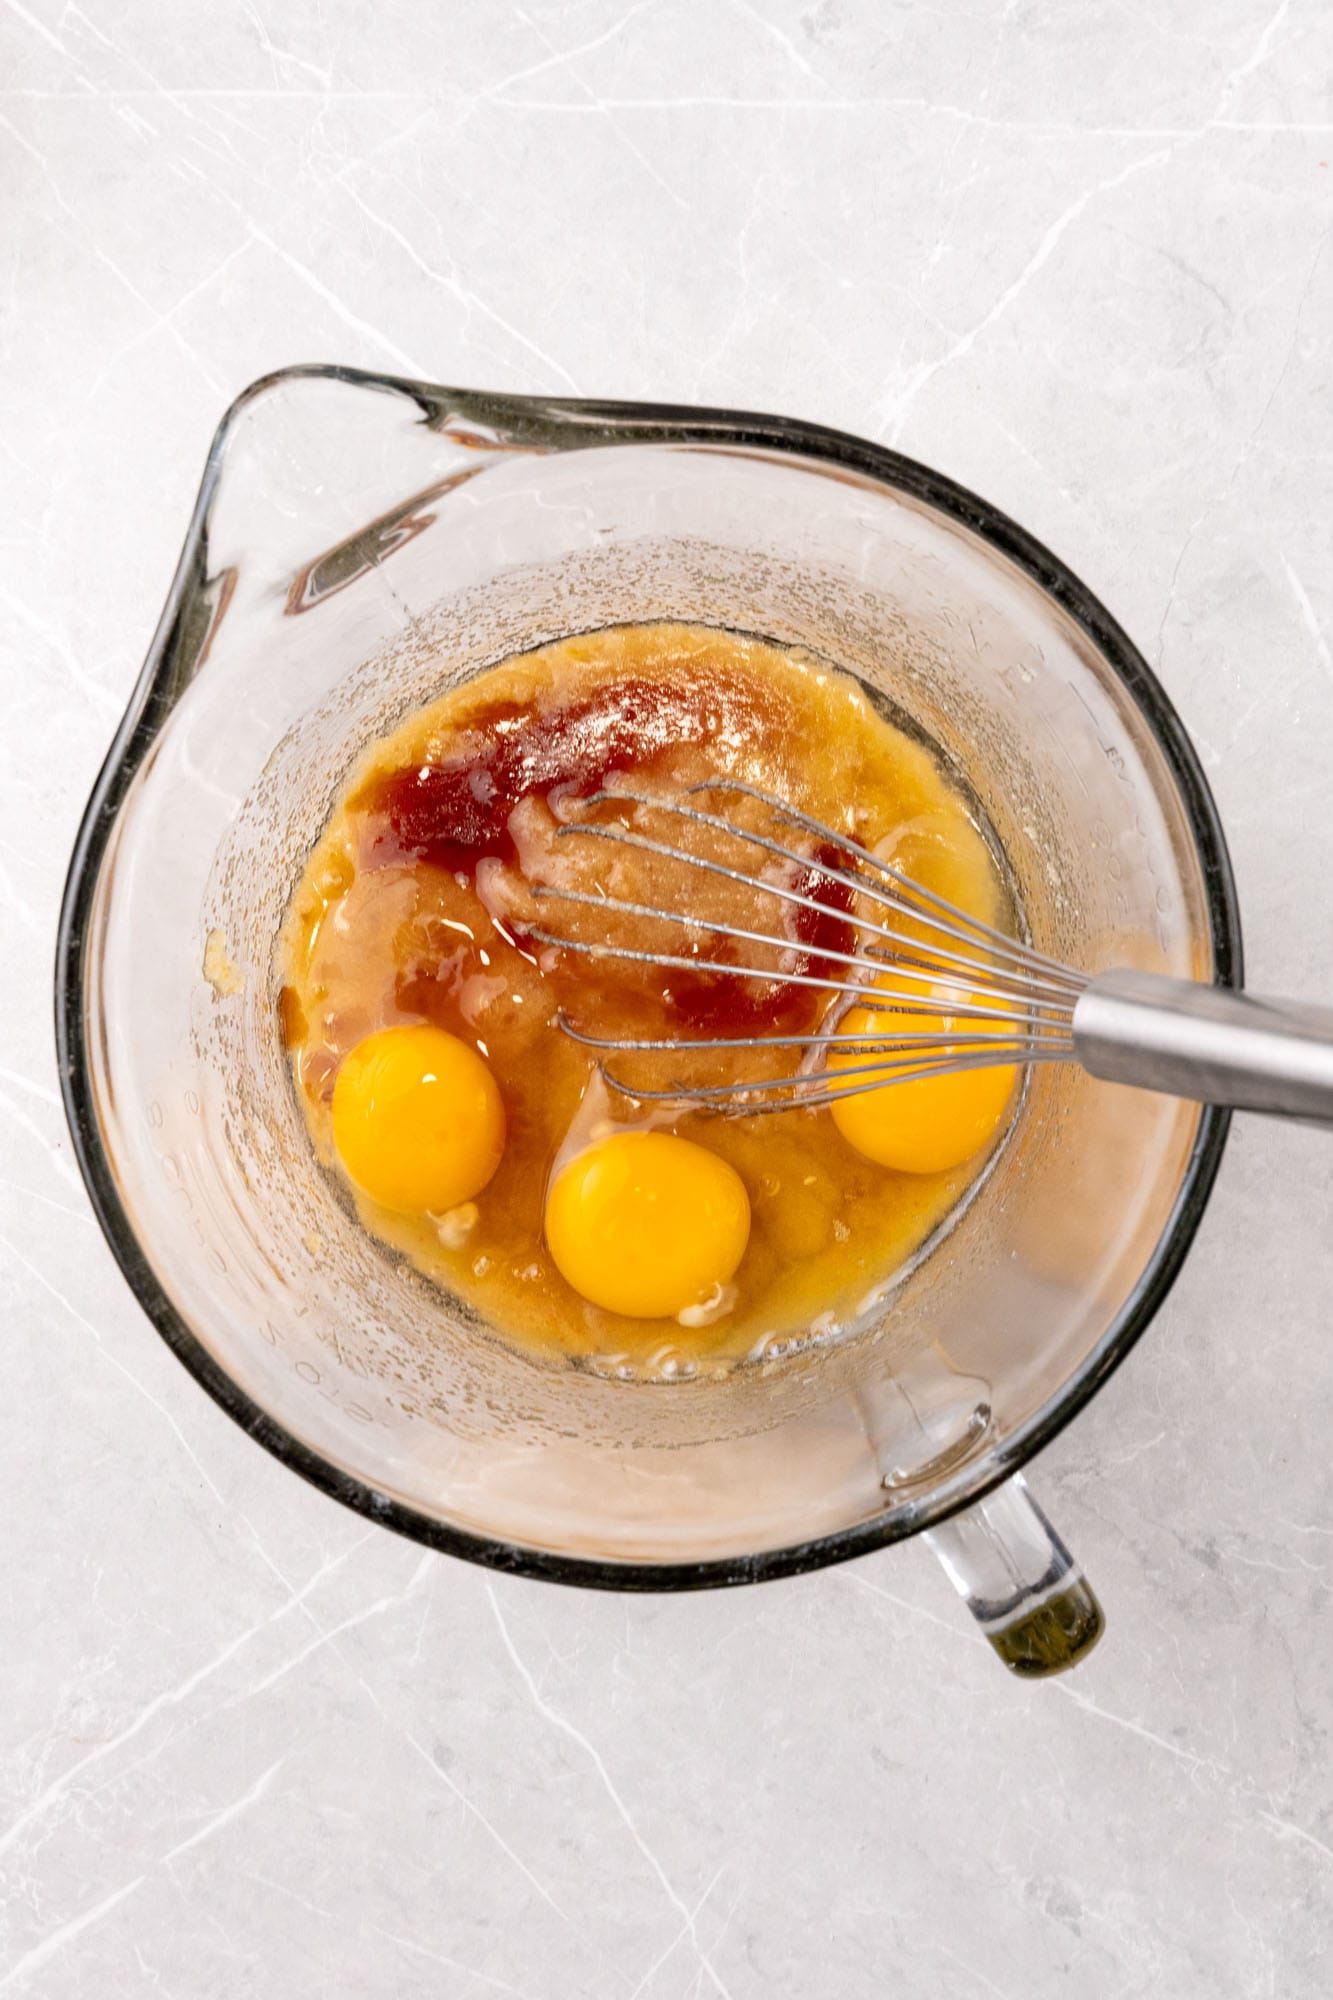
- Mix the Wet Ingredients: In a separate bowl, whisk together the melted butter, sugar and brown sugar until smooth. Add the eggs, vanilla extract, and apple cider vinegar and whisk until combined.
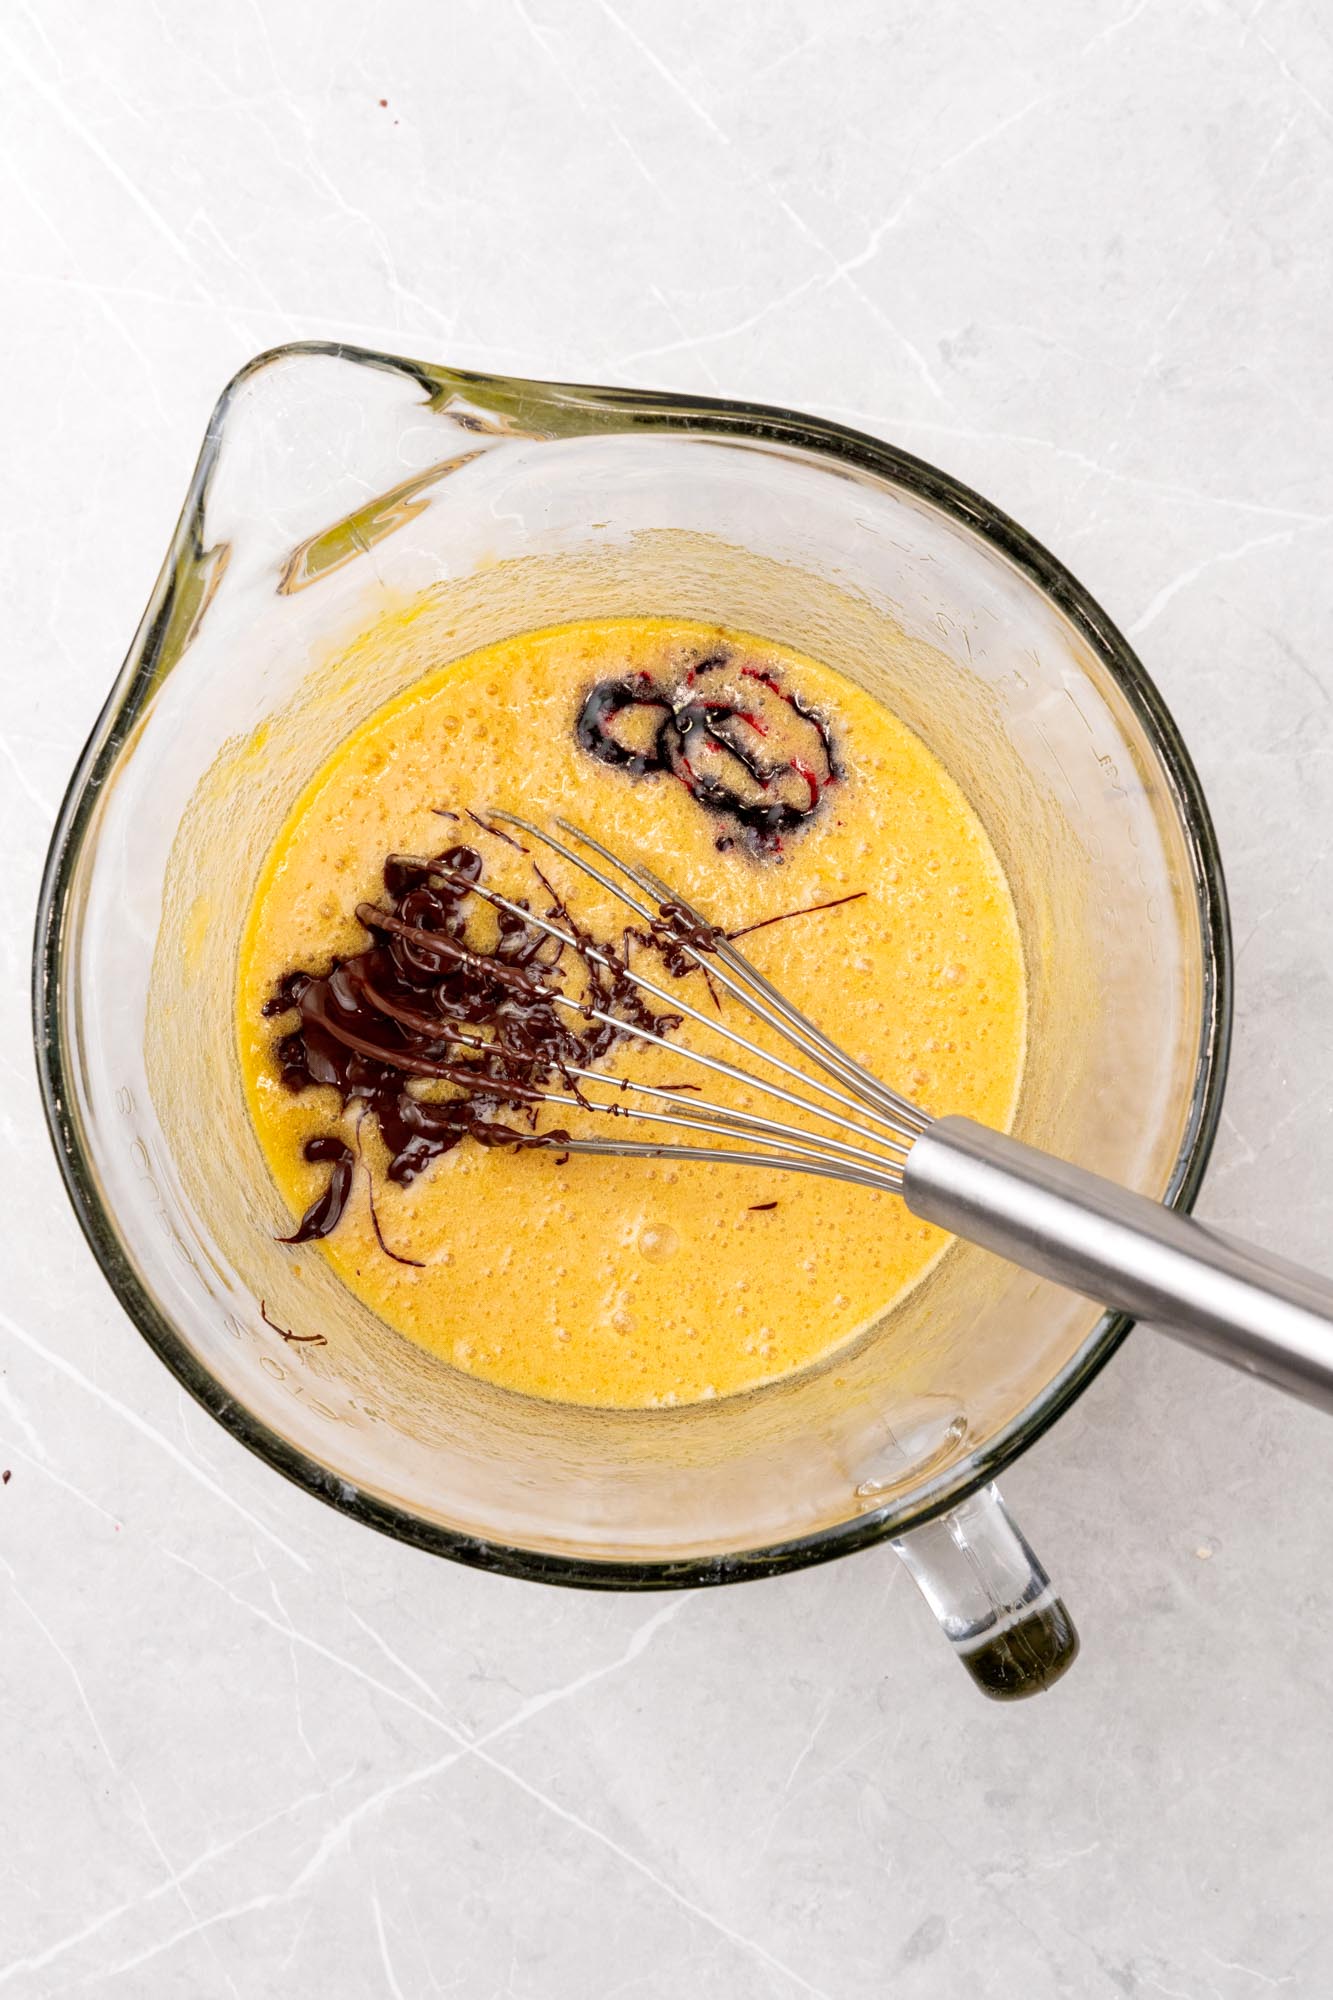
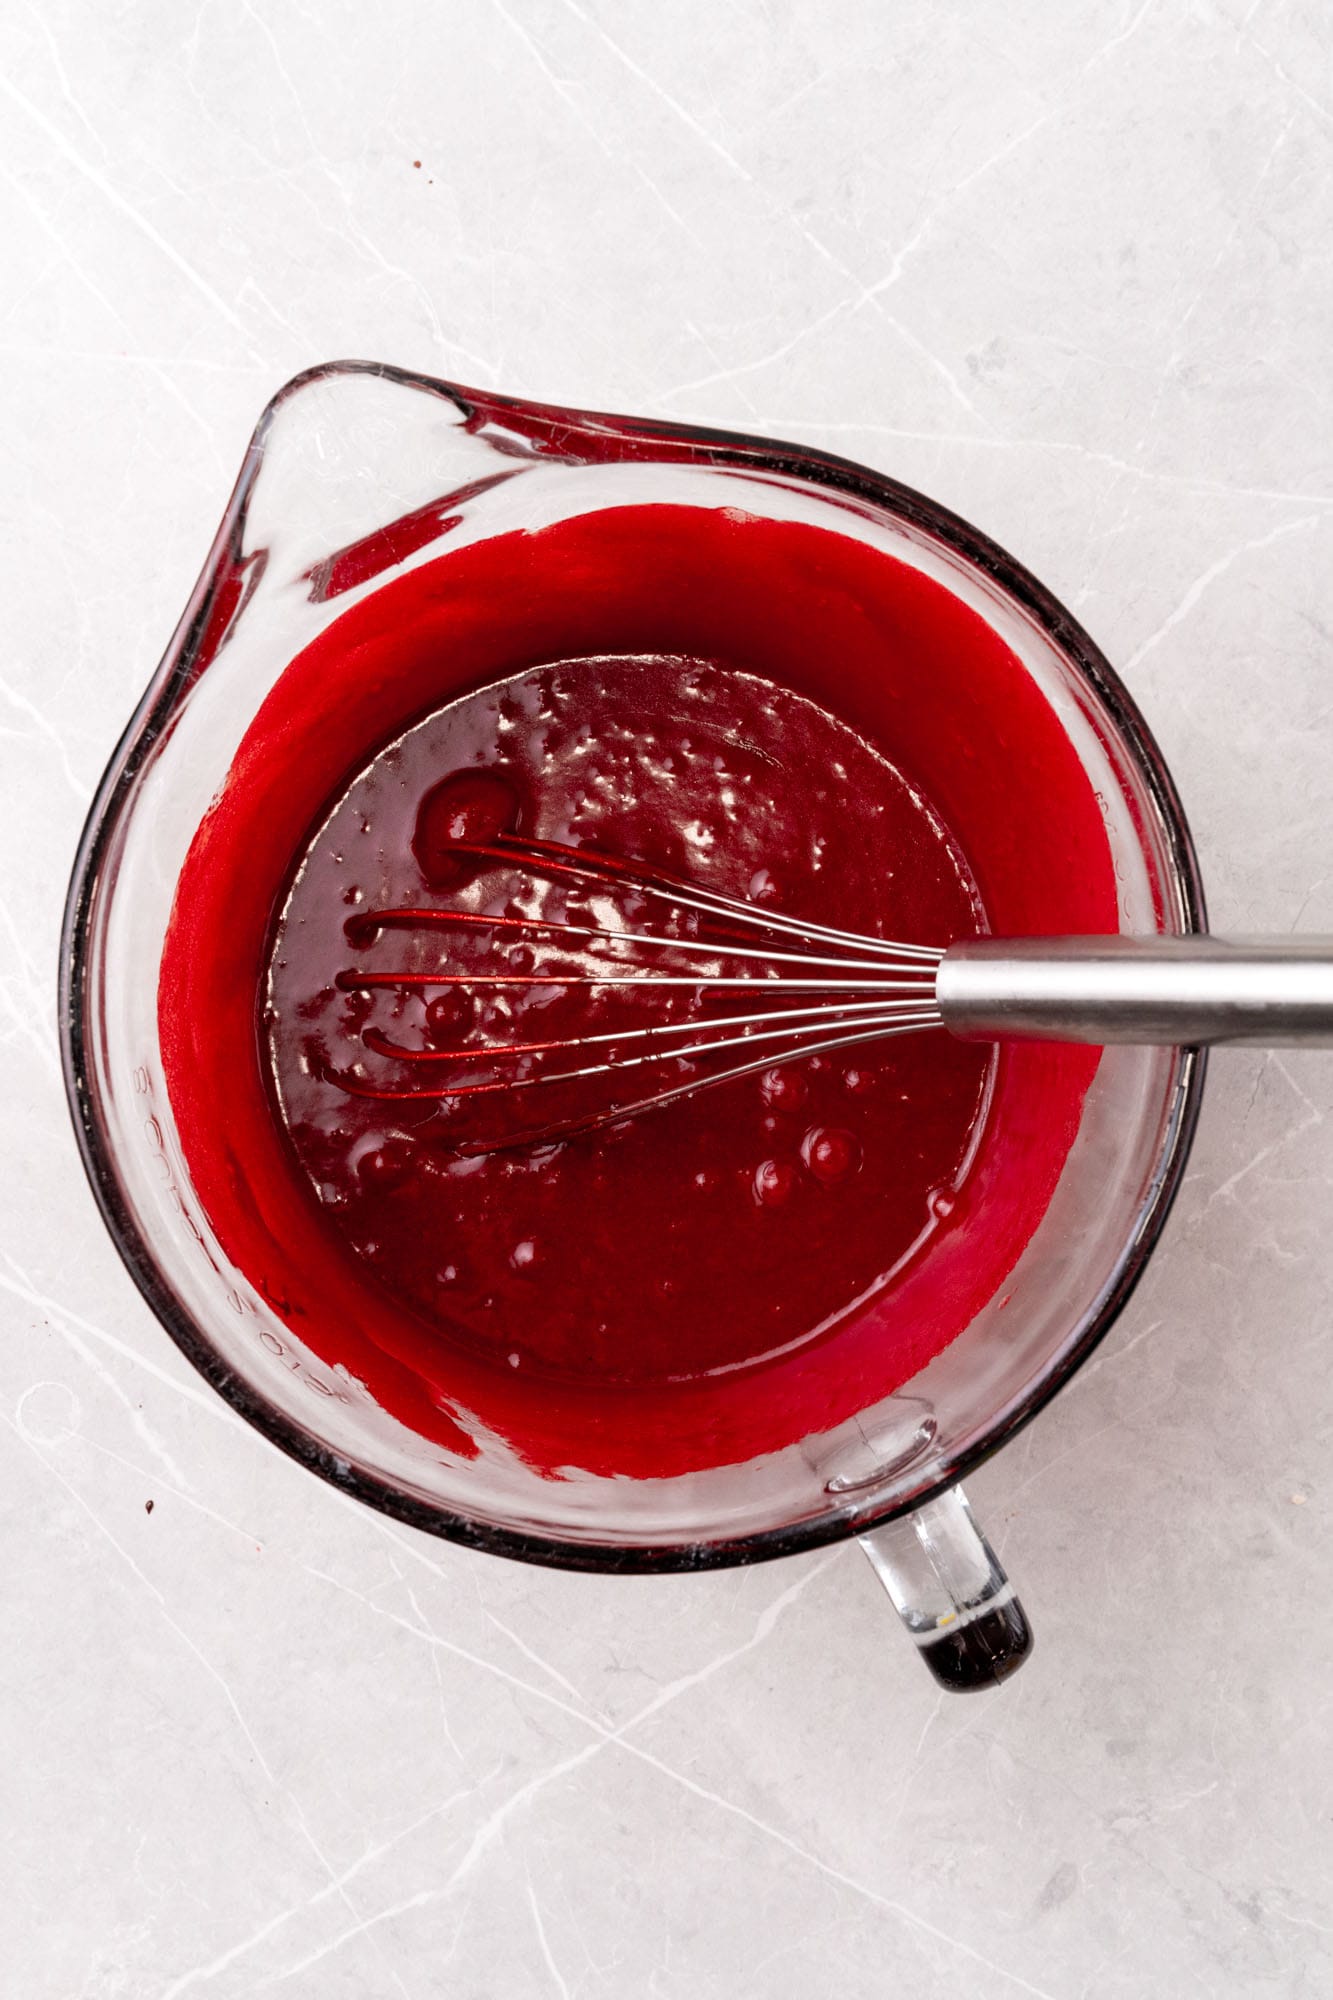
- Add Chocolate and Food Coloring: Stir in the melted chocolate and red food coloring. continue to add food coloring a drop at a time until the desired shade of red is reached.
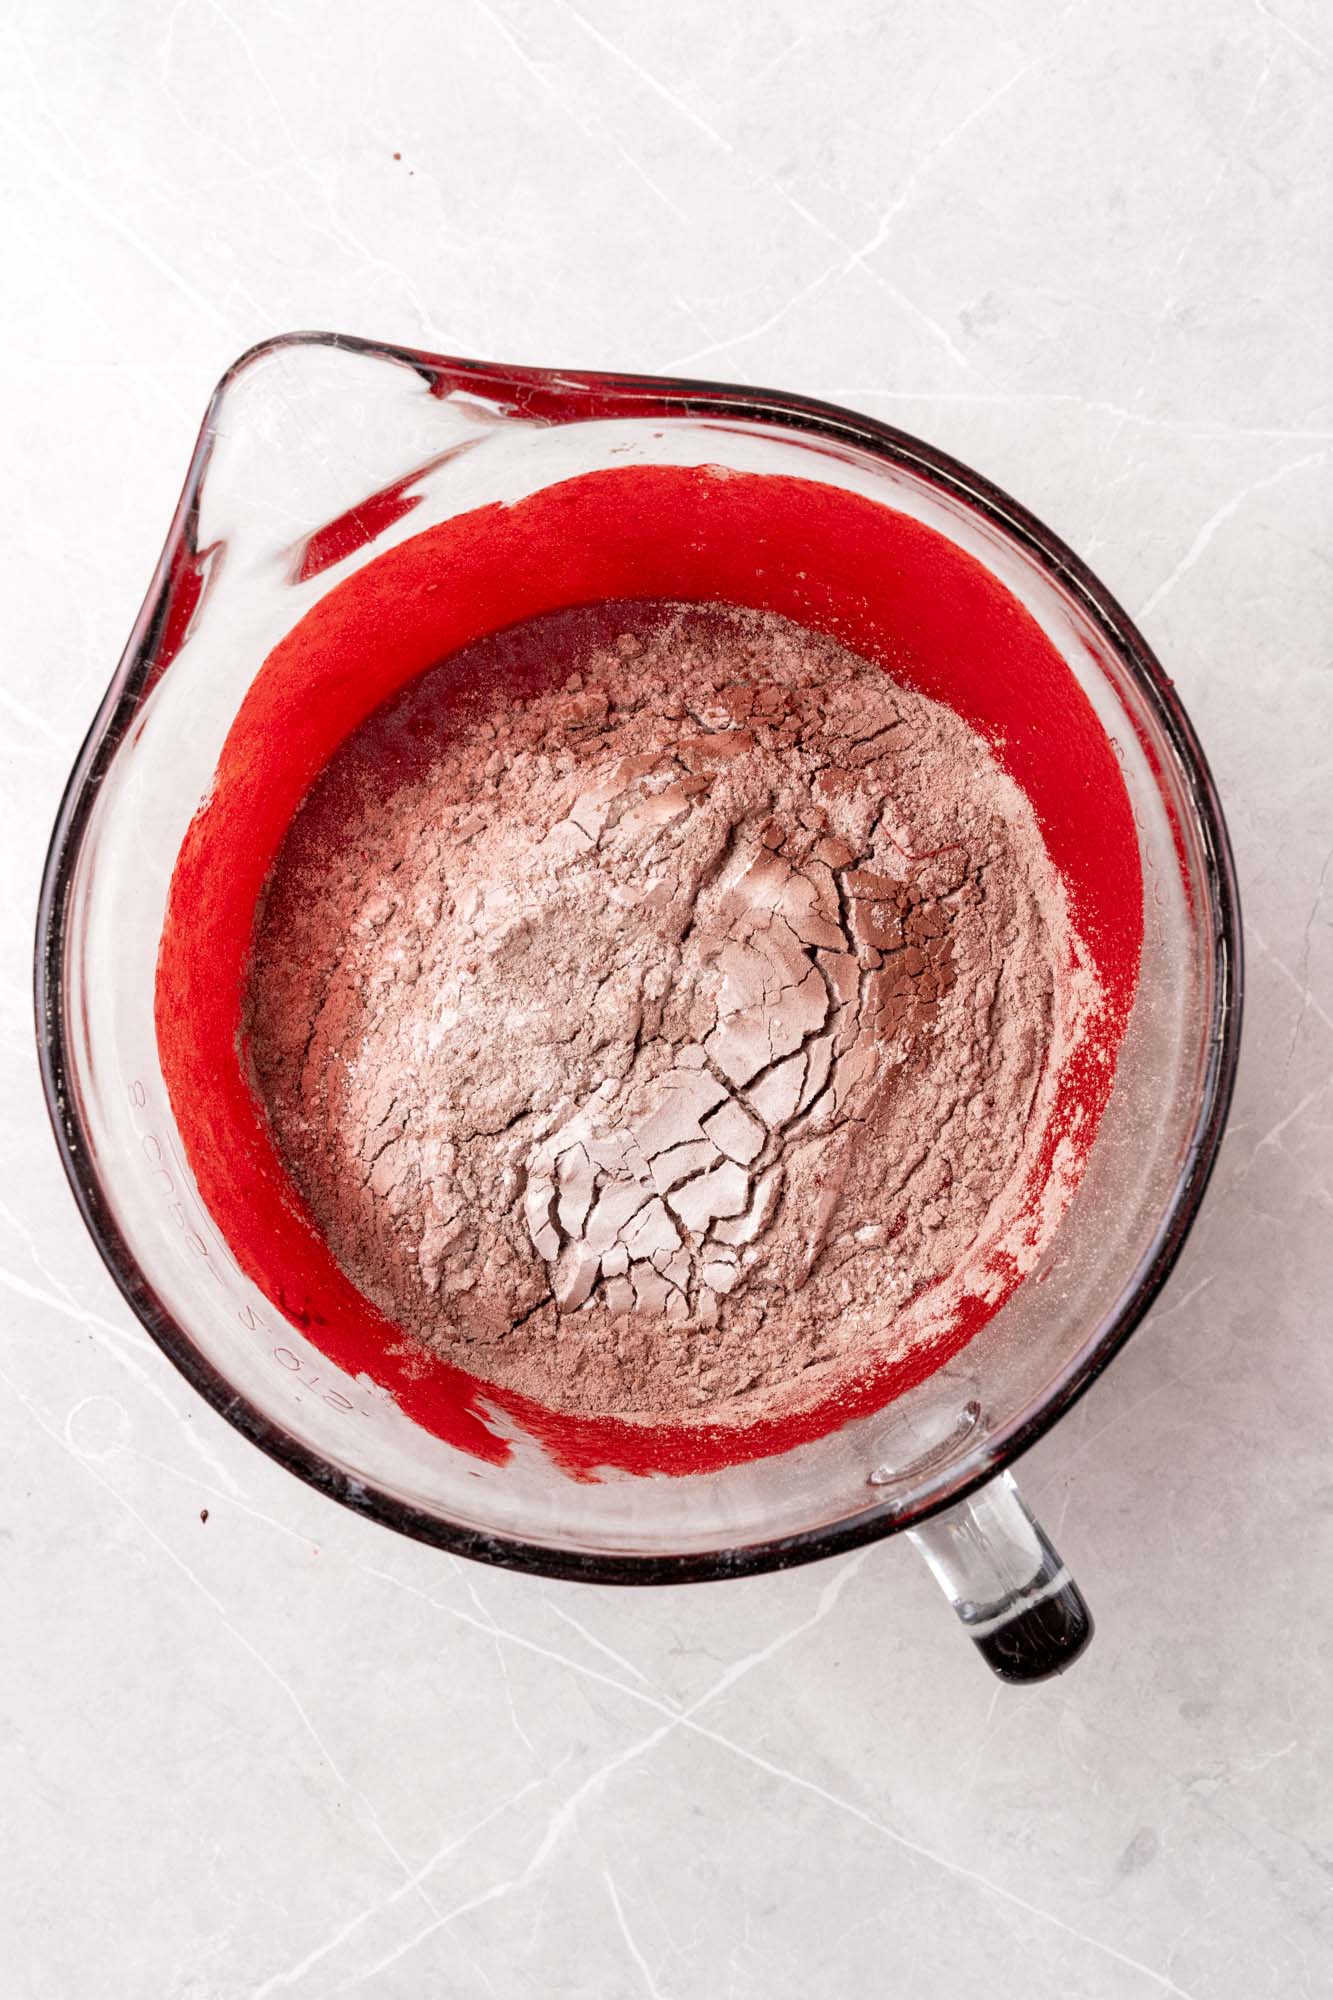
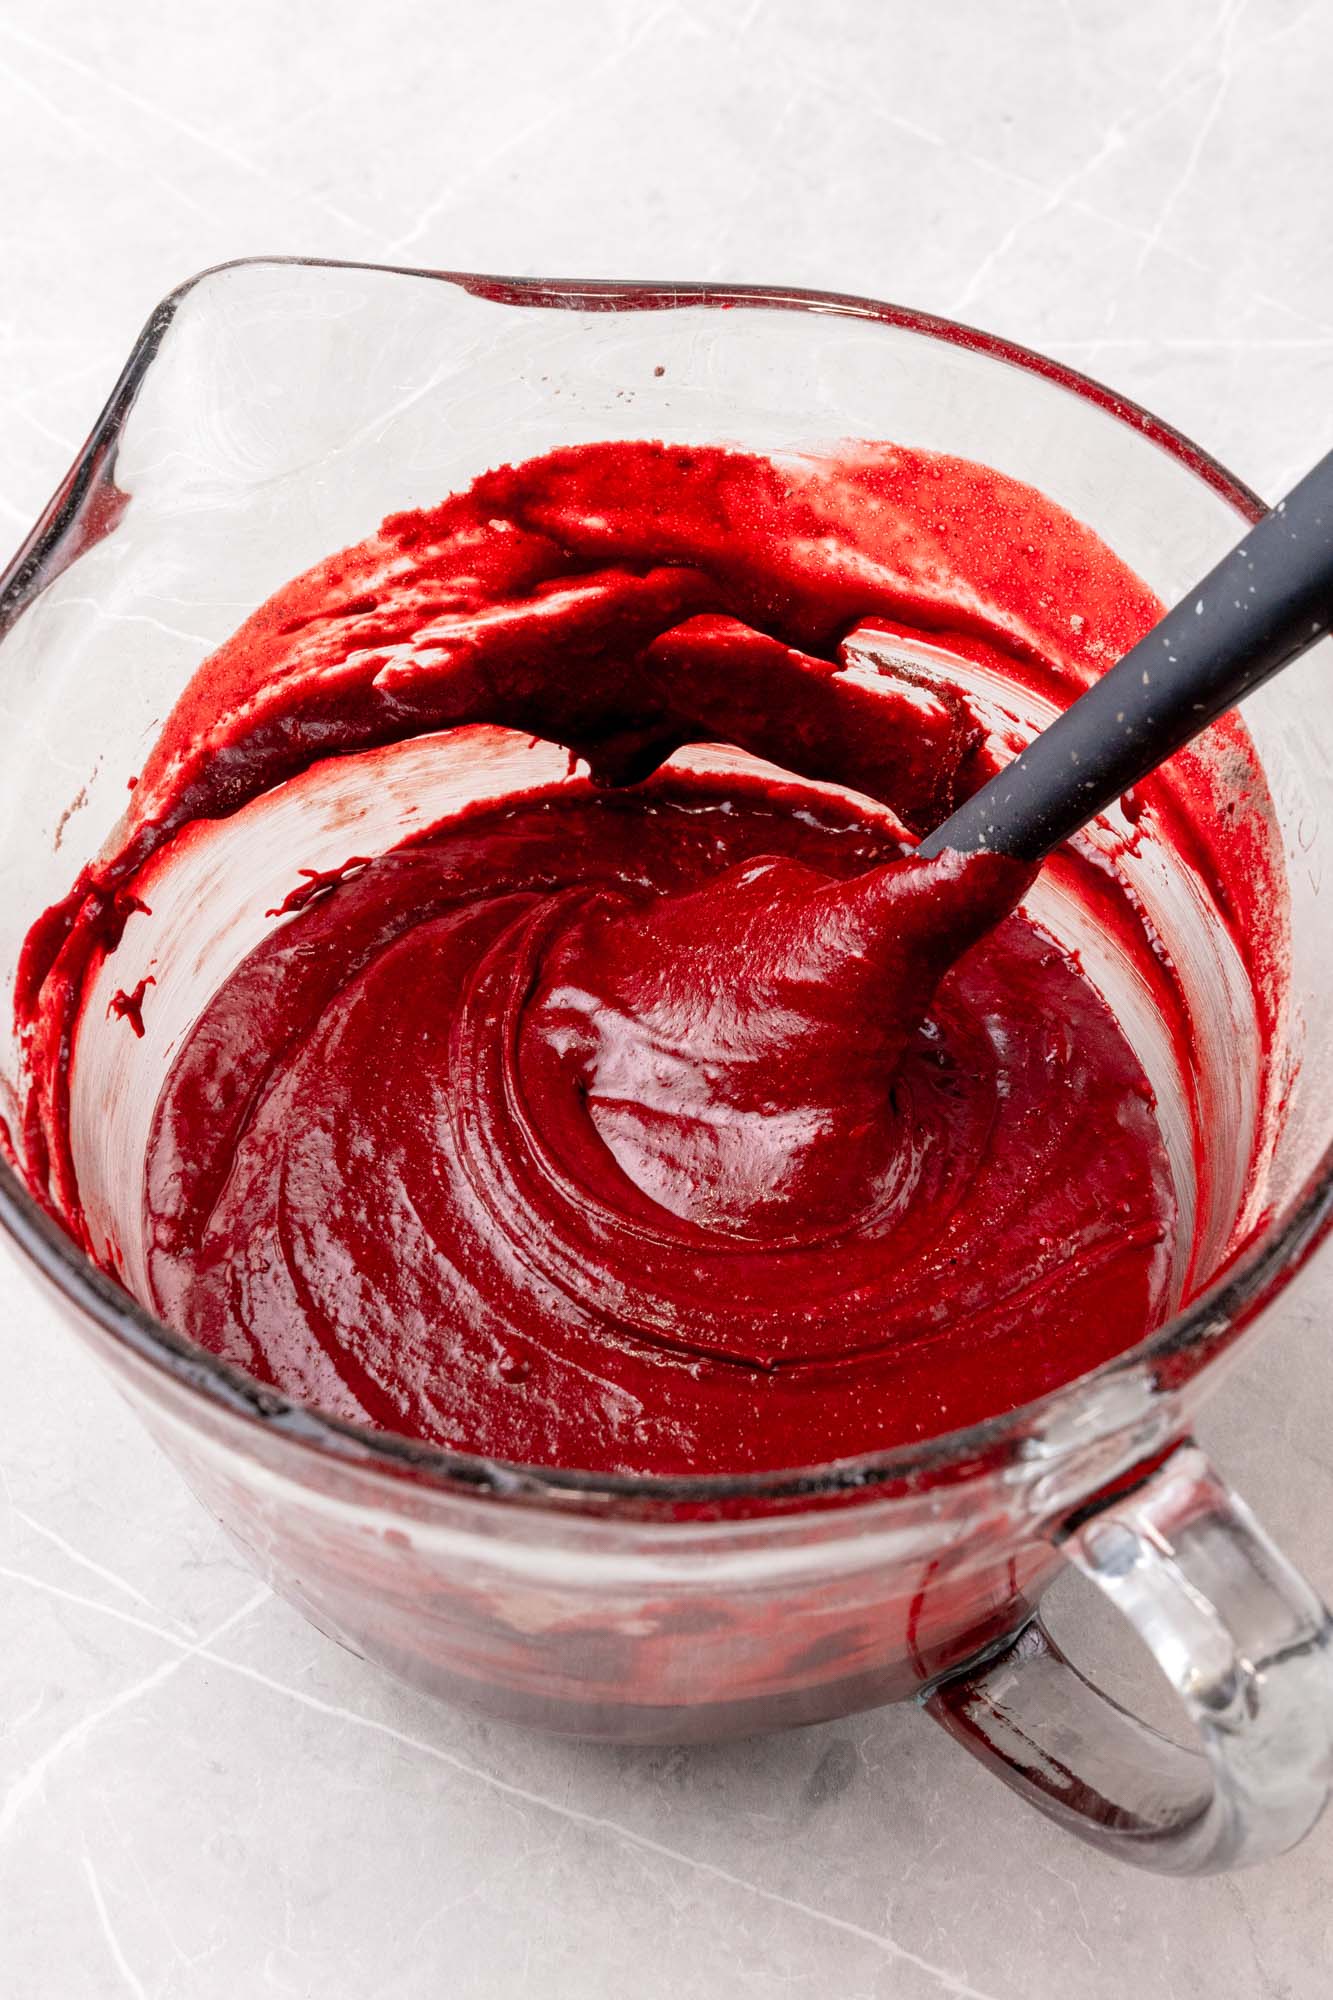
- Mix the Dry with the Wet: Gently stir the flour mixture into the wet mixture until no dry streaks remain.
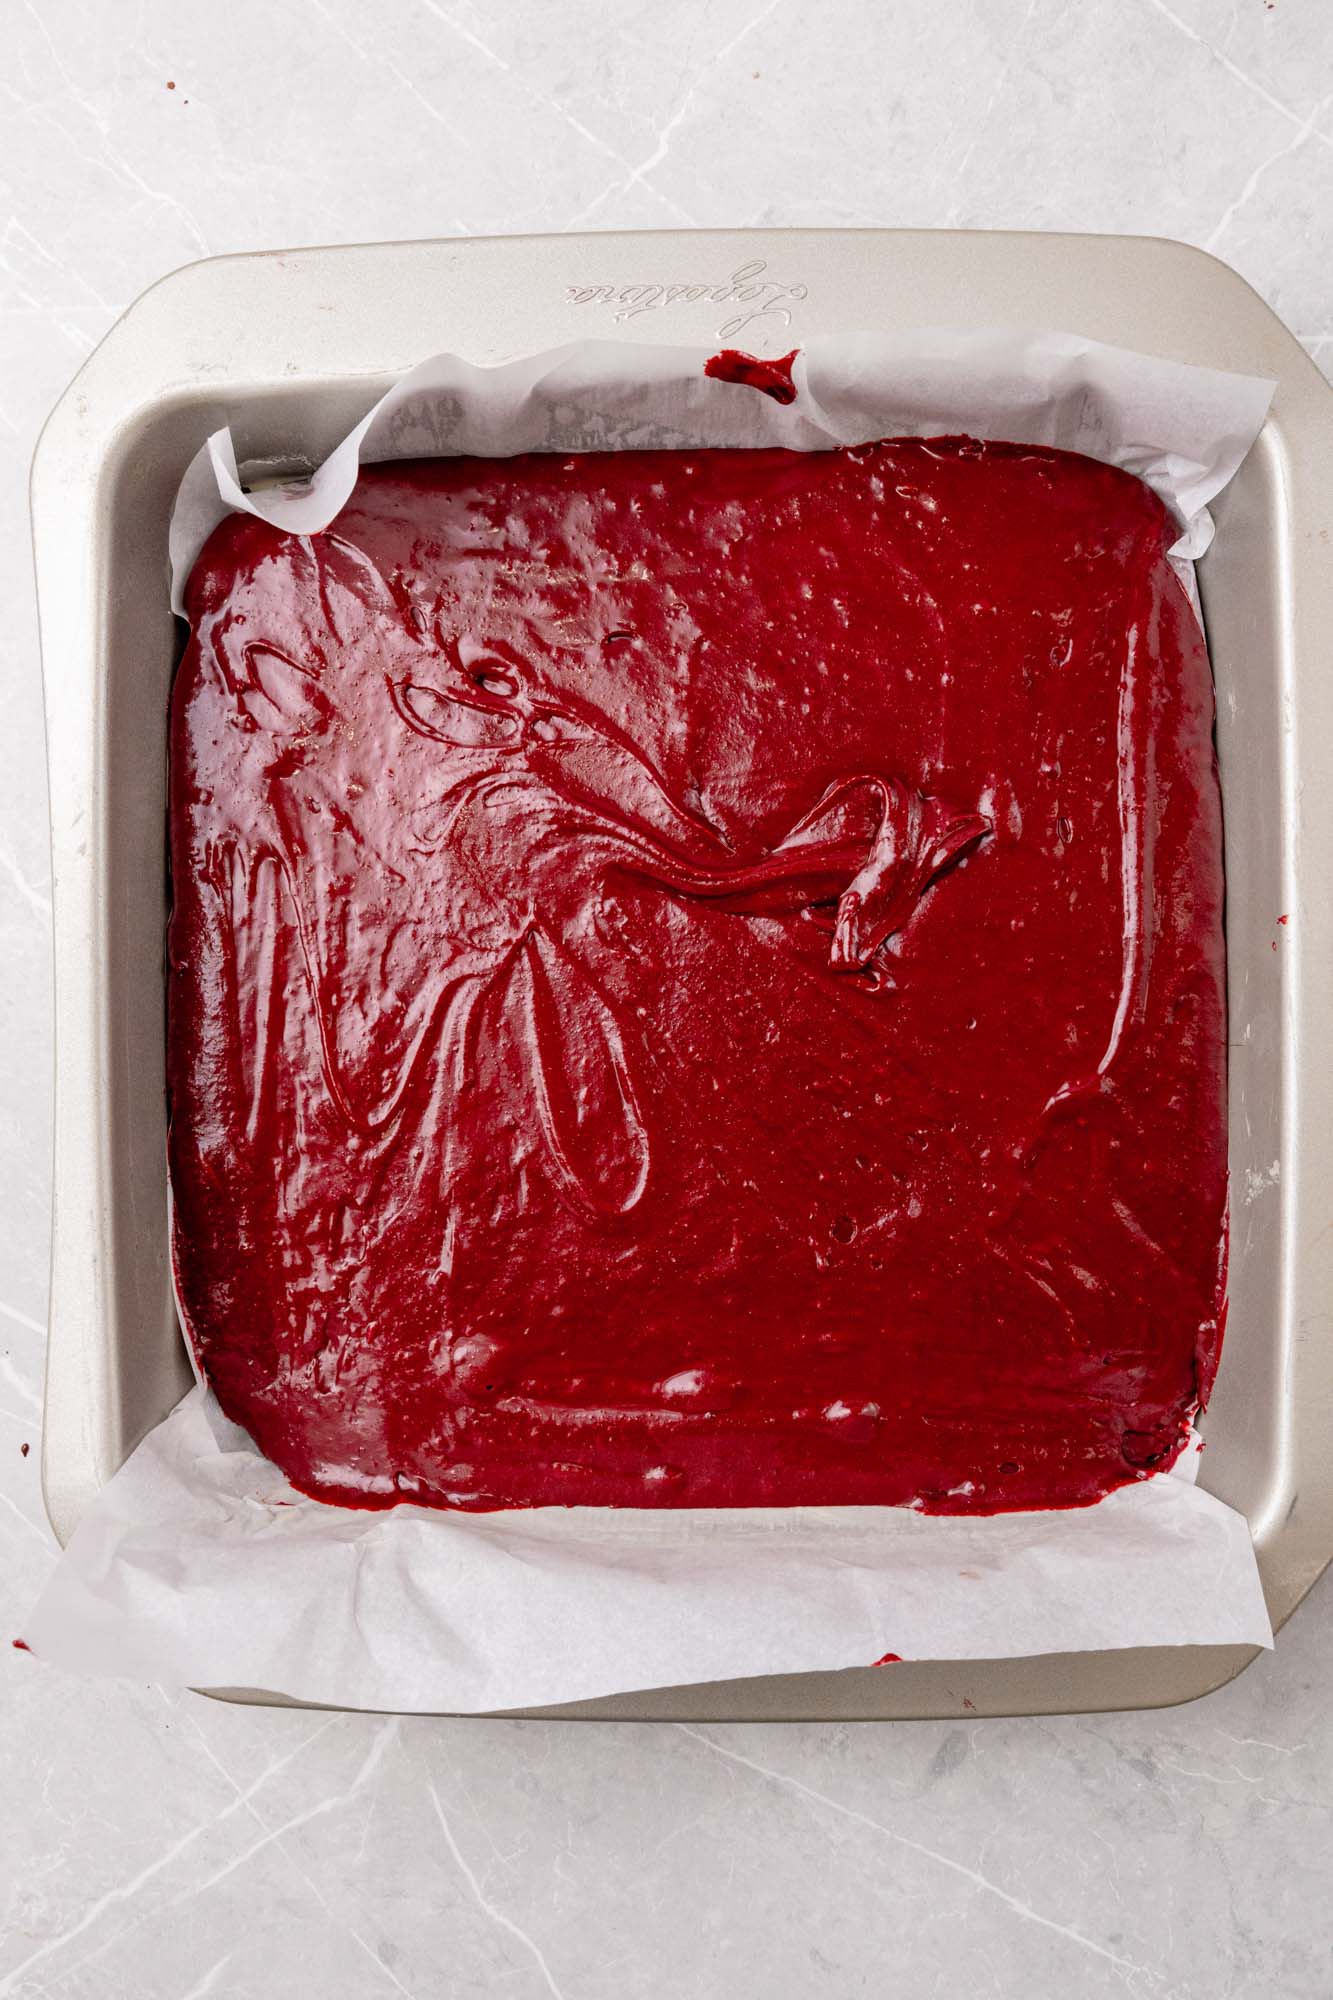
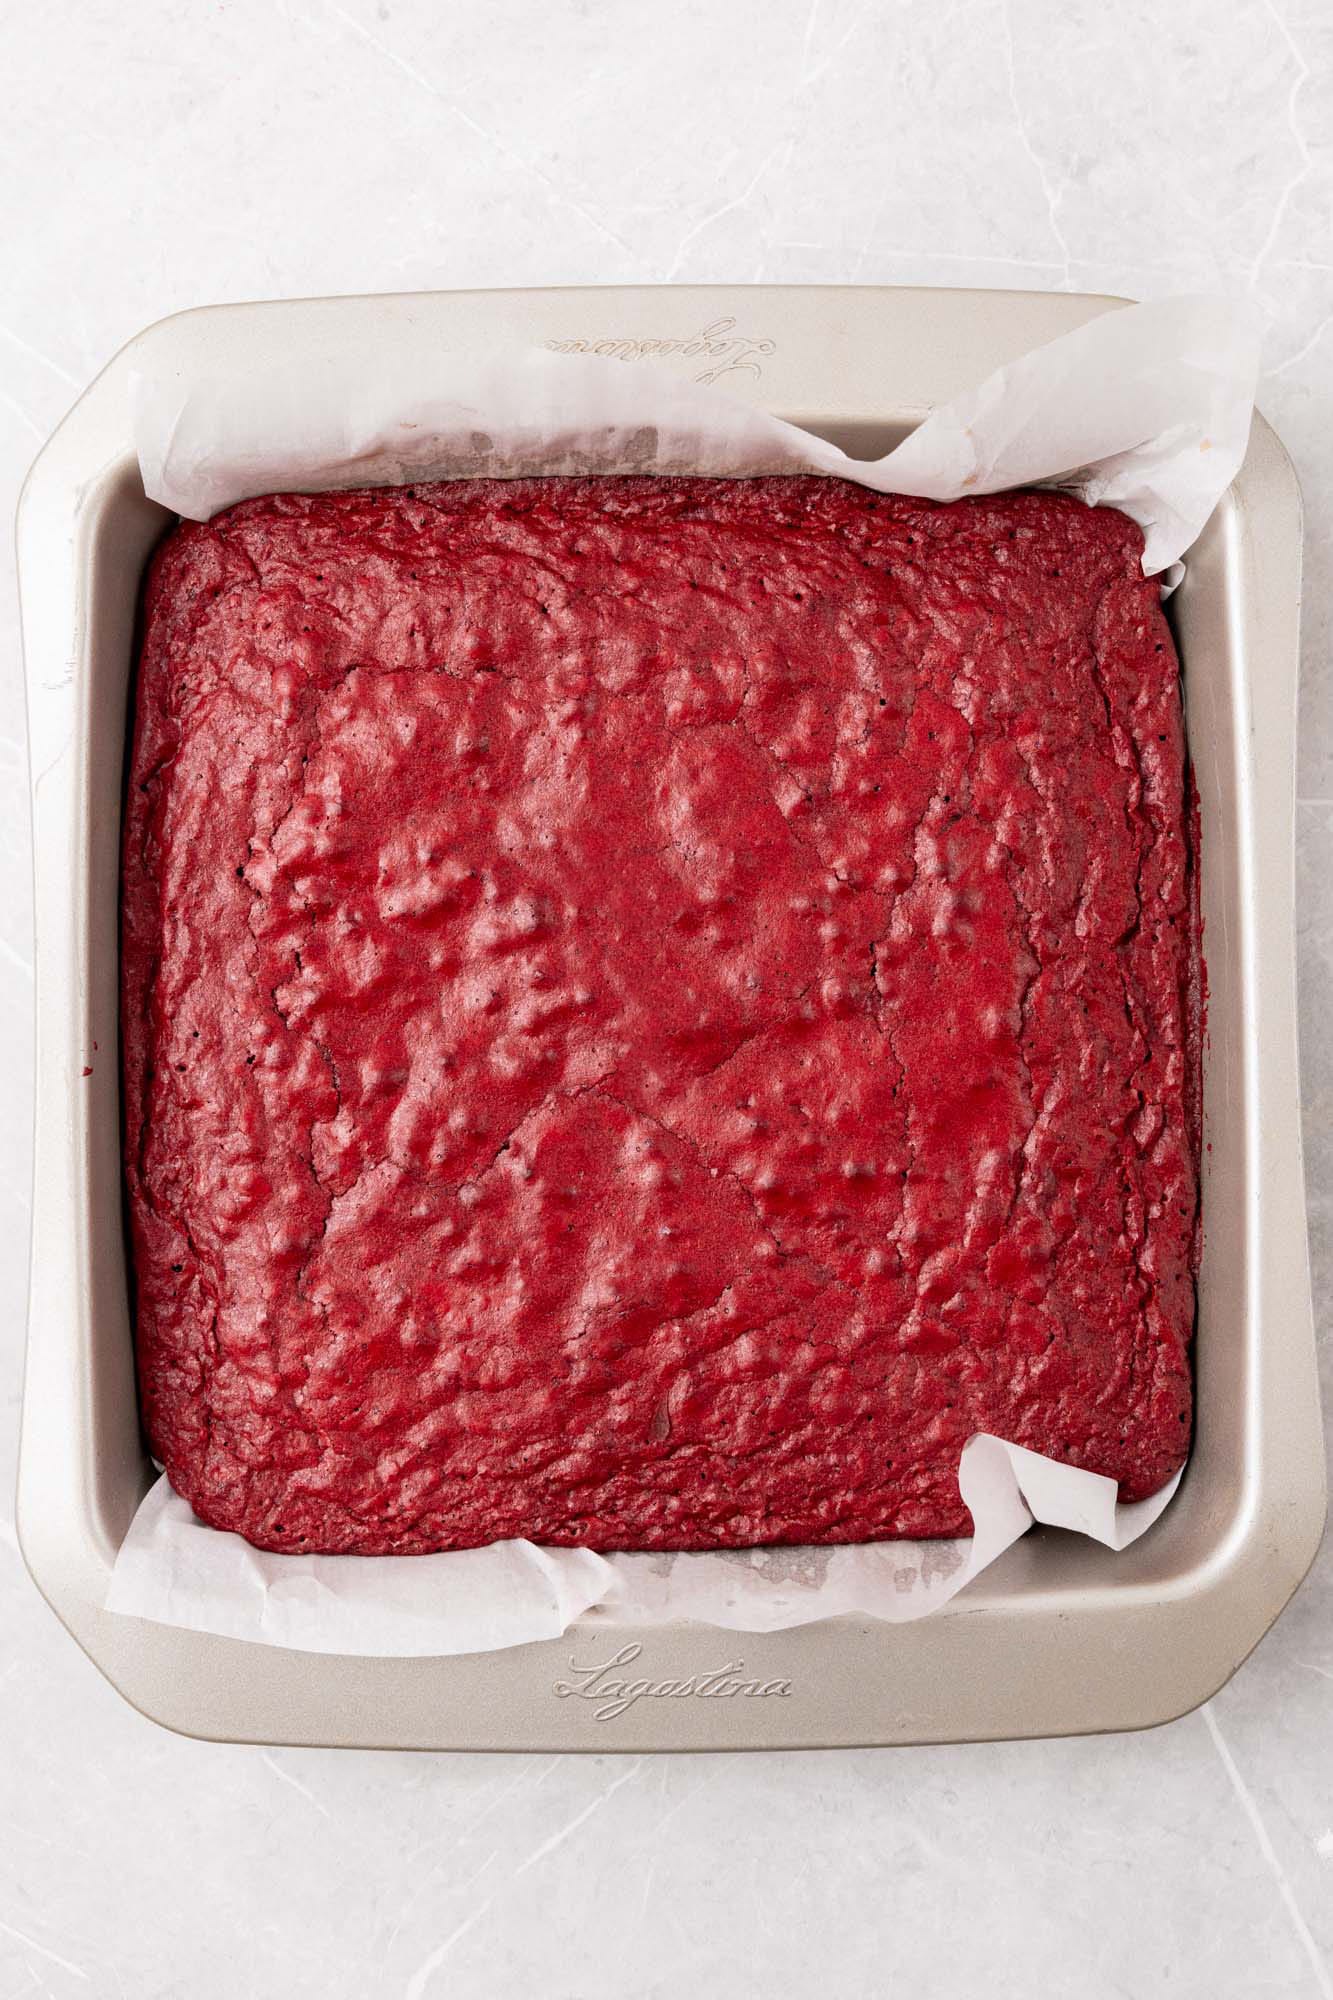
- Bake: Transfer the batter to the prepared pan and bake for 30-35 minutes, or until a toothpick inserted into the center of the pan comes out clean. Allow the brownies to cool completely before adding the frosting.
Tip!
You will likely need to add more red food coloring than you think to get the deep red color that we’re looking for. Plan to use at least a tablespoon of gel coloring!
Frosting for Red Velvet Brownies
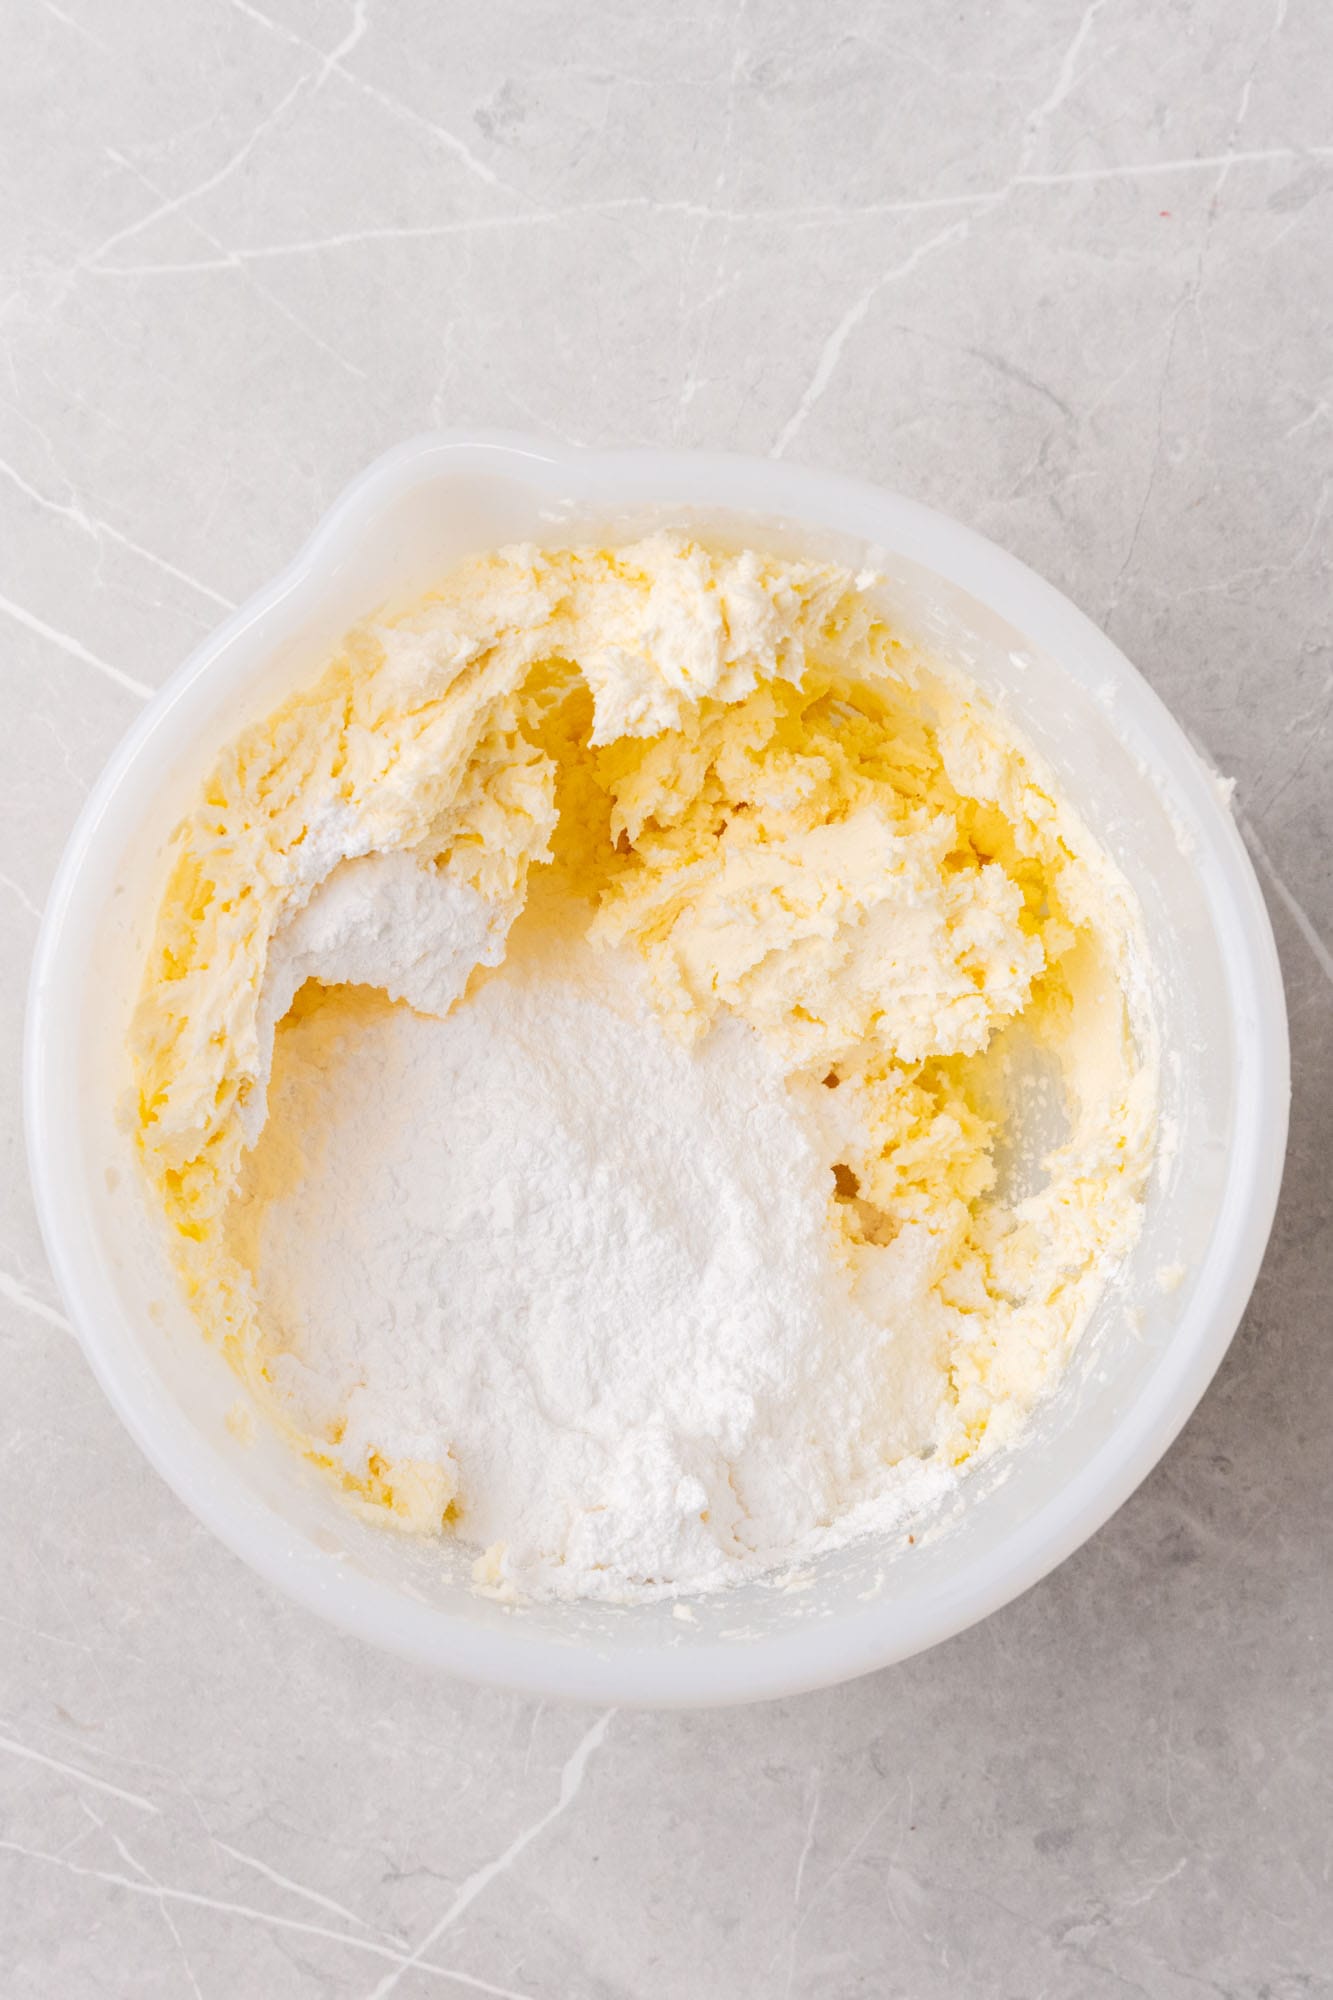
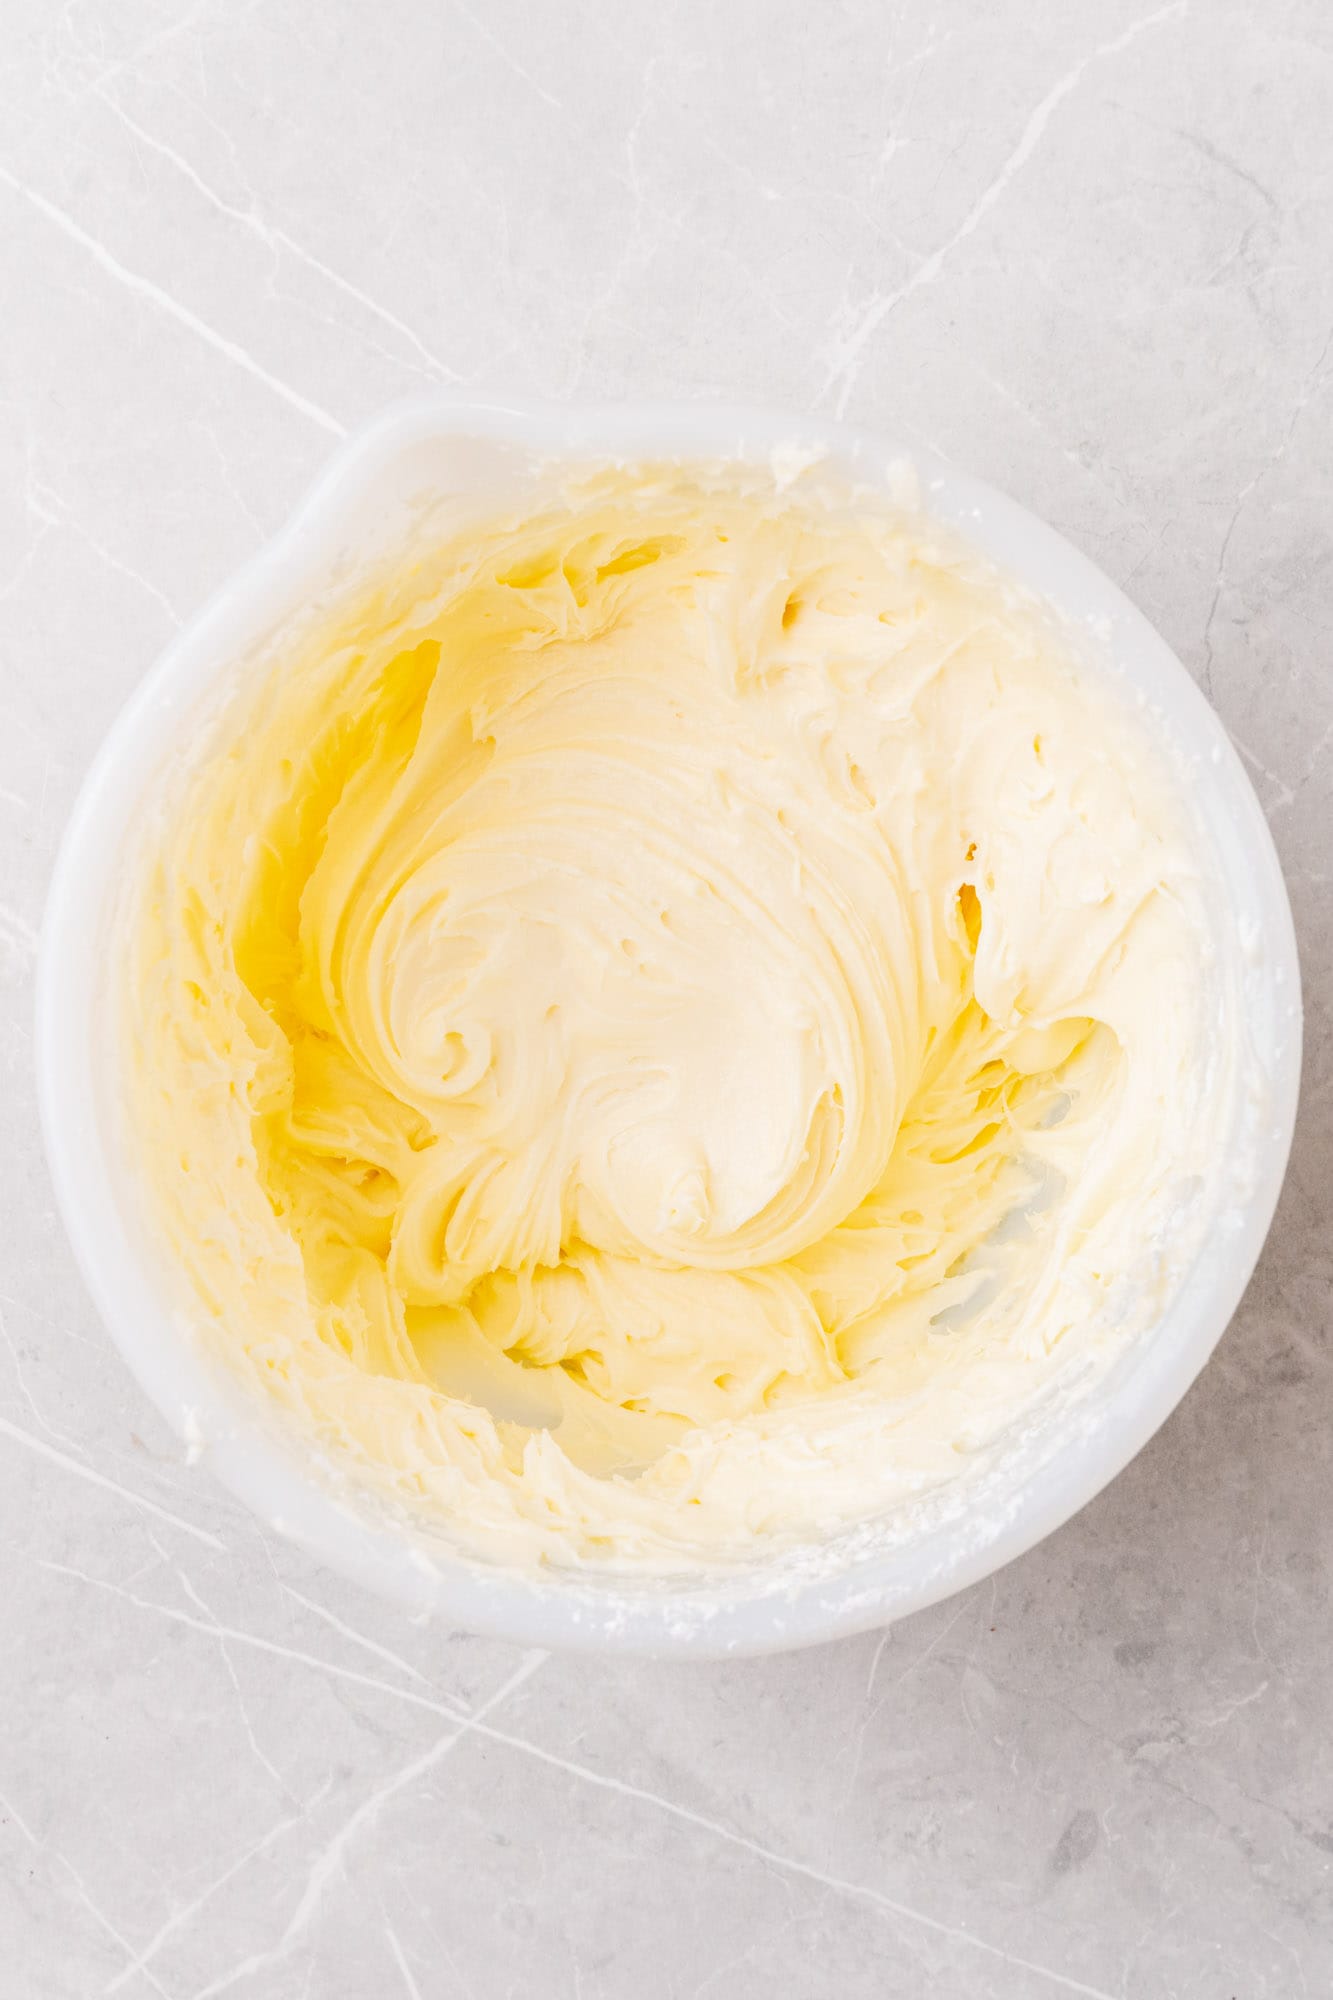
- Make the Frosting: Use an electric mixer to cream together the softened butter and cream cheese. Add the powdered sugar a little bit at a time, mixing well after each addition. Lastly, mix in the vanilla extract.
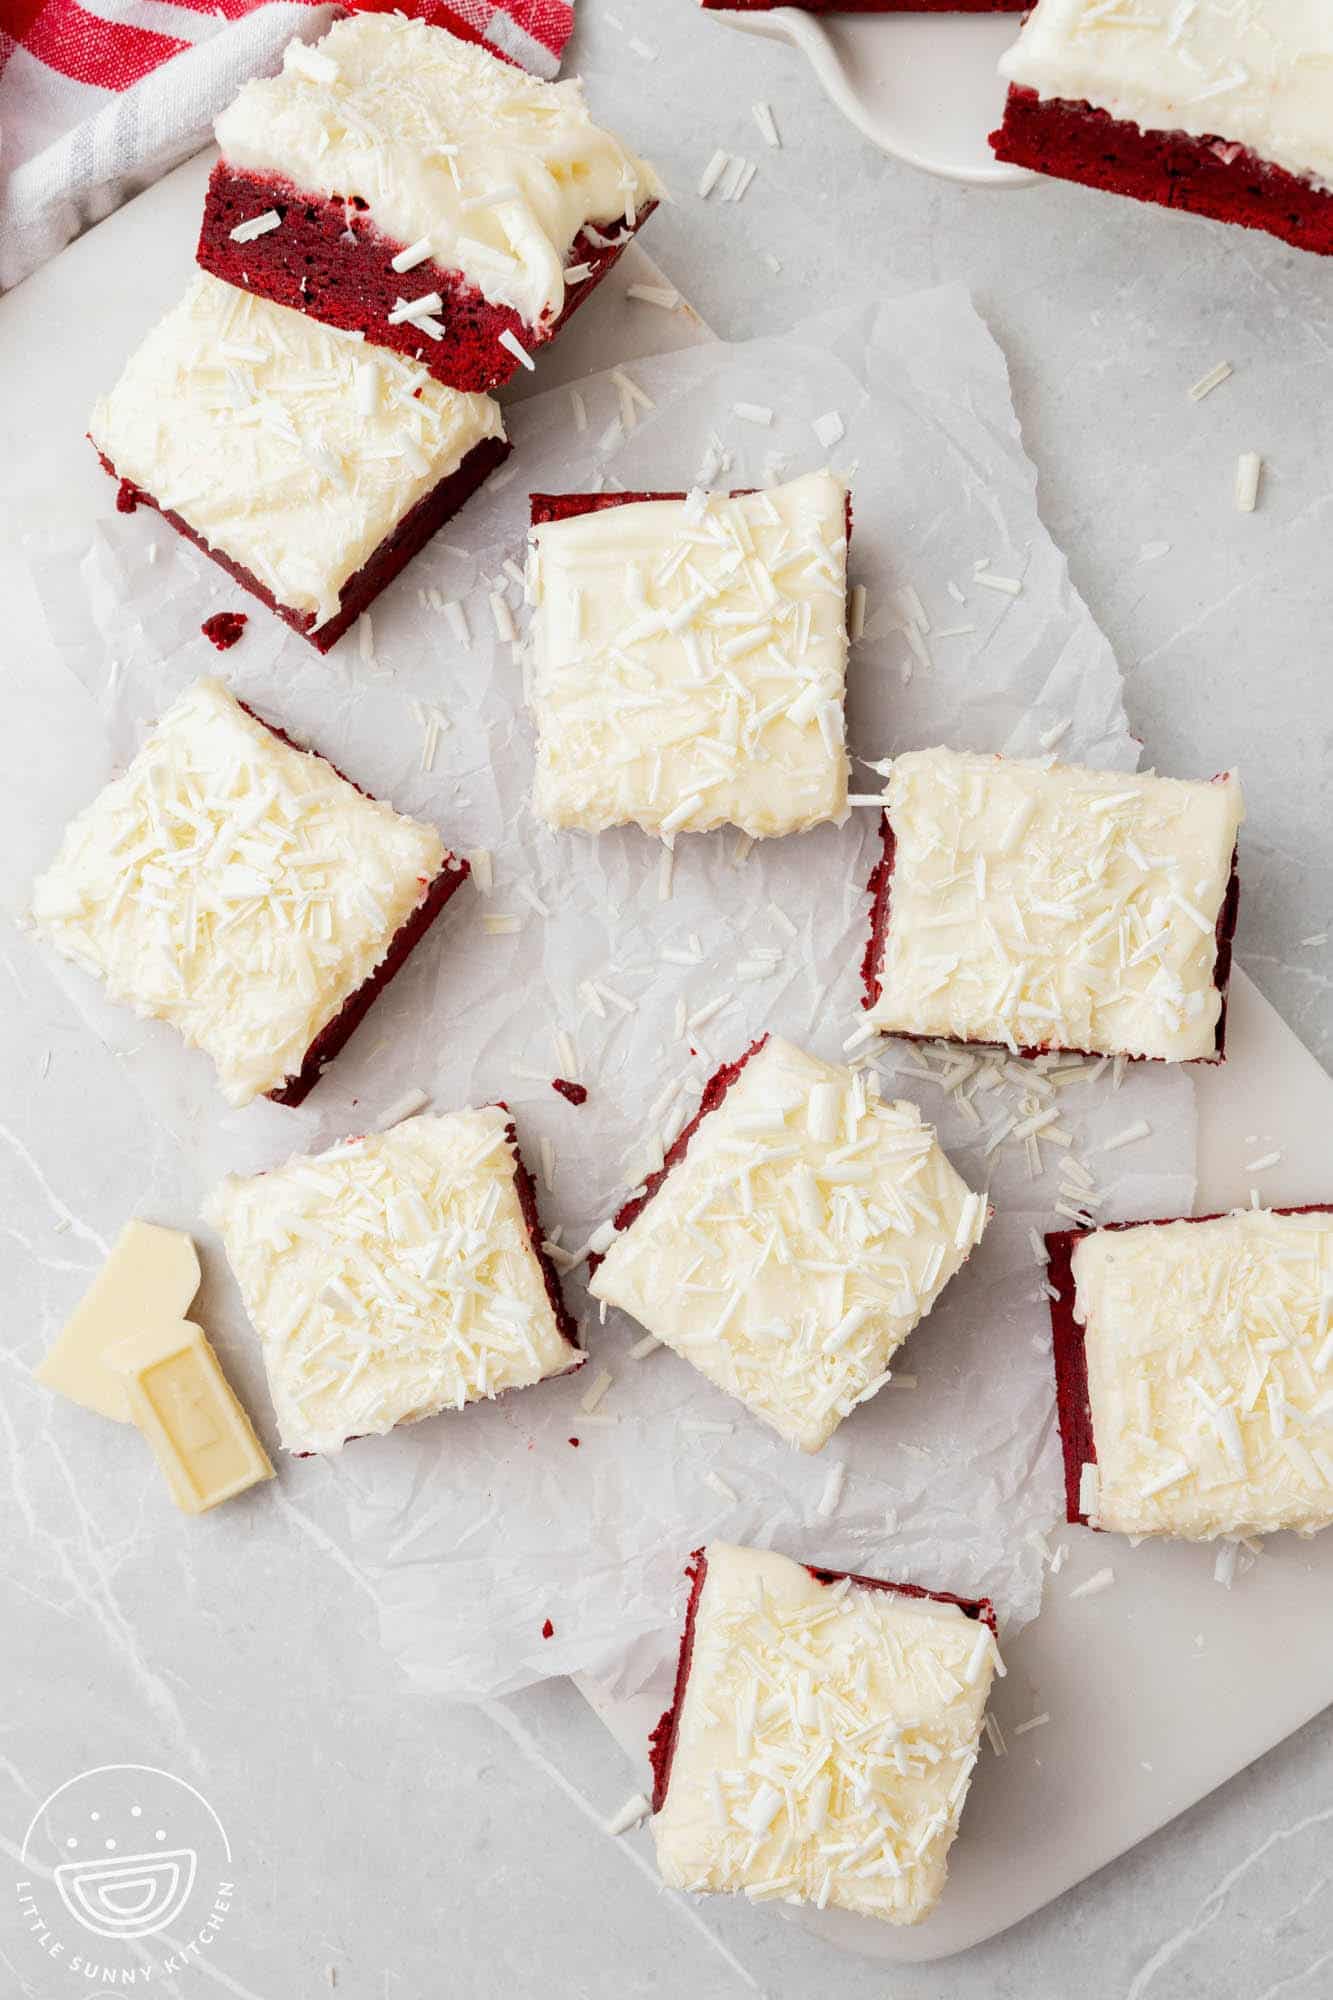
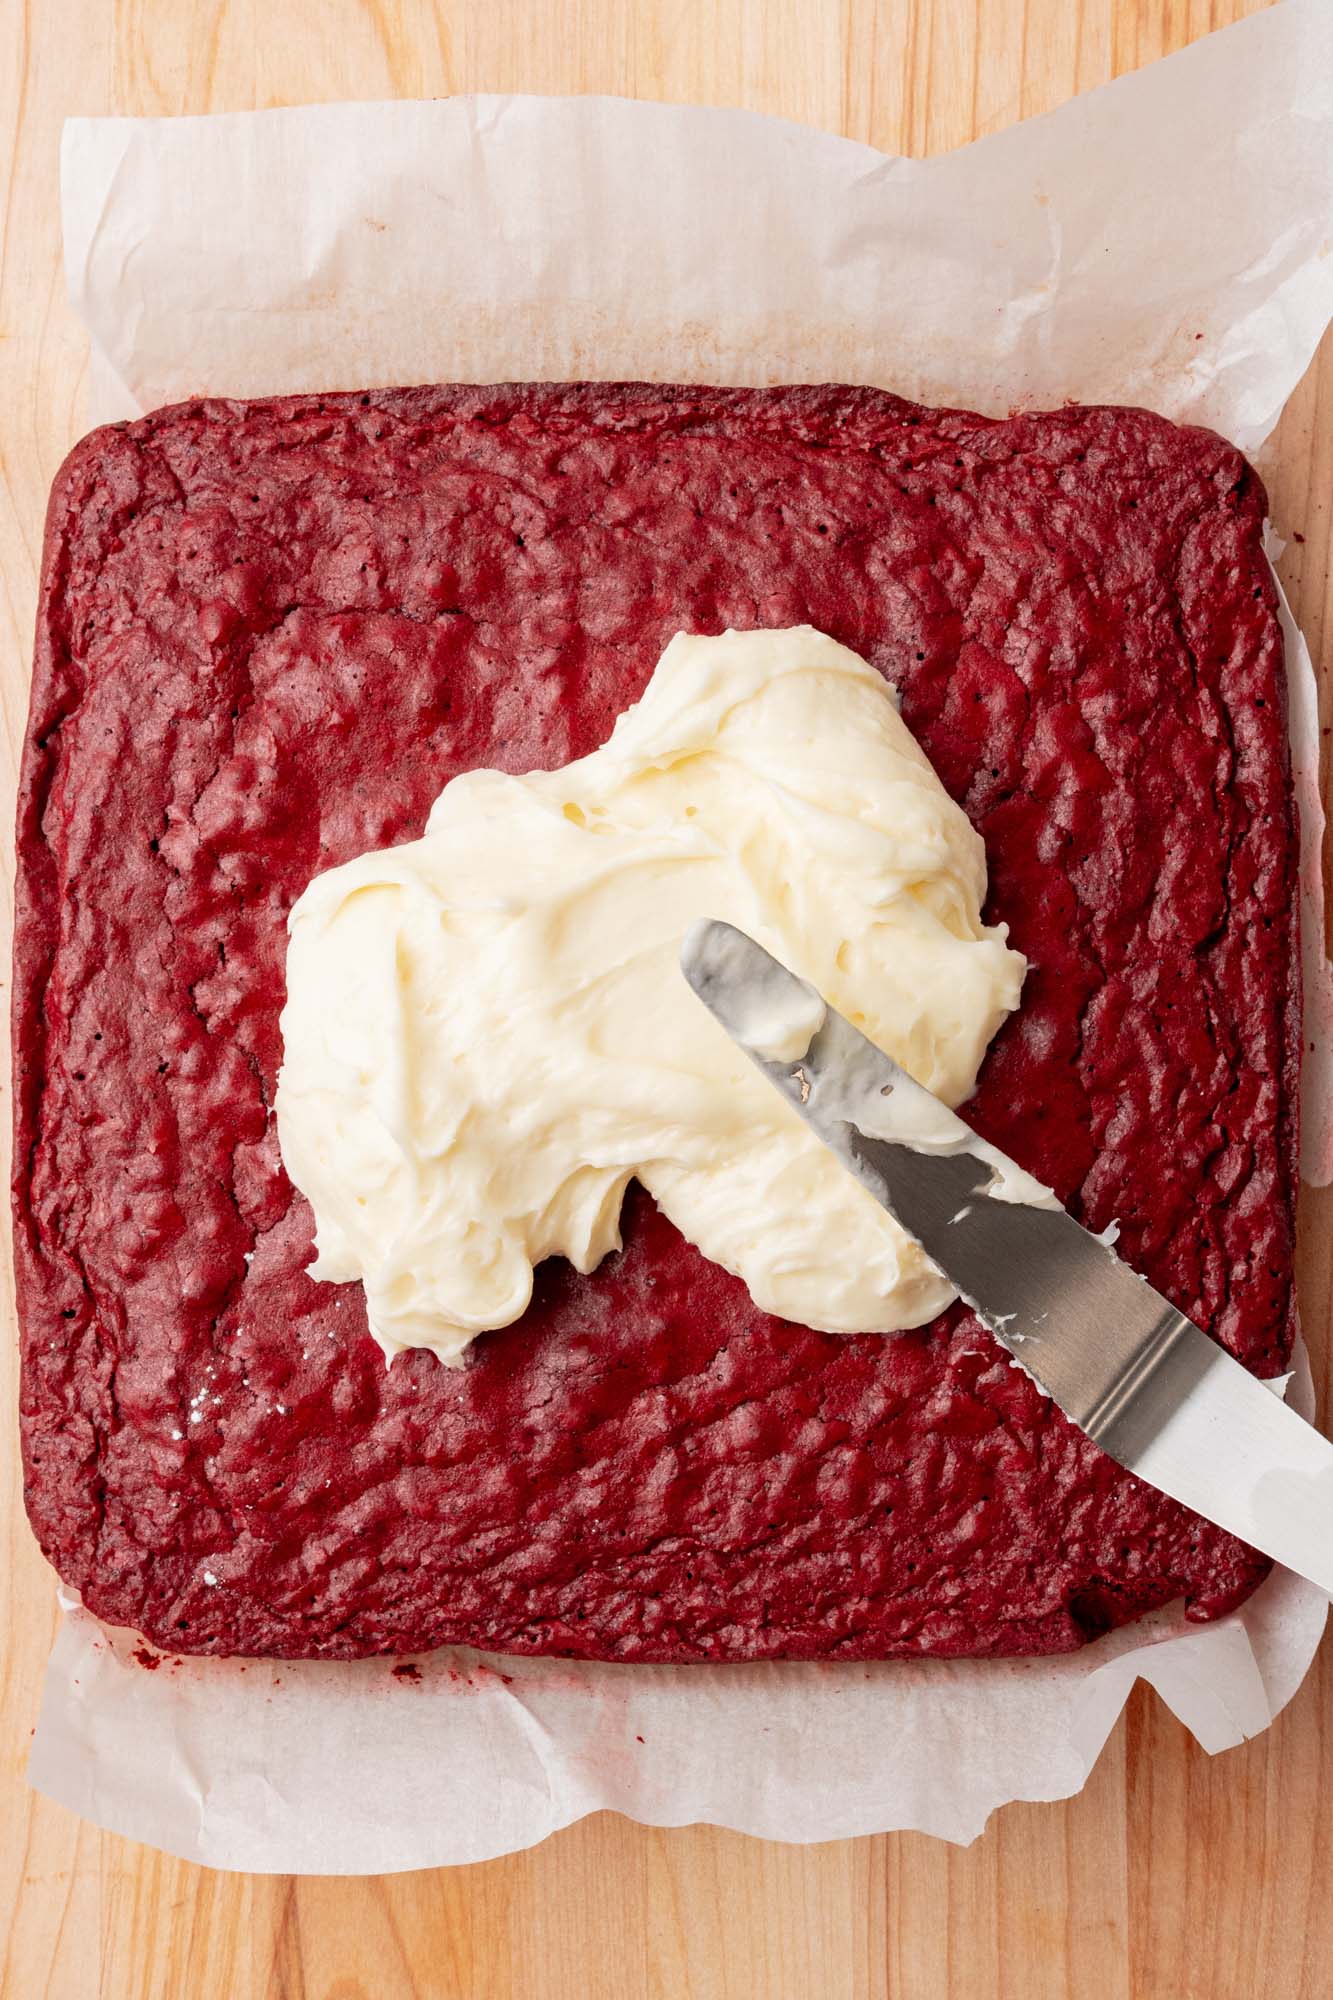
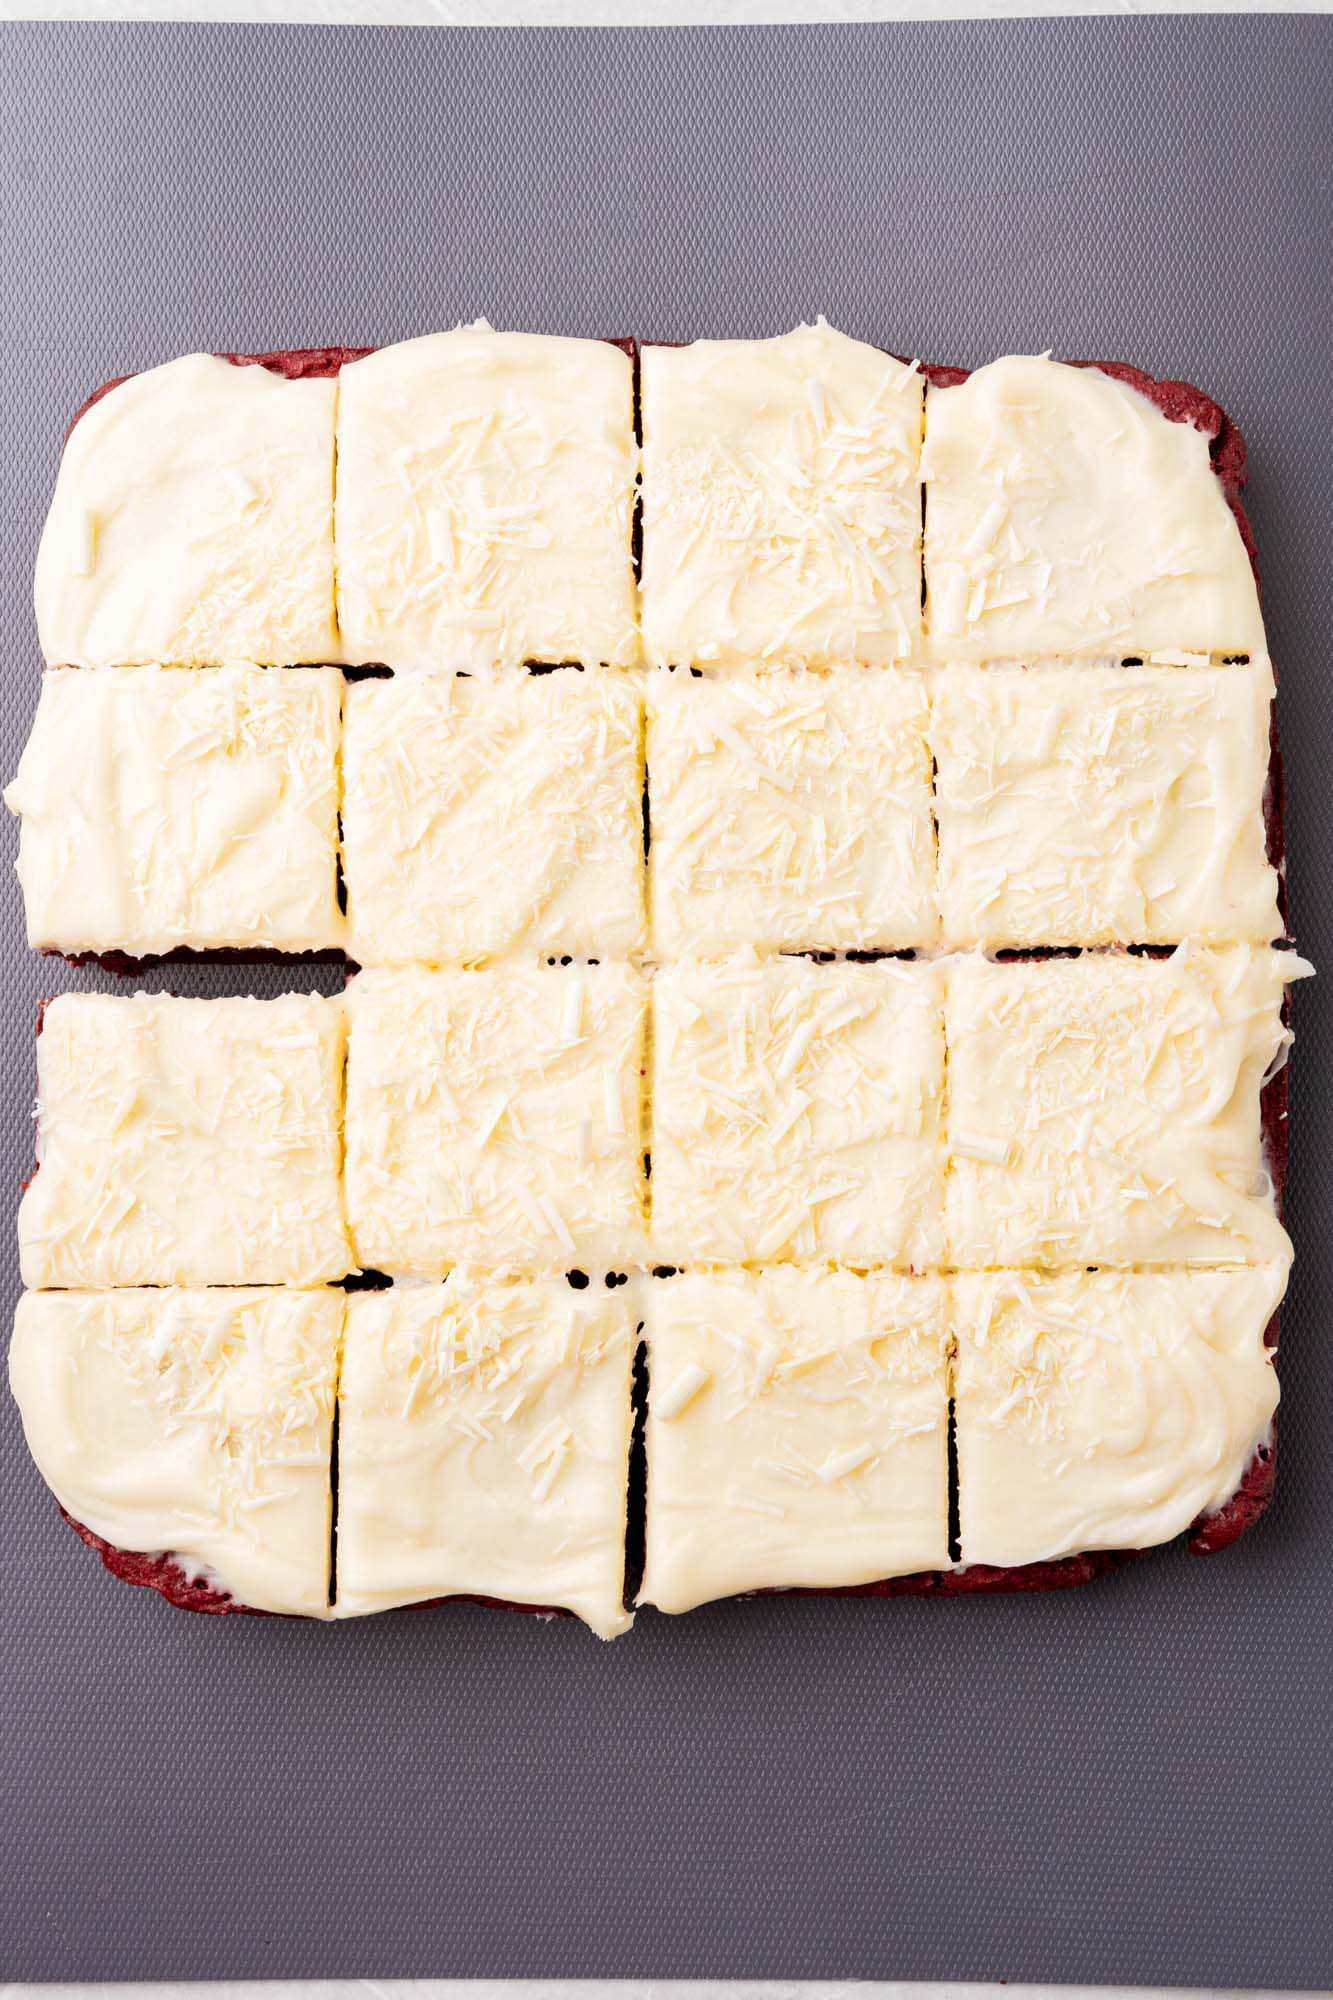
- Spread and Decorate: Add a generous layer of the cream cheese frosting to the red velvet brownies. While the frosting is still wet, sprinkle the brownies with white chocolate shavings.
Recipe Tips
- Try different sprinkles! I love the wintery look that these brownies have when they are topped with white chocolate shavings. Try them with holiday sprinkles for Christmas or Valentine’s day, or use shaved dark chocolate instead.
- To double the recipe, double all of the ingredients and bake in a 9×13-inch pan
- Make the brownies easy to remove by lining the pan with parchment paper. Leave excess paper on at least two edges so that you can lift the cooled brownies right out! I find that brownies are easier to frost and to cut when they’re on a cutting board rather than still stuck in the pan.

Storing Tips
- Store the frosted brownies in the refrigerator for up to 3 days. Keep them in a single layer in an airtight container for best results.
- Serve red velvet brownies straight from the fridge, or let them sit at room temperature for 10 minutes first to soften a bit.
- The brownies (without the frosting) can be frozen for up to 3 months.
Recipe FAQs
Do red velvet brownies need to be refrigerated?
Without the cream cheese frosting, you can store these at room temperature, but once they’ve been frosted you’ll want to keep them in the fridge. Cream cheese frosting shouldn’t be left at room temperature.
How do I cut clean slices?
It can be helpful to chill the brownies before cutting them so that they are firmer. You can even put them in the freezer for a few minutes first! Cut the brownies using a large sharp knife, and take the time to clean the knife between each and every cut.
What flavor is red velvet?
Red velvet is made with cocoa, but it’s different than just “chocolate” because of the addition of vinegar. The flavor is a slightly tangy, rich, chocolatey flavor that can be difficult to put your finger on.
More Desserts You’ll Love

Nanaimo Bars

Cannoli Recipe

Tiramisu Brownies

Chocolate Chip Cheesecake Recipe With Chocolate Ganache
These are the BEST Red Velvet Brownies! They’re so easy to make, you have no excuse to wait, but if you can’t make them right this minute, be sure to save the recipe for later!
Did you make this? Be sure to leave a review below and tag me on Facebook, Instagram, or Pinterest!
Red Velvet Brownies
Ingredients
For the Brownies:
- 1 cup (120 g) all purpose flour
- ¼ cup (25 g) unsweetened cocoa powder
- ½ teaspoon salt
- ½ cup (112 g) unsalted butter melted
- 1 cup (200 g) granulated sugar
- ⅓ cup (67 g) light brown sugar
- 3 large eggs at room temperature
- 2 ounces (56 g) semi sweet chocolate melted
- 1 teaspoon pure vanilla extract
- 1 teaspoon apple cider vinegar
- Red food coloring
For the Frosting:
- 8 oz (225 g) cream cheese softened to room temperature
- ¼ cup (56 g) butter softened to room temperature
- 2 ½ cups powdered sugar
- Shaved white chocolate optional
Instructions
- Preheat the oven to 350°F (180°C), or 160°C if using a fan oven. Line a 9×9 inch (22×22 cm) baking pan with parchment paper and set aside
- In a medium bowl, whisk together the flour, cocoa powder, and salt; set aside.
- In a separate bowl, whisk together the melted butter, sugar, and brown sugar until smooth. Add the eggs, vanilla, and apple cider vinegar and whisk until fully combined.
- Stir in the melted chocolate and red food coloring until desired shade of red is reached.
- Gently stir in the flour mixture until just combined and no dry streaks remain.
- Transfer mixture into the prepared pan and bake for 30-35 minutes or until a toothpick inserted in the center of the pan comes out clean or with a few moist crumb.
- Allow the brownies to cool completely.
- Meanwhile, prepare the frosting by creaming together the butter and cream cheese.
- Add the powdered sugar in 2-3 smaller additions and the vanilla extract, mixing well after each sugar addition.
- Spread the cooled brownies with a generous layer of cream cheese frosting, then sprinkle with shaved white chocolate.
Notes:
- To double the recipe, double all of the ingredients and bake in a 9×13-inch pan
- Make the brownies easy to remove by lining the pan with parchment paper. Leave excess paper on at least two edges so that you can lift the cooled brownies right out! I find that brownies are easier to frost and cut when they’re on a cutting board rather than still stuck in the pan.
- To Store: Keep these brownies in an airtight container in the fridge for up to 3 days. You can also freeze the brownies (unfrosted) for up to 3 months.
Nutrition Information
This website provides approximate nutrition information for convenience and as a courtesy only. Nutrition data is gathered primarily from the USDA Food Composition Database, whenever available, or otherwise other online calculators.
© Little Sunny Kitchen

Leave a Review!