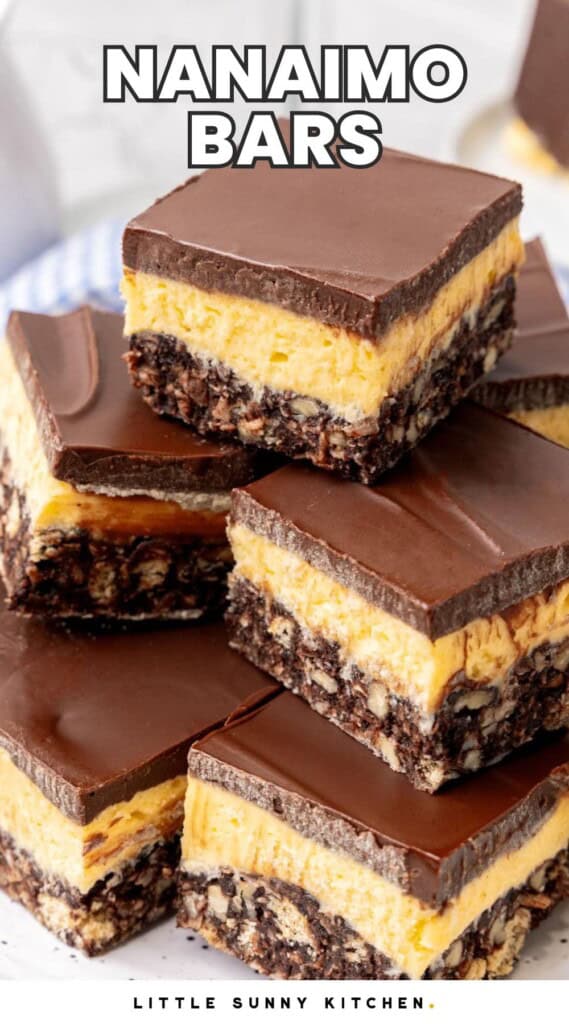
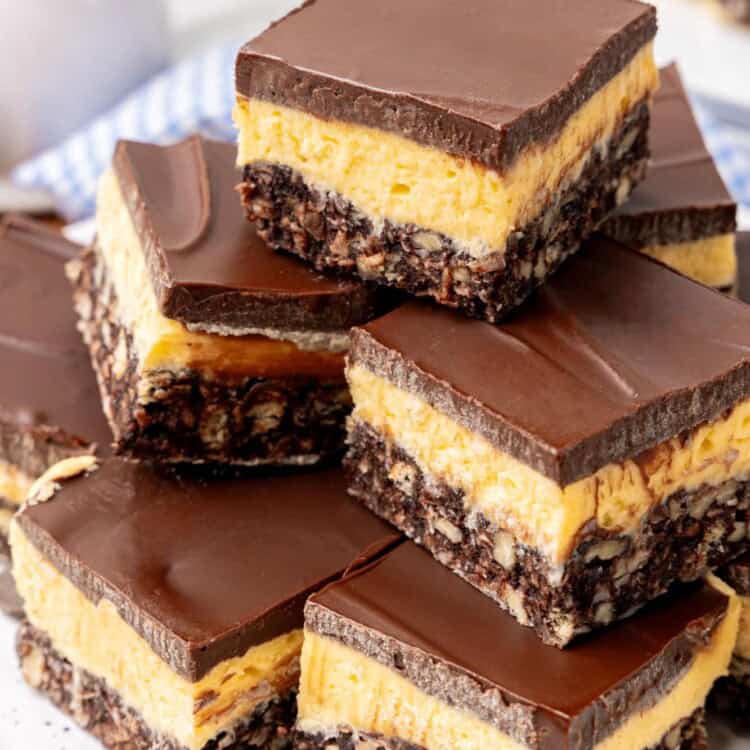
No-bake Nanaimo Bars are a decadent treat, and one of the most famous dessert recipes to come from Canada! Enjoy layers of chocolatey, nutty, and vanilla flavors with a hot cup of coffee or a cold glass of milk for best results.
While Canada might not be well known for many culinary specialities, the ones that they are known for are some of the best foods I’ve ever had!
This is of course true of poutine (french fries plus cheese curds and gravy? Yes, please!), but I have to say my favorite Canadian food is these divine chocolate and custard no-bake Nanaimo bars.
Nanaimo Bars are named for the city of Nanaimo, British Columbia, where they were likely first developed almost 100 years ago.
No Bake Canadian Nanaimo Bars
- No Baking – While these treats are wonderful all year long (and especially at Christmas!), they are often made in the summer when turning on the oven would be uncomfortable. Nanaimo bars are best served cold or thawed to room temperature.
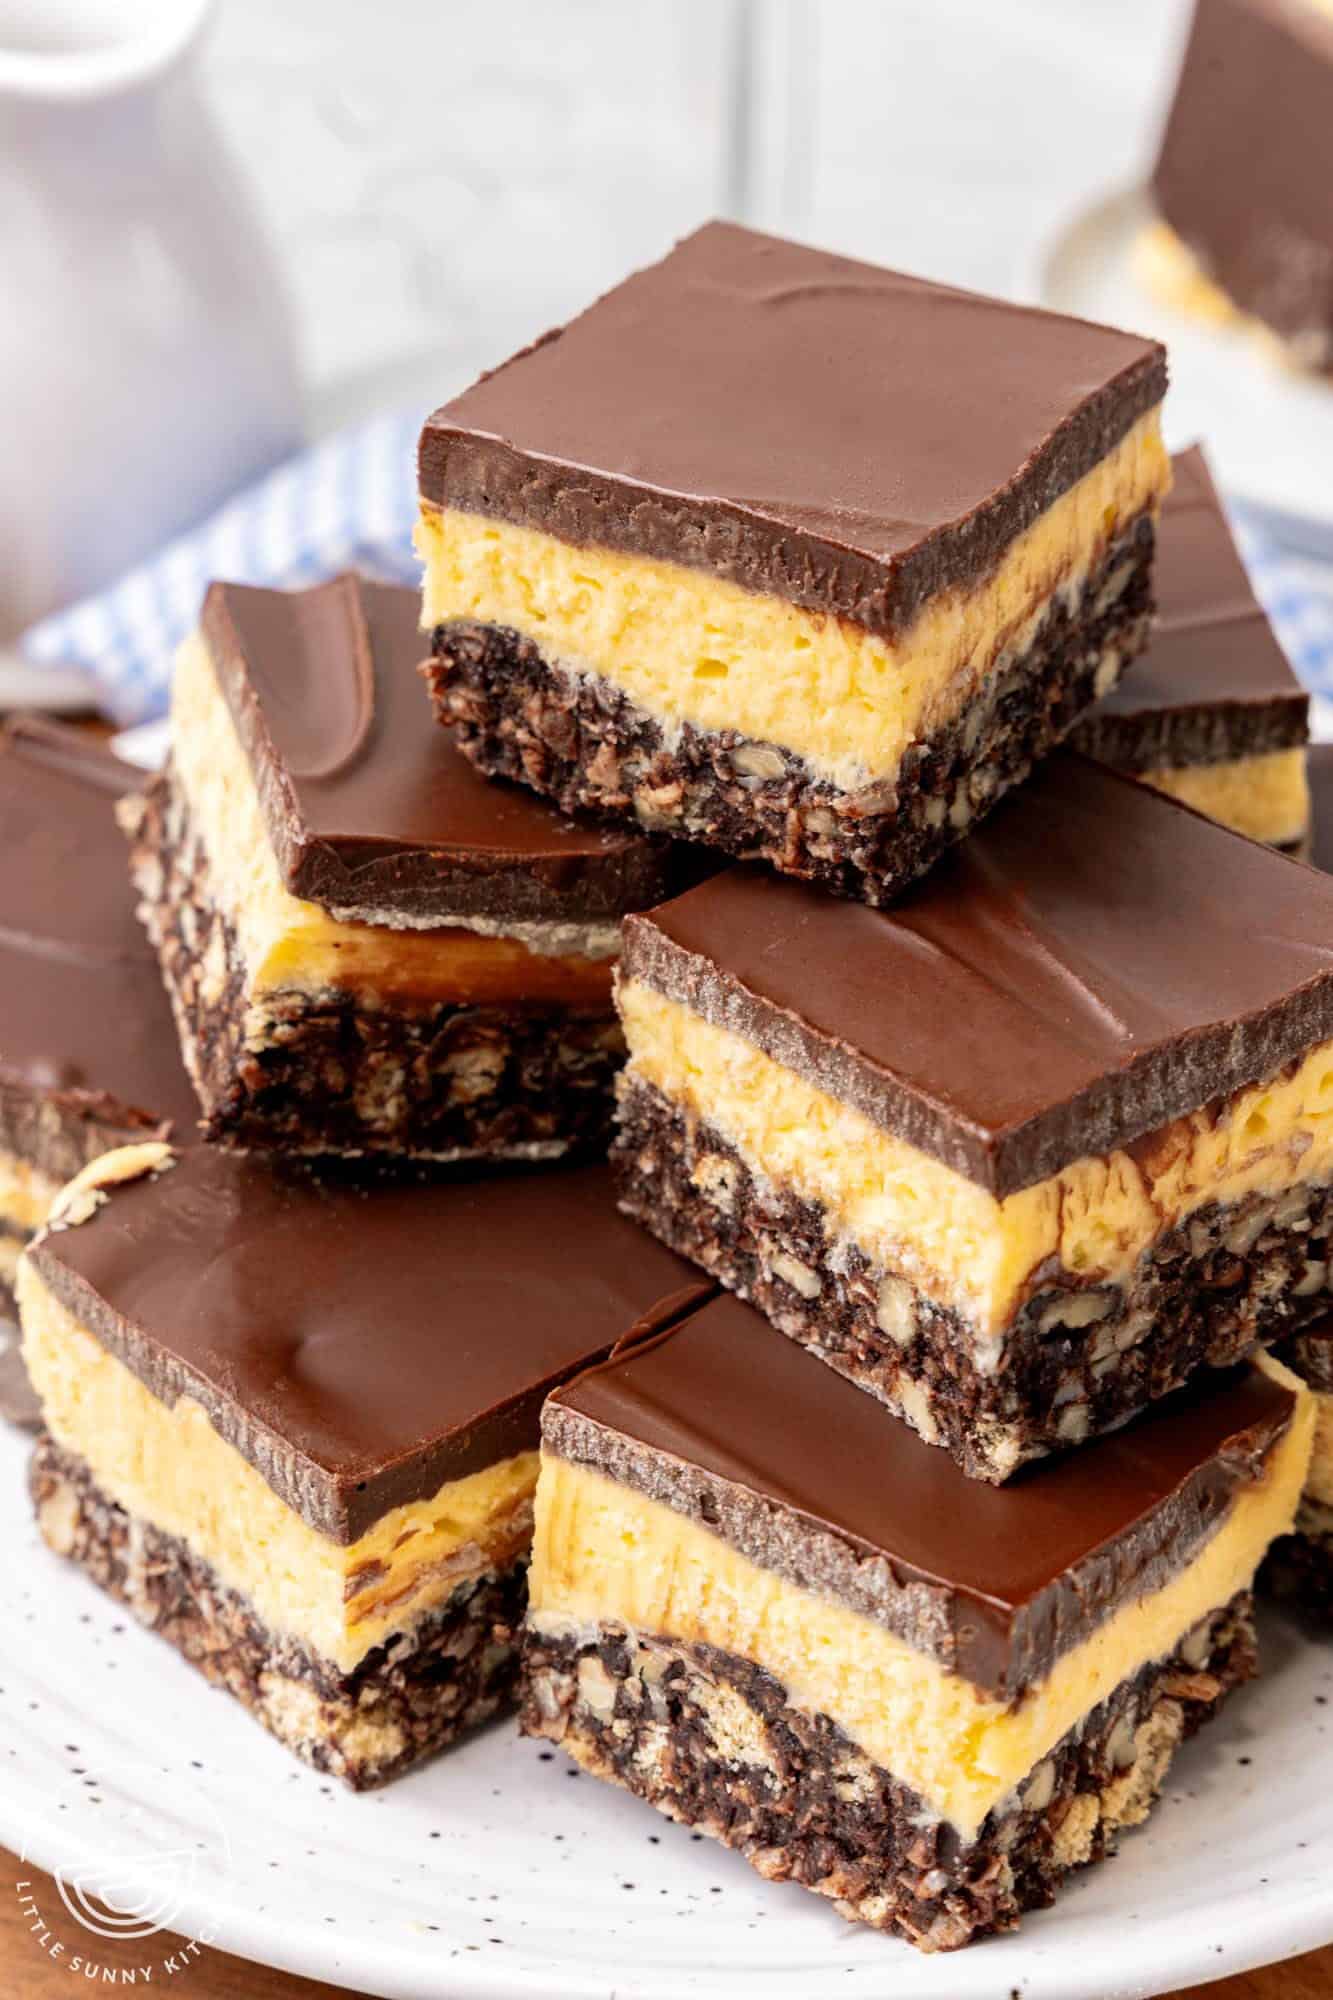
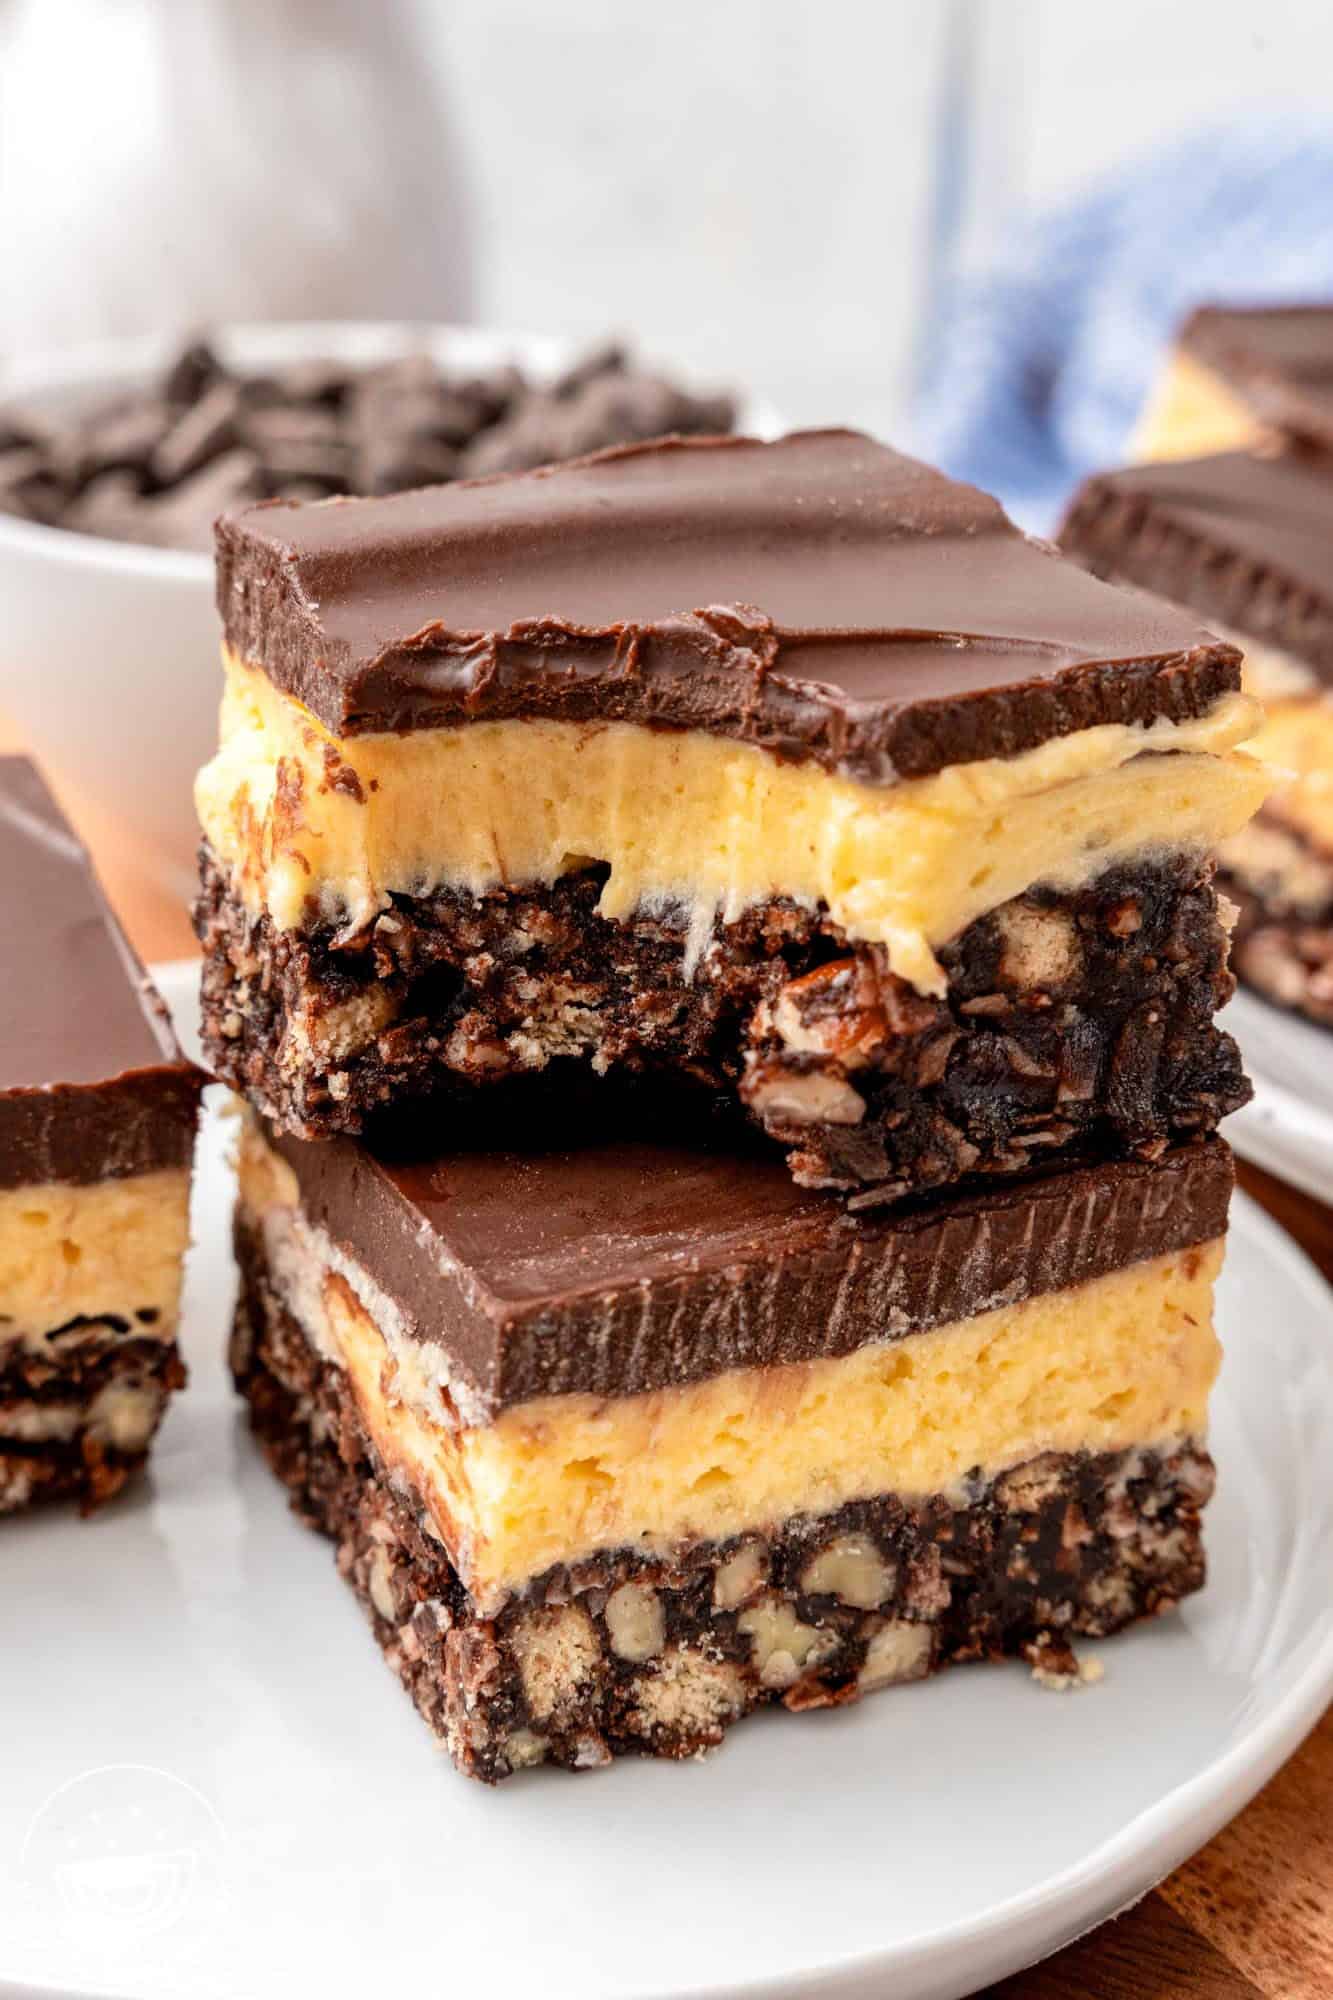
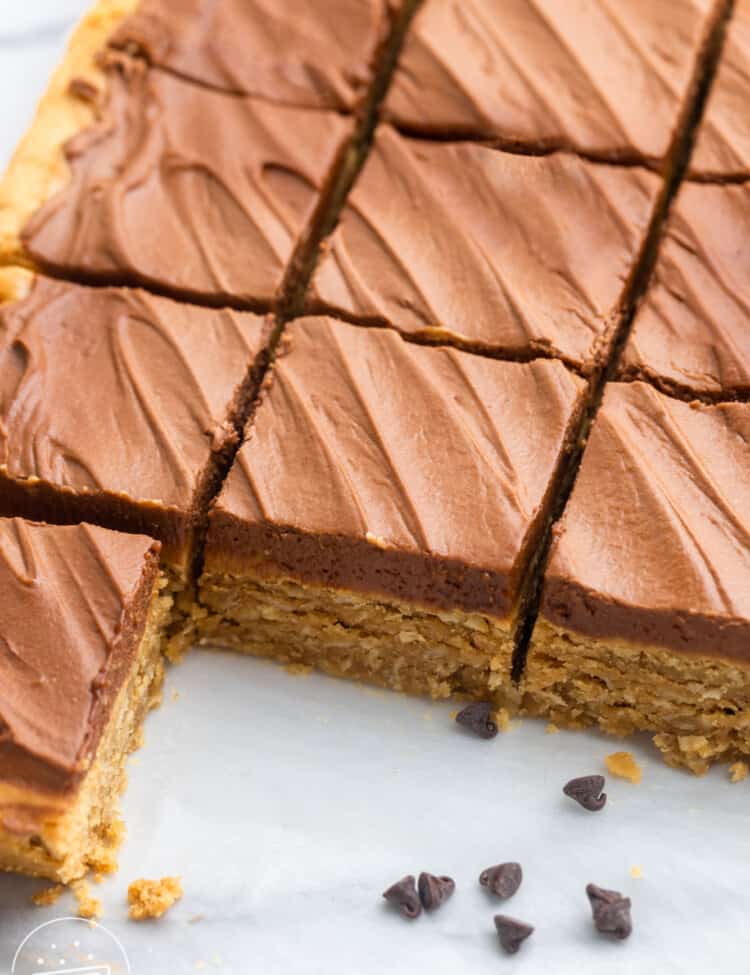
- Delicious, Beautiful Layers – You’ll notice that this bar recipe has three different layers, and quite a few steps. Don’t worry, none of them are difficult, and will all contribute the the beauty and flavor of the bars. Just follow along, make each layer one at a time, and be ready to be amazed when you cut into these!
- Canada’s Most Popular Dessert! This no bake treat has been well-loved by Canadians since just after WWII. Possibly the second most popular is these Canadian Butter Tarts.
Key Ingredients
Here’s what you need to make Nanaimo Bars, layer by layer:
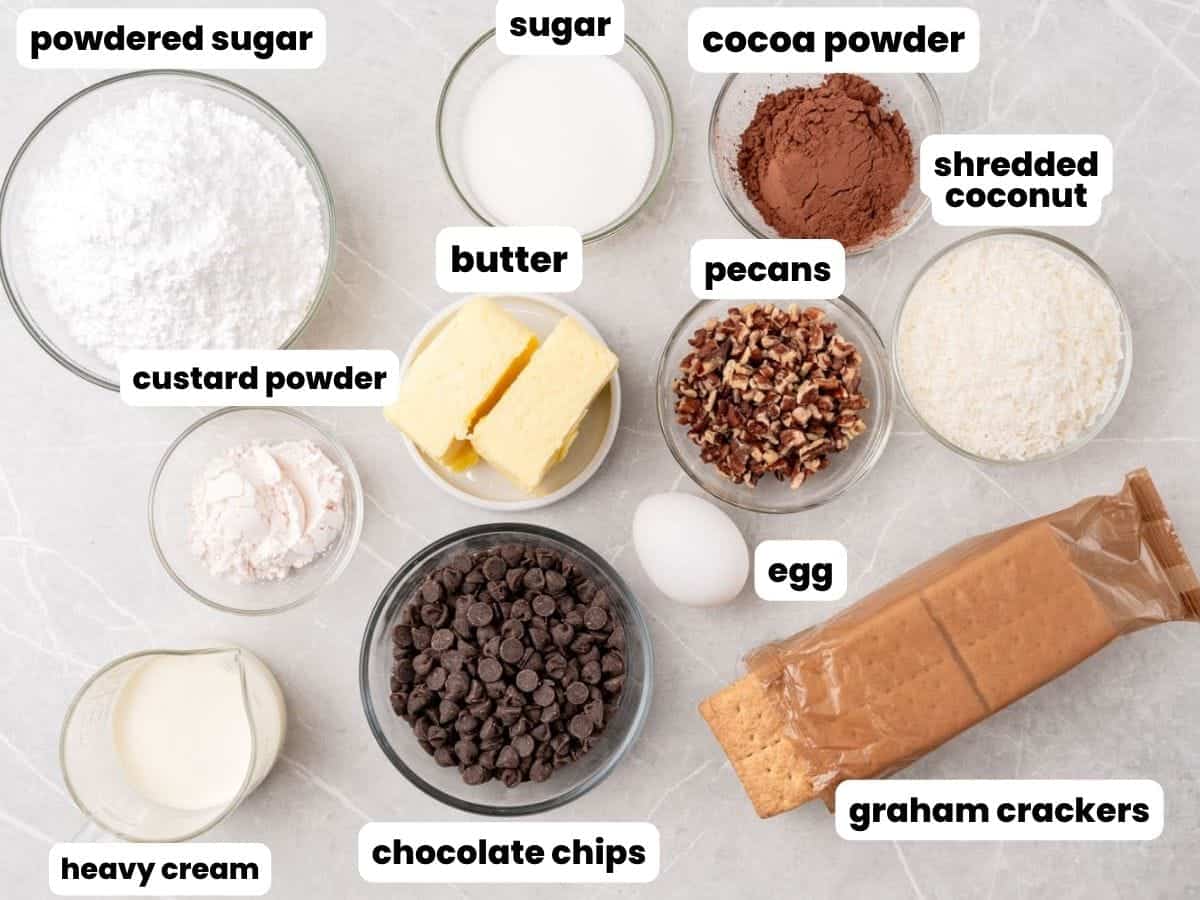
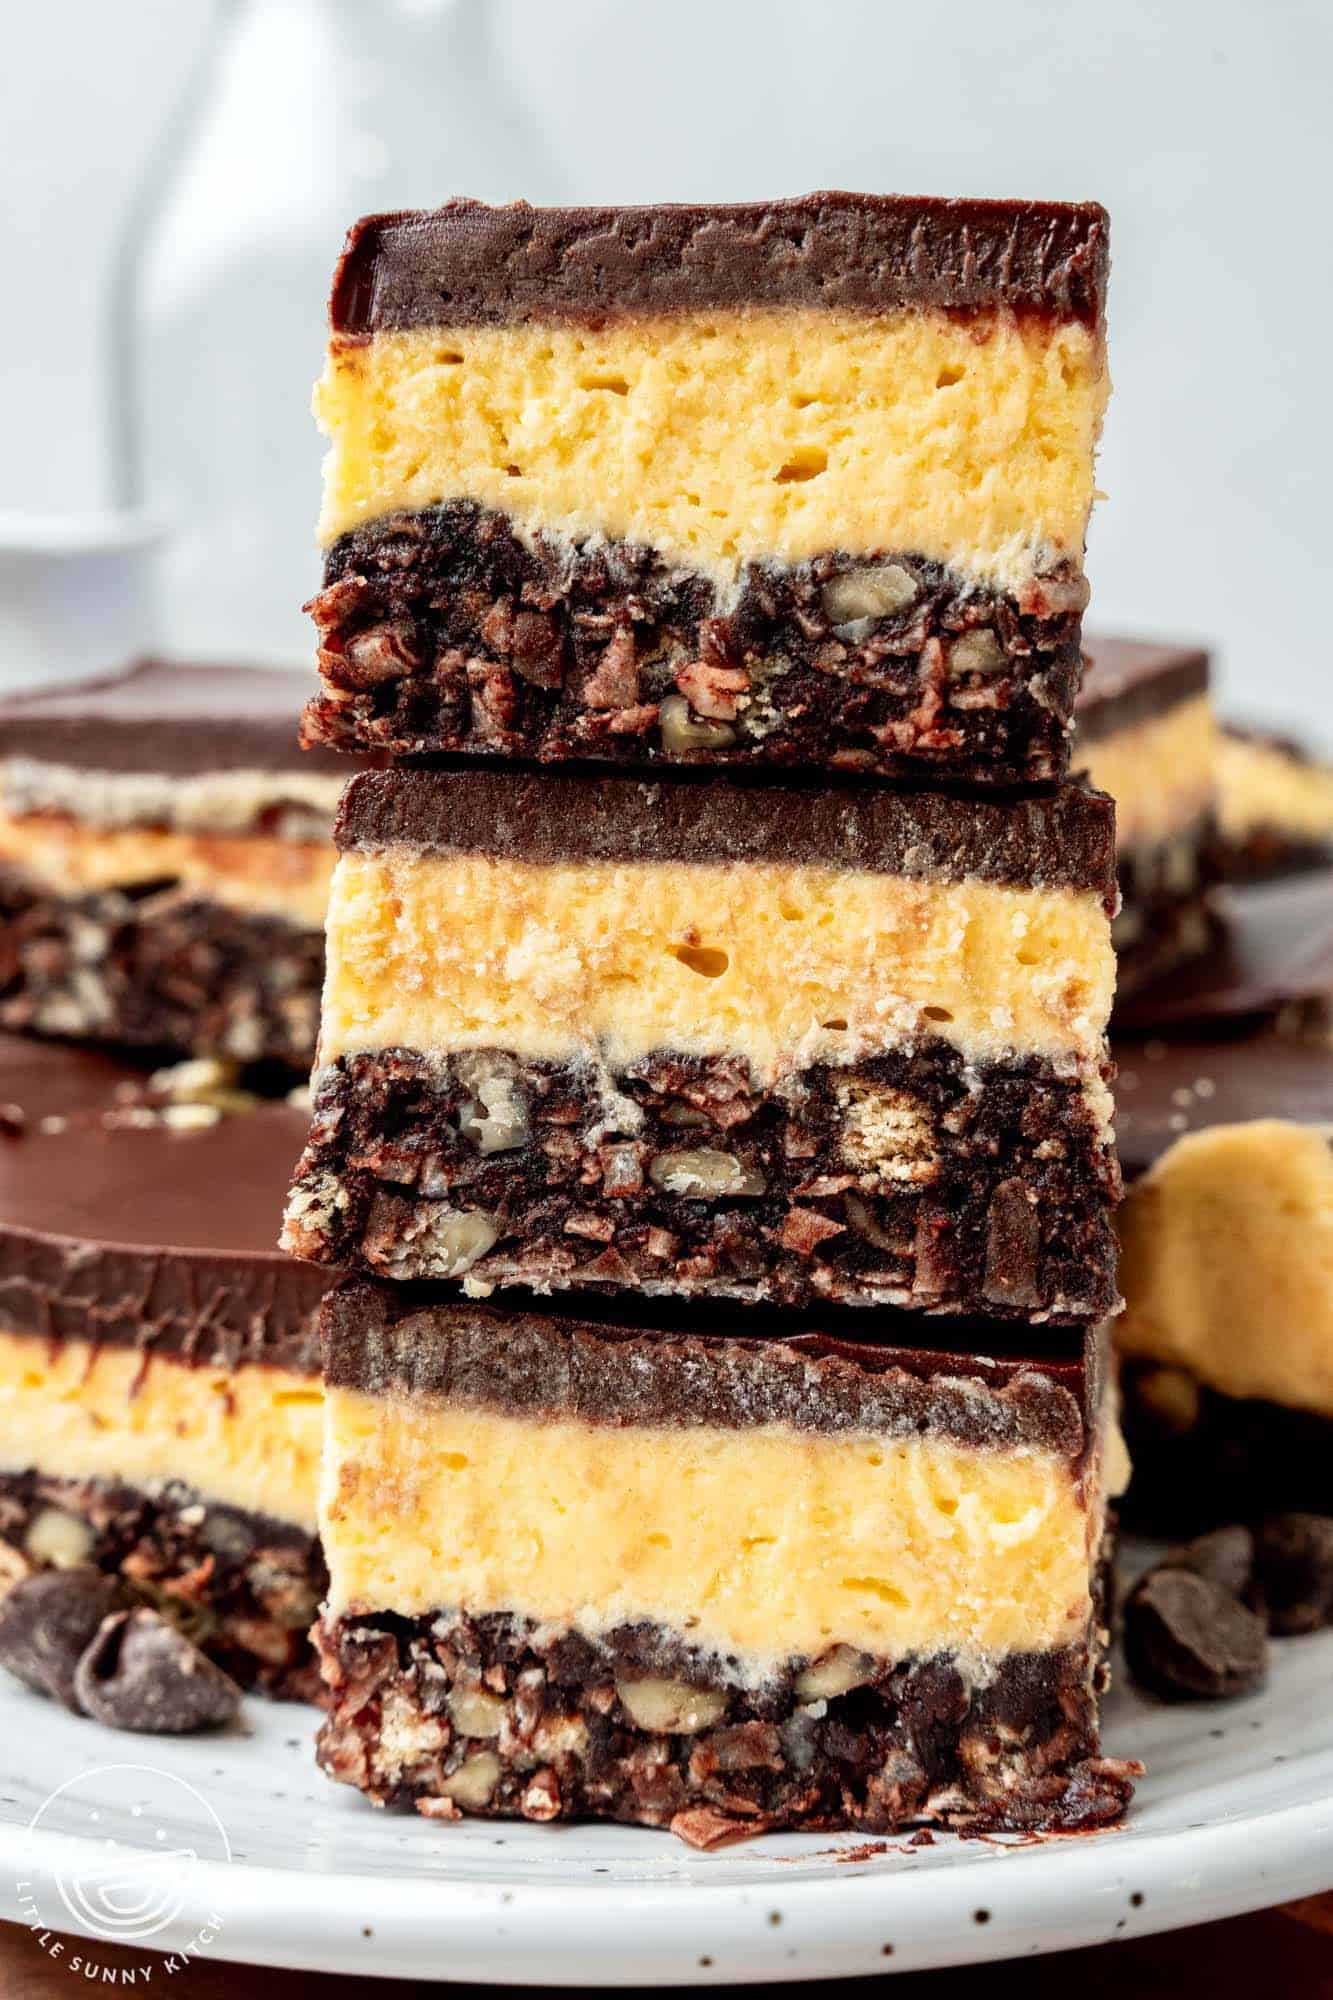
- Crunchy, Fudgy Bottom Layer: Lots of texture in this layer comes from crushed graham crackers, shredded coconut, and chopped nuts. I’m using pecans, but you can also use walnuts or almonds. A blend of melted butter, a tempered egg, granulated sugar, and cocoa powder holds everything together.
- Middle Custard Layer: In Canada, the secret ingredient for this tasty, creamy filling is custard powder. You may be able to find this at an international grocery store, or online. If you can’t, substitute the same amount of instant vanilla pudding mix. You’ll also need heavy cream, powdered sugar, and some more unsalted butter.
- Rich Chocolate Topping: Melt semi-sweet chocolate chips with even more butter to create a smooth, luscious chocolate layer.
Complete list of ingredients and amounts can be found in the recipe card below.
How To Make Nanaimo Bars

Bottom Layer
- Prepare a Pan: Line an 8×8-inch square baking dish with foil or parchment paper, and set aside.
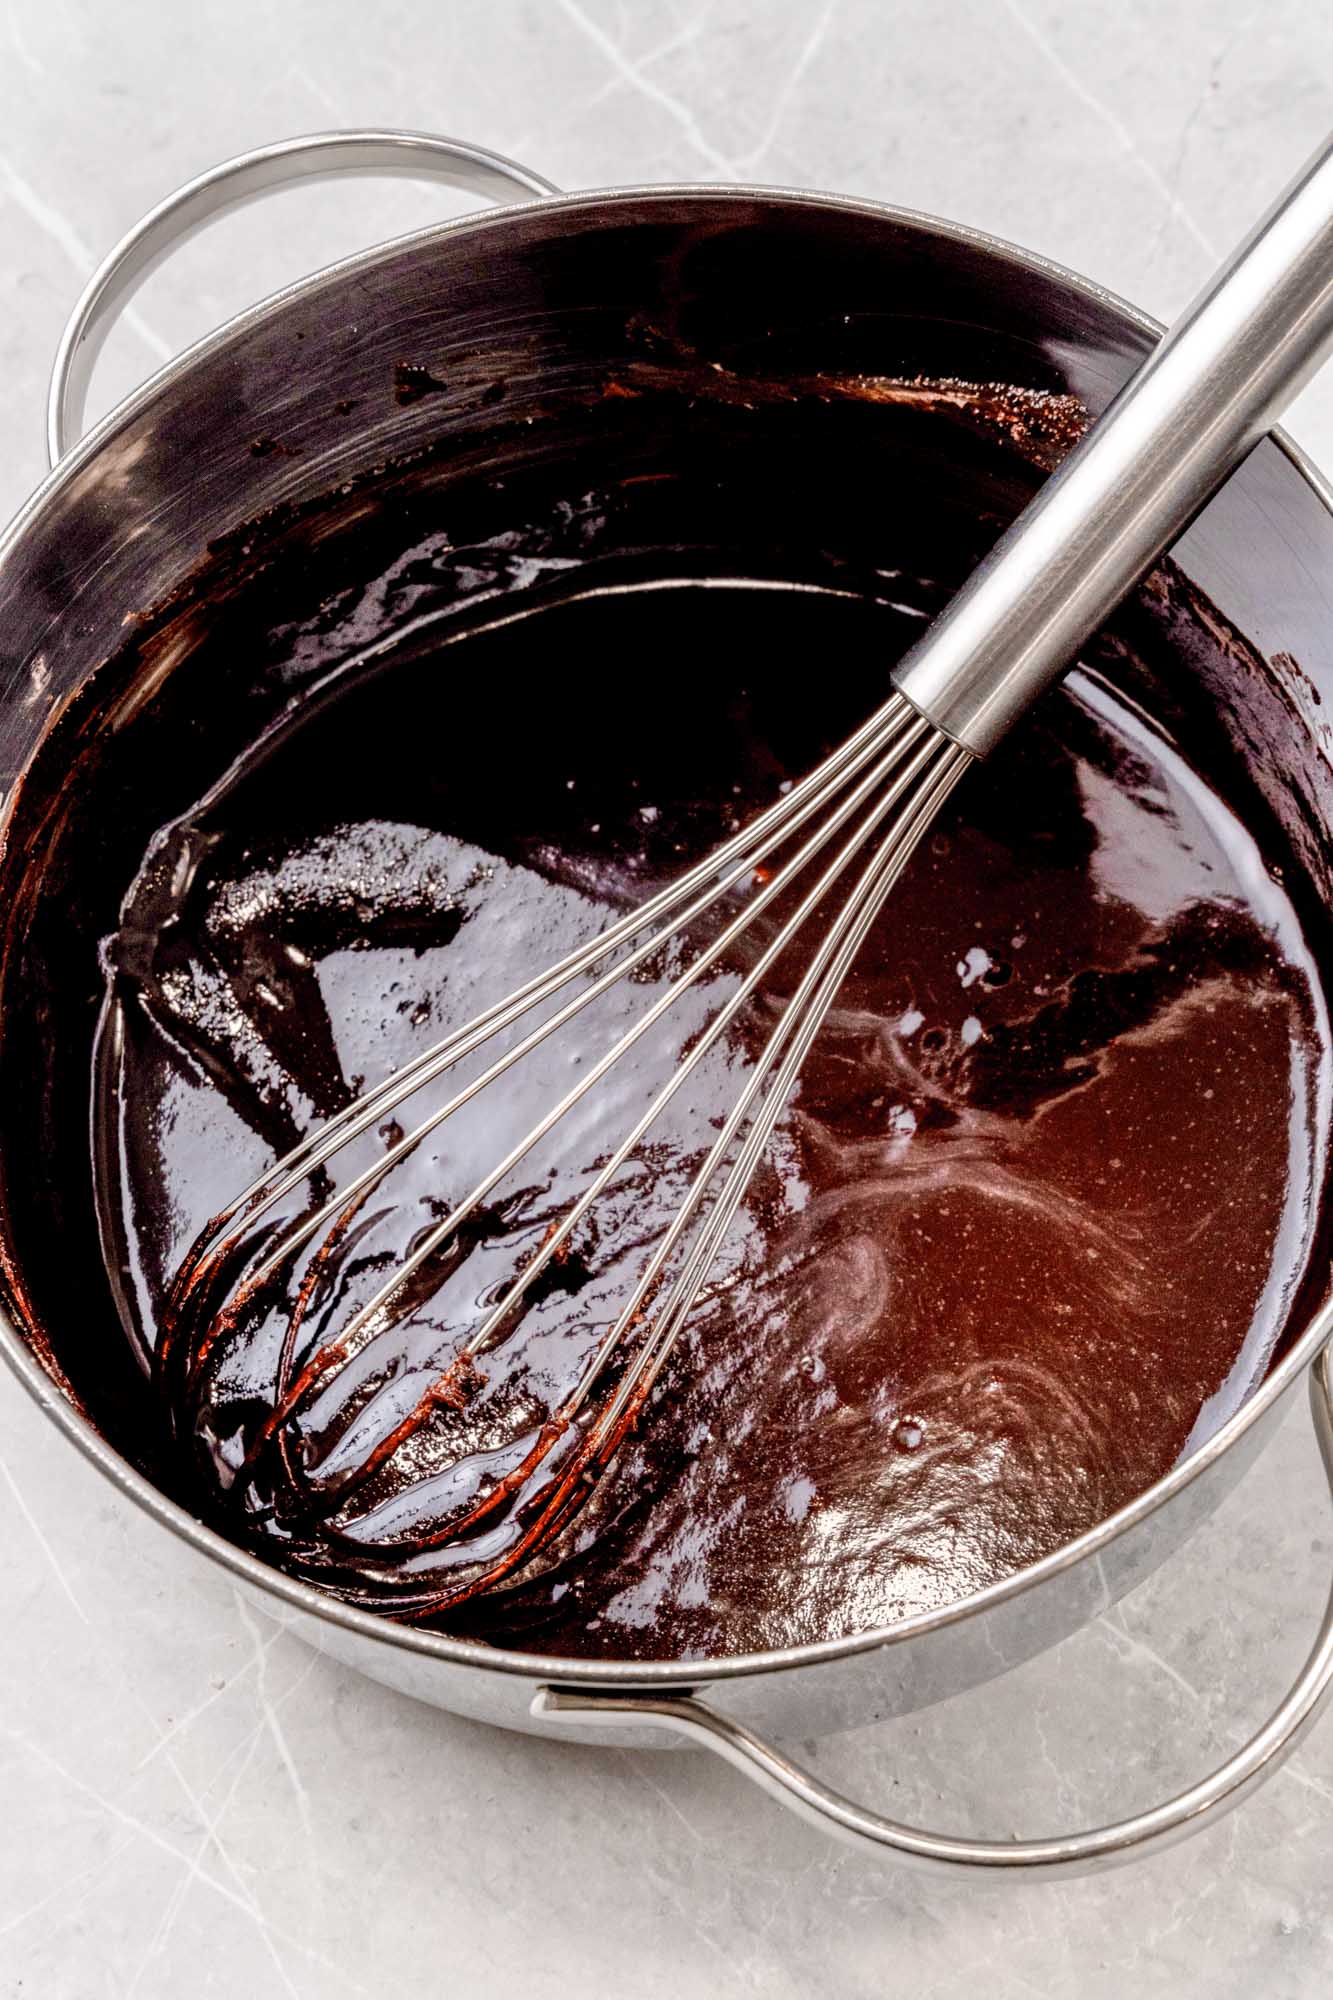
- Make the Fudge: In a saucepan over low heat, melt the butter with cocoa powder and granulated sugar, cooking until smooth. Add the egg to a separate bowl, and drizzle ½ cup of the butter mixture, whisking constantly to temper the egg. Now, pour the egg mixture back into the pot and turn the heat up to medium. Cook, whisking constantly, until the mixture thickens.
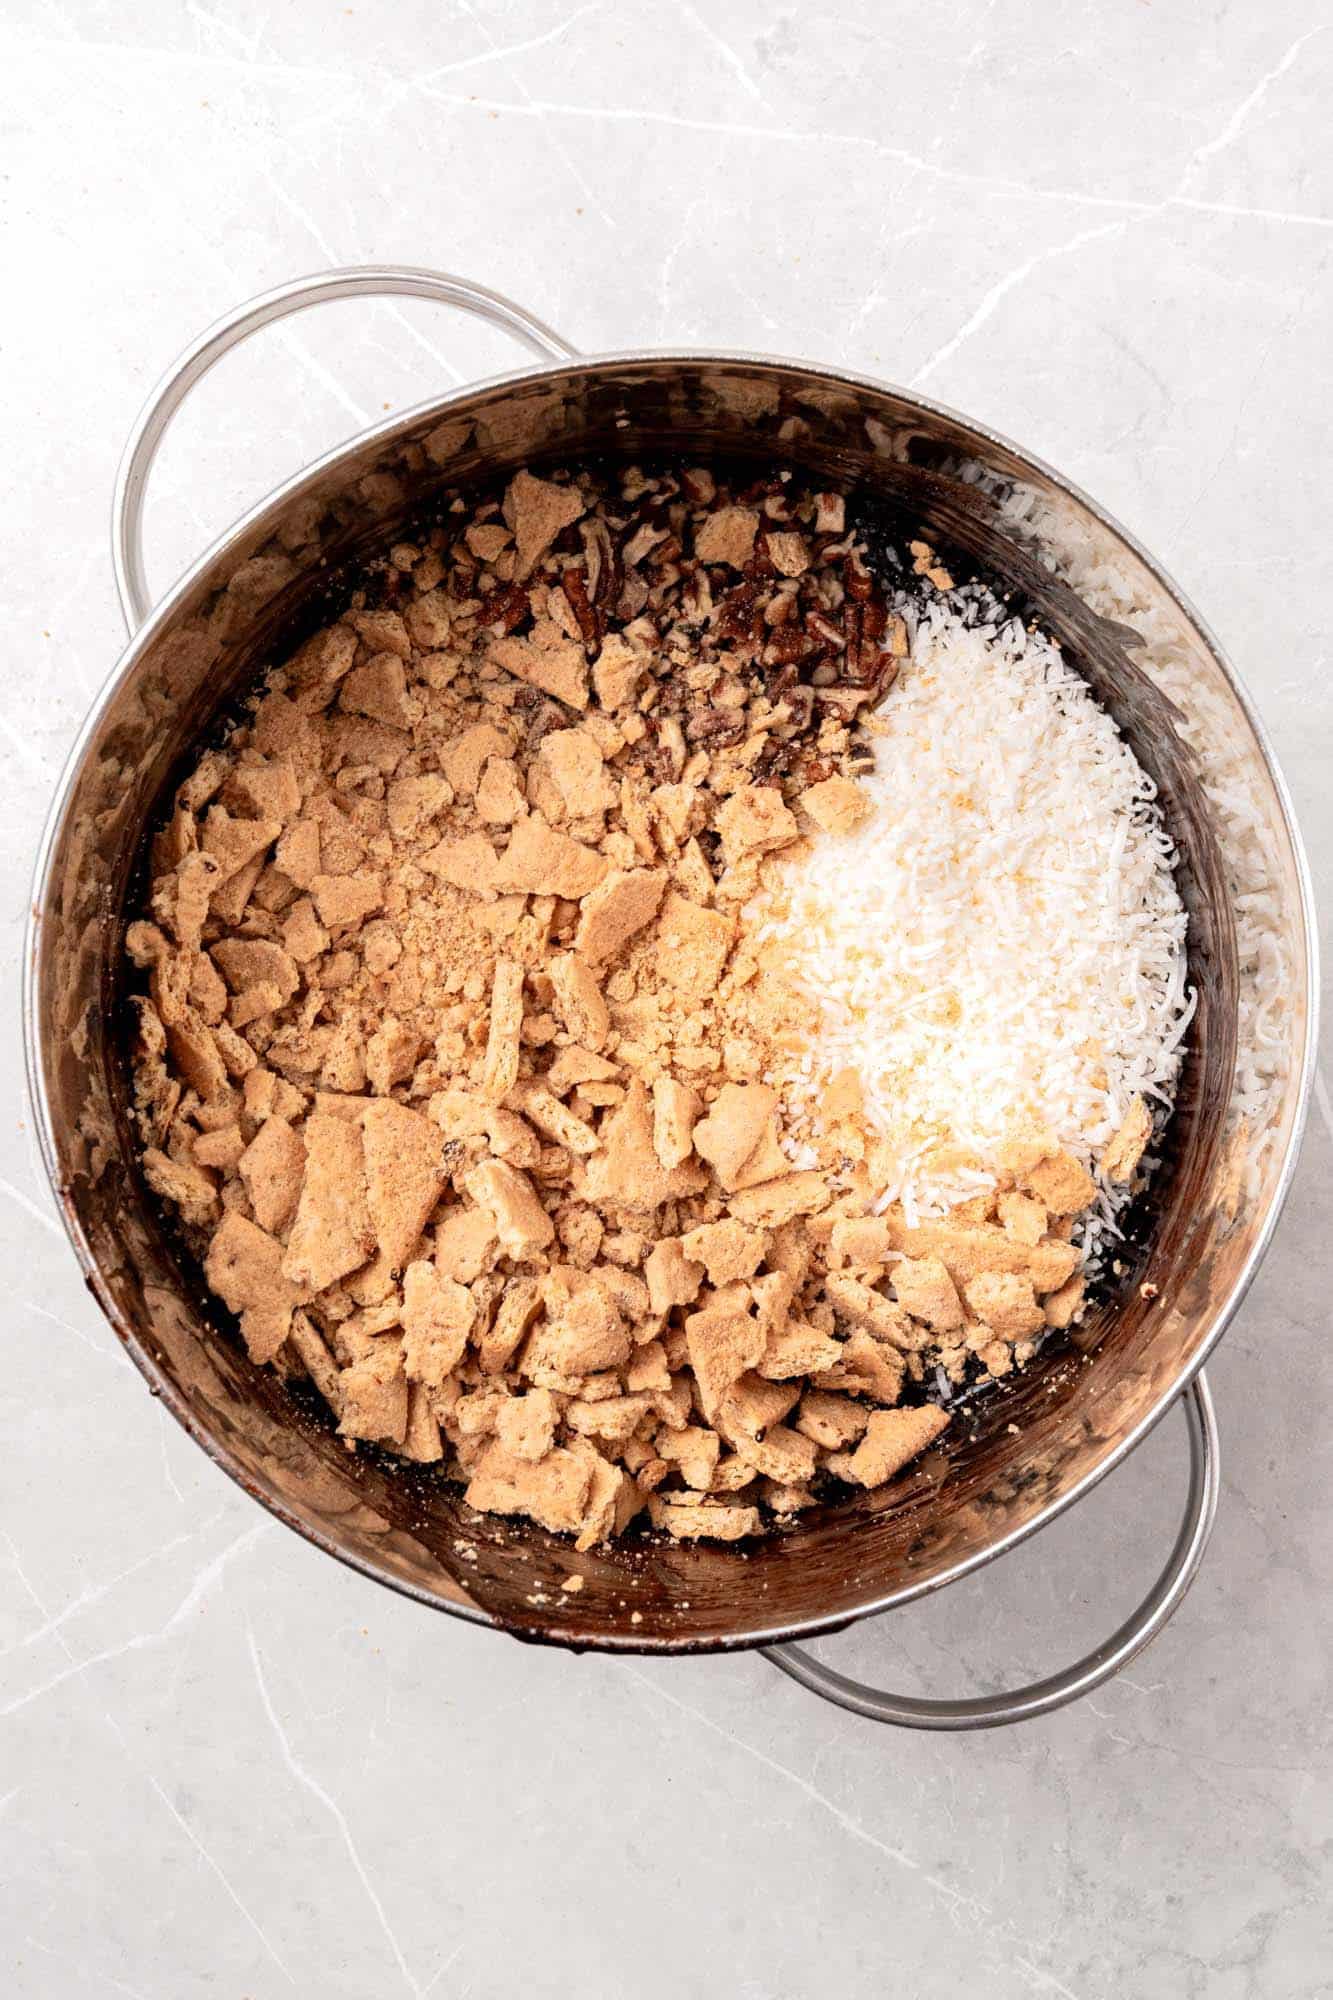
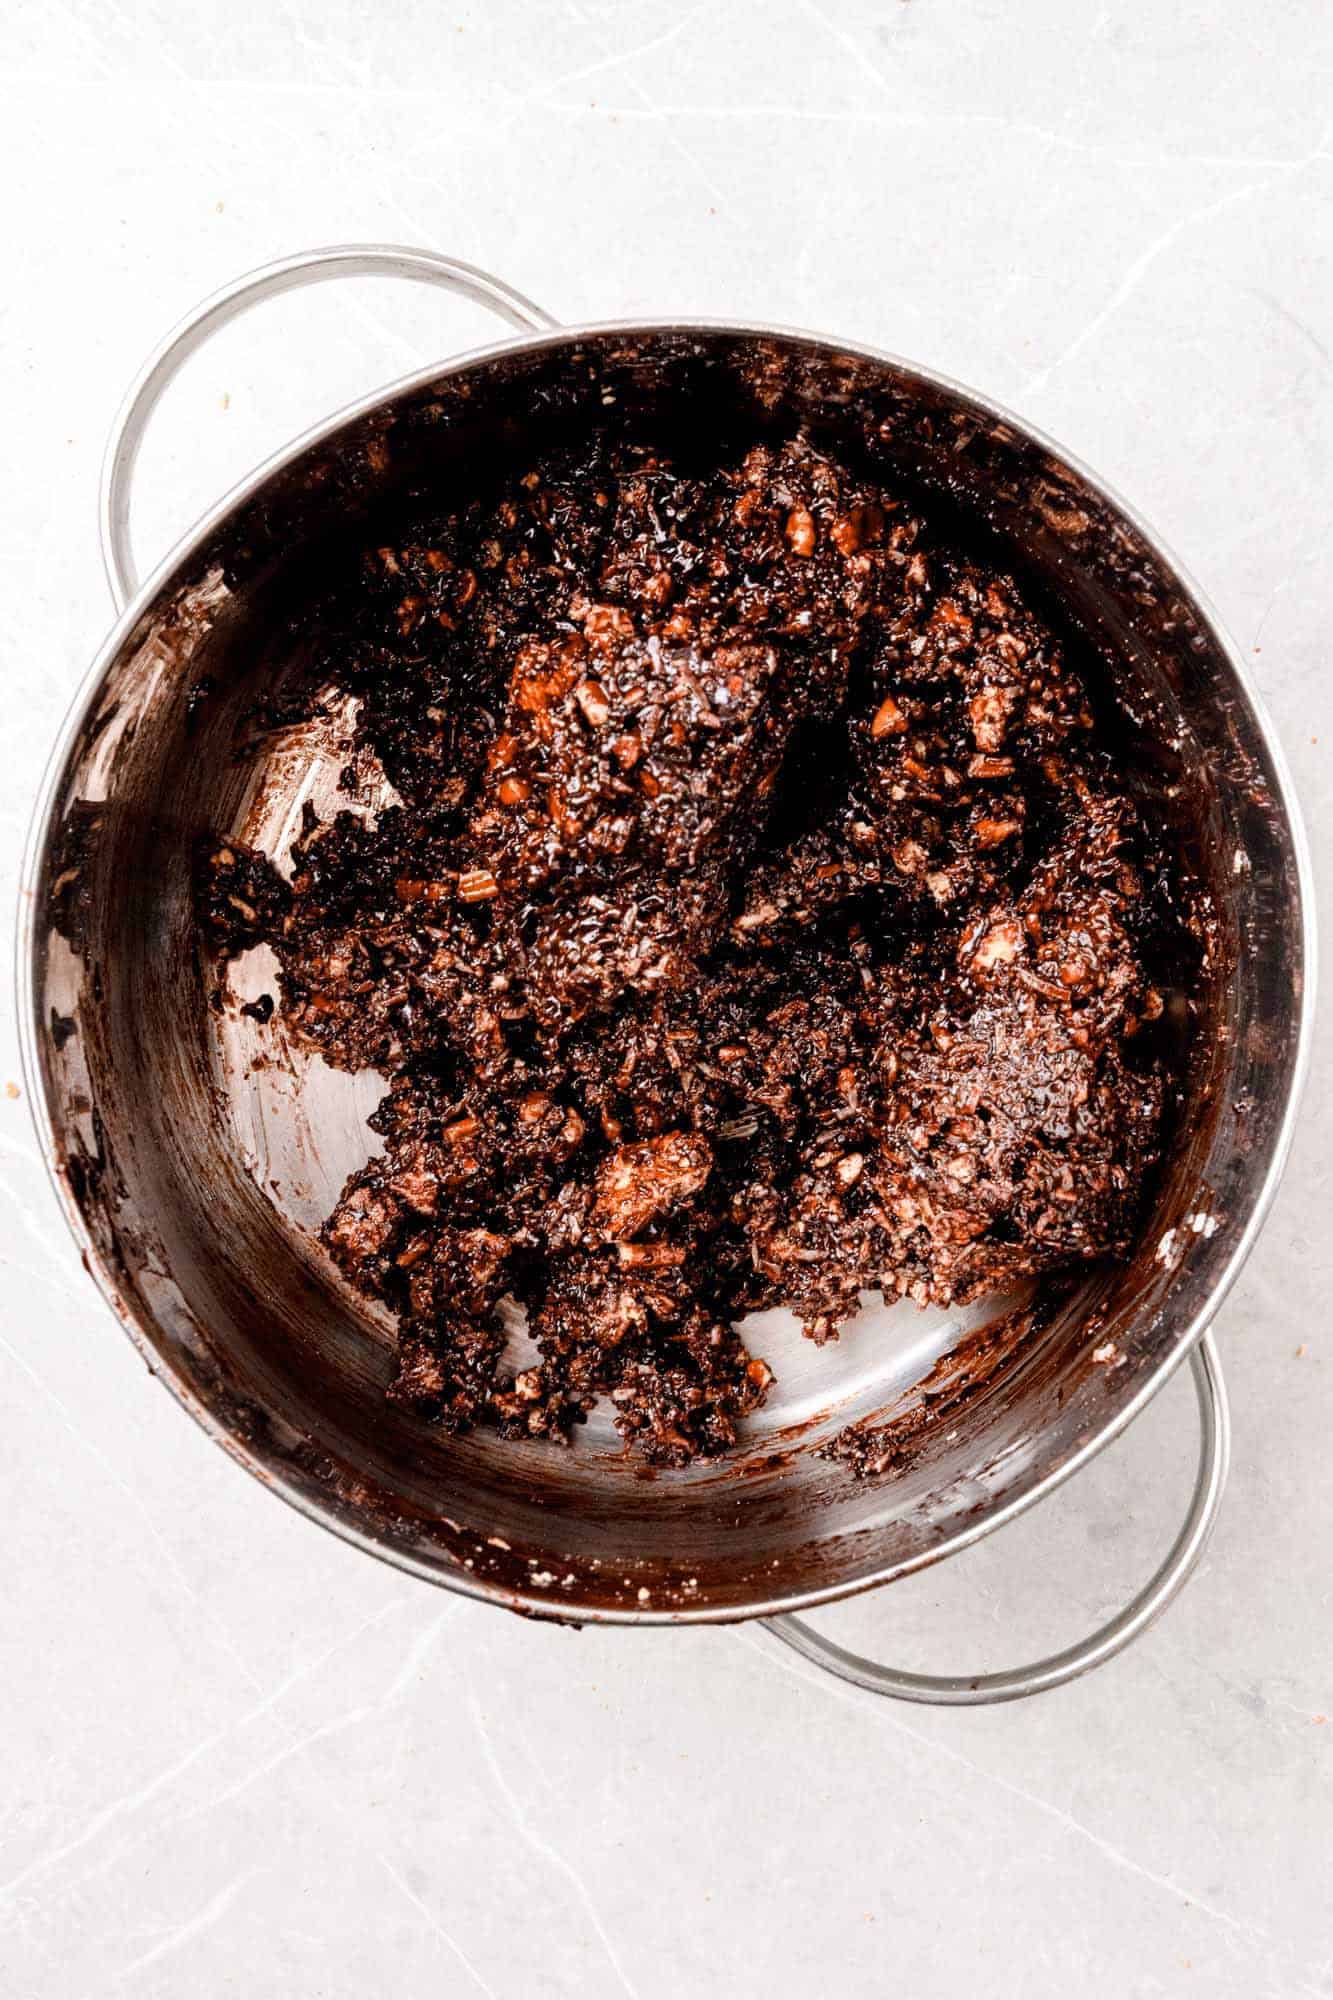
- Add the Crunchies: Remove the chocolate from the heat and stir in the graham crackers, coconut, and nuts.
- Press and Chill: Transfer the mixture to the prepared baking dish. Once it’s cooled down enough to work with, press it down with buttered fingers into a smooth, even layer. Chill in the fridge while you prepare the next layer.
Tip!
Not sure if the chocolate is thick enough? Use a thermometer! Cook the mixture until it reaches 180°F/82°C.
Middle Layer
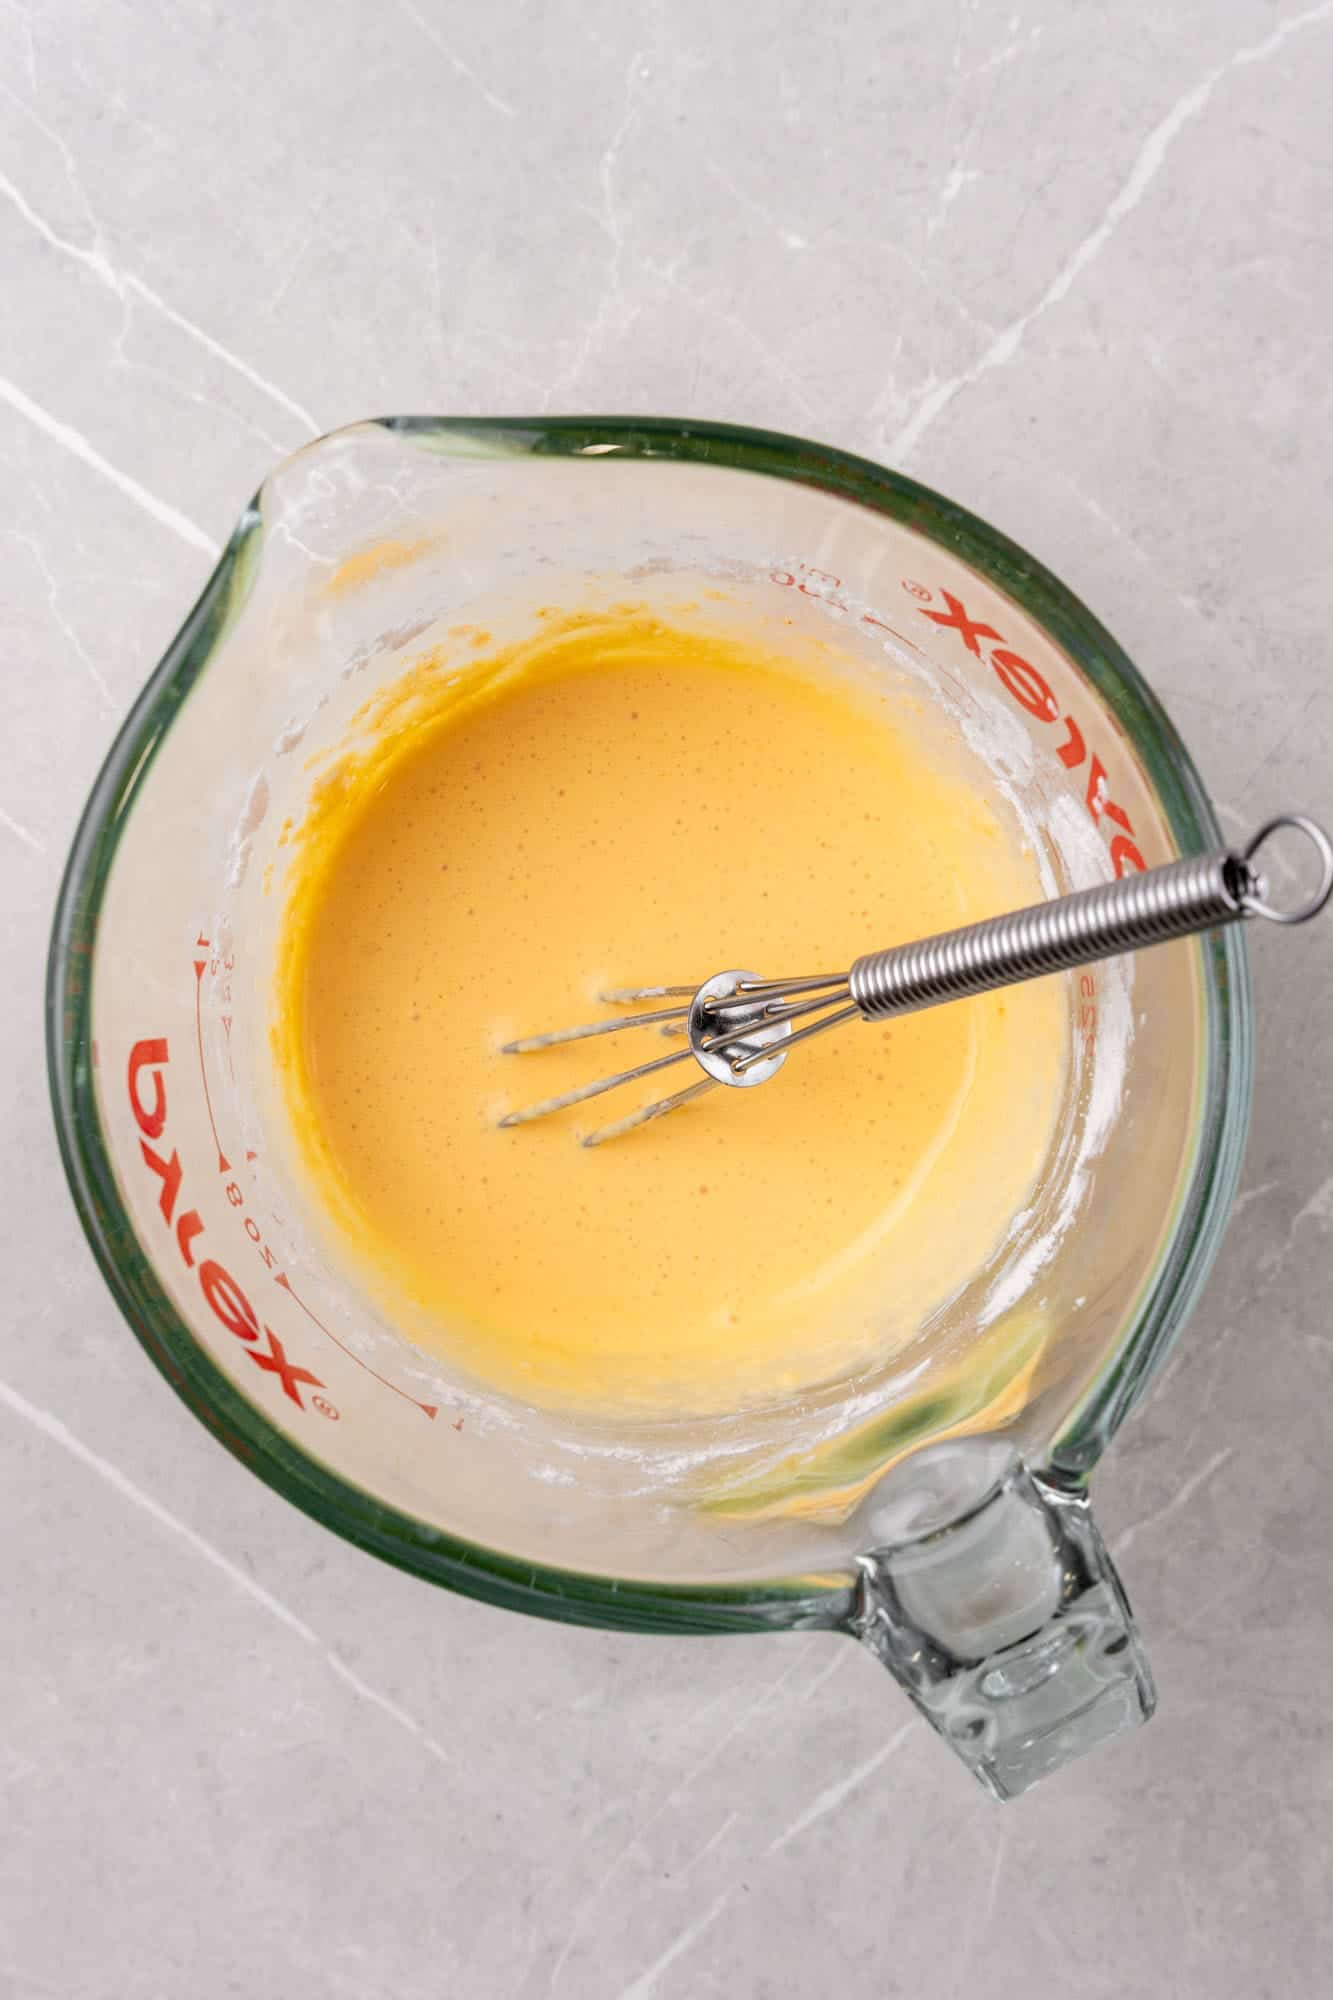
- Mix the Custard: In a small bowl, whisk together the heavy cream and custard powder (or pudding mix) until smooth. Set aside.
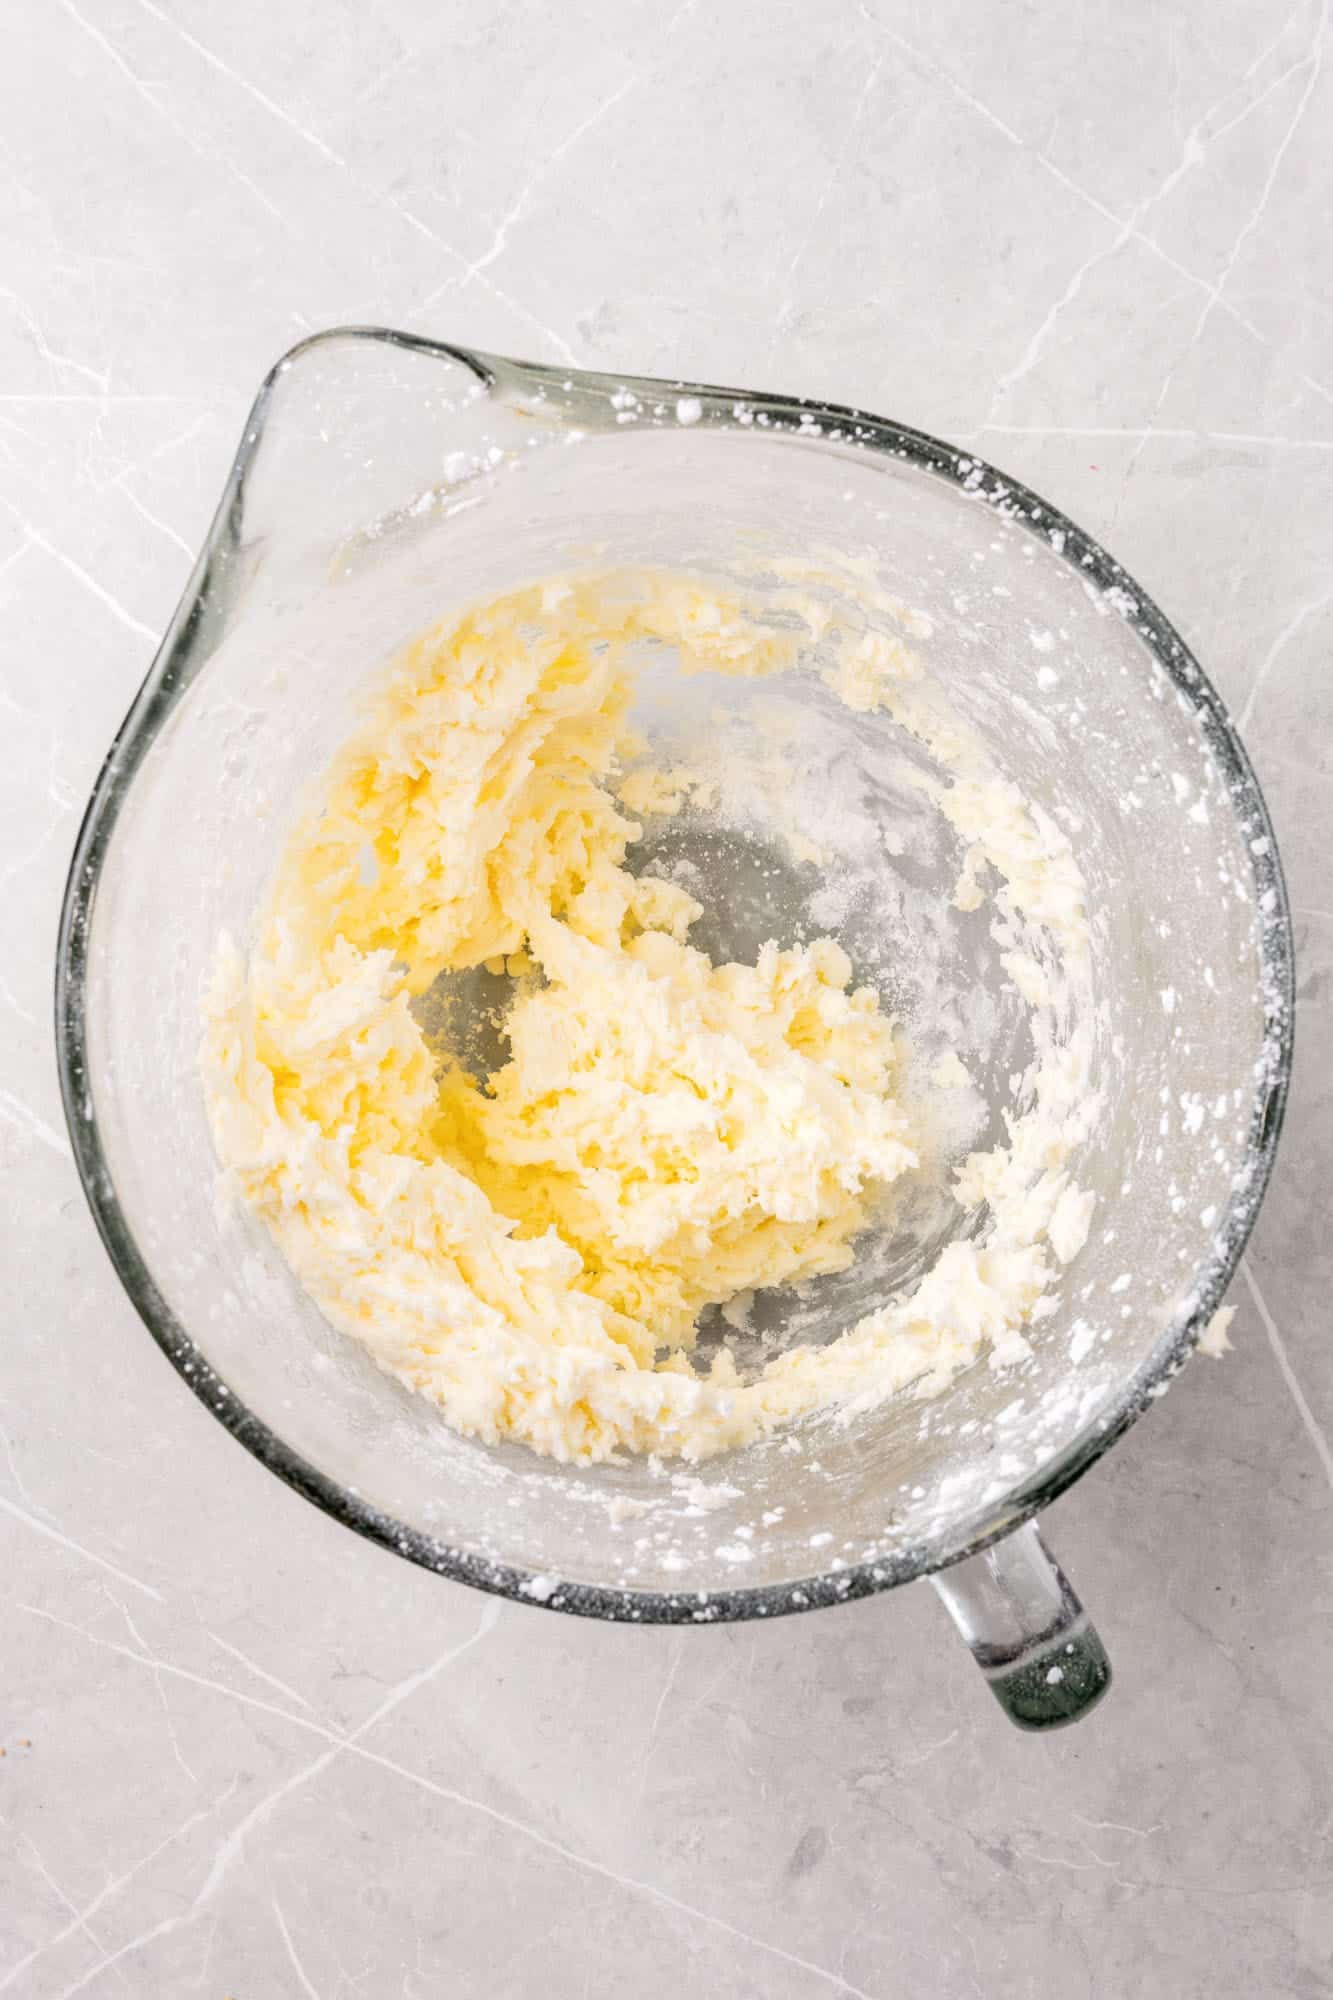
- Cream Butter with Powdered Sugar: In a large bowl, add the powdered sugar to the butter in 2 or 3 smaller additions, beating well with an electric mixer after each until smooth and creamy.
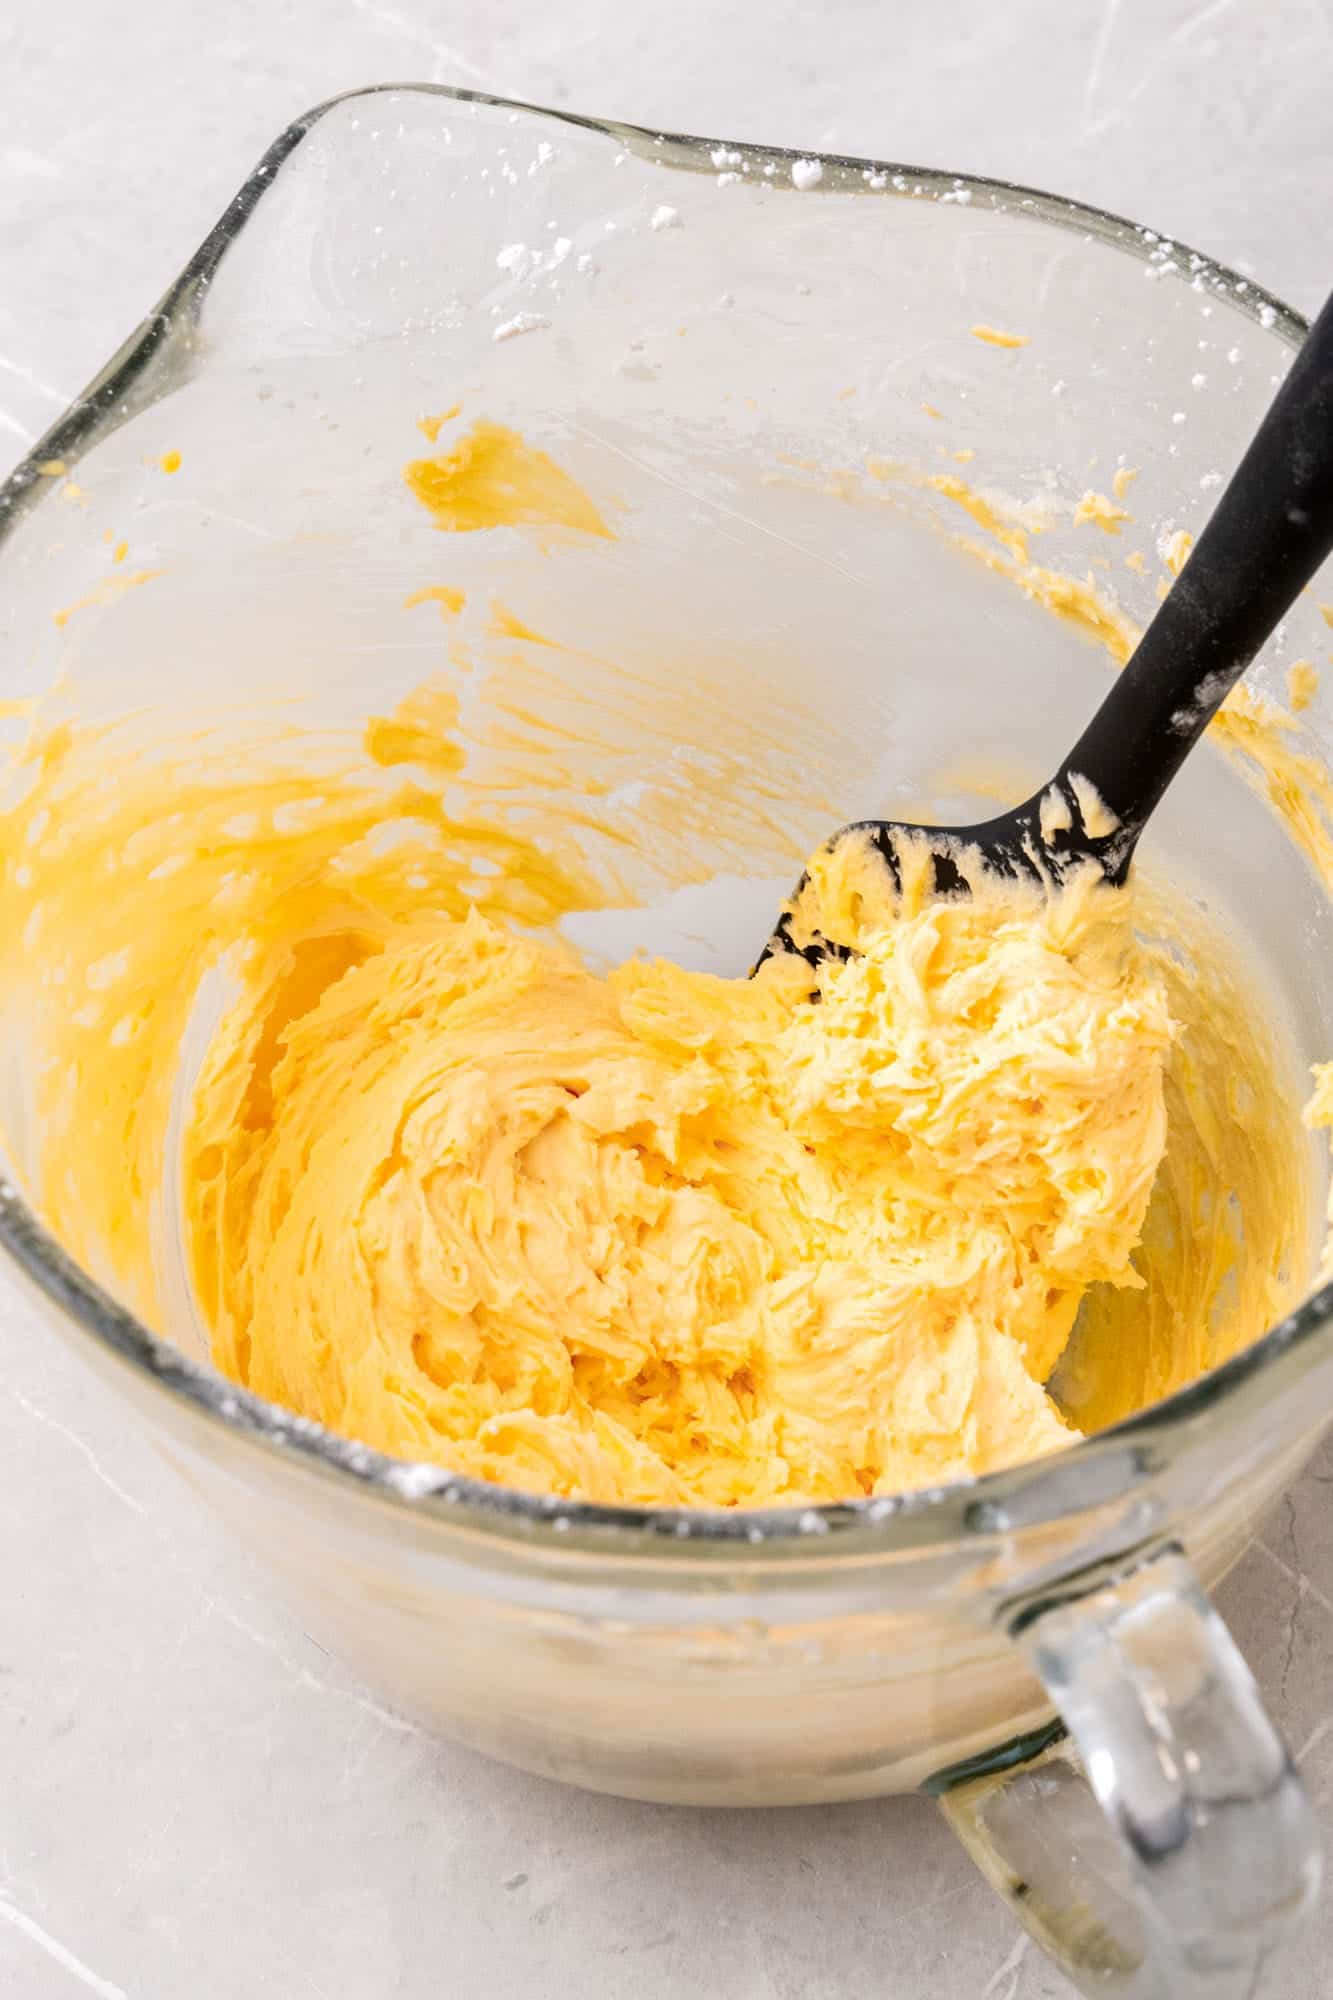
- Combine: Add the custard mixture to the butter mixture and bean on high speed until light and fluffy.
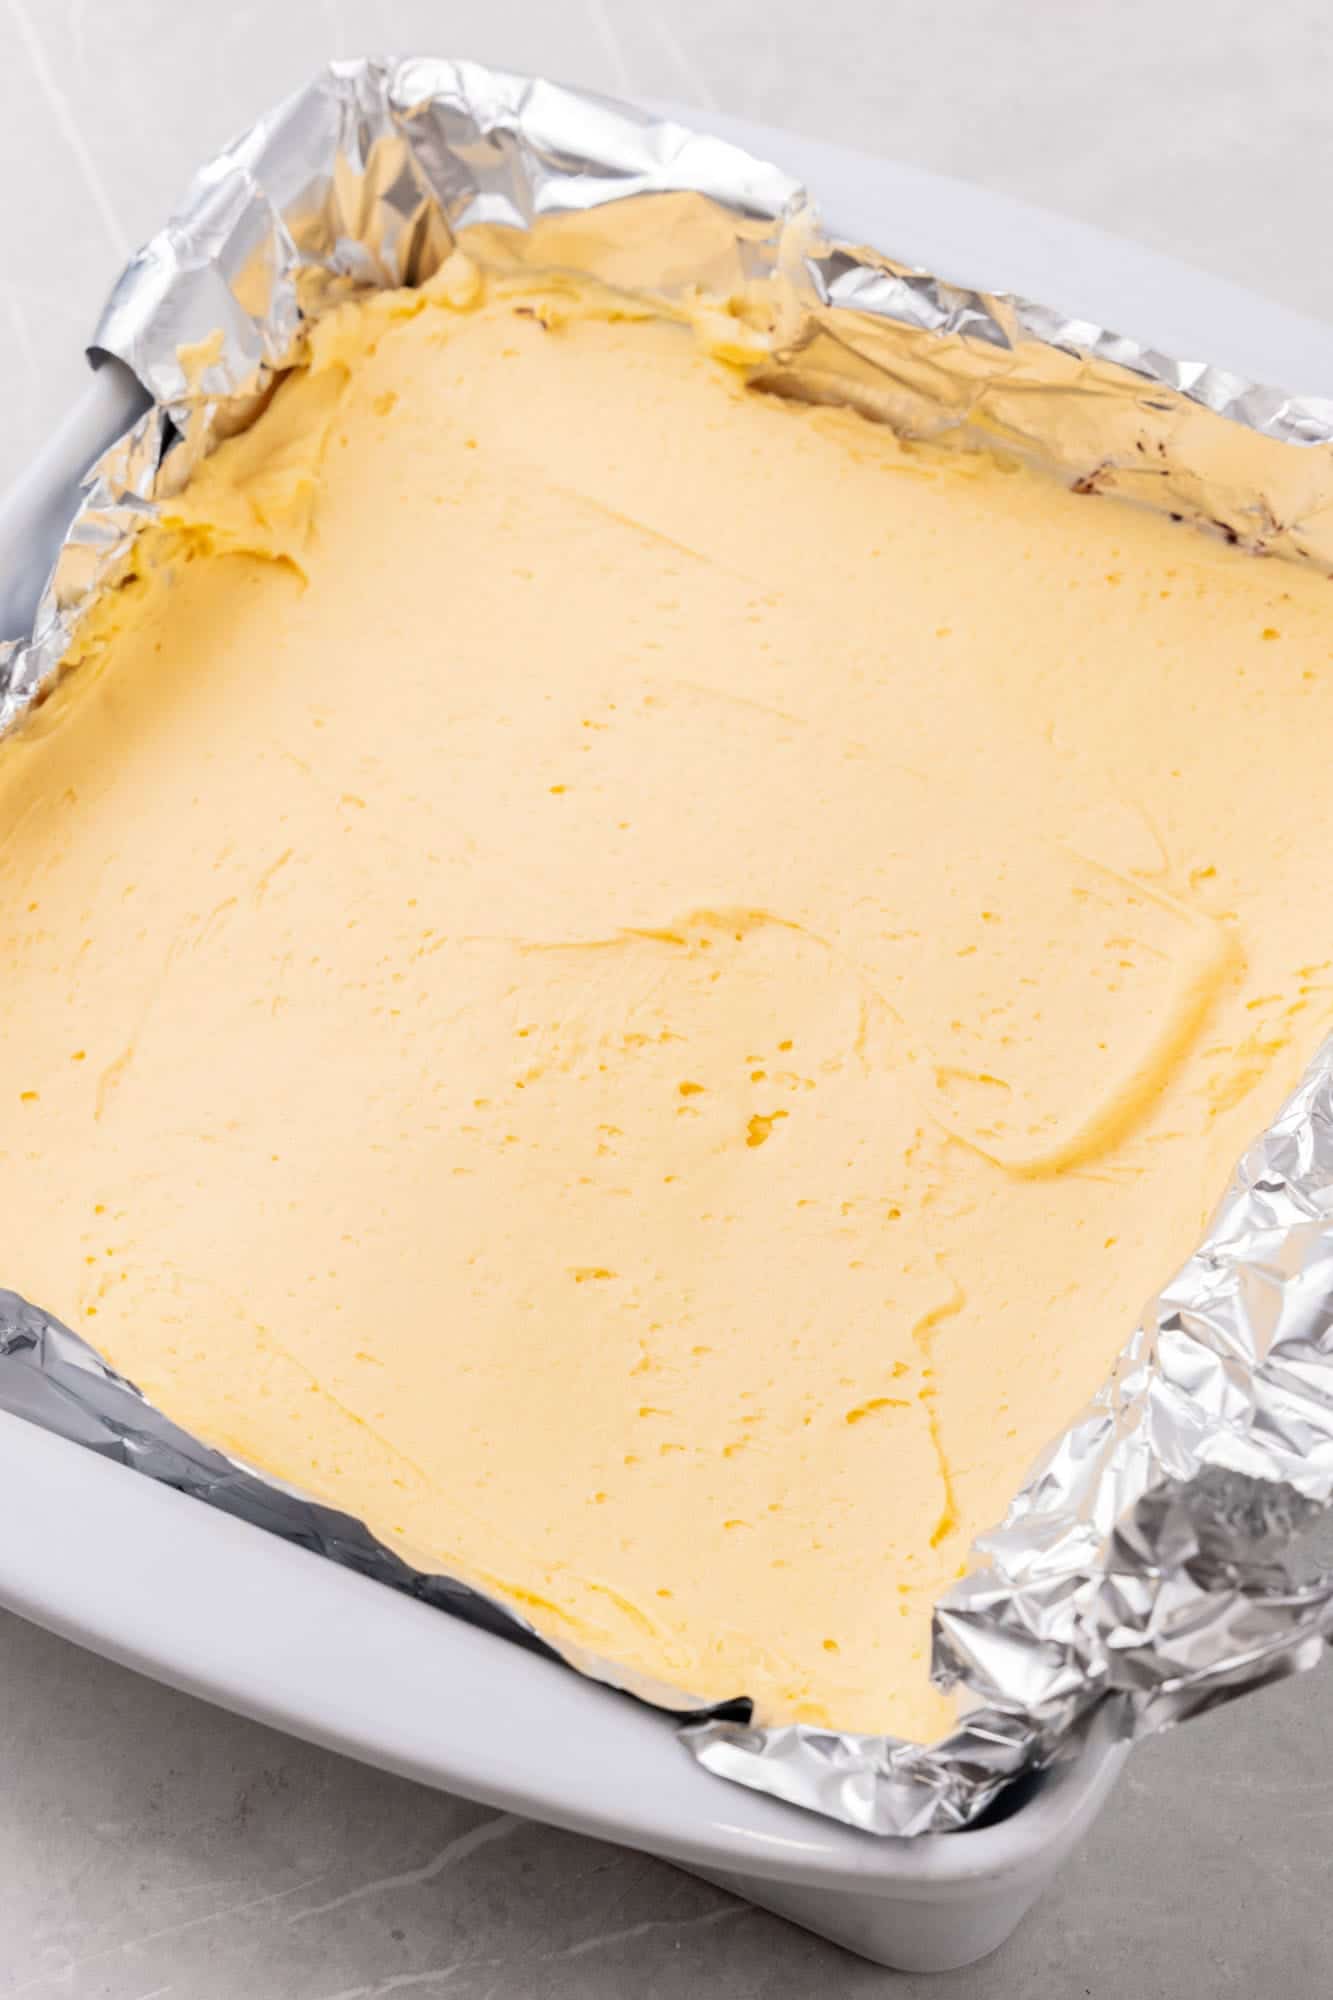
- Spread and Chill Again: Add the custard to the bottom layer, smoothing it out evenly with a spatula. Chill again for at least 10 minutes while you make the topping.
Top Layer
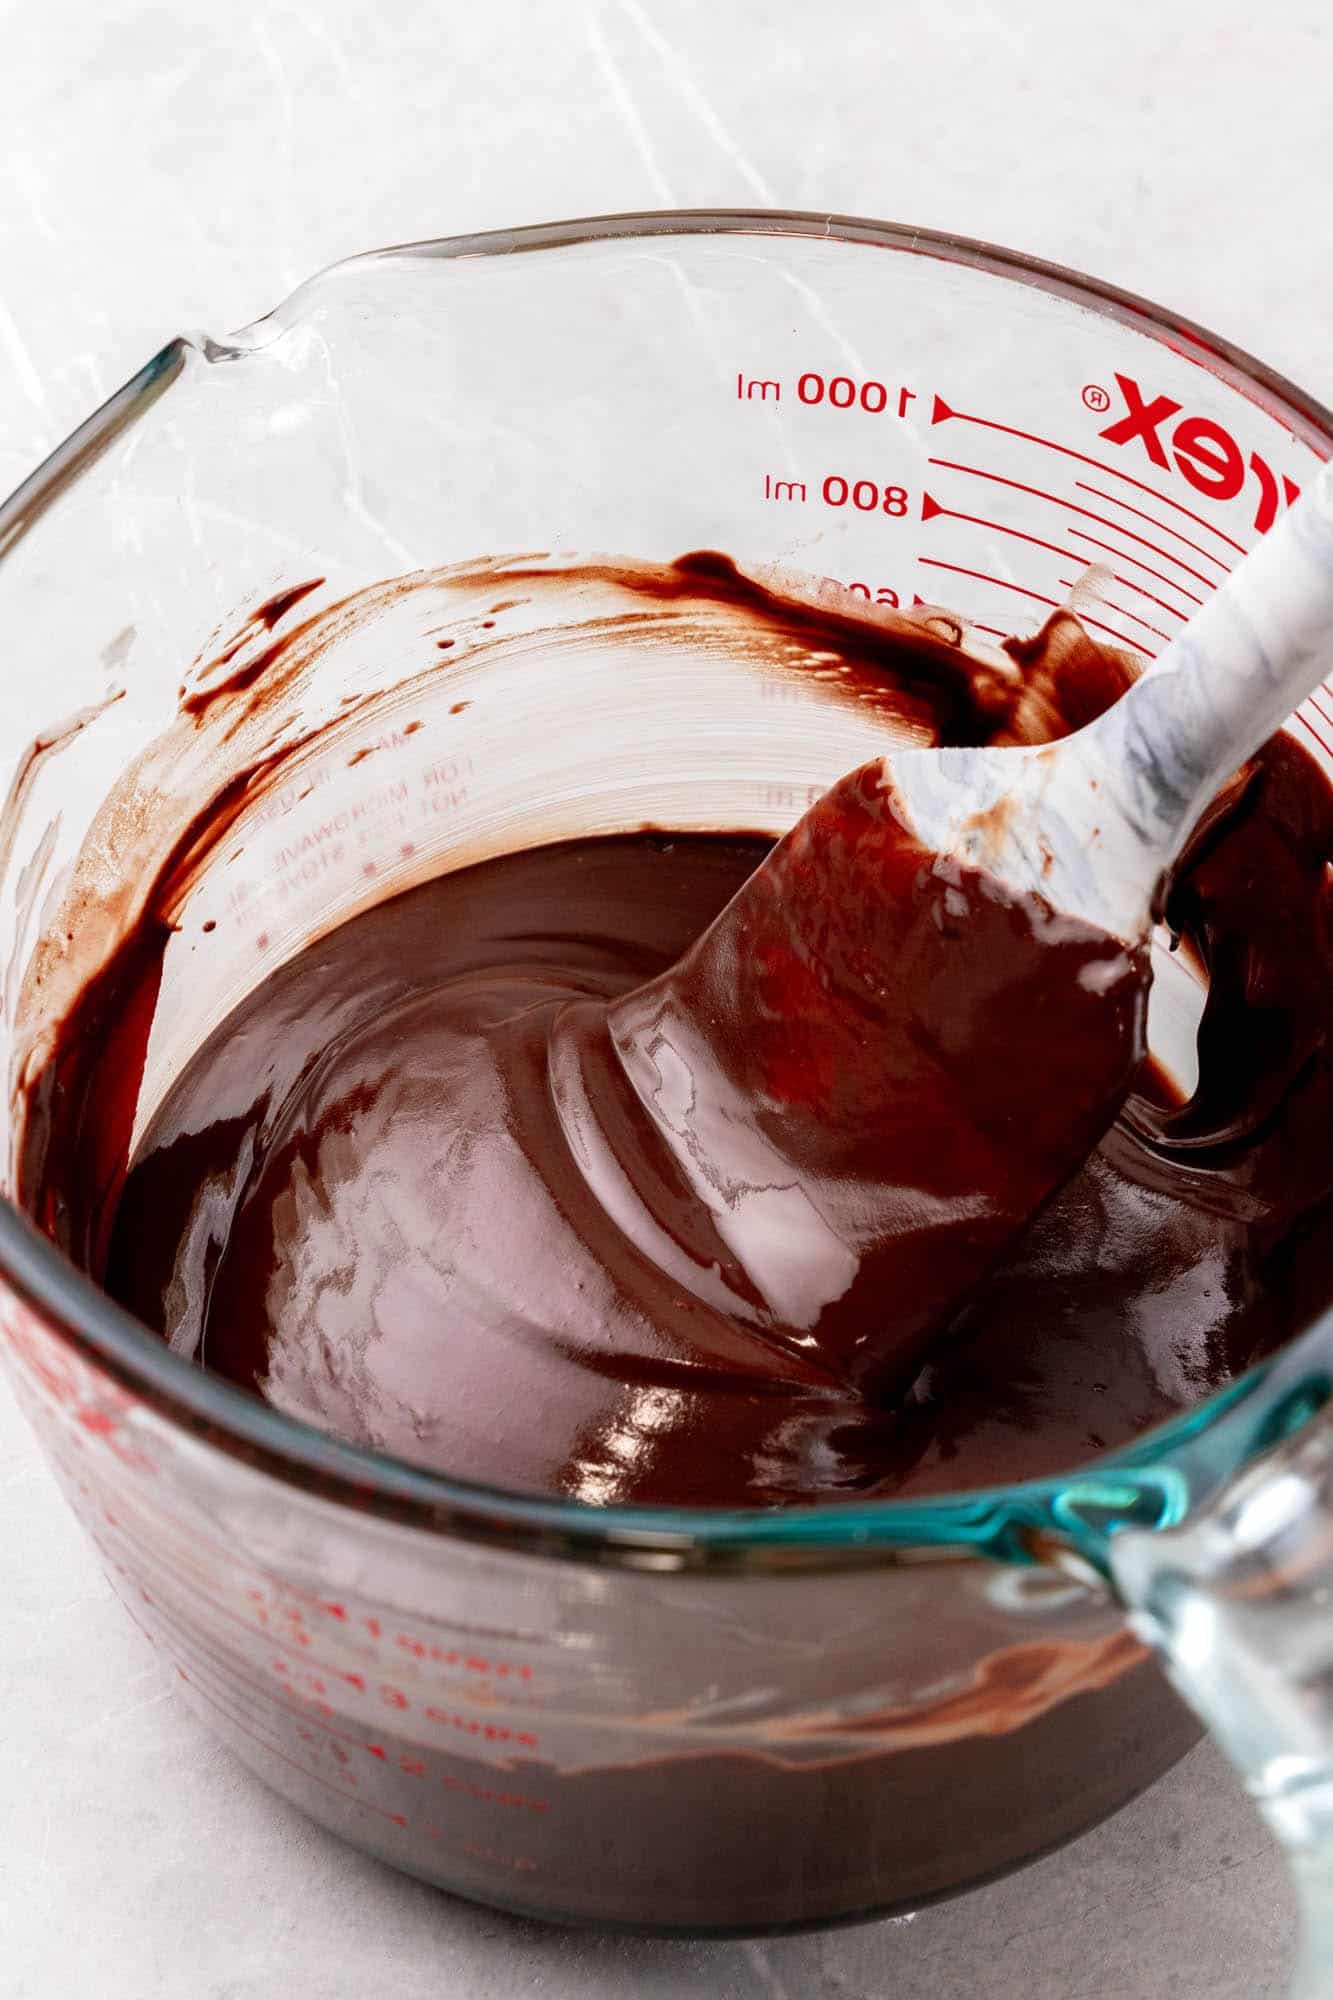
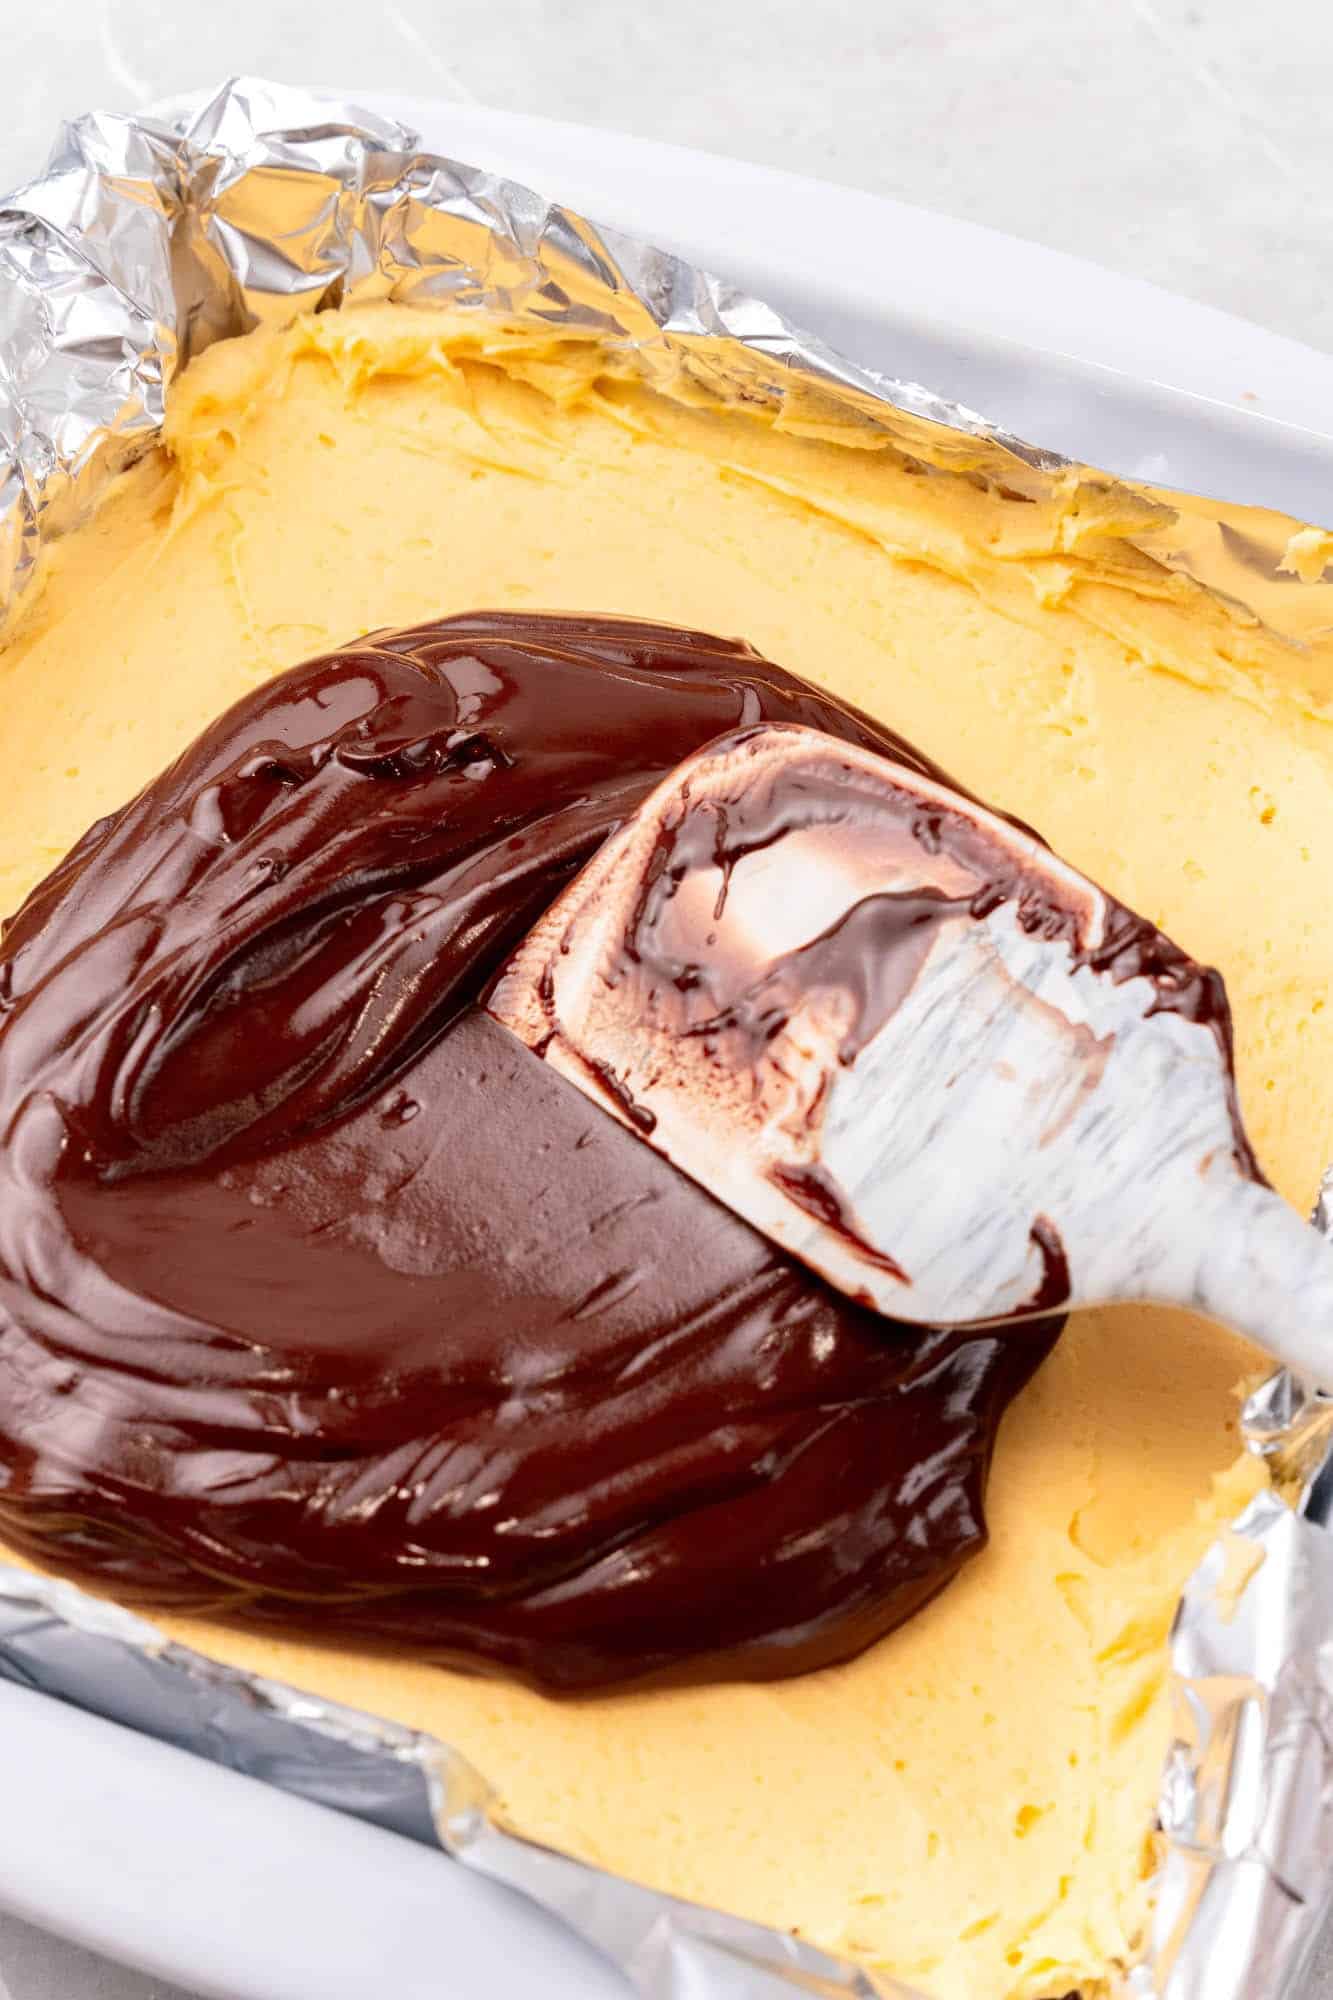
- Melt: Melt the chocolate chips and butter in the microwave, in 30-second increments, stirring well after each. Continue until the chips are melted and the mixture is smooth.
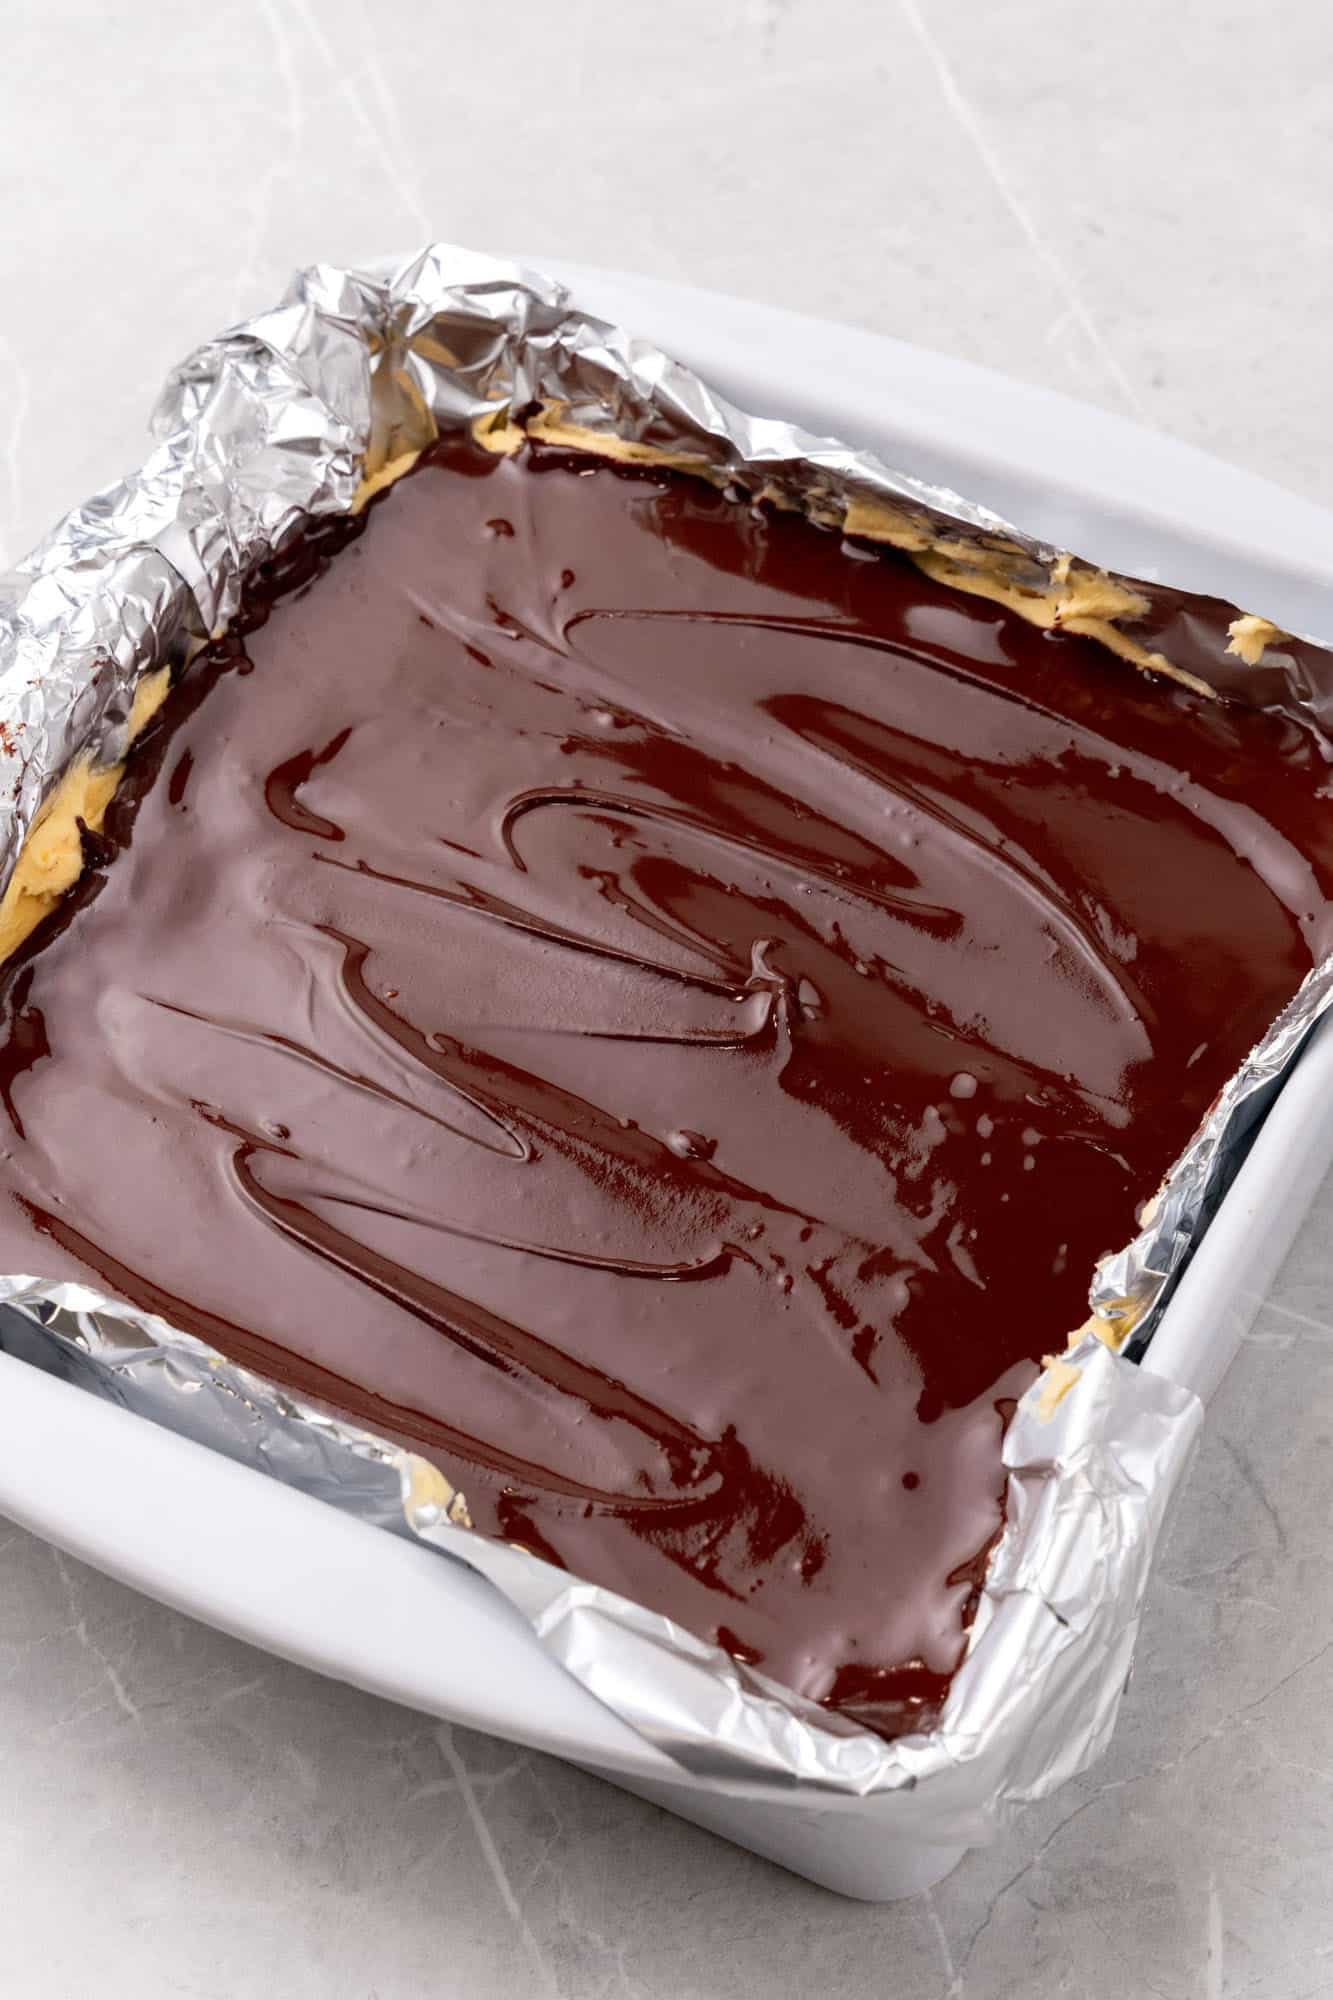
- Cover and Chill: Spread the chocolate over the custard layer and then return the dish to the fridge to chill for 30 minutes.
- Slice: After 30 minutes (don’t go too much longer or the bars will be too firm and hard to cut), slice the bars into 16 servings. Serve immediately, or store in the fridge for later.
Recipe Tips
- Tempering the Egg: The bottom layer includes an egg to keep it fudgy and rich. Add a small amount of the melted cocoa mixture to the egg while whisking quickly. This will heat the egg while keeping it from scrambling.
- Melting Chocolate: I find it easiest to melt the chocolate and butter in the microwave, but you can certainly do it over the stove if you prefer, using a double boiler.
- Use Unsalted Butter: Since there is a little bit of butter in every layer of this dessert, I suggest that you use high-quality unsalted butter. You can add a bit of flaky sea salt to the top of the bars if you like, they’re very nice this way!
Storing Tips
Keep Nanaimo bars in the refrigerator in an airtight container for up to 4 or 5 days, and serve them chilled. Because of the custard center, they should not be stored at room temperature.
You can also freeze the bars for up to 3 months!
Recipe FAQs
How do I cut Nanaimo Bars cleanly?
These can be tricky to slice, particularly because each of the layers has a different thickness and texture. My suggestion is to cut them early, only about 20-30 minutes after you place them in the fridge for the final chilling step. If you chill them for longer than that, the chocolate will harden too much and will crack when you cut into it.
It’s also important to use a long, sharp knife. Wipe the knife clean between each cut for perfect slices.
Can you freeze Nanaimo Bars?
Yes, these actually freeze very well! Add them to a freezer-safe container and store them in the freezer for up to 3 months. Thaw overnight in the fridge before you plan to serve them.
What is custard powder?
This is a product you can find easily in Canada and the UK, but might be more difficult to find in the US. The main ingredient in custard powder is cornstarch. It also includes flavoring and coloring. The most similar thing in American is vanilla flavored instant pudding mix.


A true Canadian classic, Nanaimo Bars are a rich and decadent delight that will will be glad you made! Make sure to Pin this recipe for later, or share it so that everyone can make these creamy, crunchy, chocolatey bars.
Did you make this? Be sure to leave a review below and tag me on Facebook, Instagram, or Pinterest!
Nanaimo Bars
Ingredients
Bottom layer:
- ½ cup (113 g) unsalted butter
- ⅓ cup (34 g) unsweetened cocoa powder
- ⅓ cup (67 g) granulated sugar
- 1 large egg room temperature
- 1 sleeve graham crackers crushed
- 1 cup sweetened shredded coconut
- ⅓ cup chopped nuts pecans, almonds, or walnuts
Middle layer:
- ¼ cup (60 ml) heavy cream double cream in the UK
- 3 tablespoons custard powder like Bird’s Custard (or vanilla instant pudding)
- ½ cup (113 g) unsalted butter
- 1 ½ cups powdered sugar
Top layer:
- 8 ounces (225 g) semi sweet chocolate
- 3 tablespoons (39 g) butter salted or unsalted
Instructions
Bottom layer:
- Line an 8×8 inch (20×20 cm) baking dish with parchment or foil, set aside.
- In a medium saucepan over low heat, melt the butter with the cocoa powder and granulated sugar until smooth
- Drizzle ½ cup of the butter mixture into a bowl with the egg, whisking constantly to temper the egg.
- Pour the egg mixture back into the pot and turn the heat up to medium. Cook, whisking constantly until the mixture has thickened, about 4-5 minutes (or until it reaches 180°F/82°C).
- Remove from heat, and stir in the graham crackers, coconut, and nuts until they are coated with the chocolate mixture.
- Transfer to the prepared baking dish and once the mixture is cool enough to work with, press it down with buttered fingers into a smooth layer. Place the dish in the fridge to chill while you prepare the middle layer.
Middle layer:
- In a small bowl, whisk together the cream and the custard powder until smooth, set aside.
- In a large bowl, add the powdered sugar to the butter in 2-3 smaller additions, beating well after each, until smooth and creamy.
- Add the custard mixture and beat on high until light and fluffy.
- Spread over the bottom layer, then return to the fridge to chill for 10 minutes.
Top layer:
- In a microwave safe bowl, melt the chocolate chips and the butter in 30 second increments,stirring well after each, until the chips are melted and the mixture is smooth.
- Spread the chocolate over the top of the squares, then return the dish to the fridge to chill for 30 minutes.
- Slice the bars after 30 minutes (too long in the fridge will be difficult to slice). Store in the fridge. Best eaten at room temperature.
Notes:
- Tempering the Egg: The bottom layer includes an egg to keep it fudgy and rich. Add a small amount of the melted cocoa mixture to the egg while whisking quickly. This will heat the egg while keeping it from scrambling.
- Melting Chocolate: I find it easiest to melt the chocolate and butter in the microwave, but you can certainly do it over the stove if you prefer, using a double boiler.
- Use Unsalted Butter: Since there is a little bit of butter in every layer of this dessert, I suggest that you use high-quality unsalted butter. You can add a bit of flaky sea salt to the top of the bars if you like, they’re very nice this way!
- Storing Tips: Keep the bars covered in the refrigerator for up to 5 days, or freeze for up to 3 months.
Nutrition Information
This website provides approximate nutrition information for convenience and as a courtesy only. Nutrition data is gathered primarily from the USDA Food Composition Database, whenever available, or otherwise other online calculators.
© Little Sunny Kitchen

Leave a Review!