
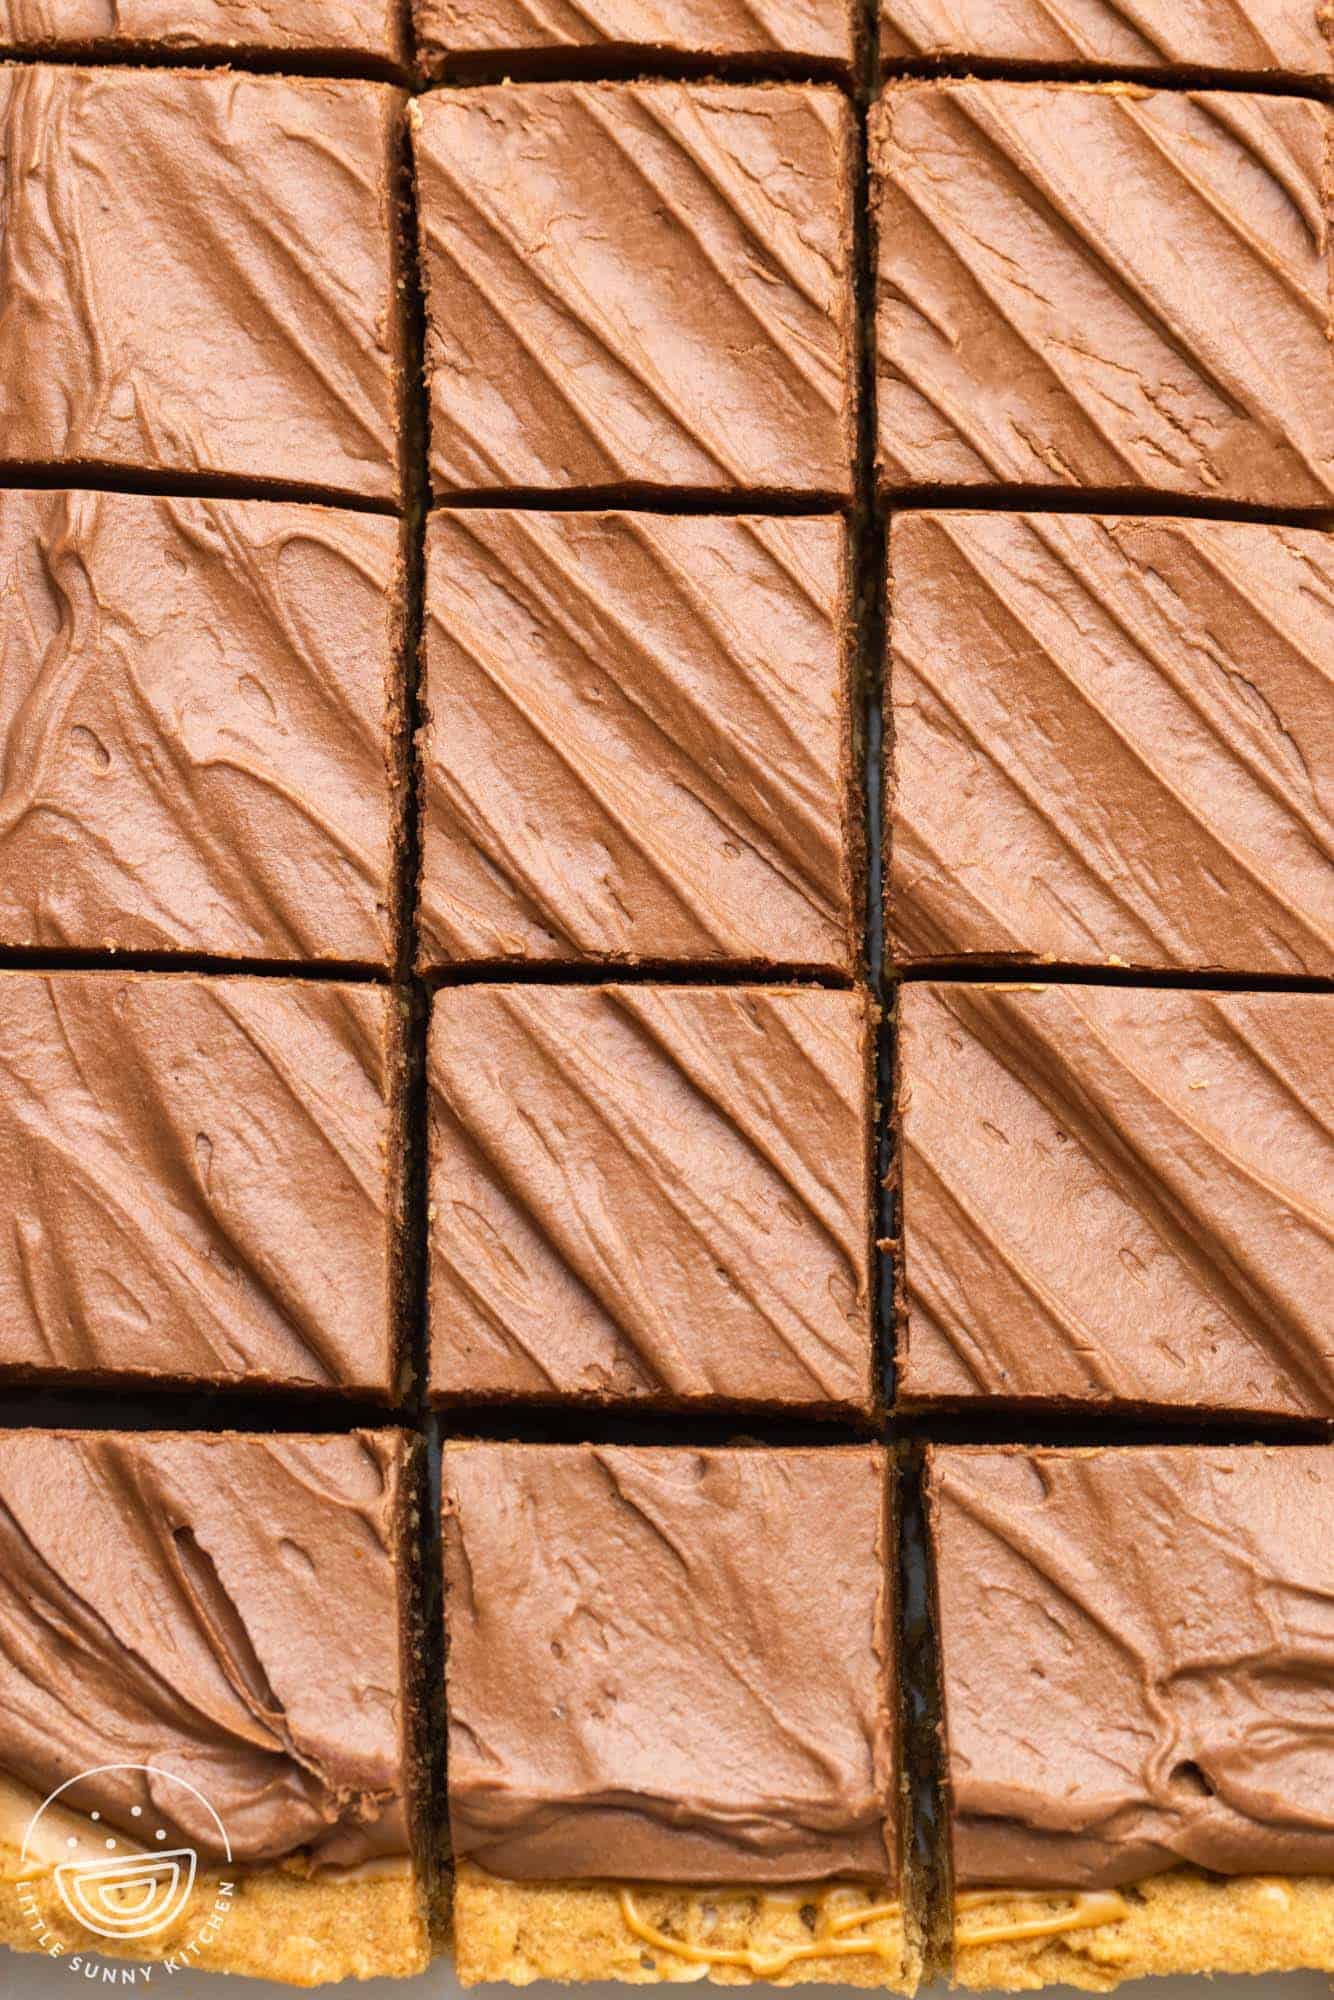
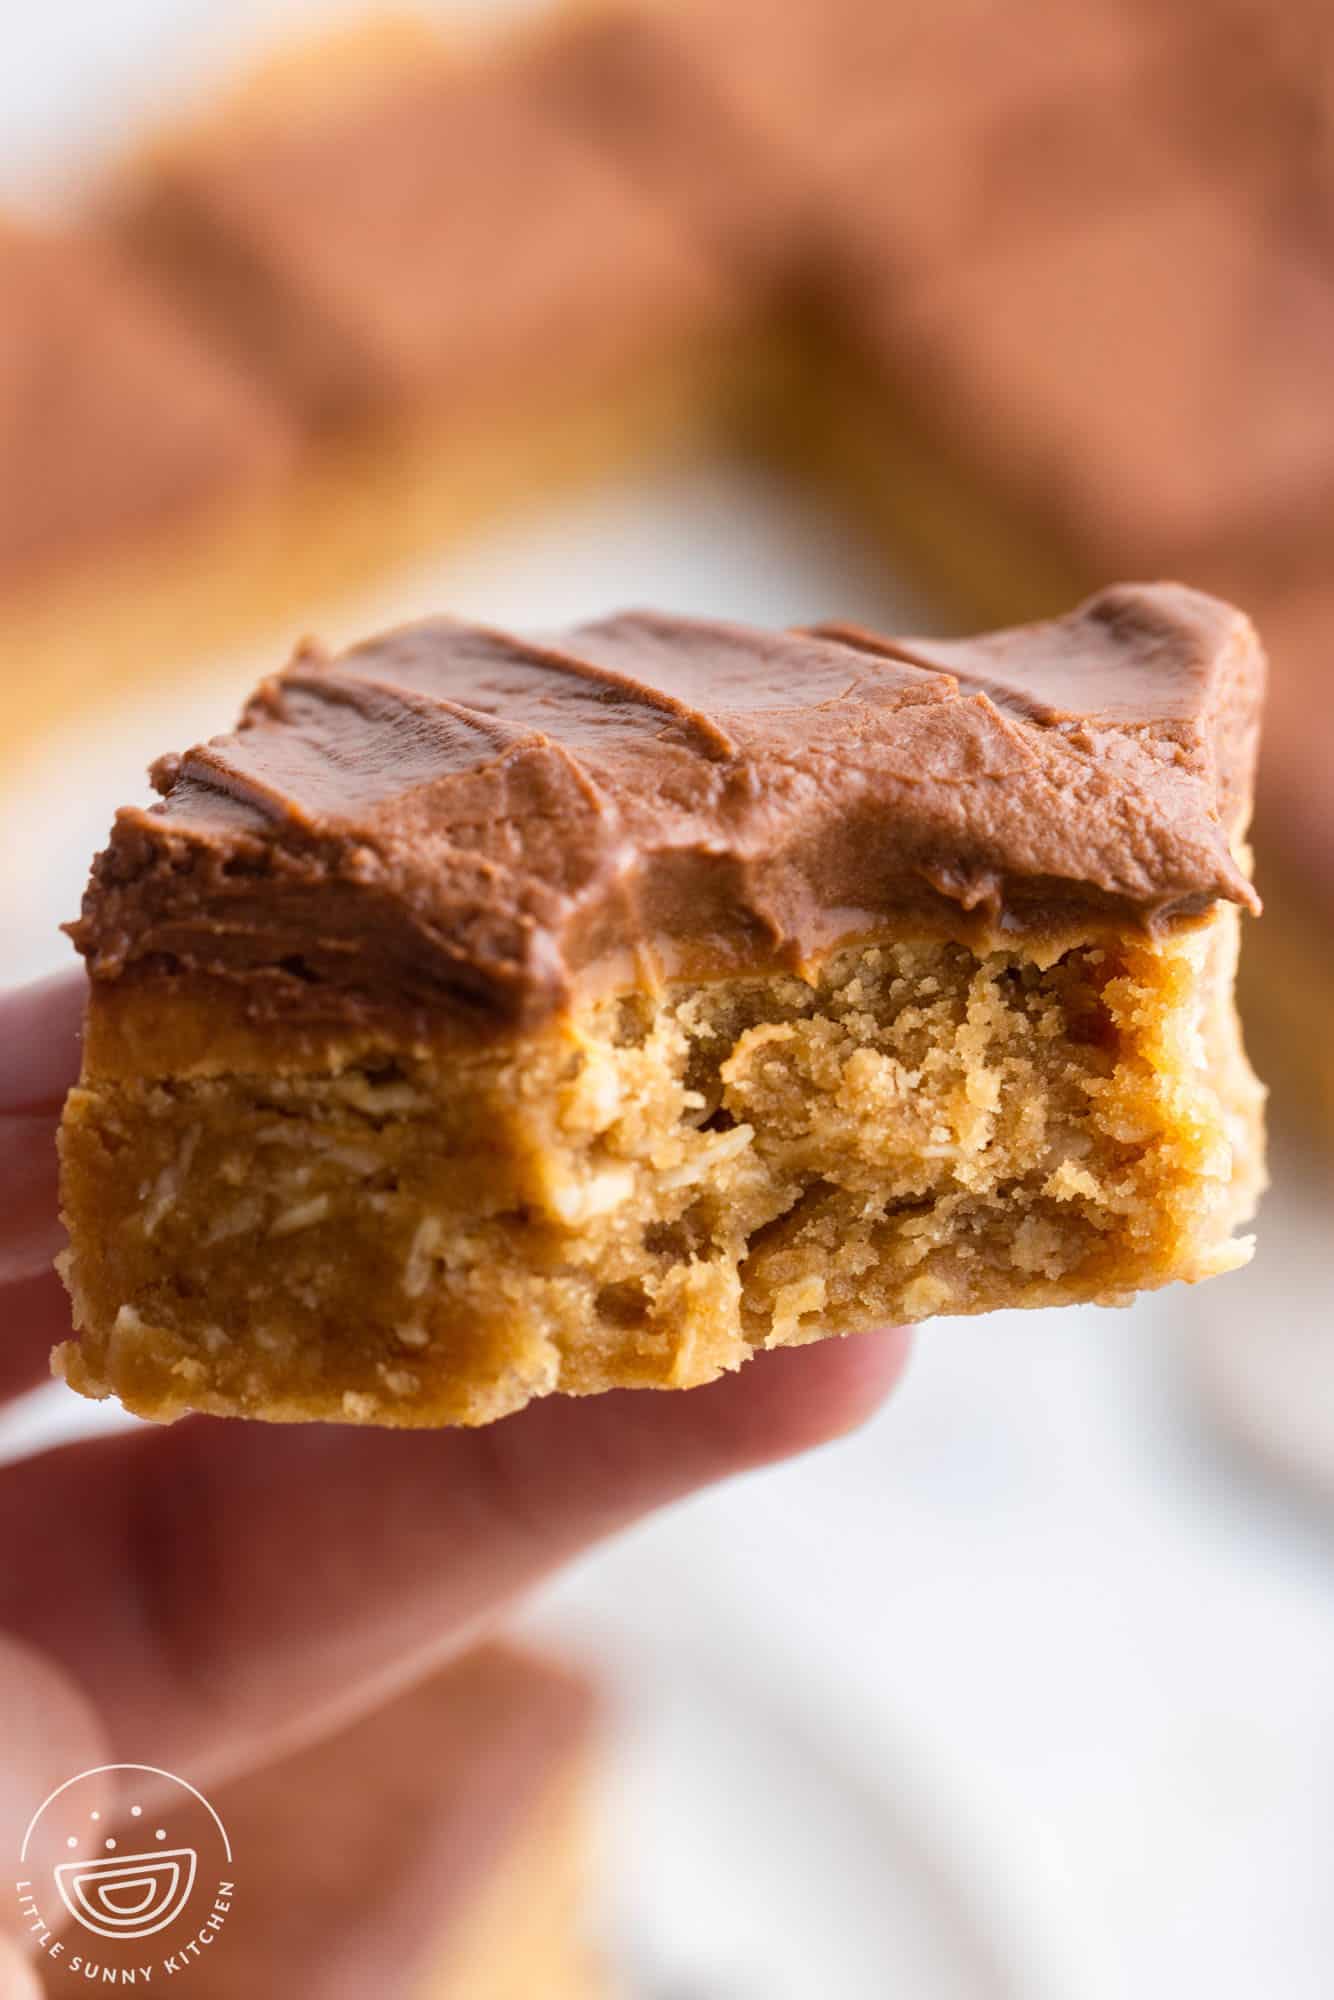
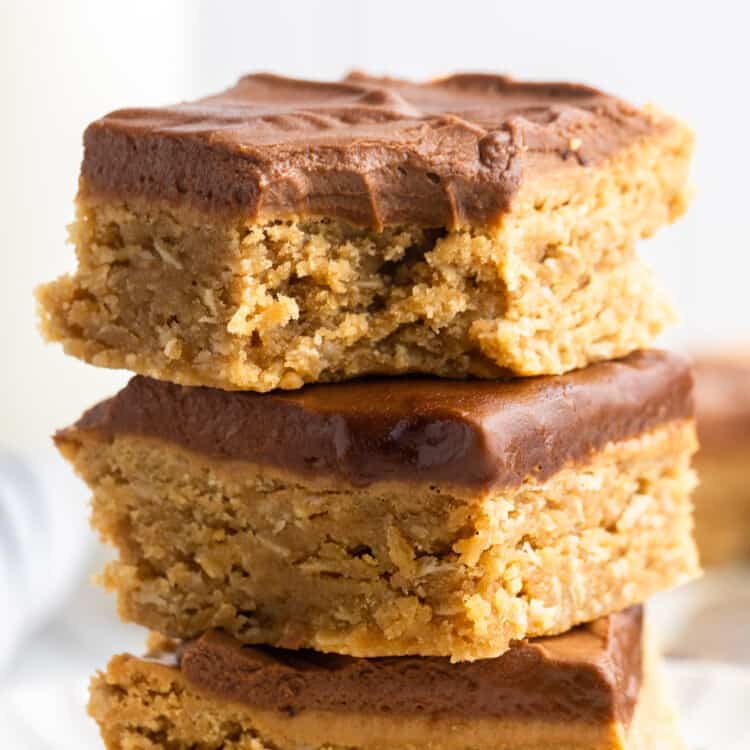
These Lunch Lady Peanut Butter Bars are exactly like you remember from school!
With a chewy peanut butter oat base, creamy peanut butter center, and rich chocolate buttercream topping, these cafeteria-style peanut butter chocolate bars are the best, and so simple to bake.

I don’t really know what kind of desserts they serve in school nowadays, but back in the day, the school cafeteria was known for having the best desserts!
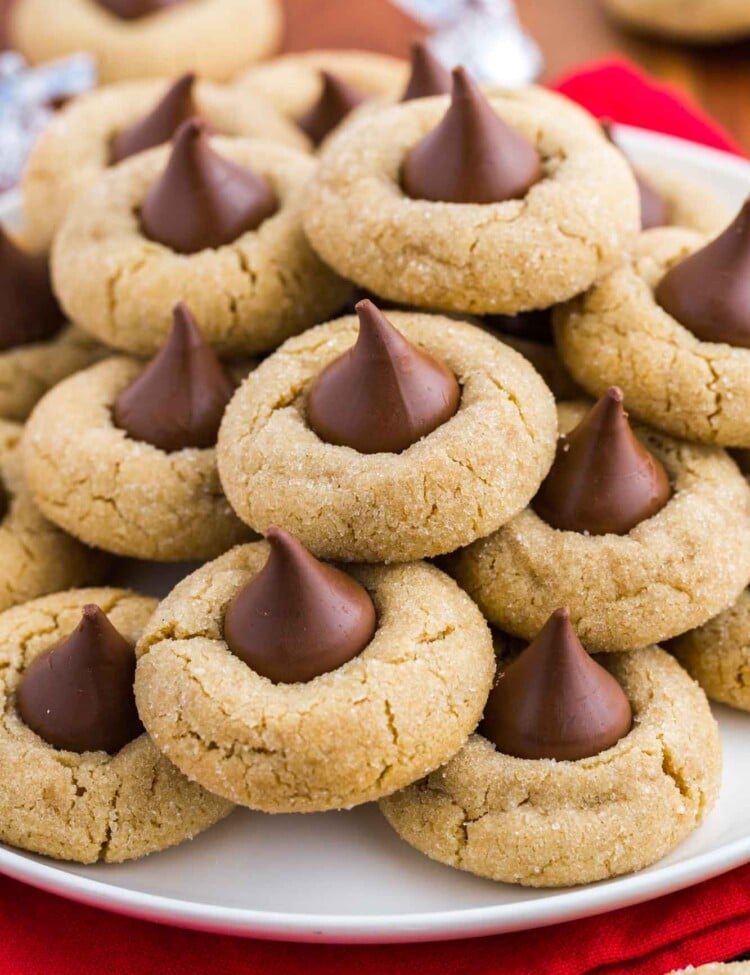
Lunch Lady Brownies, Lunch Lady Peanut Butter Cookies, and these Chocolate Peanut Butter Bars all get their name from the wonderful people who used to bake them for us.
Those ladies really knew what they were doing!
If you’re a big fan of chocolate and peanut butter together, you’re in luck! I have plenty of other sweet treats for you to make.
My Chocolate Peanut Butter Oatmeal Bars are a no-bake recipe that comes together quickly and easily.
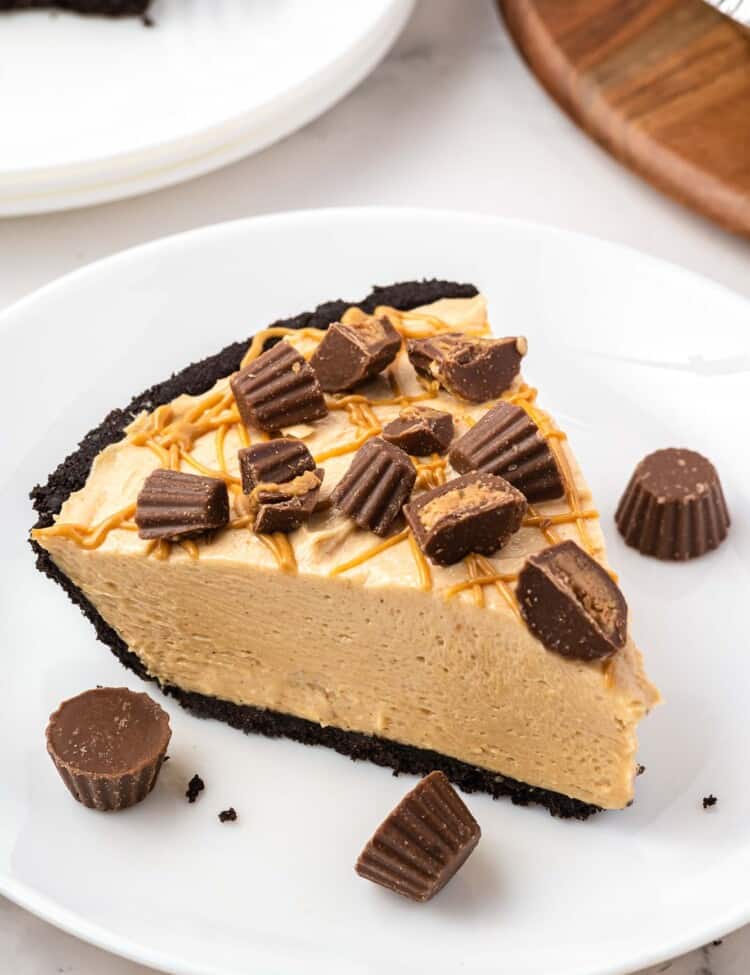
There’s also Buckeye Brownie Cookies, Peanut Butter Pie, and snackable Peanut Butter Pretzel Bites.
Why You’ll Love This Recipe
- Simple Ingredients – Lunch lady peanut butter bars are made with pantry staples, most of which you might already have on hand! I love recipes like this because I can whip up a batch whenever the mood strikes.
- Enough for a Crowd – Like most brownies and bar cookies, this bar recipe makes a large pan of peanut butter squares. Cut them into 24 generous pieces to share.
- They’re So Delicious! – I had to use a lot of self-restraint to keep from eating half the pan! The peanut butter cookie base is perfectly soft and chewy, and the rich chocolate buttercream frosting is just divine!
Key Ingredients
Here’s what you need to make the best Lunch Lady Peanut Butter Bars:
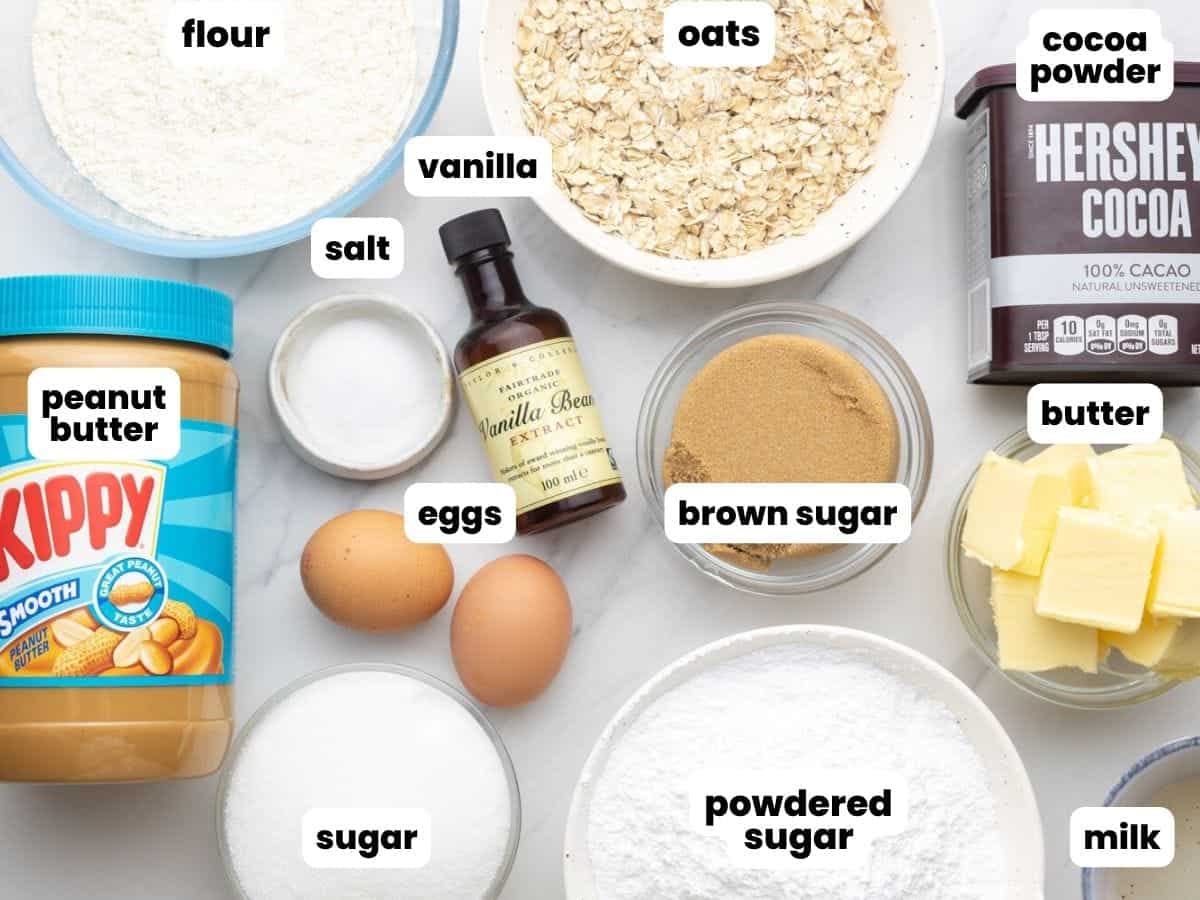
- Rolled Oats: The cookie base for these bars includes old-fashioned oats. Oats give the bars a chewy, wholesome texture.
- Peanut Butter: Choose traditional smooth peanut butter for this recipe, rather than all-natural versions.
- Brown Sugar: Both granulated sugar and brown sugar go into the cookie recipe. Brown sugar helps to keep the bars moist and chewy, while regular sugar allows the outside edges to get crispy.
- Butter: Choose unsalted butter for baking.
- Cocoa Powder: To make a simple and delicious chocolatey buttercream.
Complete list of ingredients and amounts can be found in the recipe card below.
How To Make Lunch Lady Peanut Butter Bars
Start by preheating the oven to 350°F (180°C). Grease a 9×13-inch baking pan and set it aside.
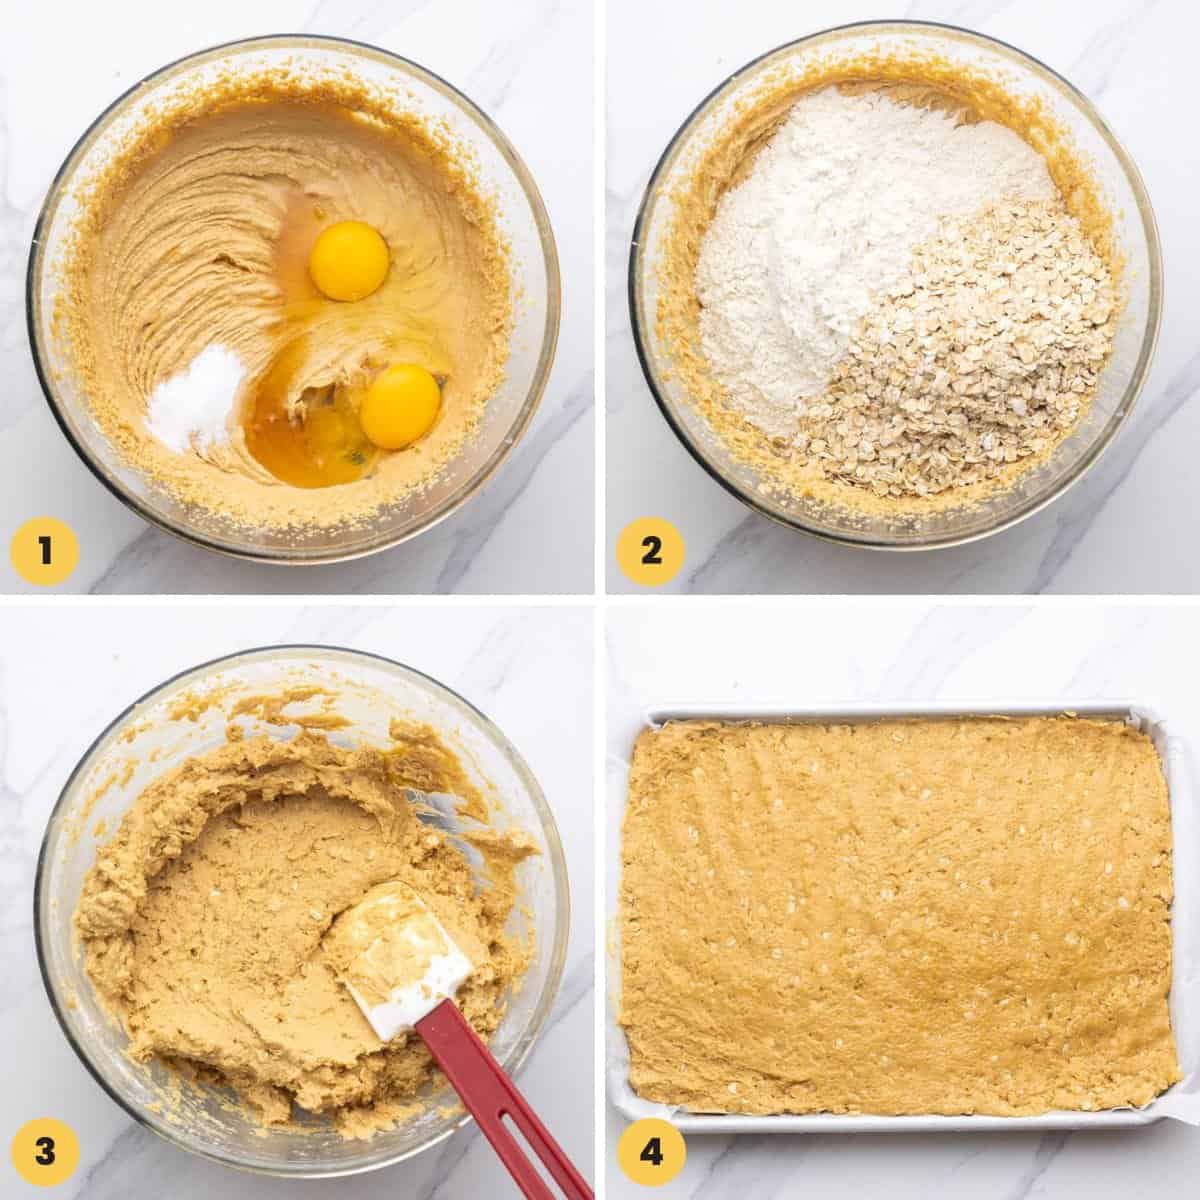
- Mix the Wet Ingredients: To make the oatmeal cookie base, start by mixing together the melted butter, 1 cup of peanut butter, granulated sugar, brown sugar, salt, vanilla, and eggs until well combined.
- Add the Dry Ingredients: Add the flour and oats to the mixture.
- Fold: Fold in the oats and flour until you have a smooth cookie dough.
- Press: Use your hands to press the dough evenly into a greased 9×13-inch baking pan.
Tip!
To make the bars really easy to remove from the pan, line the pan with parchment paper after greasing it. Leave enough extra paper on two sides of the pan to lift the bars out after they’ve cooled.

- Bake: Bake in the preheated oven for 15-20 minutes, or until lightly browned. Let the base cool completely before continuing.
- Add Peanut Butter Filling: Melt 1.5 cups of creamy peanut butter in the microwave at 20-second intervals, stirring after each. You can also use a double boiler on the stovetop if you prefer. Pour the melted peanut butter all over the cookie base. Refrigerate while you make the frosting to set the peanut butter layer.
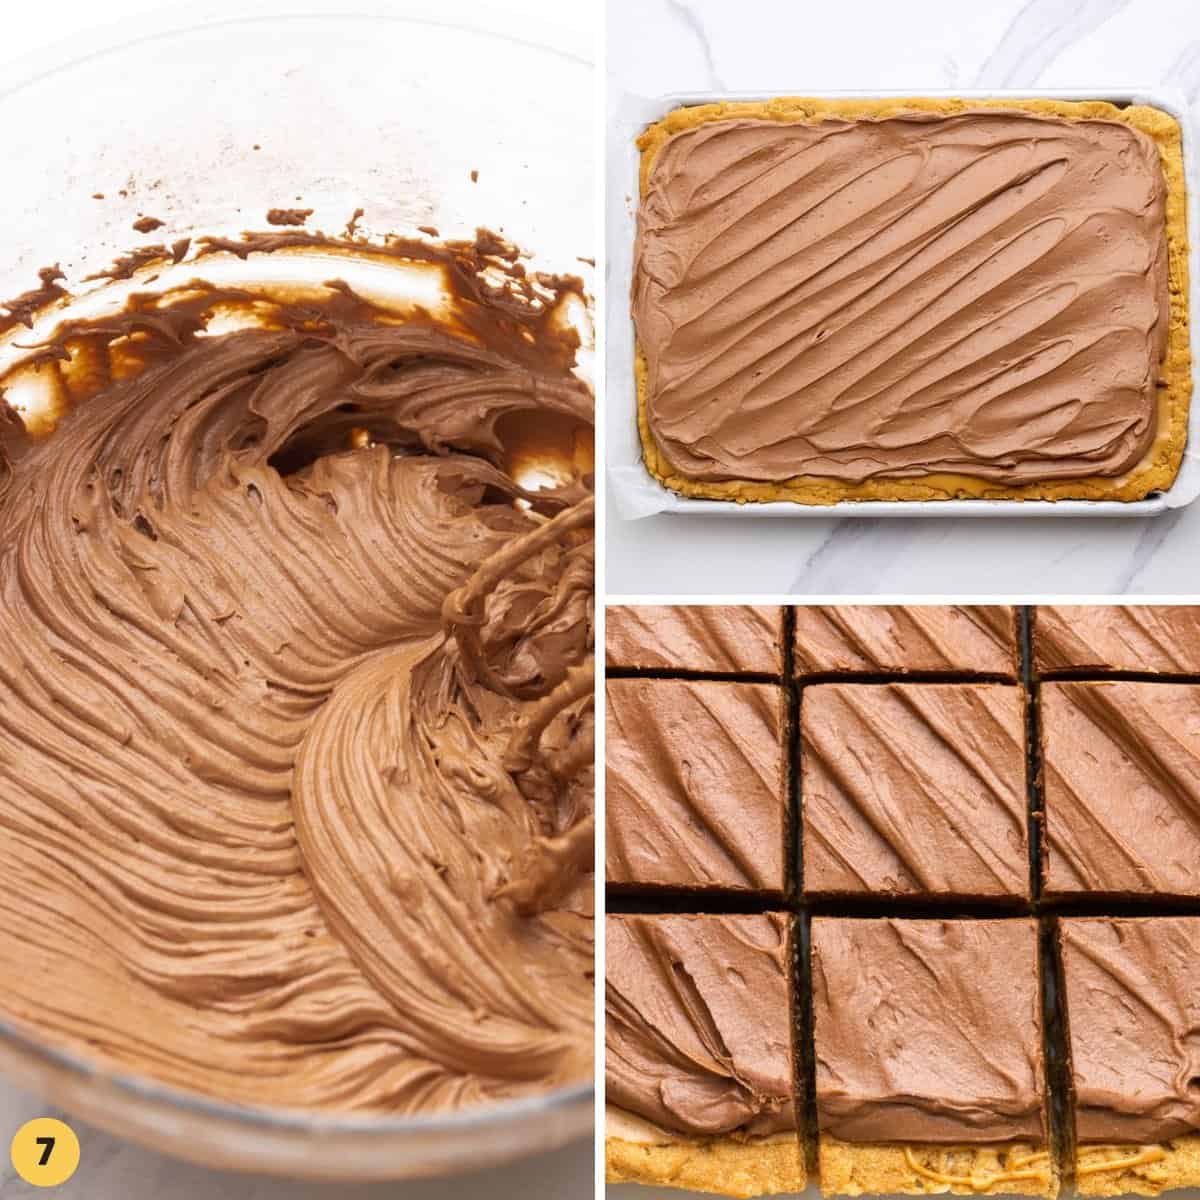
- Make the Frosting: In a medium saucepan, melt the ¼ cup butter over low heat. Add the milk and cocoa powder, whisking until smooth. Remove the chocolate mixture from the heat. Gradually stir in the powdered sugar, one cup at a time. Then mix in the vanilla extract.
- Frost: Spread the frosting over the set peanut butter layer. Refrigerate the bars for at least an hour to set the frosting, then cut into squares to serve.
Recipe Tips
- Choose the right oats: Quick or instant oats don’t have the right texture for this recipe. Be sure to use old-fashioned rolled oats for the best result.
- Pay attention to the chilling steps: You want the base to be mostly cooled before adding the peanut butter, and you want the peanut butter to be set before adding the frosting. Before cutting into the bars, give them at least an hour in the fridge to set and cool fully.
- Starting the frosting on the stove actually helps to bloom the cocoa powder, which makes the frosting extra rich and decadent. If you don’t want to do it that way, try my classic chocolate buttercream recipe instead.
- Try some toppings! Cover the top of these peanut butter chocolate bars with chopped Reese’s cups, chocolate chips, or sprinkles to make them extra tasty and festive.
Storing Tips
Keep your frosted peanut butter bars in an airtight container. They’ll stay at room temperature for up to 5 days.
You can also store these in the fridge for the same amount of time. They’re actually very delicious when served chilled!
Freeze individual lunch lady peanut butter bars for up to 3 months. I suggest freezing them first on a baking tray, then wrapping each bar well with plastic wrap and adding them to a freezer bag. This way they won’t stick together.
Recipe FAQs
I haven’t tested it myself, but this recipe should work well if you substitute an all-purpose gluten-free baking blend for the flour. Be sure that your oats are certified gluten-free as well!
I don’t suggest it for these bars. Crunchy peanut butter has less actual peanut butter per cup, since there are larger pieces of nuts in it. The bars will likely end up dry. Instead of using crunchy peanut butter, consider adding in some chopped nuts for a bit of crunch.
This recipe for lunchroom peanut butter bars calls for a 9×13-inch pan. You can also bake these in a jelly roll pan (usually about 15×10 inches) if that’s what you have to work with.
Favorite Bar Recipes
All Desserts →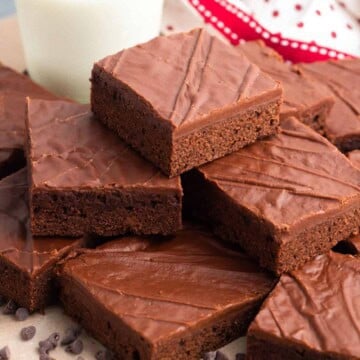
Just like you remember, these Lunch Lady Peanut Butter Bars are amazingly tasty! And even if you never at a peanut butter bar at school, you’ll be glad that you found this easy recipe.
Did you make this? Be sure to leave a review below and tag me on Facebook, Instagram, or Pinterest!
Lunch Lady Peanut Butter Bars
Equipment
- 9×13 baking pan
Ingredients
Base:
- 1 cup (225 g) unsalted butter melted
- 1 cup (240 g) creamy peanut butter
- 1 cup (200 g) granulated sugar
- 1 cup (200 g) light brown sugar packed
- 1 ½ teaspoons salt
- 1 tablespoon pure vanilla extract
- 2 large eggs at room temperature
- 2 cups (240 g) all-purpose flour
- 1 ½ cups (150 g) old fashioned oats
Filling:
- 1 ½ cups (360 g) creamy peanut butter
Chocolate Frosting:
- ¼ cup (57 g) unsalted butter melted
- ¼ cup (60 ml) milk whole or 2%
- ¼ cup (25 g) unsweetened cocoa powder
- 3 cups (360 g) powdered sugar
- 2 teaspoons (10 ml) pure vanilla extract
Instructions
- Preheat the oven to 350°F (180°C), or 160°C fan oven. Grease a 9×13 inch (approx. 23×33 cm) baking pan.
- In a large bowl, mix together melted butter, 1 cup peanut butter, granulated sugar, brown sugar, salt, vanilla, and eggs until well combined.
- Gradually fold in the flour and oats until smooth.
- Press the mixture evenly into the prepared pan.
- Bake for 15-20 minutes or until lightly browned. Let it cool.
- Melt 1.5 cups of peanut butter in the microwave in 20-second intervals, stirring after each, or using a double boiler on the stovetop.
- Spread over the cooled base and refrigerate to set slightly.
- In a medium saucepan, melt the ¼ cup butter over low heat. Add the milk and cocoa powder, whisking until smooth.
- Remove from heat. Gradually stir in the powdered sugar, one cup at a time. Mix in the vanilla.
- Spread the frosting over the set peanut butter layer.
- Refrigerate the bars for at least an hour to set the frosting. Once set, cut into squares and serve.
Notes:
- Choose the right oats: Quick or instant oats don’t have the right texture for this recipe. Be sure to use old-fashioned rolled oats for the best result.
- Pay attention to the chilling steps: You want the base to be mostly cooled before adding the peanut butter, and you want the peanut butter to be set before adding the frosting. Before cutting into the bars, give them at least an hour in the fridge to set and cool fully.
- Try some toppings! Cover the top of these peanut butter chocolate bars with chopped Reese’s cups, chocolate chips, or sprinkles to make them extra tasty and festive.
- Storage: Store in an airtight container in the fridge or at room temperature for up to 5 days.
Nutrition Information
This website provides approximate nutrition information for convenience and as a courtesy only. Nutrition data is gathered primarily from the USDA Food Composition Database, whenever available, or otherwise other online calculators.
© Little Sunny Kitchen

Sandra says
I’ve just put the ‘base’ into the oven and read John’s comment about them not turning out. I wondered as I was making the base – the notes say that both softened and melted butter is used but the detailed steps say to use melted in both. I believe that ‘softened’ butter should be used for the base?
Little Sunny Kitchen says
Hi Sandra! The recipe actually uses melted butter for both the base and the frosting, which keeps things easy enough for a busy school kitchen! How did yours turn out?
Amy says
Can something else be used for the egg?
Little Sunny Kitchen says
Hi Amy, I haven’t tried this with any type of egg substitute, but if you do, stop back and let me know how the bars turned out!
Grady John says
I’m not sure what went wrong, but these turned out really weird and really sugary. They looked liked they were still raw at 20 mins cooking time. Too much sugar, or too much buttar? Not sure
Little Sunny Kitchen says
Thanks John, I know that many readers have enjoyed this recipe so far, so I wonder if you may have mis-measured something along the way?