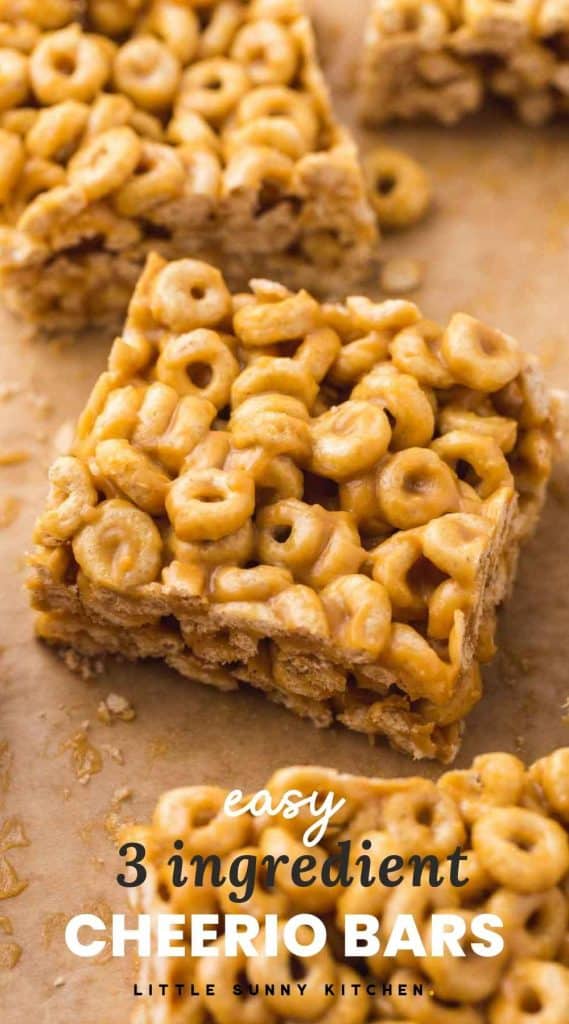
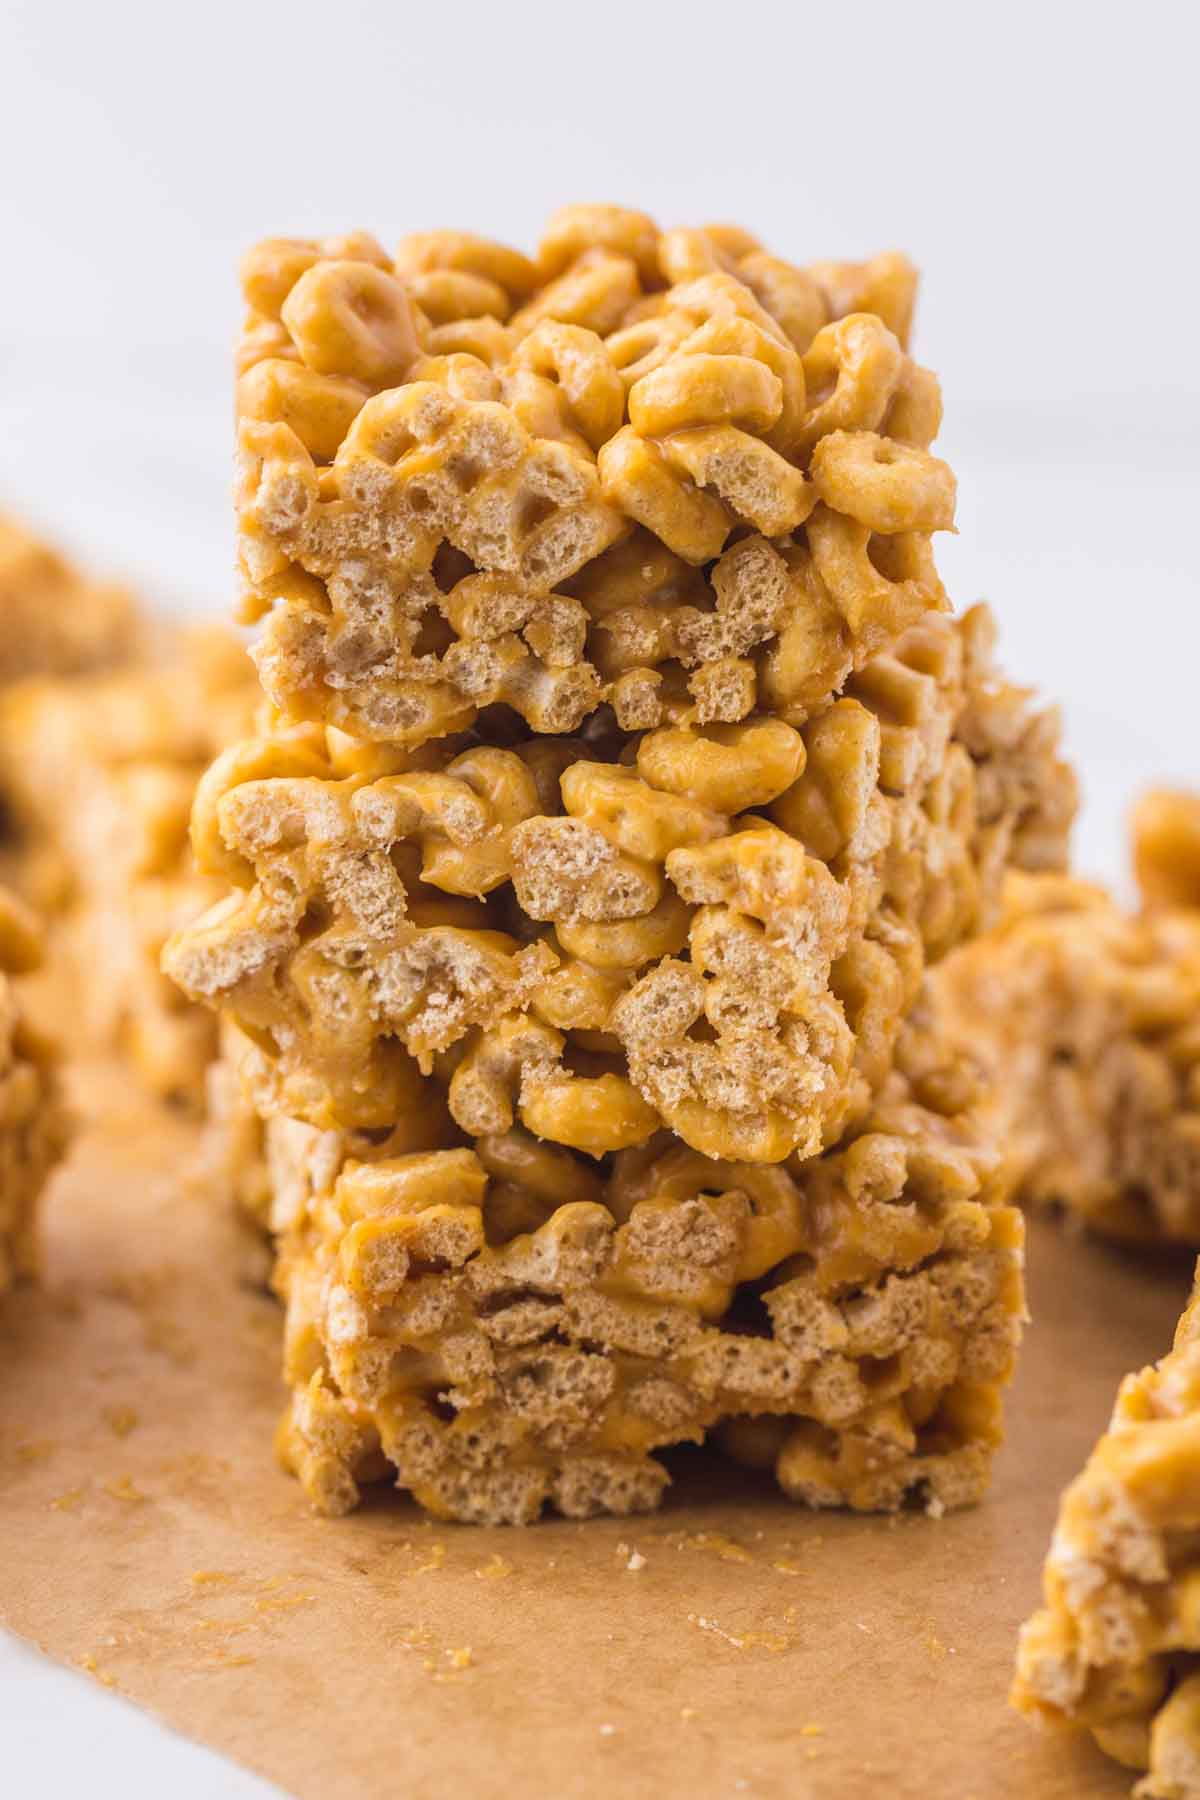
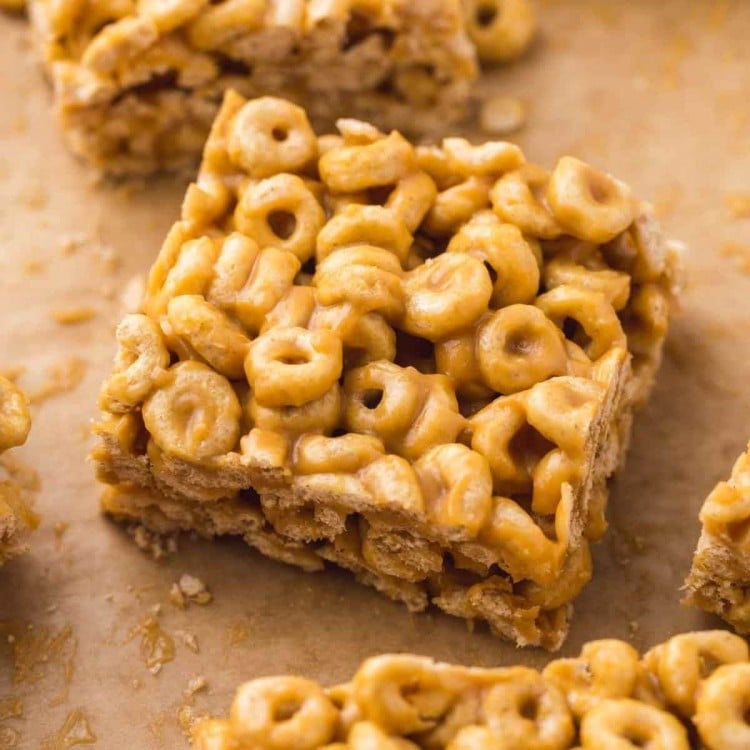
These Peanut Butter Cheerio Bars are chewy, sweet, and filled with creamy peanut butter flavor. Made with Cheerios, peanut butter, and honey, they take about 15 minutes to prepare and then chill until firm. Keep them refrigerated for the best texture and enjoy them as an easy homemade snack whenever you are craving something sweet.

Why I Love Making These Cheerio Bars
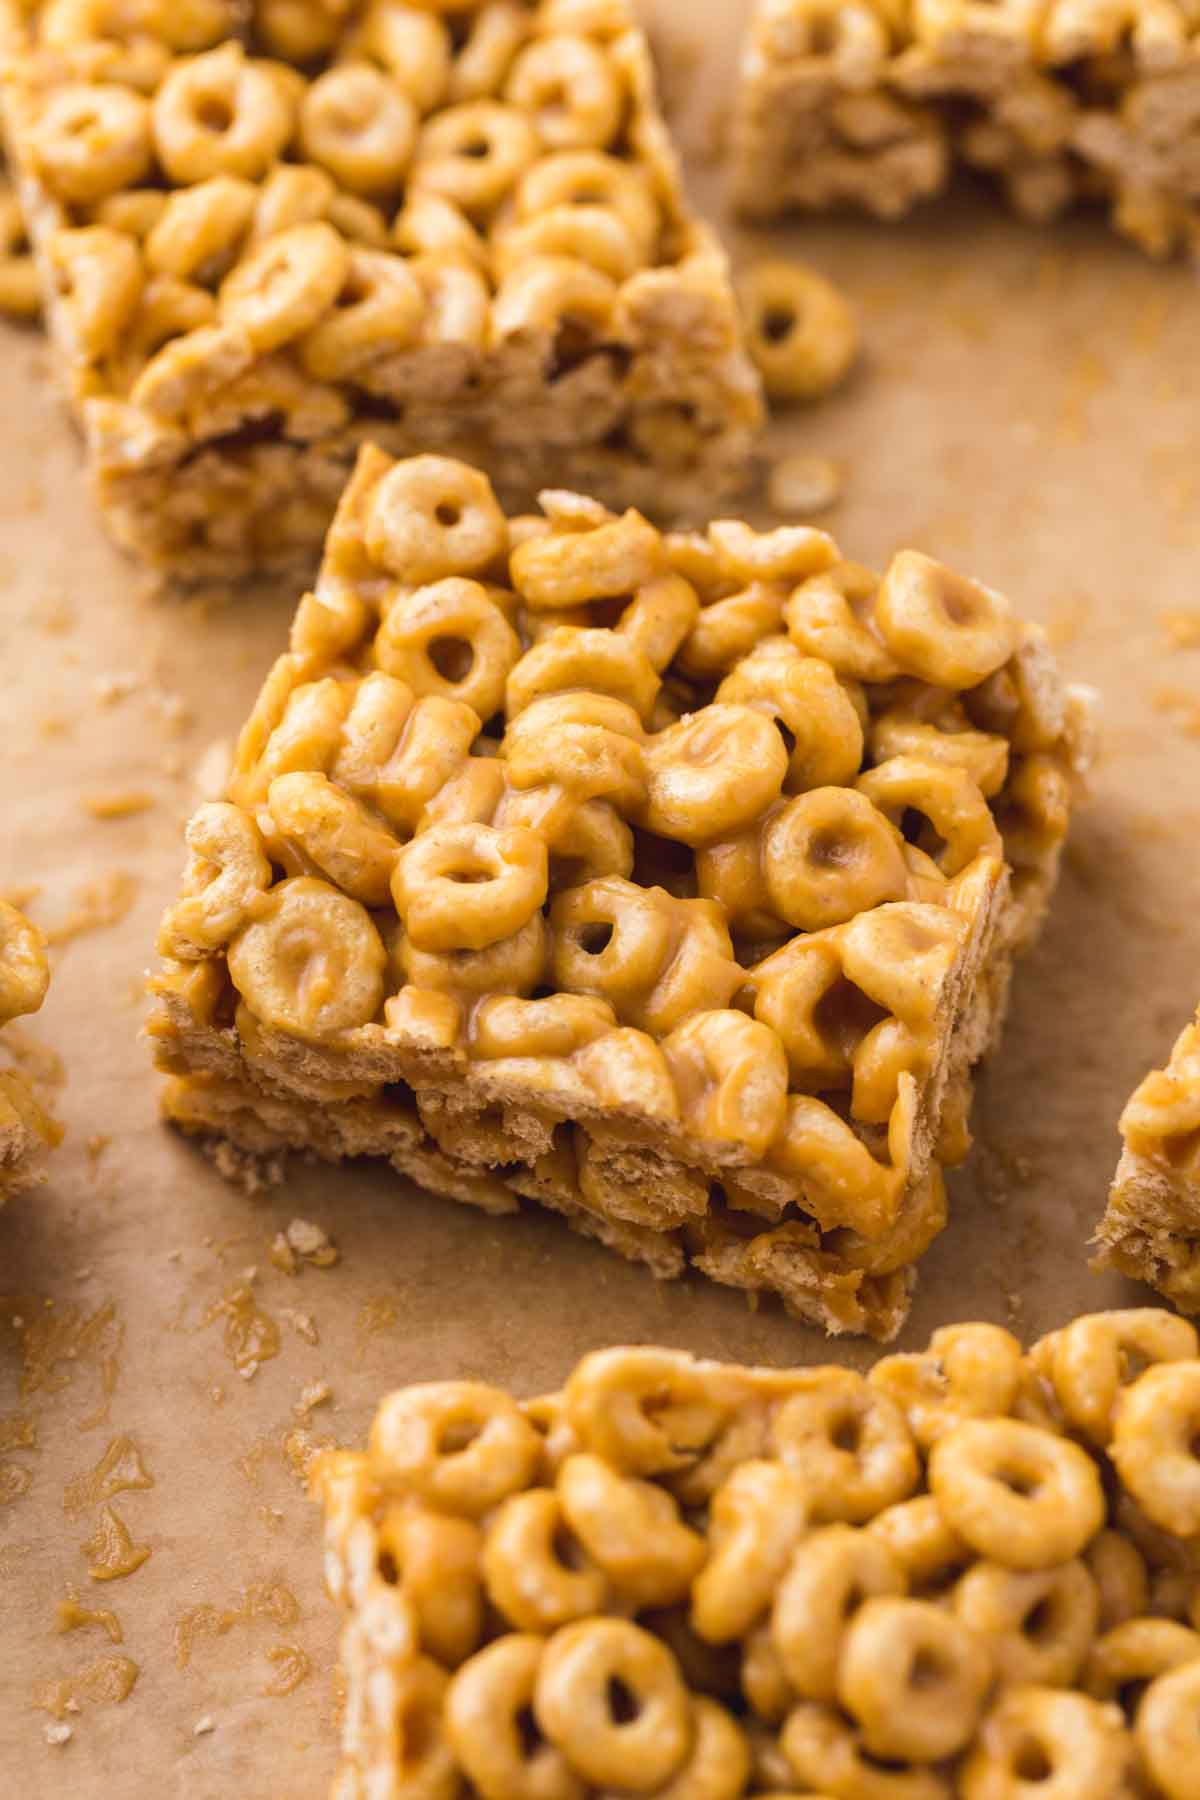
I usually make these bars when we have part of a box of Cheerios sitting in the pantry, and everyone is getting a little bored with eating cereal with milk. With creamy peanut butter and honey in every bite, they turn those leftover Cheerios into a sweet, chewy snack that always disappears quickly in my house.
The mixture takes about 15 minutes to prepare in one bowl, and there is no baking involved. The most important thing I have learned is to press it very firmly into the pan, especially around the edges, and let it chill completely before slicing. The bars soften when they sit at room temperature, so I keep them refrigerated for the firmest texture and cleanest cuts.
If you need the bars to be gluten-free, use a box of Cheerios labeled gluten-free and check the labels on your peanut butter and vanilla too.
Ingredients in Peanut Butter Cheerio Bars
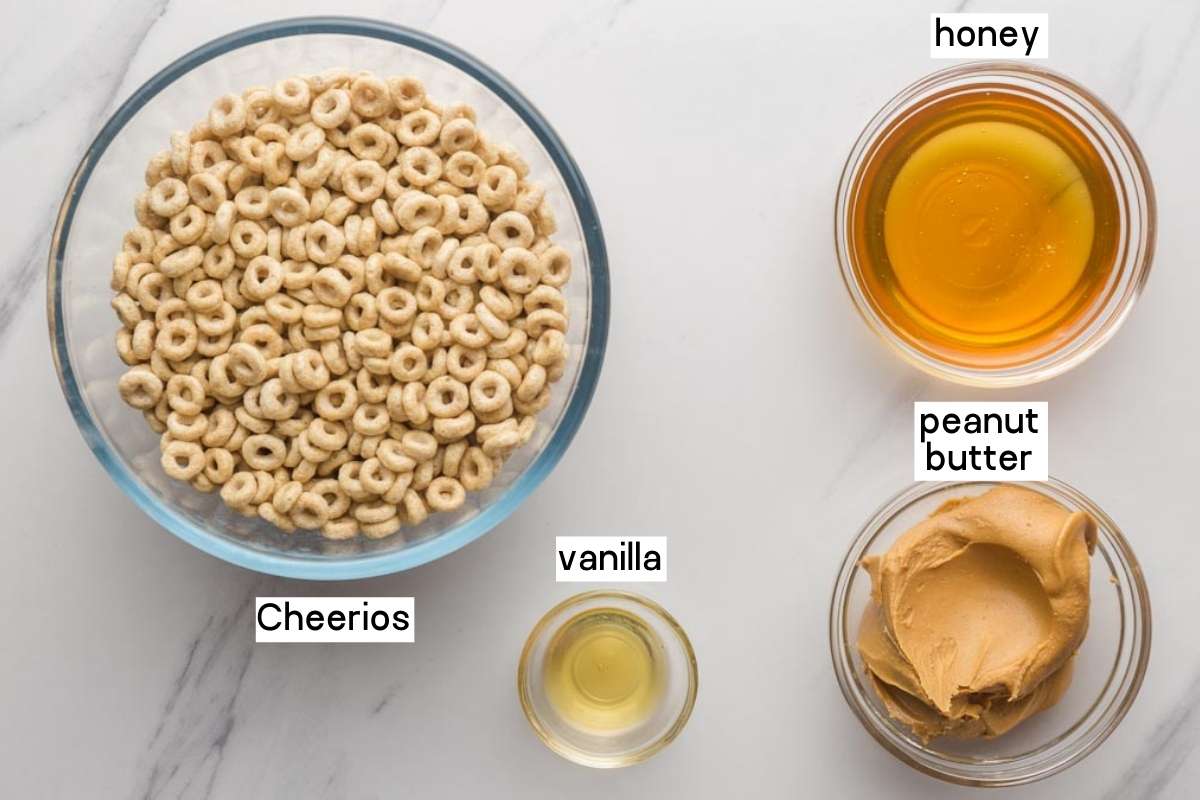
Complete list of ingredients and amounts can be found in the recipe card below.
- Cheerios – Regular, plain Cheerios are perfect for this recipe, although if you have some extra multigrain or honey nut Cheerios you could use those too. You need about 3 cups of cereal.
- Peanut Butter – Use your favorite brand of creamy peanut butter. I find that all-natural peanut butters don’t work quite as well for this recipe because they won’t firm up as well. So I use a standard variety of peanut butter.
- Honey – Honey adds sweetness to these bars and helps hold the cereal together.
- Vanilla Extract – This is optional, but I love the extra flavor that it gives to these peanut butter cheerio bars.
How to Make Peanut Butter No-Bake Bars
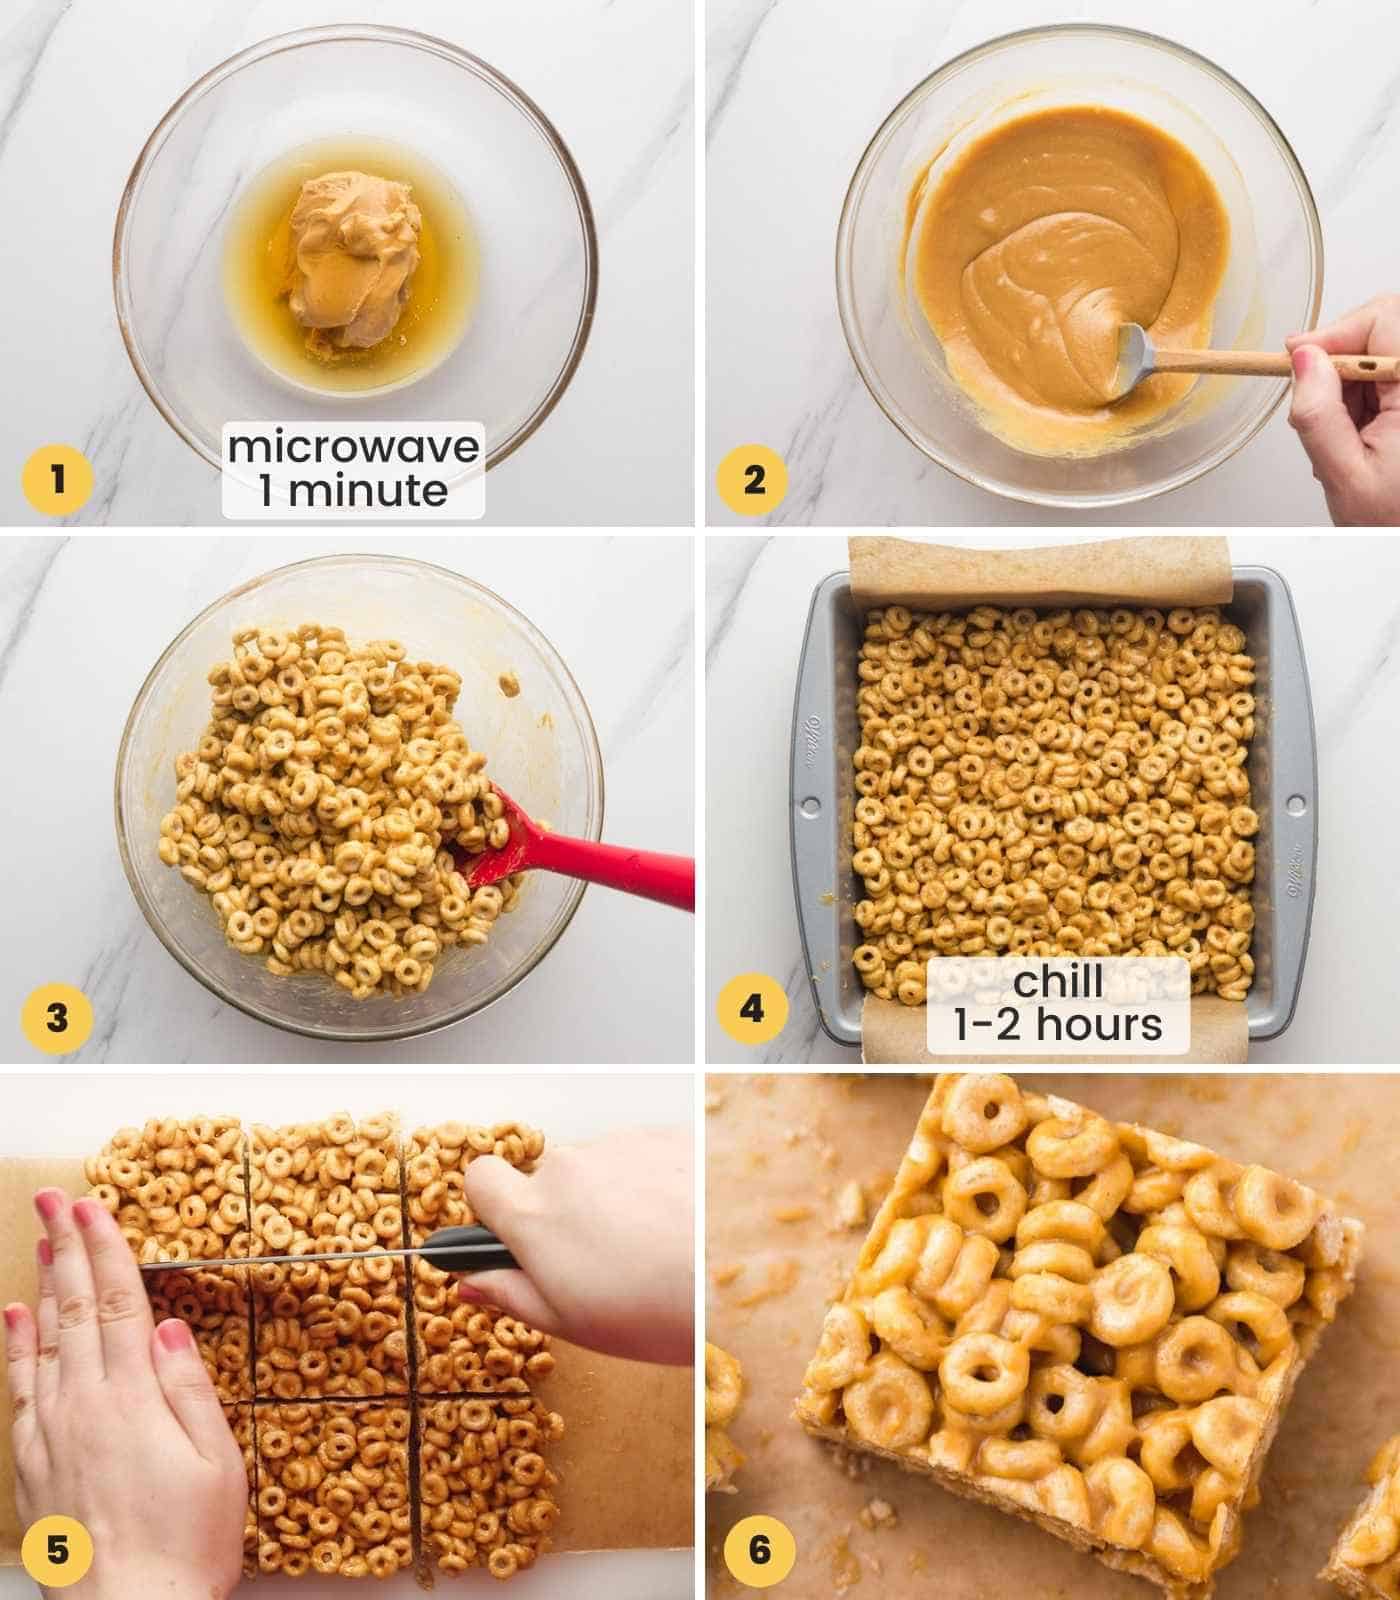
- Microwave the Coating: To a glass bowl, add the peanut butter, honey, and vanilla (if using), and microwave for 1 minute.
- Mix Together: Whisk the mixture until well combined, then mix in the Cheerios and make sure that all of the Cheerios are well coated with the honey peanut butter mixture.
- Press and Refrigerate: Press the mixture very firmly into the pan, then refrigerate it until completely set. These bars soften at room temperature and hold their shape best when chilled.
- Cut: Remove from the pan and cut into 9 tasty squares. For small kids or if you’re adding these to a dessert tray, feel free to cut them into triangles or smaller squares.
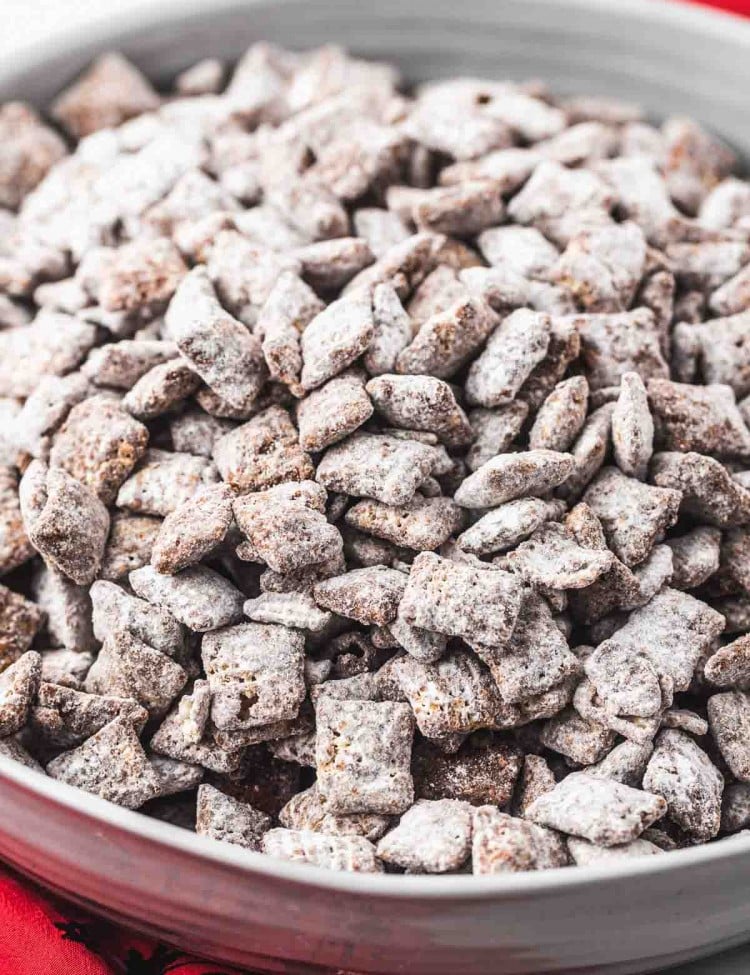
Try my Puppy Chow for another cereal-based treat that everyone will love.
Tasty Add-Ins for Peanut Butter Cheerio Bars
This Cheerio Bar recipe is a wide open canvas for adding your own flair and flavors.
Try mixing things in to add texture and flavor, such as:
- Chocolate Chips – both mini chips and regular-sized ones would be yummy here. Miniature chocolate chips will melt a bit in the coating, while the larger ones will stay whole.
- Sweetened Coconut Shreds – Coconut would add a sweet chewiness to the bars.
- Rainbow Sprinkles – I like rainbow sprinkles added to just about anything, why not these?
- Another Type of Cereal – Adding something like Rice Krispies or granola would add an interesting texture to the bars. I’d suggest replacing ½ to 1 cup of the cheerios with an alternate cereal if you go this route.
- Melted Chocolate – Top your bars with a drizzle of melted dark or even white chocolate for a sweet treat.
Add-Ins for Peanut Butter Cheerio Bars
- Nuts – Add peanuts, almonds, or any kind of nut.
- Ground Seeds – Flax, chia, hemp, and other seeds could be added into the mixture too.
Feel free to experiment, and come back and tell me what you made!
How to Keep Cheerio Treats from Sticking
The Cheerio/honey/peanut butter mixture can get very sticky! To save yourself a lot of hassle, keep a can of spray oil nearby. Spray your hands, your spoon, your spatula, and of course your pan with oil to avoid stickiness.
To make sure that your bars don’t stick to the pan, I suggest lining your pan with parchment paper, then spraying the parchment paper with oil. Doing it this way will mean that your peanut butter cheerio bars pop right out of the pan and are ready to cut and eat after they chill.
Frequently Asked Questions
Serve the bars chilled for the firmest, chewiest texture. They soften as they sit at room temperature, so take out only as many as you plan to serve and return any leftovers to the refrigerator.
Yes, these bars freeze well for up to three months. Wrap each bar individually, then place them in a freezer safe container. Thaw them in the refrigerator before serving so they stay firm and hold together.
Did you make this? Be sure to leave a review below and tag me on Facebook, Instagram, or Pinterest!
Peanut Butter Cheerio Bars
Equipment
- 8×8 inch pan 20 cm
- Large microwave safe glass bowl
- Silicone spatula
Ingredients
- 3 cups Cheerios
- ½ cup creamy peanut butter
- ½ cup honey
- 1 teaspoon pure vanilla extract optional
Instructions
- Line an 8 inch (20 cm) square pan with parchment paper, leaving enough overhang to lift the bars from the pan.
- Add the peanut butter, honey, and pure vanilla extract, if using, to a large microwave safe bowl. Microwave for 1 minute.
- Whisk until the mixture is smooth and fully combined. Add the Cheerios and gently stir until evenly coated.
- Transfer the mixture to the prepared pan. Press it firmly into an even layer using a silicone spatula or lightly greased hands.
- Refrigerate for 1 to 2 hours, or until firm. Lift the mixture from the pan using the parchment paper and cut it into 9 squares.
Notes:
- For Bars That Hold Together: Press the mixture very firmly into the pan, paying particular attention to the edges and corners. Chill completely before slicing.
- Peanut Butter: For the most consistent texture, use creamy no-stir peanut butter. Natural peanut butter can separate and may produce softer bars.
- Storage: Keep the bars in an airtight container in the refrigerator for up to 2 weeks. They soften at room temperature, so serve them chilled or leave them out only briefly.
- Freezing: Wrap the bars individually and place them in a freezer-safe container. Freeze for up to 3 months, then thaw in the refrigerator before serving.
- Gluten Free: Use a box of Cheerios labeled gluten-free and check the labels on your peanut butter and vanilla.
Nutrition Information
This website provides approximate nutrition information for convenience and as a courtesy only. Nutrition data is gathered primarily from the USDA Food Composition Database, whenever available, or otherwise other online calculators.
© Little Sunny Kitchen
Hayley Shaver says
great bars. didn’t have enough honey so i mixed honey and maple syrup.
Diana says
Glad that worked, Hayley! Honey and maple syrup together sounds good.
Anna says
the choices of different kind of stuff you can make with your family
Diana says
Thanks for sharing and for the 5-star rating!