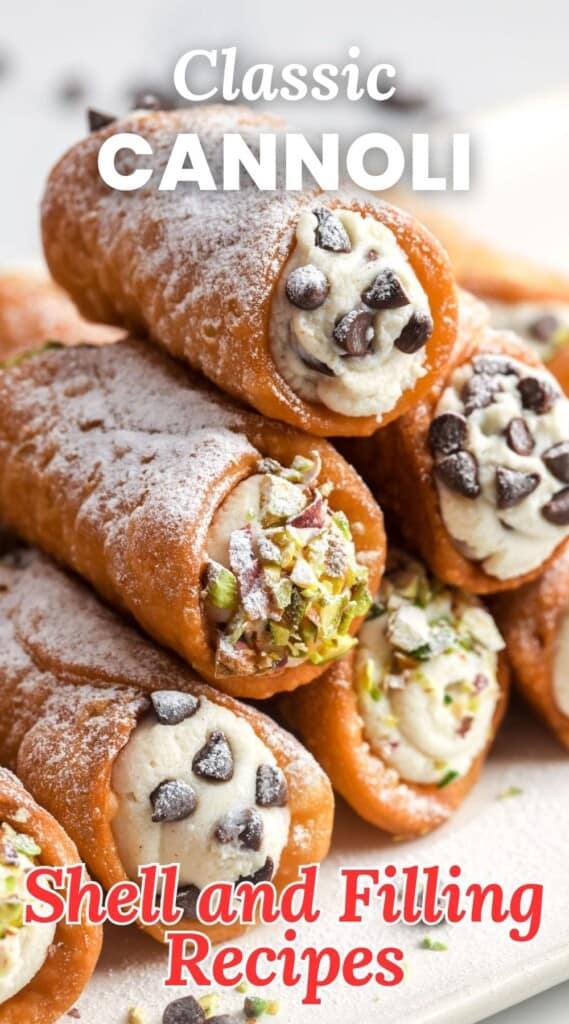
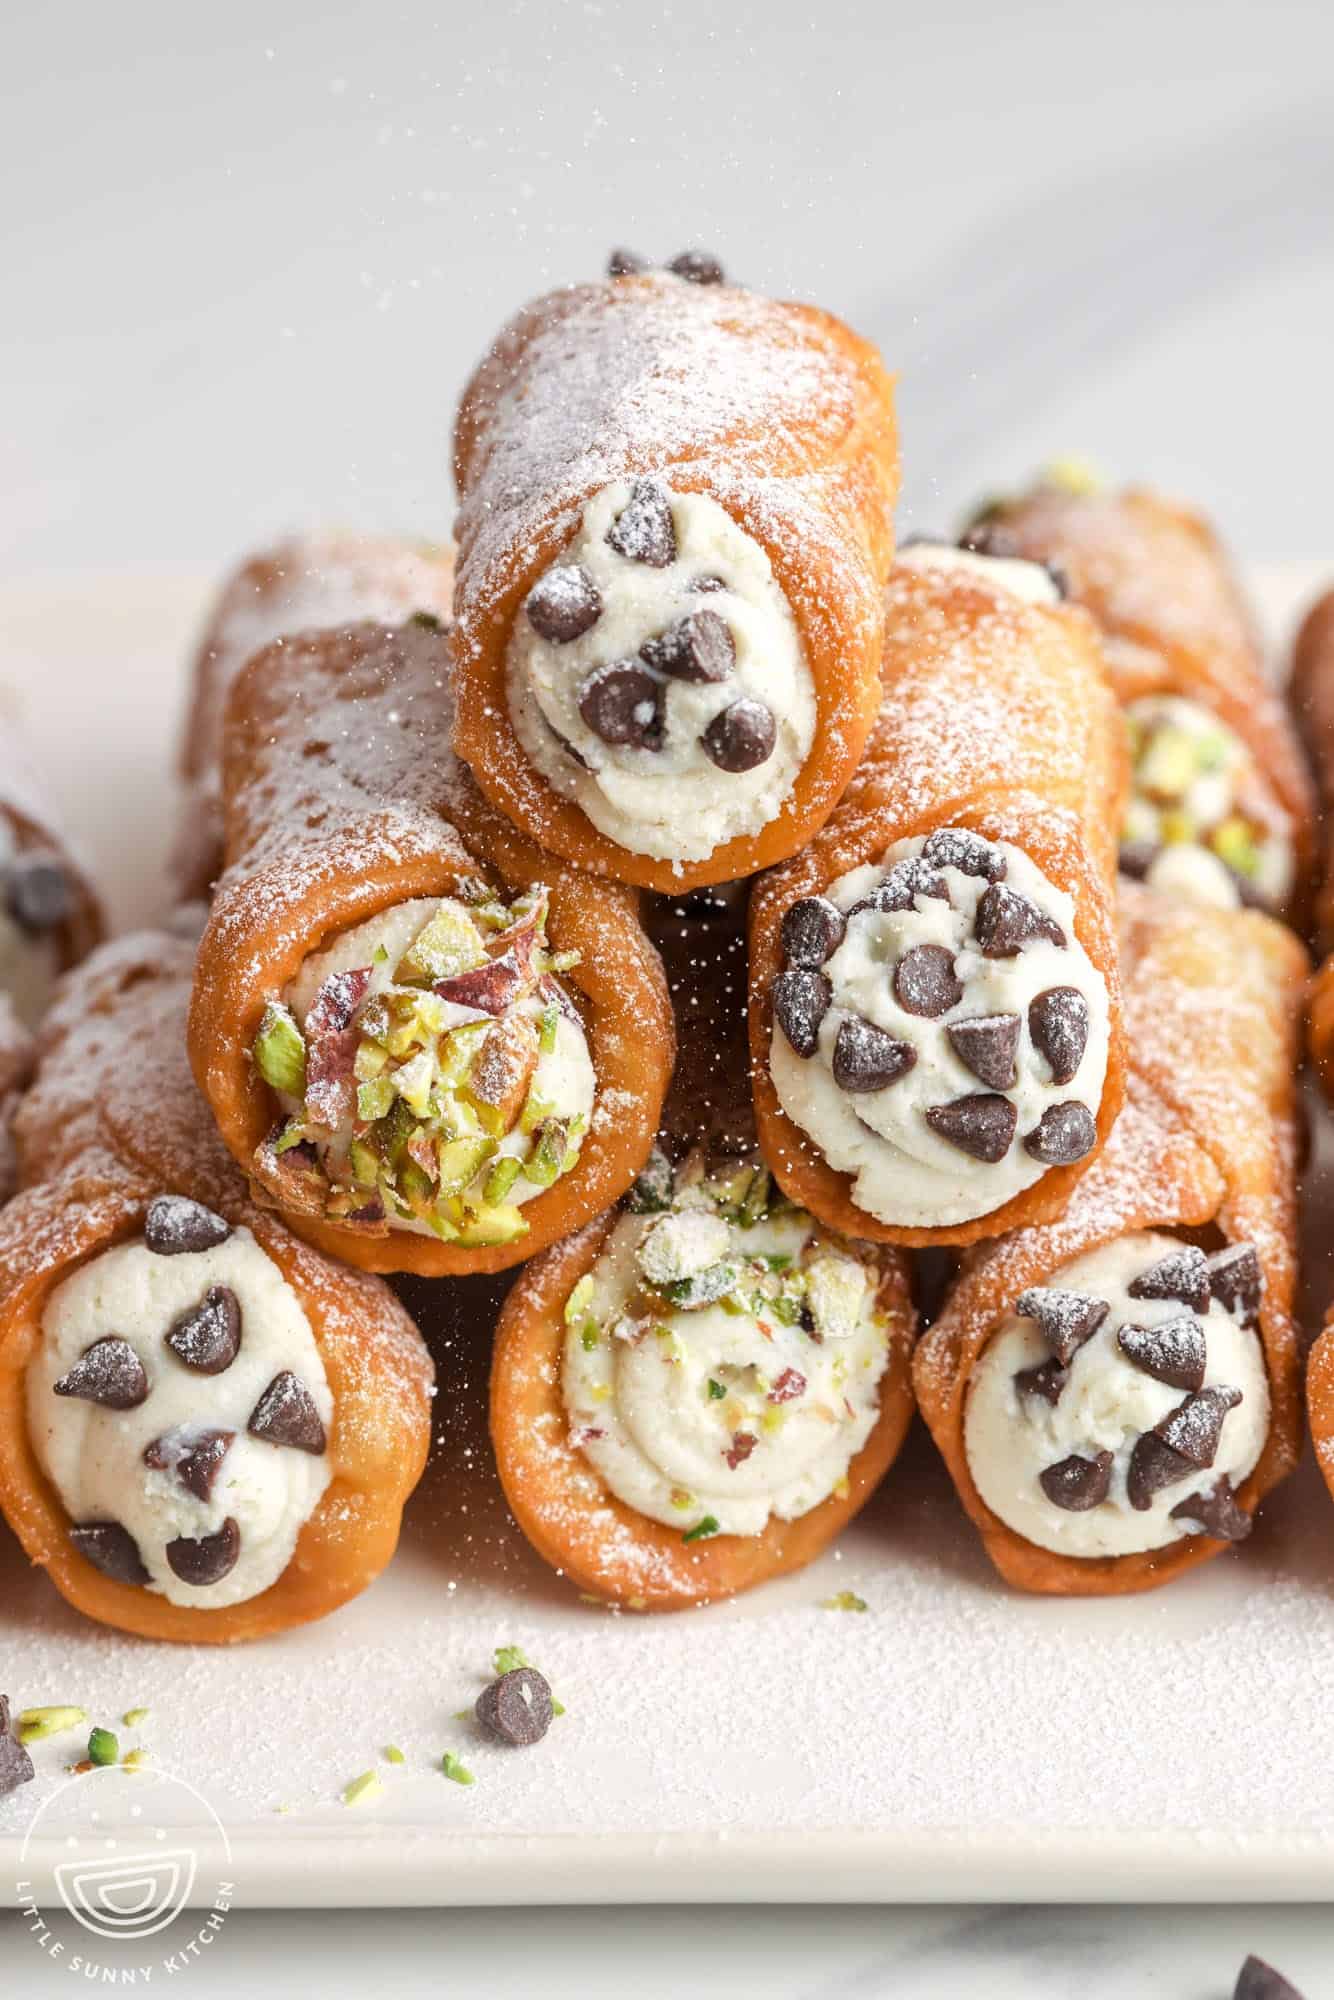
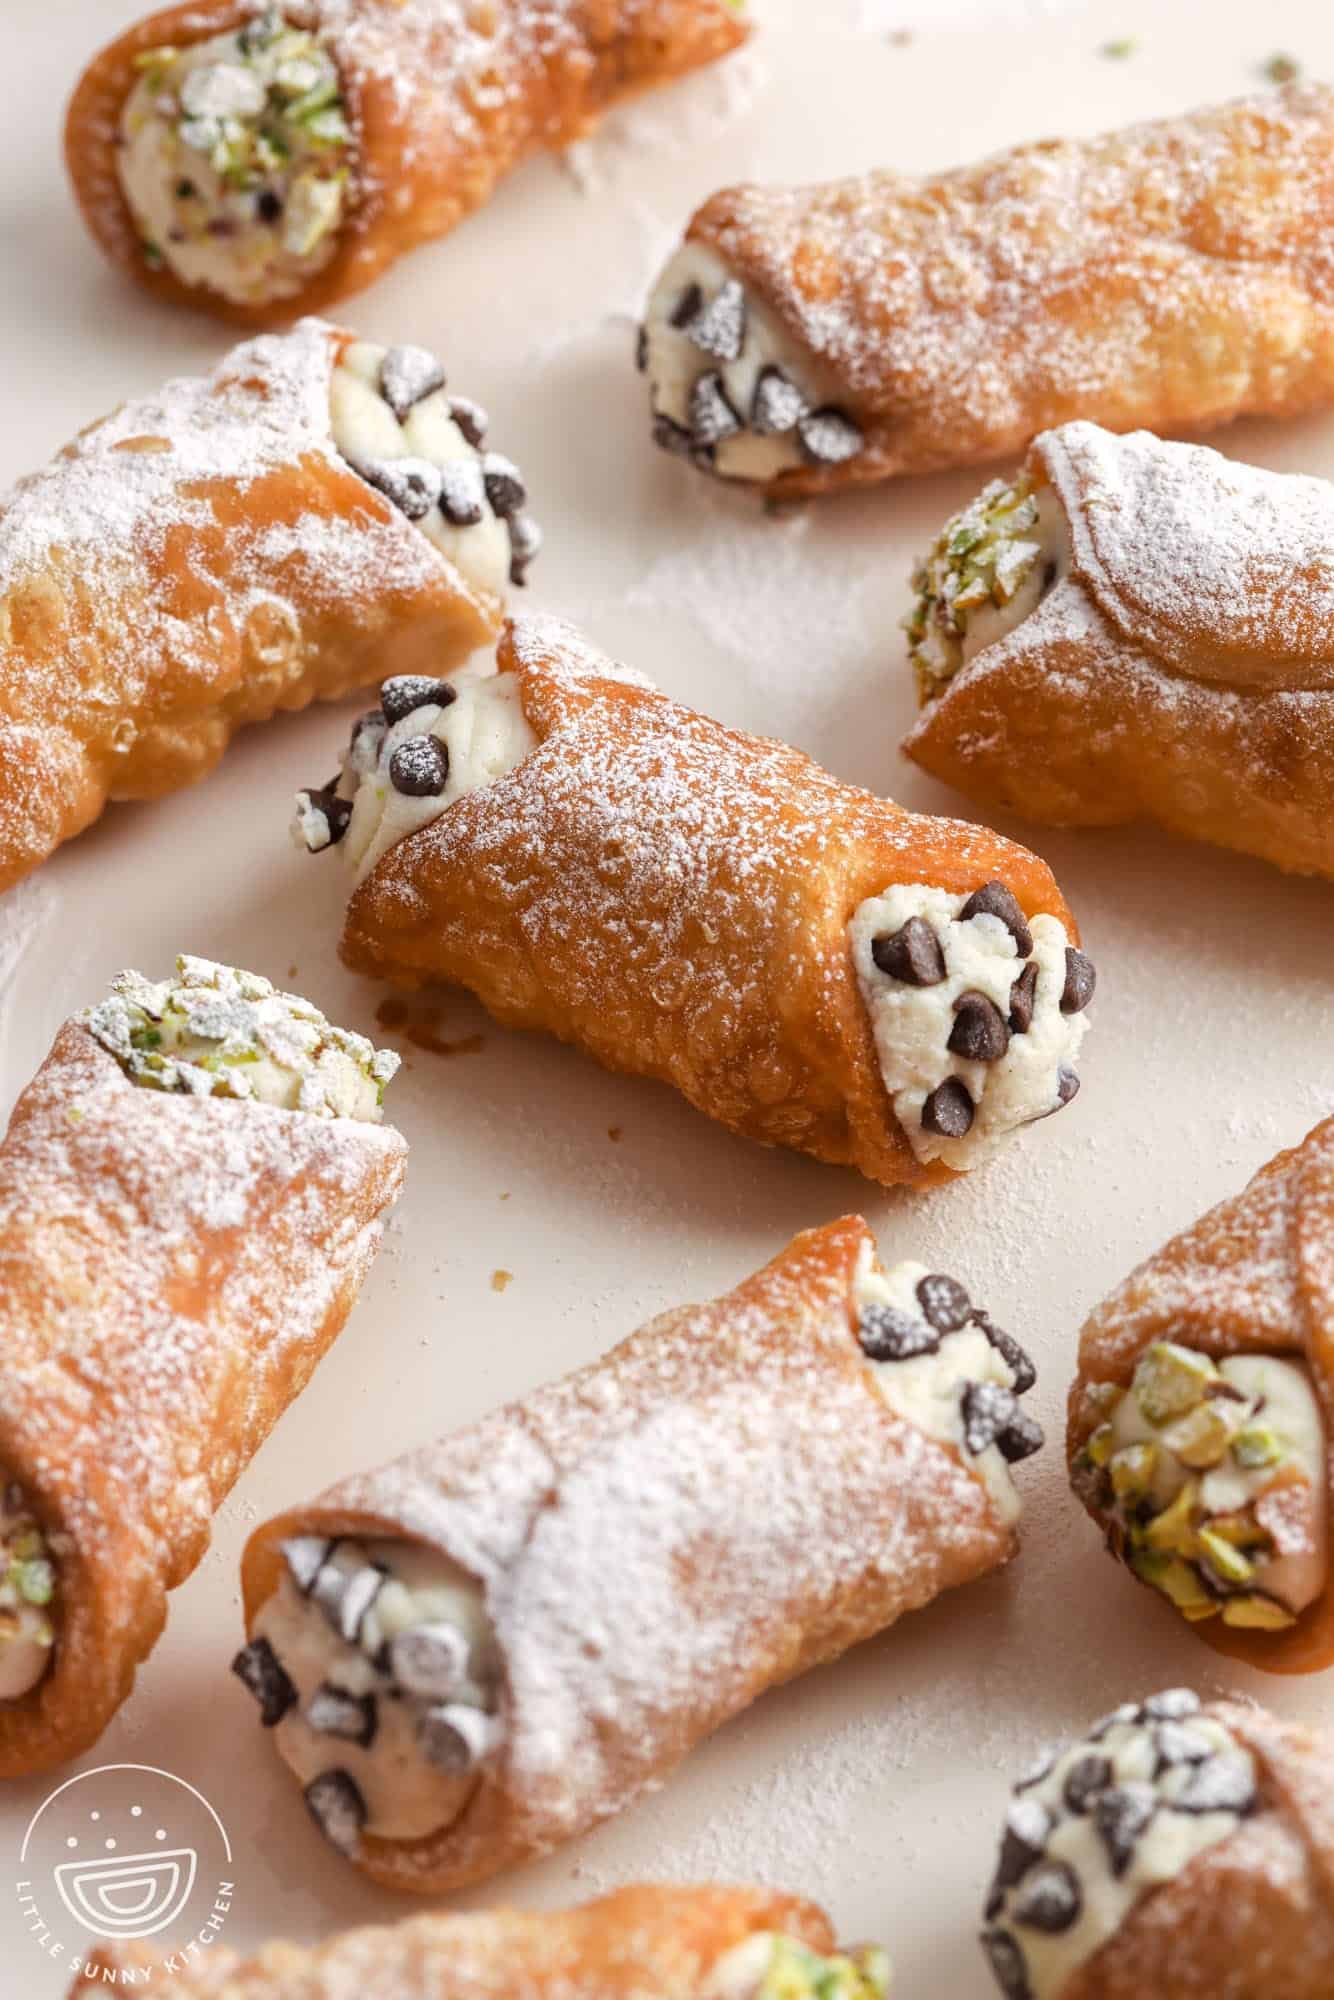
This homemade Cannoli Recipe will blow you away with how rich and delicious it is! A creamy and sweet ricotta filling is loaded into freshly fried, crispy shells. Dip the ends in mini chocolate chips or chopped nuts for the perfect finish.
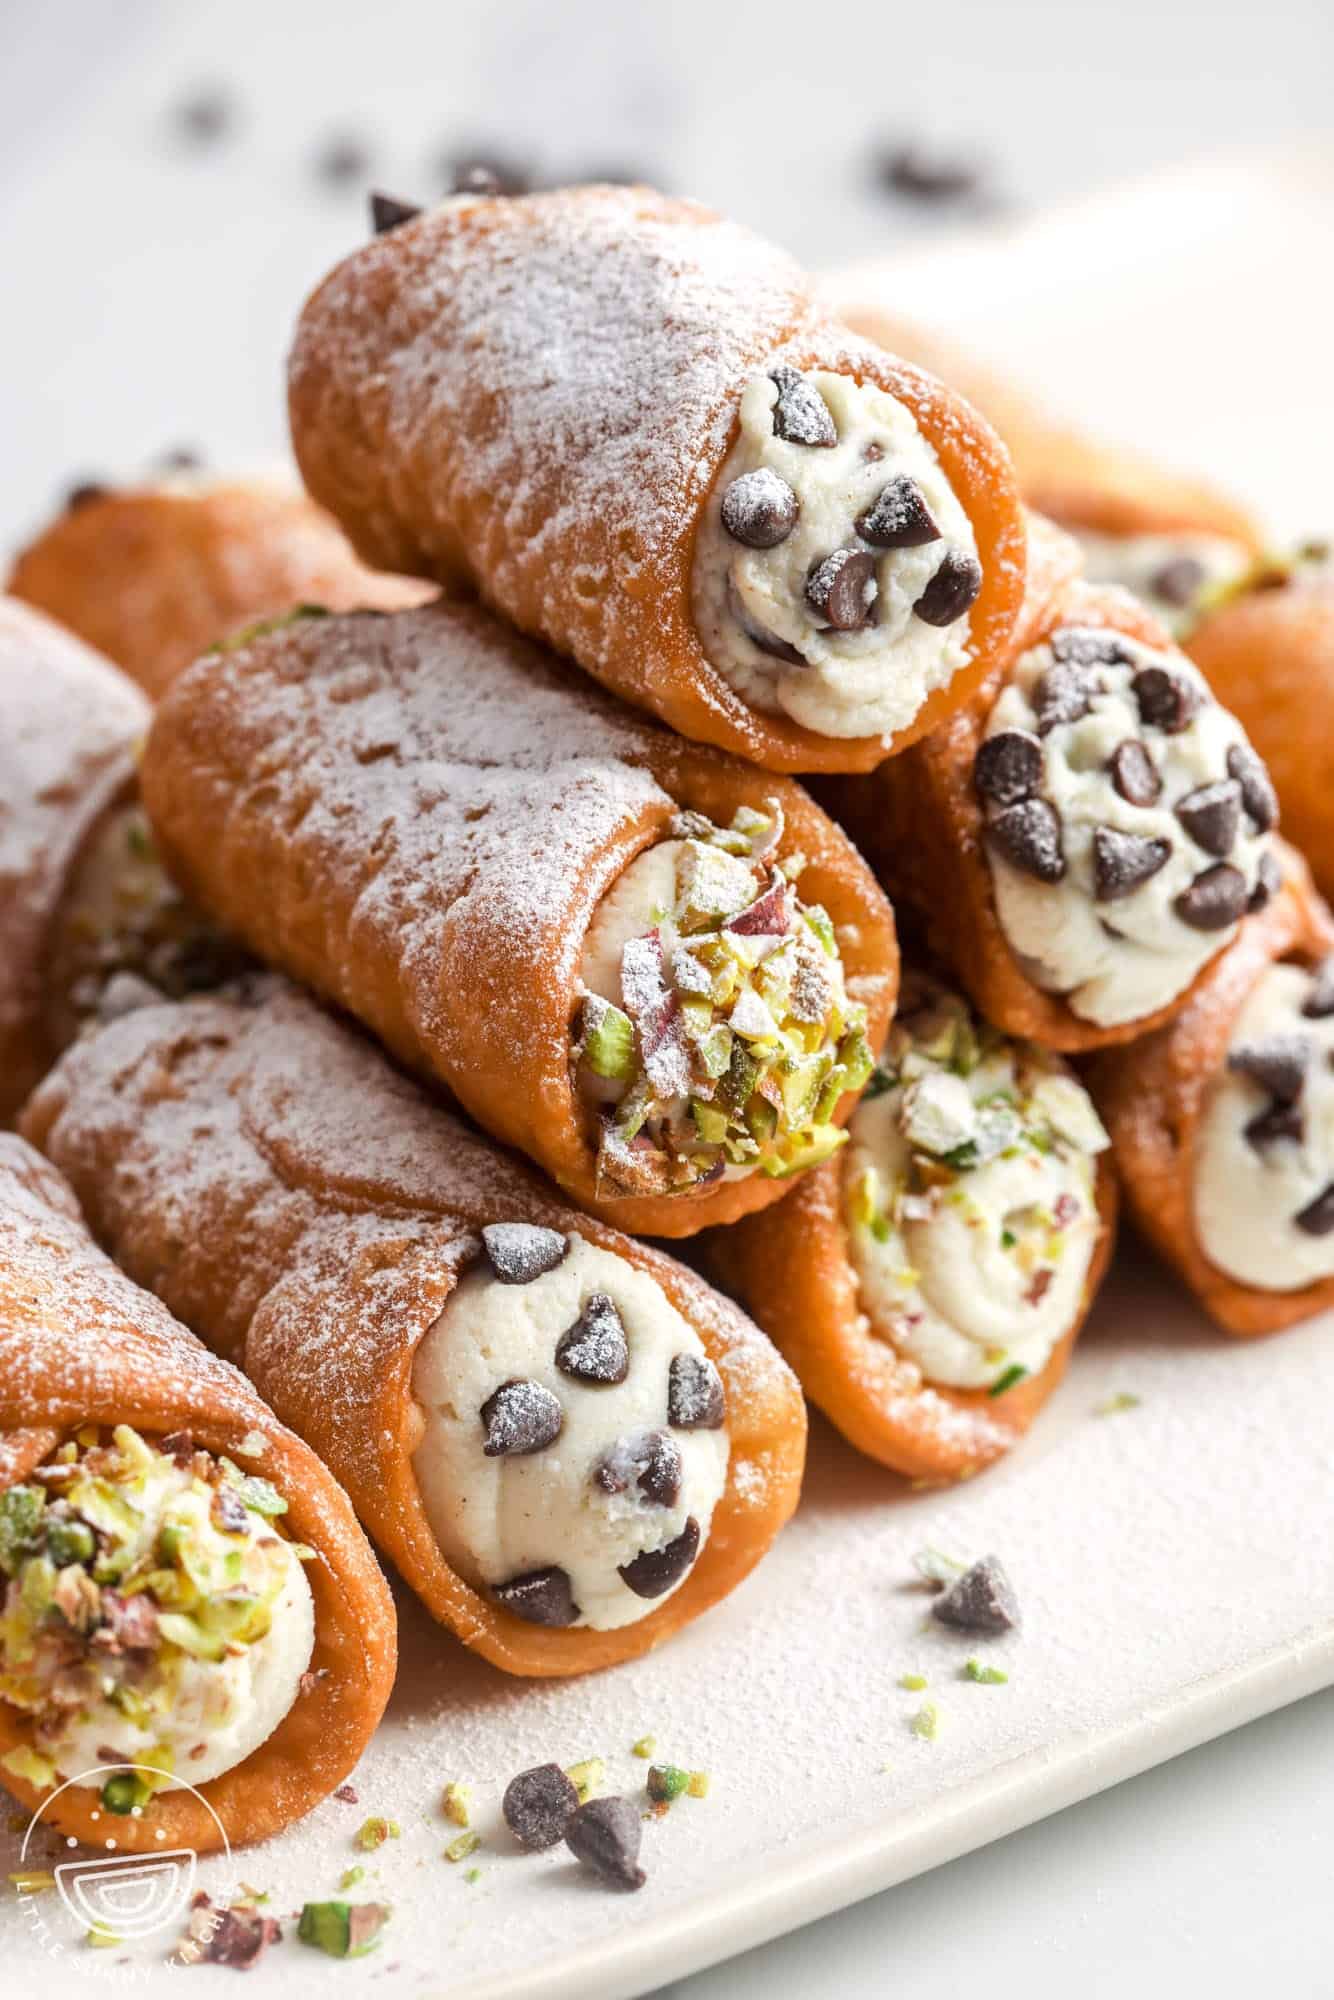
These Italian cannoli are just like the ones you splurge on at your favorite Italian bakery. Actually, I think they’re better because you’ll be able to enjoy them while they’re fresh and still super crisp.
I’ll show you exactly how to make classic cannoli, with deep-fried pastry shells and a lightly sweetened ricotta cheese and chocolate chip filling.
There are a few steps involved in this (or any) cannoli recipe, but I promise that none of them are difficult, and the end result is totally worth the effort!
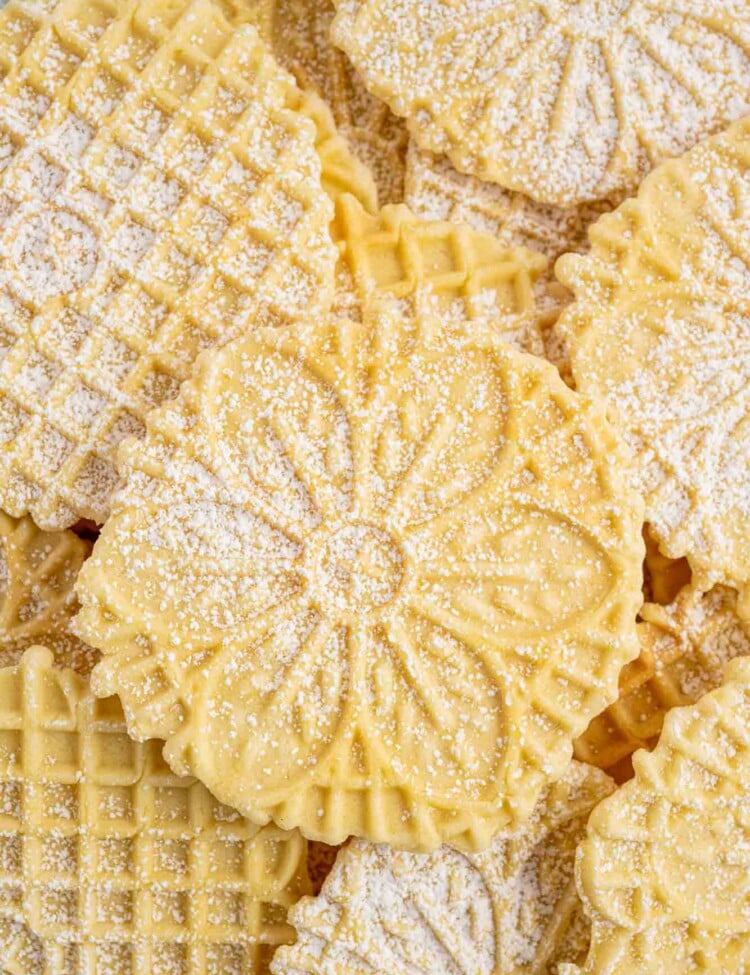
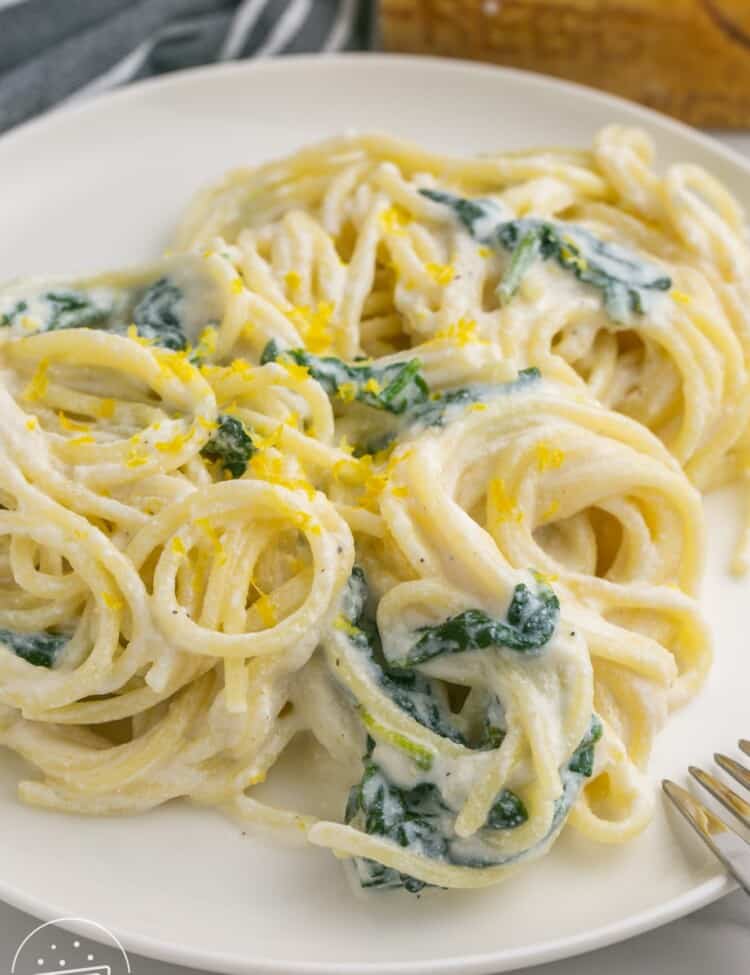
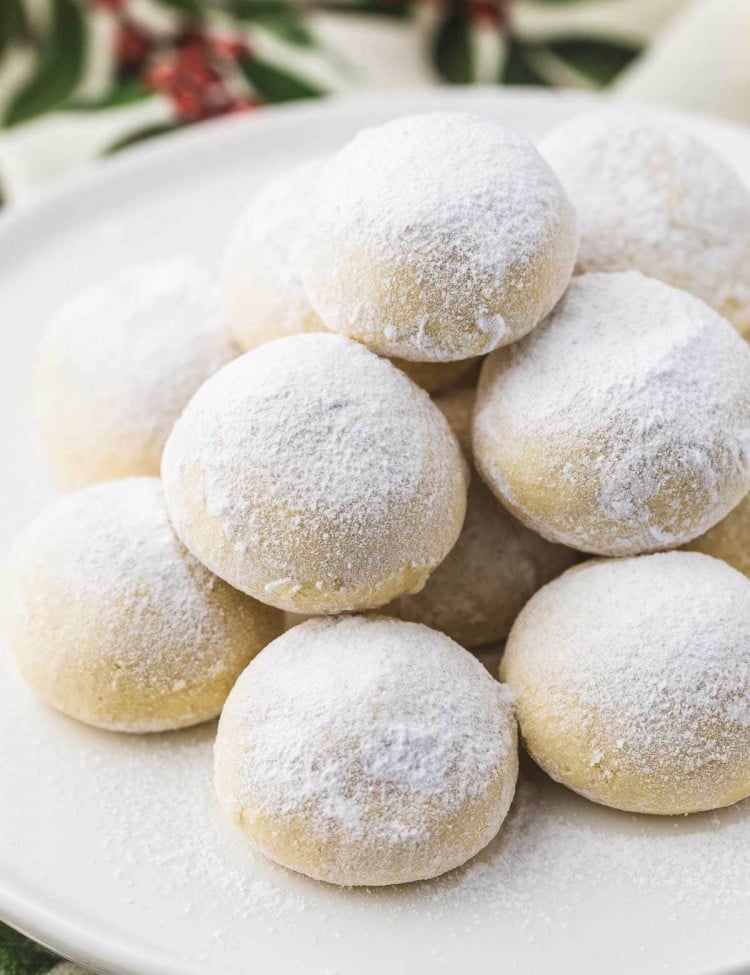
If you love Italian desserts as much as I do, be sure to grab my traditional Pizzelle recipe and the recipes for Italian Wedding Cookies, and Italian Butter Cookies.
And while cannoli aren’t technically cookies, they’ll fit in perfectly on a holiday cookie tray. Don’t be afraid to make these for Christmas or the next occasion that calls for a really special dessert.
Why You’ll Love This Recipe
You’ll love this recipe because it is a tried and tested recipe for homemade cannoli that works!
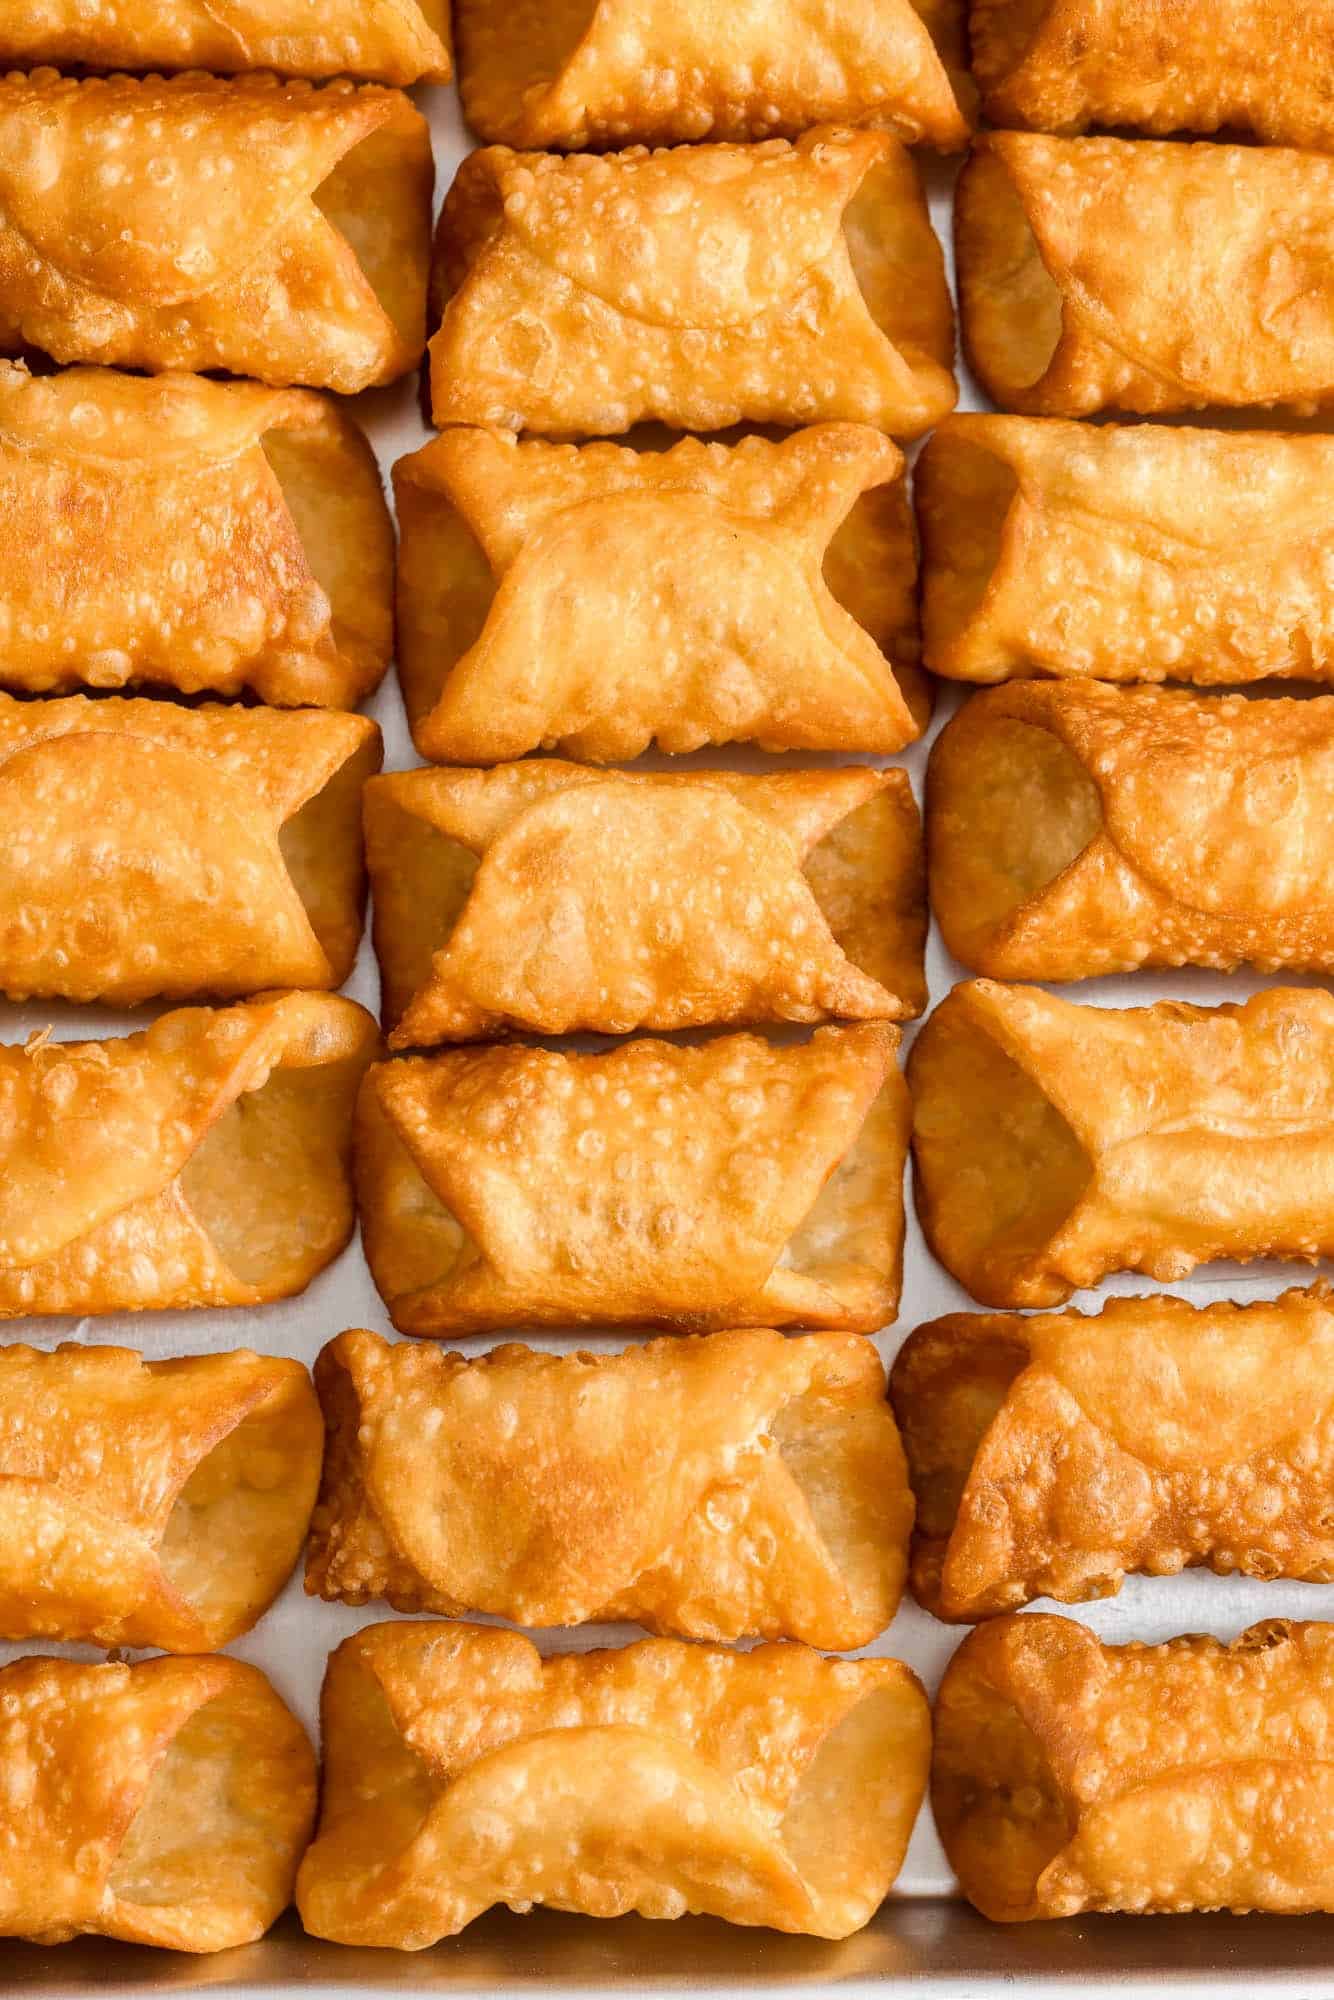
I’ve tested and retested to ensure that the cannoli filling recipe has just the right amount of sweetness and that the shells are light, airy, and crisp.
This recipe is simple, but you will need one piece of special equipment to make cannoli at home, and that’s cannoli forms. These metal tools are the perfect shape and size to hold the cannoli dough while you’re deep frying them, and you can get a set of them for around ten dollars on Amazon.
Key Ingredients
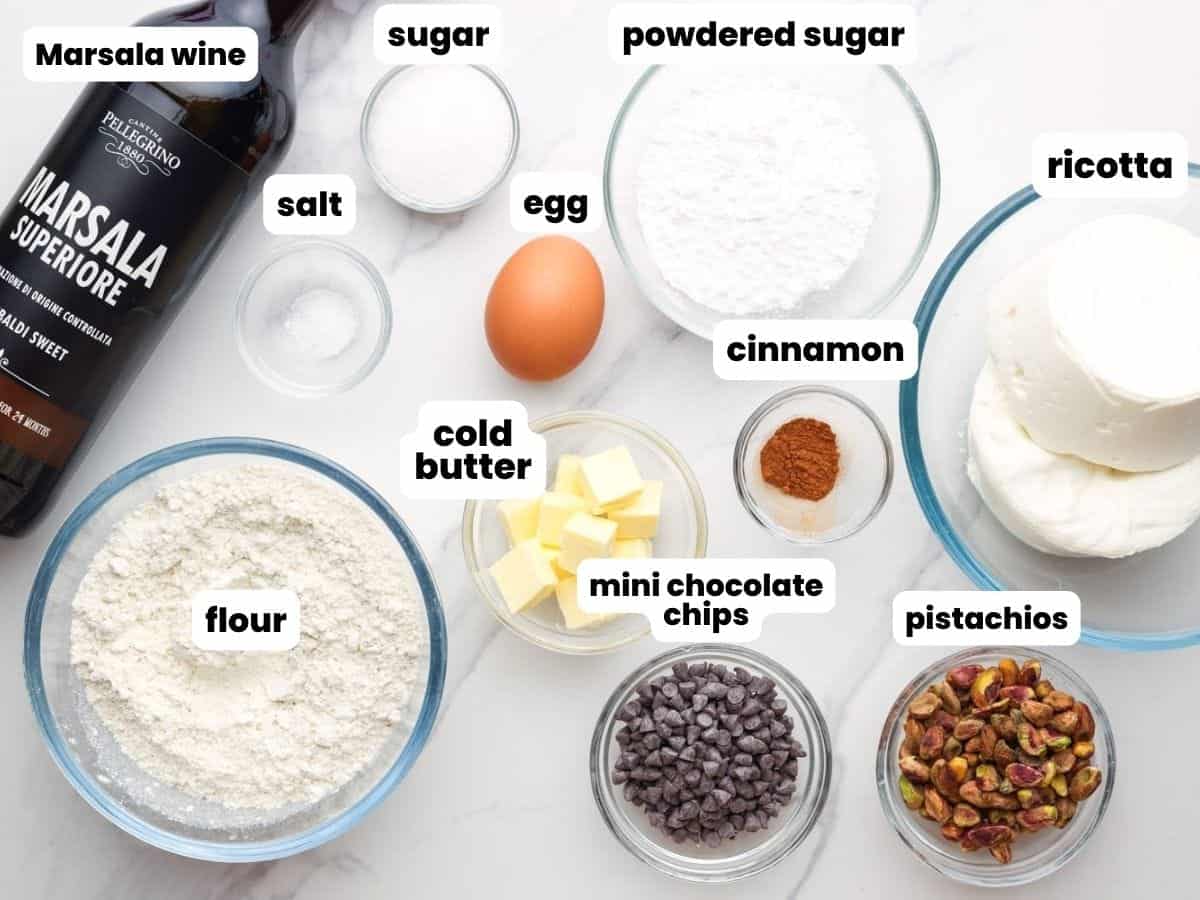
Here’s what you need to make this Italian Cannoli recipe:
For the Dough
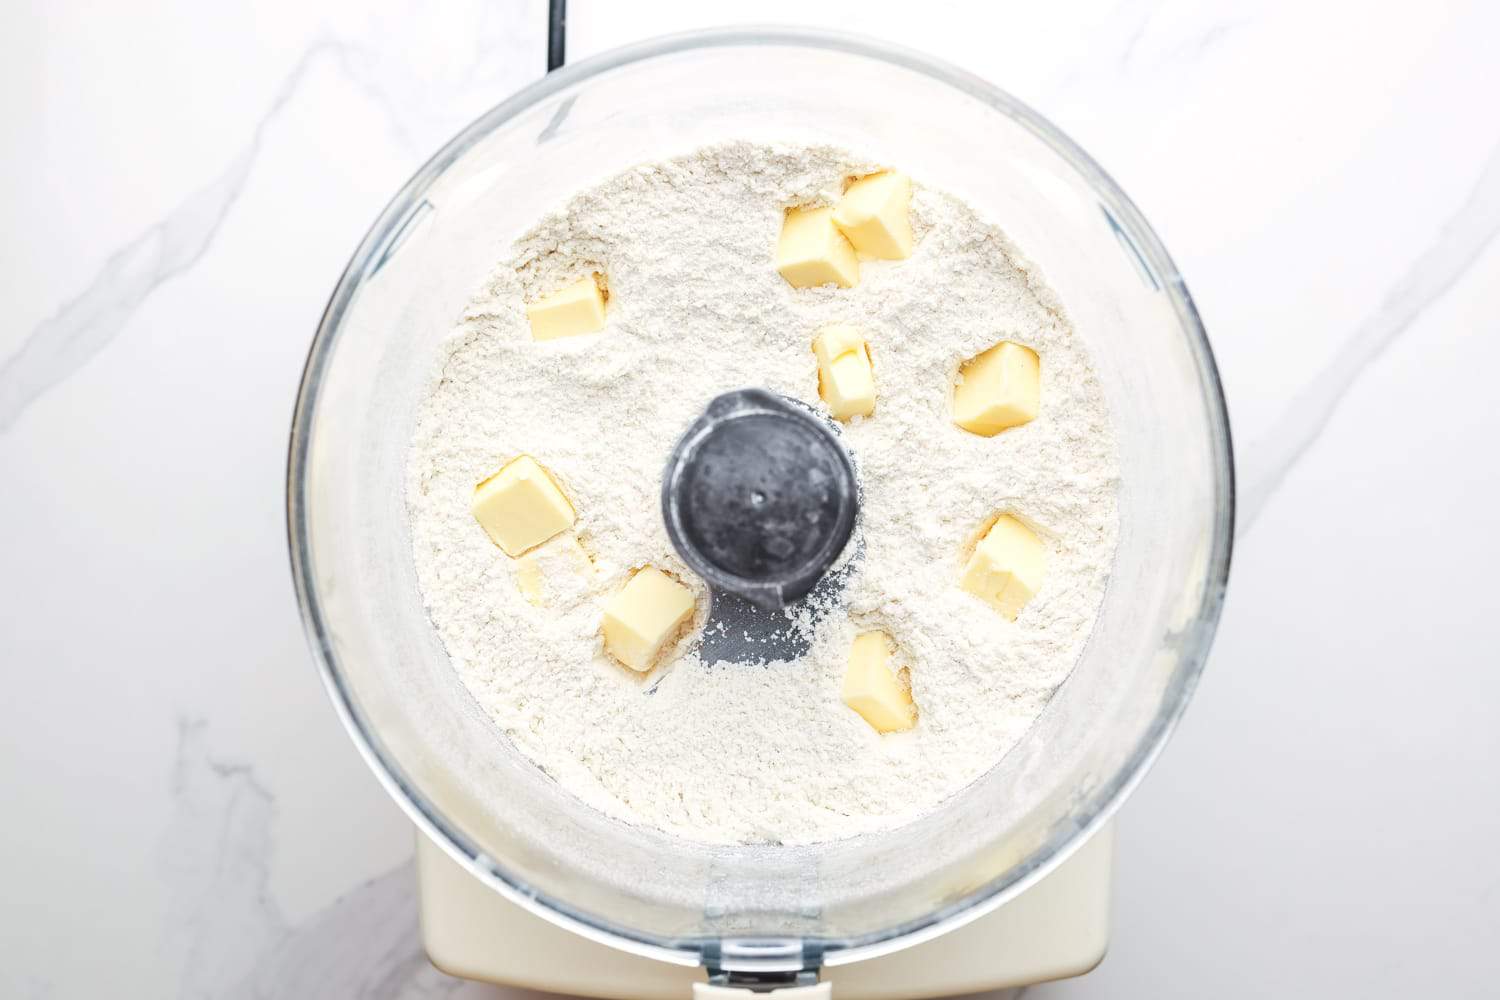
- Cold Butter: The dough is made like most pastry doughs, but cutting cubes of cold butter into flour. Leave the butter in the fridge until the very last second so that it stays cold.
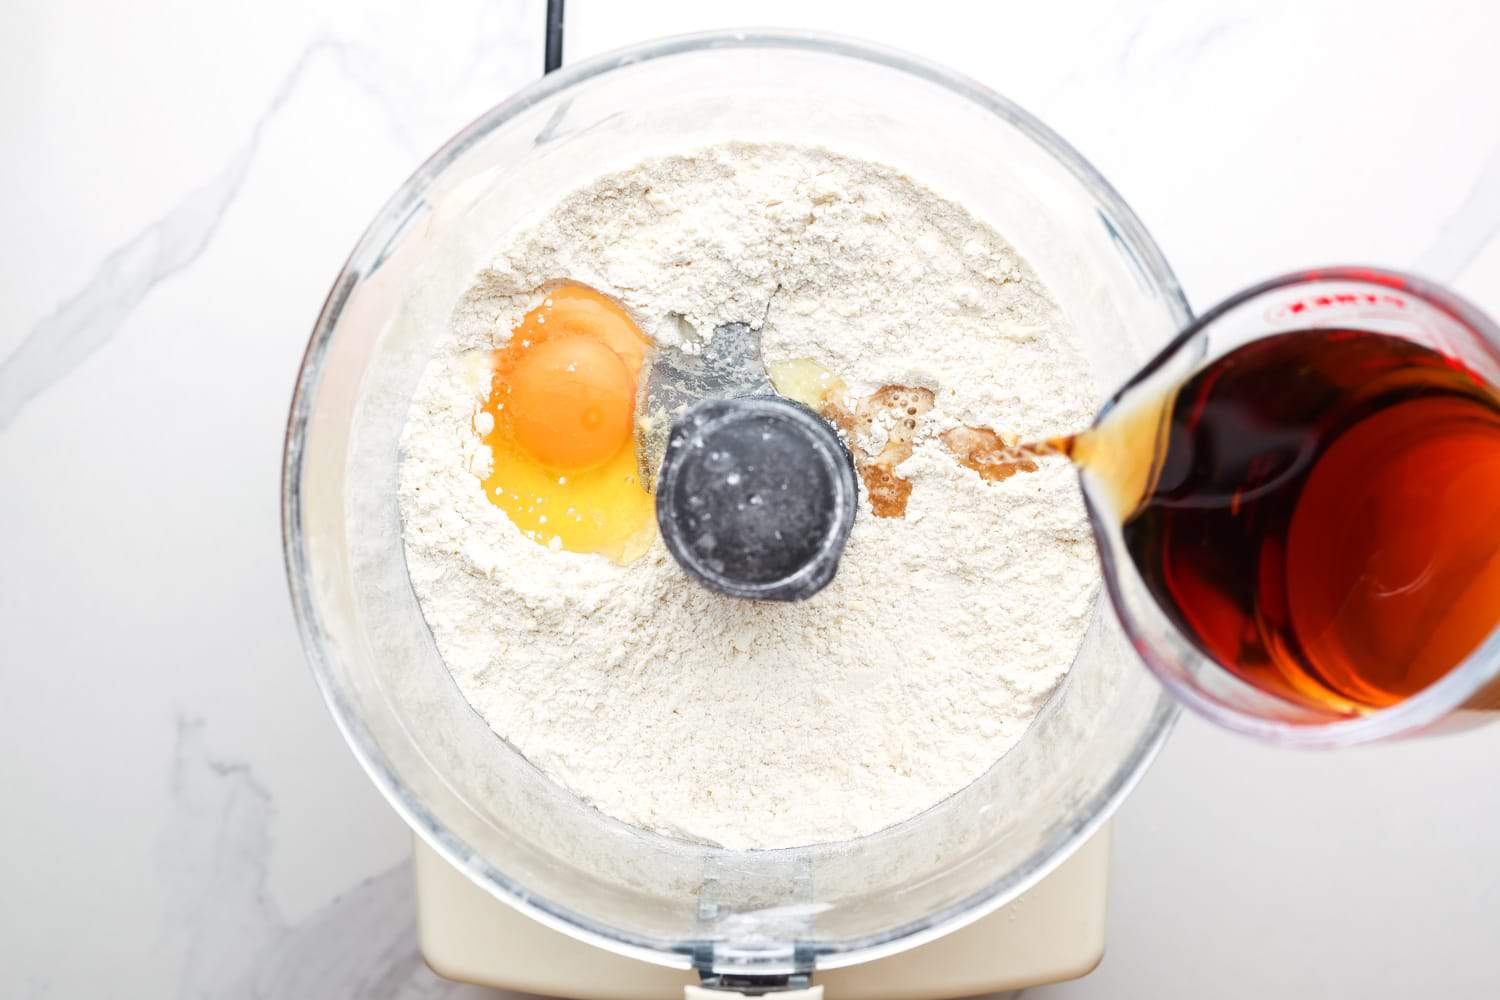
- Marsala Wine: This is a special ingredient that adds richness and flavor to the cannoli dough. If you’d rather not use alcohol, apple cider vinegar or grape juice can also be used.
For the Cannoli Filling
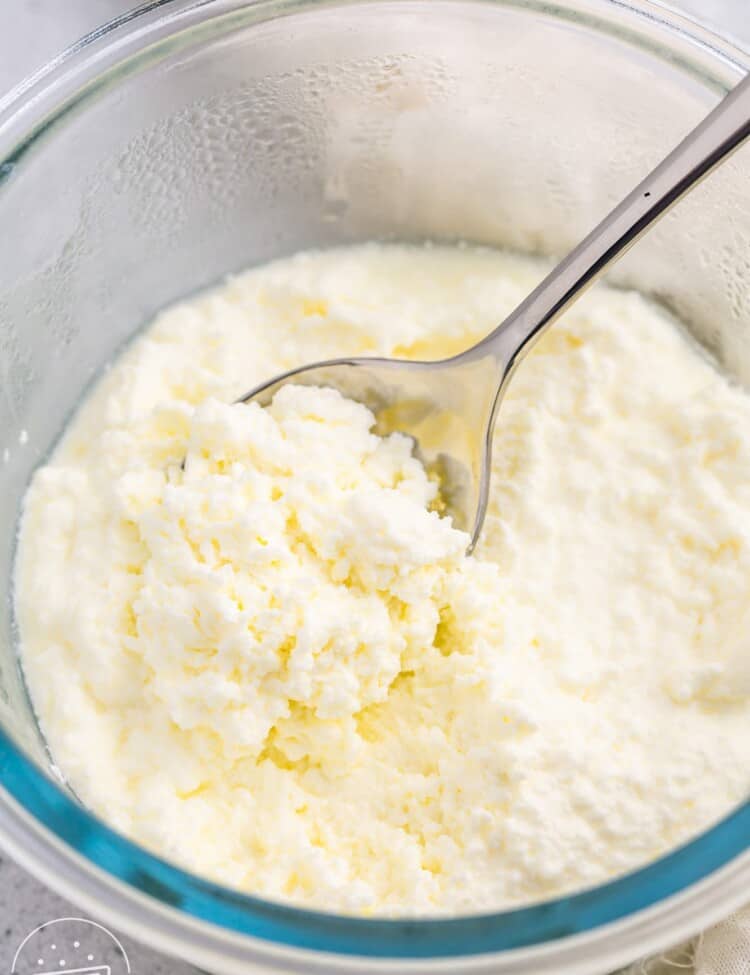
Ricotta Cheese: You can use store-bought whole milk ricotta, or try your hand at making fresh homemade ricotta cheese. Either way, strain the ricotta overnight in the refrigerator so that most of the moisture is gone.
Complete list of ingredients and amounts can be found in the recipe card below.
How To Make Homemade Cannoli
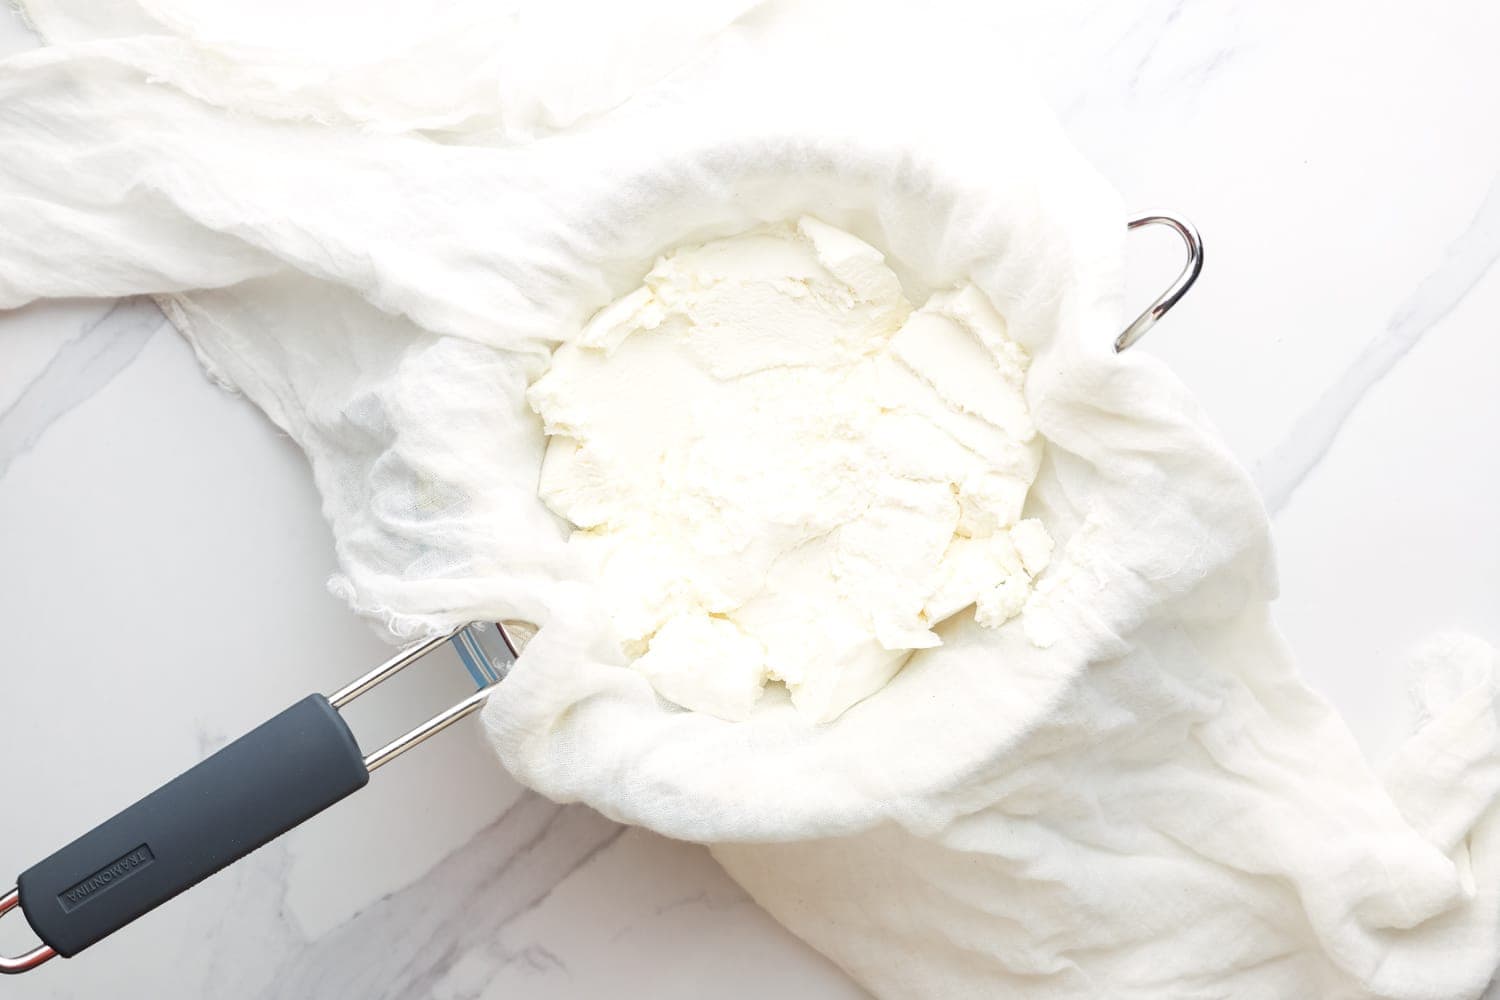
- Strain the Ricotta: This step needs to be done the night before. Place a strainer over a bowl and line it with cheesecloth. Add the ricotta. Cover the bowl with plastic wrap and place in the fridge for 8 hours, or overnight.
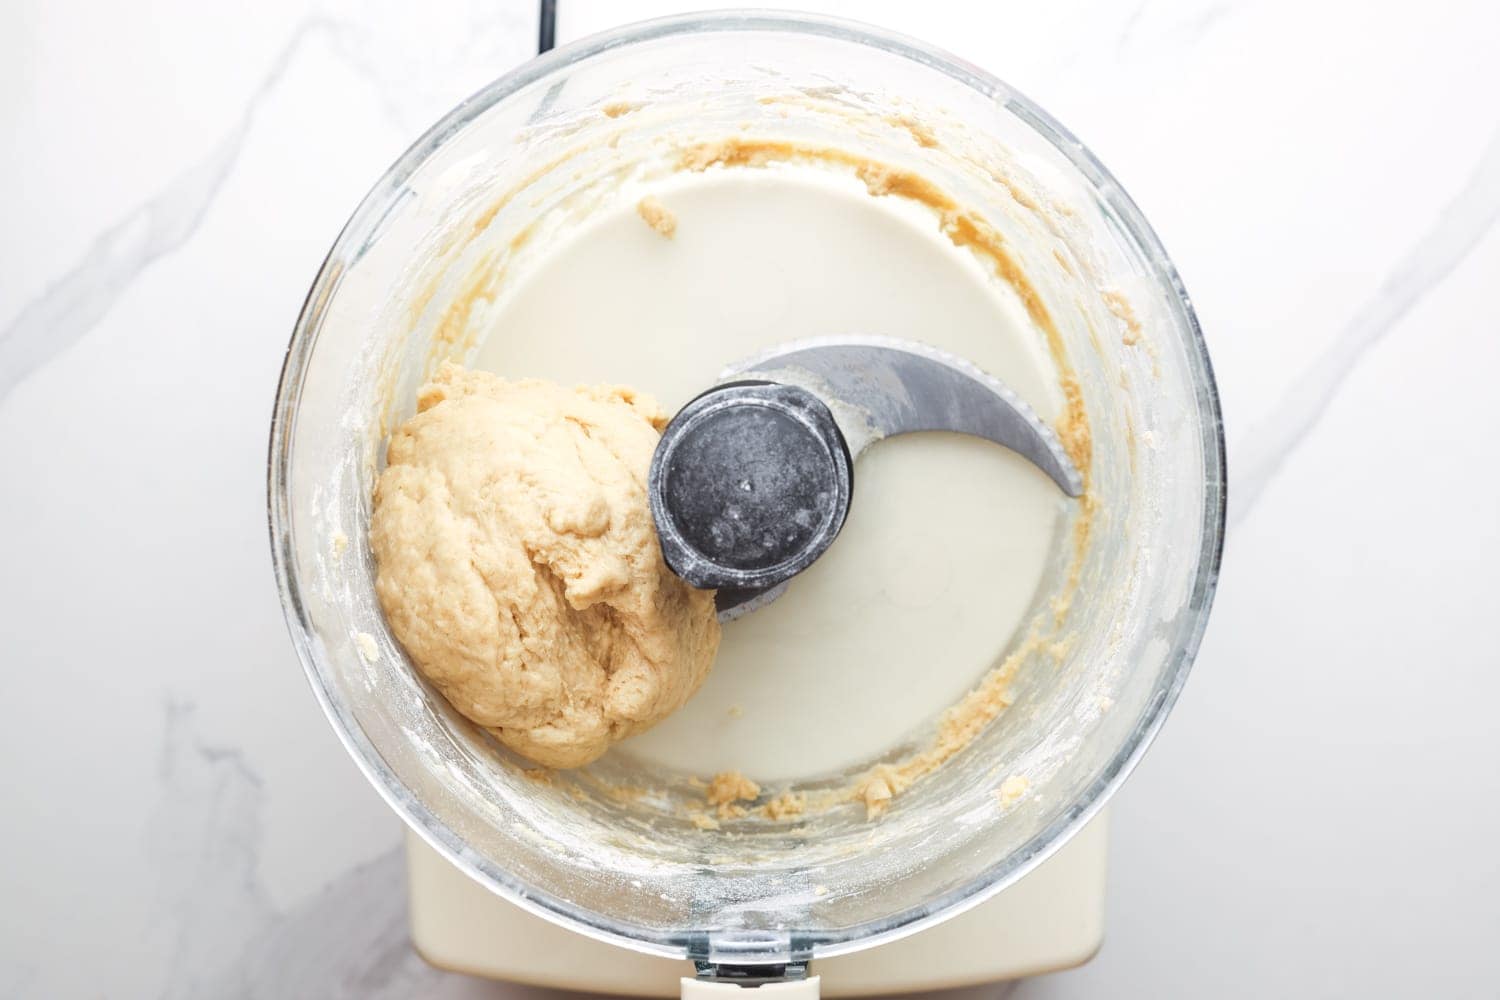
- Make the Dough: In your food processor, combine the flour, sugar, and salt. Then add the cold butter cubes and pulse a few times until the mixture resembles coarse sand. Add egg and wine, and blend until a dough forms. You can add a little bit of extra flour if the dough seems too loose.
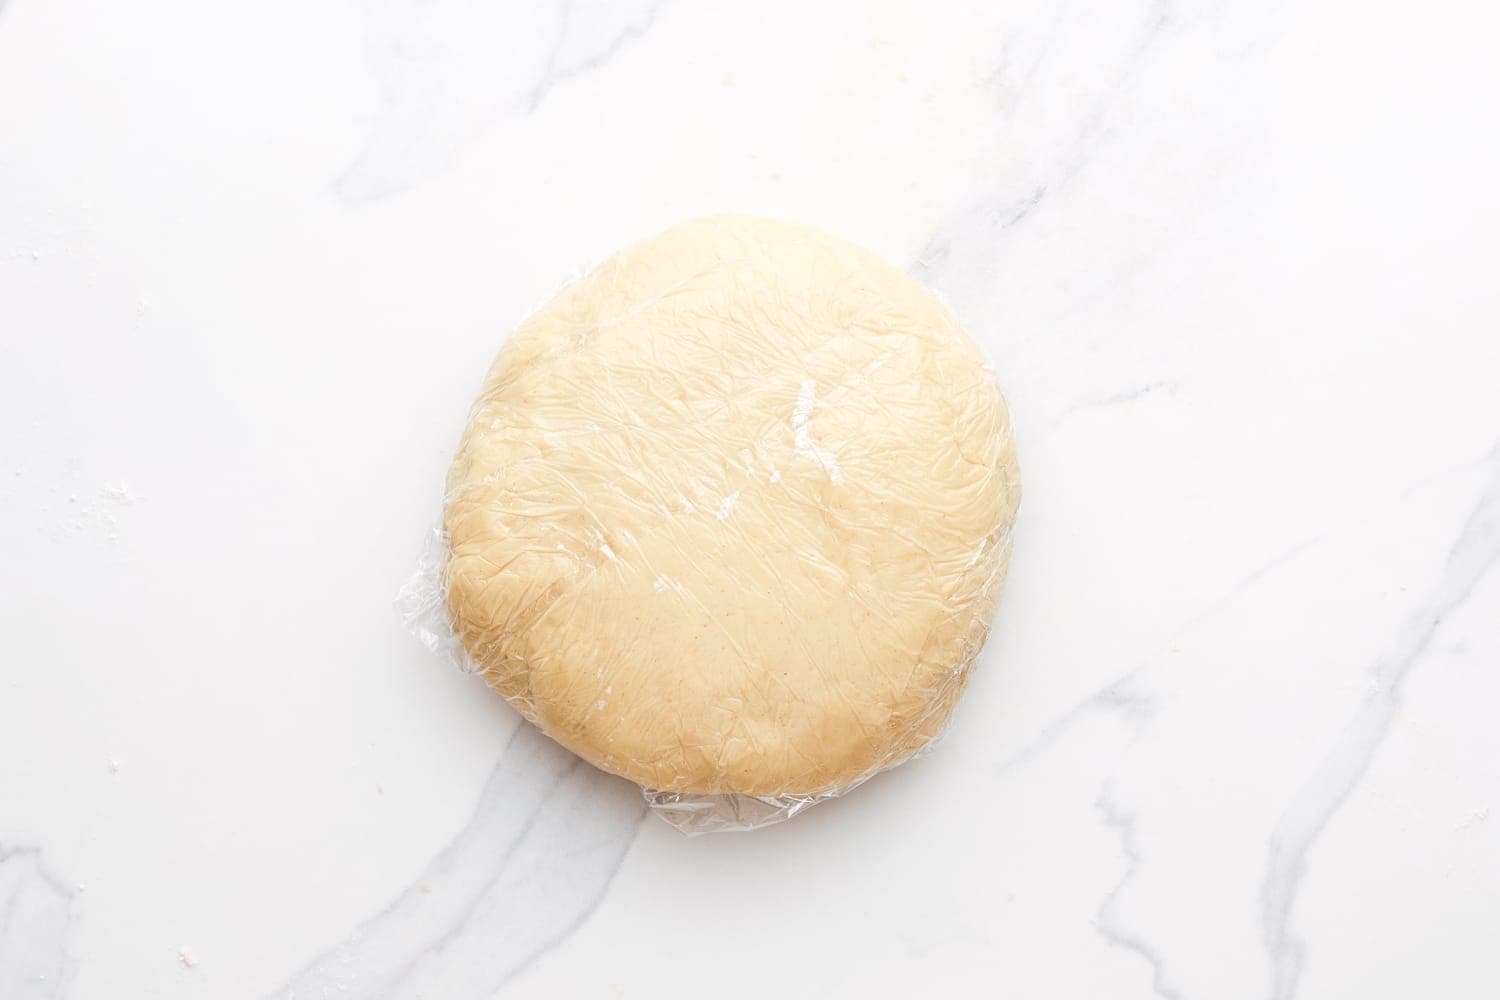
- Knead and Chill: Turn the dough out onto a lightly floured surface and knead until smooth. Wrap in plastic wrap and refrigerate for at least one hour – This is important, as it allows the gluten in the dough to relax.
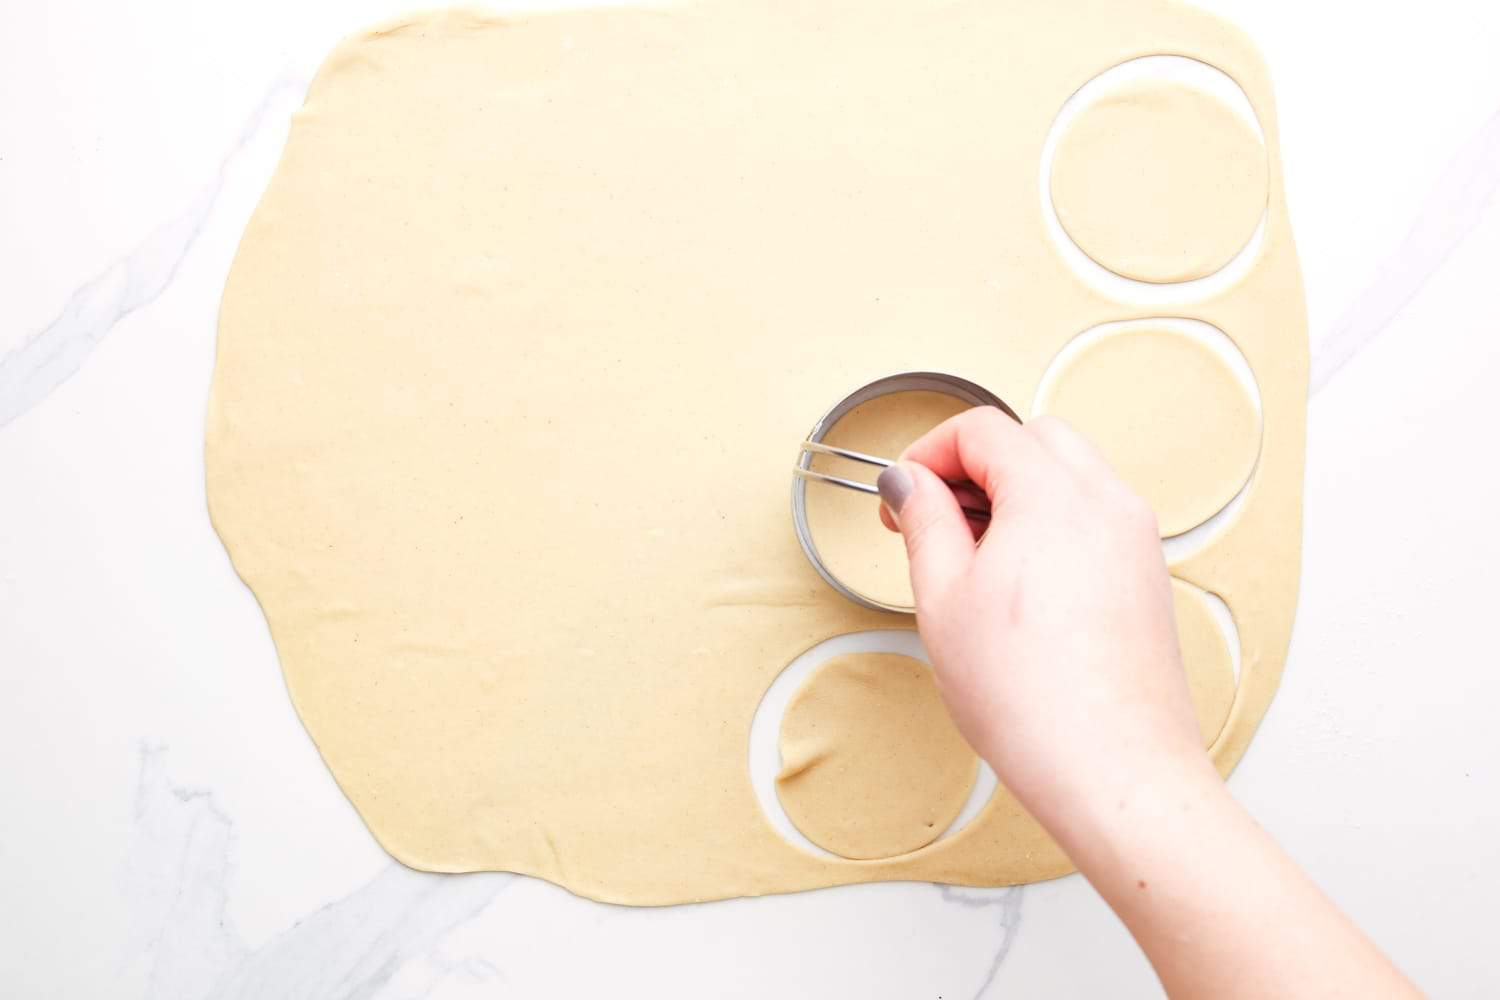
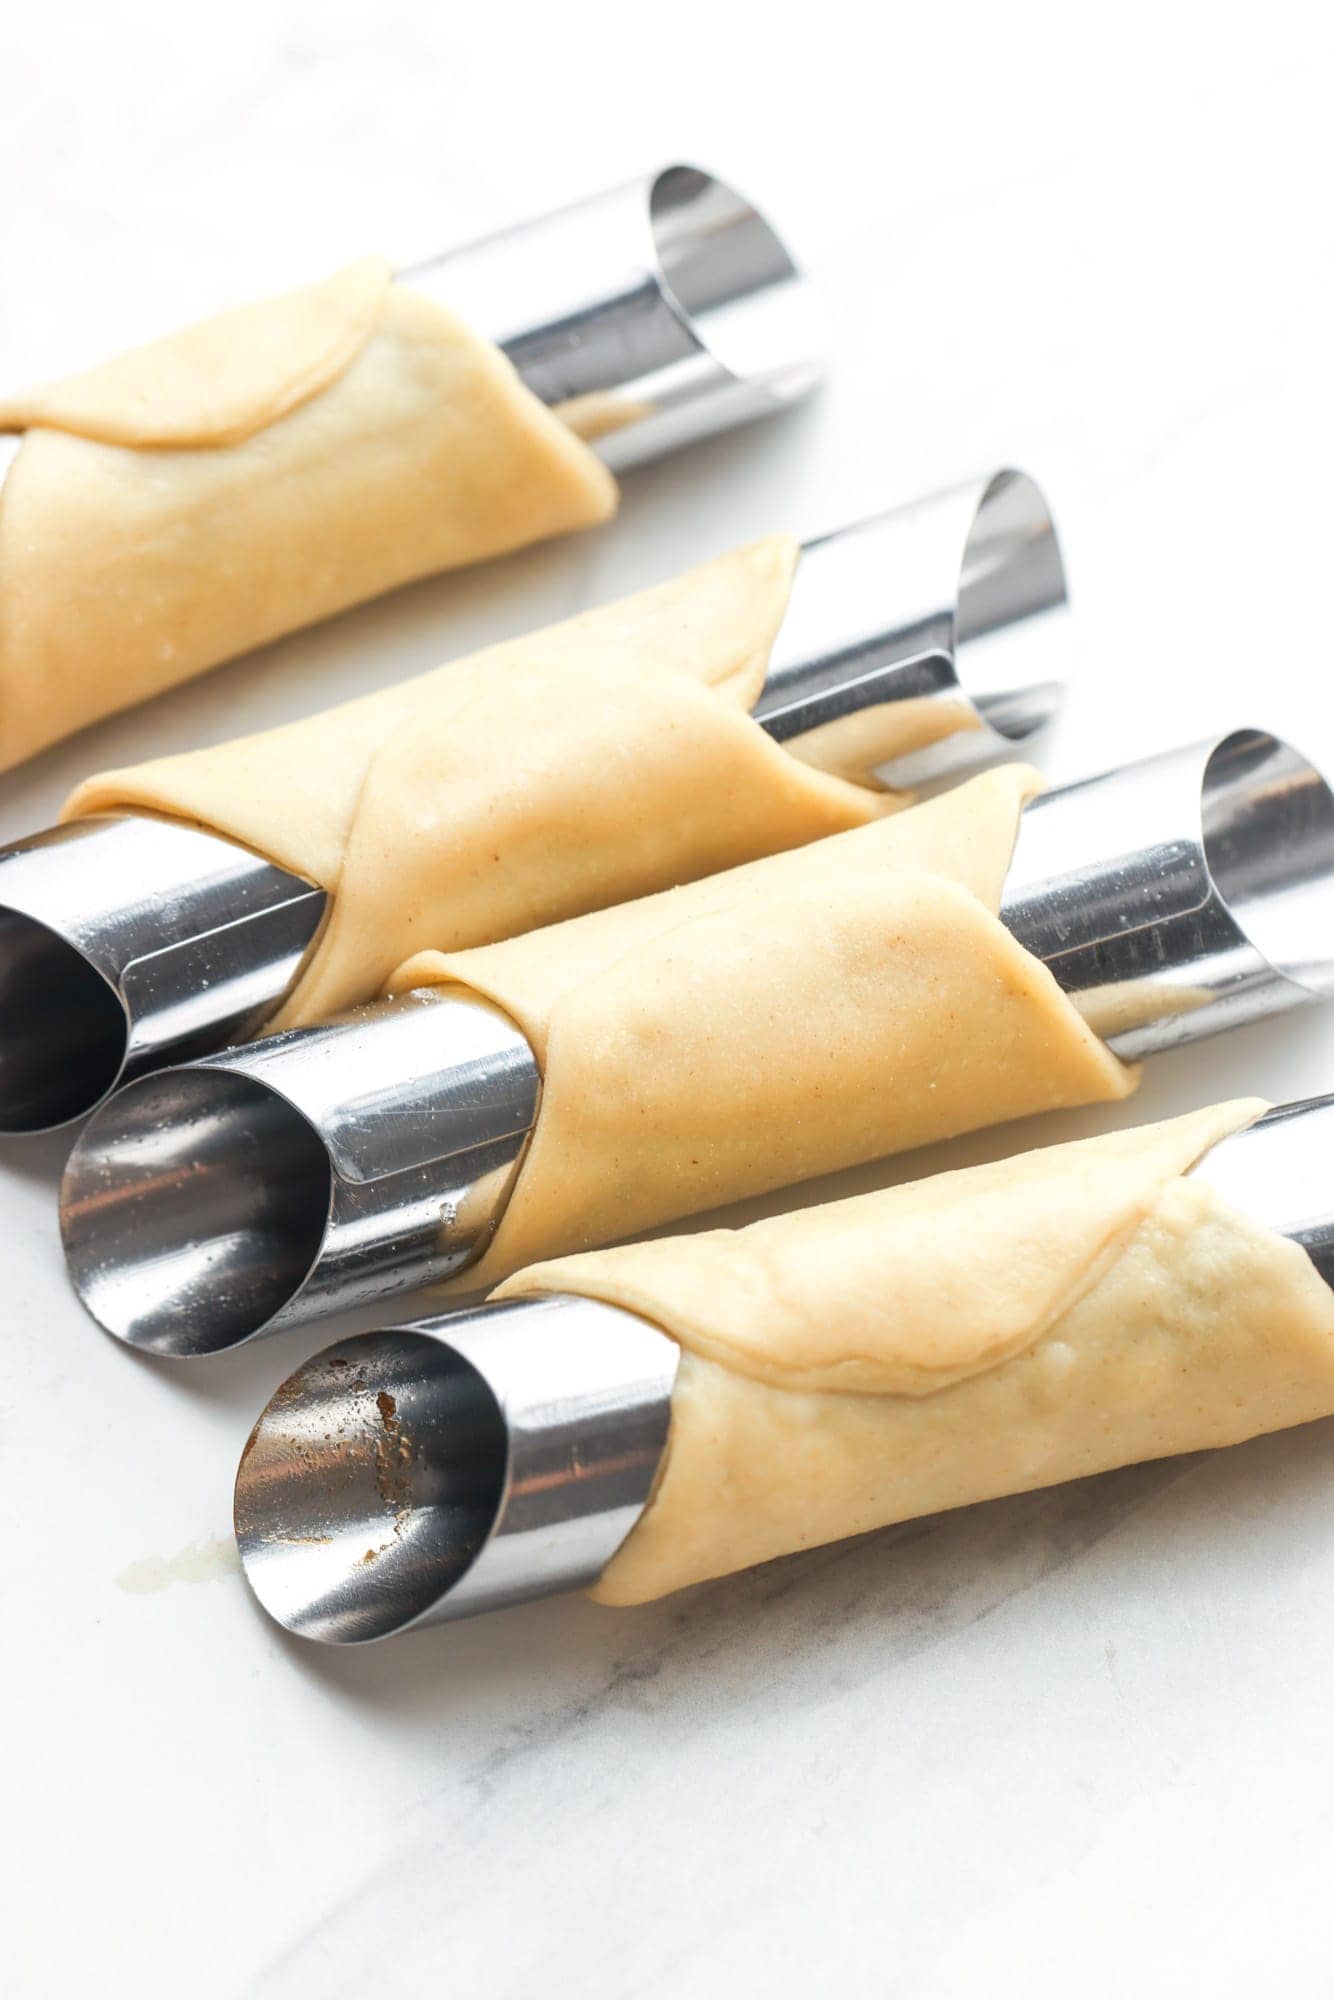
- Roll and Cut: On a lightly floured surface, roll the dough out thin. Use a cookie cutter to cut out circles that are about 3 inches. Wrap the dough around cannoli forms and seal the seams with beaten egg whites.
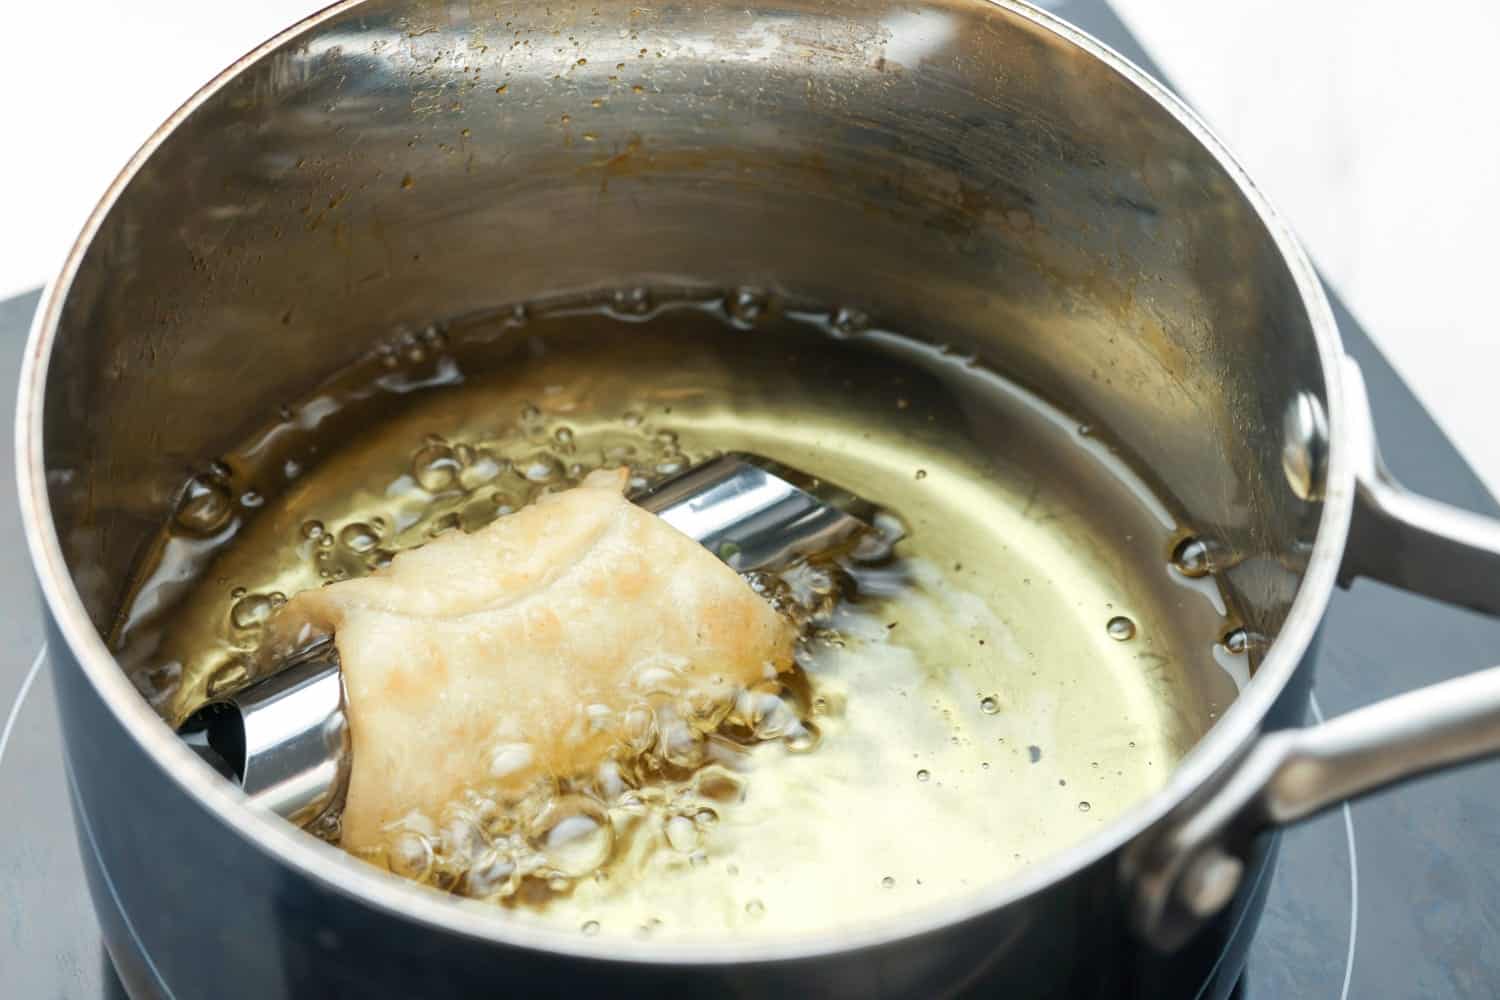
- Fry the Shells: Heat 2 inches of cooking oil in a saucepan or Dutch oven to 325°F (160°C). Fry the shells in batches for about 1 minute or until golden brown.
Tip!
Don’t overcrowd the pan! The shells won’t cook quickly enough if there are too many of them in the pot at once. I usually do no more than 3 at a time.
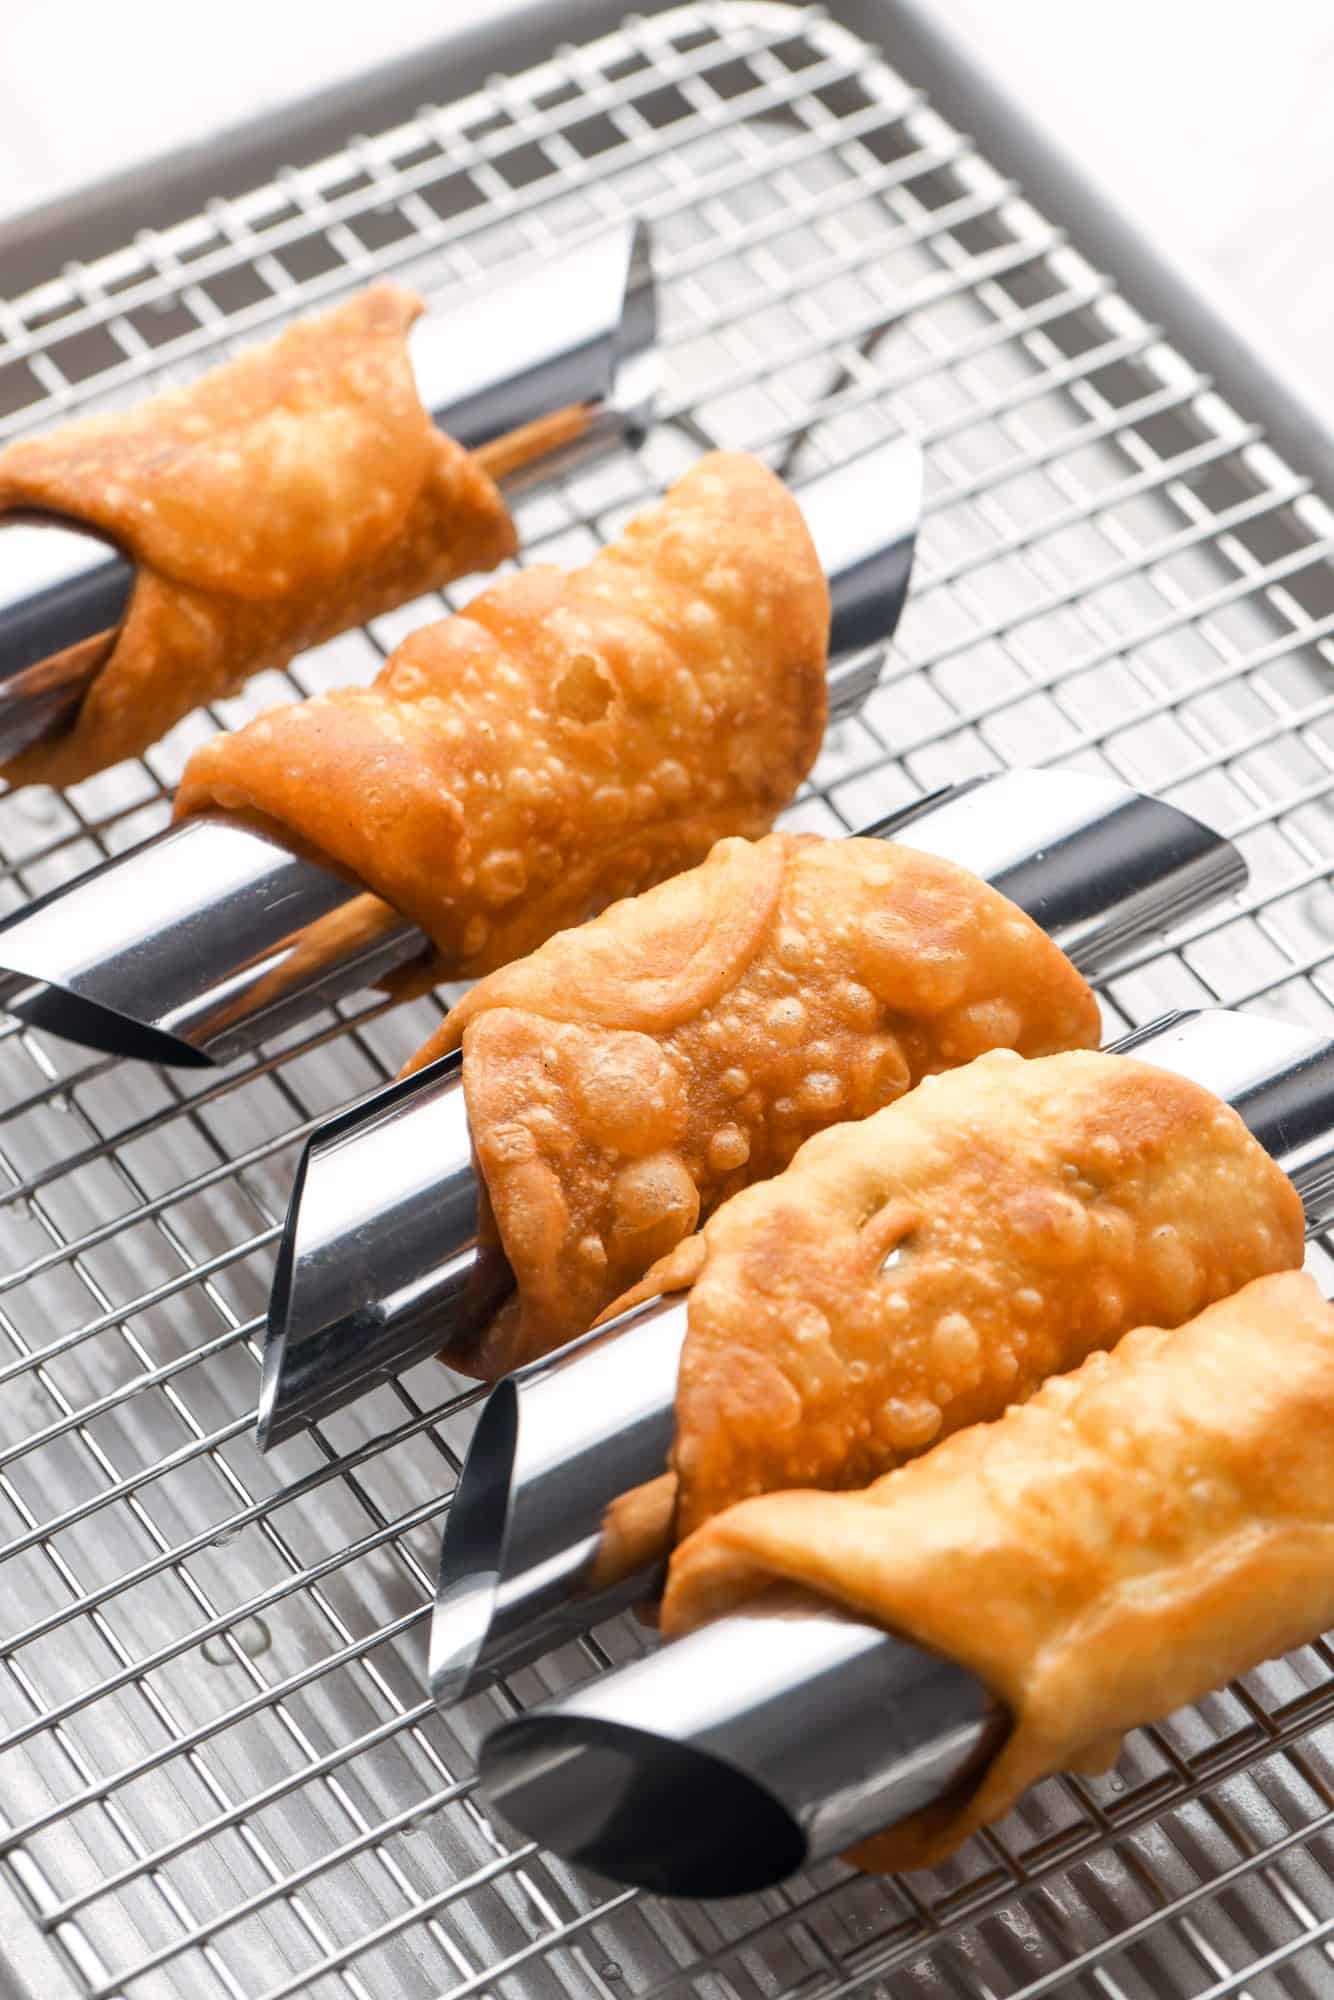
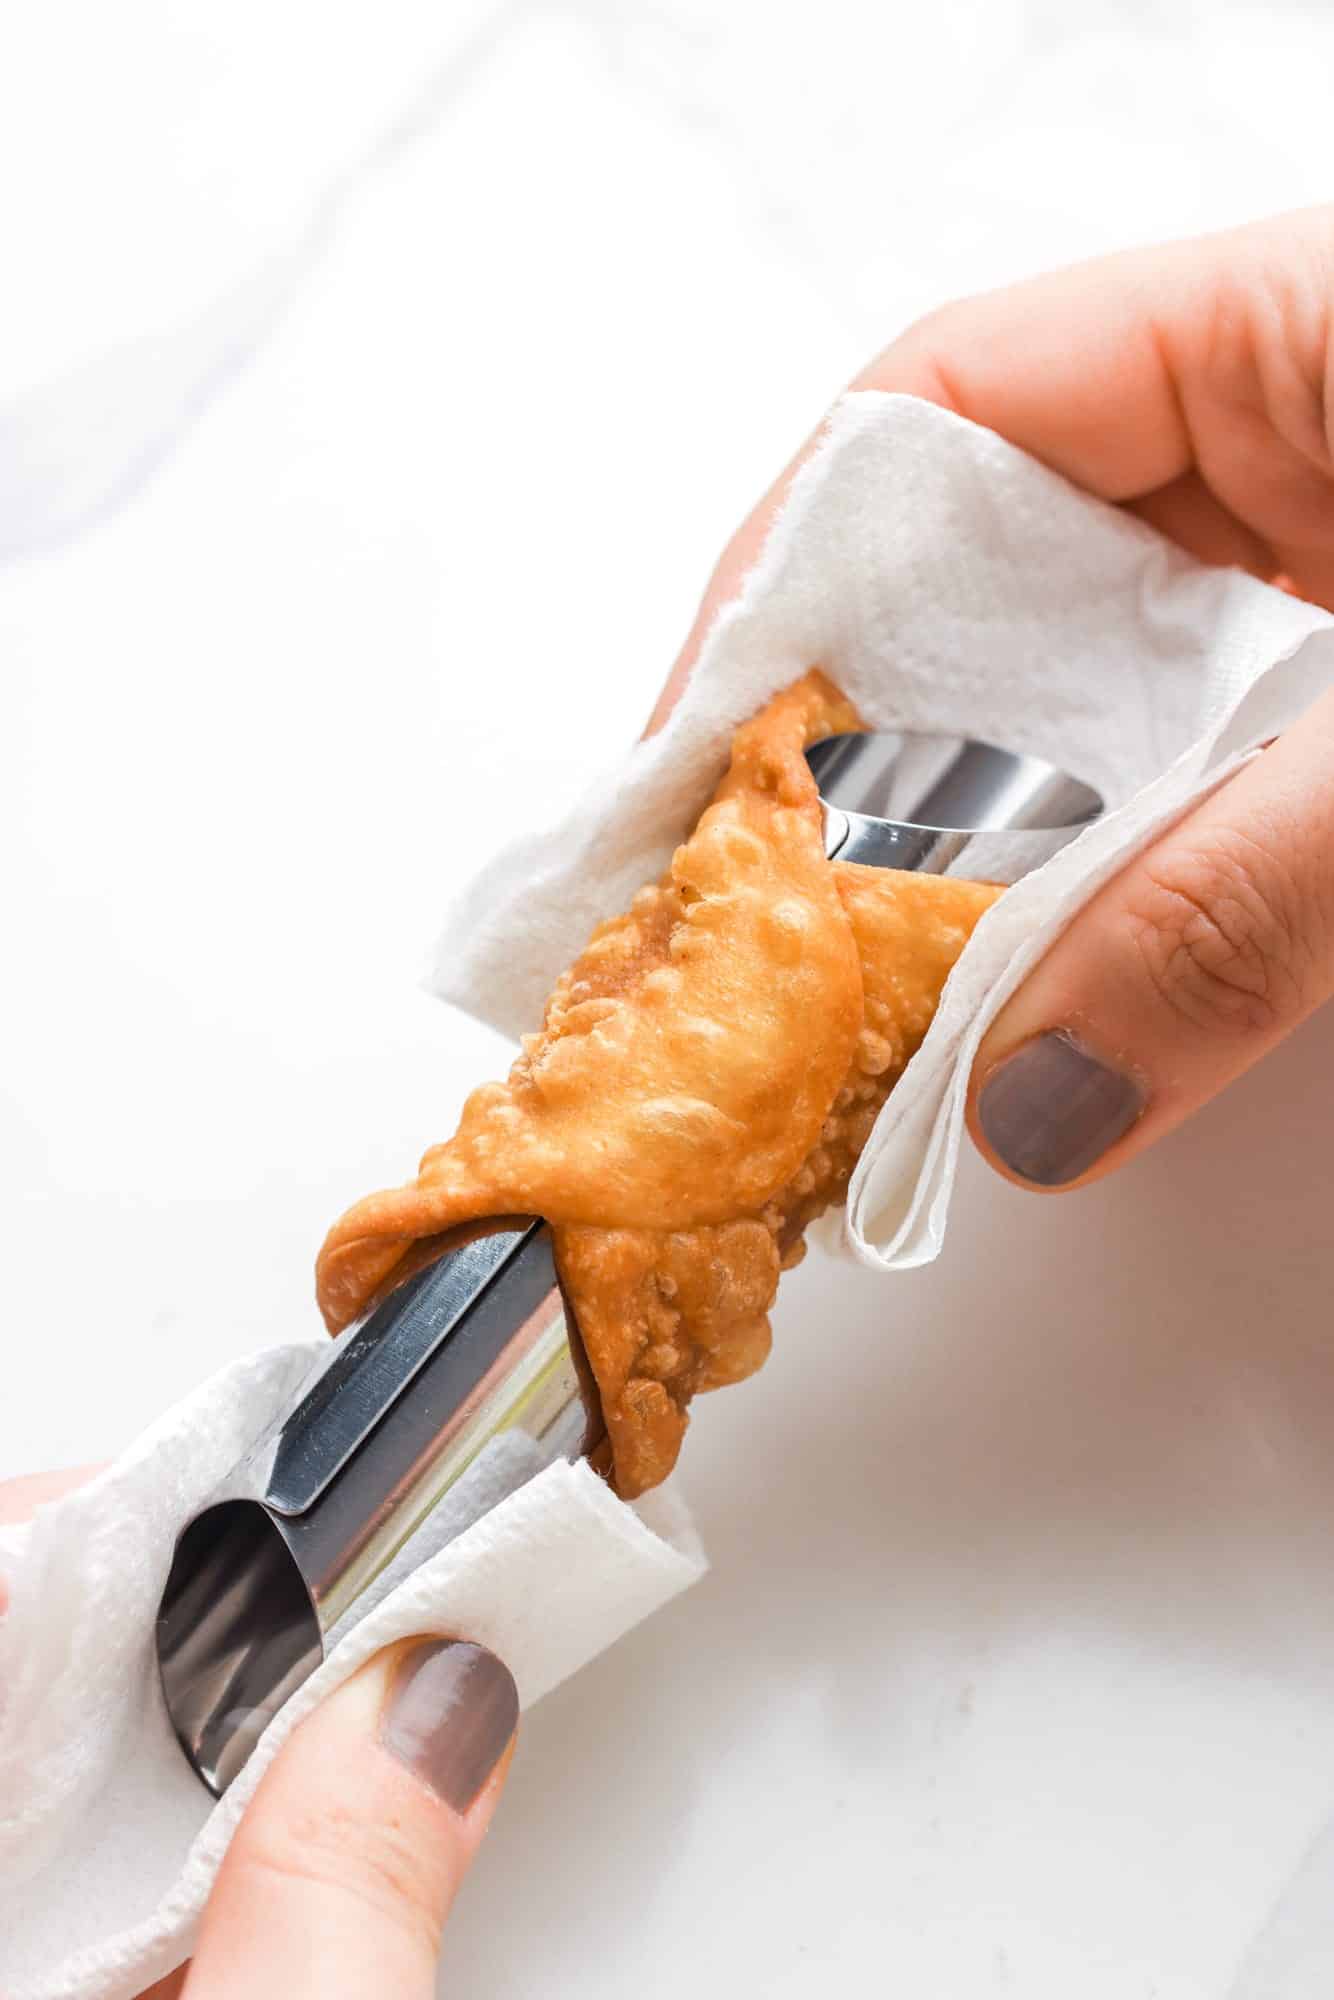
- Let them Cool: Very carefully remove the cannoli shells from the forms while they are still warm. I use paper towels to protect my hands, and I let the shells cool for a minute before trying to touch them. Transfer to a wire rack to cool down completely before adding the filling.
Canolli Filling Recipe
This recipe is just one of many different ways to make a filling for cannoli. Once you’ve got this one down, feel free to experiment with different flavors and add-ins!
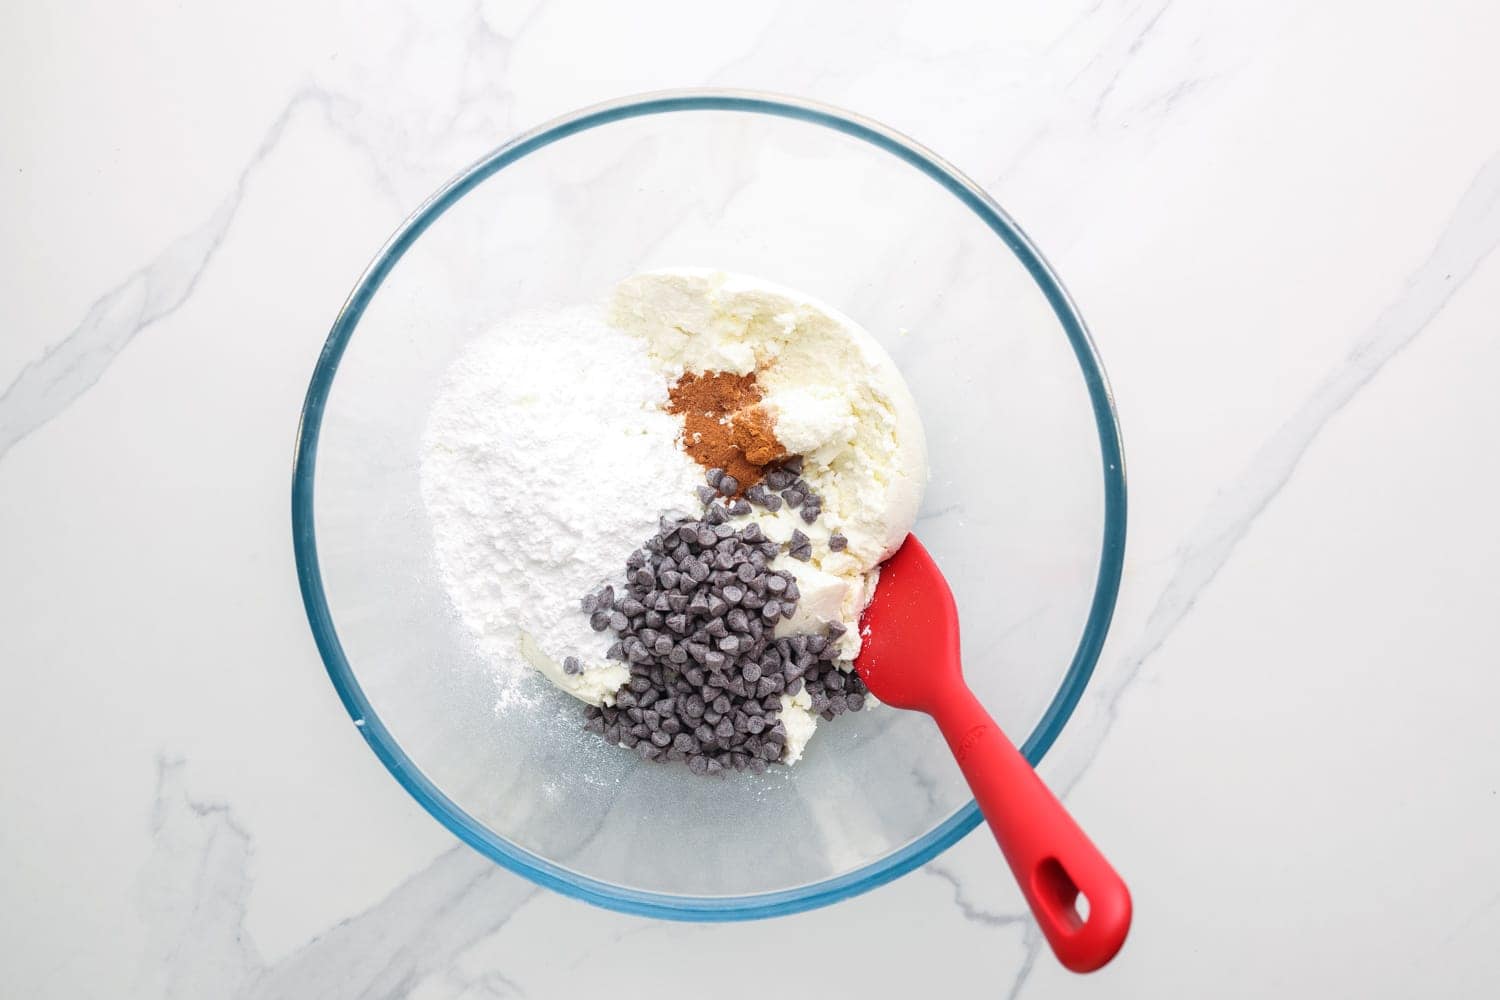
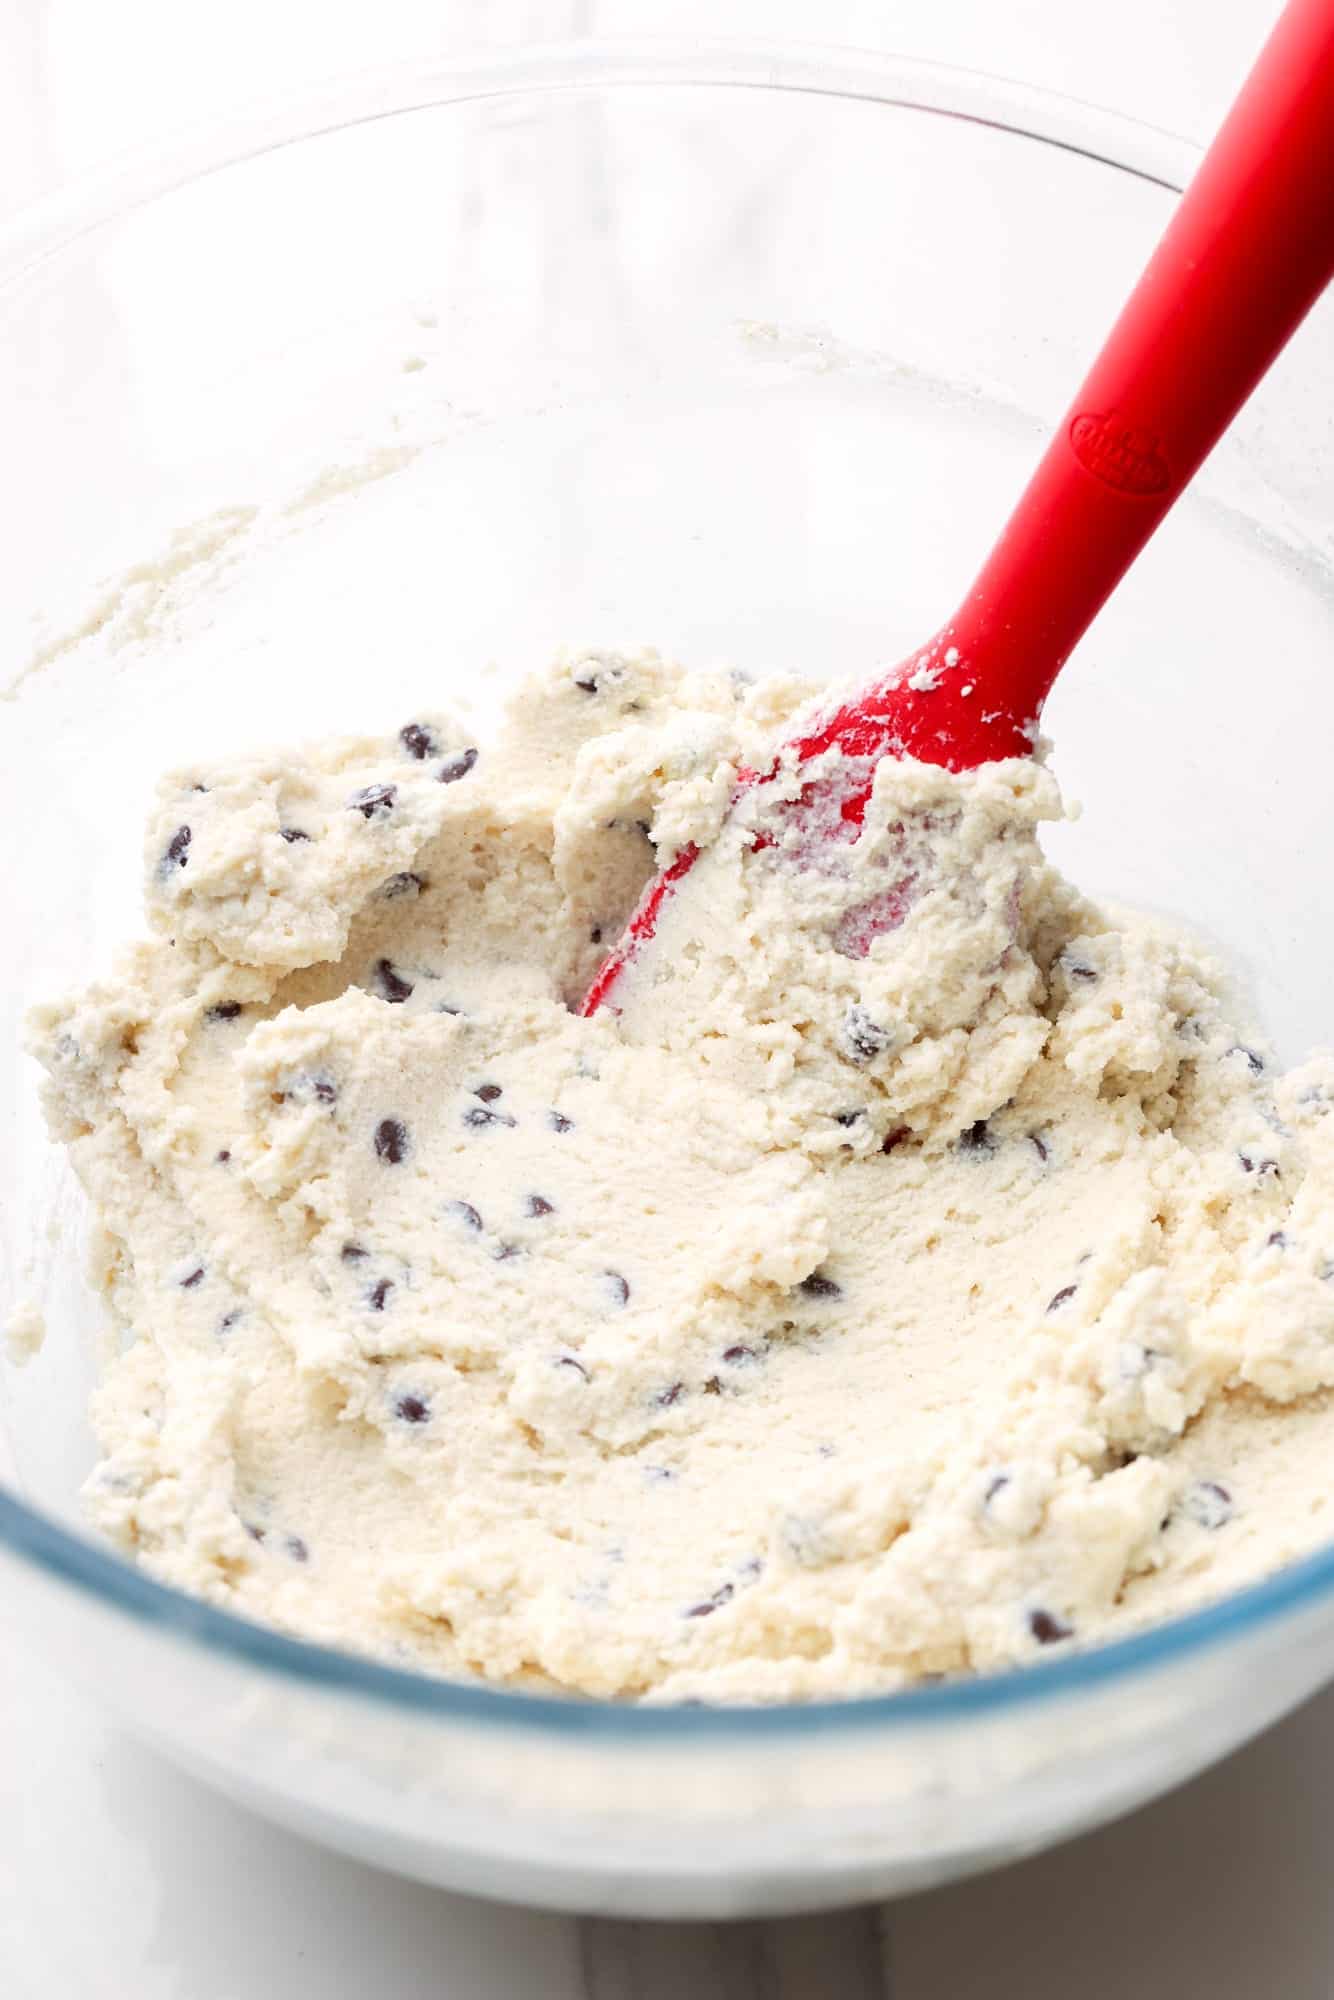
- Mix the Filling: in a large bowl mix ricotta, powdered sugar, and cinnamon. Fold in mini chocolate chips, or chopped pistachios. You can also divide the filling into two bowls, and make both flavors.
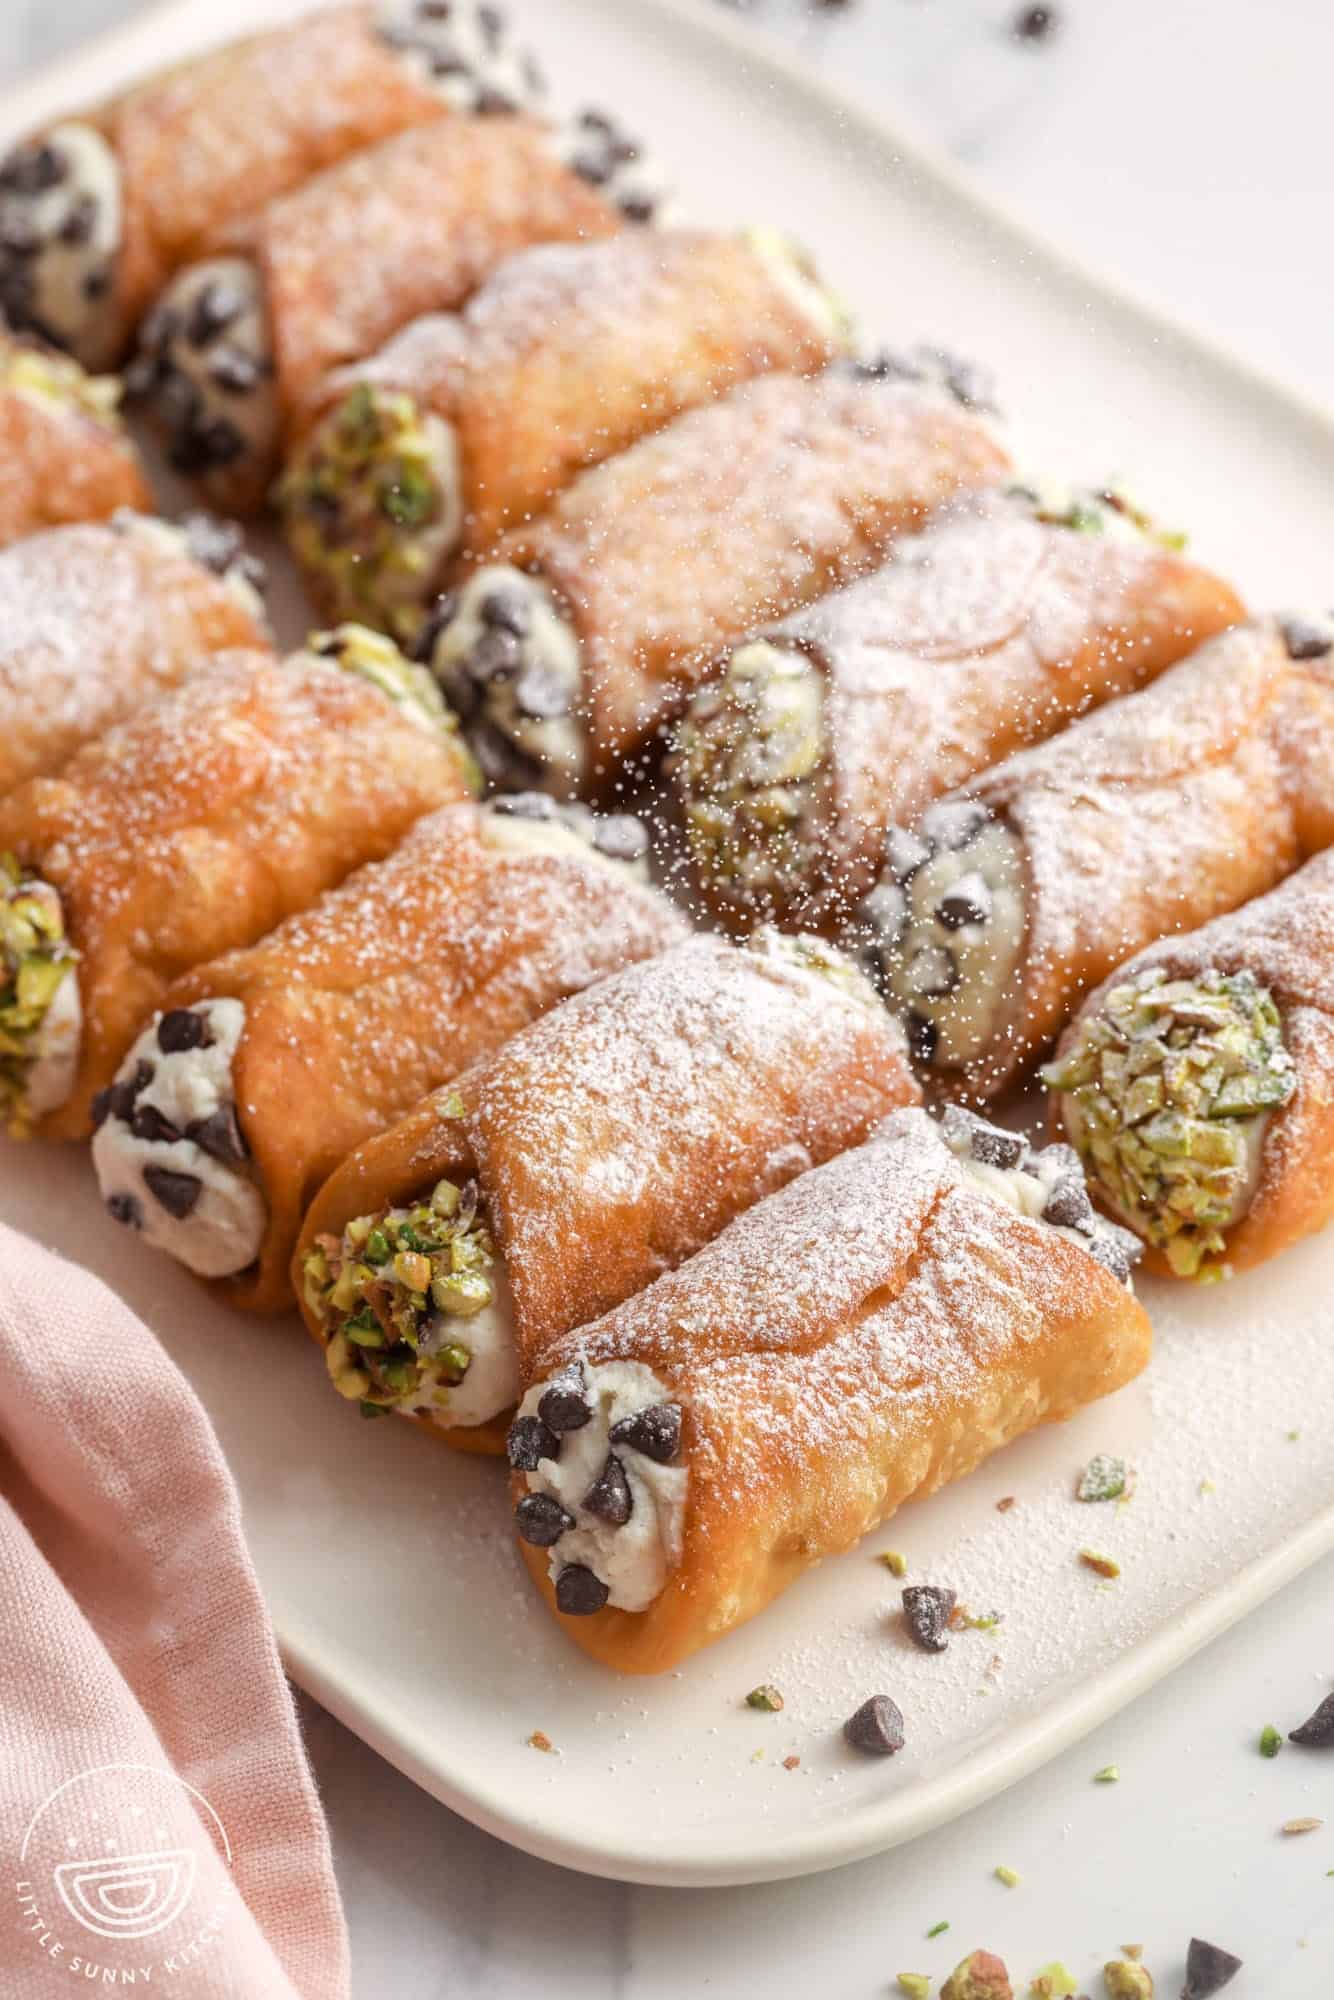
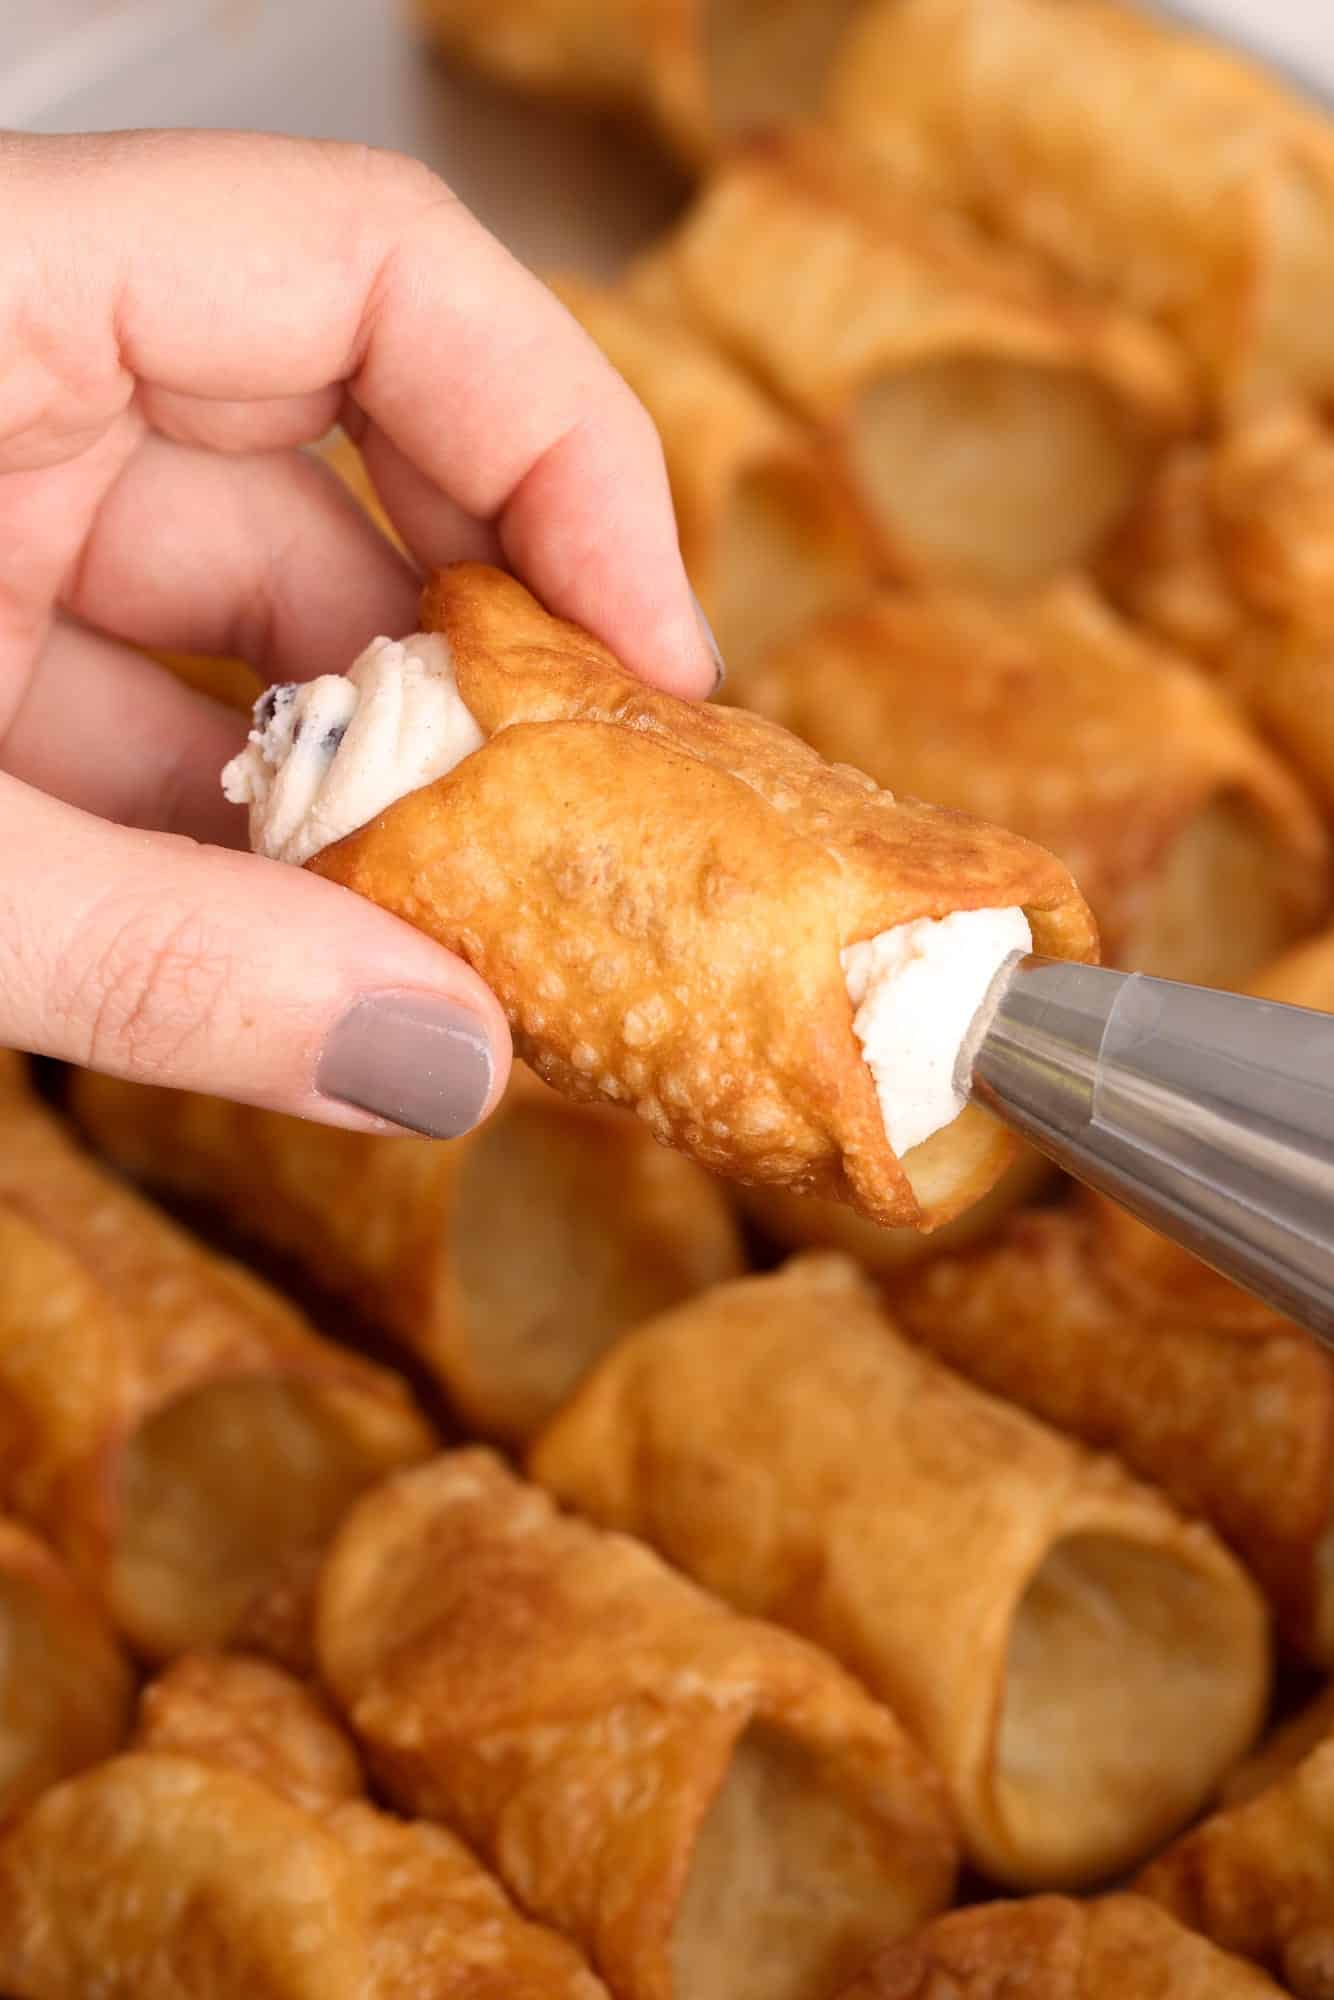
- Fill Cannolis: Fill the cooled shells with the ricotta mixture using a piping bag. Dip the exposed ends in more chocolate chips or chopped nuts. If you like, dust the tops of the cannoli with a generous amount of powdered sugar before serving.
Tip!
I always suggest reading through the whole recipe before you start making any slightly complicated recipe! This way, you’ll know what to expect along the way. Take a minute to read through my tips below too.
Recipe Tips
- Rest the Dough: Allowing the dough to rest is crucial. This step helps the gluten relax, making it easier to roll out and shape later.
- Dough Shrinkage is Normal: When you make the dough circles, they may shrink a bit, and this is fine. Gently stretch the dough to fit around the cannoli forms until it fits.
- You Can Re-roll the Scraps: After your first round of circles, gather your scraps and roll them into a ball. Let the scraps rest for about 10 minutes before rolling again so that the dough relaxes again.
- Frying Temperature: Maintaining the correct oil temperature (325°F or 160°C) is crucial for achieving the right texture. If the oil is too hot, the shells will brown too quickly without cooking through. If it’s too cool, the shells will absorb too much oil and become greasy.
- Filling the Cannoli: Use a piping bag with a wide nozzle to fill the shells. This makes the whole process neater and more efficient.
Storing Tips
Homemade cannoli will be best if they are eaten within a few hours of making them. With time, the shells will absorb moisture from the ricotta filling and start to get soggy.
If you’re trying to make homemade cannoli ahead of time, I suggest keeping the shells sealed in an airtight container at room temperature, and the filling separately in the fridge. This way you can fill the shells just before you need them.
The shells can be stored at room temperature for up to a week, while the filling can be stored in the refrigerator for up to 5 days.
Cannoli Filling Variations
- You can add anything you like to your cannoli filling. This recipe is simply flavored with cinnamon and sugar, but a bit of vanilla or almond extract would be really nice too. For brightness, try lemon or orange zest.
- Pistascios and chocolate chips are two of the most popular additions to cannoli, but you can also try candied fruit (a classic Sicilian addition), or chopped candy bars or cookies.
- To make an extra luscious and creamy filling, replace up to half of the ricotta cheese with mascarpone cheese.
Recipe FAQs
How can I strain ricotta without cheesecloth?
Any type of thin woven fabric will work, such as a thin kitchen towel or cloth napkin.
Can I use store-bought shells?
If you’d like to take a shortcut, look for pre-made Cannoli shells in the bakery department of your local large supermarket.
What can I use instead of metal cannoli forms?
I definitely suggest using cannoli tubes. They are inexpensive and do their job perfectly! If you can’t, or you don’t want to wait for delivery, there are some DIY options you can try. Wooden dowels wrapped in layers of aluminum foil seem to be popular. Before stainless steel forms were available, I believe that people just used pieces of wood, or possibly cut up broomsticks!
More Italian Dessert Recipes
All Italian Recipes →
I hope you enjoy this authentic Italian Cannoli recipe as much as I enjoyed testing it for you! Start a new tradition at your house with this delicious dessert, and be sure to Pin the recipe so more people can find it.
Did you make this? Be sure to leave a review below and tag me on Facebook, Instagram, or Pinterest!

Cannoli Recipe
Equipment
- Cannoli Forms
Ingredients
- 2 ⅓ cups (280 g) all purpose flour
- 2 tablespoons (25 g) granulated sugar
- ½ teaspoon salt
- 3 tablespoons (42 g) unsalted butter cold and diced
- 1 large egg
- ¼ cup (60 ml) Marsala wine or Apple Cider Vinegar/Grape Juice for non-alcoholic version
- 1 egg or egg white, for sealing
For the filling:
- 2 pounds (900 g) ricotta cheese strained
- 2 tablespoons (30 ml) heavy cream
- 1 cup (120 g) powdered sugar
- ¾ cup (168 g) mini chocolate chips
- ½ teaspoon ground cinnamon
- ¼ cup (32 g) pistachios chopped, optional
Instructions
- Strain the ricotta by placing it in a cheesecloth-lined colander over a bowl and refrigerate overnight to strain.
- In a food processor, combine flour, sugar, and salt. Add butter and pulse just a few times or until the mixture resembles coarse sand. Add egg and wine, blending to form a dough. If too loose, add a tablespoon of flour.
- Turn out onto a lightly floured surface and knead until smooth. Wrap in plastic and refrigerate for at least 1 hour. This step is crucial for the gluten to relax.
- On a lightly floured surface, using a rolling pin, roll dough thin and use a cookie cutter and cut into 3-3 ½ inch circles.
- Wrap each circle around a cannoli form/mold and seal with egg white.
- Heat 2 inches of oil in a saucepan or dutch oven to 325°F (160°C) and fry shells for about 1 minute or until golden. Cool on a rack and carefully remove from forms while warm.
- To make the filling, in a large bowl mix ricotta, heavy cream, powdered sugar, and cinnamon. Fold in chocolate chips and/or pistachios (if using both, divide the mixture into two bowls).
- Fill the cooled shells with ricotta mixture. Optionally, dip ends in crushed pistachios or mini chocolate chips.
Notes:
- Rest the Dough: Allowing the dough to rest is crucial. This step helps the gluten relax, making it easier to roll out and shape later.
- Dough Shrinkage is Normal: When you make the dough circles, they may shrink a bit, and this is fine. Gently stretch the dough to fit around the cannoli forms until it fits.
- You Can Re-roll the Scraps: After your first round of circles, gather your scraps and roll them into a ball. Let the scraps rest for about 10 minutes before rolling again so that the dough relaxes again.
- Frying Temperature: Maintaining the correct oil temperature (325°F or 160°C) is crucial for achieving the right texture. If the oil is too hot, the shells will brown too quickly without cooking through. If it’s too cool, the shells will absorb too much oil and become greasy.
- Filling the Cannoli: Use a piping bag with a wide nozzle to fill the shells. This makes the whole process neater and more efficient.
- Homemade cannoli will be best if they are eaten within a few hours of making them. With time, the shells will absorb moisture from the ricotta filling and start to get soggy.
- To Make Ahead: Store the filling and shells separately. The shells can be stored at room temperature for up to a week, while the filling can be stored in the refrigerator for up to 5 days.
Nutrition Information
This website provides approximate nutrition information for convenience and as a courtesy only. Nutrition data is gathered primarily from the USDA Food Composition Database, whenever available, or otherwise other online calculators.
© Little Sunny Kitchen
ann samuel says
how many cannoli shells does this make?
Little Sunny Kitchen says
Hi Ann! This recipe makes about 40 small (3-inch) cannoli shells.
Brenda says
These turned out great. This is definitely a keeper recipe
Little Sunny Kitchen says
I’m so happy to hear that! Thank you so much for sharing your feedback.
Leone says
The dough did NOT make 40 cannoli. We pushed for 16 and followed the recipe.
Little Sunny Kitchen says
Hello! Thank you for sharing your feedback. I was able to make 40 cannoli, but it’s possible that we were making different sizes, or that I was rolling the dough a bit thinner than you were.
Ann samuel says
using normal sized cannoli forms (not small), howmay shells should this recipe make…approx
Little Sunny Kitchen says
I would guess that you could make about half as many if you’re using larger shells. Let me know please!
Doris says
Can you make this with gluten free flour?
Little Sunny Kitchen says
Hi Doris! I haven’t tested this recipe with GF flour, but I’ve had good luck in many other baking recipes using gluten free flour blend for baking. I think you should try it!