
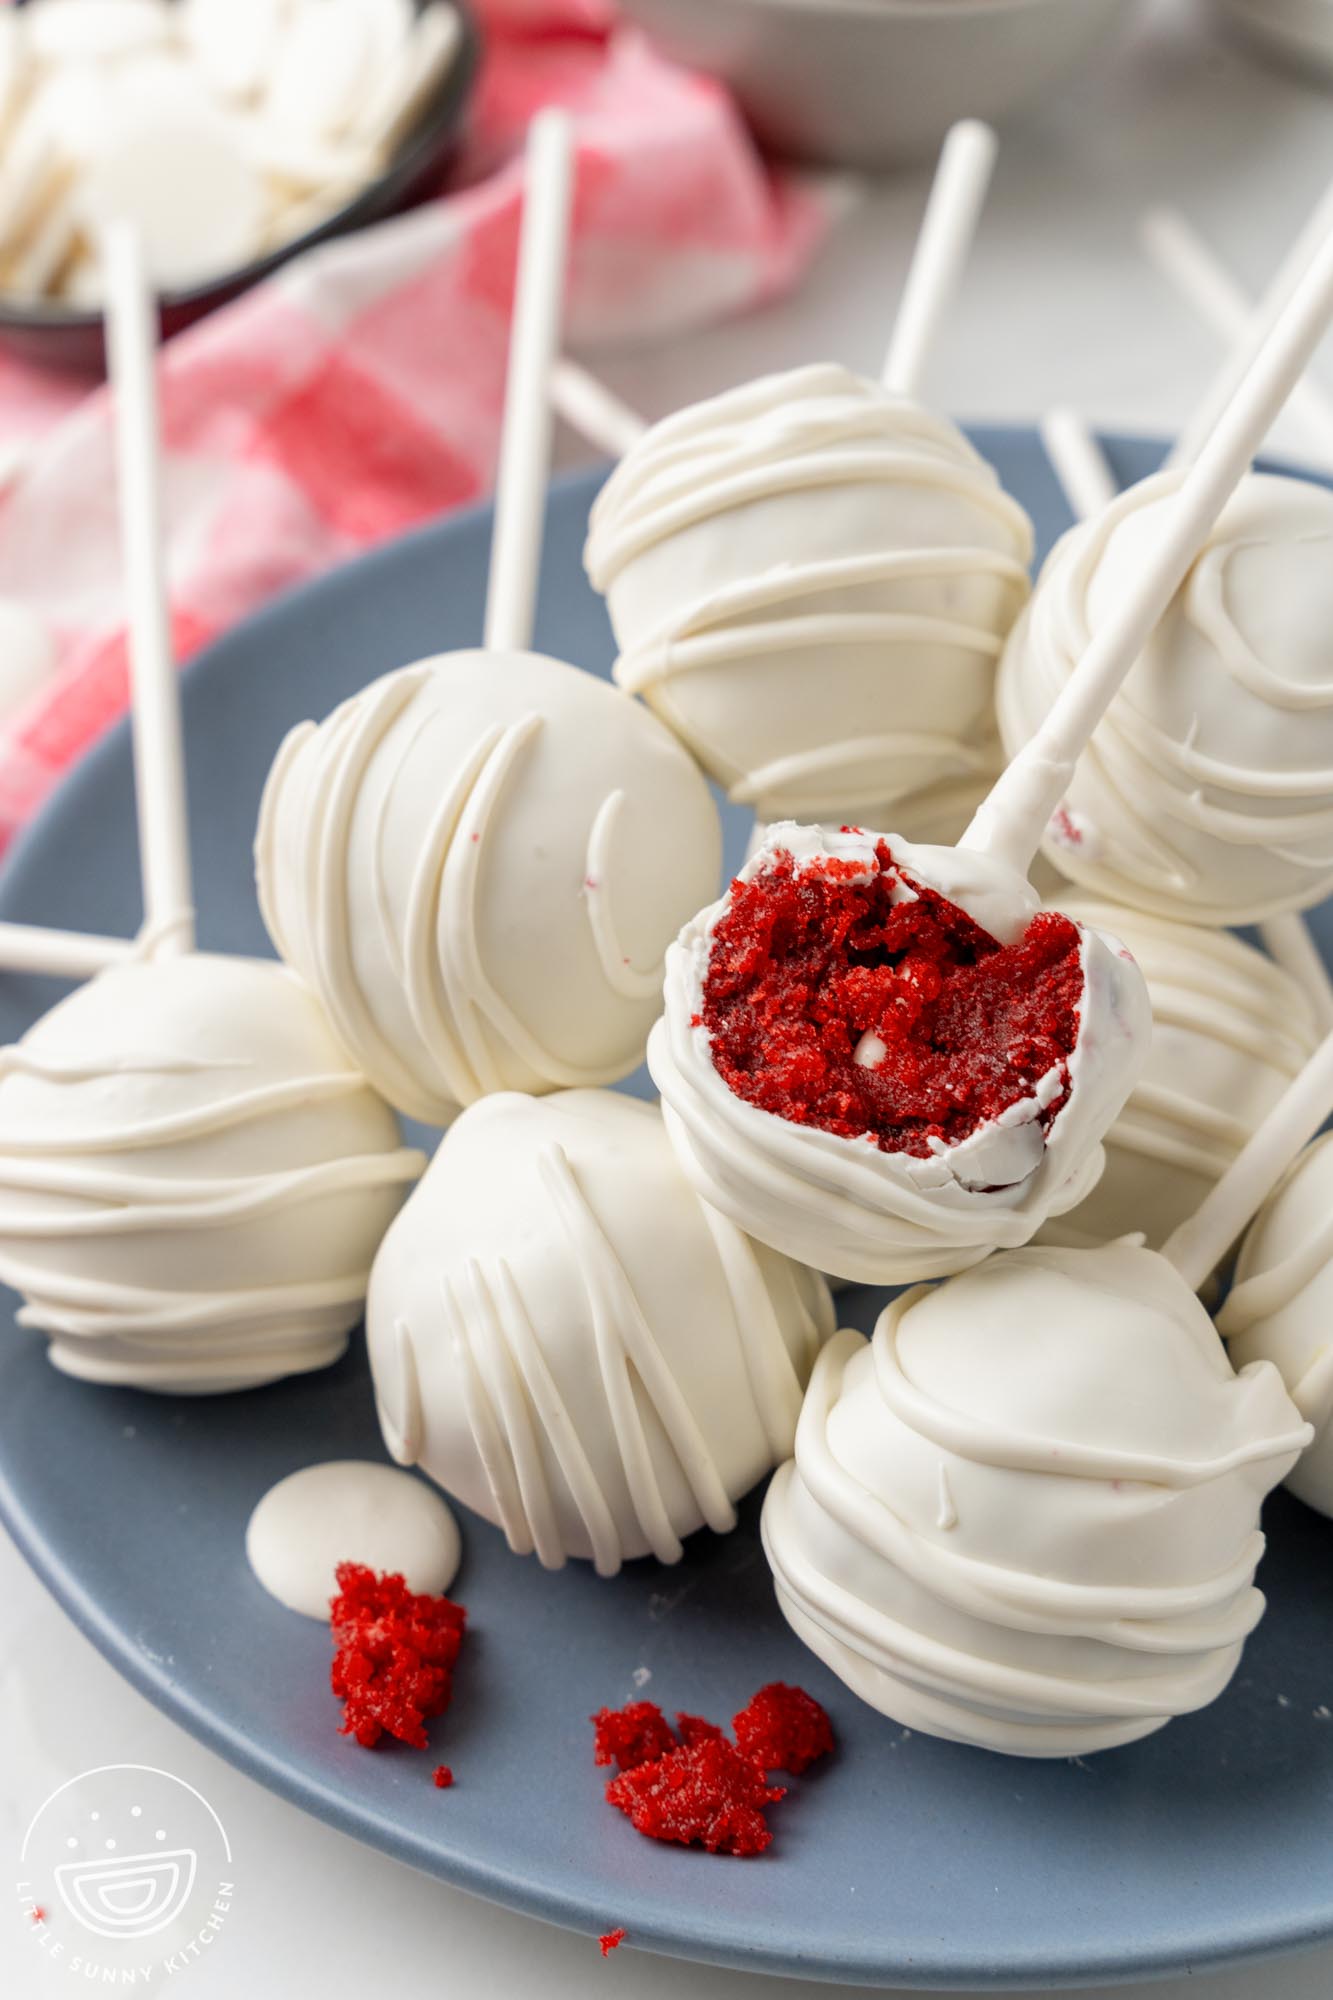
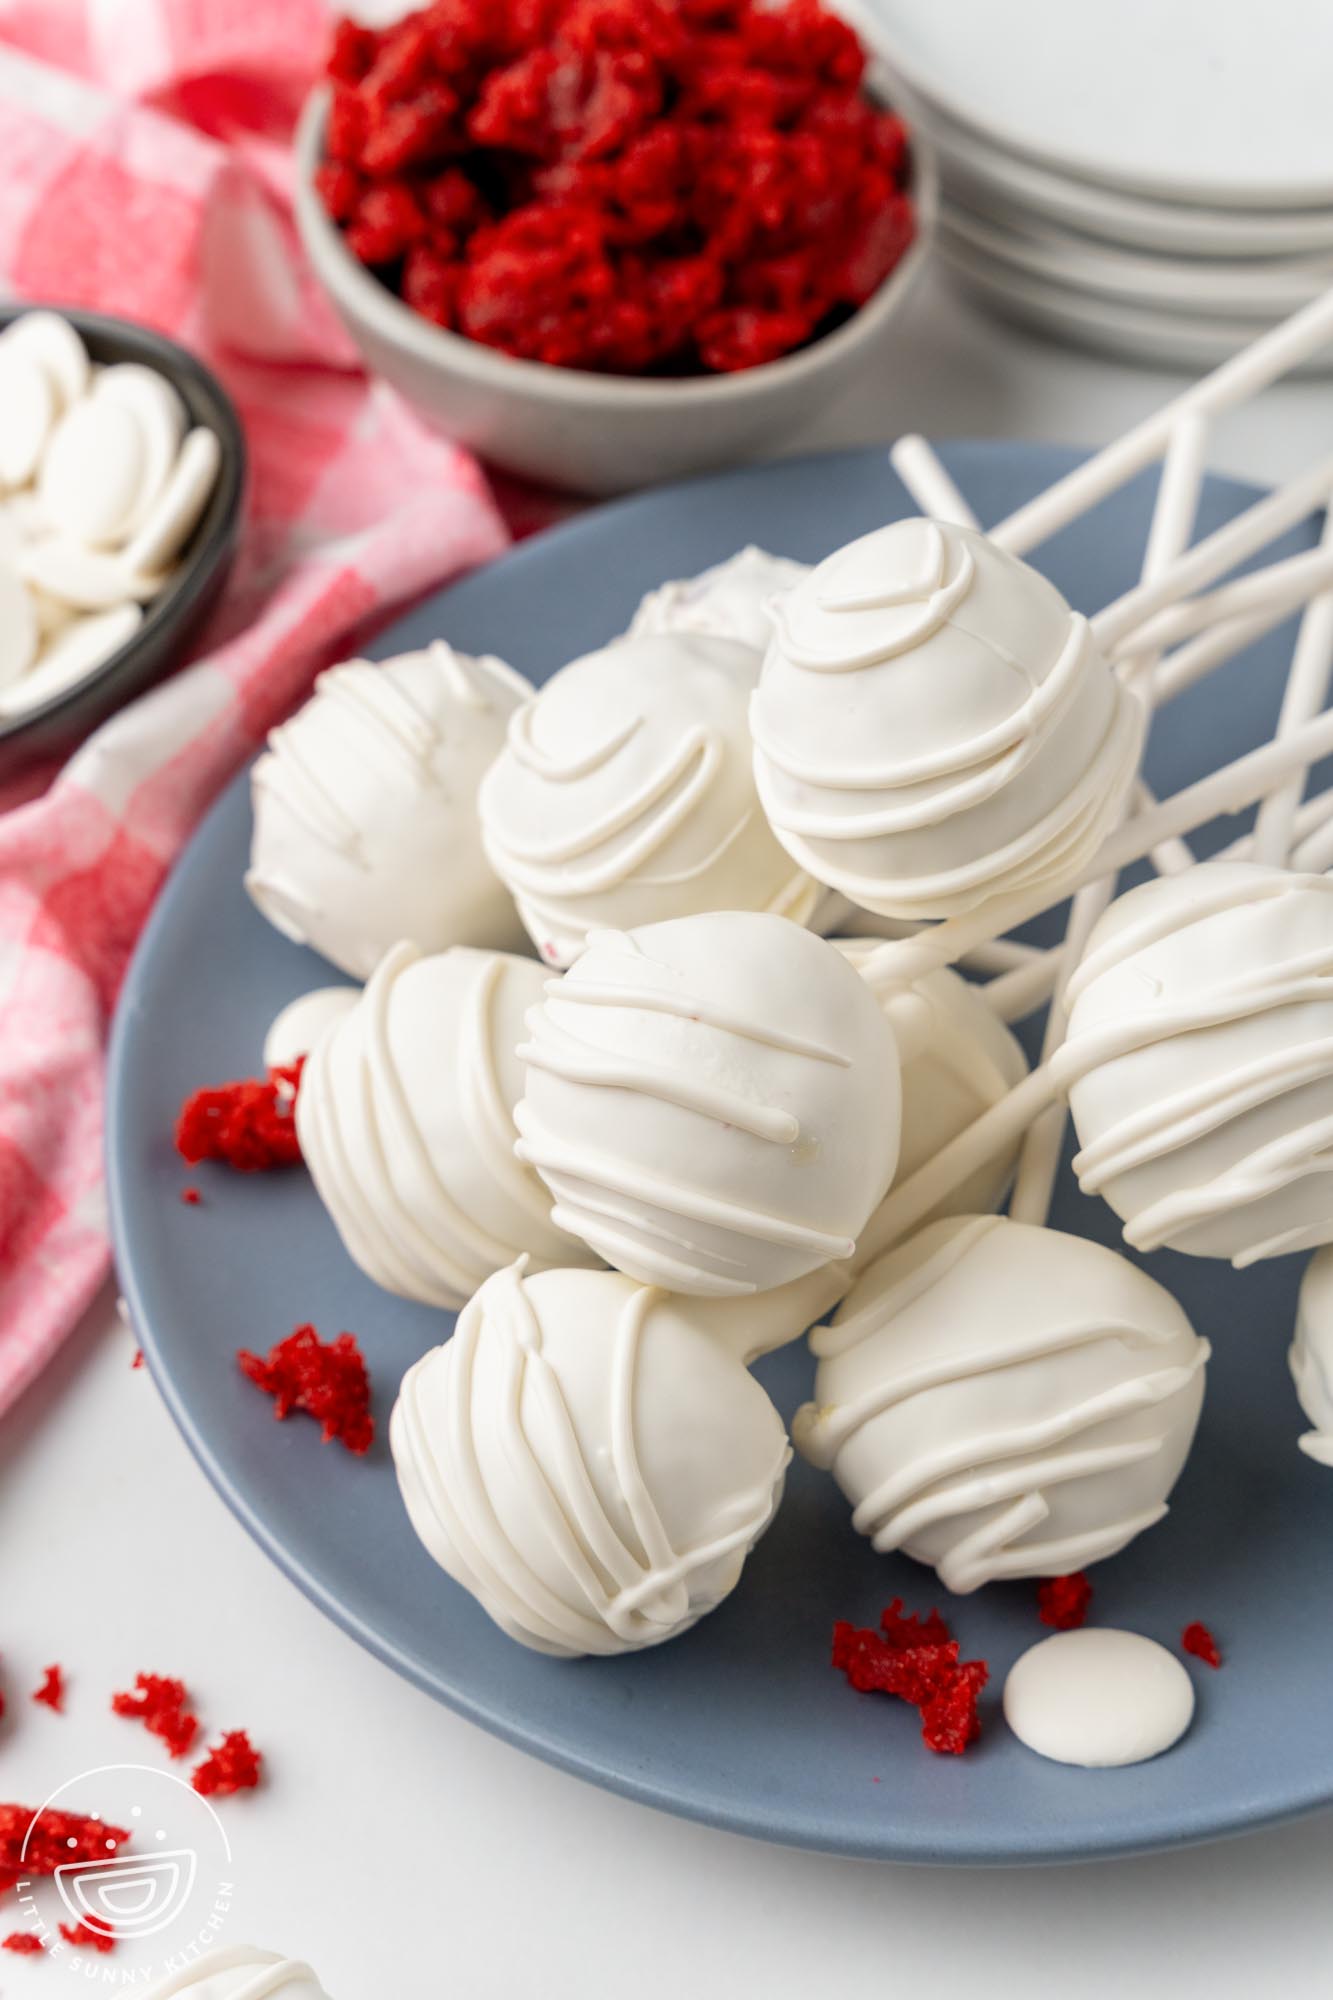
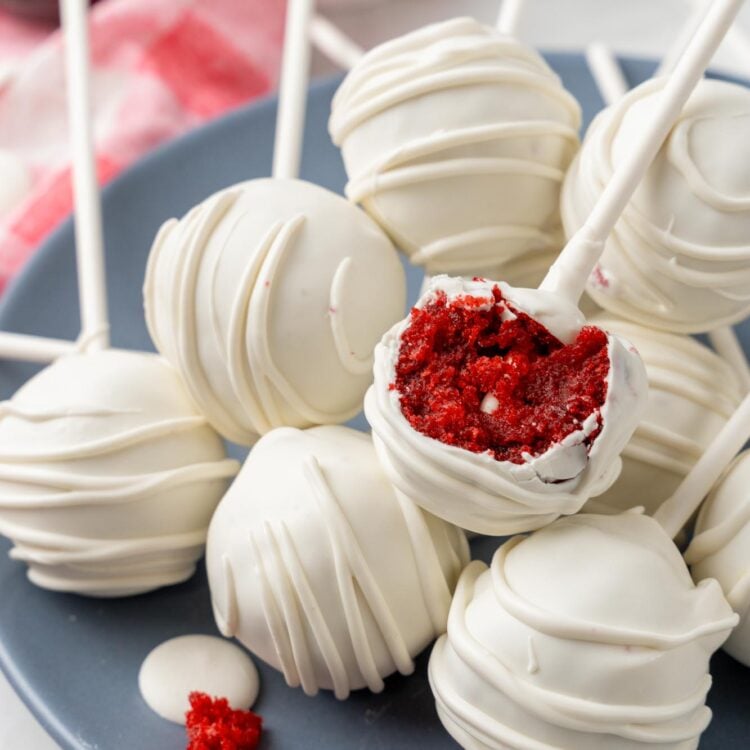
Tasty two-bite Red Velvet Cake Pops are easy red velvet cake truffles made with cream cheese frosting, propped up on sticks, and coated in smooth white chocolate.
We’re making these fun treats entirely from scratch so that they’re made with the most love!
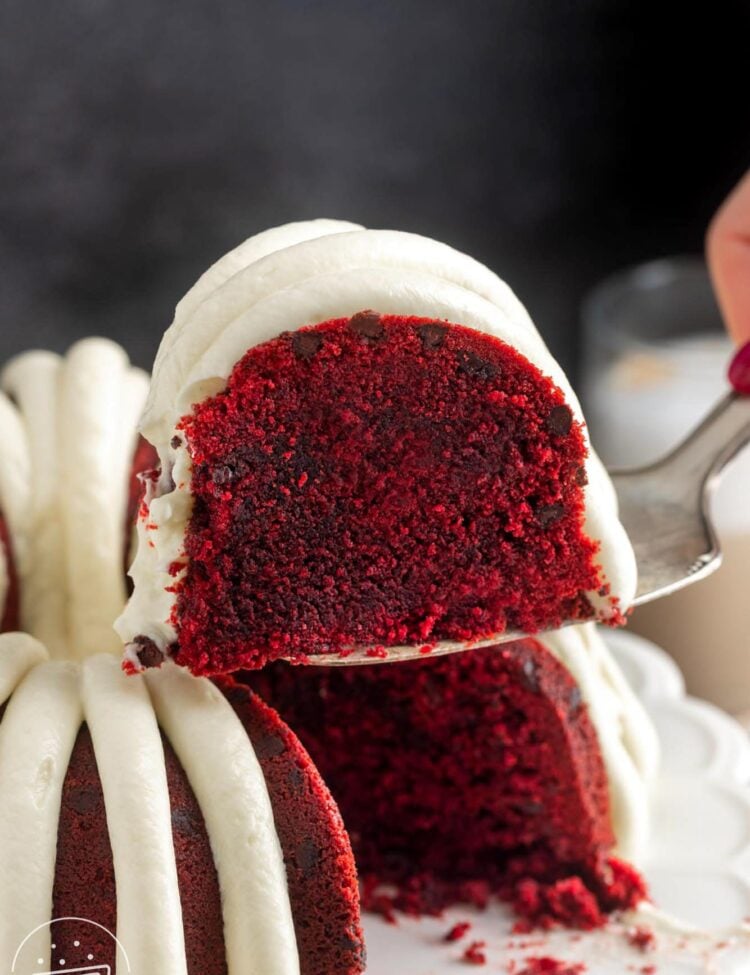
Red Velvet Cake gets a lot of love for Valentine’s Day, and I must say, I approve of that!
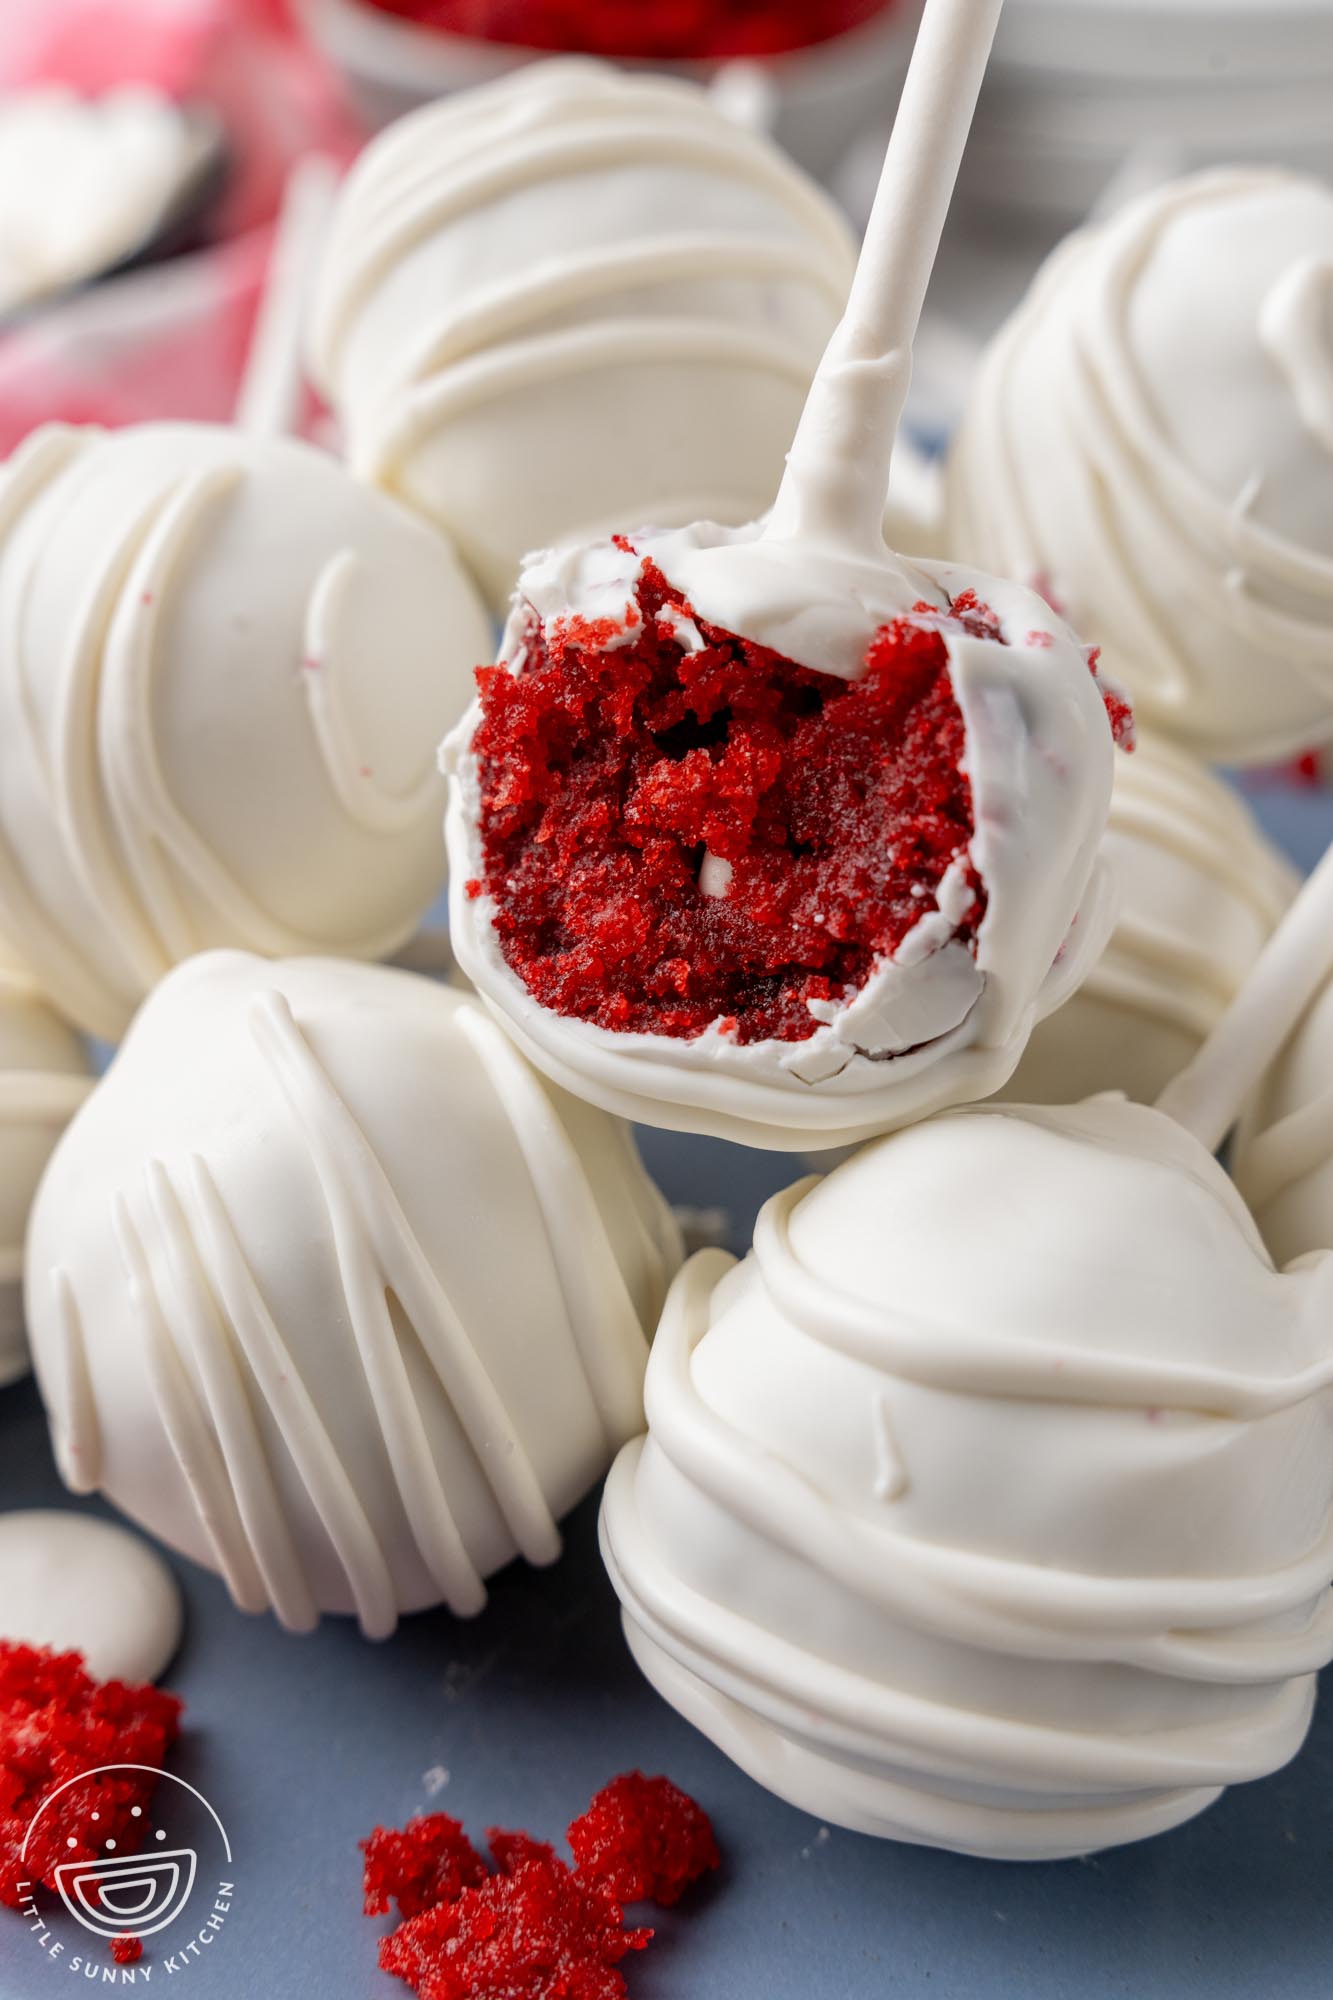
Deep red cake with creamy white frosting fits the theme perfectly, and these Red Velvet Cake Pops are a fun and different way to enjoy red velvet.
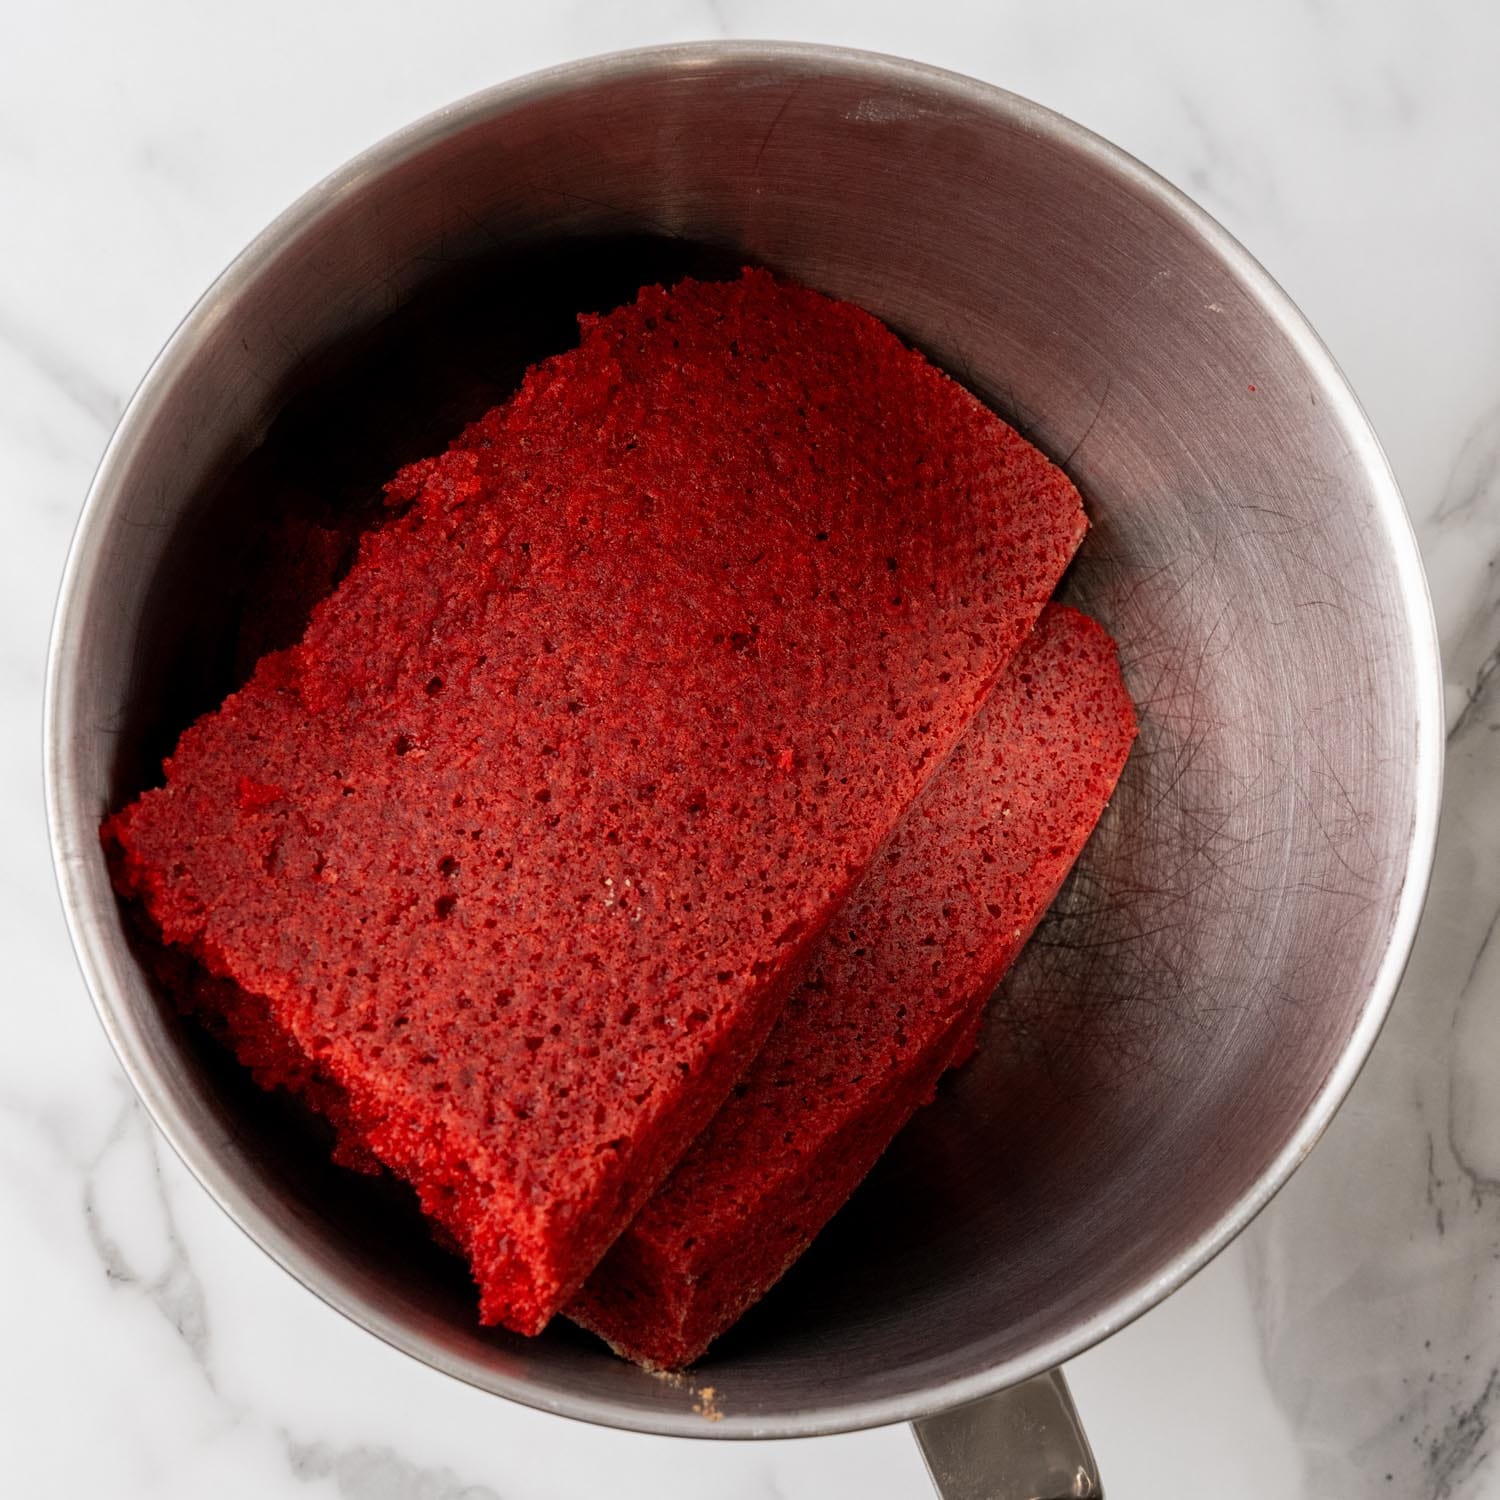
To make cake pops, we first need to make a cake! Mix up the batter and bake it in a 9×13-inch pan, then crumble it up.
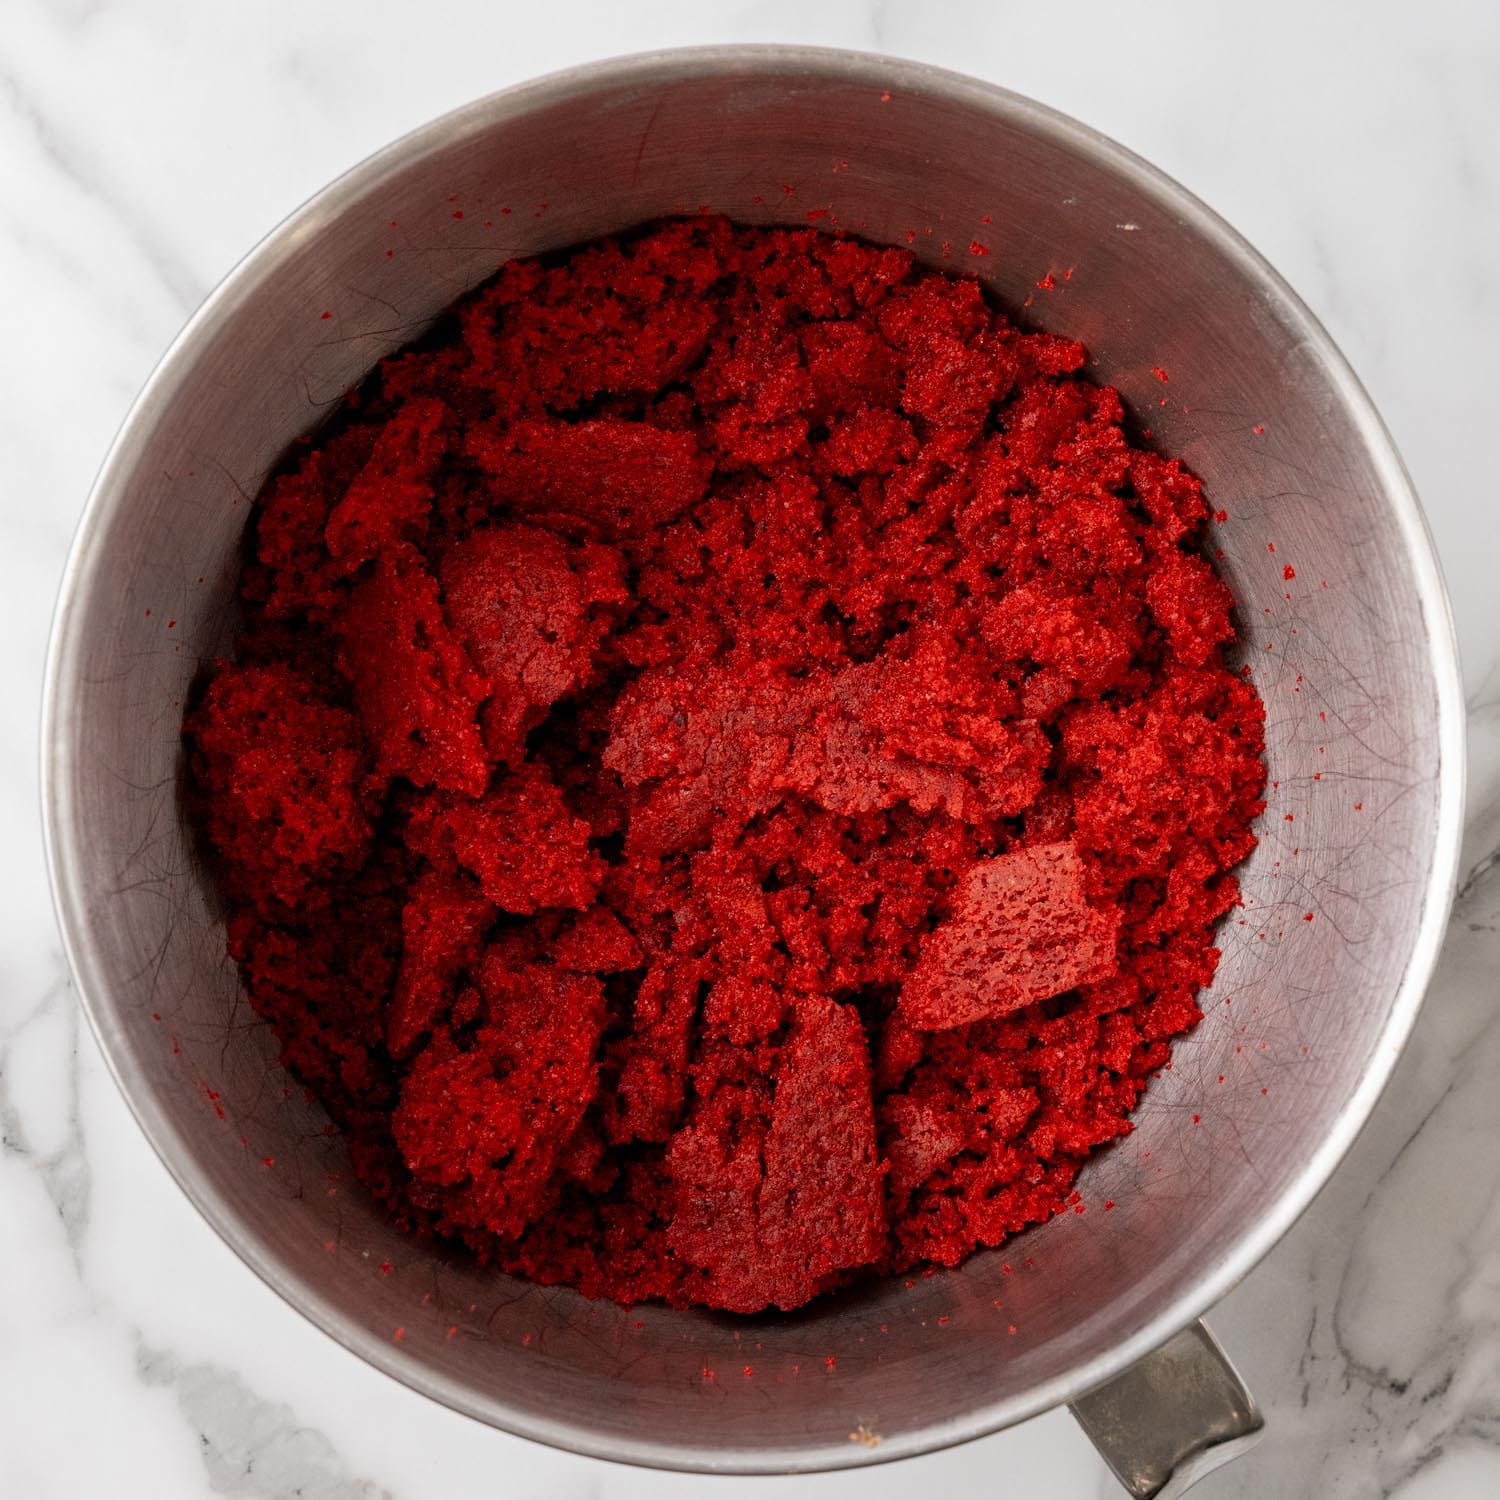
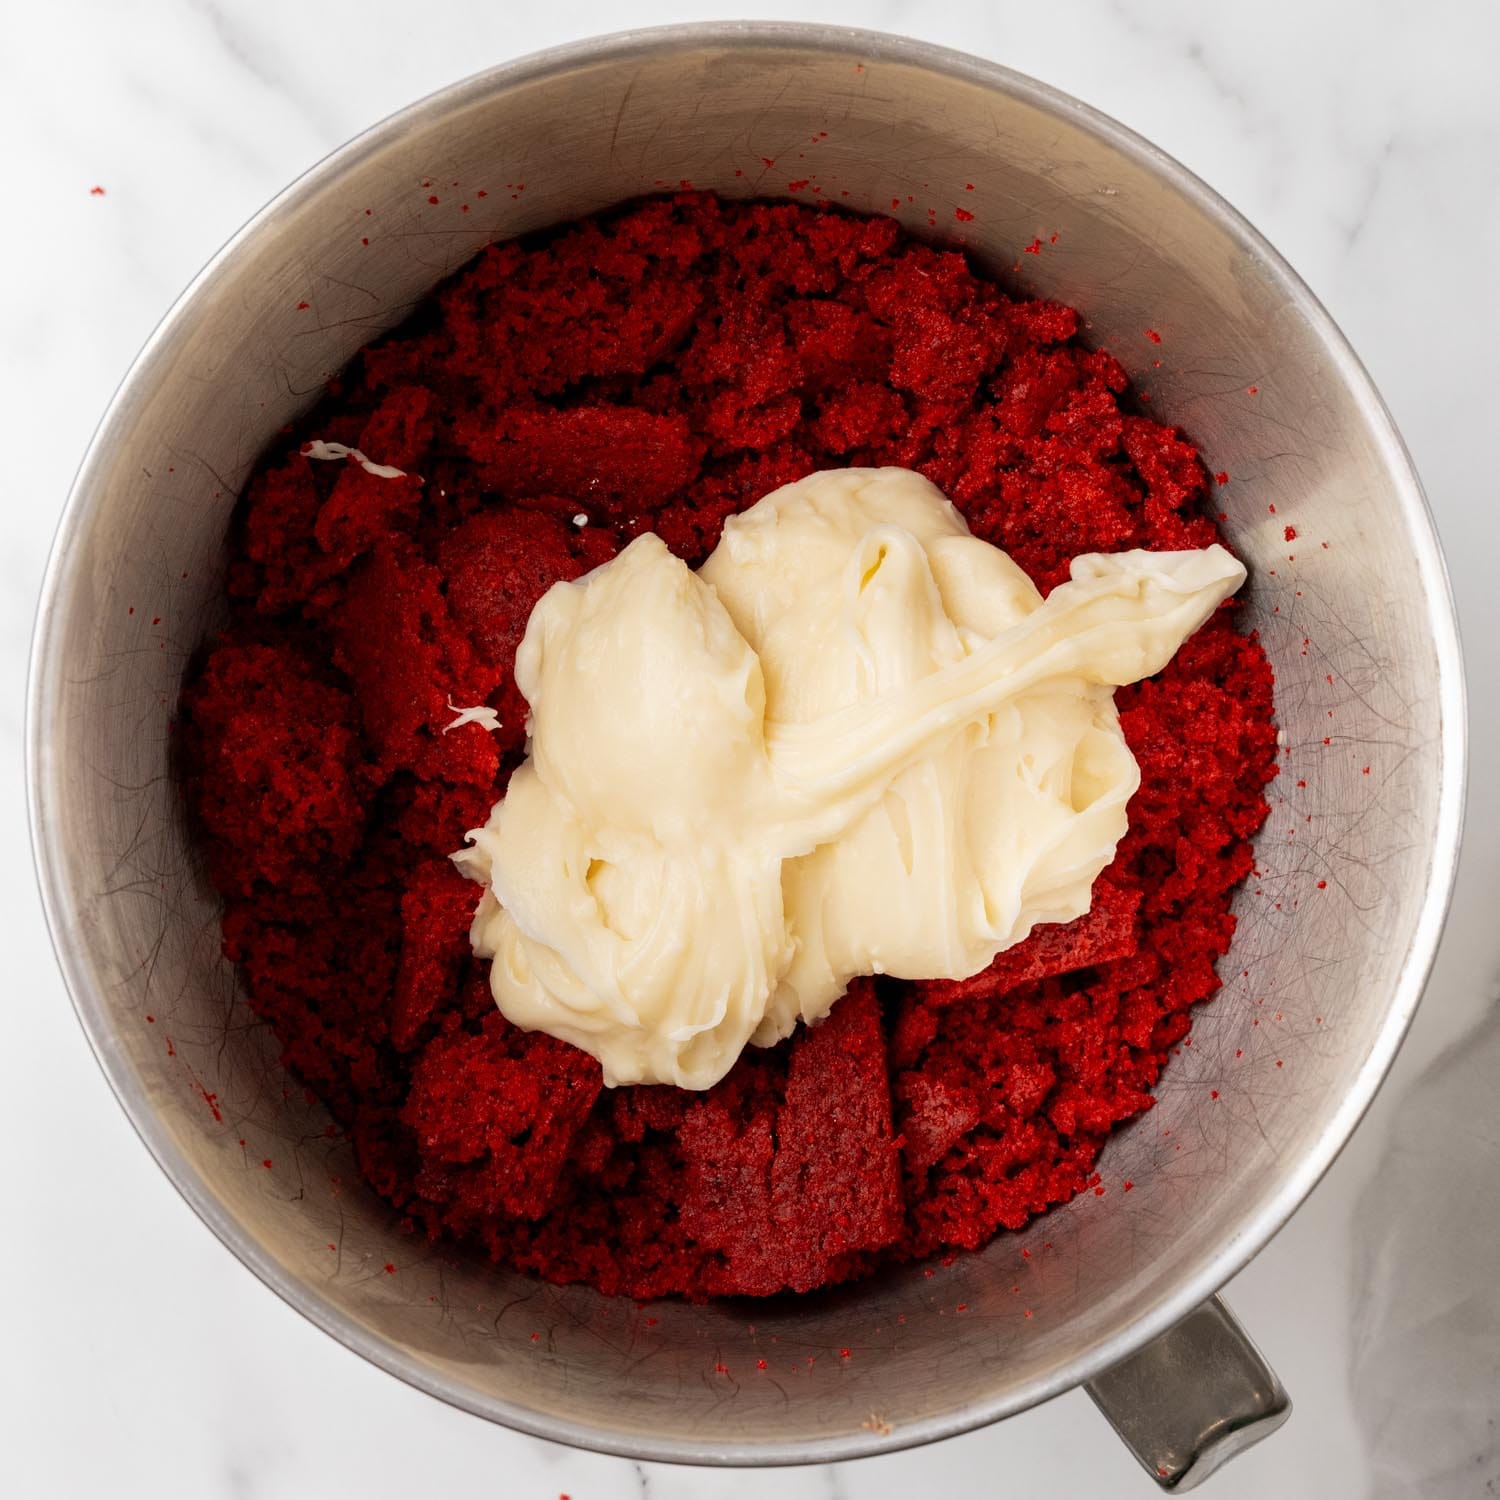
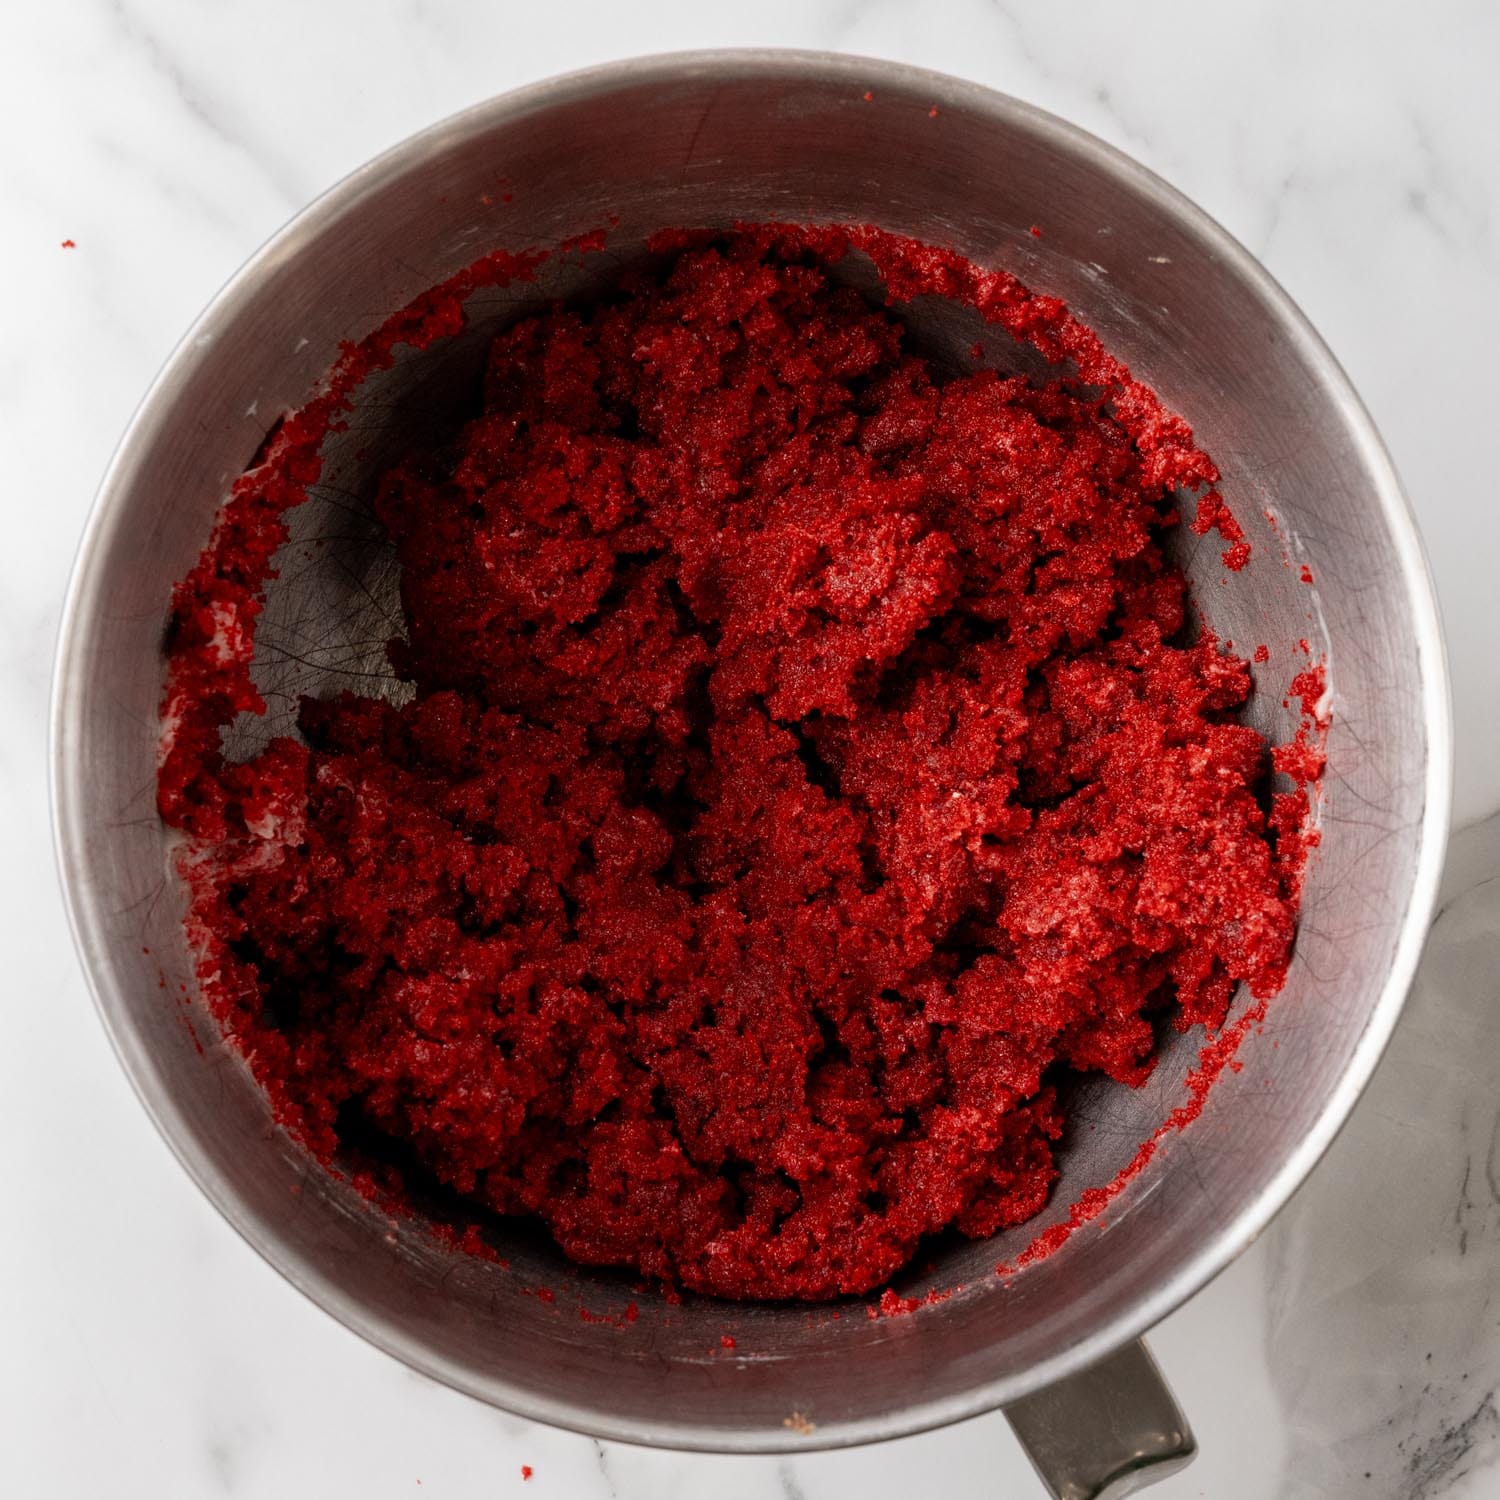
Stir in homemade cream cheese frosting until the mixture resembles cookie dough, and then you’ll be on your way to assembling and decorating your cake pops with melted white chocolate!
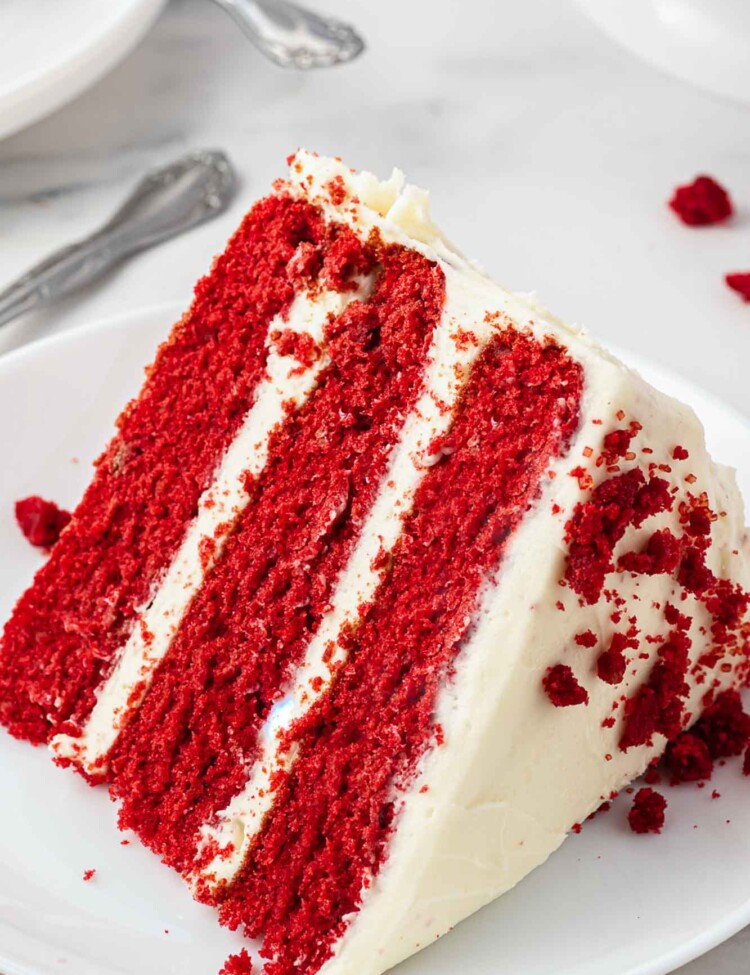
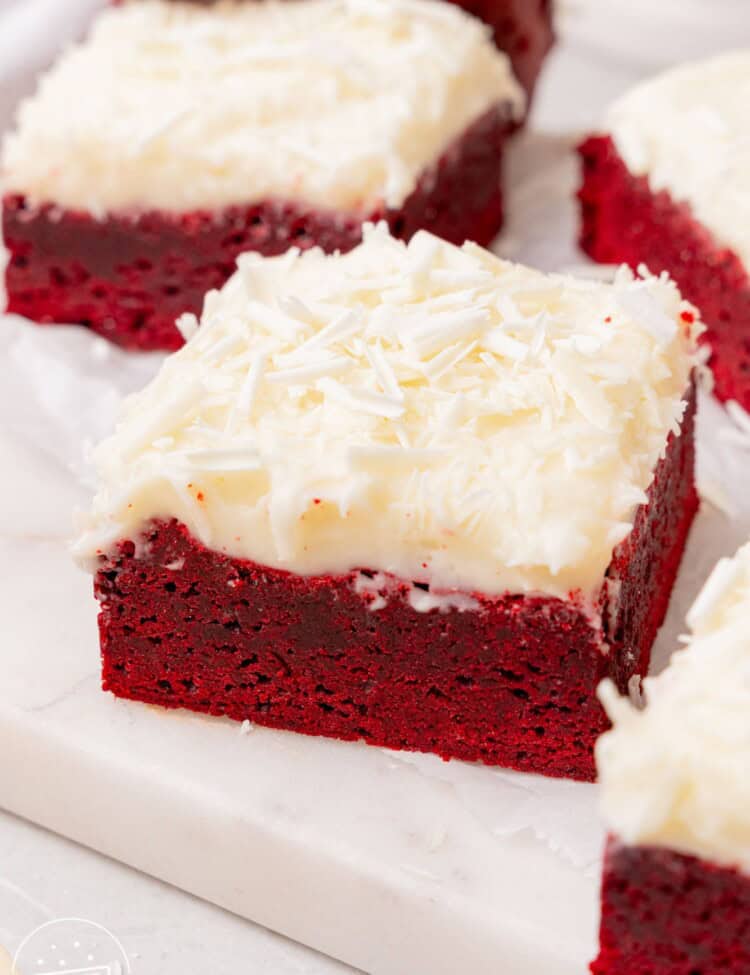
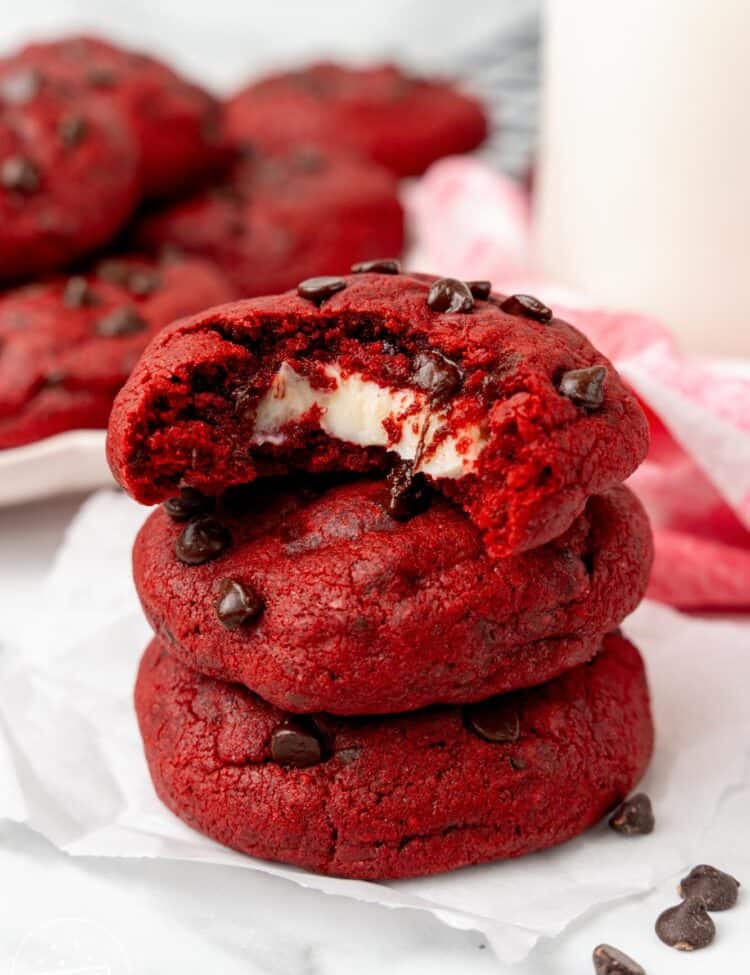
Looking for more fun and unique ways to enjoy the flavors of red velvet cake? Try my red velvet whoopie pies, red velvet cream cheese cookies, or red velvet brownies too!
Red Velvet Cake Pops Recipe Highlights
- Amazing Flavors and Textures – In each little bite, you’ll get all of the rich flavors of red velvet cake, plus a slightly crunchy white chocolate shell.
- Step by Step Instructions – Even if you’ve never made cake pops before, you’ll be able to do it with my simple recipe. I’ve included photos of all of the steps and lots of helpful tips and tricks.
- A Fun Baking Project – Red velvet treats are perfect for Valentine’s Day, and making these cake pops would make for a delicious Valentine’s Day activity to do with your kids or grandkids!
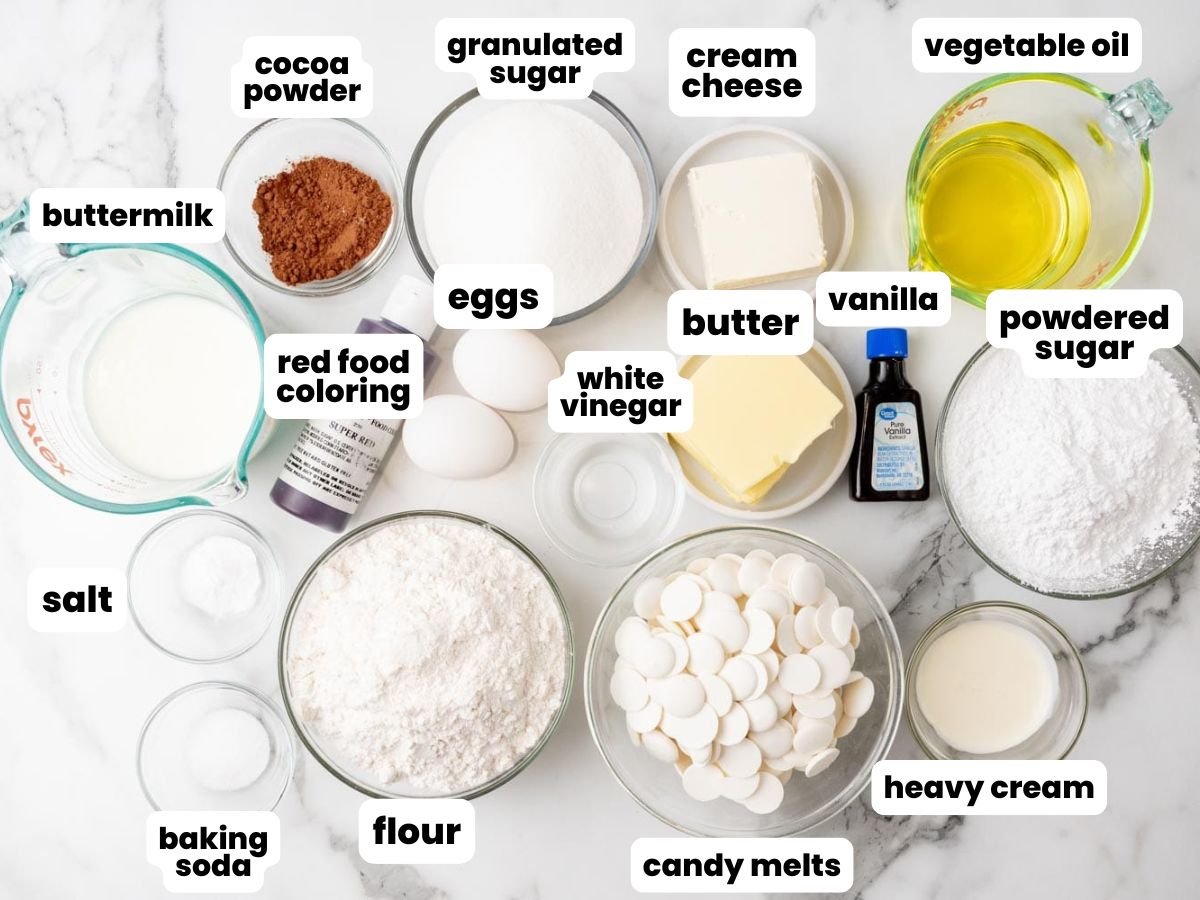
Ingredients For Red Velvet Cake Pops
Here’s what you need to make these, plus some details about the most important ingredients:
Complete list of ingredients and amounts can be found in the recipe card below.
Red Velvet Cake Ingredients
For this recipe, we’re doing the most, and making the red velvet cake from scratch! While you could technically do this with a boxed mix, my red velvet cake recipe is delicious and very straightforward.
- Cocoa Powder: All natural, unsweetened cocoa powder gives red velvet cake it’s distinct chocolatey flavor.
- Buttermilk and Vinegar: These acidic ingredients are what make the cake velvety, tender, and moist.
- Red Food Coloring: Use gel food coloring to give the cake a bright, rich color.
Cream Cheese Frosting Ingredients
We’ll also be making the frosting from scratch! This is the glue that holds the cake crumbs together and allows us to form them into balls.
- Cream Cheese and Butter: Softened please!
- Powdered Sugar: Makes the cake pops perfectly sweet.
- Heavy Cream and Vanilla Extract: For flavor and moisture.
Cake Pop Coating Ingredients
- Candy Melts: White chocolate candy melts are perfect for the job!
- Oil or Shortening: A little bit will help to keep the melted chocolate thin enough while you’re dipping the cake pops.
How To Make Red Velvet Cake Pops
There are many steps in this recipe, but each of them is very straightforward and easy! There are three main elements here: The cake, the frosting, and the coating.
Tip!
If you aren’t using a stand mixer for this recipe, you can easily crumble the cake by hand!


Recipe Tips
- Start with room temperature ingredients. Anything that is normally refrigerated, including the butter, cream cheese, buttermilk, and eggs, should be at room temperature before you get started. Leave the items on the counter for 30-60 minutes.
- Recipe timing. Be sure that you have time to devote to this project – I’d suggest a weekend afternoon. While none of this is extremely difficult, you do need to take into account the chilling time and the slight mess that you might make getting creative in the kitchen!
- Keep the mixture cold. The cake and icing mixture or dough needs to stay cold so that it will hold its shape. After rolling it into balls, refrigerate for at least an hour.
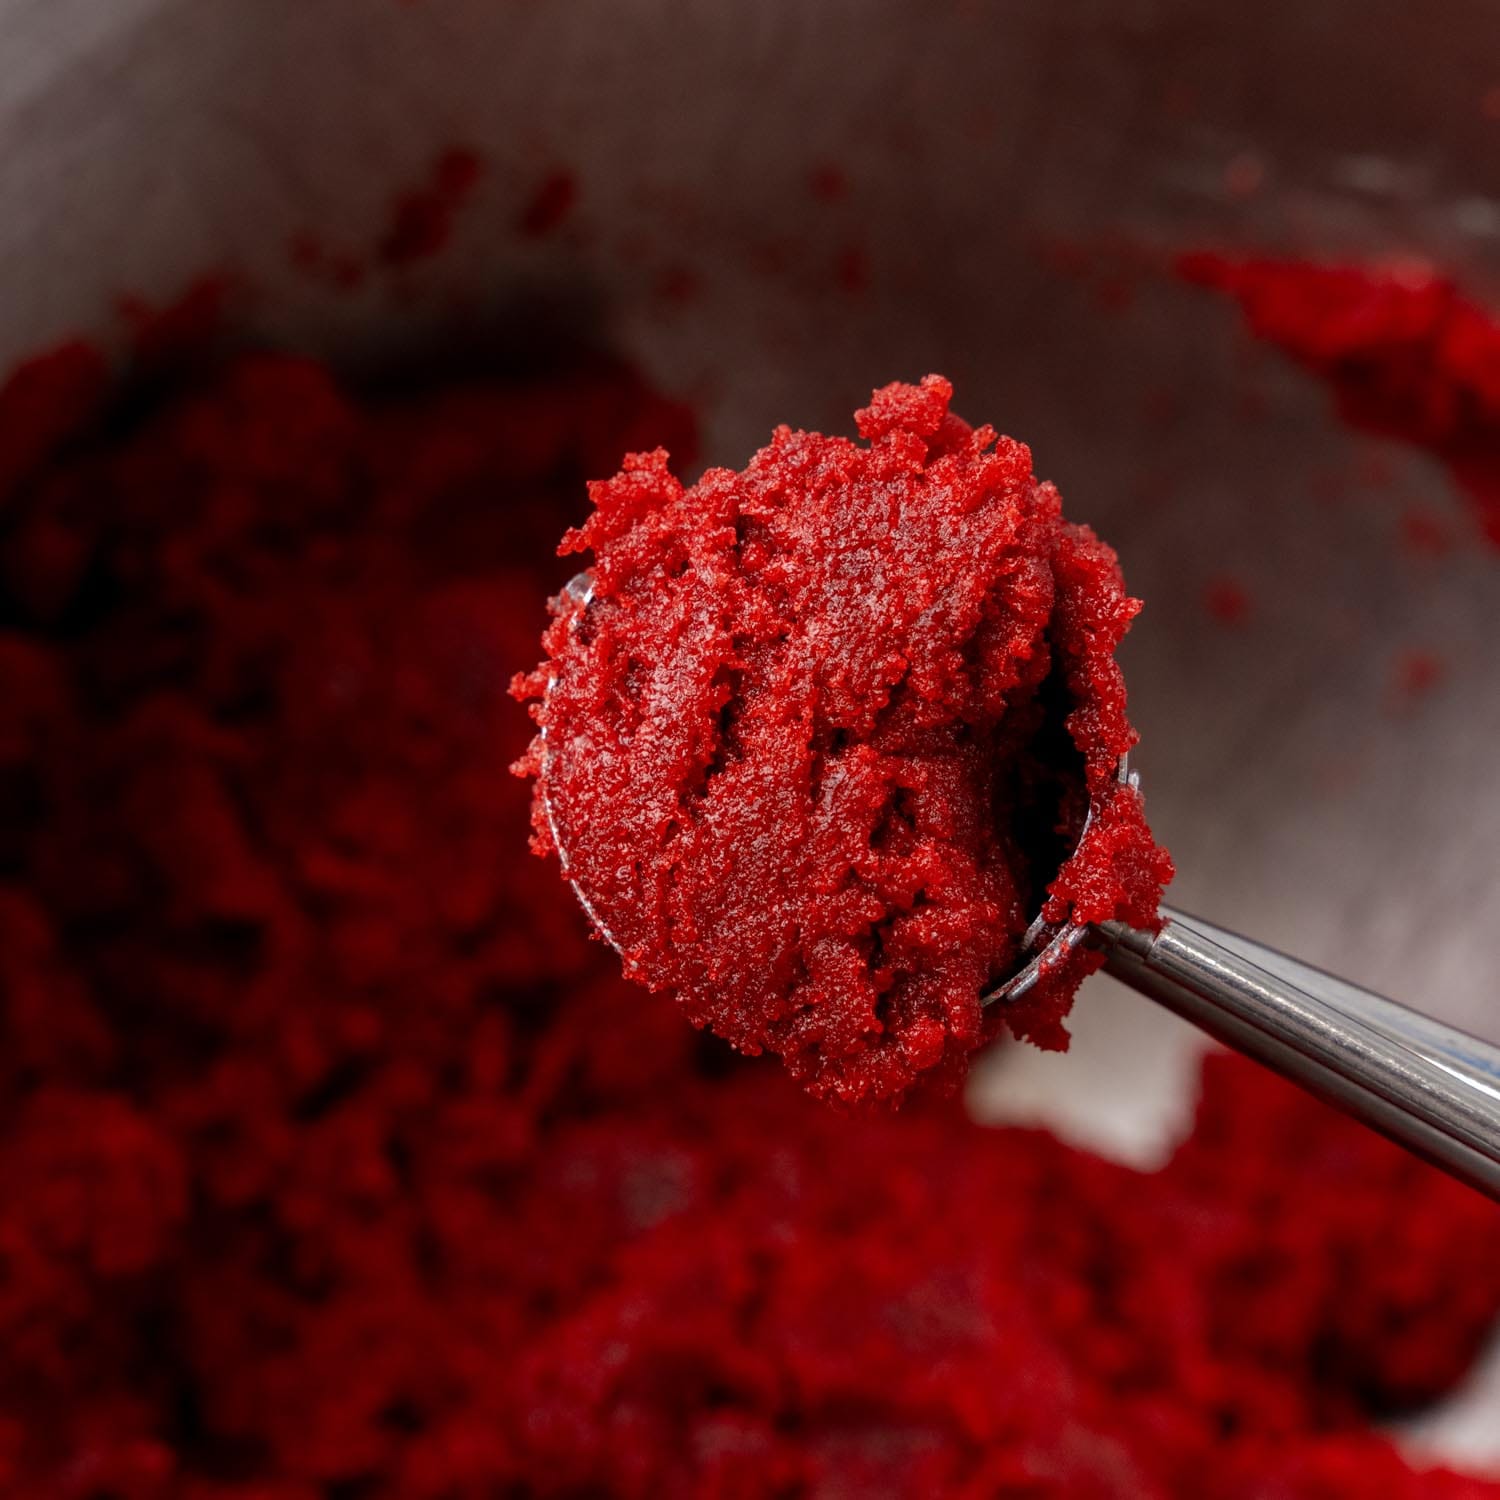
- Use a cookie scoop to portion the cake pops mixture so that each one is exactly the same size.
- For the Coating. To thin the melted chocolate wafers, add a teaspoon or two of oil to it. This may or may not be needed, depending on the brand you use. I don’t recommend using regular white chocolate here, the wafers are designed to melt smoothly for applications like this one.
- Take shortcuts. If you want to, use a boxed red velvet cake mix and/or prepared cream cheese frosting. The flavors won’t be quite as good, but you can still have plenty of fun making cake pops with a boxed mix!
Storing Tips
Store cake pops in an airtight container in the fridge for up to 5 days. be sure to keep them in a single layer, or separate layers with parchment paper or wax paper.
Red Velvet Cake Pop Decorations
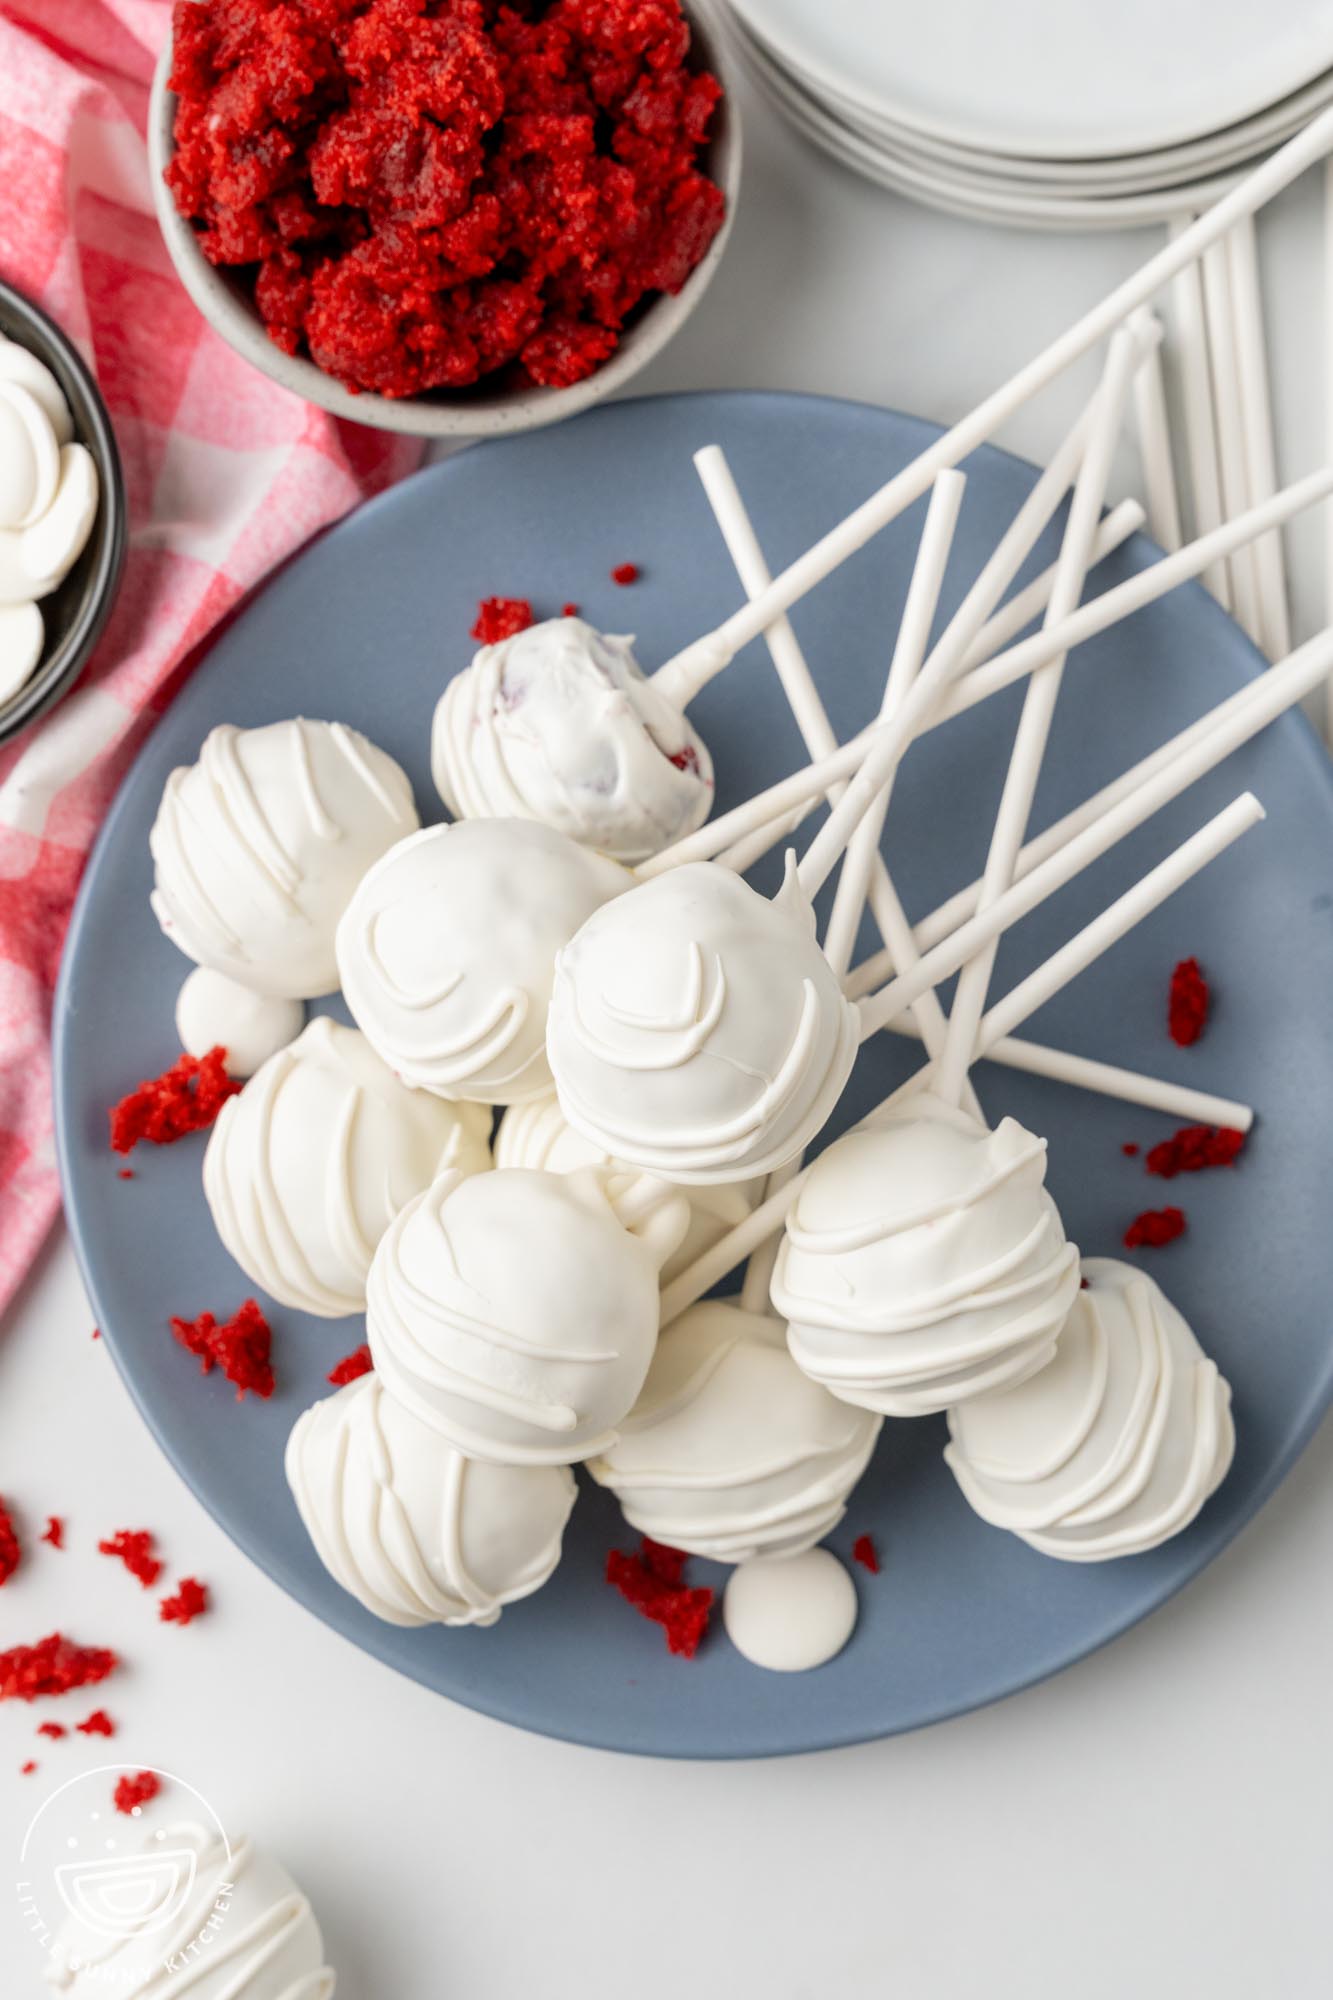
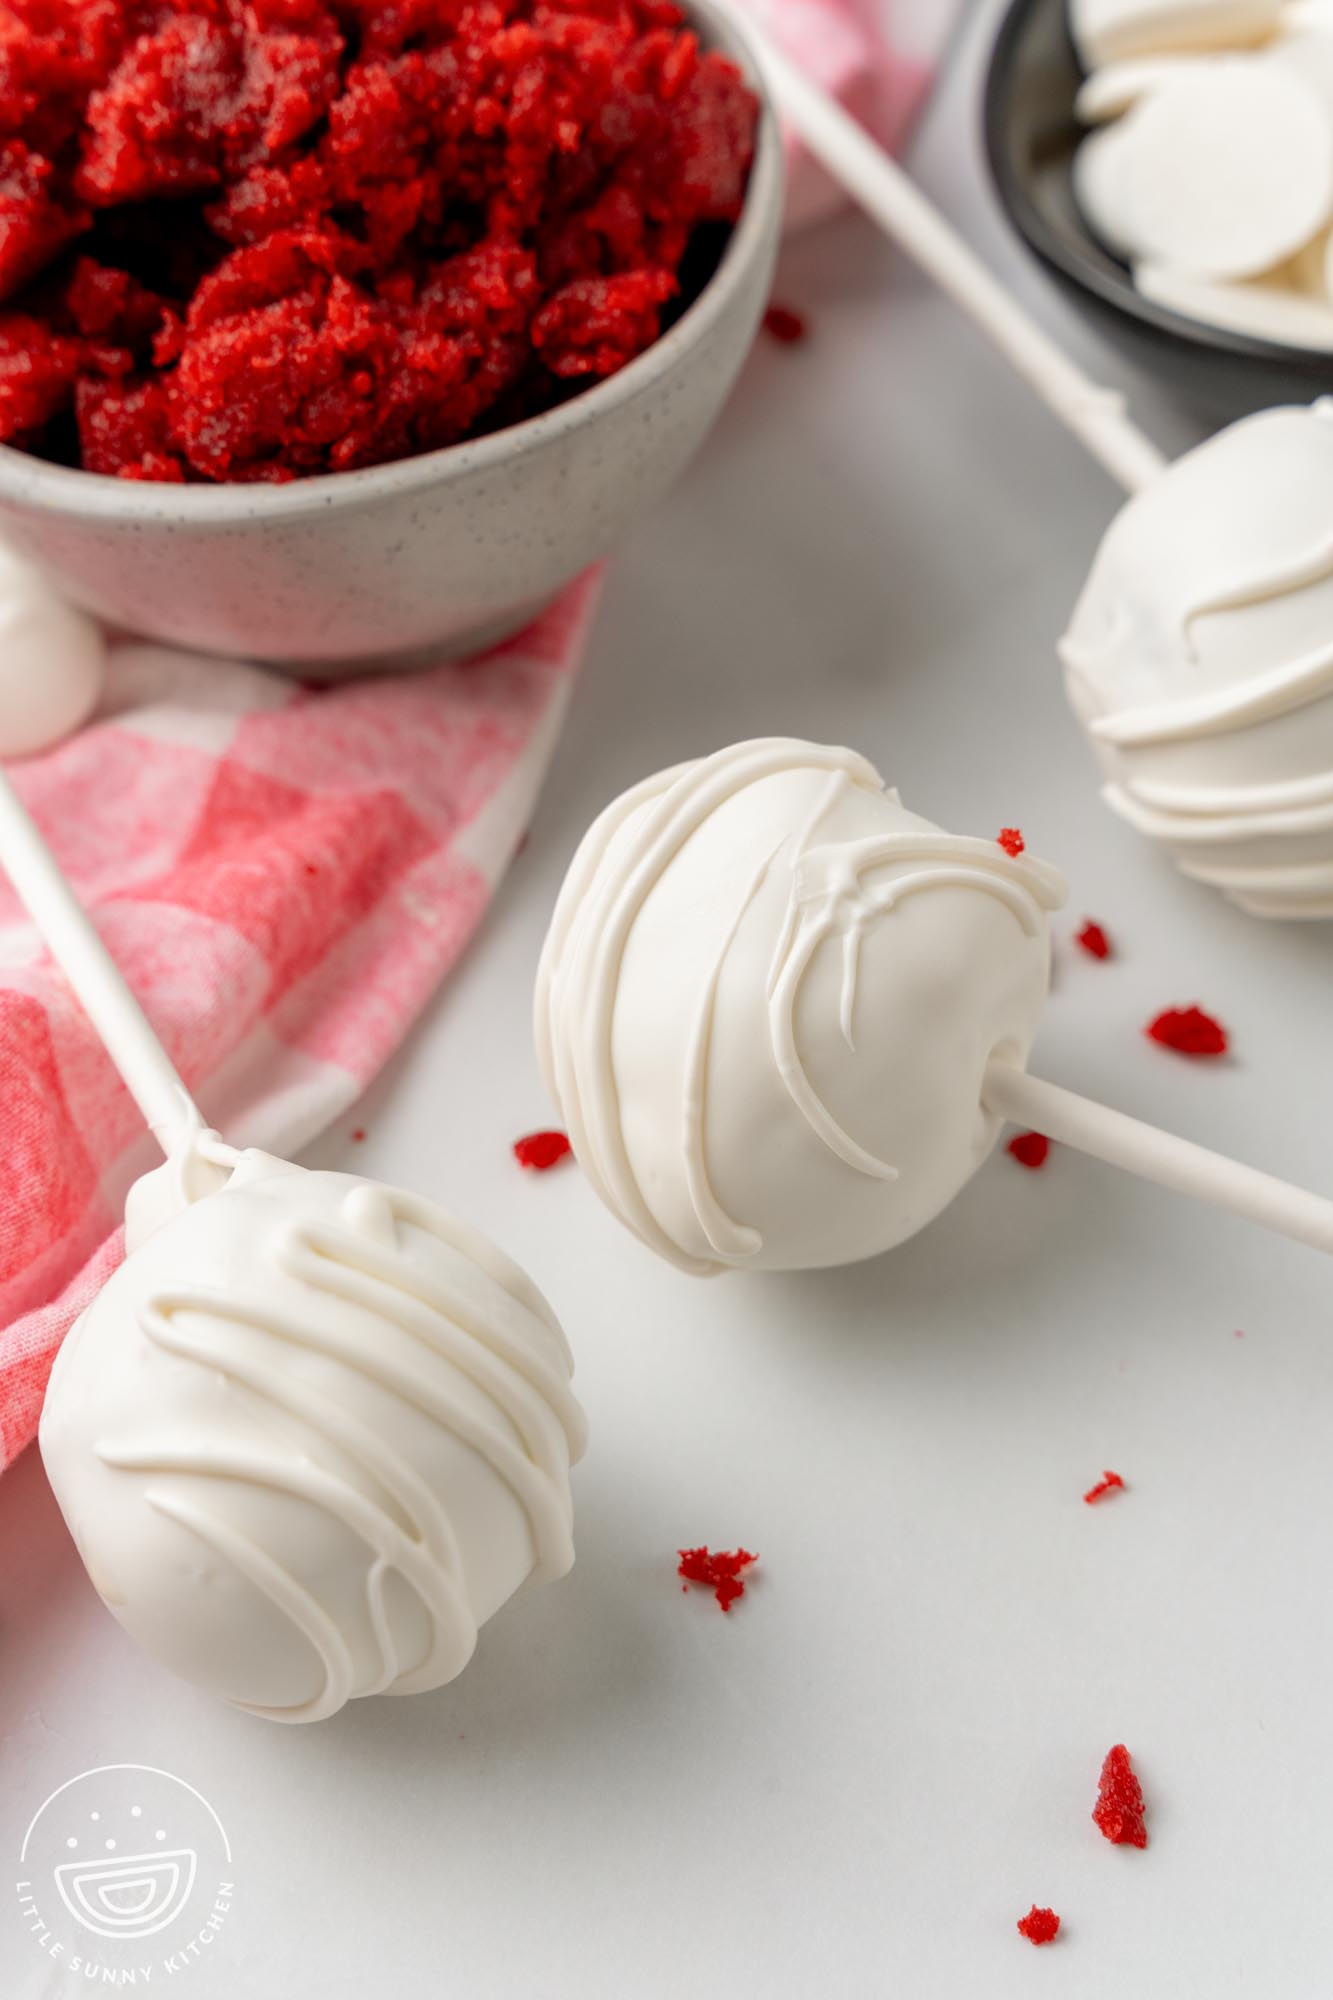
I chose to use some extra melted white chocolate to create drizzled lines and swirls on my cake pops, but there are some other fun ways to make these super cute and festive!
Try adding red sprinkles, Valentine’s non-pareils, or extra red velvet cake crumbs to the cake pop coating while it’s still wet.
Recipe FAQs
How do I DIY a cake pop holder?
If you’d rather not purchase a special tool to hold the cake pops upright as they dry, there are a few ways make a tool to help you out!
First, try a box. Use a small, shallow Amazon box or a sturdy cereal box. Place the box on its side and punch or cut small holes in it, a few inches apart. Place the cake pops in the holes to dry, making sure that the chocolate doesn’t directly touch the cardboard.
Another thing from the recycling box that will work is an egg carton. Turn it upside down, add holes, and it’s ready to go. You’d need 4 standard egg cartons for 48 cake pops.
Small paper cups, turned upside down and secured in a cake pan work similarly.
Finally, you can use a colander to hold cake pops! Flip it over, and carefully place the dipped pops in the holes around the bowl.
Do Cake Pops Need to be Refrigerated?
Yes. Because these are made with cream cheese frosting, they should be stored in the fridge. They’ll stay fresh for up to 5 days, as long as your ingredients are fresh to begin with.
Can I make red velvet without food coloring?
You won’t get the same vibrant red color, but the flavor will still be there! Feel free to leave out the gel food coloring, or experiment with natural dyes such as beet powder to add redness.
Treats for Valentine’s Day!

Heart Macarons

No Bake Chocolate Cheesecake

Strawberry Tres Leches Cake

Valentine’s Charcuterie Board
Enjoy making these delicious red velvet cake pops! Once you have this recipe down, you’ll be able to make cake pops with any flavor of cake and icing you can mix up.
Did you make this? Be sure to leave a review below and tag me on Facebook, Instagram, or Pinterest!
Red Velvet Cake Pops
Equipment
- 13 x 9 inch baking pan
- Electric Hand mixer or Stand mixer
- Small cookie scoop, 1.5 tablespoon
- Cake Pop Sticks
- Cake Pop Stand
Ingredients
Cake:
- 2 ½ cups (310 g) all-purpose flour plus extra for dusting pans
- 2 tablespoons unsweetened cocoa powder
- 1 teaspoon baking soda
- 1 teaspoon salt
- ½ cup (113 g) unsalted butter softened
- 1 ½ cups (300 g) granulated sugar
- 2 large eggs at room temperature
- 1 cup (225 g) buttermilk
- ¾ cup (180 ml) vegetable oil
- 1 teaspoon white vinegar
- 1 teaspoon pure vanilla extract
- 1 ½ teaspoons red gel food coloring
Frosting:
- 4 ounces (113 g) cream cheese softened to room temperature
- ¼ cup (57 g) unsalted butter softened to room temperature
- 1 ½ cups (180 g) powdered sugar
- 2 tablespoons heavy cream
- ½ teaspoon pure vanilla extract
Coating:
- 24 ounces (680 g) white chocolate candy melts
- 1-2 teaspoons oil or shortening as needed
- 48 candy sticks
Instructions
Prepare the Cake
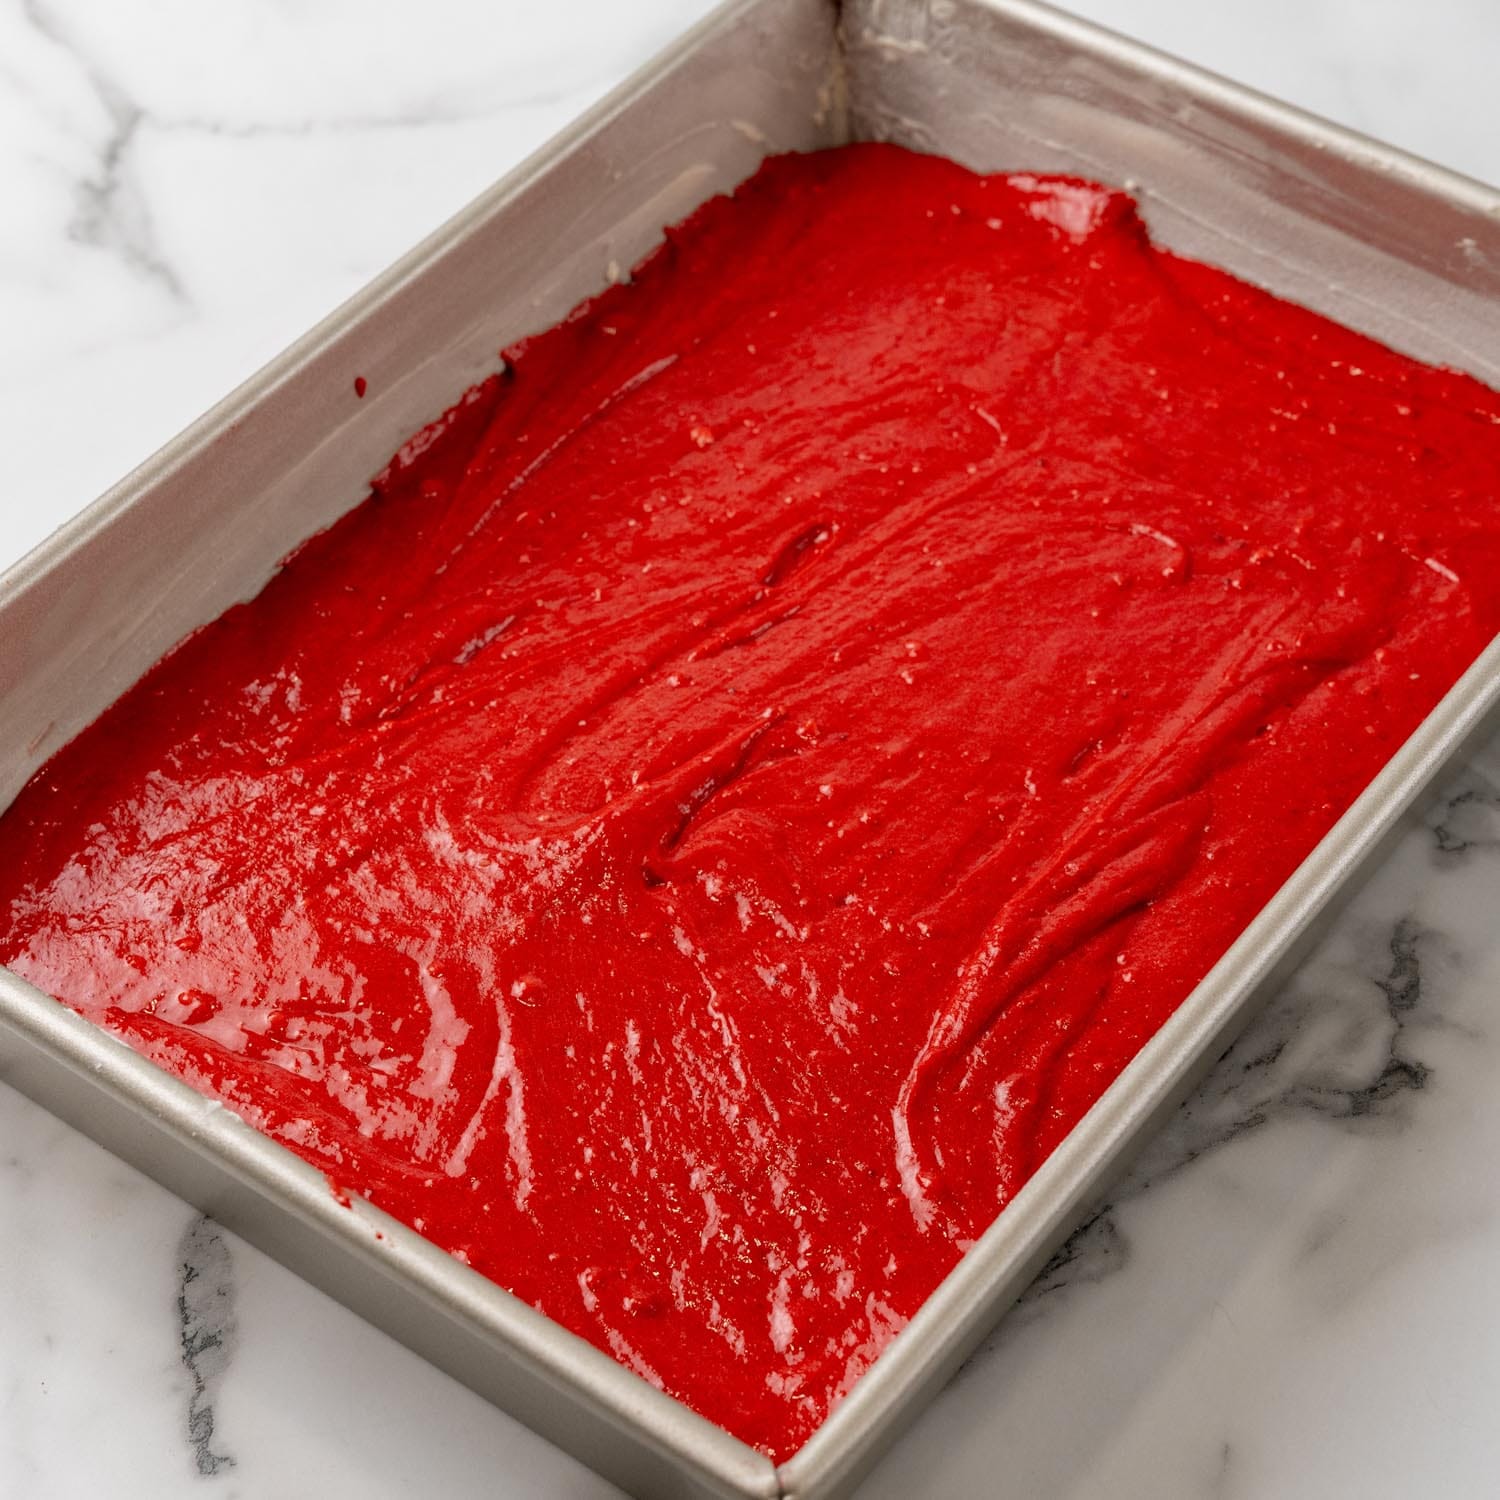
- Preheat the oven to 350°F (180°C or 160°C for a fan oven). Grease and flour a 9×13-inch (approx. 23×33 cm) baking pan, then set aside.
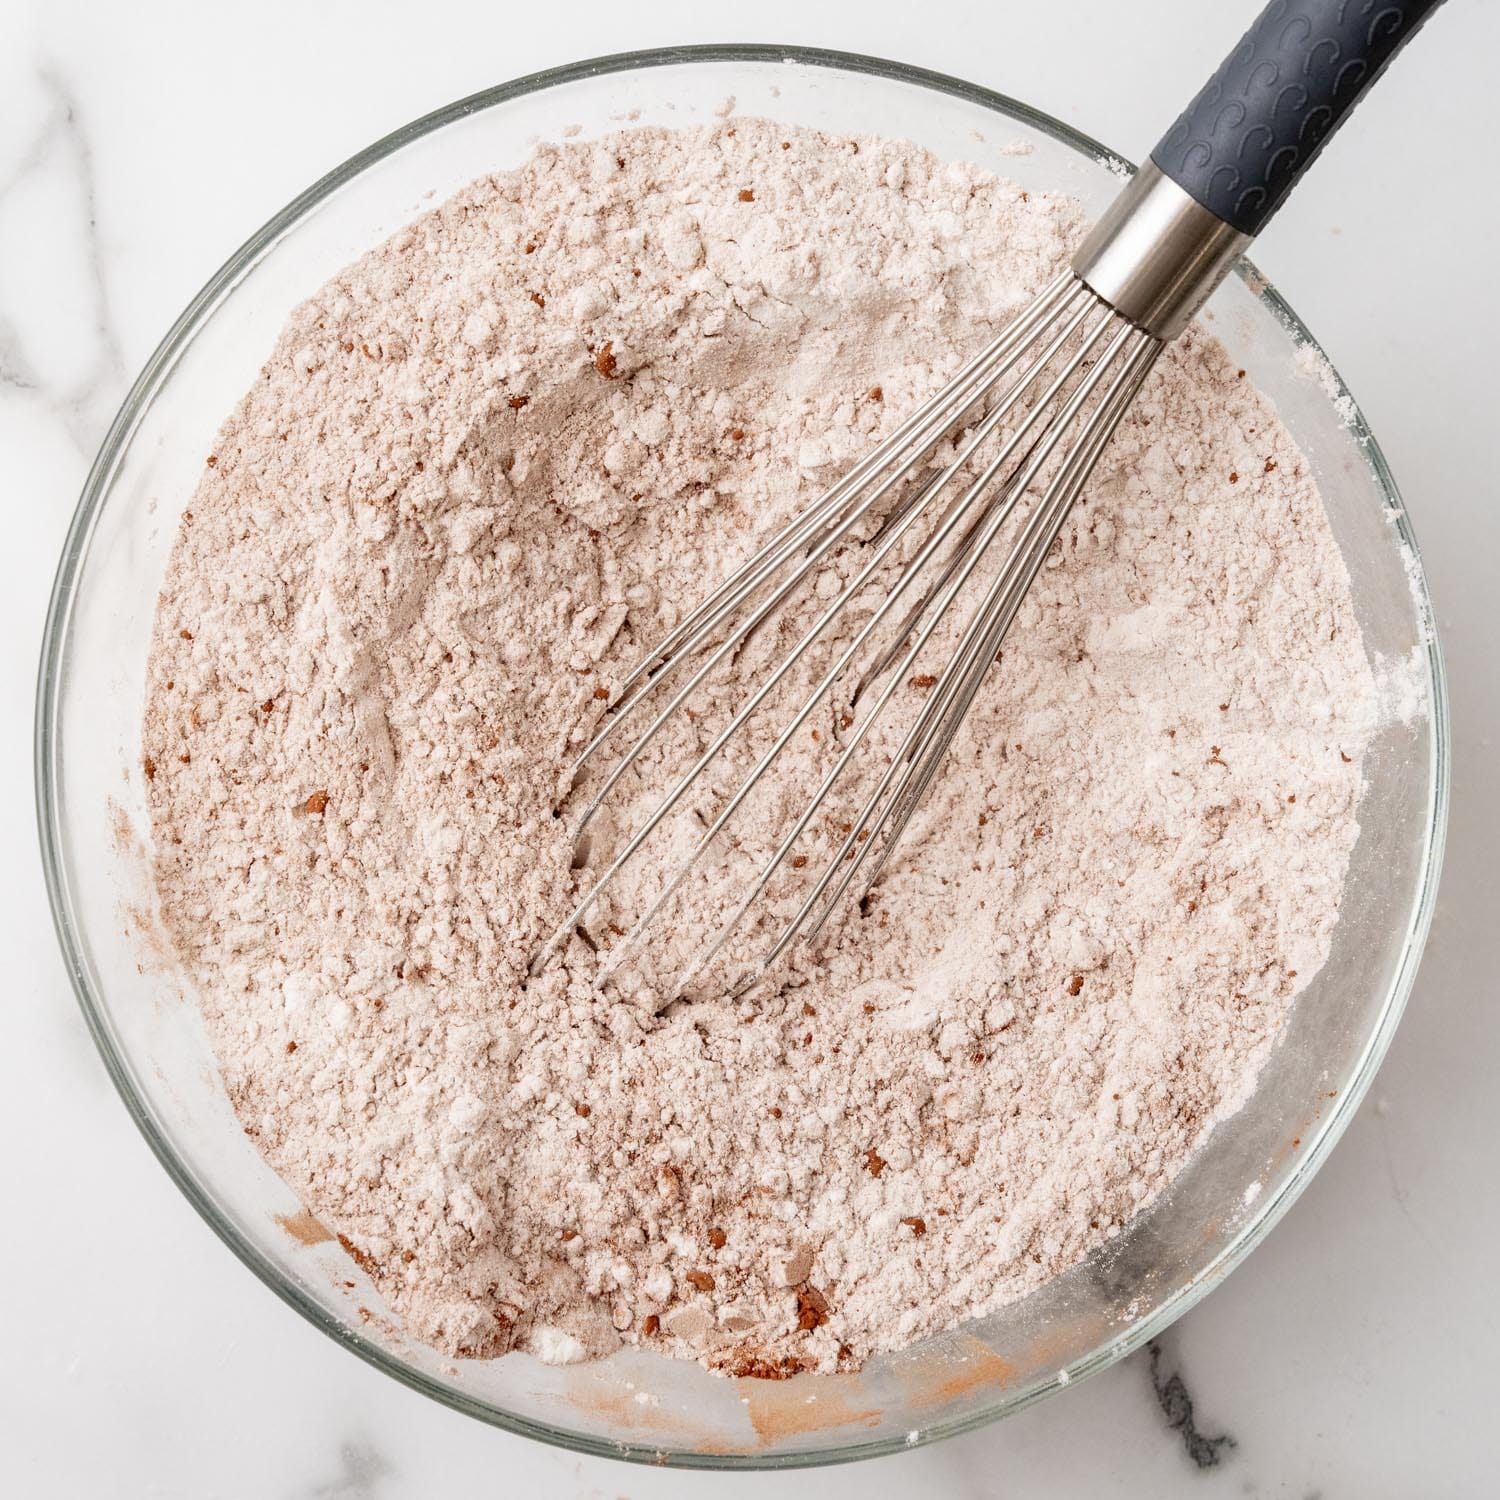
- In a large bowl, whisk together the flour, cocoa powder, baking soda, and salt. Set aside.
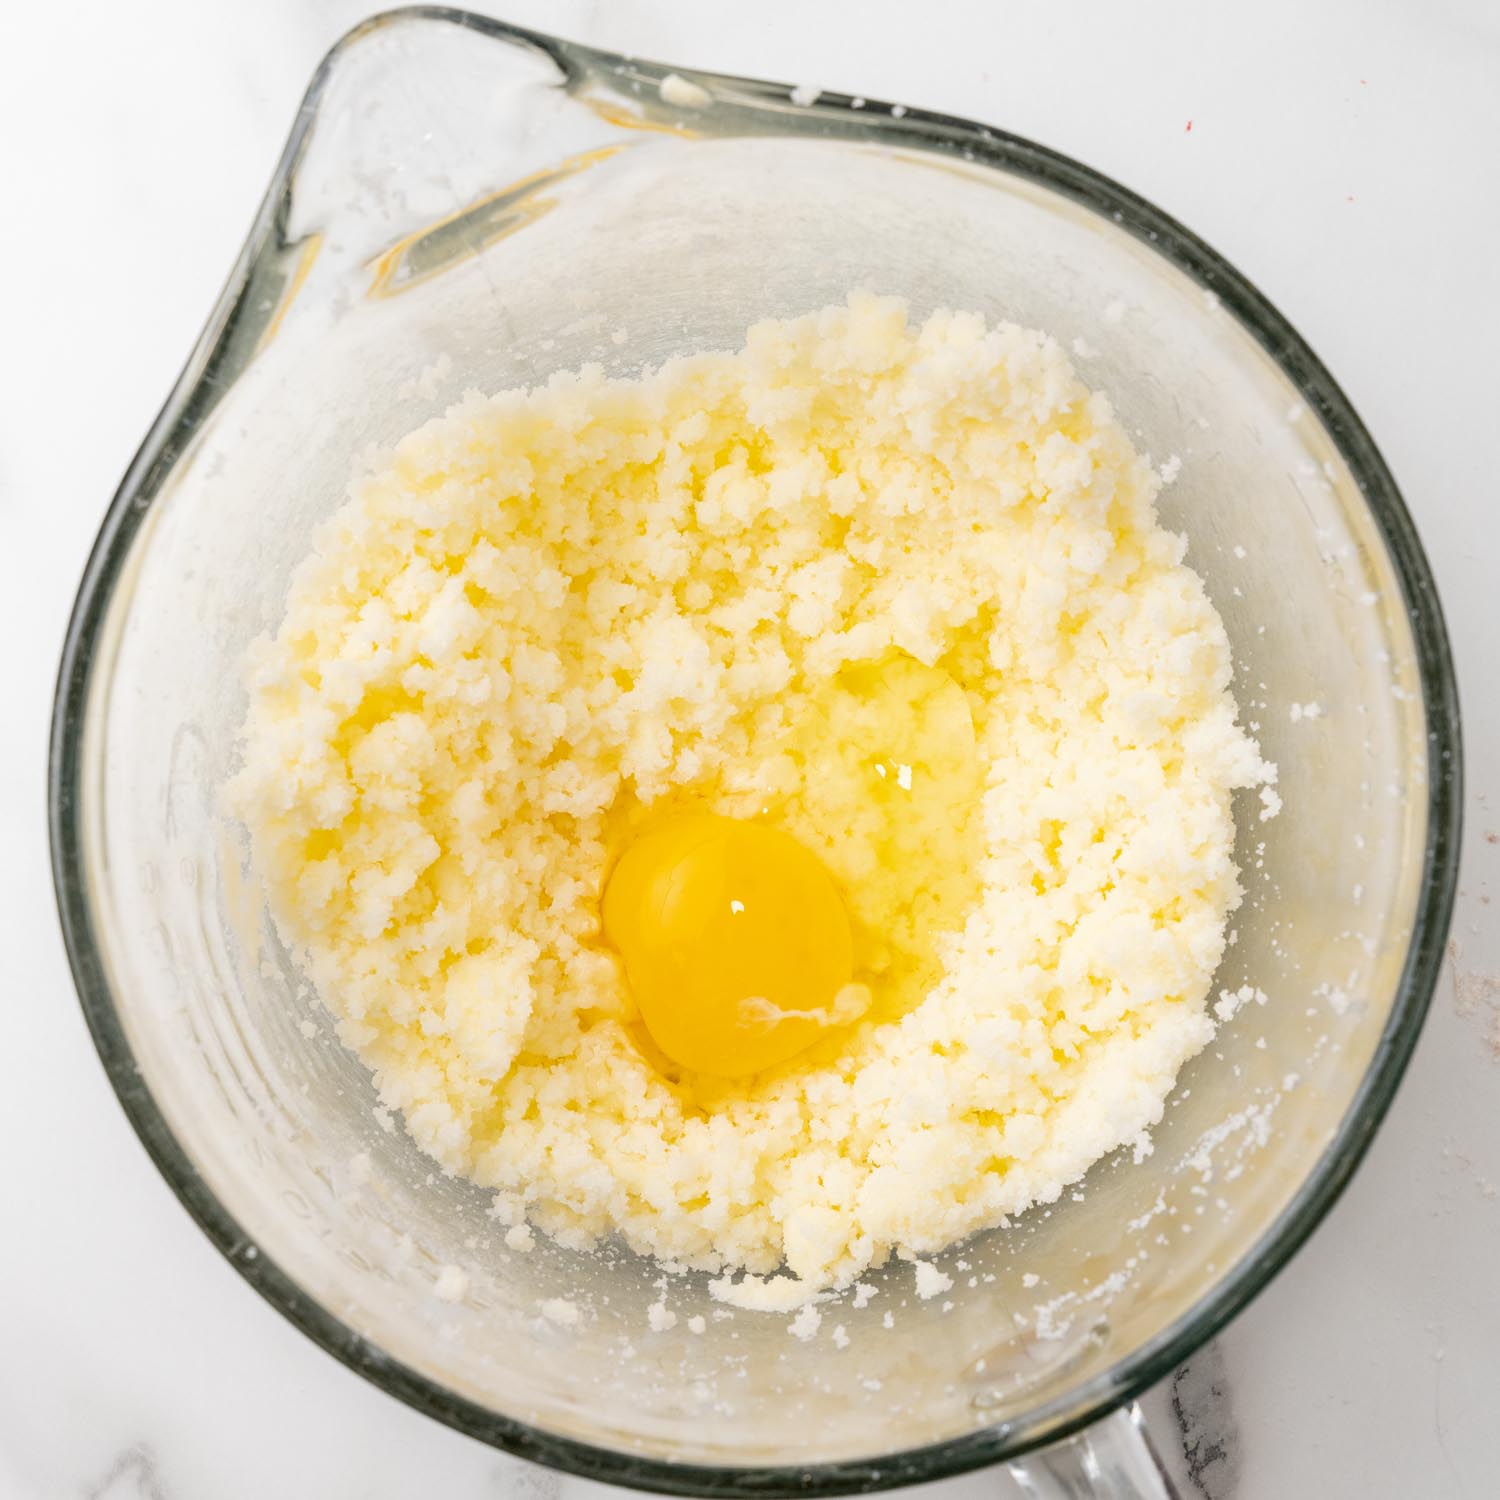
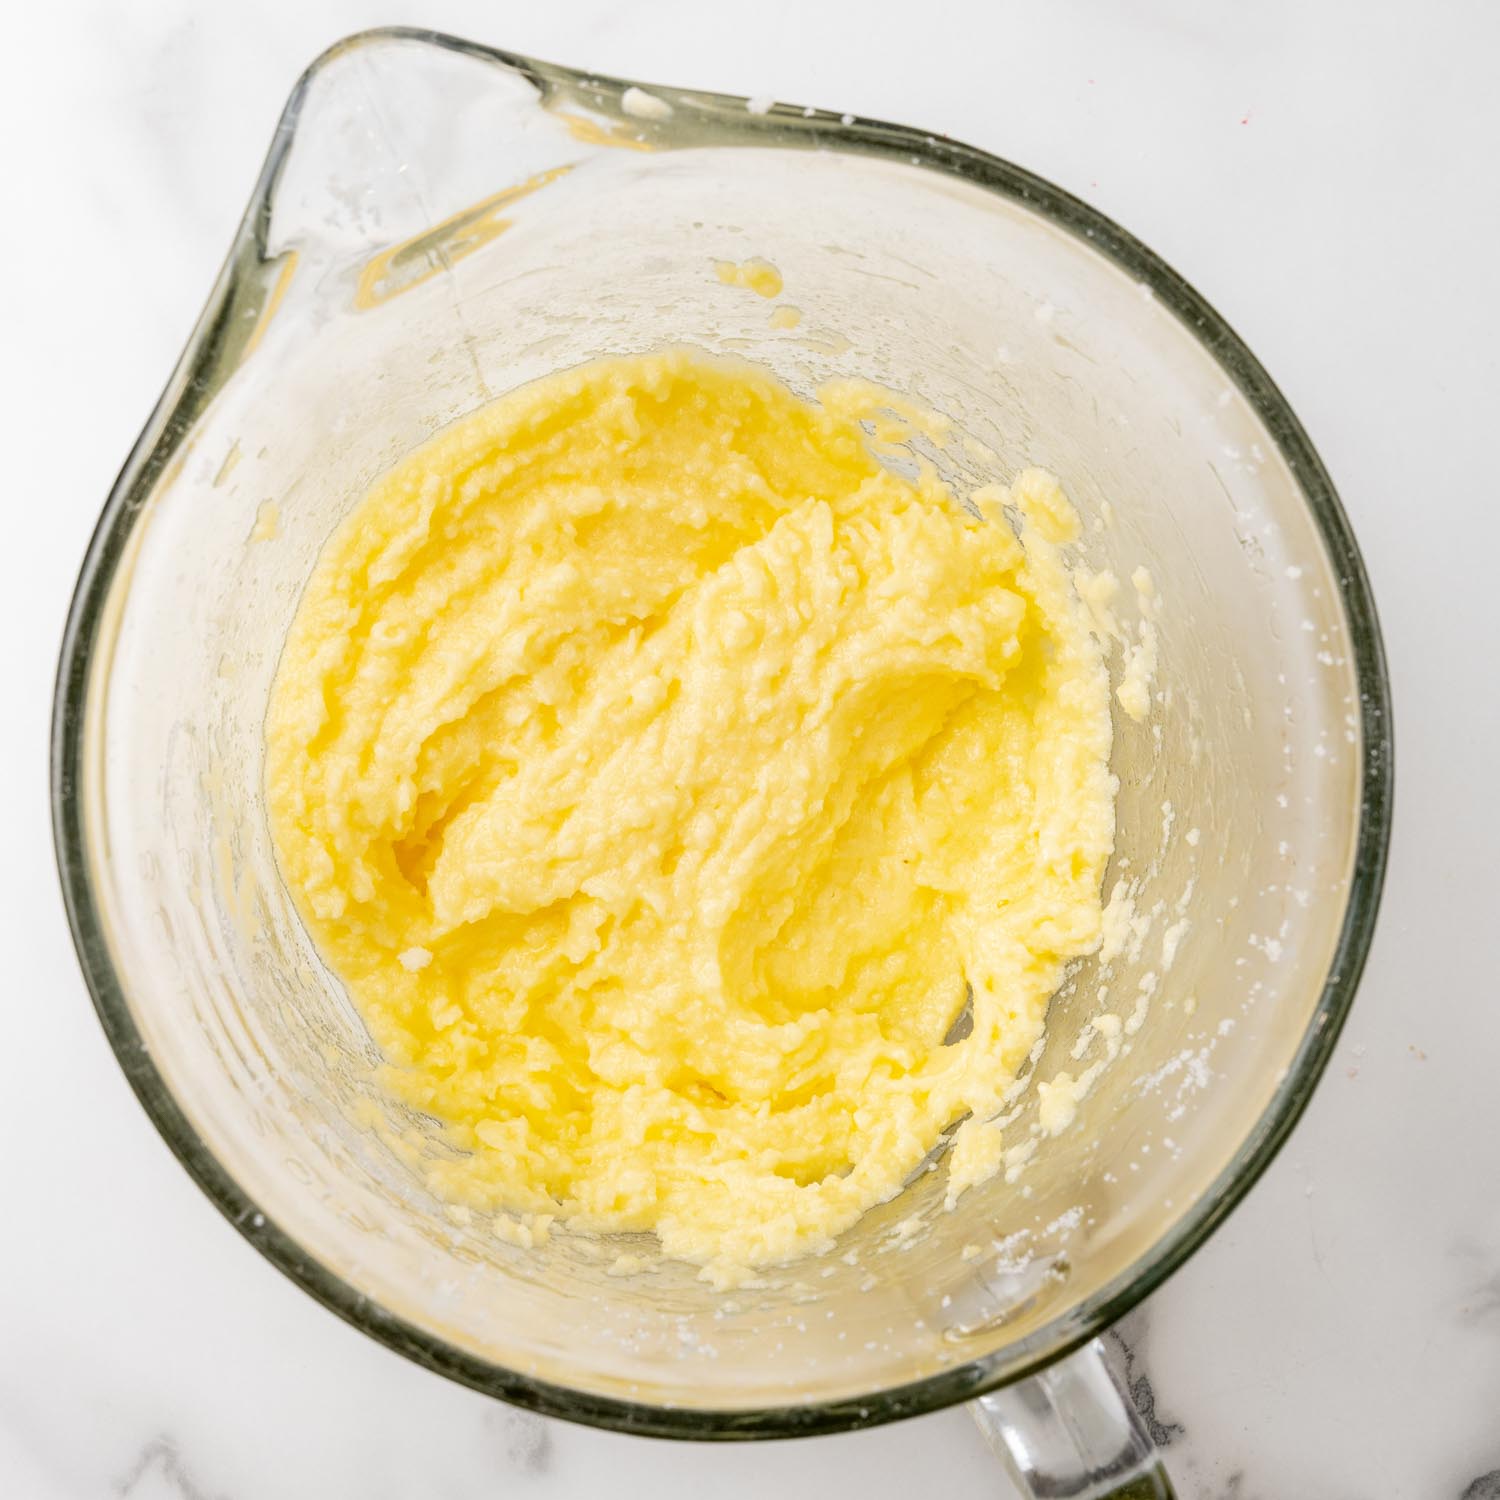
- In a separate large bowl, cream the butter and sugar together until pale and fluffy.
- Add the eggs, one at a time, blending with an electric mixer on low speed after each addition.
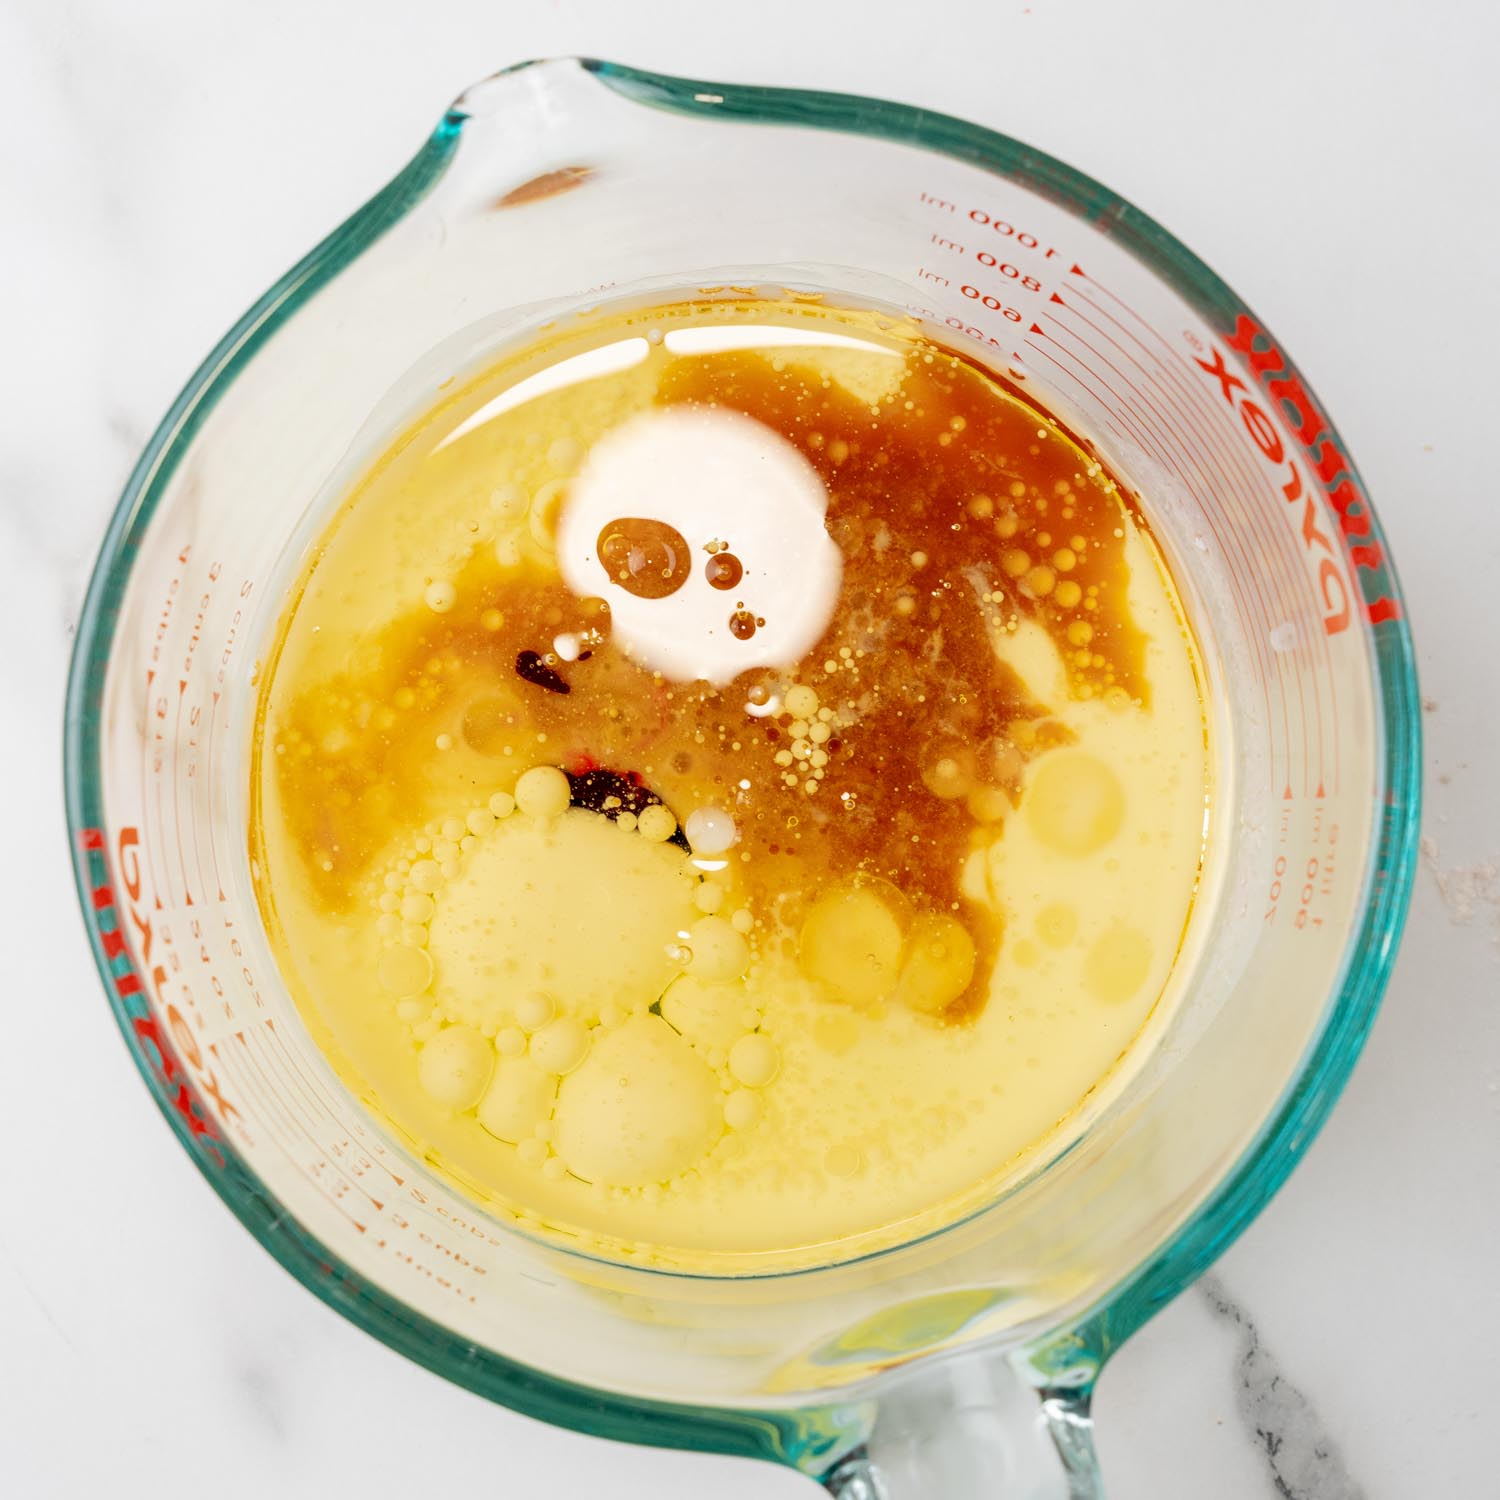
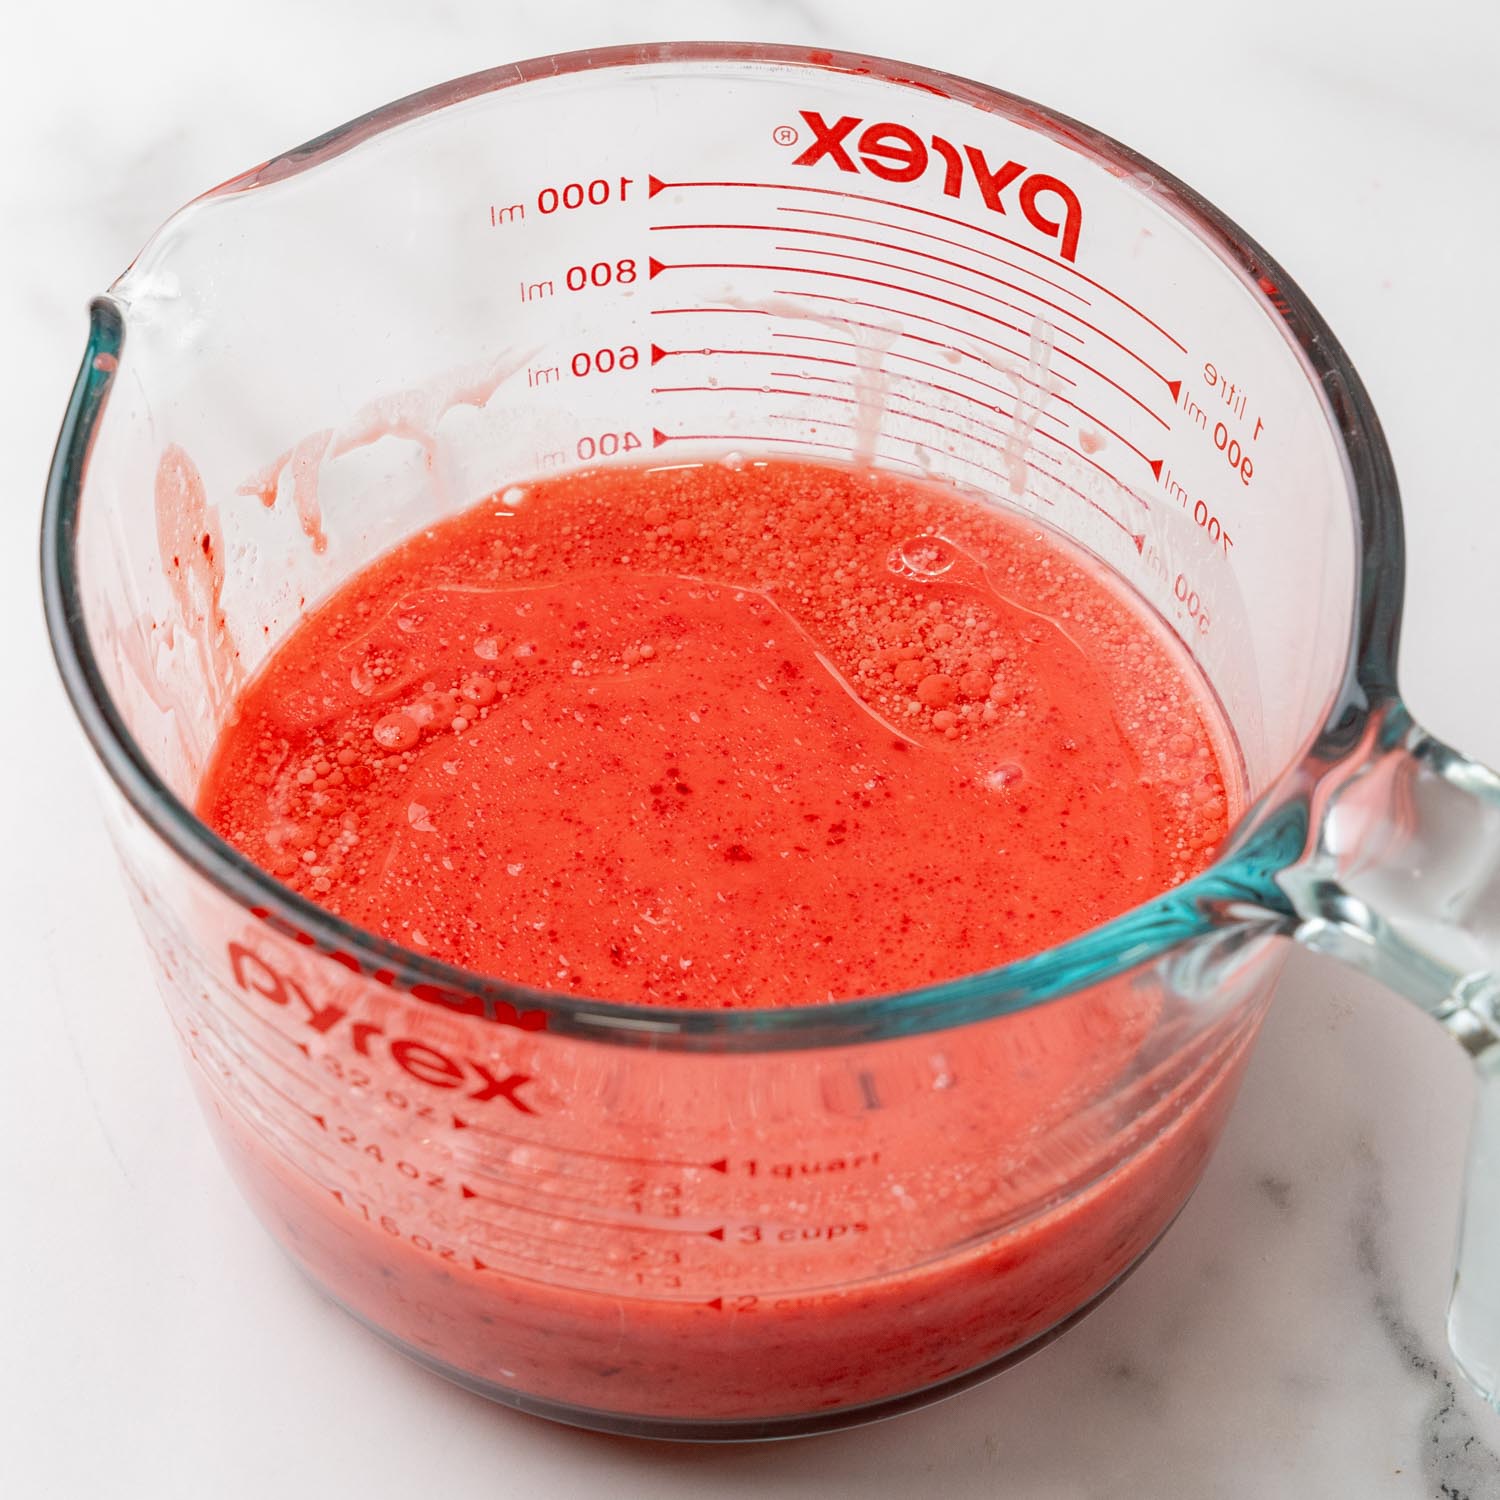
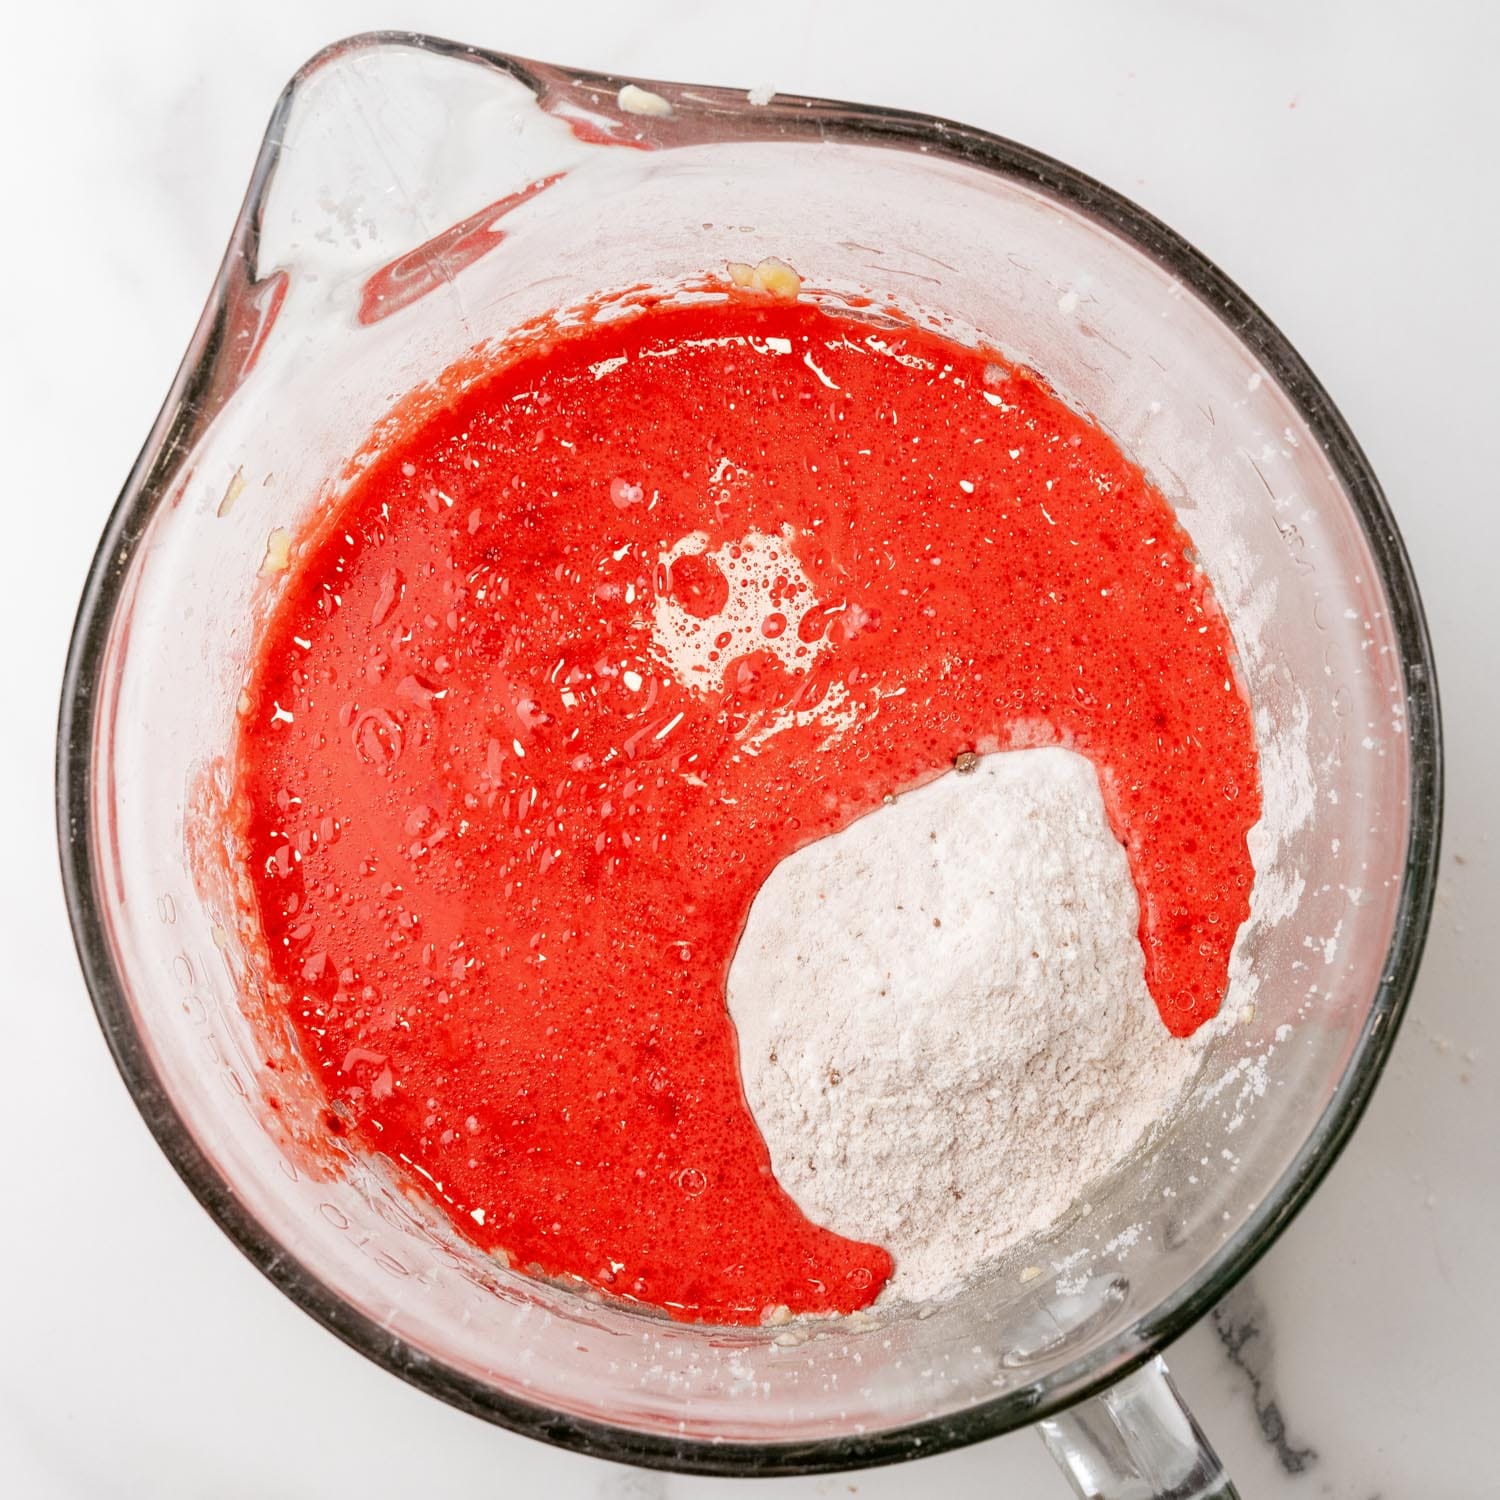
- In a third bowl, whisk together the buttermilk, vegetable oil, vinegar, vanilla extract, and red gel food coloring.
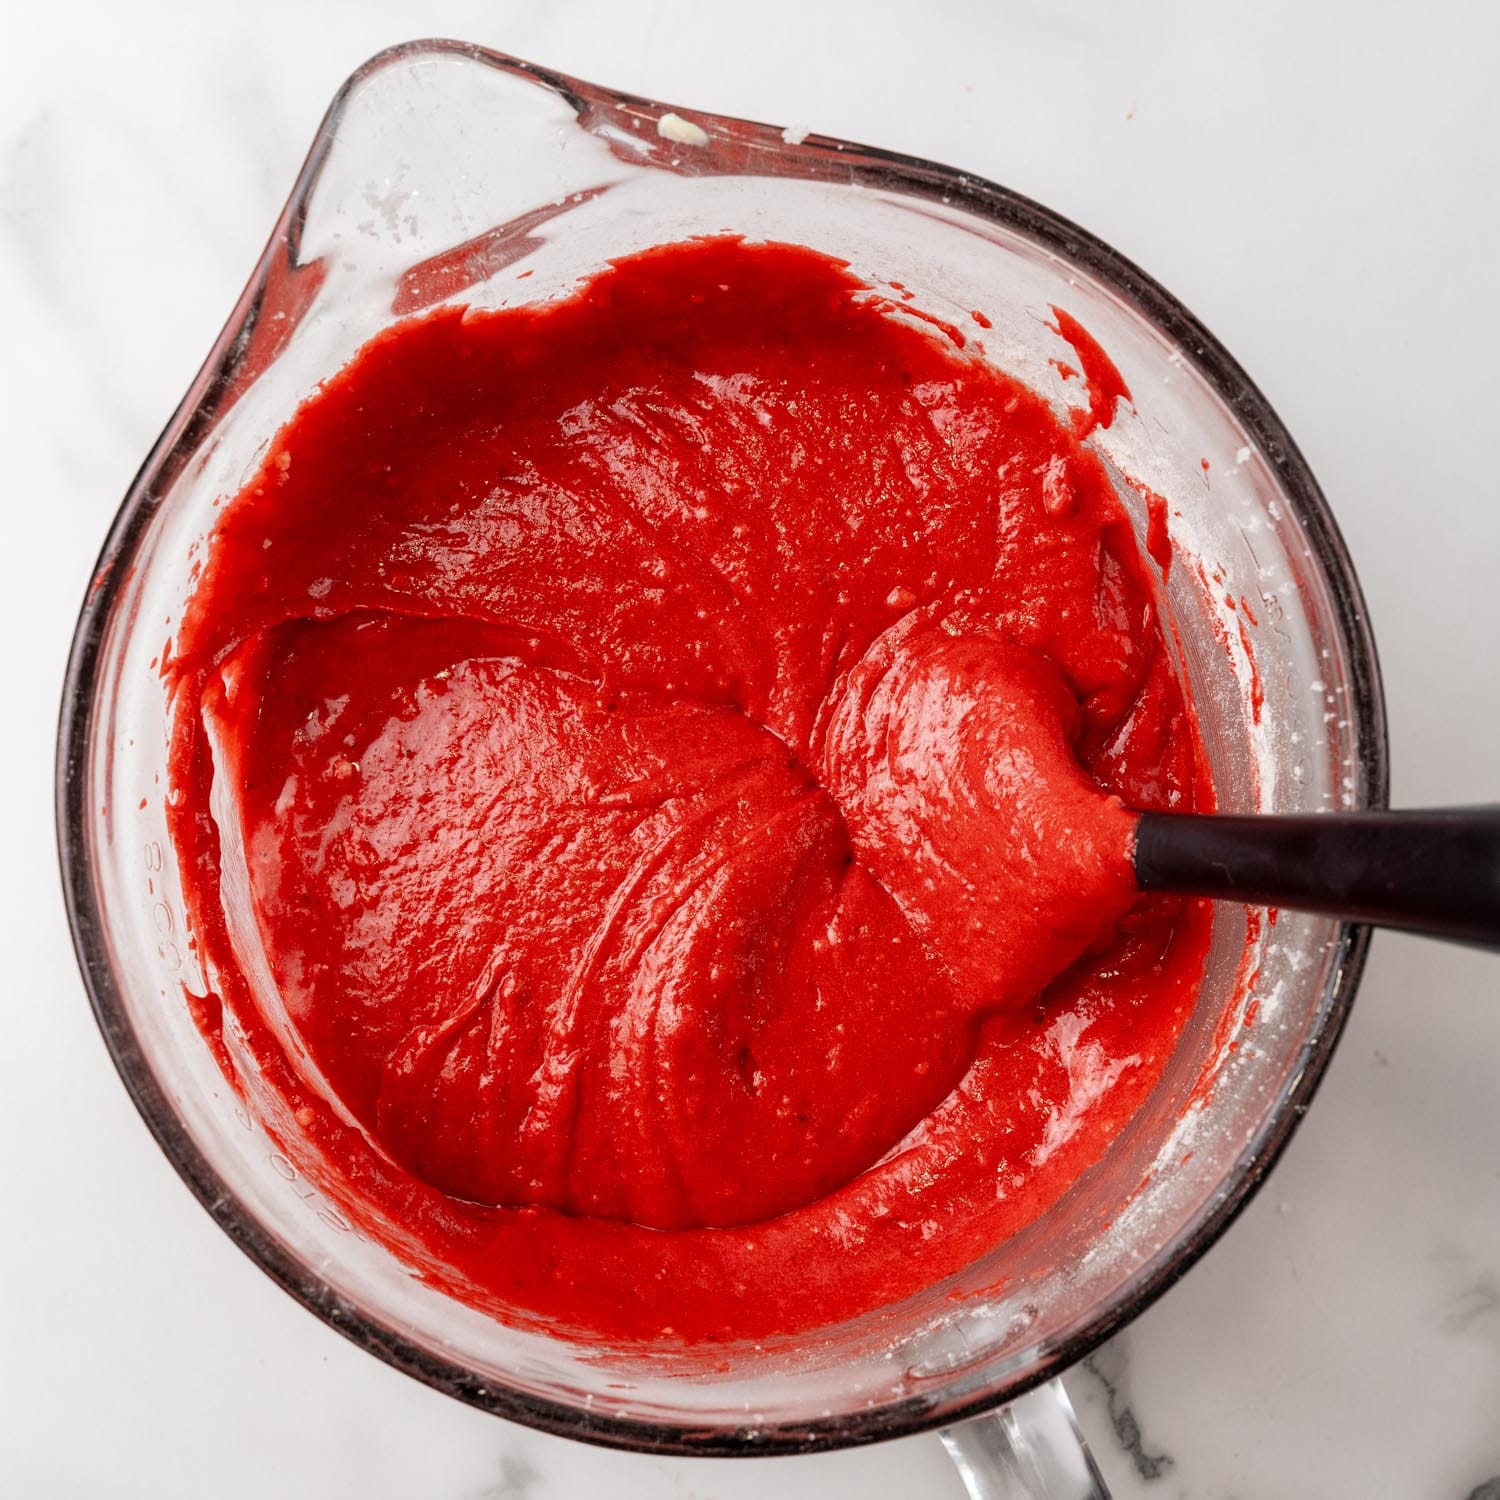
- Pour the buttermilk mixture into the creamed butter mixture, along with half of the dry ingredients. Blend with an electric mixer on low speed until just combined. Add the remaining dry ingredients and mix until fully incorporated.
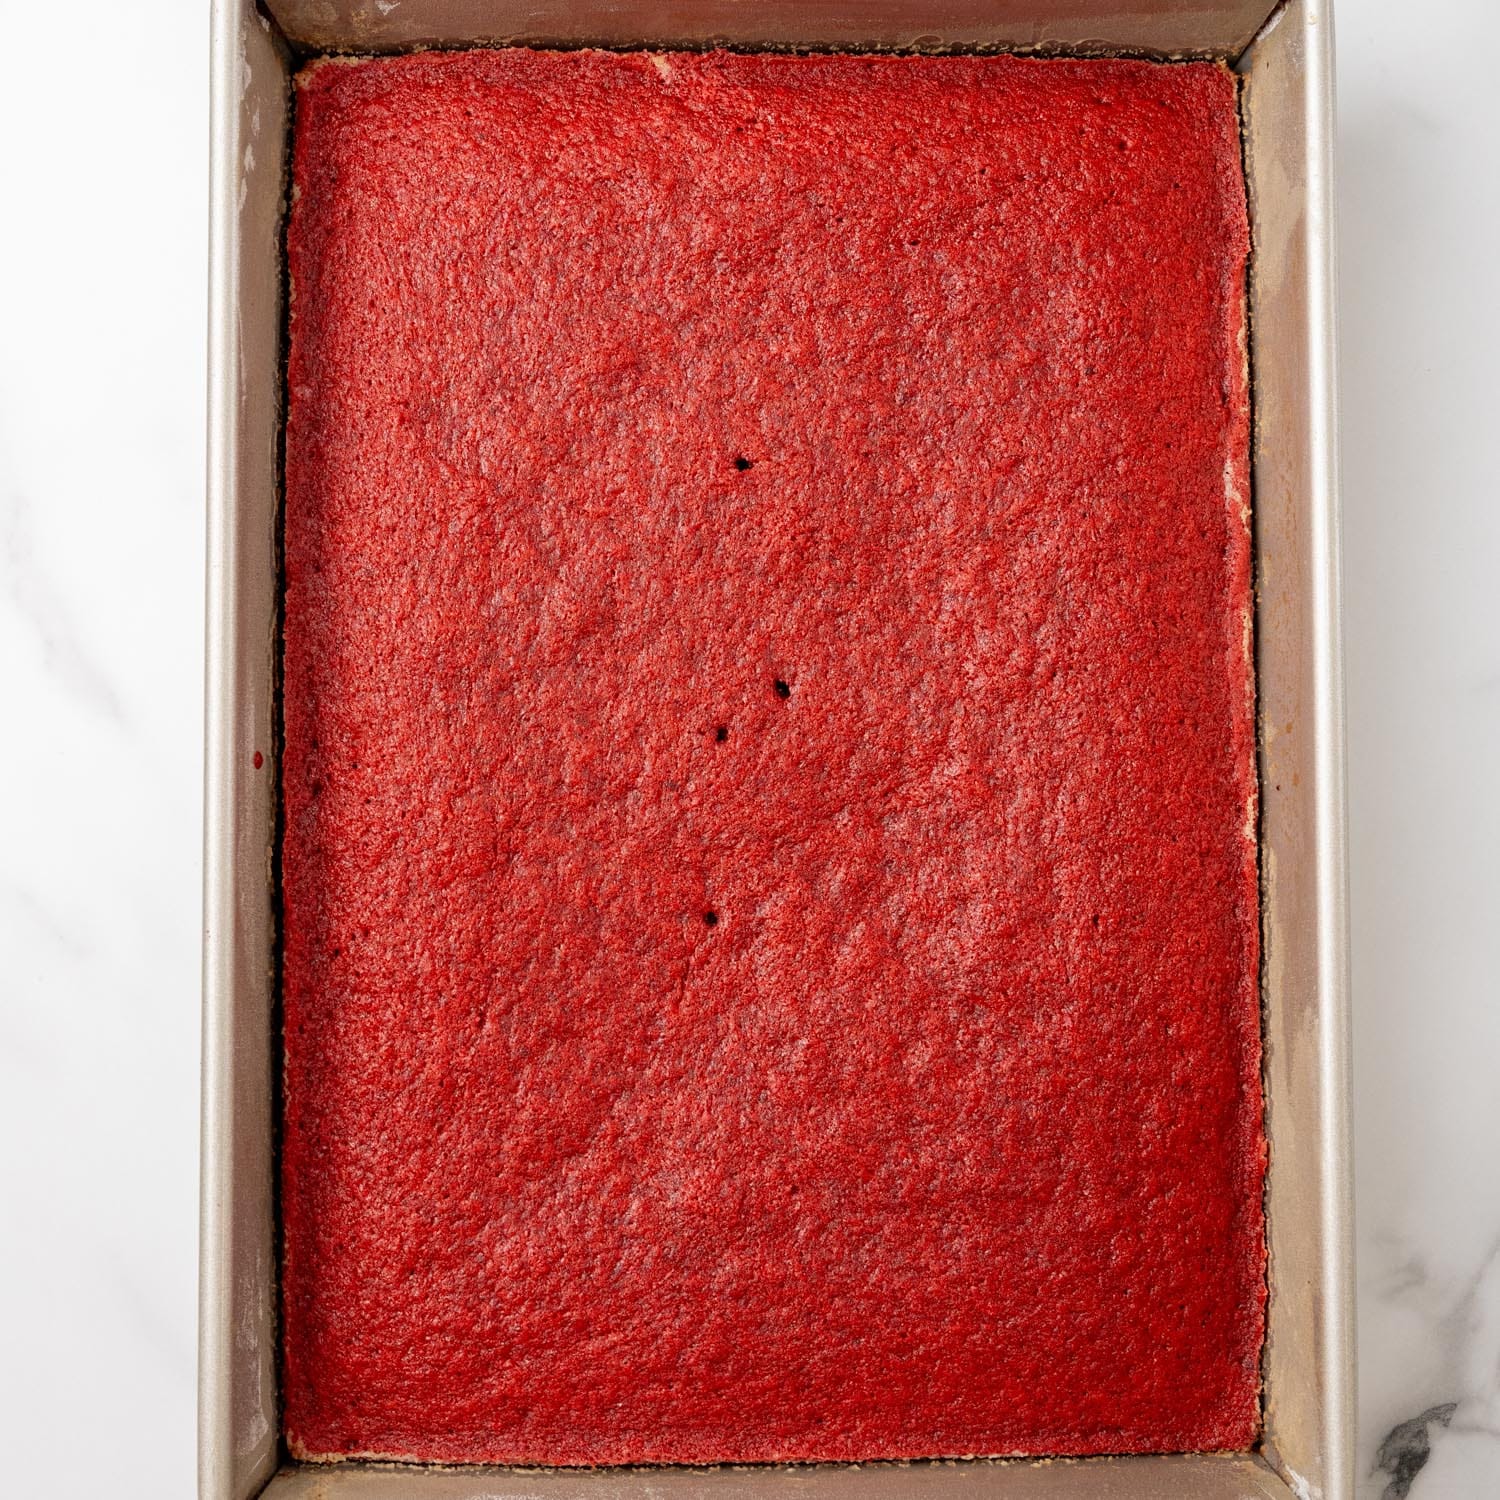
- Pour the batter into the prepared pan and bake for 20-25 minutes, or until a toothpick inserted in the center comes out clean.
- Let the cake cool in the pan for 10 minutes, then transfer to a cooling rack. Allow to cool completely.
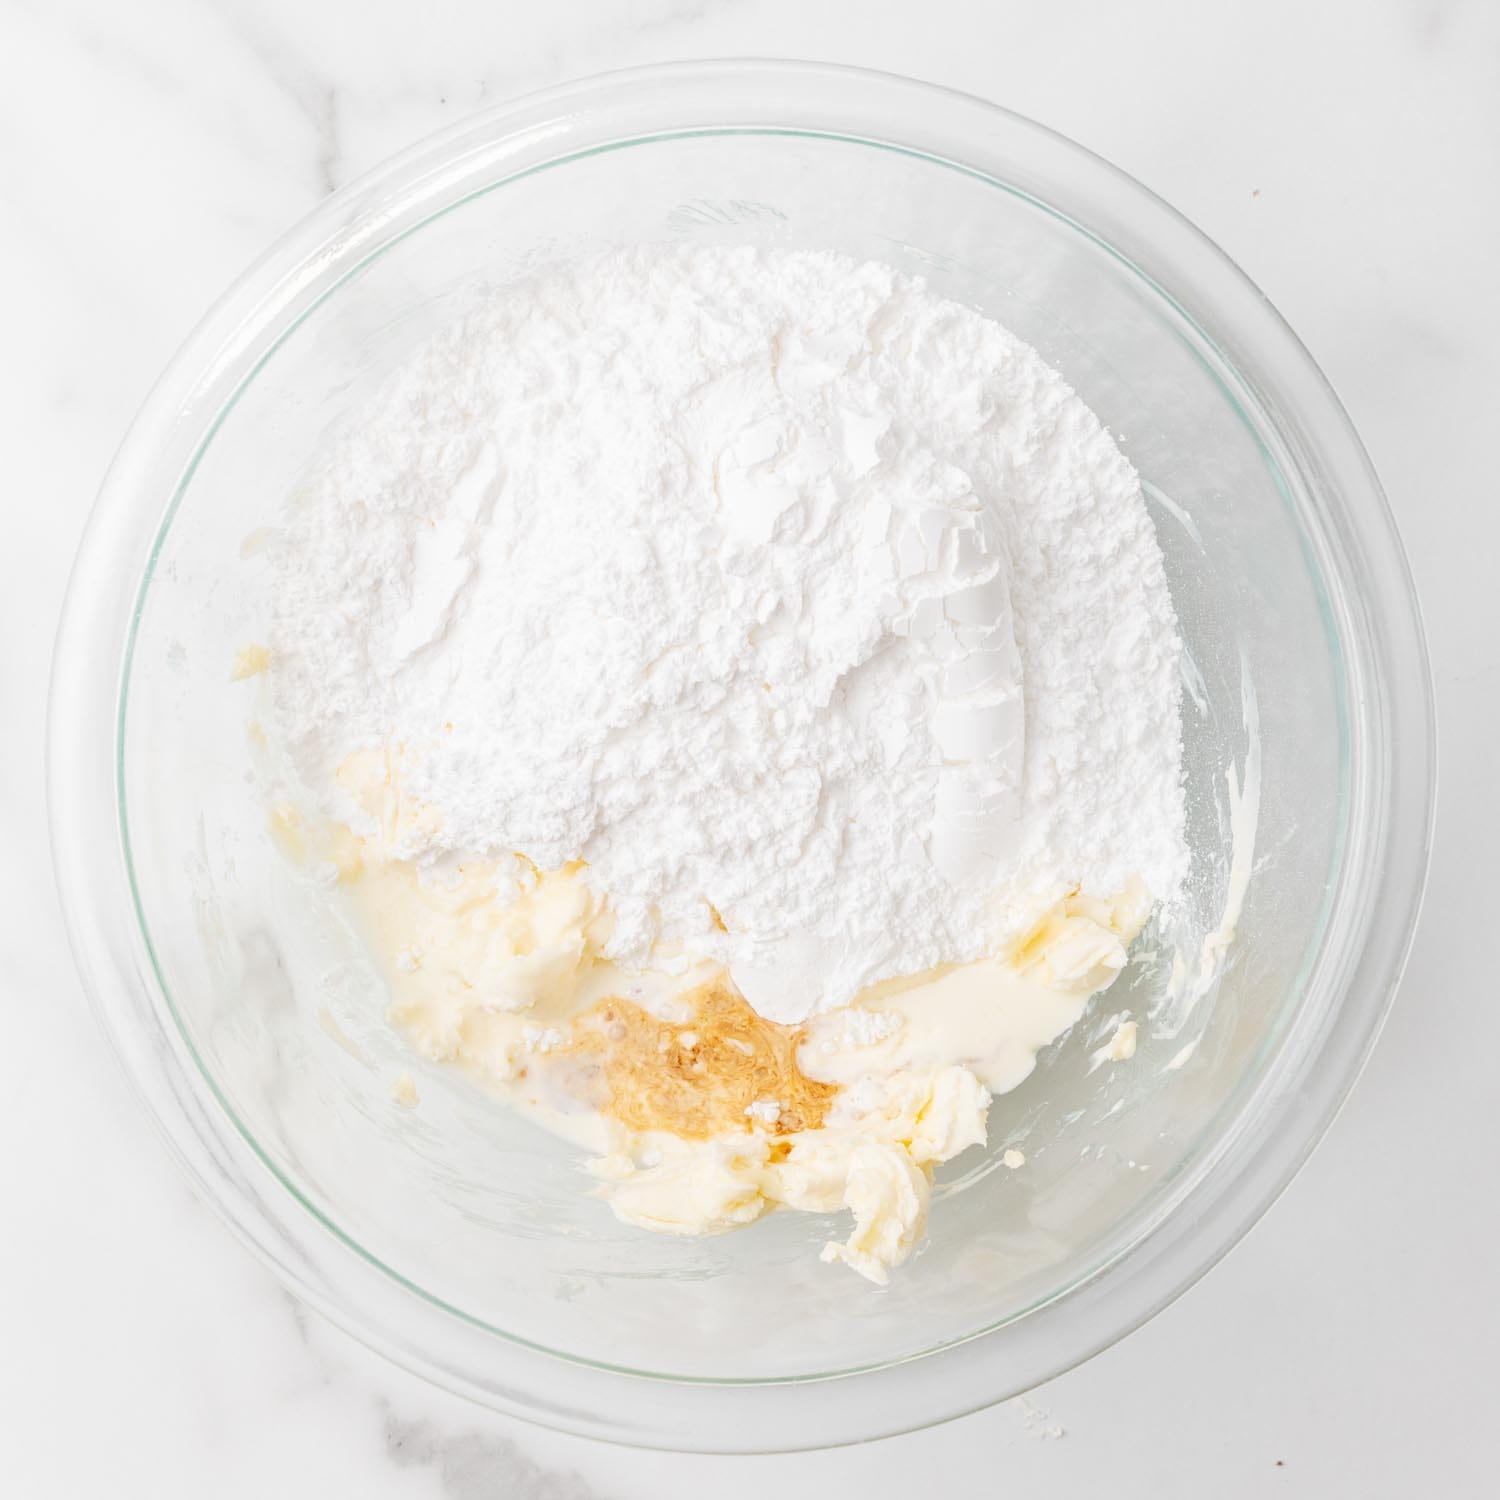
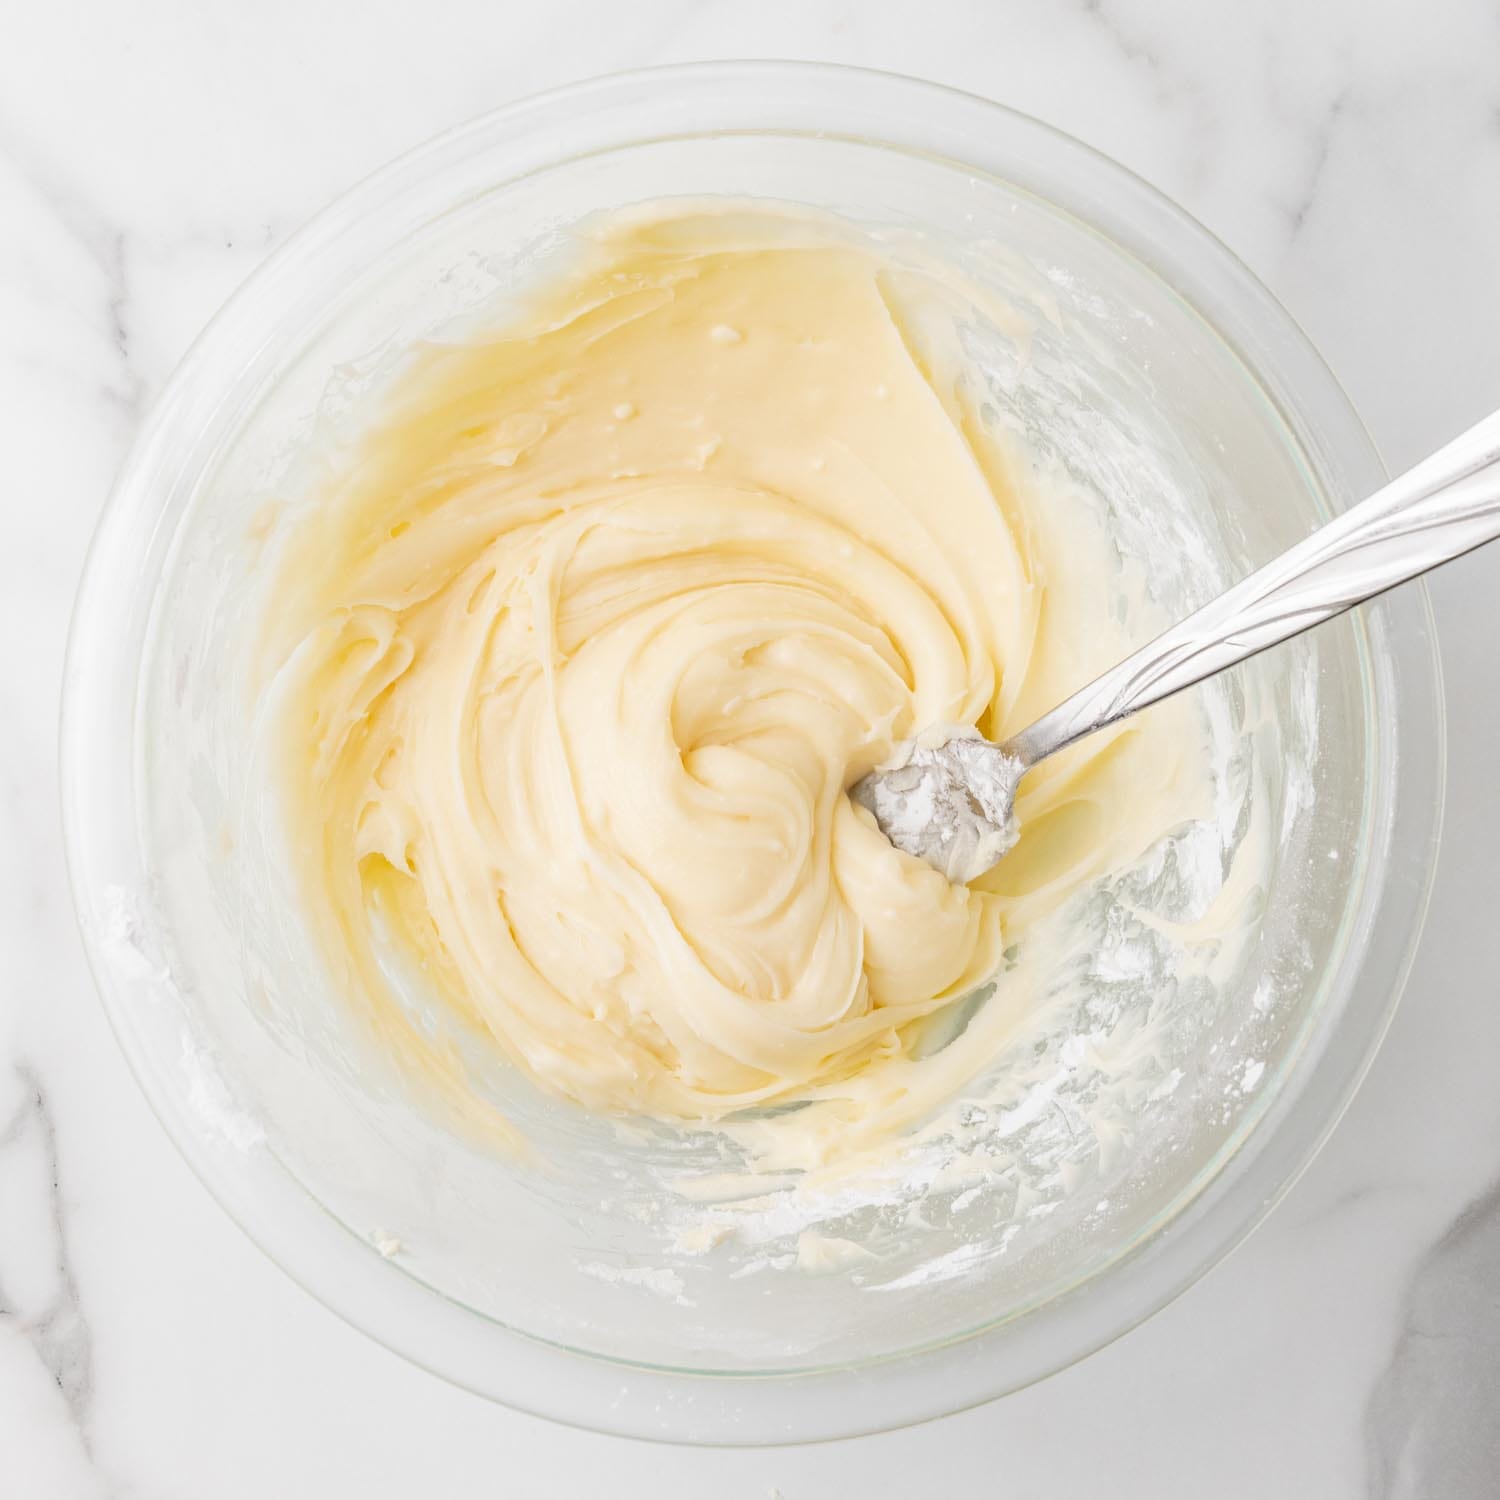
Make the Frosting
- In a medium bowl, mash together the cream cheese and butter until smooth.
- Add the powdered sugar, heavy cream, and vanilla extract. Mix until smooth and creamy.
Assemble the Cake Pops
- Crumble the cooled cake into a large bowl or stand mixer with a paddle attachment. Add the cream cheese frosting and mix until the mixture holds together.
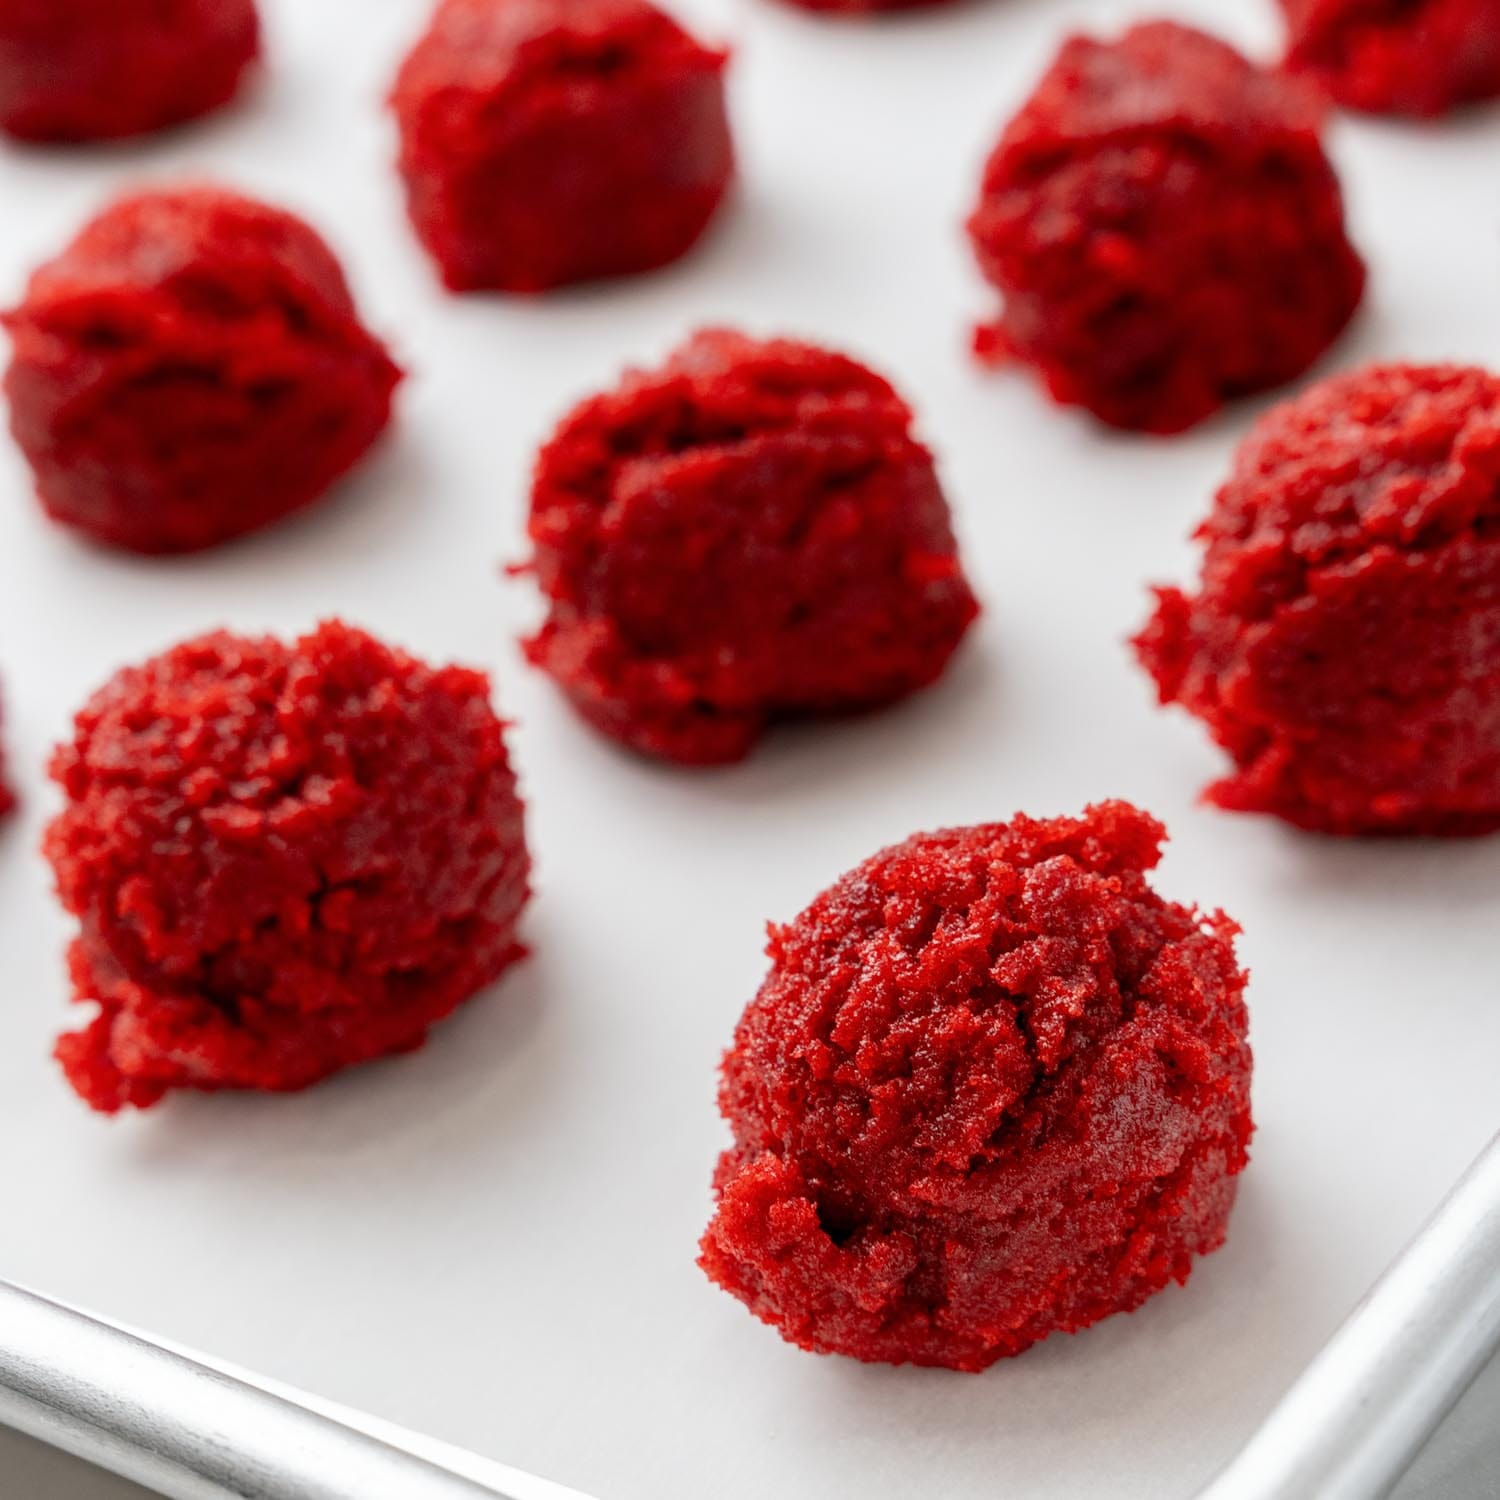
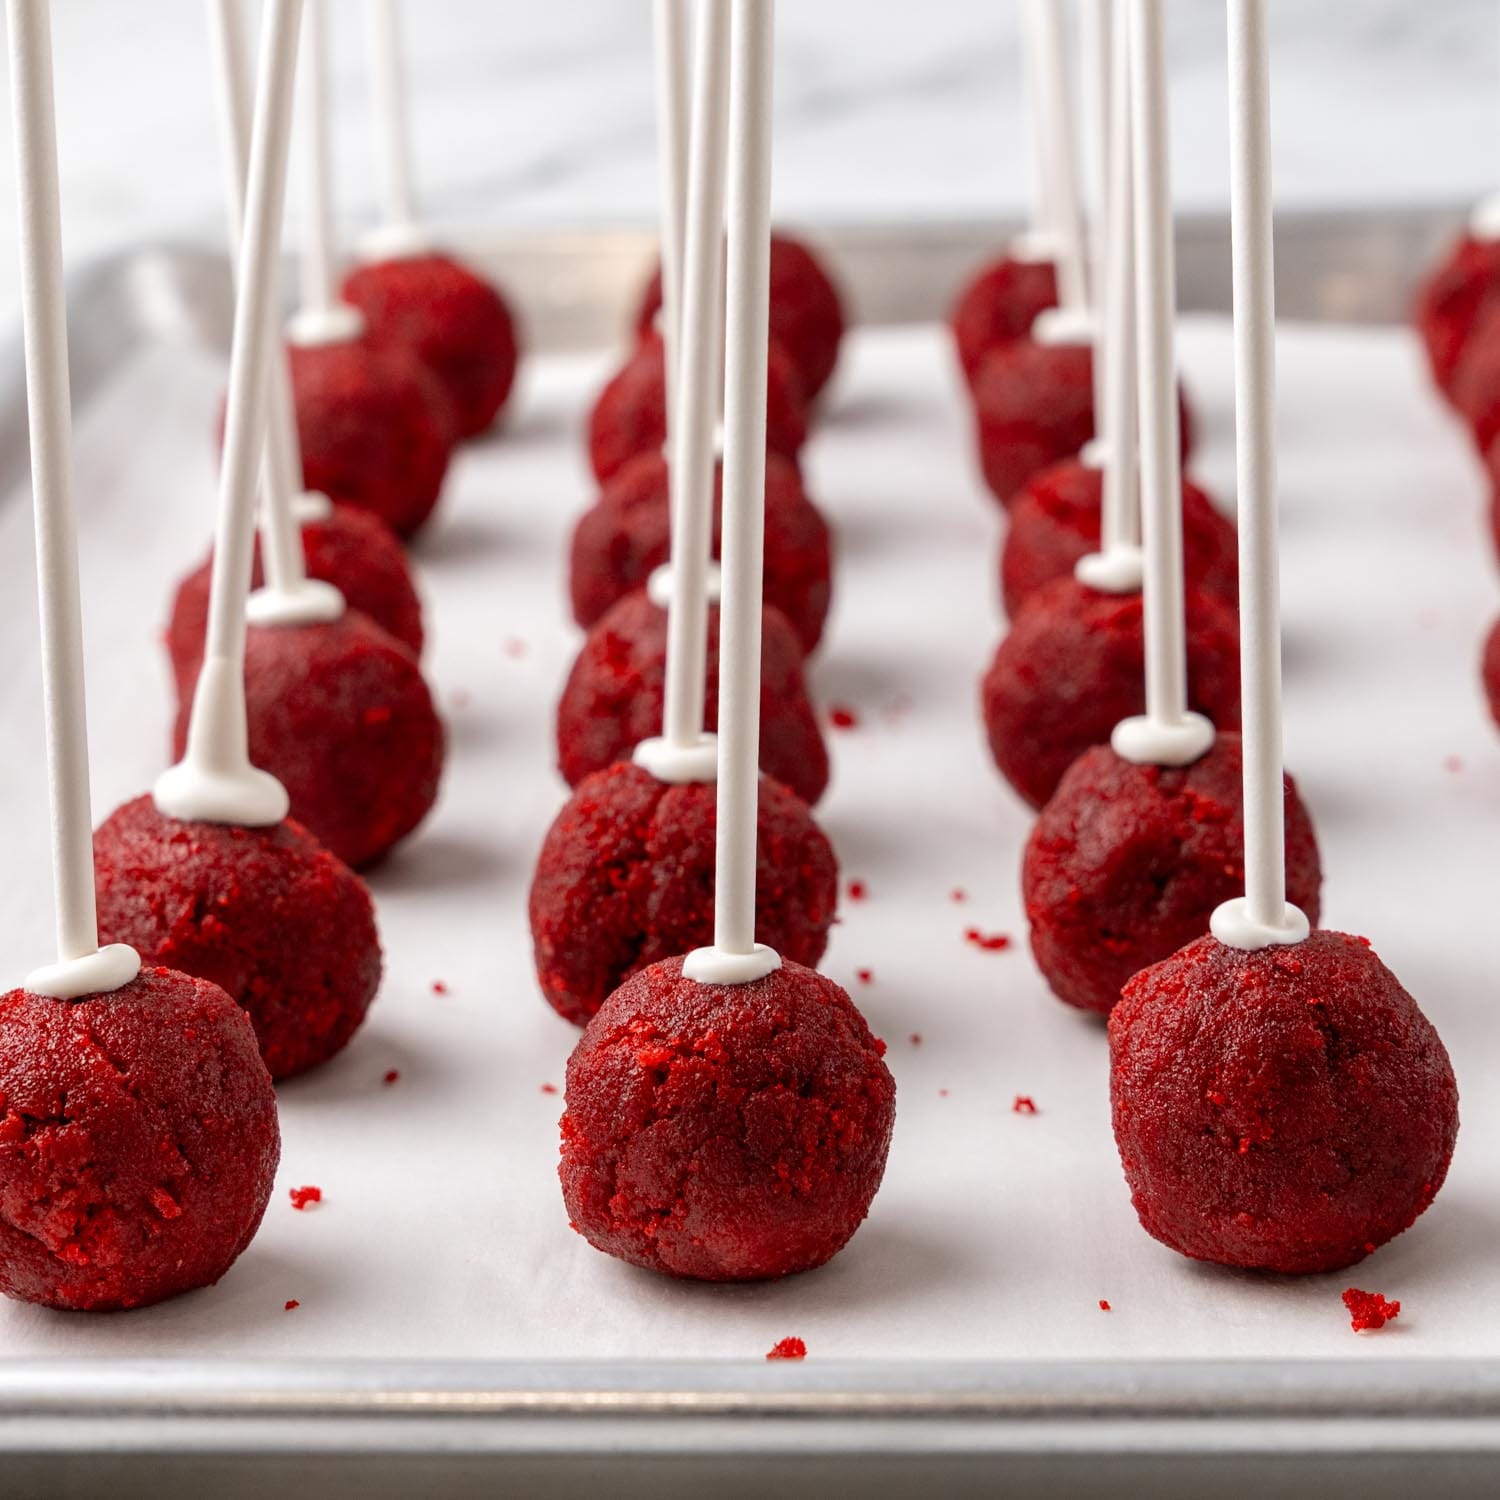
- Use a small cookie scoop to portion the mixture into 48 balls (approximately 1 ½ tablespoons each). Roll the portions into smooth balls and place on a parchment-lined baking sheet. Refrigerate for at least 1 hour.
Coat the Cake Pops
- Melt the white chocolate candy melts in a microwave-safe bowl in 30-second increments, stirring after each, until smooth. If the chocolate is too thick, stir in 1-2 teaspoons of vegetable oil or shortening.
- Dip the tip of each candy stick into the melted chocolate, then insert it halfway into a cake ball. Freeze for at least 20 minutes to secure the sticks.
- Dip each cake pop into the melted chocolate, letting any excess drip off. Place the cake pops stick-side down in a cup or cake pop stand to harden.
- If desired, drizzle additional melted chocolate over the cake pops for decoration.
Notes:
- Keep the mixture cold. The cake and icing mixture or dough needs to stay cold so that it will hold its shape. After rolling it into balls, refrigerate for at least an hour.
- Use a cookie scoop to portion the cake pops mixture so that each one is exactly the same size.
- For the Coating. To thin the melted chocolate wafers, add a teaspoon or two of oil to it. This may or may not be needed, depending on the brand you use. I don’t recommend using regular white chocolate here, the wafers are designed to melt smoothly for applications like this one.
- Take shortcuts. If you want to, use a boxed red velvet cake mix and/or prepared cream cheese frosting. The flavors won’t be quite as good, but you can still have plenty of fun making cake pops with a boxed mix!
Nutrition Information
This website provides approximate nutrition information for convenience and as a courtesy only. Nutrition data is gathered primarily from the USDA Food Composition Database, whenever available, or otherwise other online calculators.
© Little Sunny Kitchen

Leave a Review!