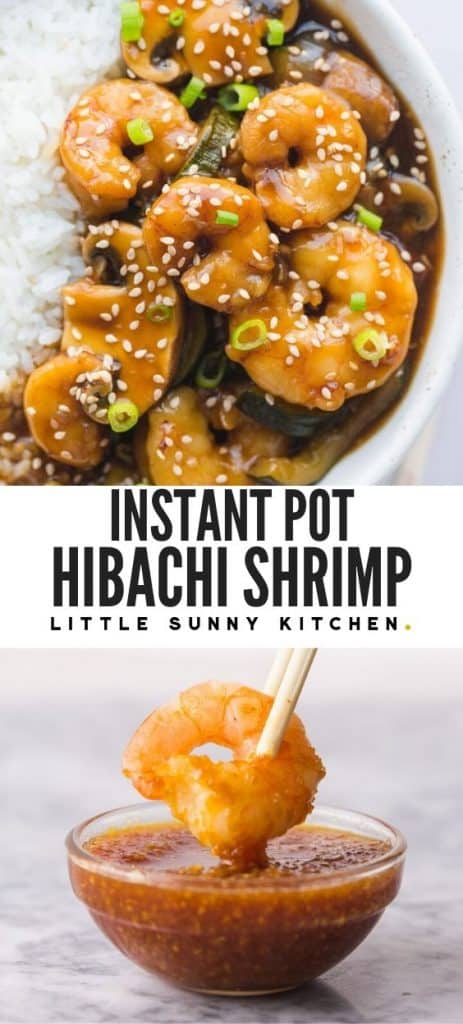
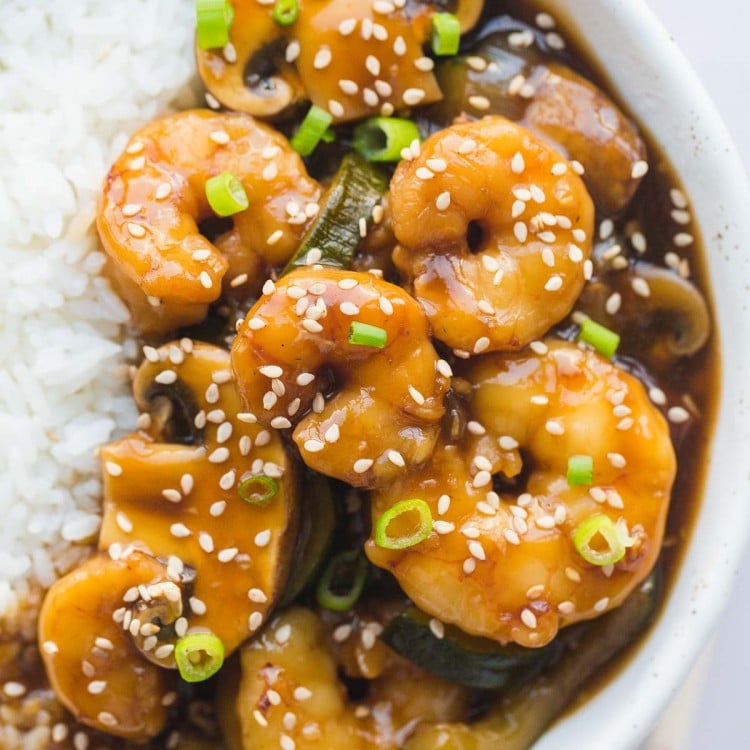
Easy dump and start Instant Pot hibachi shrimp cooked in 0 minutes on low pressure!
The sauce is made with soy, ginger, garlic, and sesame oil. It’s so tasty that doubling the amount might be a good idea!
Our Instant Pot Hibachi recipes are so popular, so it’s about time to share a shrimp version. You guys loved my Instant Pot hibachi steak, as well as the Instant Pot chicken hibachi version, so here I am sharing the shrimp one with you because I know that you will love it!
Shrimp is cooked in a tasty sauce for 0 minutes on low pressure, which means that the pressure cooker needs to come to pressure—that’s it! Shrimp cooks very quickly, which will also ensure that the veggies stay a bit firm.
What is Hibachi Cooking?
The word hibachi is Japanese and translates to “Firepit”, it refers to both the grill that is used and to the dish.
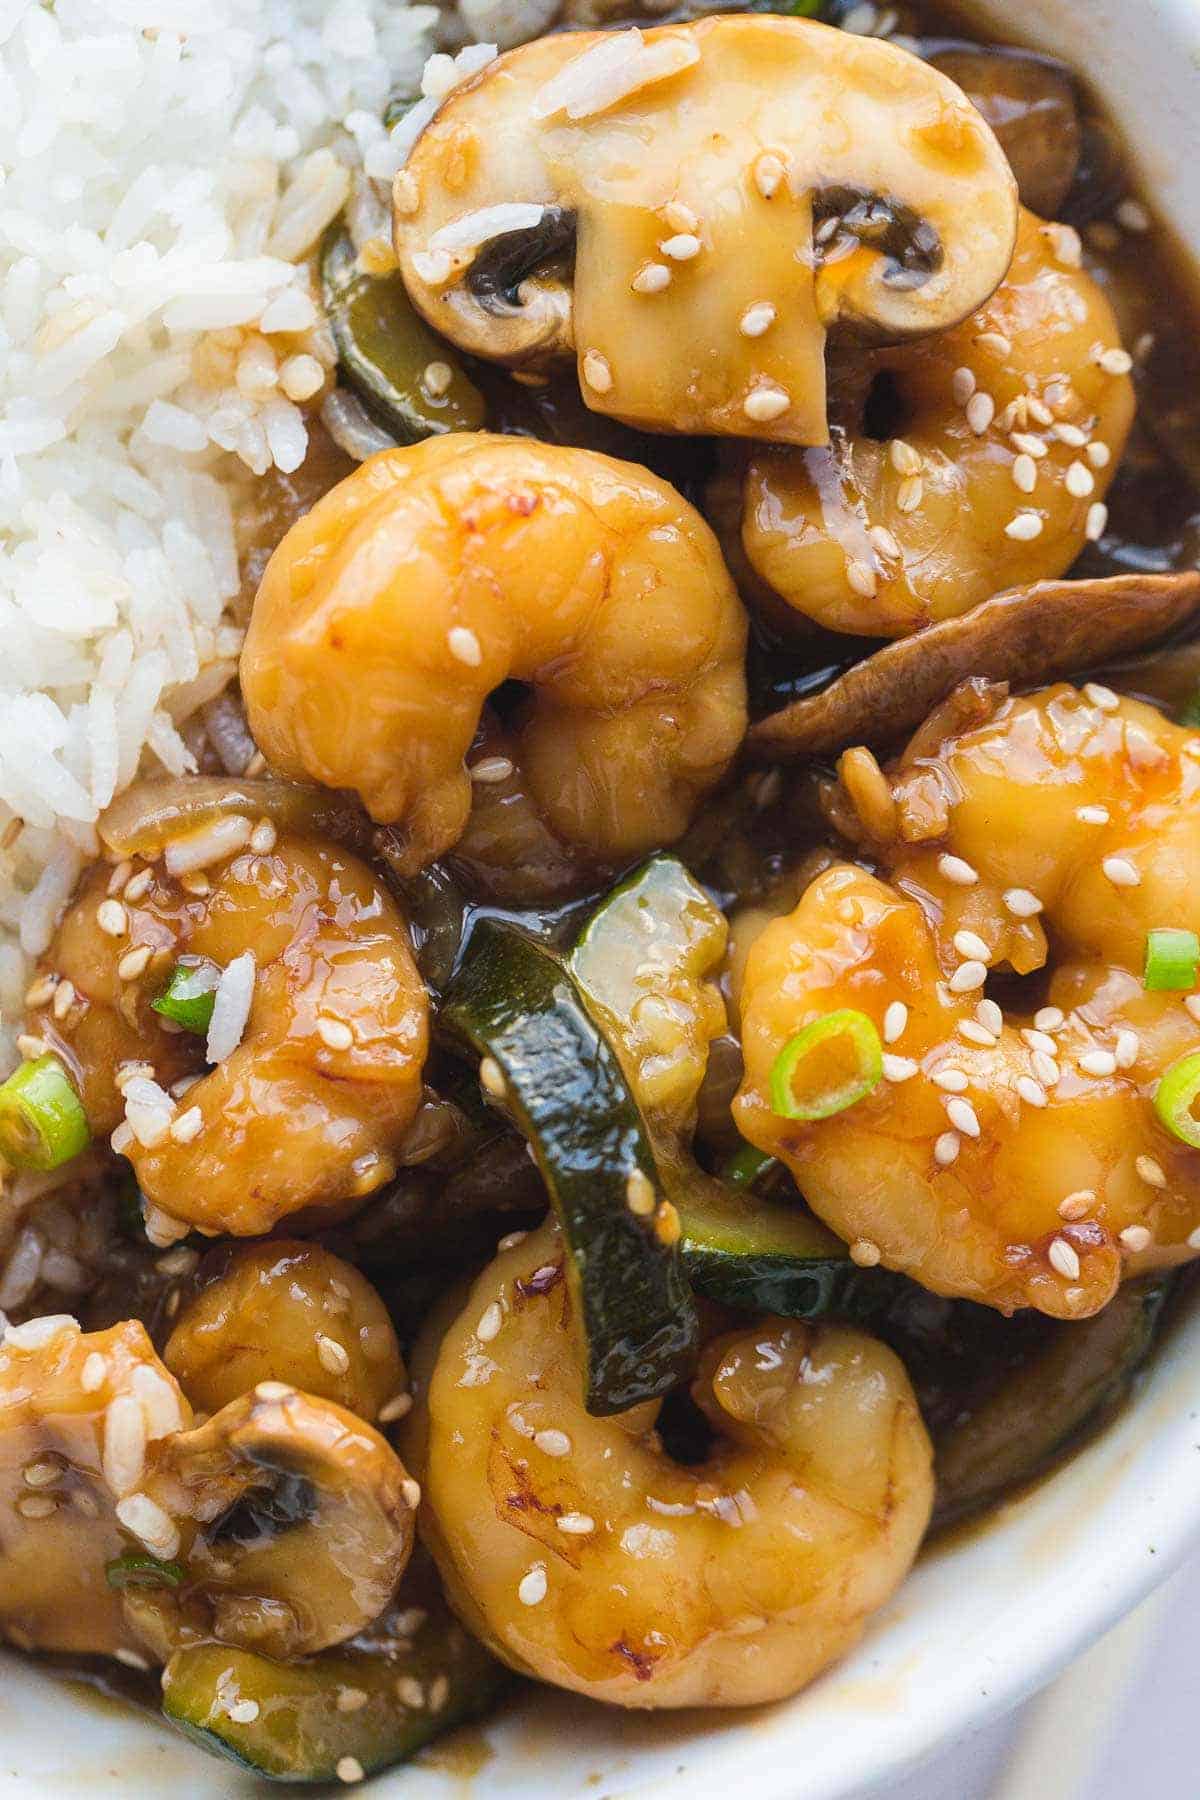
To make a hibachi-style dish, you will need either meat, seafood, or poultry, and sliced vegetables (the most common veggies used are onions, mushrooms, zucchini, soy sauce, and ginger. This dish is usually served with rice and garnished with toasted sesame seeds.
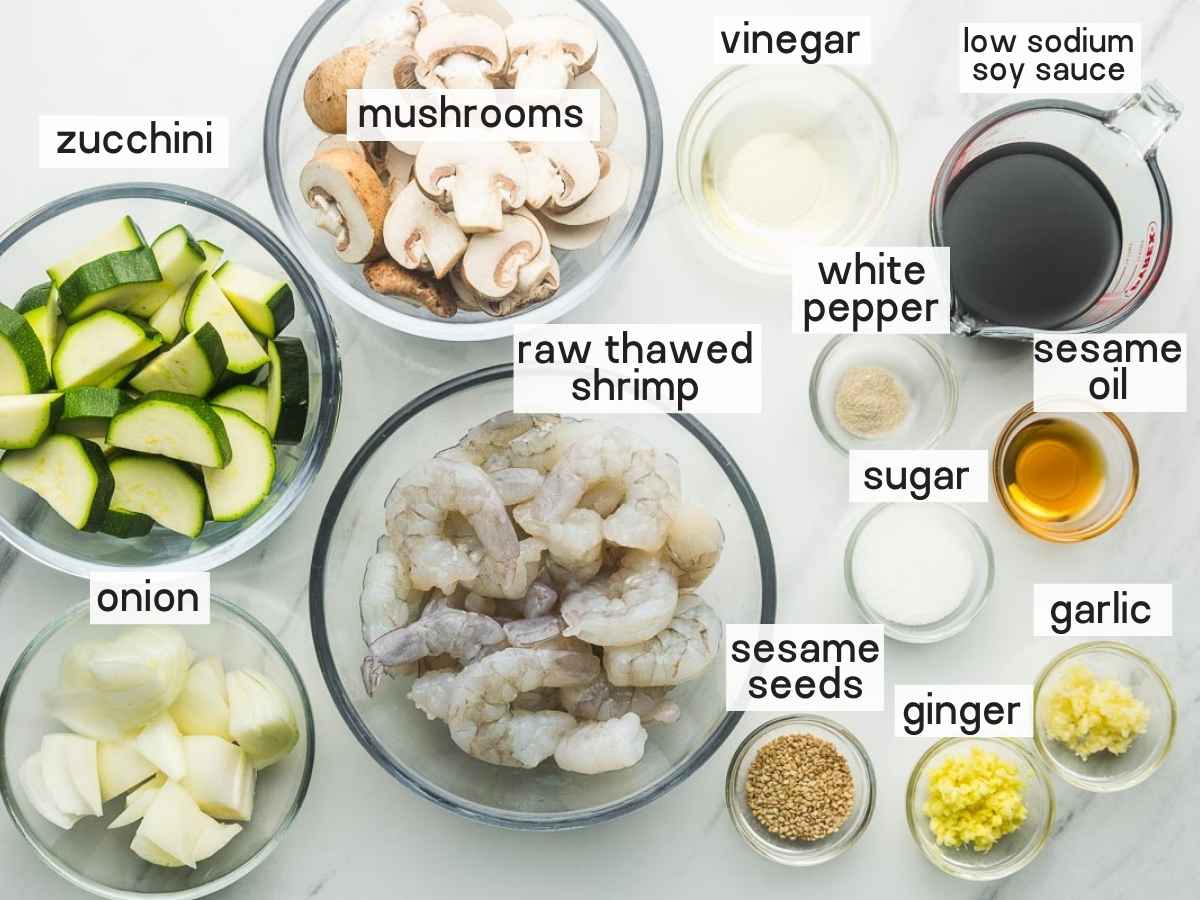
The Ingredients
- Shrimp – use raw, thawed shrimp. Preferably jumbo shrimp.
- Mushroom, zucchini, and onion.
- Ginger and garlic – I prefer to use fresh garlic and ginger for better flavor. If you don’t have fresh ginger, substitute with 1/3 teaspoon of ground ginger.
- Soy sauce – use low-sodium soy sauce as otherwise, your dish might turn out too salty.
- Vinegar – I use rice wine vinegar. Substitute with apple cider vinegar.
- Sugar – you can use granulated sugar, brown sugar, honey, or maple syrup.
- White pepper – substitute with ground black pepper.
- Sesame oil and toasted sesame seeds.
Complete list of ingredients and amounts can be found in the recipe card below.
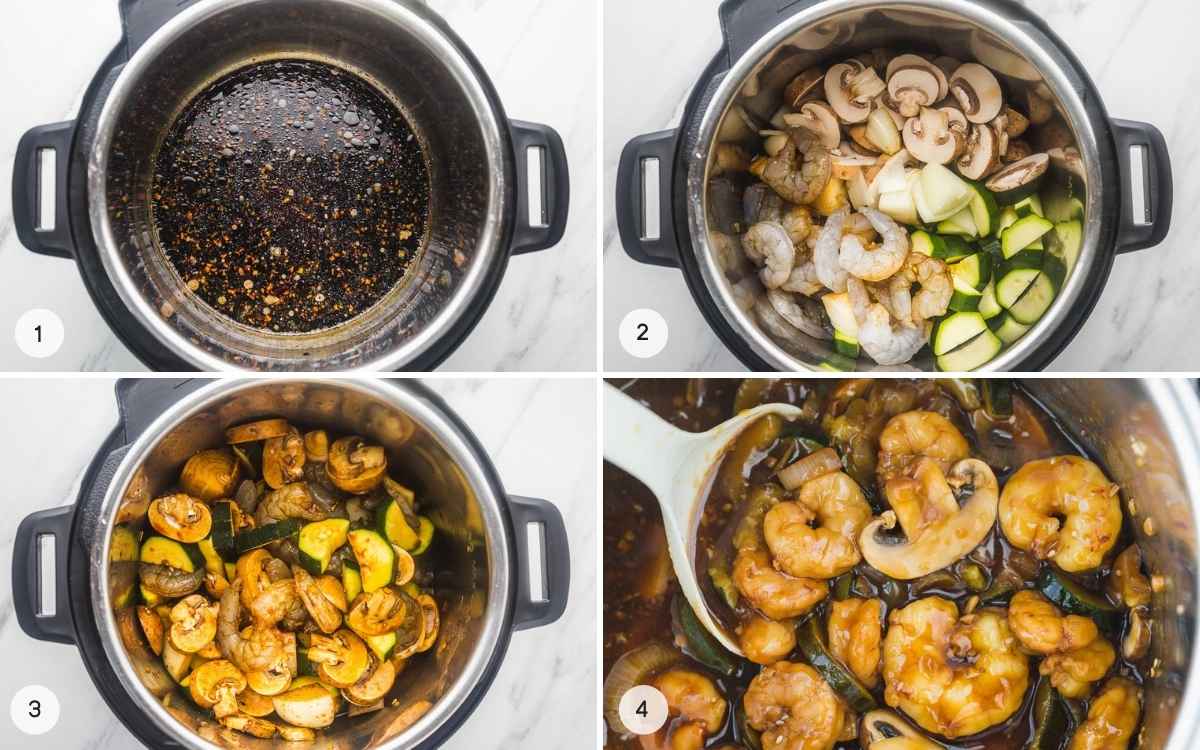
How to Make Hibachi Shrimp in the Instant Pot
- Start by slicing the onion, the zucchini, and the mushrooms. Make sure that the slices are quite thick, otherwise, the veggies can become mushy.
- As you prep the veggies and cook this in the Instant Pot, cook the rice over the stovetop or in another Instant Pot so that it’s ready at the same time as the hibachi shrimp. I usually make Instant Pot white rice (so easy and perfect every time!).
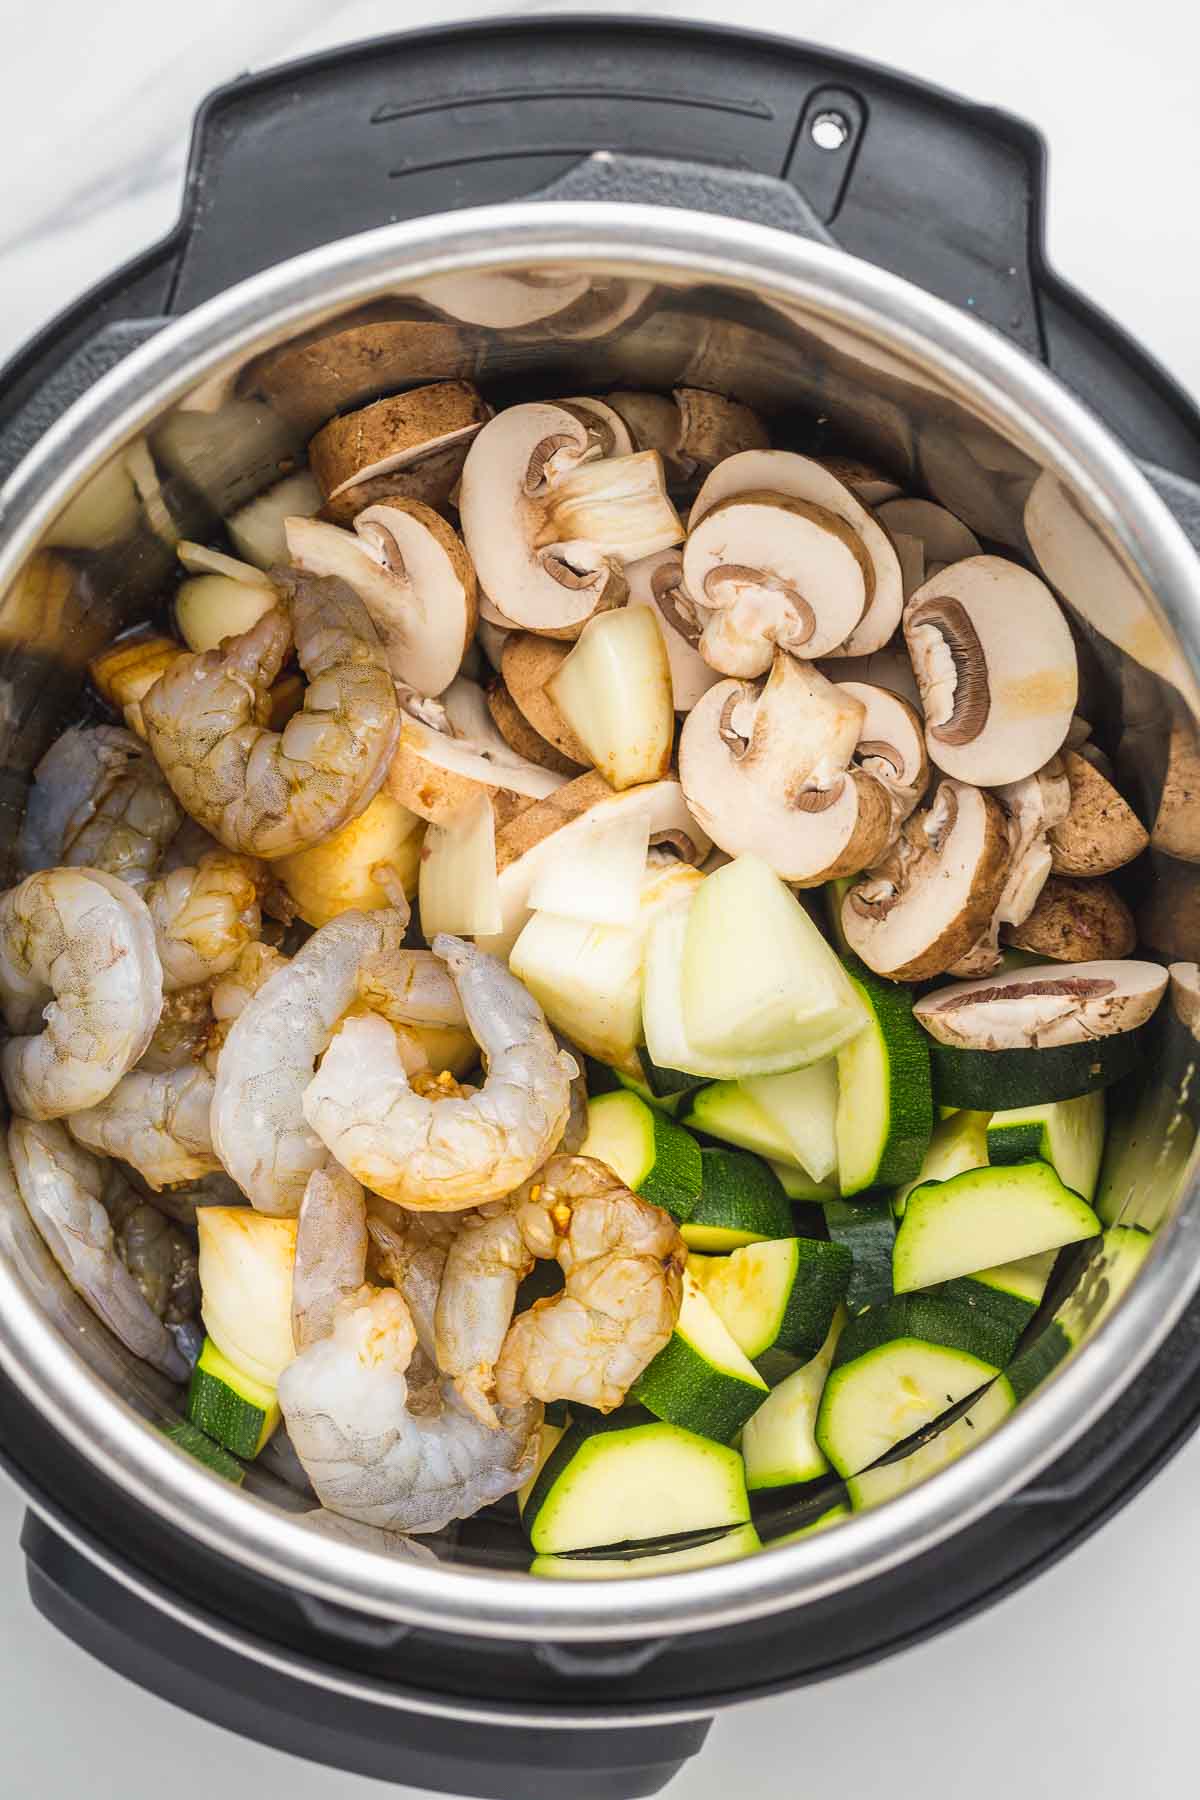
- Add the sauce ingredients to the bottom of the pot, followed by the veggies and the shrimp, and give everything a quick mix.
- Cover with the lid, seal the vent, and cook on low pressure for 0 minutes.
- Once the cooking is finished, quickly release the steam and carefully remove the lid.
- Thicken the sauce (read below).
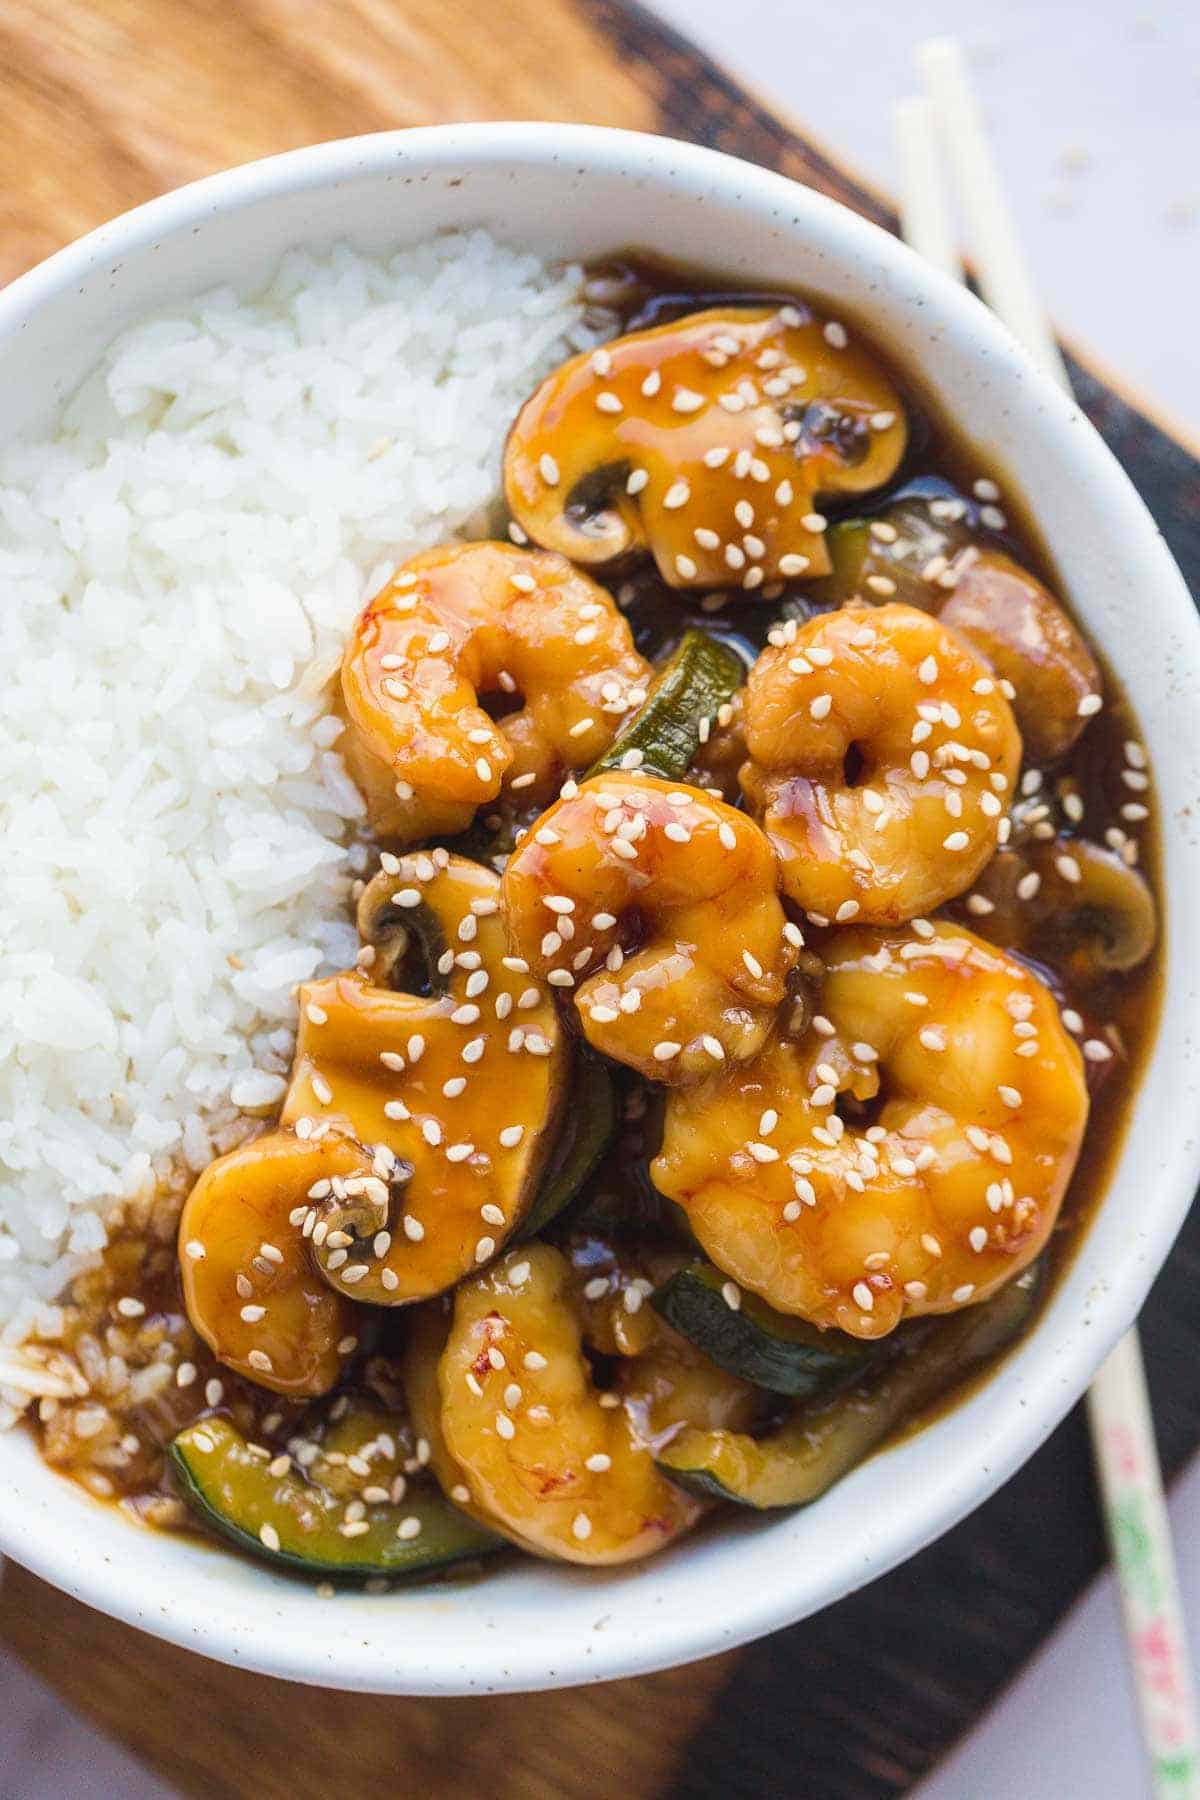
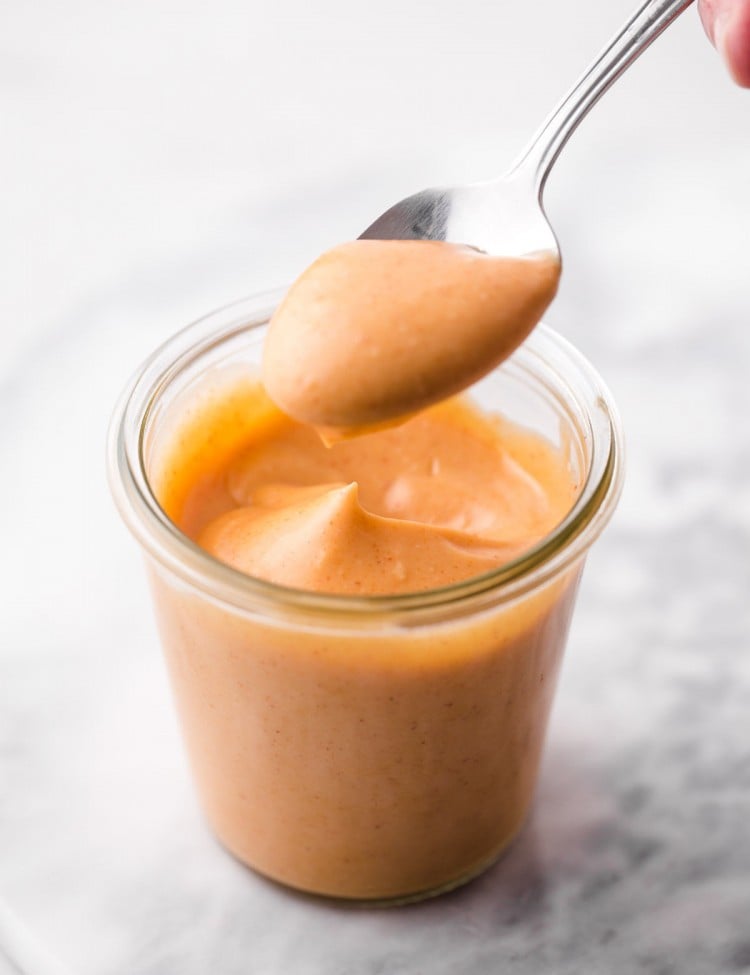
- Serve with Instant pot rice and yum yum sauce!
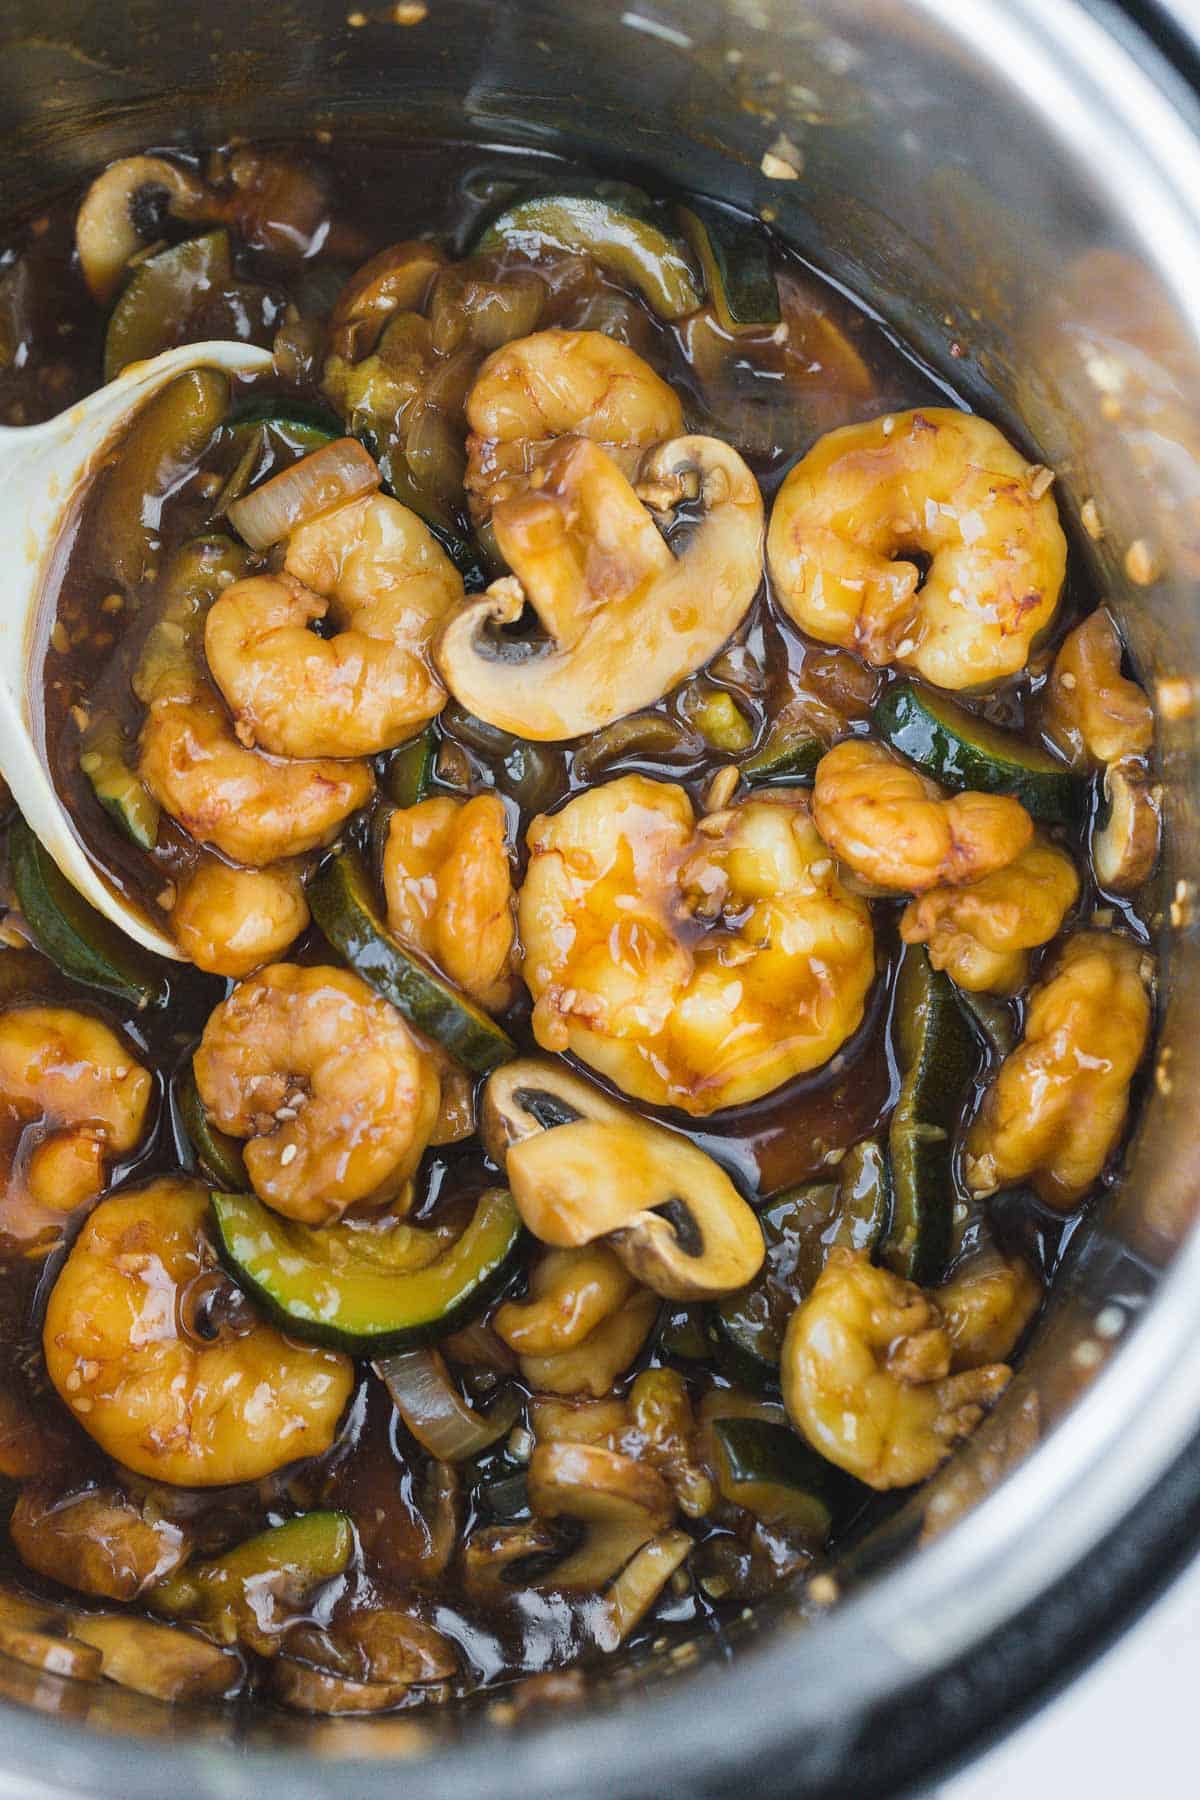
How to Thicken the Sauce?
You have 2 choices: you either take the veggies out of the pot or leave them in. Note, that the veggies might become quite soft if cooked for longer.
Add cornstarch slurry which is 1 tablespoon of cornstarch mixed with 1 tablespoon of water (room temperature).
Press on SAUTE mode on the Instant Pot, and add in the slurry. Mix with a wooden spoon as the mixture simmers, and the sauce will be thickened. If, for some reason, the sauce is not thick enough, add one more 1 tablespoon of slurry and cook for 1 more minute.
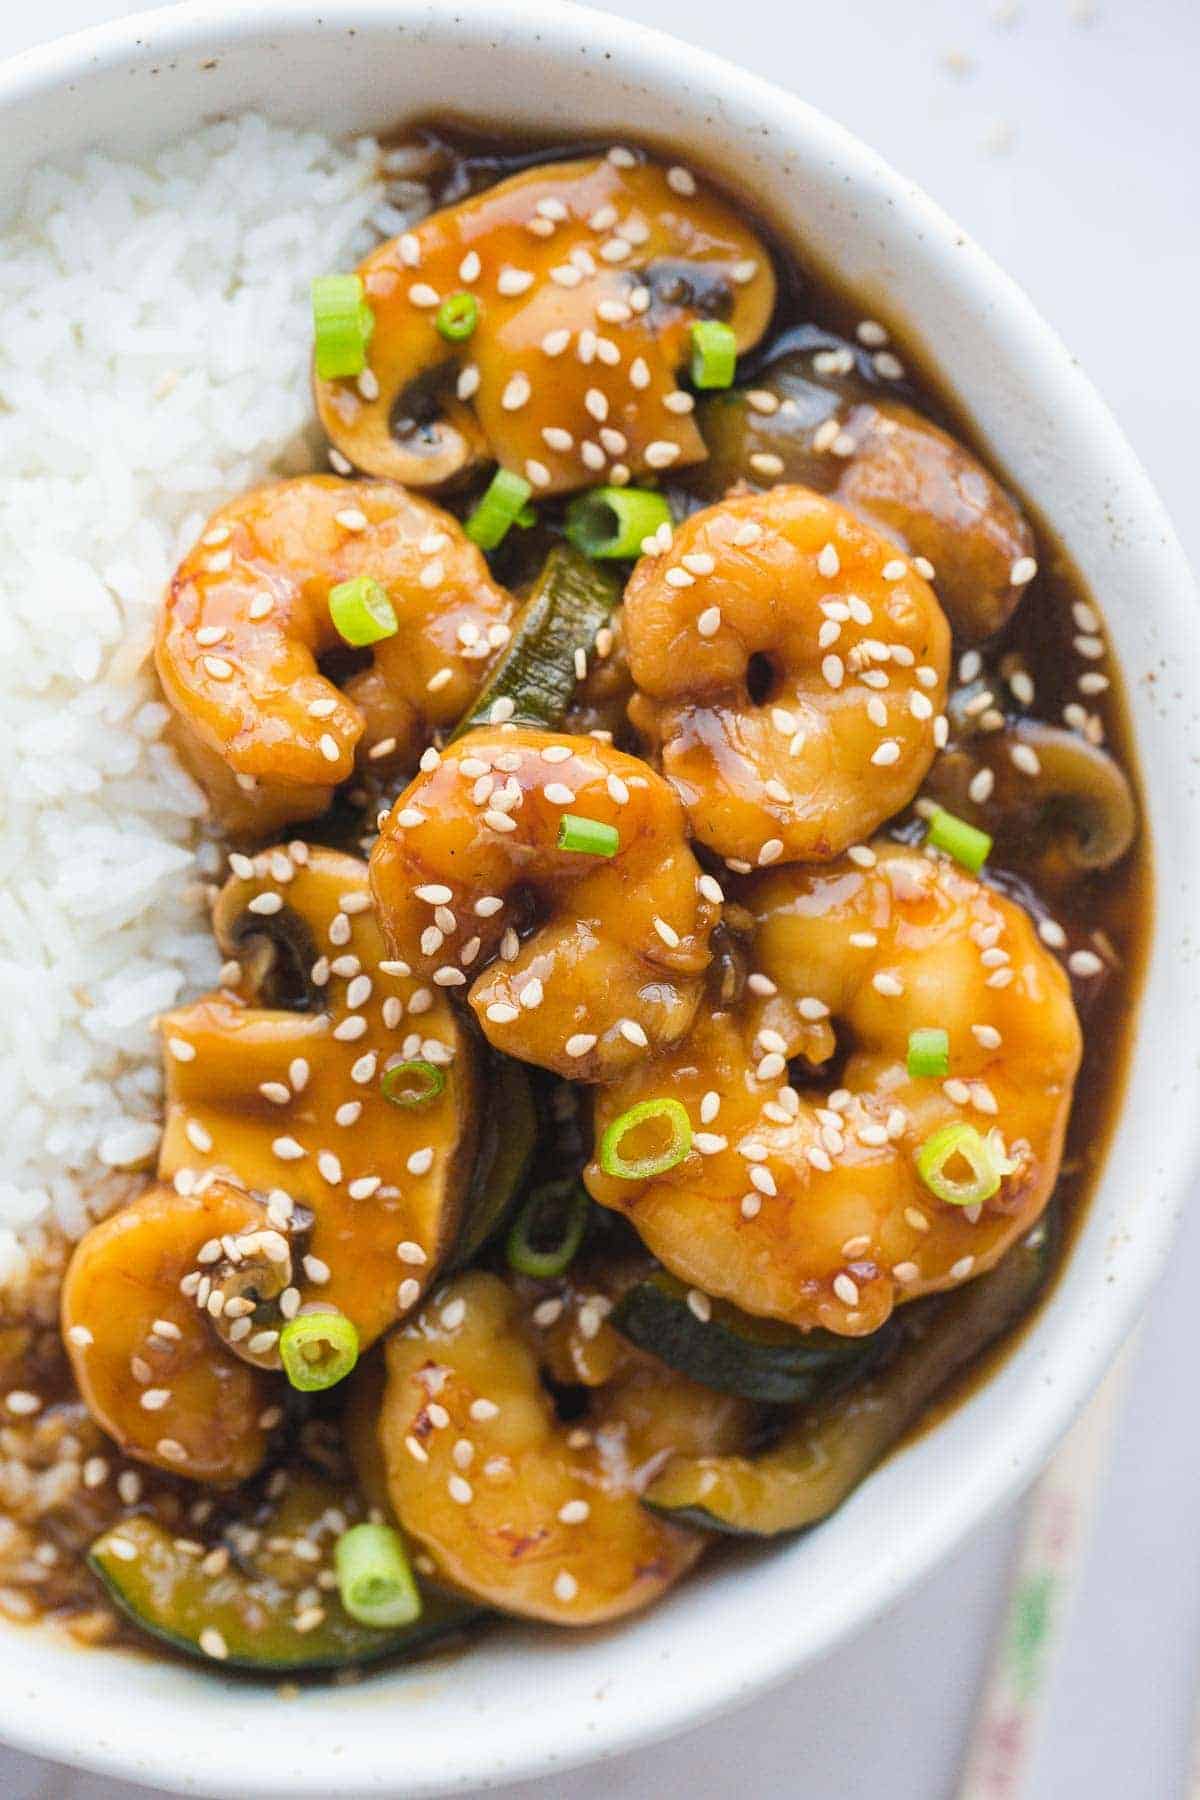
Serve over white rice, garnish with chopped green onion or parsley and sesame seeds.
Difference Between Using Raw and Frozen Shrimp
When you use frozen shrimp, the Instant Pot will take longer to come to pressure. In that case, the zucchini might be overcooked and become a bit mushy. If you don’t mind that then just add all of the ingredients at once and follow the instructions in the recipe card below.
If you like your vegetables a bit firm, add them after pressure cooking and cover with the lid to let them steam for a few minutes before serving.
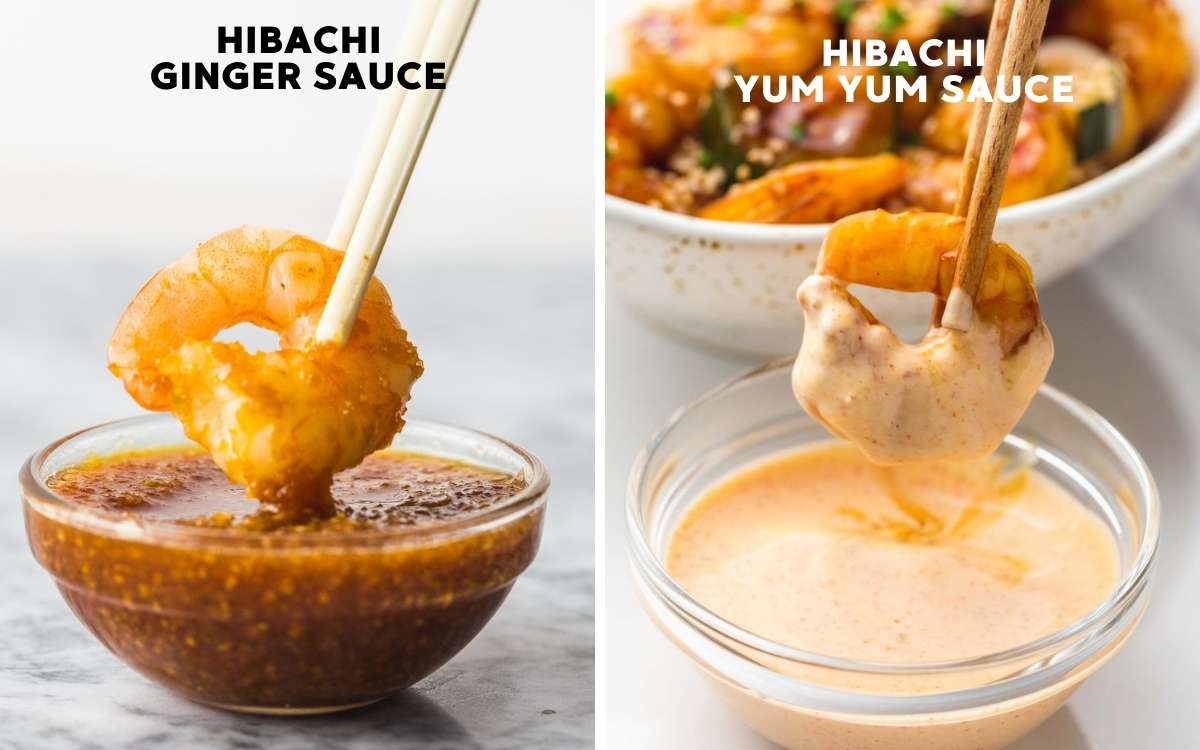
Hibachi Sauces
If you’ve been to a Japanese steakhouse before, you probably already know and love these sauces:
More Great Instant Pot Recipes
- Instant Pot chicken and shrimp Rasta Pasta
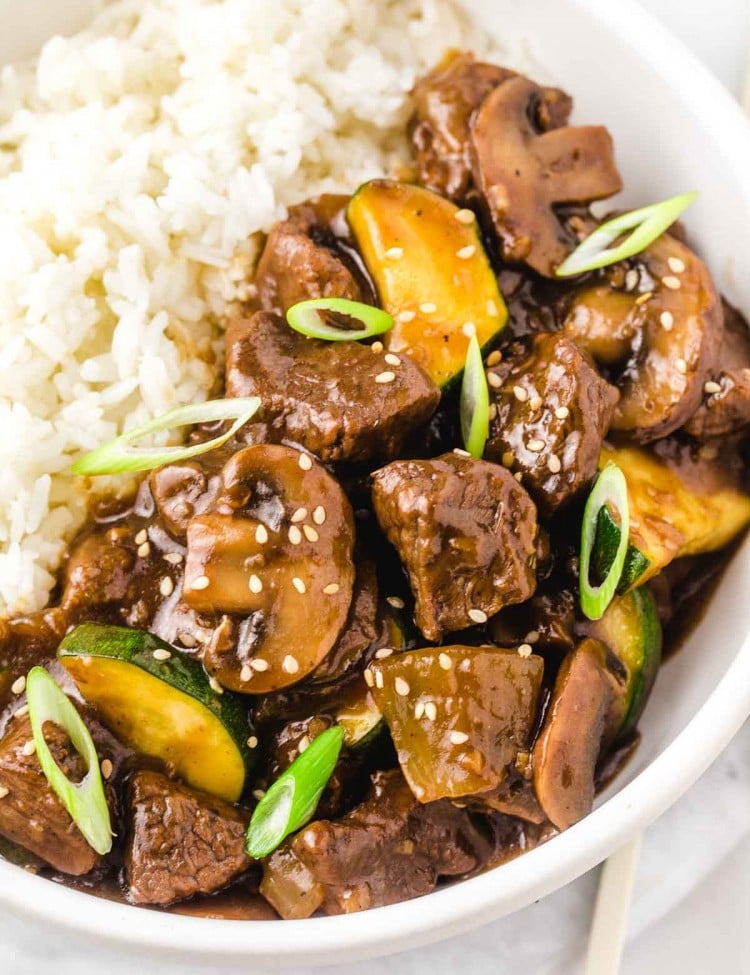
- Instant Pot hibachi steak
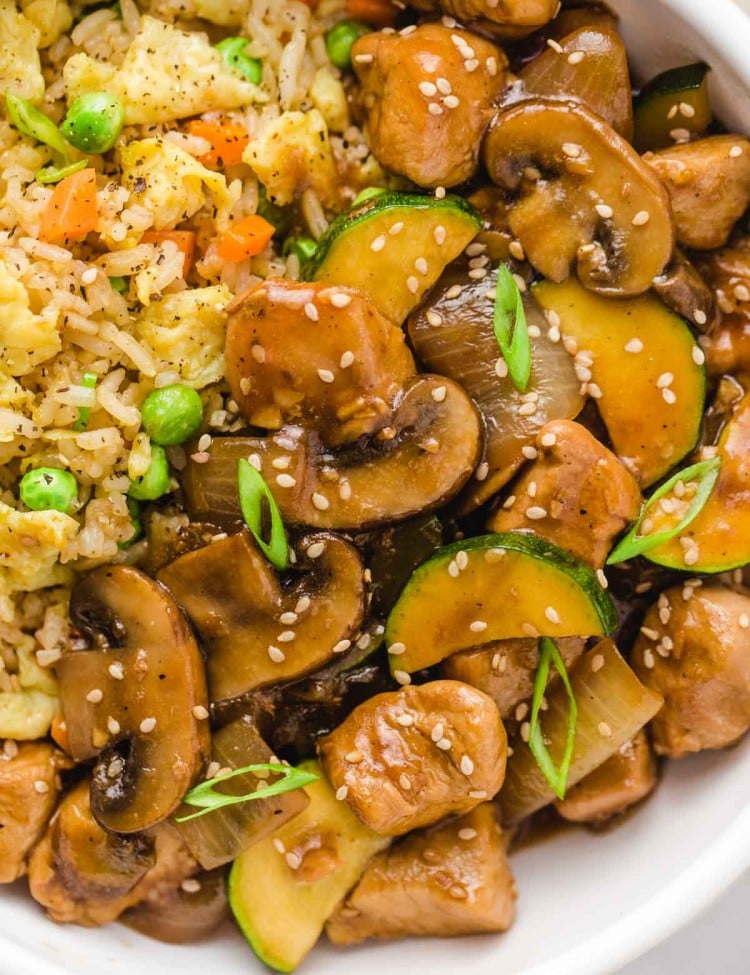
- Instant Pot hibachi chicken
- Instant Pot beef and broccoli
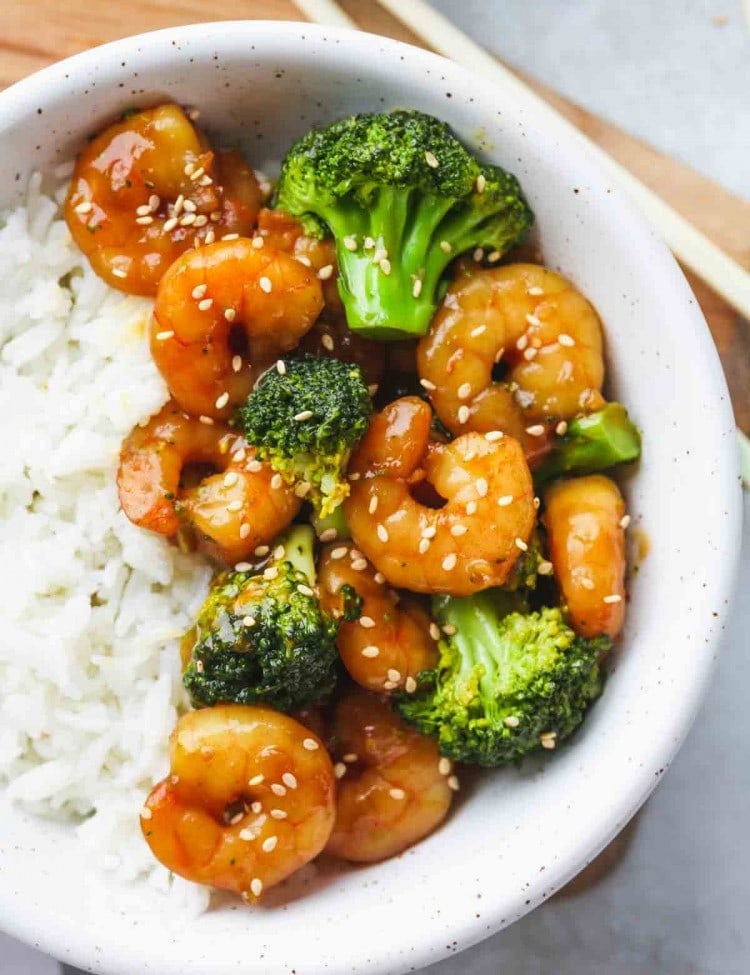
- Instant Pot shrimp and broccoli
- Instant Pot sesame chicken
- Instant Pot cube steak and potatoes
- Or check out my Instant Pot recipe collection!
Did you make this? Be sure to leave a review below and tag me on Facebook, Instagram, or Pinterest!
Instant Pot Hibachi Shrimp
Recipe Video
Equipment
Ingredients
For the sauce:
- ¼ cup low sodium soy sauce
- ¼ cup water
- 2 tablespoons rice wine vinegar or rice vinegar, or apple cider vinegar
- 1 tablespoon fresh ginger grated
- 1 tablespoon garlic minced (about 2 cloves)
- 1 tablespoon granulated sugar or honey or maple syrup
- 1 teaspoon toasted sesame oil
- ¼ teaspoon ground white pepper or ground black pepper
For the shrimp and vegetables:
- 24 oz (680g) thawed raw shrimp
- 1 zucchini sliced in ¼-inch rounds then halved
- 1 yellow onion quartered into wedges then halved
- 6 mushrooms sliced in ¼-inch slices
To Garnish:
- green onion, chives, or parsley chopped
- toasted sesame seeds
For the cornstarch slurry
- 1 tablespoon cornstarch use more if needed
- 1 tablespoon water
Instructions
- Add the sauce ingredients to the Instant Pot. Soy sauce, water, rice wine vinegar, ginger, garlic, sugar, sesame oil, and white or black pepper.
- Then add the shrimp, onion, zucchini, mushrooms.
- Cover with the lid, make sure that the valve is in sealing position. Press on manual or pressure cook, and cook on LOW for 0 minutes. When the cooking is finished, quickly release the steam and carefully remove the lid. (If the sauce is not thick enough, then remove the vegetables or leave them in, and add the slurry which is 1 tablespoon of cornstarch mixed with 1 tablespoon of water, and cook on saute for 1 minute, then return the veggies after the sauce is thickened).
- Serve over rice and garnish with toasted sesame seeds and chopped green onion or parsley.
Notes:
- It’s important to use low-sodium soy sauce.
- It is best to use raw thawed shrimp for best results.
- Make sure that you slice the zucchini and mushrooms into thick slices (¼-inch slices), as otherwise, they will become mushy. If you prefer a firmer texture, then cook them separately in a pan and add them to the shrimp and sauce at the end.
- Initially, the recipe called for half a cup of low-sodium soy sauce, but we decided to change this to just fourth a cup after we received feedback that the sauce turned out too salty.
Nutrition Information
This website provides approximate nutrition information for convenience and as a courtesy only. Nutrition data is gathered primarily from the USDA Food Composition Database, whenever available, or otherwise other online calculators.
© Little Sunny Kitchen
Jill says
This says cook on low for 0 minutes. What is the cooking time in the first step?
Thank you!!!
Diana says
Hi Jill, you set the cooking time at “0” minutes, so the instant pot will come to pressure and that’s it. Longer than that and the shrimp will be overcooked. I hope this helps.
Julie Peterson says
Many Instant Pots and Pressure cookers won’t let you set the time for 0 minutes, so what you have to do is set it for 1 minute, but make sure you stay close enough to it that you can hear the beep that it makes to indicate that it has reached pressure, then hit cancel and do the quick release immediately.
Sandy says
I’m very pleased with the way this turned out. I had some fresh pineapple and some cashews, so I threw them in, too. Served over quinoa cooked with broth. Everybody loved it!
Carly says
Turned out great, wondering if it can be frozen after cooking?
Dianna Ailstock says
Want to try this!!!
Diana Shugart says
This was so good I did 14 servings over a bed of rice.love it