
This classic hummus is creamy, flavorful, and ready in minutes. Made with chickpeas, tahini, lemon, and garlic, it’s perfect with pita, crackers, or fresh veggies. Homemade tastes fresher and richer than store-bought, and you can easily make it smooth and silky every time.


The Creamy Hummus I Grew Up With
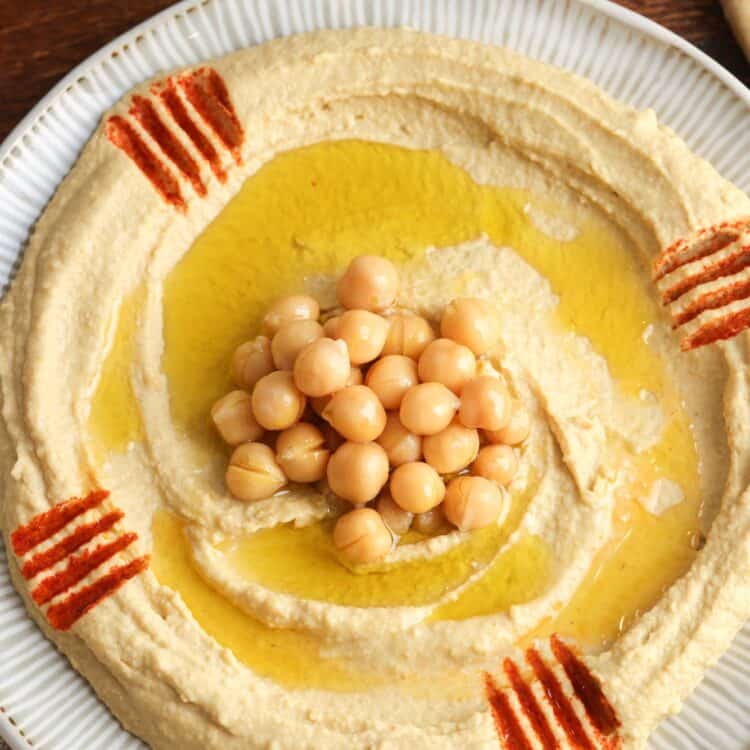
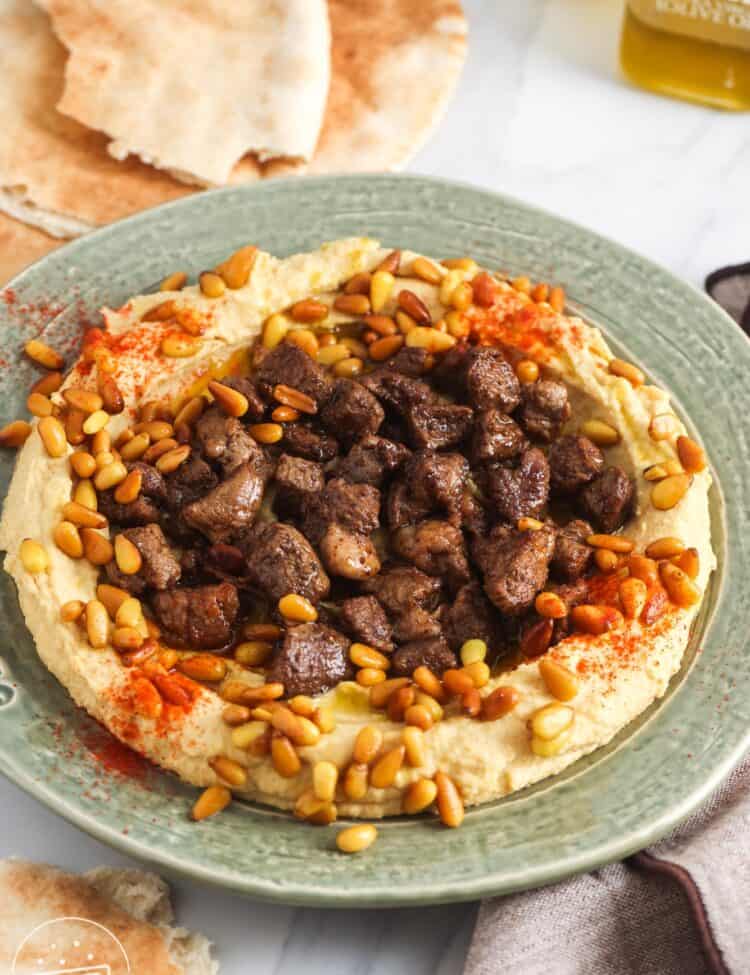
This is the hummus I’ve been eating for as long as I can remember. A good one should be creamy, pale in color, with just the right balance of garlic and lemon. We always enjoyed it with the freshest pita bread we could find, and it was a regular part of our mezze table. For breakfast, we’d have it alongside labneh, falafel, ful medames, and sweet mint tea. For dinner, it often appeared as part of a spread with tabbouleh, olives, mutabal, and more. On special occasions, we’d top it with spiced meat and pine nuts for an extra treat. This is truly the best hummus that you will ever make. Enjoy!
Ingredient Notes
- Chickpeas: Cook from dry or use canned. If using canned, choose low-sodium, drain, and rinse well.
- Tahini: Use a smooth, pourable tahini made from 100% sesame seeds. Stir well before measuring.
- Lemon Juice: Freshly squeezed lemon juice gives the best flavor and brightness.
- Garlic: Fresh garlic cloves add a sharp, savory kick.
- Olive Oil: I always use the best quality extra virgin olive oil that I can find. It’s usually darker in color and has more flavor.
- Paprika: Optional garnish for color and a mild smoky or sweet note.
Making Hummus with Dried Chickpeas
Dried chickpeas cost less than canned, even organic ones. Soak them in plenty of water for at least 8 hours or up to 24 hours. If needed, you can keep soaking for up to 2 days, changing the water daily. Drain, then cook in fresh water until tender, about 1 hour on the stovetop or 20 minutes in a pressure cooker.
Did you make this? Be sure to leave a review below and tag me on Facebook, Instagram, or Pinterest!
Best Easy Hummus Recipe
Recipe Video
Equipment
- Measuring spoons and cups
Ingredients
- 1 15 ounce can (425 g) chickpeas drained and rinsed
- 2 small cloves garlic
- 1 tablespoon (15 g) extra-virgin olive oil plus more for serving
- 2 tablespoons (30 g) tahini
- 1 tablespoon (15 ml) lemon juice
- 1 teaspoon ground cumin
- ½ teaspoon salt
- Ice-cold water as needed for consistency
- Paprika for garnish, optional
Instructions
- Place the chickpeas, garlic, olive oil, tahini, lemon juice, cumin, and salt in a food processor. Blend until smooth.

- With the motor running, gradually add ice-cold water, 1 tablespoon (15 ml) at a time, until the hummus is creamy and reaches your desired consistency.
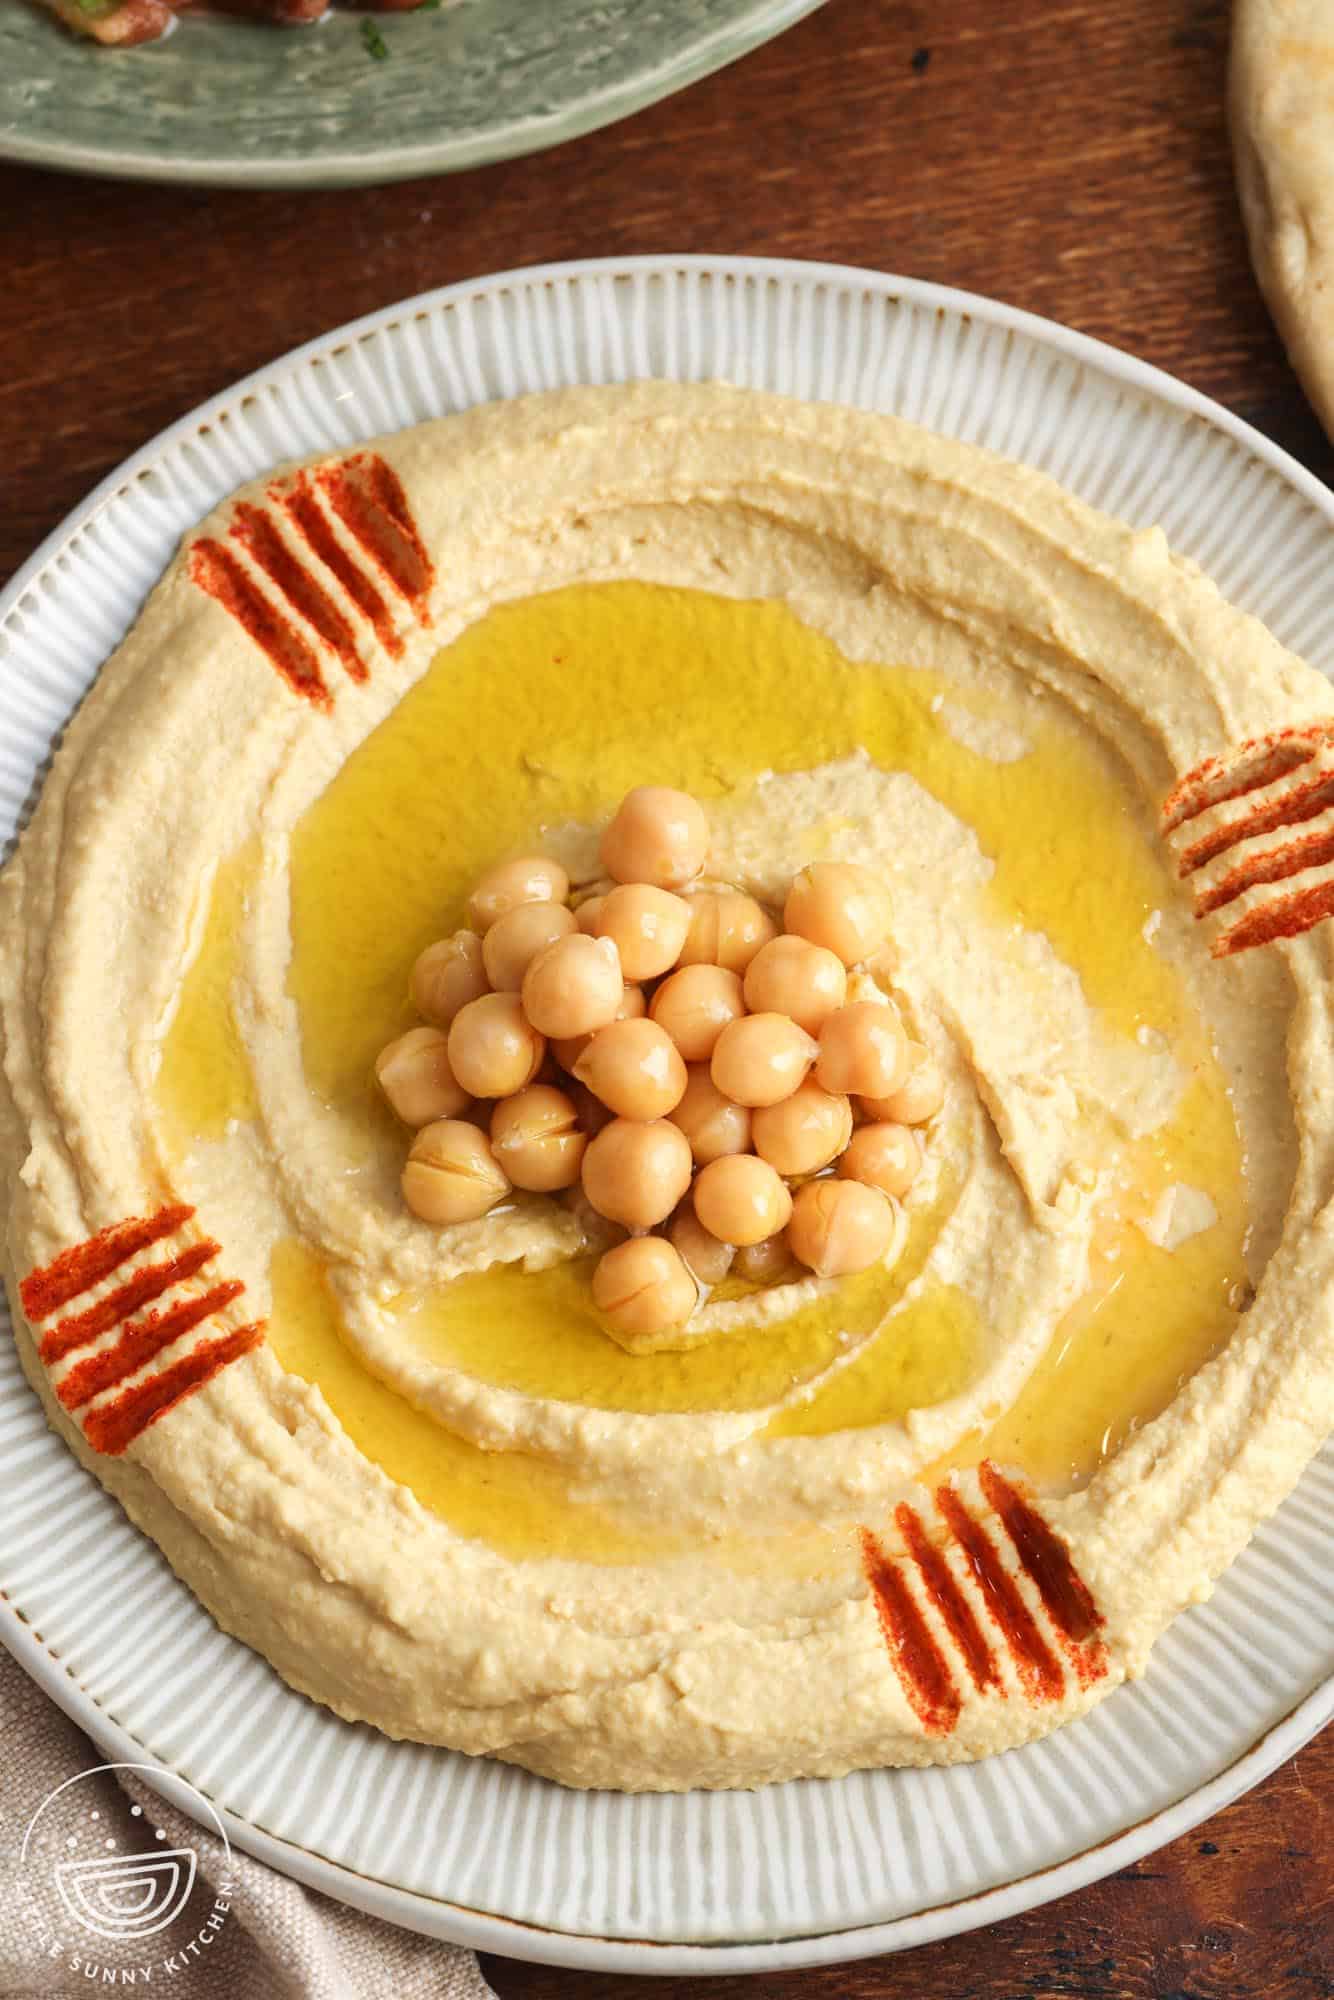
- Transfer to a shallow serving dish and smooth the surface with the back of a spoon.
- Add a small pile of whole chickpeas in the center for garnish. Dip the tips of a fork in paprika and press gently onto the hummus to create decorative lines. Drizzle with extra virgin olive oil, and serve with fresh pita bread.


Nutrition Information
This website provides approximate nutrition information for convenience and as a courtesy only. Nutrition data is gathered primarily from the USDA Food Composition Database, whenever available, or otherwise other online calculators.
© Little Sunny Kitchen
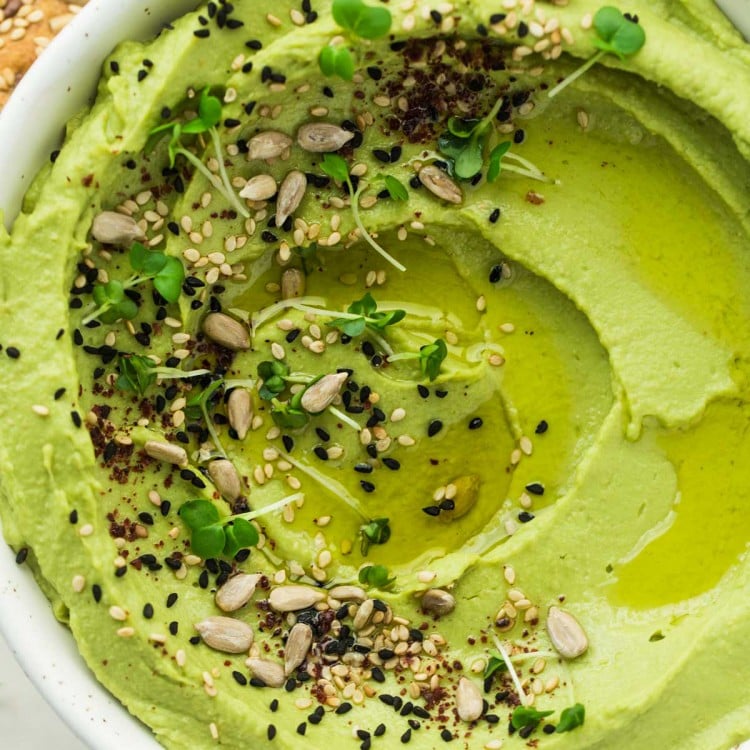
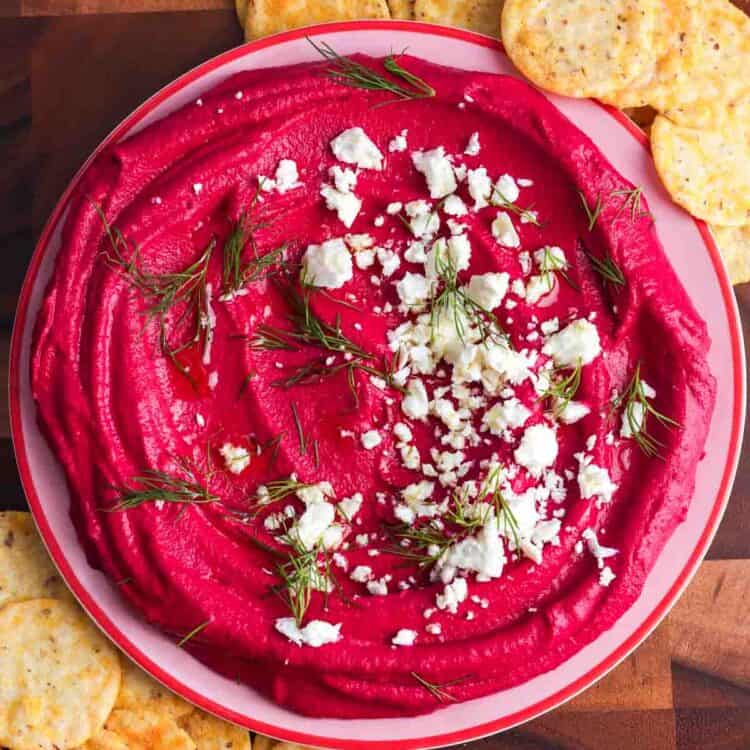
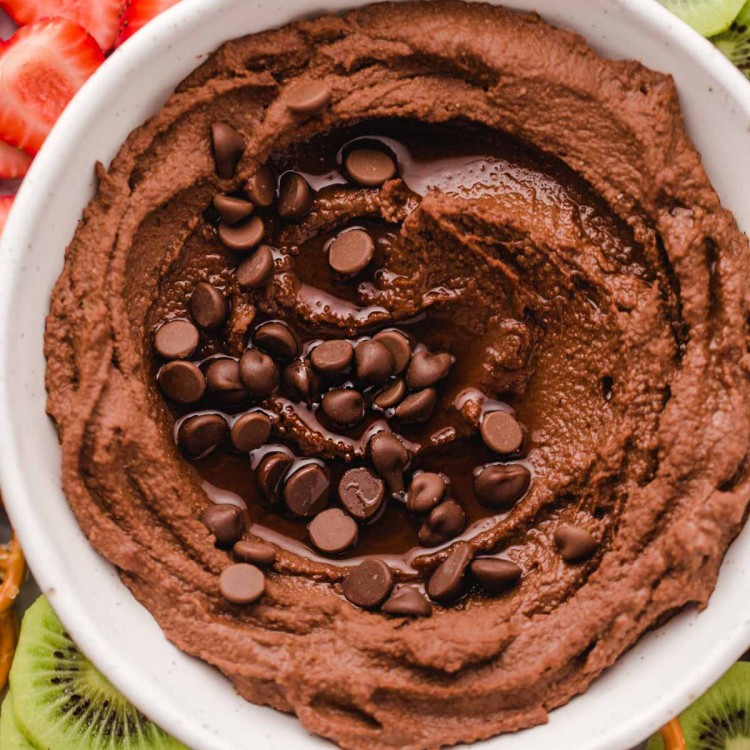
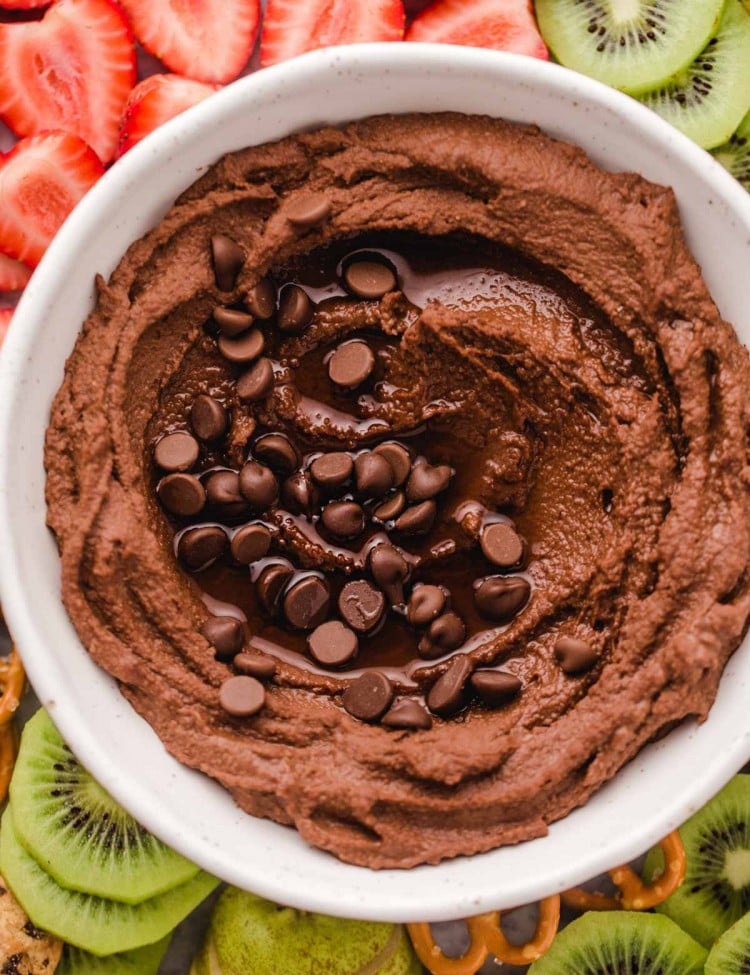
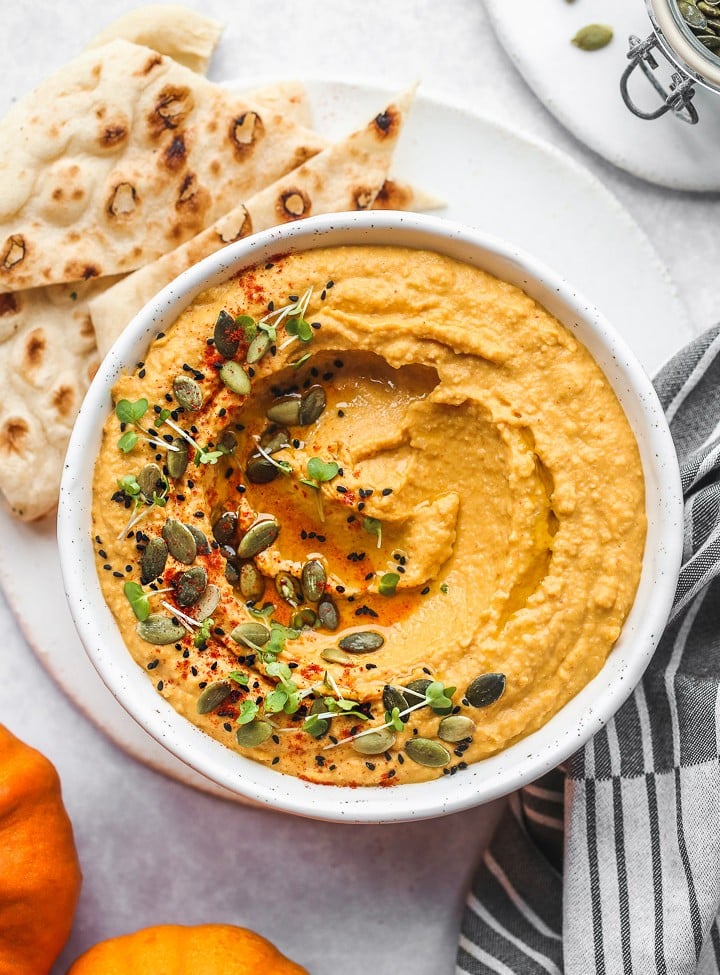
Hummus Variations

Recipe Tips That Matter
- Store properly: Keep in an airtight container in the fridge for up to 4 days.
- Use soft chickpeas: Whether canned or cooked from dry, they should be very tender for a smooth blend.
- Blend long enough: Keep the blender or food processor running for several minutes so the hummus becomes light and creamy.
- Add ice-cold water slowly: This helps create a fluffier texture without making the hummus watery.
- Taste and adjust: Before serving, check the seasoning and add more lemon, salt, or garlic to suit your taste.
Serving Ideas
- Use as a spread on sandwiches instead of mayo.
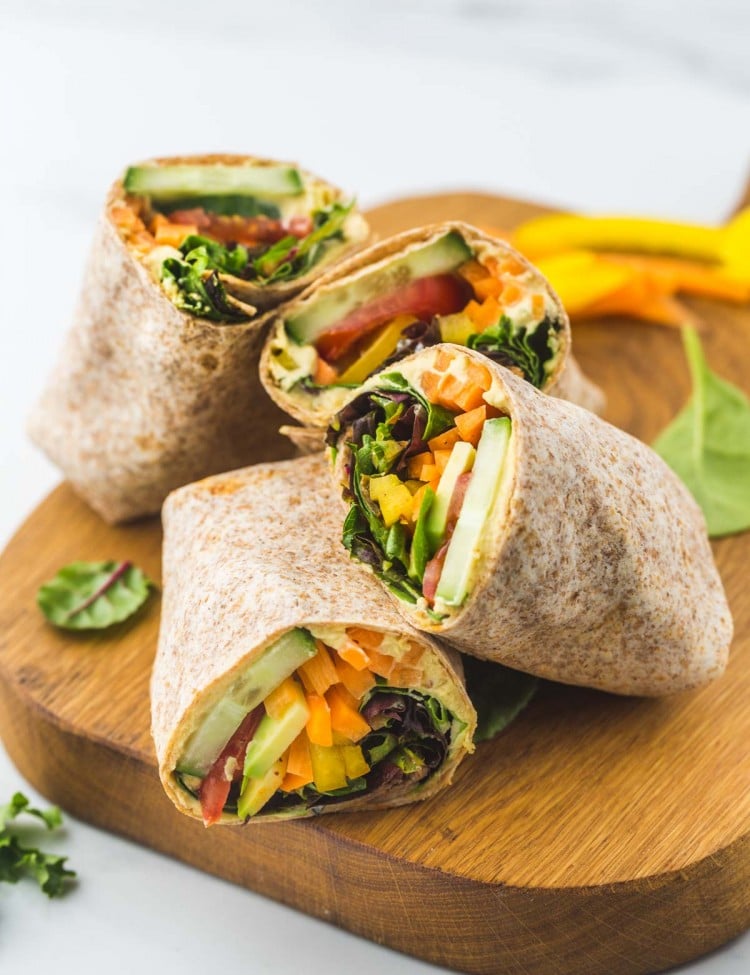
- Spread in a hummus veggie wrap for a quick, healthy lunch.
- Serve as a dip with warm pita bread, crackers, or fresh vegetables.
- Add a generous scoop to salads or grain bowls for extra protein.
- Pair with grilled harissa chicken for a flavorful Mediterranean-inspired meal.
Iris says
I didn’t see anywhere in the instructions to remove the ‘skins’ from the chickpeas as is usual in most hummus/chickpea recipes online, is this just assumed or do you leave them on and they puree in the process?
Diana says
I don’t remove them as I find that too time-consuming and not worth it!