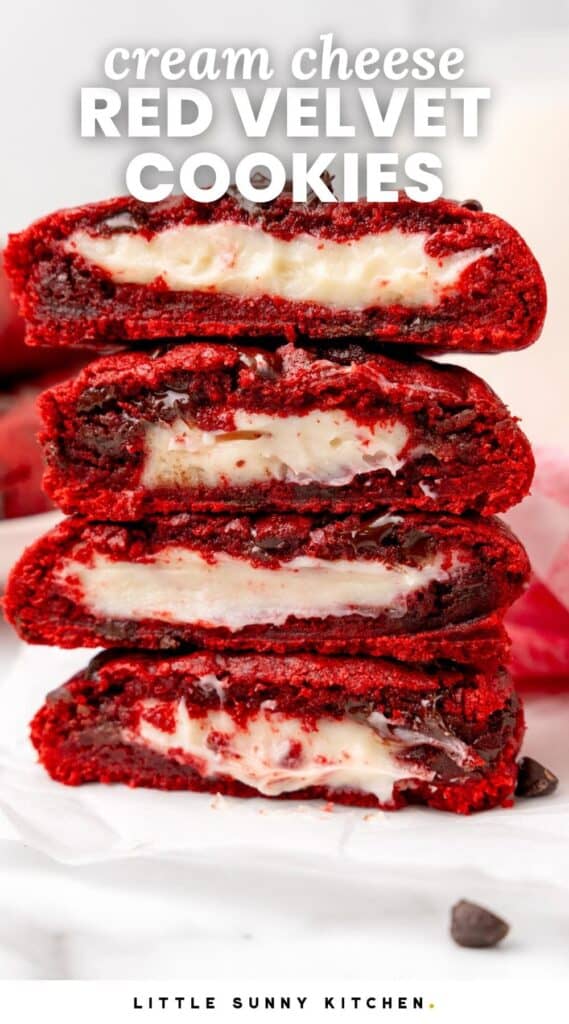
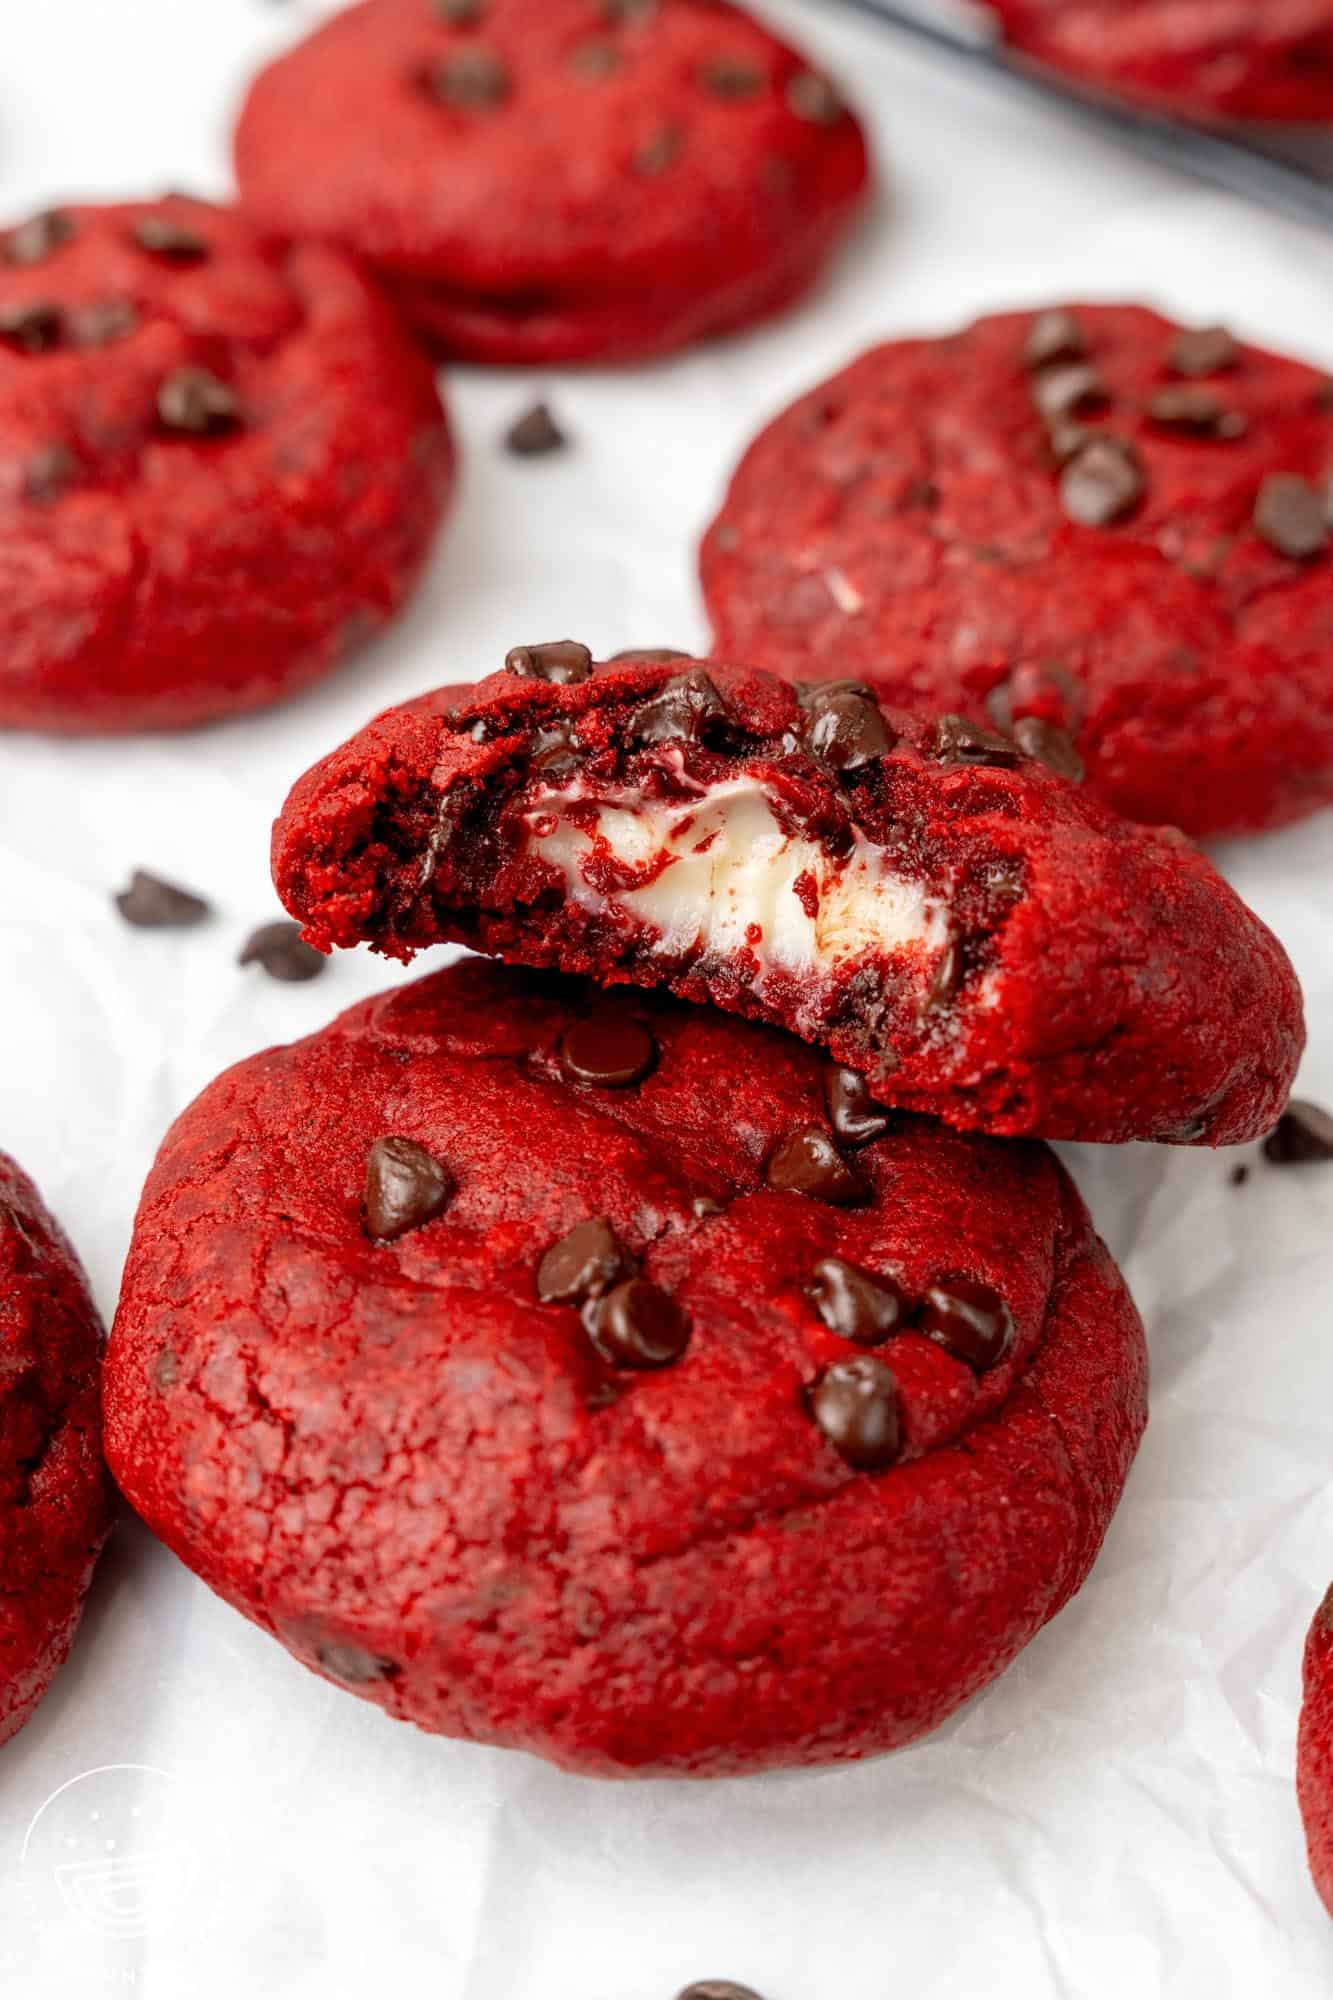
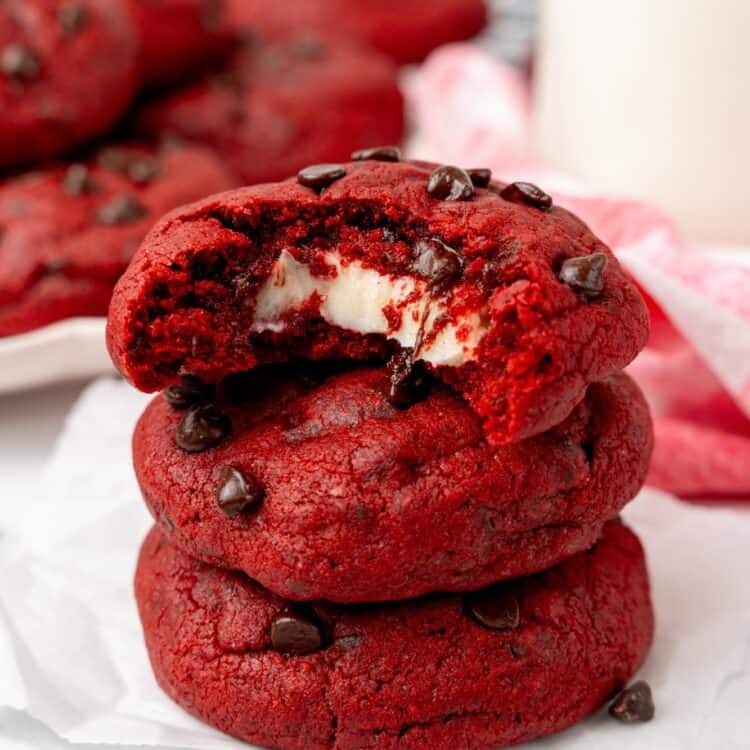
Soft and chewy Red Velvet Cream Cheese Cookies are stuffed with a smooth, tangy cheesecake-like filling. They’re so fun to make, and bursting with rich flavor.

Can anything be better than soft, chewy, chocolatey cookies? You bet, and it’s these cream cheese stuffed red velvet cookies!
I’ve taken the rich, deep flavors of red velvet cake with cream cheese frosting and turned it inside out – in the form of a delicious cookie with chocolate chips.
There’s a simple trick to getting the cream cheese filling inside the cookies, and once you’ve got that down, you can try other varieties of stuffed cookies, like my Chocolate Caramel Cookies, Nutella Stuffed Cookies, or Strawberry Cheesecake Cookies.
Red Velvet Cream Cheese Cookies Recipe Highlights
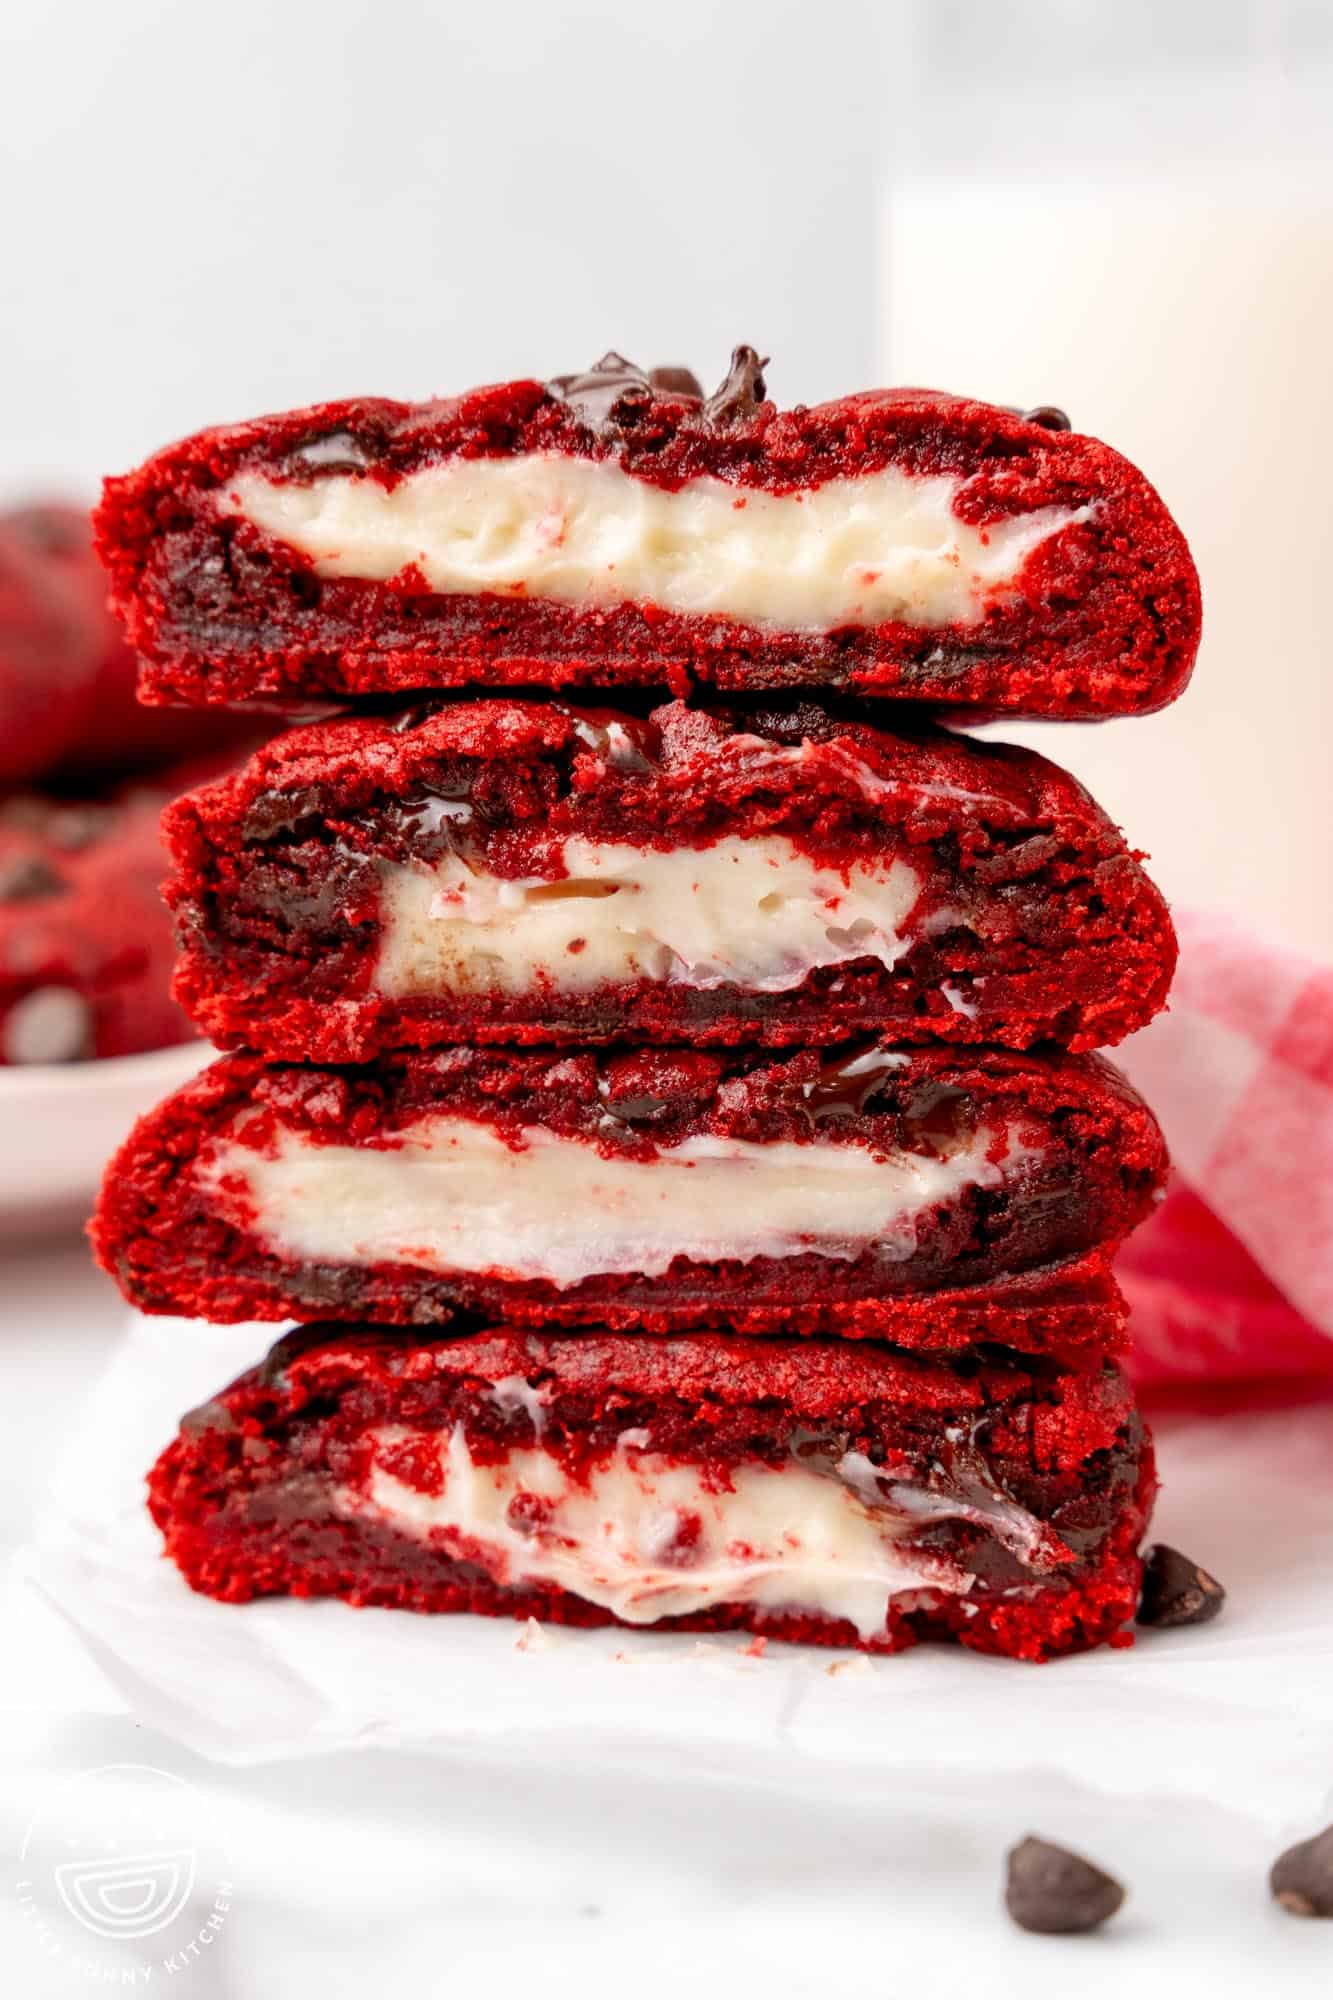
- Big, Bakery Style Cookies – Because we’re sandwiching a filling in between the cookie dough, these chewy red velvet cookies will naturally be larger than your typical chocolate chippers. I love this! Large cookies feel extra special, like you picked them up at the fancy bakery in town.
- Traditional Red Velvet Flavor – The combination of cocoa powder and acidic buttermilk is key to creating this old-fashioned cake flavor. Mini chocolate chips take up a notch more!
- Rich Cream Cheese Filling – Lightly sweetened and flavored with vanilla, the filling inside these cookies is slightly tangy and very similar to the flavor of cream cheese cake frosting. It’s the perfect surprise inside of each cookie.
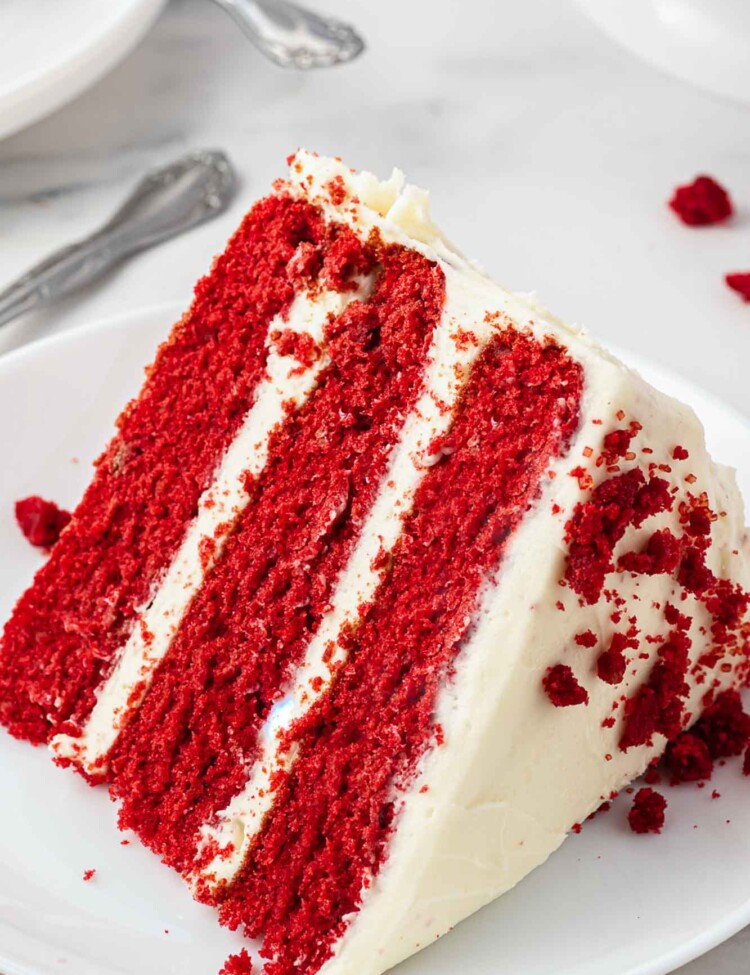
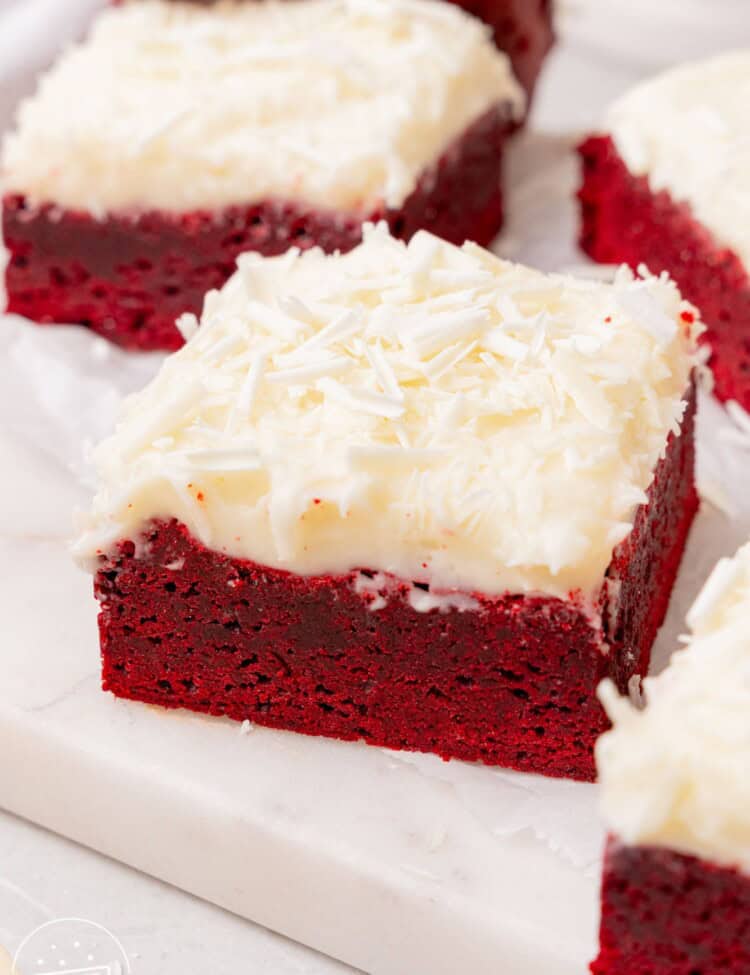
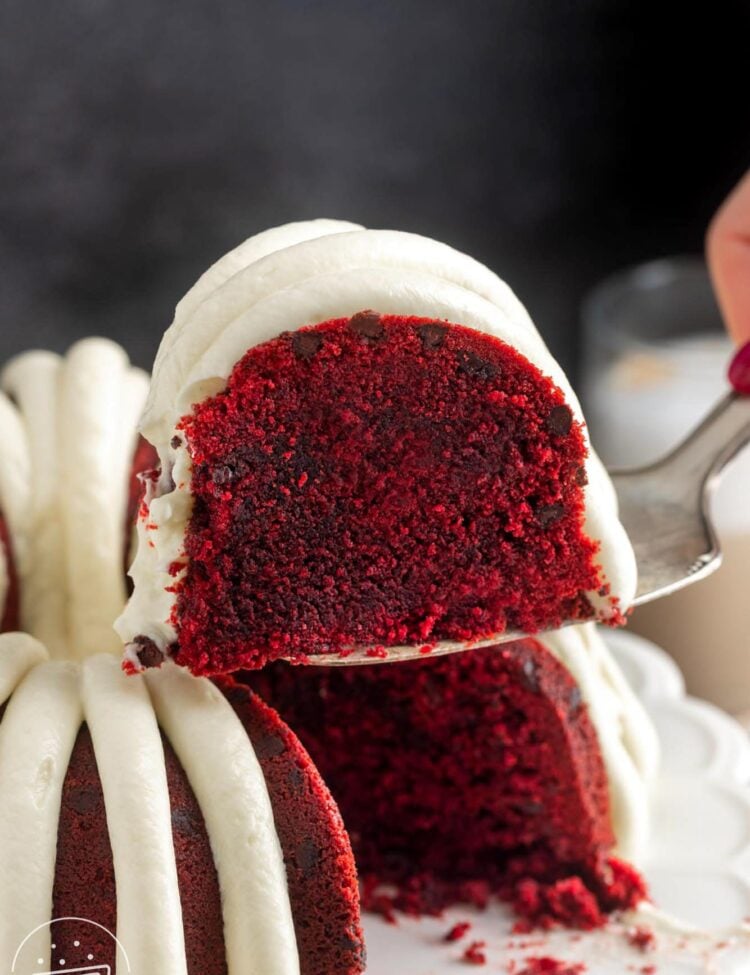
There are so many tasty red velvet treats to make! Check out my recipes for red velvet whoopie pies, red velvet brownies, and red velvet cake pops next!
Ingredients in Red Velvet Cookies
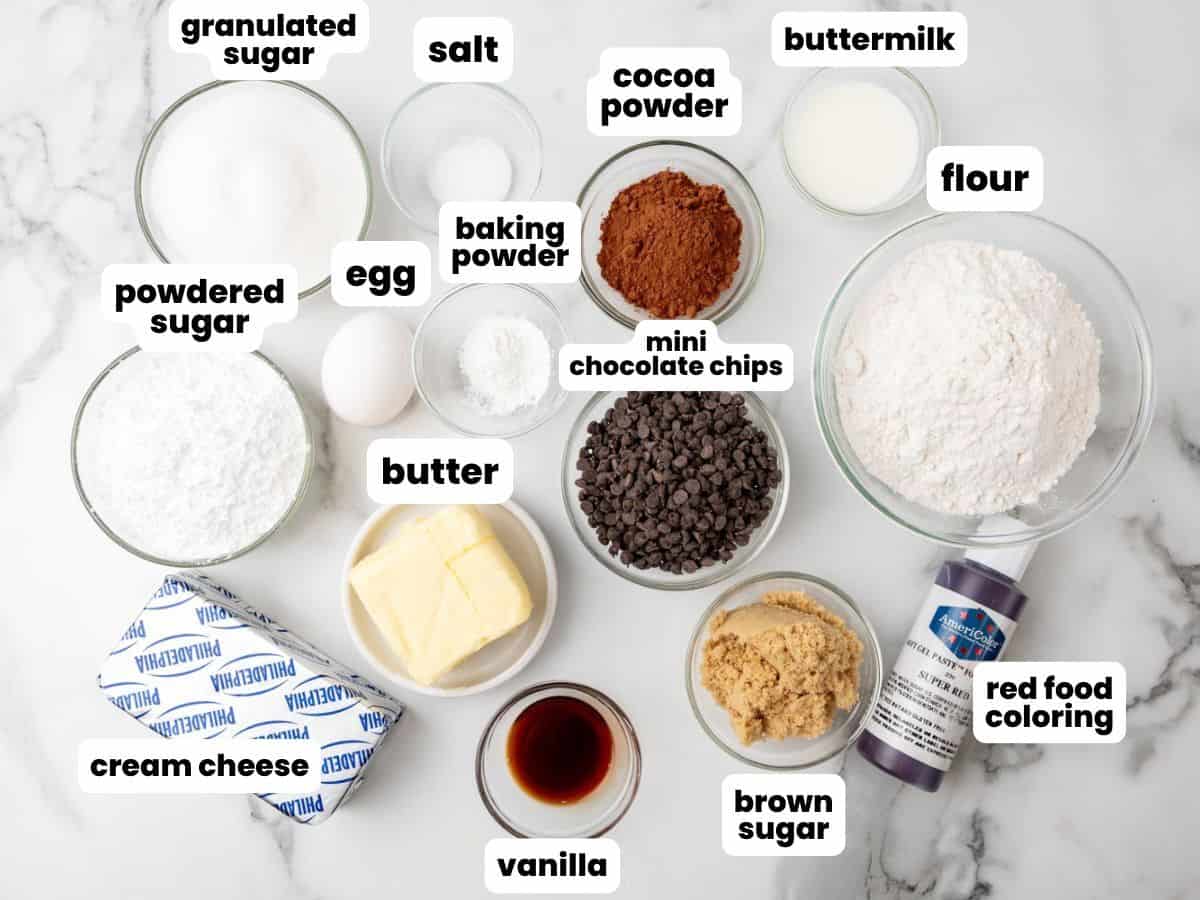
Here’s what you need to make cream cheese stuffed cookies:
Complete list of ingredients and amounts can be found in the recipe card below.
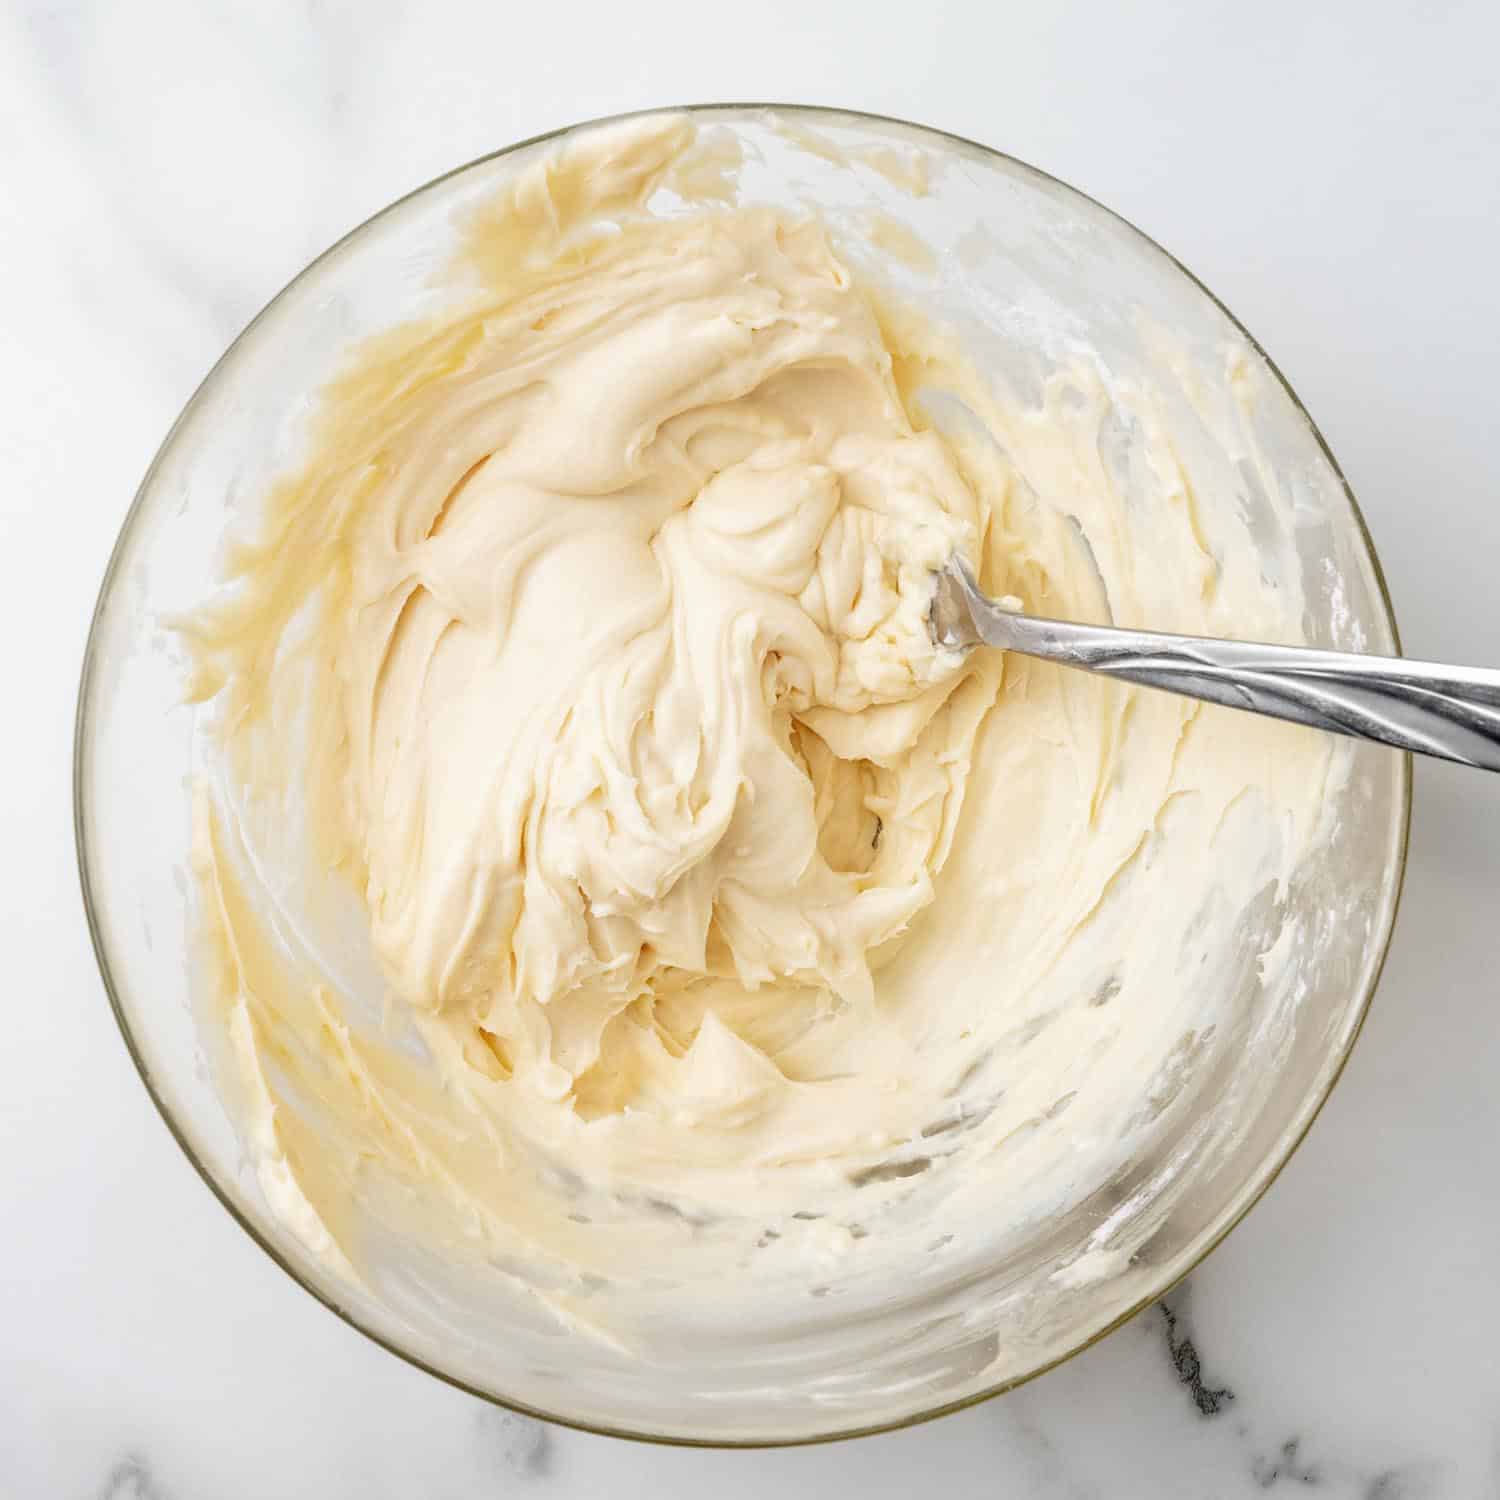
- Cream Cheese Filling: A simple mixture of cream cheese, powdered sugar, and vanilla. Be sure to let your cream cheese soften all the way to room temperature.
- Flour, Baking Powder, and Salt: These basic baking ingredients are a key part of most cookie recipes. These make up the bulk of the dough and give it flavor and rise.
- Cocoa Powder: Unsweetened, all-natural cocoa powder gives red velvet its decadent flavor. Better quality cocoa powder will equal better tasting cookies.
- Butter and Sugar: To start the cookie dough, we’ll cream these together. Using both brown sugar and granulated sugar helps to keep the cookies soft and moist. Let the butter come to room temperature before you start.
- Egg: You’ll only need one large egg for this recipe, also at room temperature please!
- Buttermilk: This is a key ingredient in red velvet. The acidity in buttermilk helps keep the cookies soft and provides a tangy flavor.
- Red Food Coloring: This will give our red velvet cookies their signature burgundy hue. Use gel food coloring for best results.
- Mini Chocolate Chips: While you could use regular semi-sweet chocolate chips, the mini ones work better here. You’ll have bits of chocolate in every single bite! These would be tasty with white chocolate chips as well.
How To Make Red Velvet Cream Cheese Cookies
Tip!
Be sure to let these cream cheese cookies cool down before you eat them! The gooey filling will be quite hot when they first come out of the oven.
Recipe Tips
- Avoid overmixing the dough. Once you add the dry ingredients, mix only until you can no longer see any streaks of flour in the mixture.
- Freezing the filling is super important! Don’t skip this step, or you’ll end up with filling that seeps out of the cookies.
- Double the recipe. This recipe makes 18 large cookies. If you need a few more, it is easy to double it to make 36!

Storing and Make Ahead Tips
- The cream cheese filling can be prepared in advance. Keep sealed in the freezer for up to a week or so if needed.
- Cookie dough can also be made in advance and kept in the fridge. Allow it to come to room temperature before shaping.
- Stuffed and assembled cookie dough balls can be refrigerated for up to 3 days or frozen for up to 3 months. Thaw the frozen cookies before baking.
- To store baked cookies, keep them sealed and in the fridge for up to 4 days, or in the freezer for up to 3 months.
Recipe FAQs
Can I make red velvet without food coloring?
If you’d like to avoid adding red dye to your baking, you can skip it in this recipe. If you use natural cocoa powder (rather than dark, Dutch process cocoa) the cookies will have a slight reddish tint.
You can also experiment with natural red coloring such as beet root powder to get a brighter red color without any red dye.
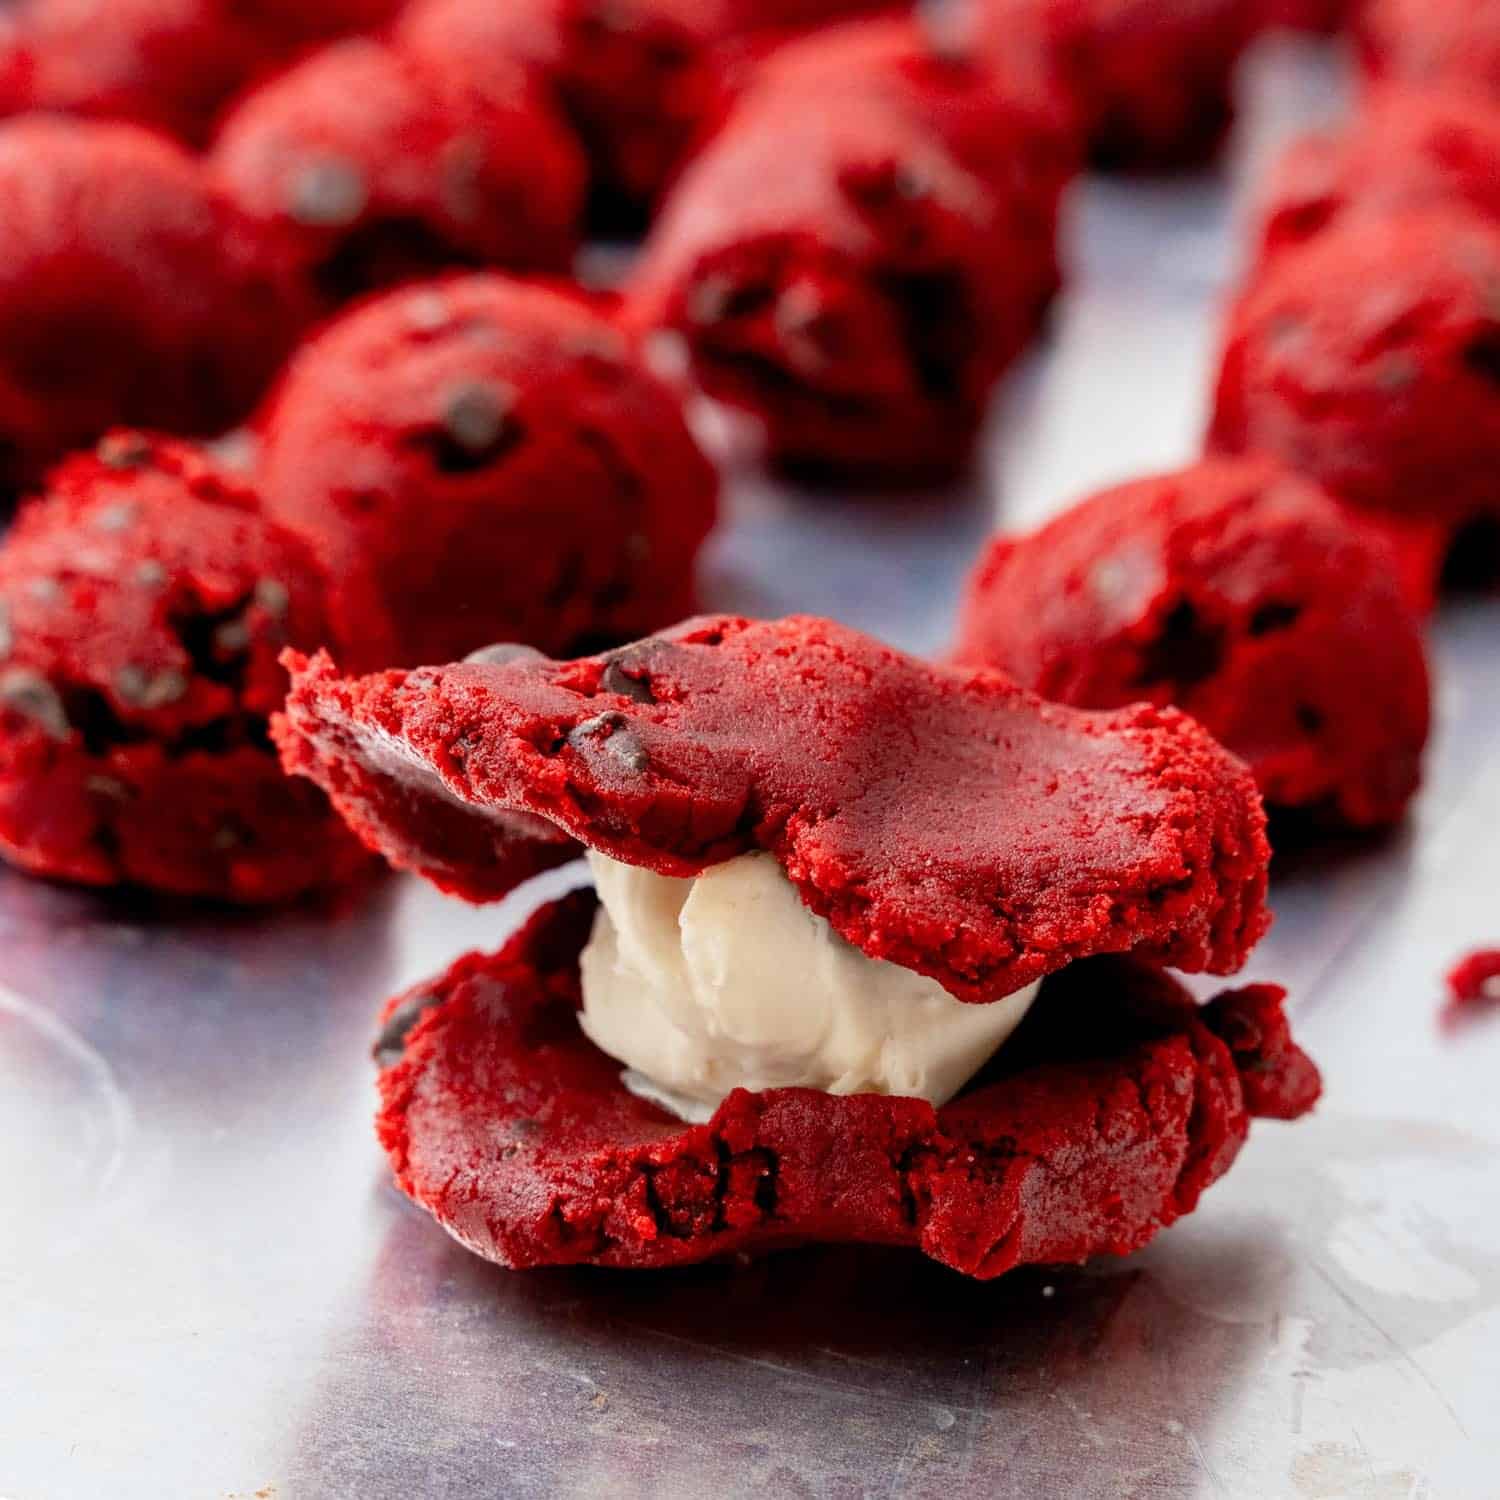
How do you get cream cheese inside of a cookie?
All the details are in the recipe card, but there is one big trick to making these work without a mess. You must freeze the cream cheese filling! If you skip this step, the filling will melt and seep out of the cookies. Keeping the frosting solid and very cold will ensure success every time.
Can I make these red velvet cookies without the filling?
Sure! Although I have to say that the filling is the best part of this whole recipe!
Can I use non-dairy cream cheese in this recipe?
I haven’t tried it, but I think you should be able to use a dairy free cream cheese substitute in this recipe if you want to. Just be sure that your filling is firmly frozen before you shape the cookies around it.
Enjoy this amazing red velvet cookie recipe! The bright red color of this dessert works for Christmas but is extra special for Valentine’s Day too.
Did you make this? Be sure to leave a review below and tag me on Facebook, Instagram, or Pinterest!
Red Velvet Cream Cheese Cookies
Equipment
- cookie scoop
- Baking Sheets
Ingredients
Filling:
- 8 ounces (225 g) cream cheese softened to room temperature
- ½ cup (60 g) powdered sugar
- ¼ teaspoon pure vanilla extract
Cookies:
- 2 cups (240 g) all-purpose flour
- 3 tablespoons (15 g) unsweetened cocoa powder
- 1 teaspoon baking powder
- ½ teaspoon salt
- ½ cup (115 g) unsalted butter
- ¾ cup (150 g) granulated sugar
- ¼ cup (50 g) light brown sugar firmly packed
- 1 large egg
- 2 tablespoons (30 ml) buttermilk
- 1 teaspoon pure vanilla extract
- 1 tablespoon red gel coloring
- ½ cup (112 g) mini chocolate chips plus more for the top if desired
Instructions
For the filling:
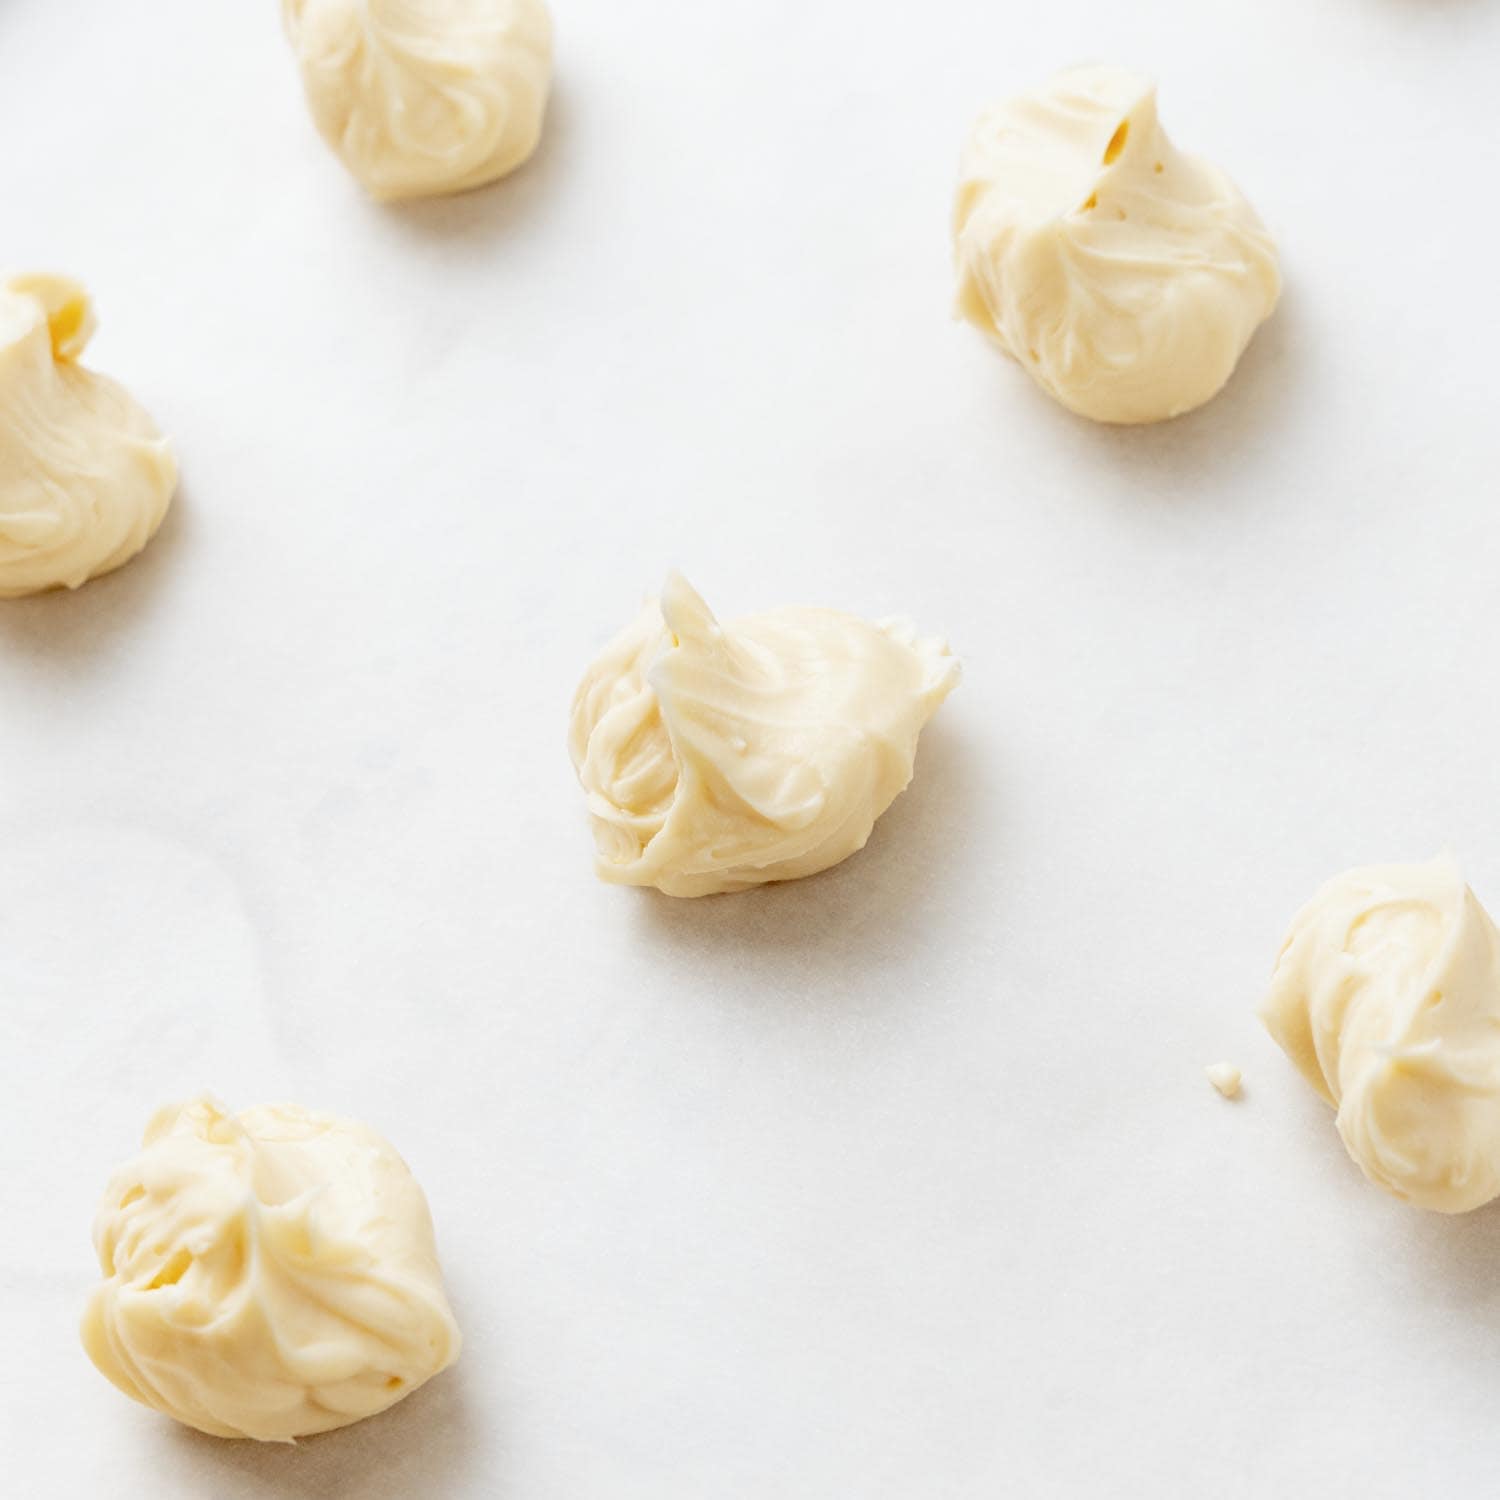
- In a medium bowl, mash together the cream cheese, powdered sugar, and vanilla extract until smooth.
- Use a 1-tablespoon scoop to portion the mixture onto a parchment-lined baking sheet, creating 18 mounds.
- Freeze the filling for at least 30 minutes, or until solid.
For the cookies:
- Preheat the oven to 350°F (180°C), or 160°C fan oven. Line 3 cookie sheets with parchment paper or a silicone mat and set aside.
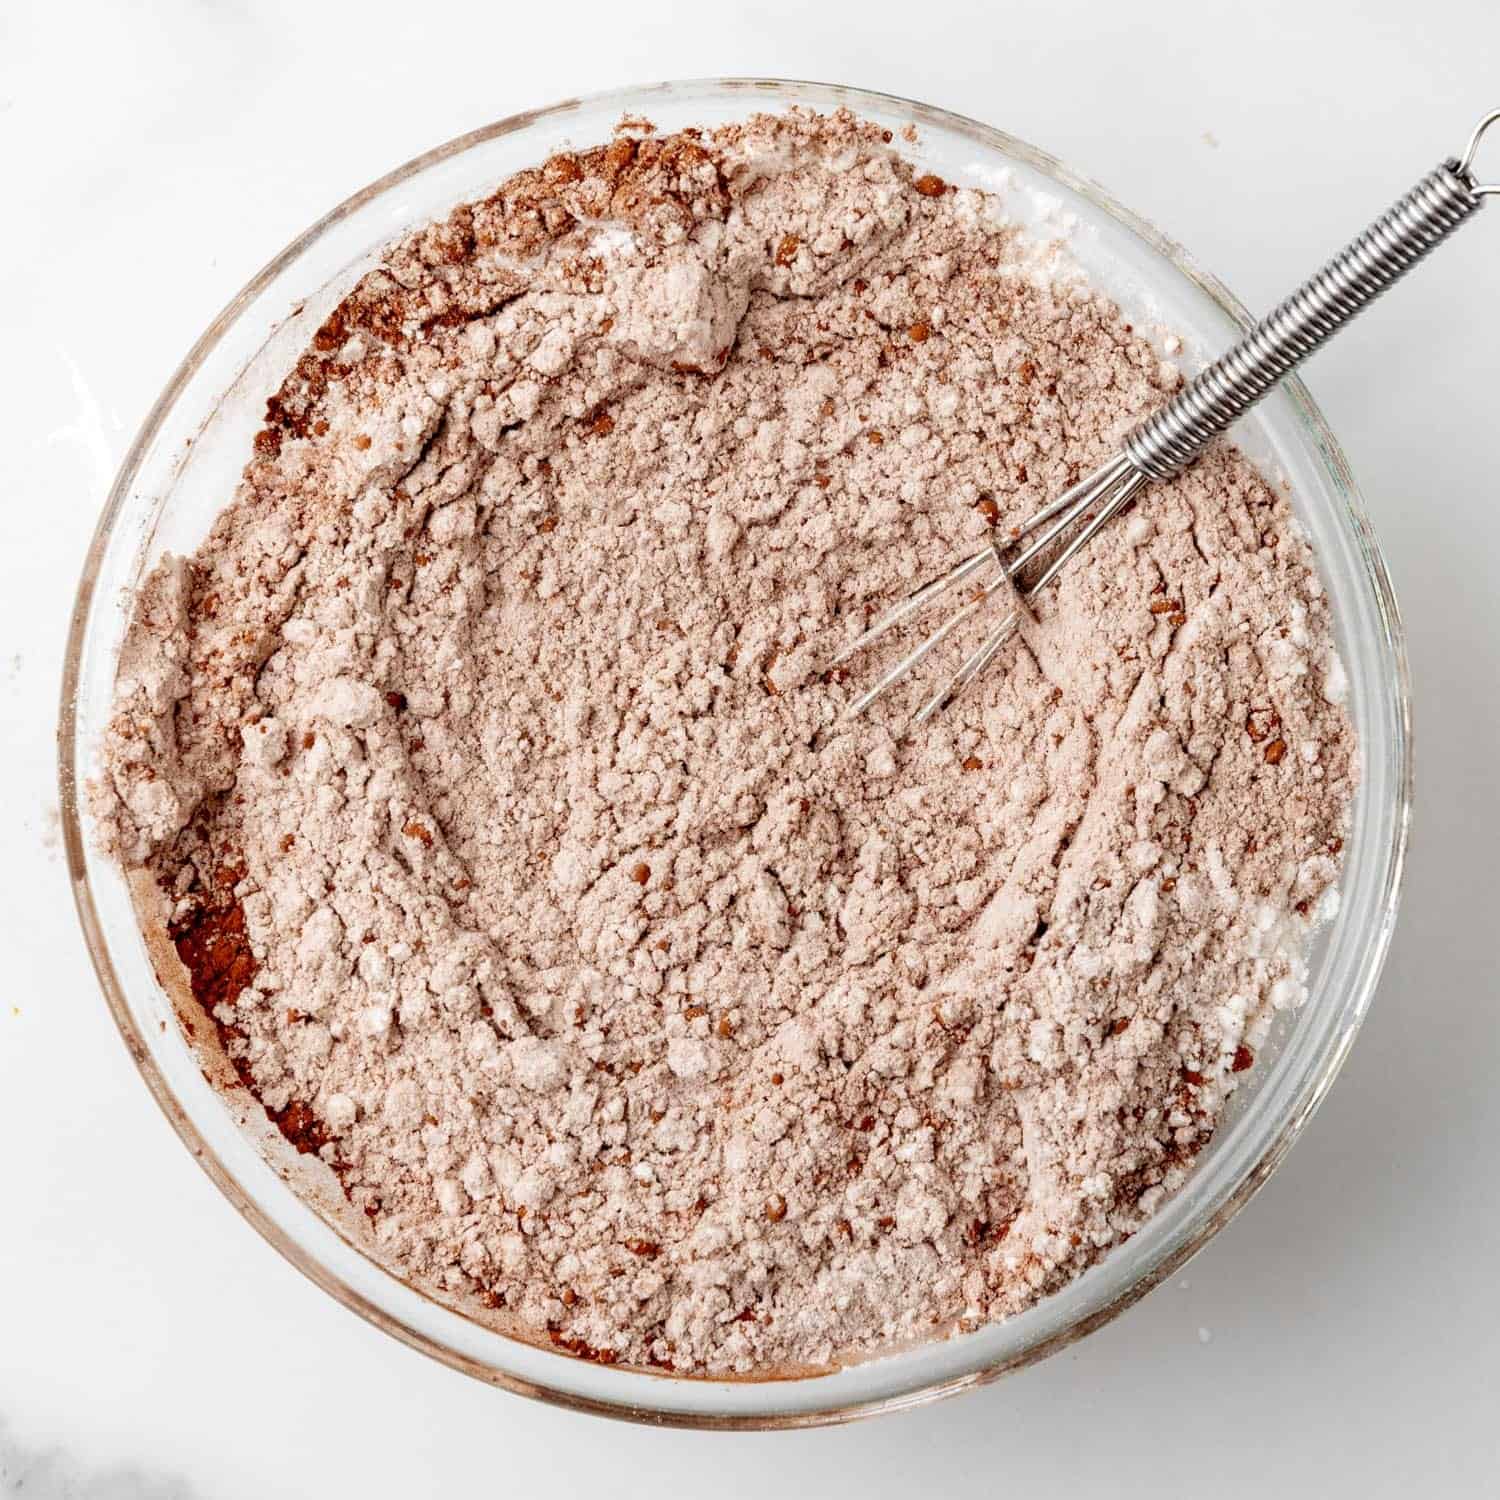
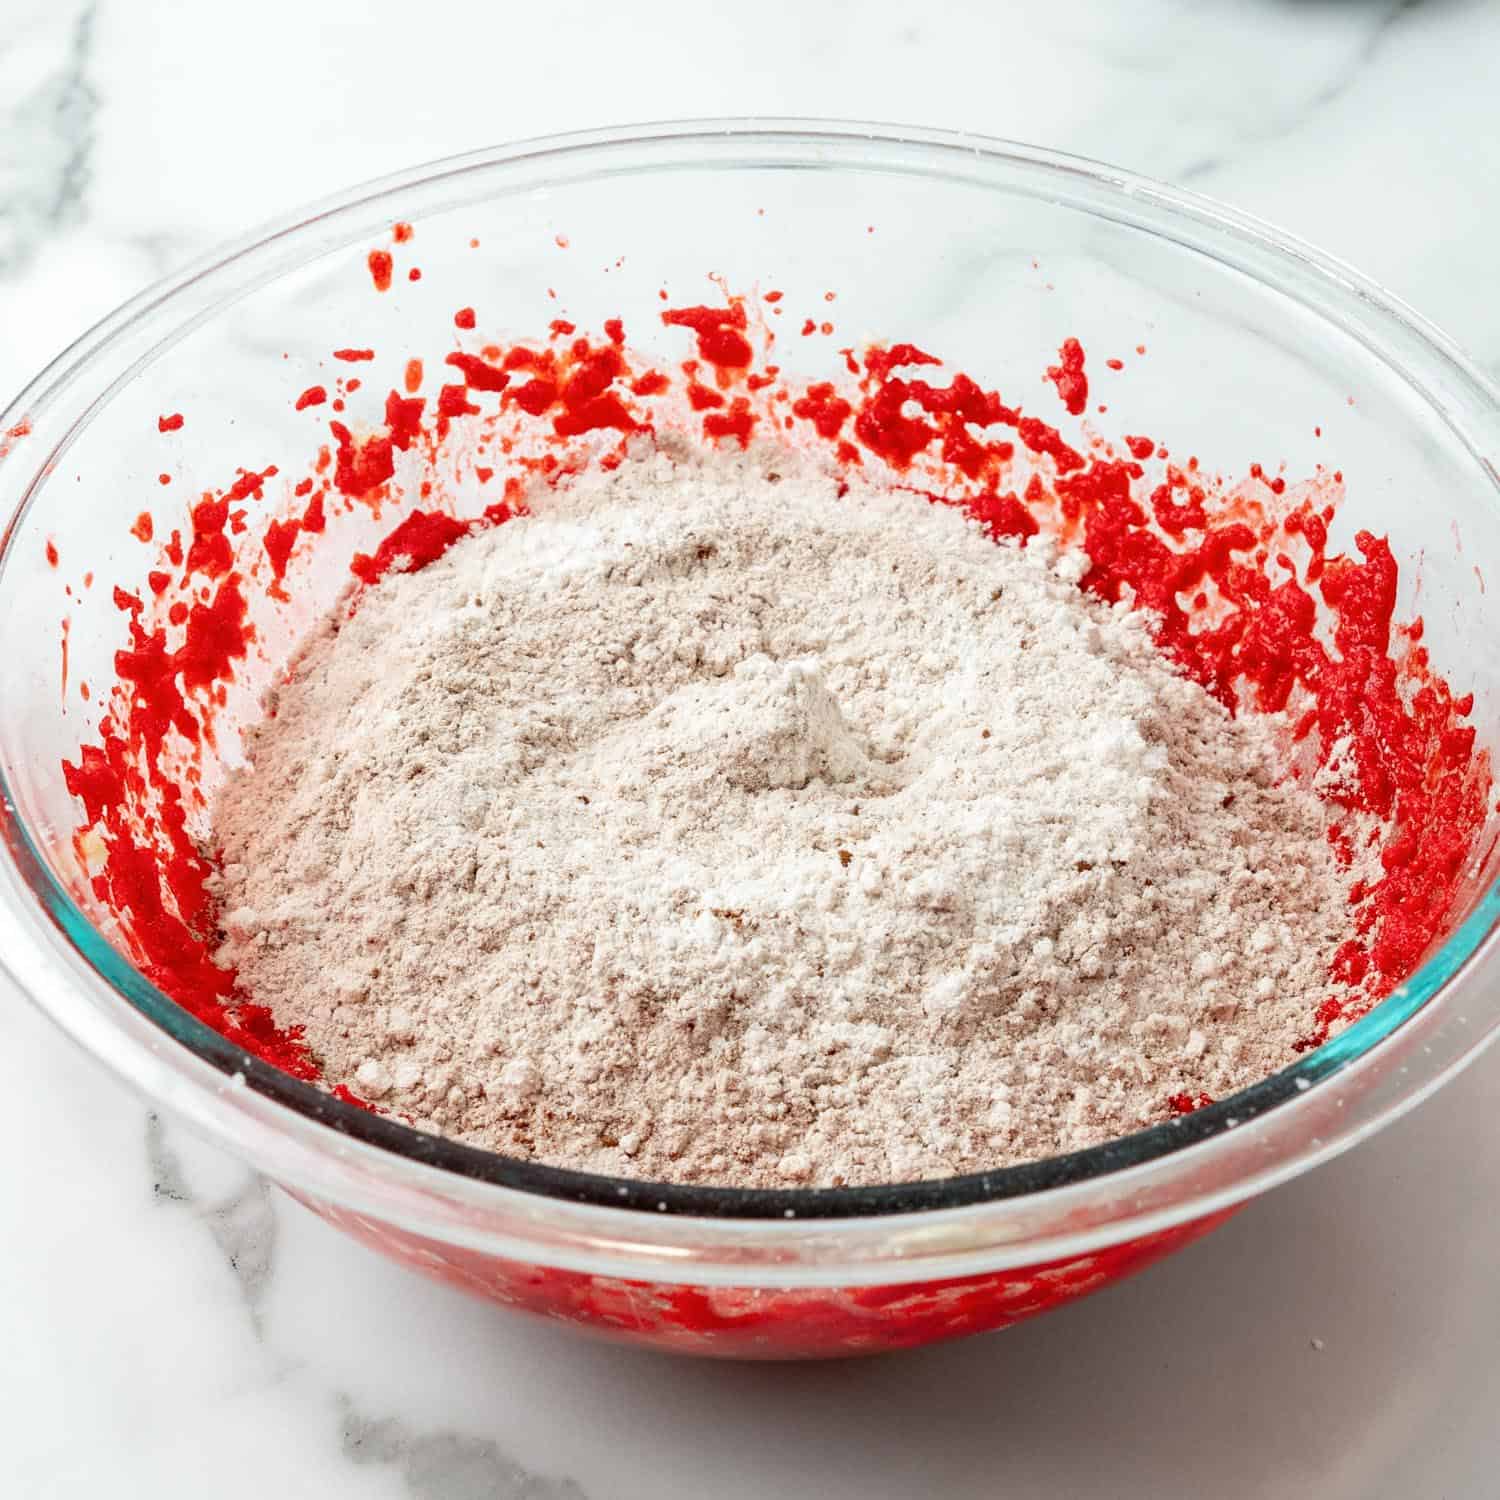
- In a medium bowl, whisk together the flour, cocoa powder, baking powder, and salt; set aside.
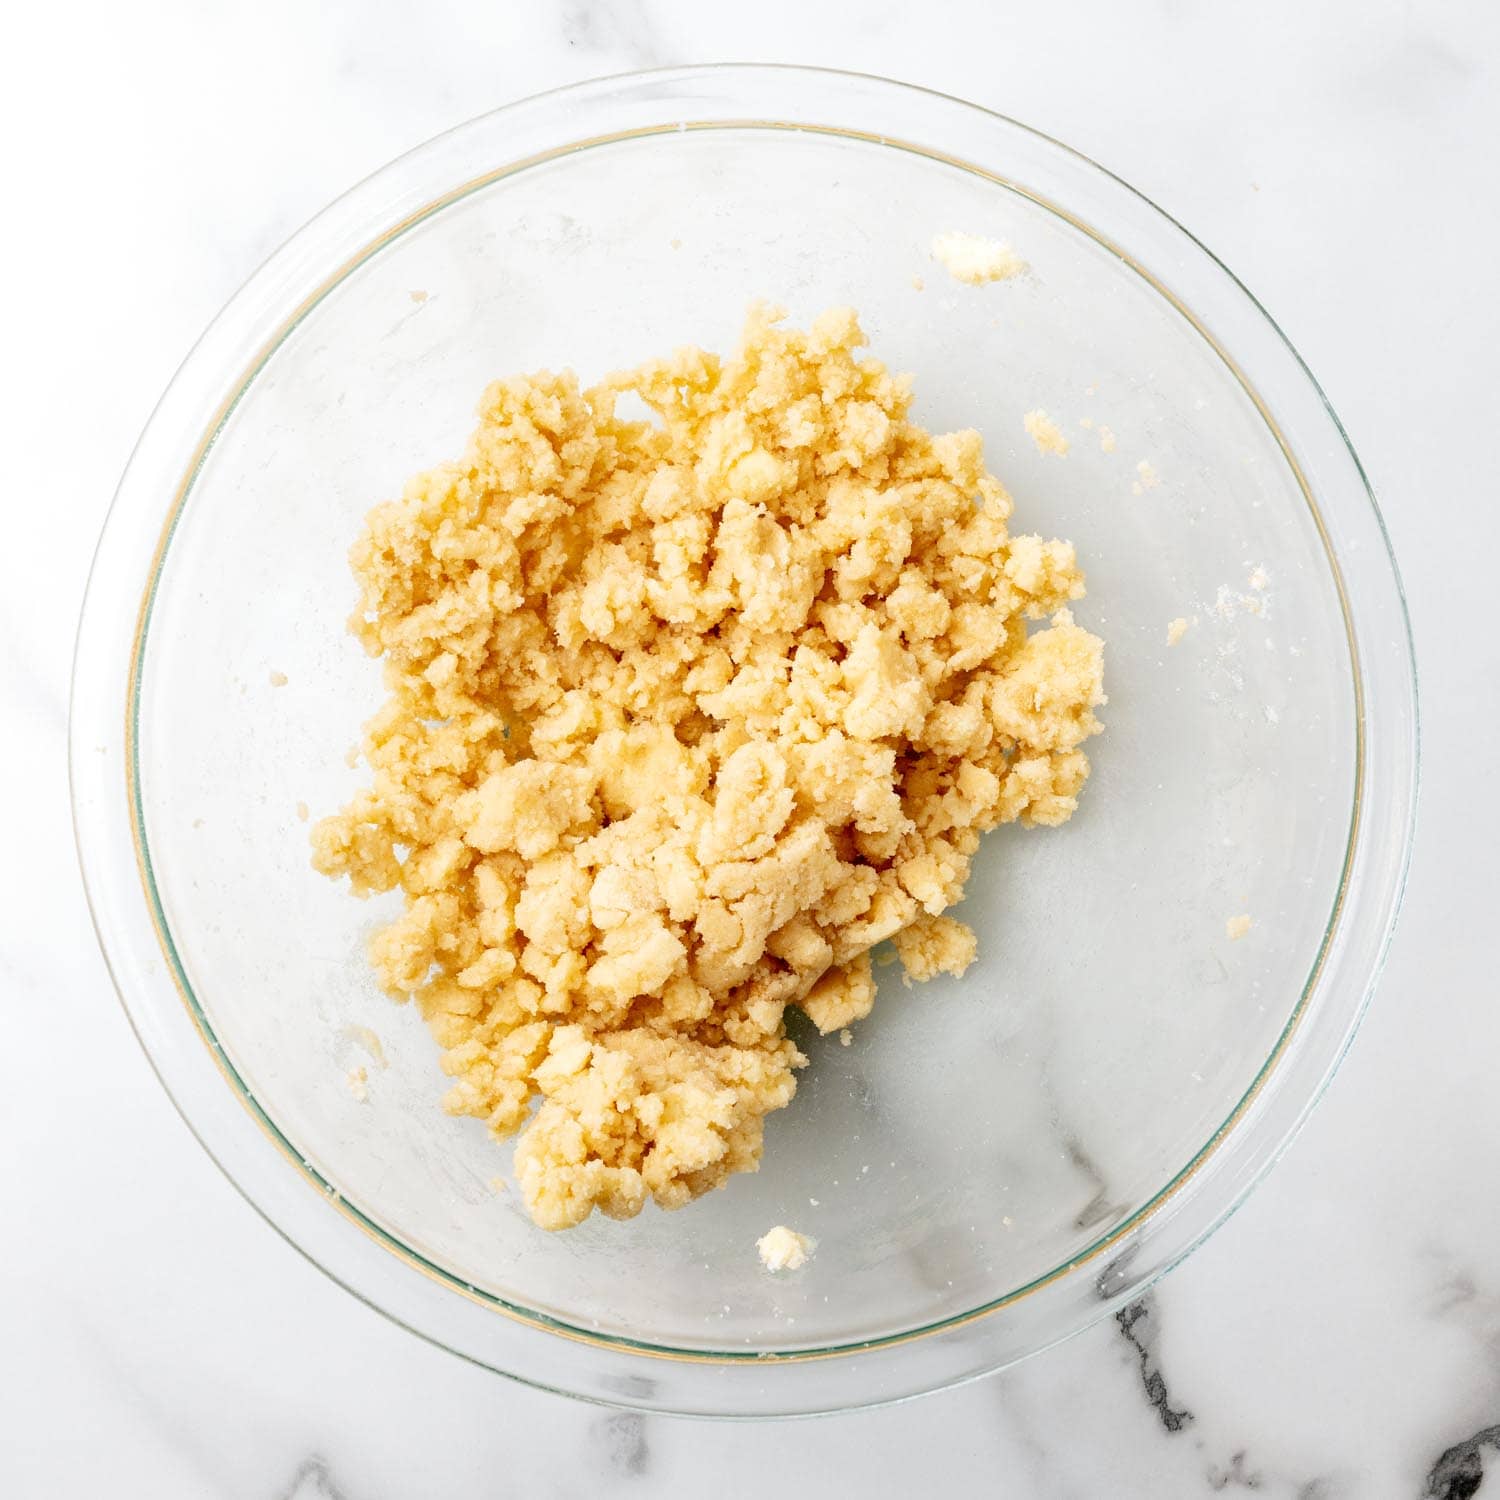
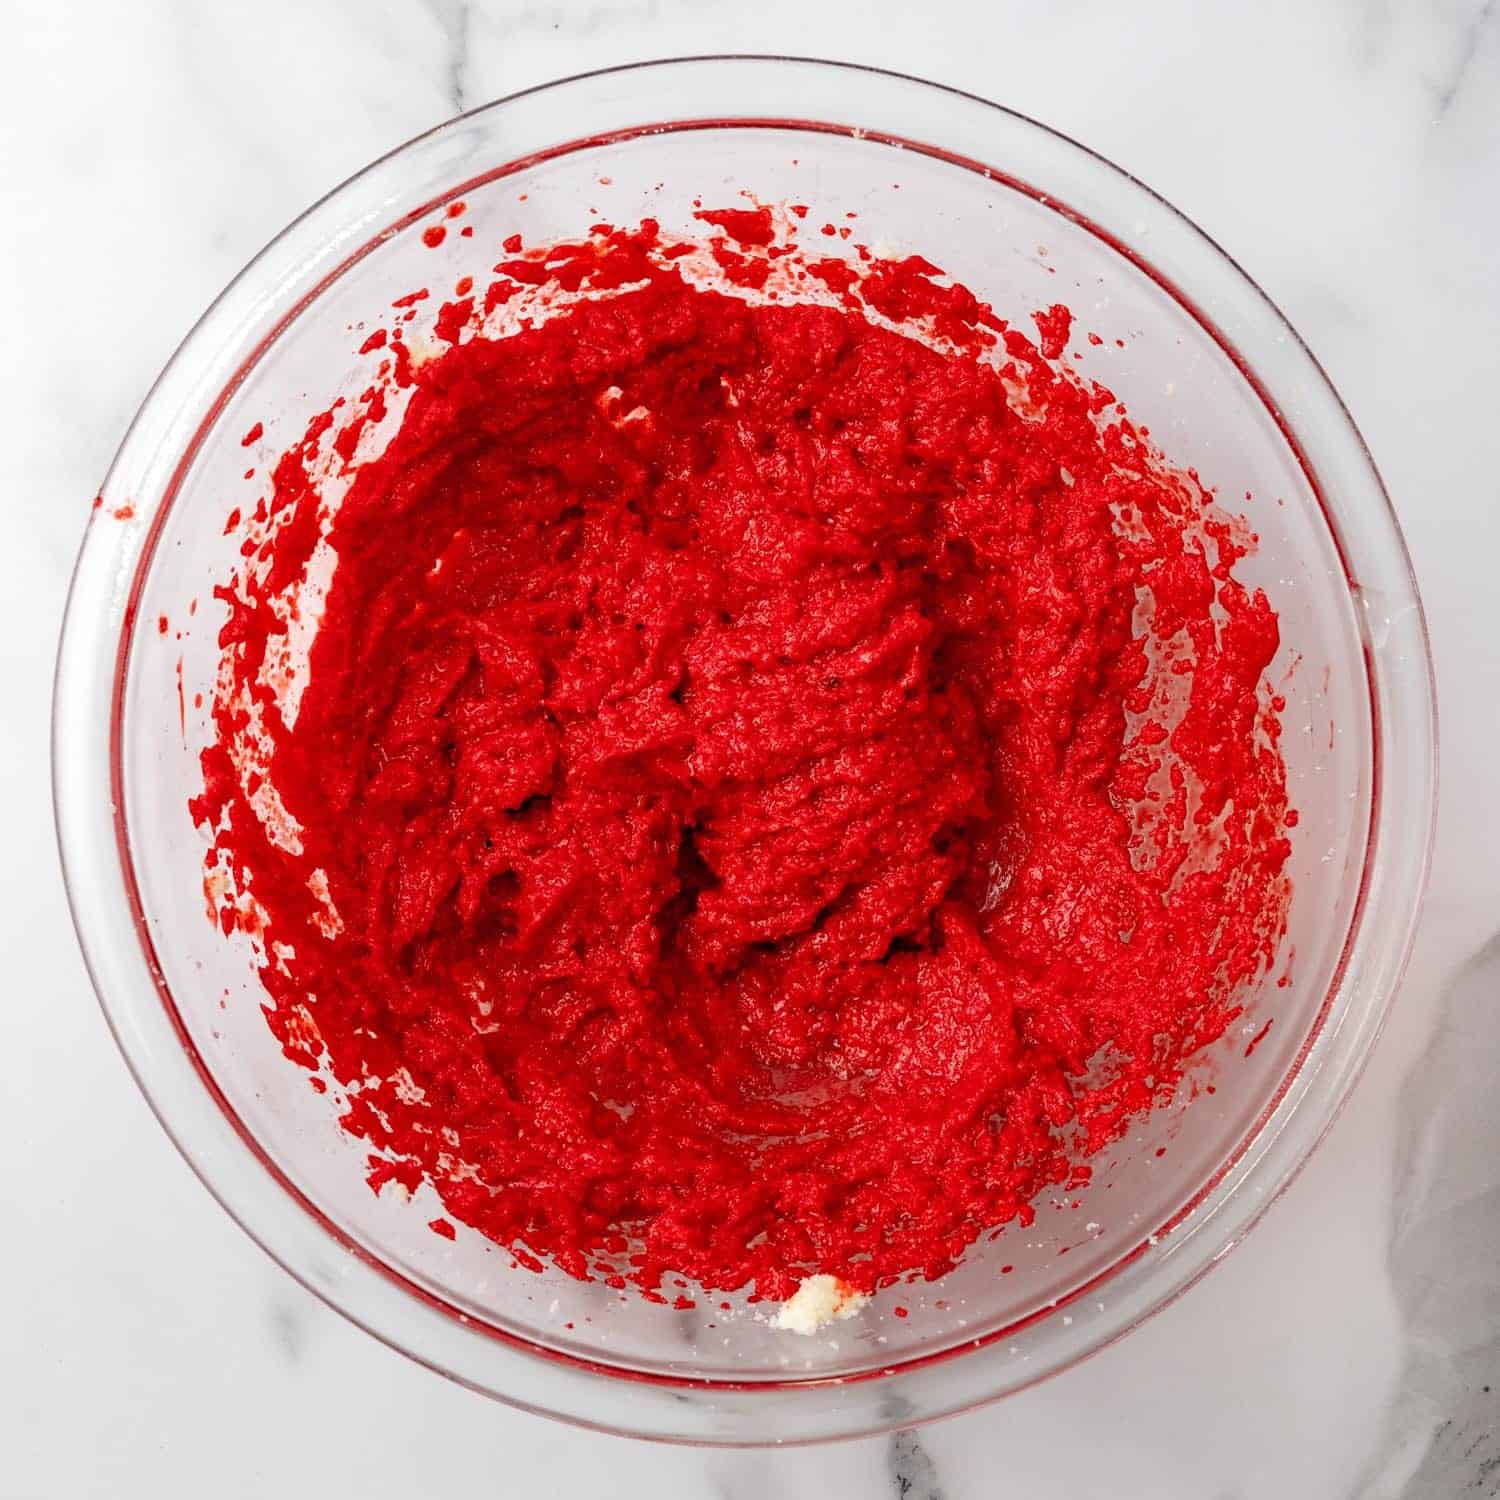
- In a large bowl, cream the butter, granulated sugar, and brown sugar until light and fluffy. Add the egg, buttermilk, vanilla extract, and red gel food coloring. Mix until fully combined.
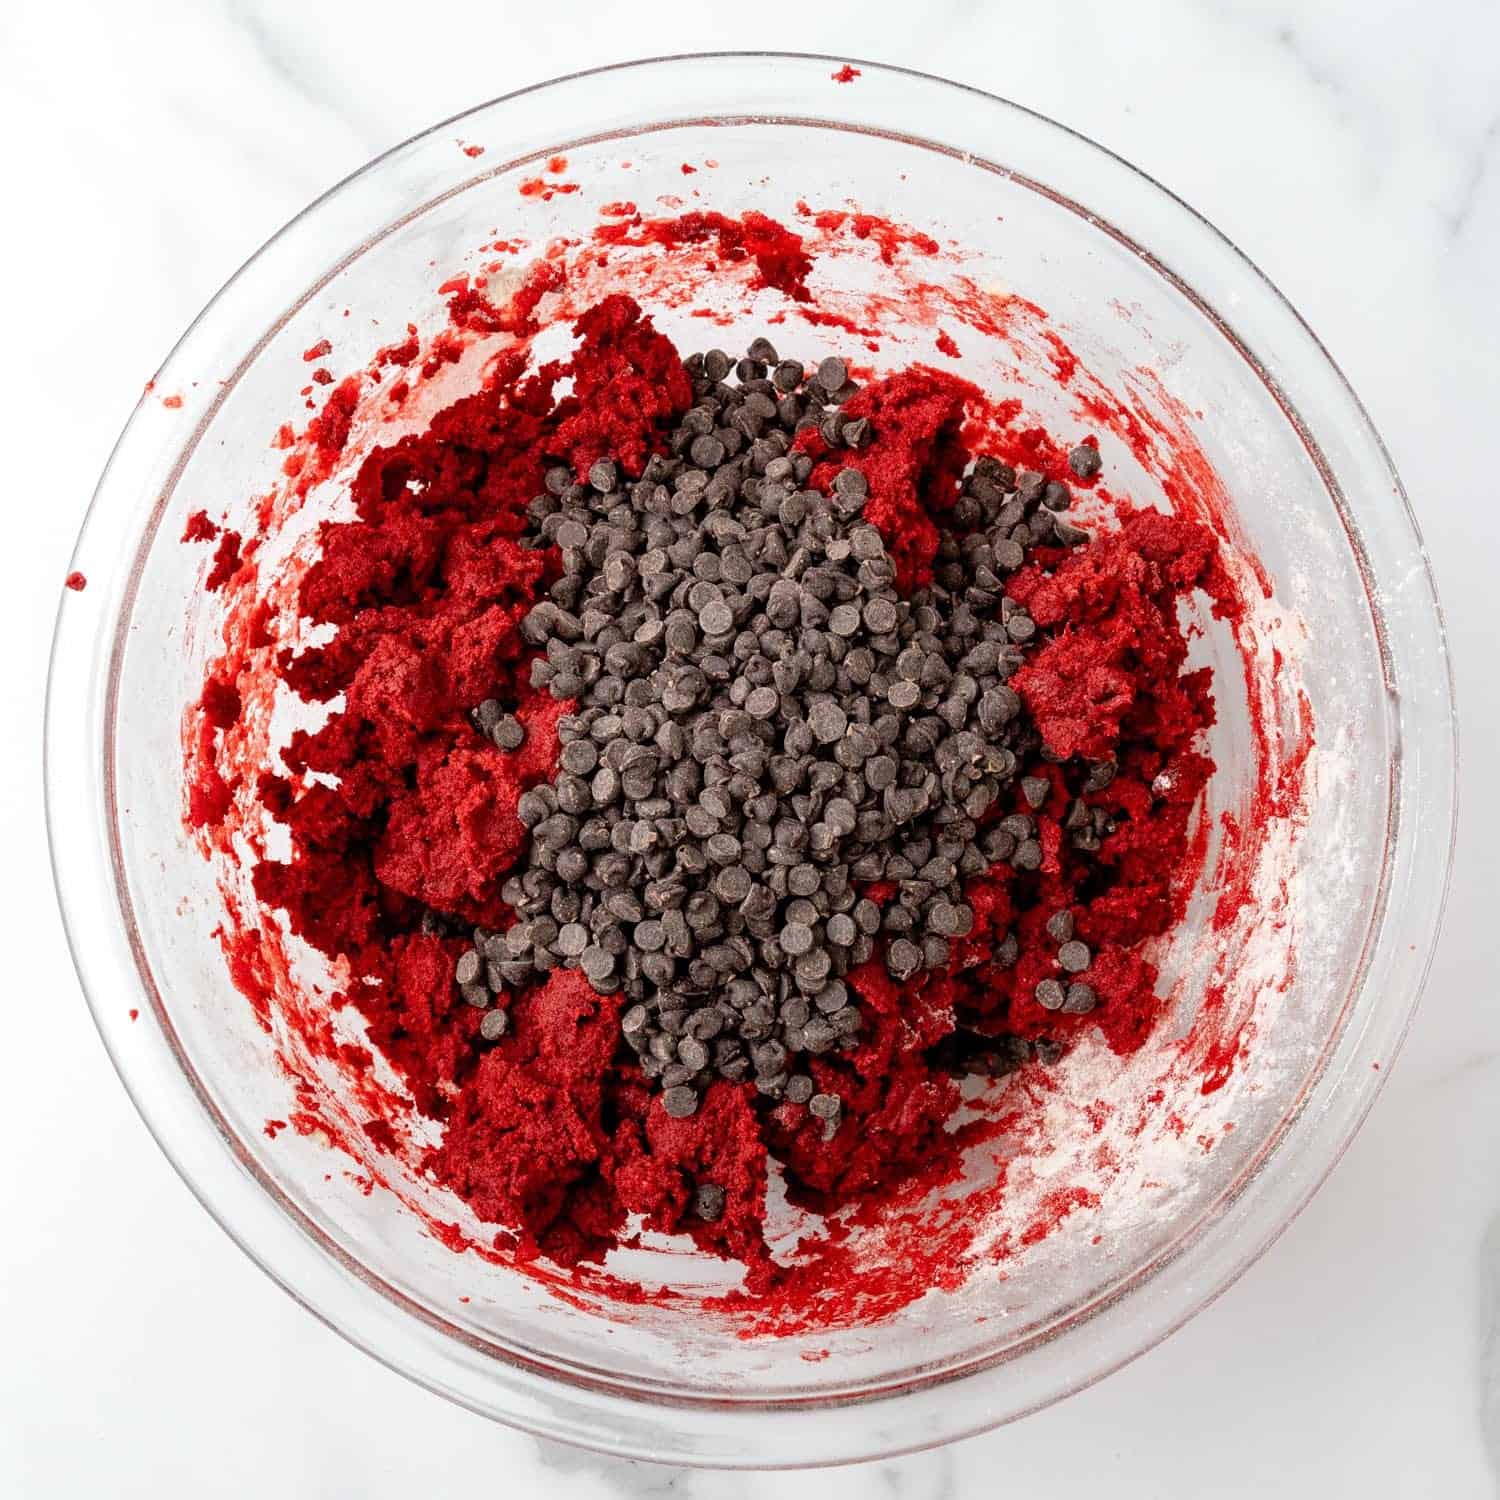
- Gradually add the dry ingredients to the wet mixture and mix until combined. Fold in the mini chocolate chips evenly.
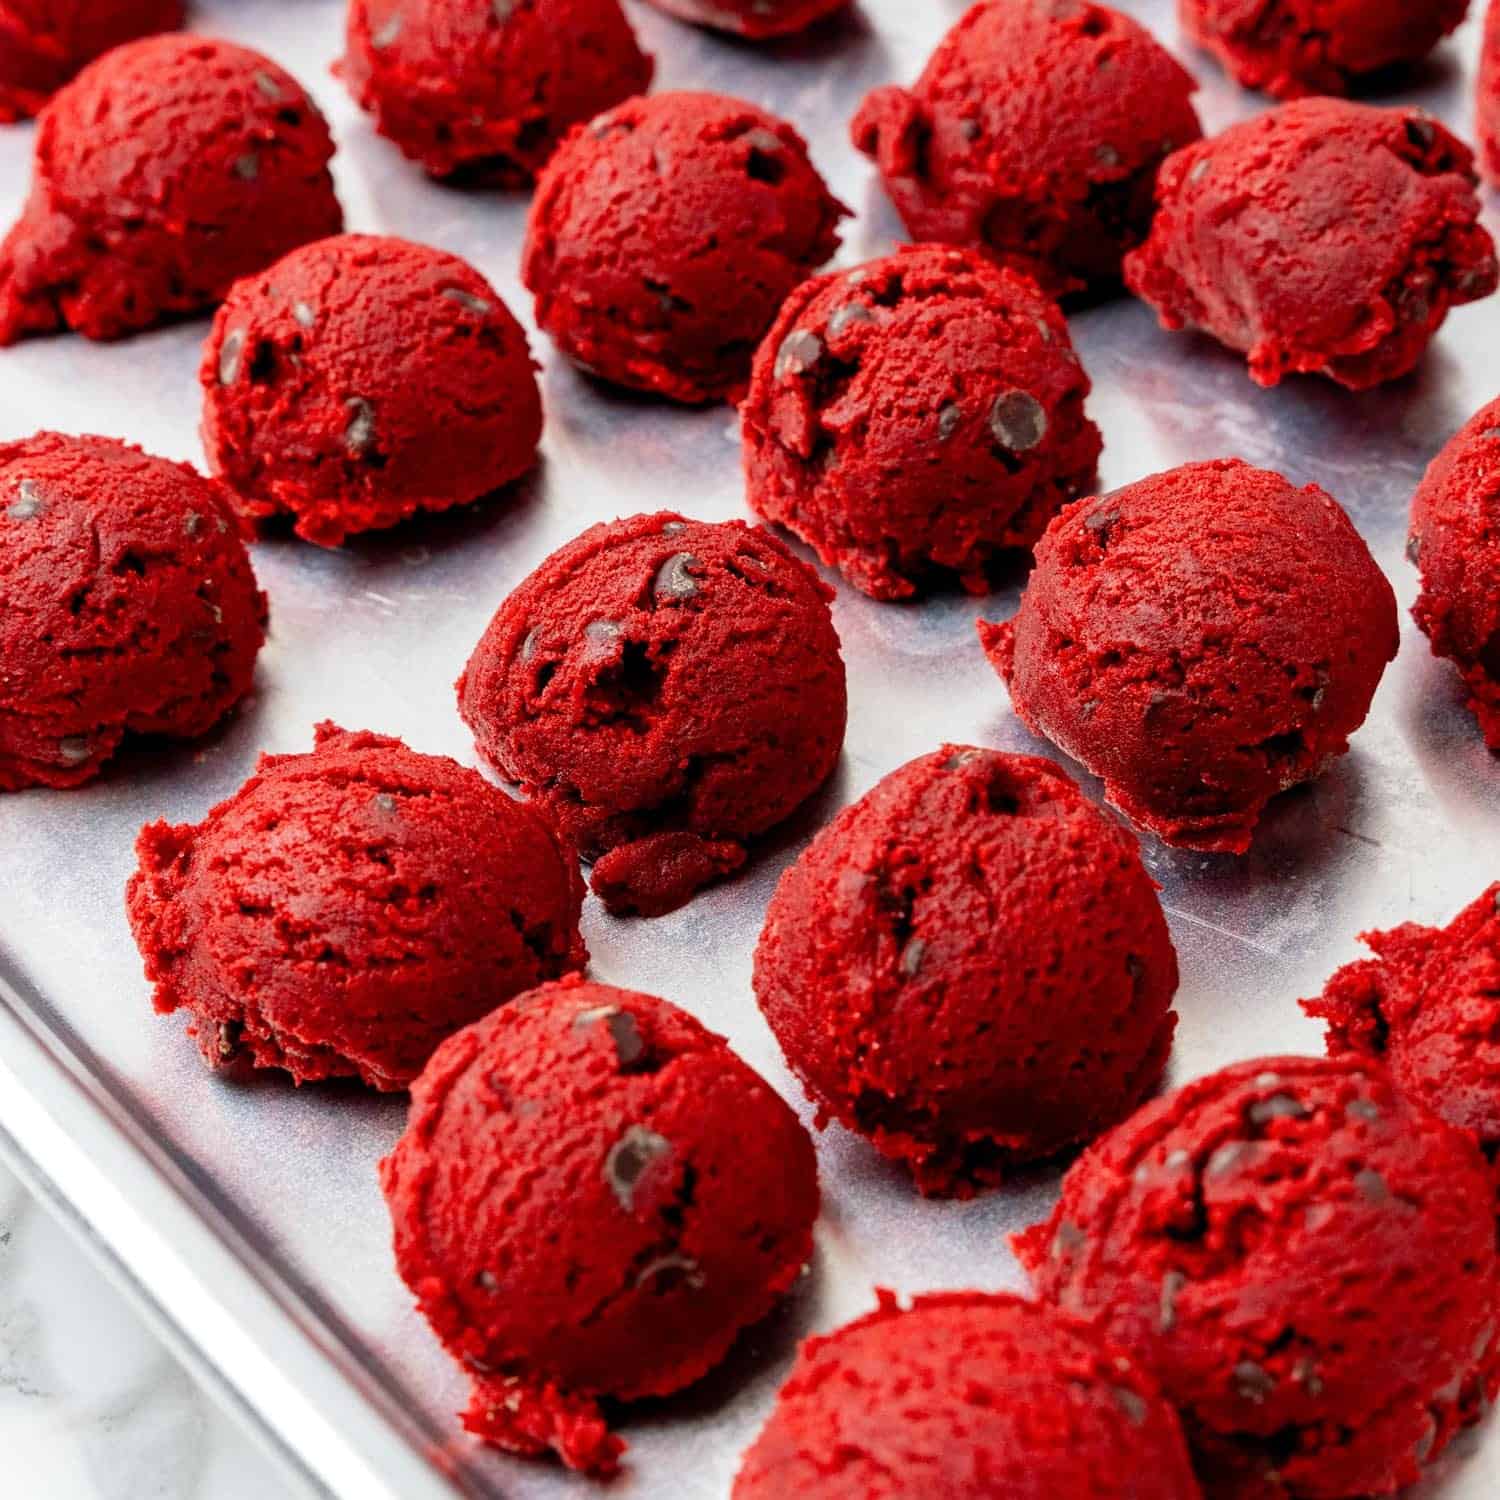
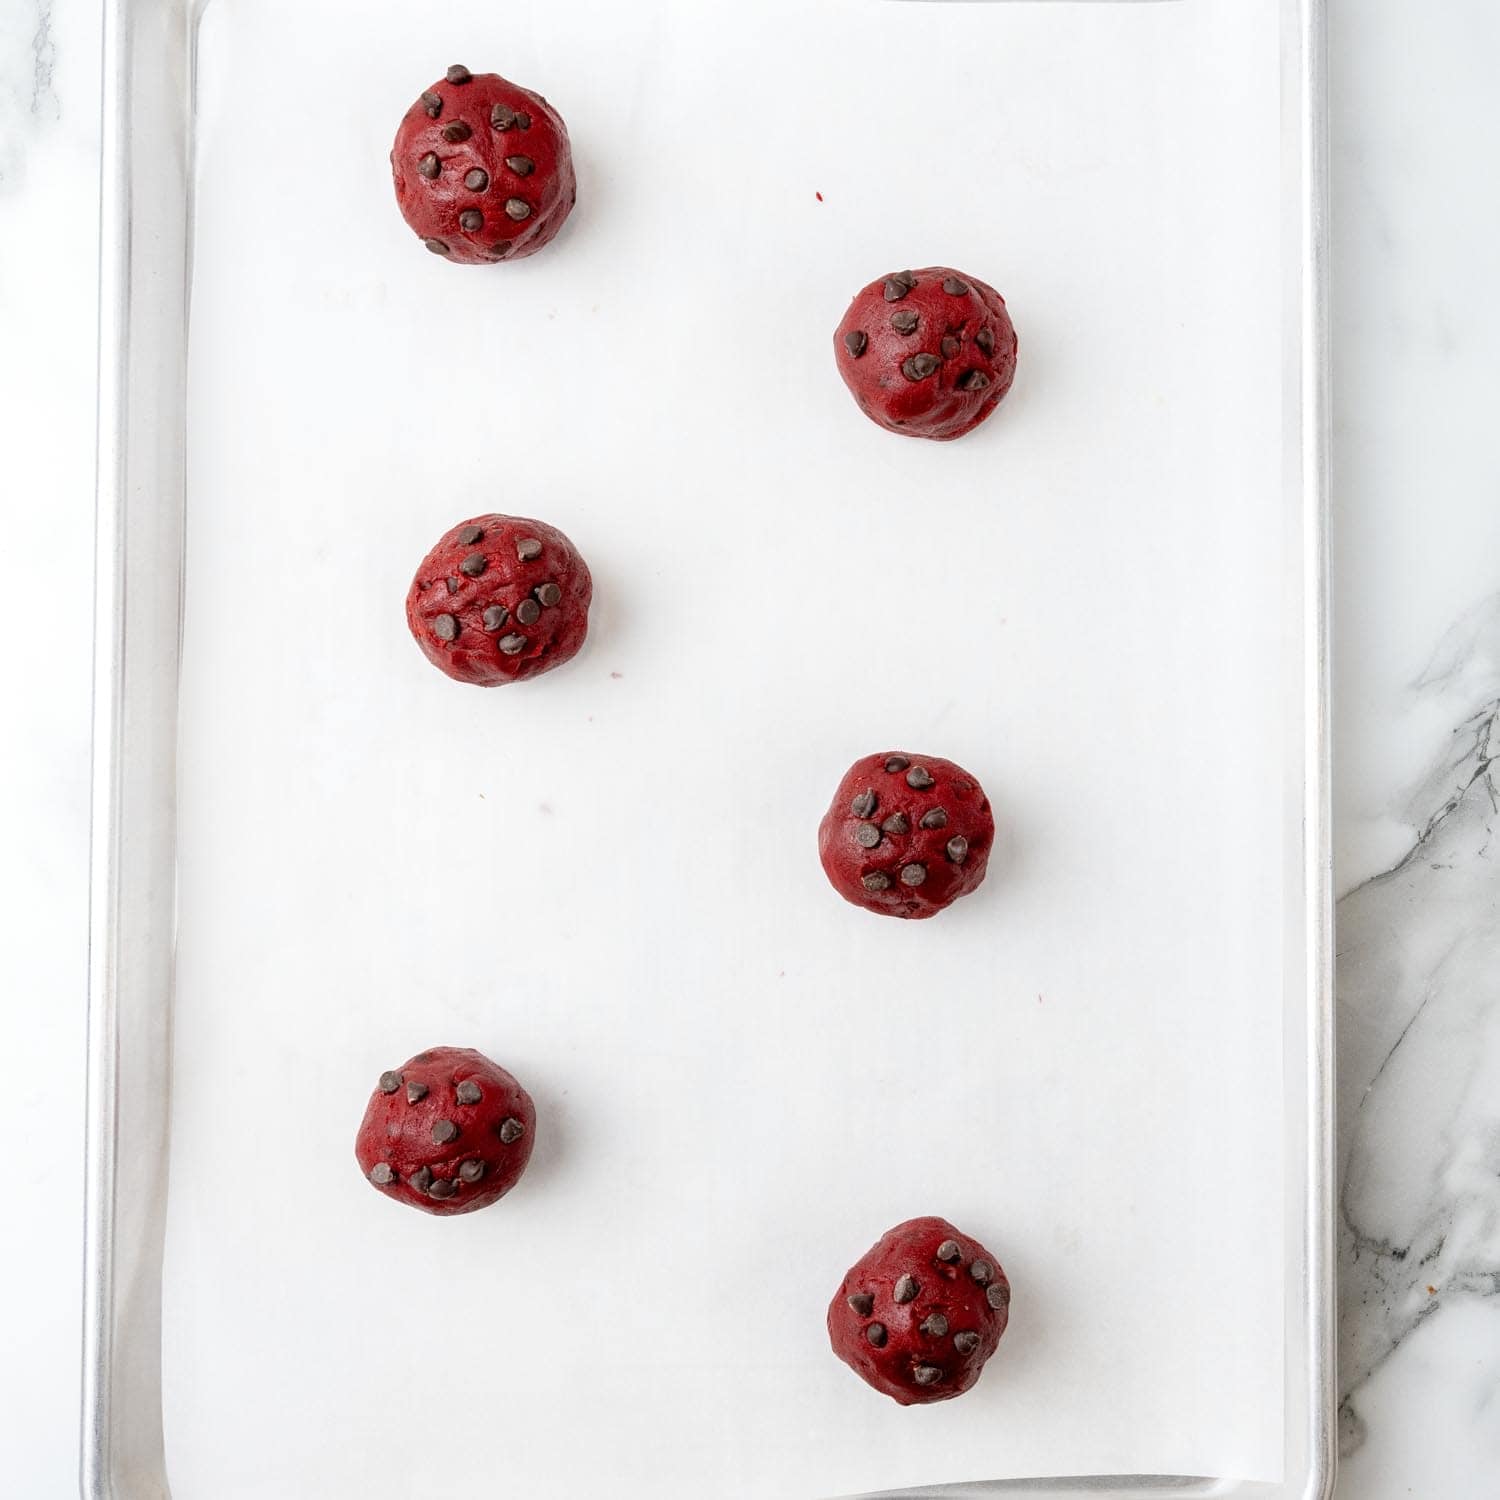
- Use a small cookie scoop (1½ tablespoons) to portion the dough into 36 balls. Flatten each ball slightly.
- Sandwich each frozen cream cheese filling between two flattened dough portions. Pinch the edges to seal, then roll into a ball.
- Place the cookies on the prepared baking sheets, spacing them 3 inches apart. Press a few additional mini chocolate chips onto the tops, if desired.
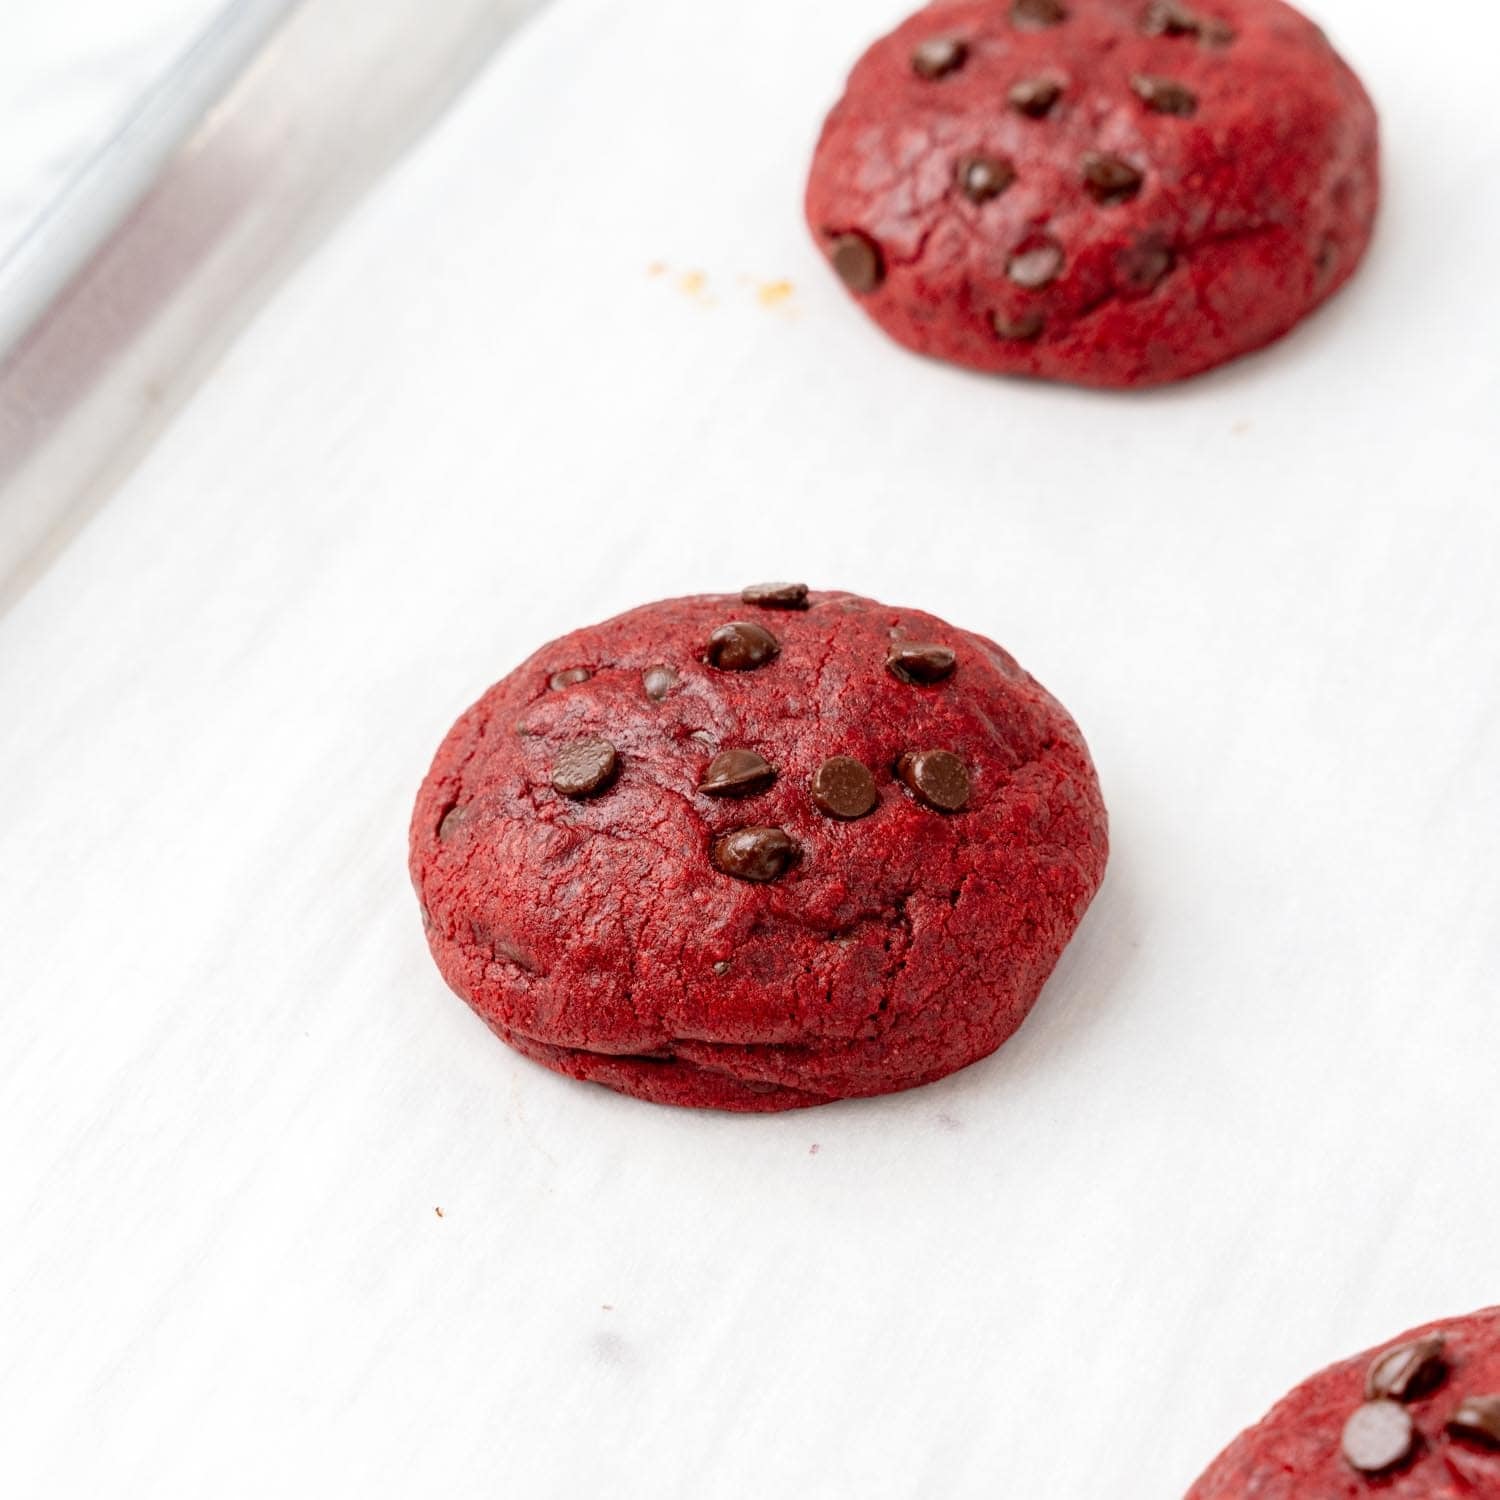
- Bake in the preheated oven for 12-14 minutes, or until the cookies have puffed and the tops are no longer shiny.
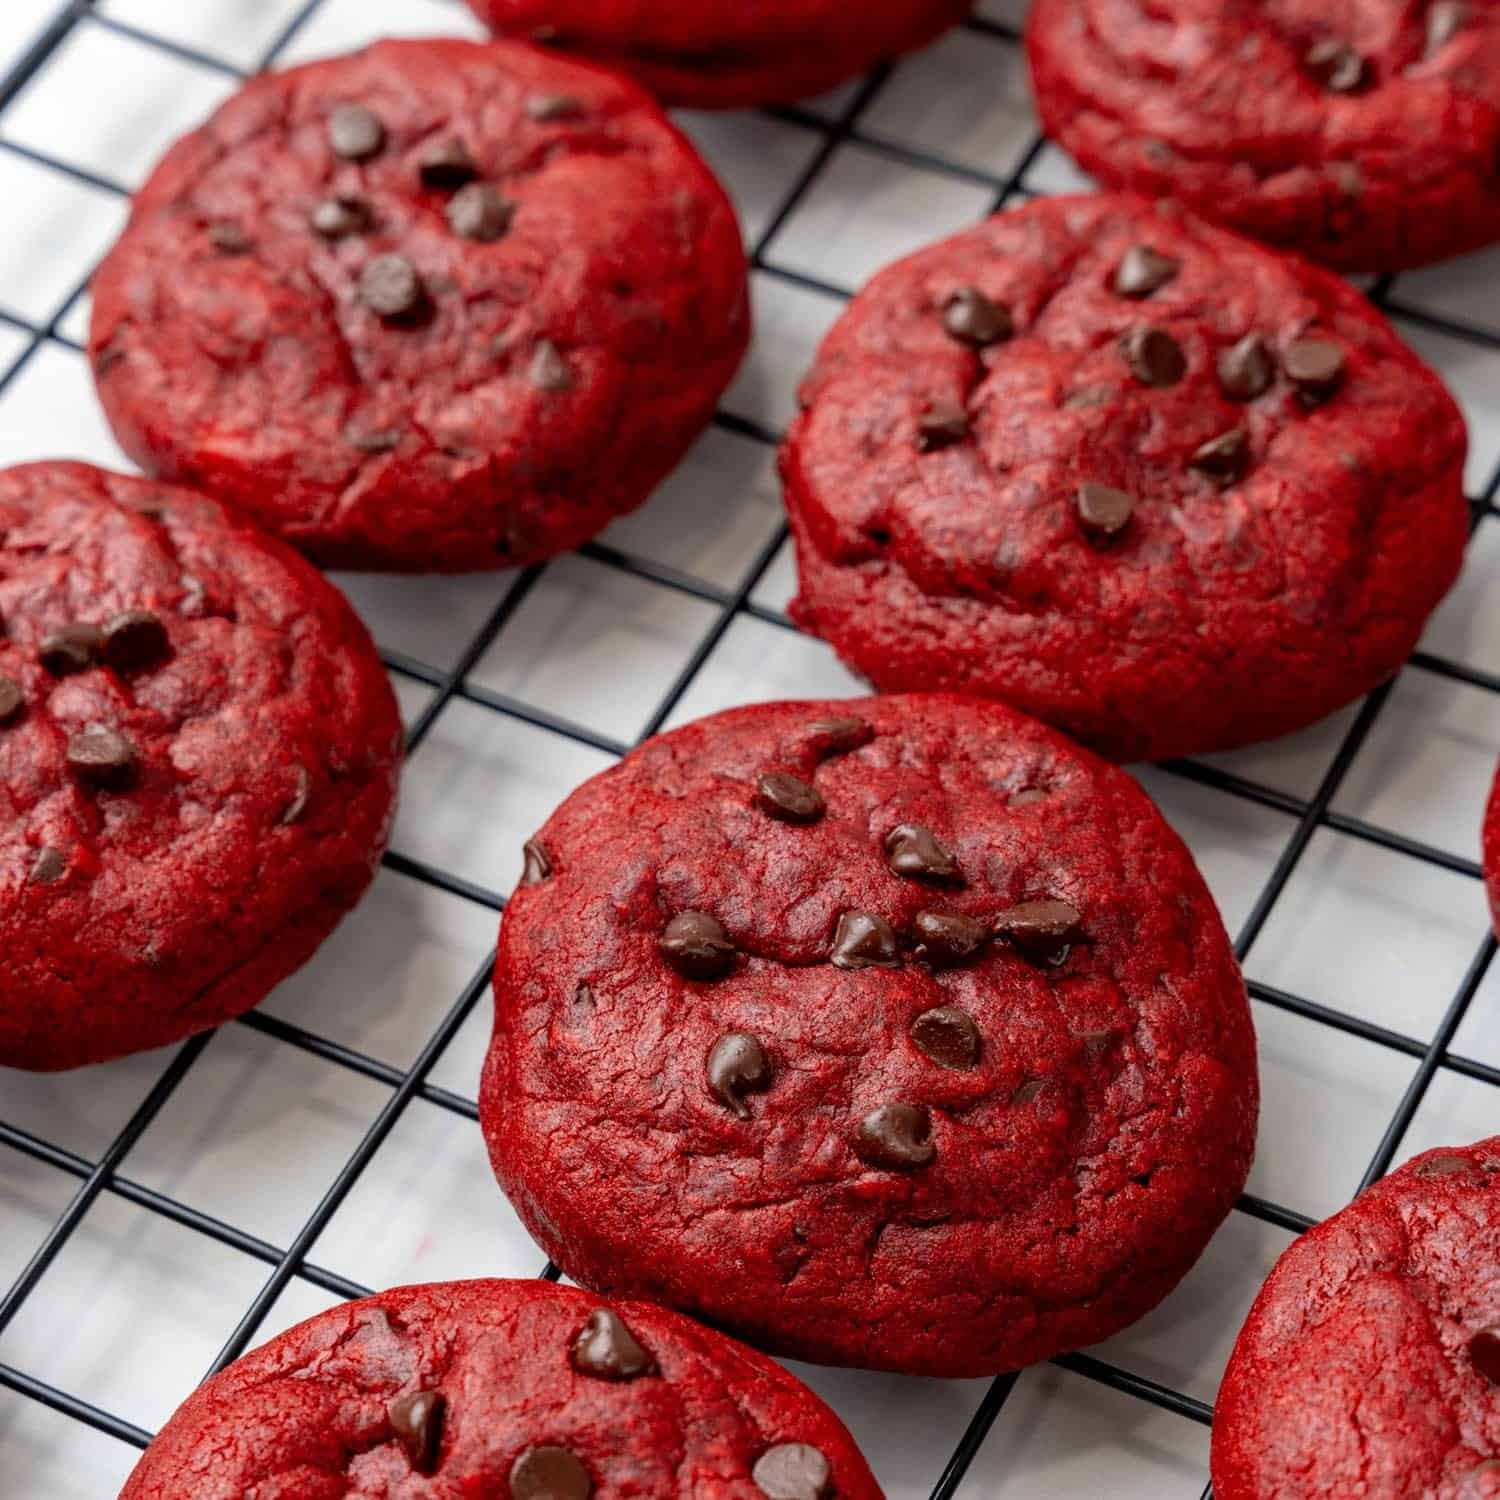
- Cool the cookies on the baking sheets for 5 minutes, then transfer to a wire rack to cool completely.
Notes:
- Avoid overmixing the dough. Once you add the dry ingredients, mix only until you can no longer see any streaks of flour in the mixture.
- Freezing the filling is super important! Don’t skip this step, or you’ll end up with filling that seeps out of the cookies.
- Double the recipe. This recipe makes 18 large cookies. If you need a few more, it is easy to double it to make 36!
- Let them cool. The filling will be quite hot when the cookies come out of the oven.
- Baked cookies can be stored in the fridge for up to 4 days or in the freezer for up to 3 months.
Nutrition Information
This website provides approximate nutrition information for convenience and as a courtesy only. Nutrition data is gathered primarily from the USDA Food Composition Database, whenever available, or otherwise other online calculators.
© Little Sunny Kitchen


Leave a Review!