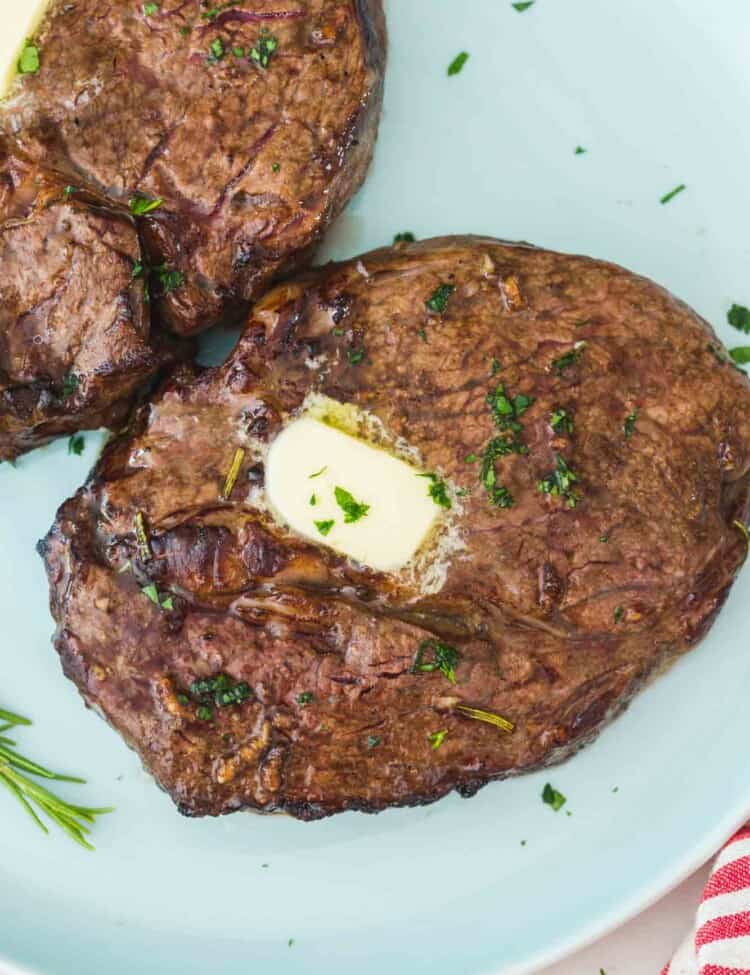
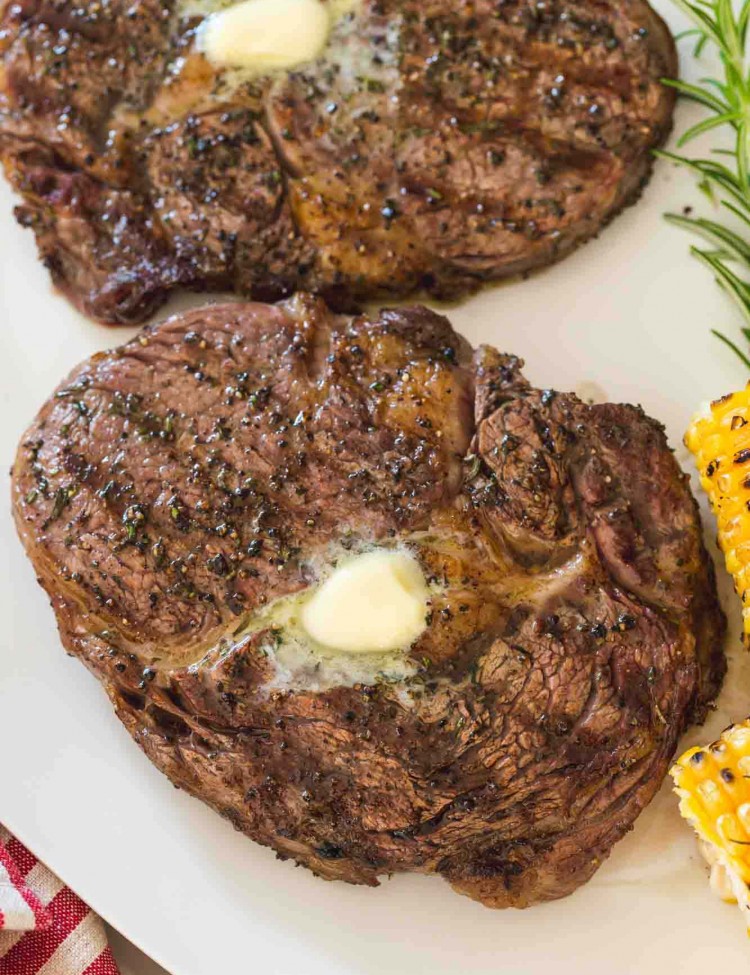
A delicious pan seared steak, just like you’d enjoy at a restaurant, ready in minutes, and for way less money. It’s a win-win, so let me show you exactly how to make pan seared steak perfectly.
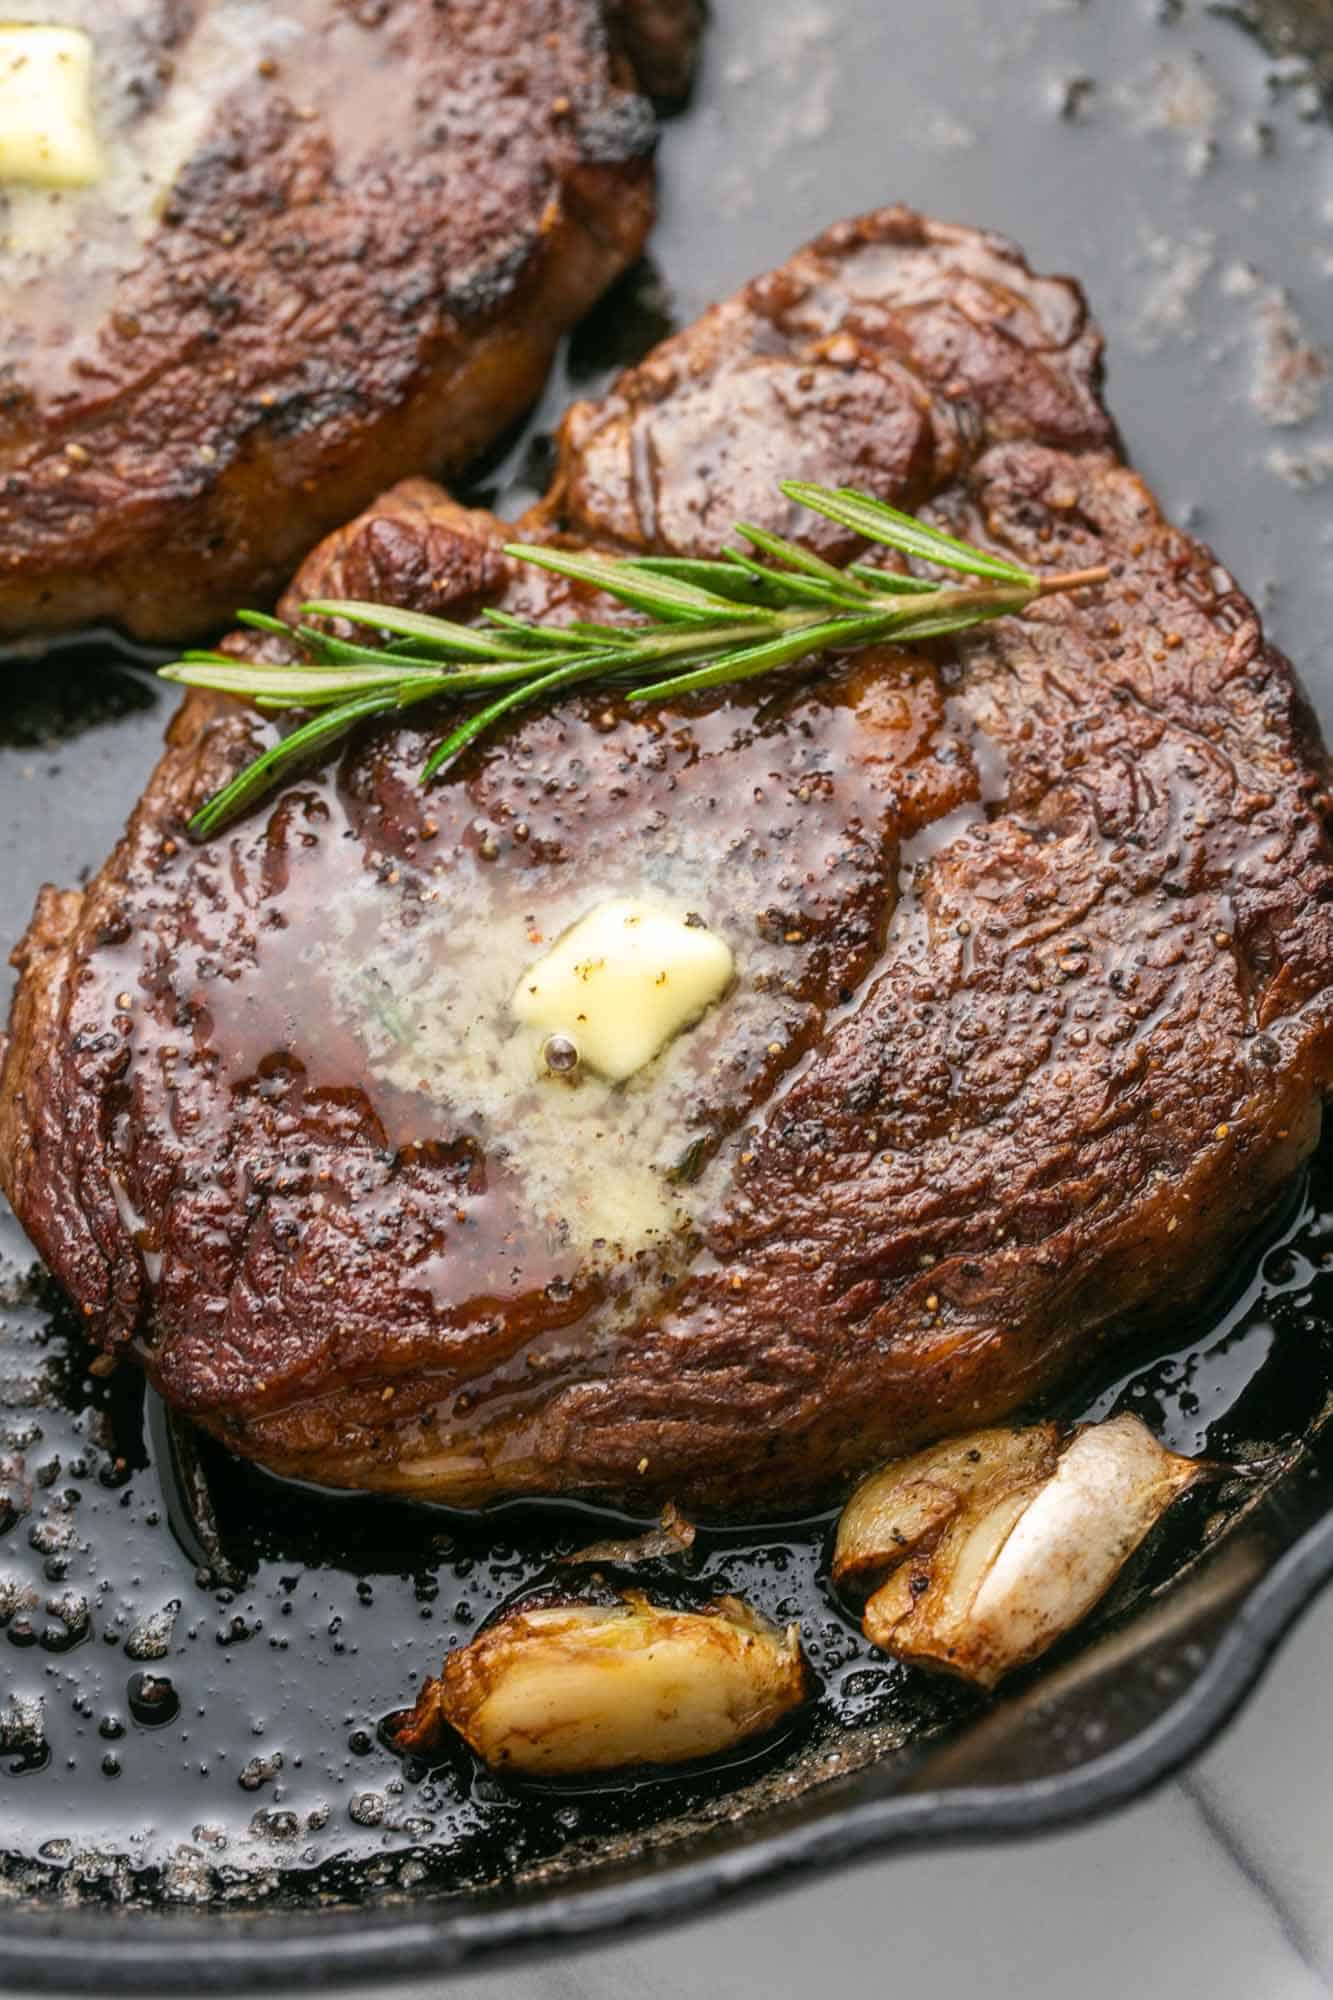
A mouthwatering steak with a beautiful brown outer crust and tender and juicy meat is less than 10 minutes away when you follow this pan seared steak recipe.
This is my go-to method for making steaks for my family because it’s so fast and simple. I don’t need to clean the grill or turn on the broiler, or marinate anything. These perfectly cooked pan seared steaks go from the fridge to my plate with very little fuss.
I don’t mean to say that a grilled steak doesn’t have its moments though! I especially like cooking grilled T-Bone steaks on the grill when it’s hot outside. I also make steak in the air fryer sometimes and a pretty amazing Chicken Fried Steak!
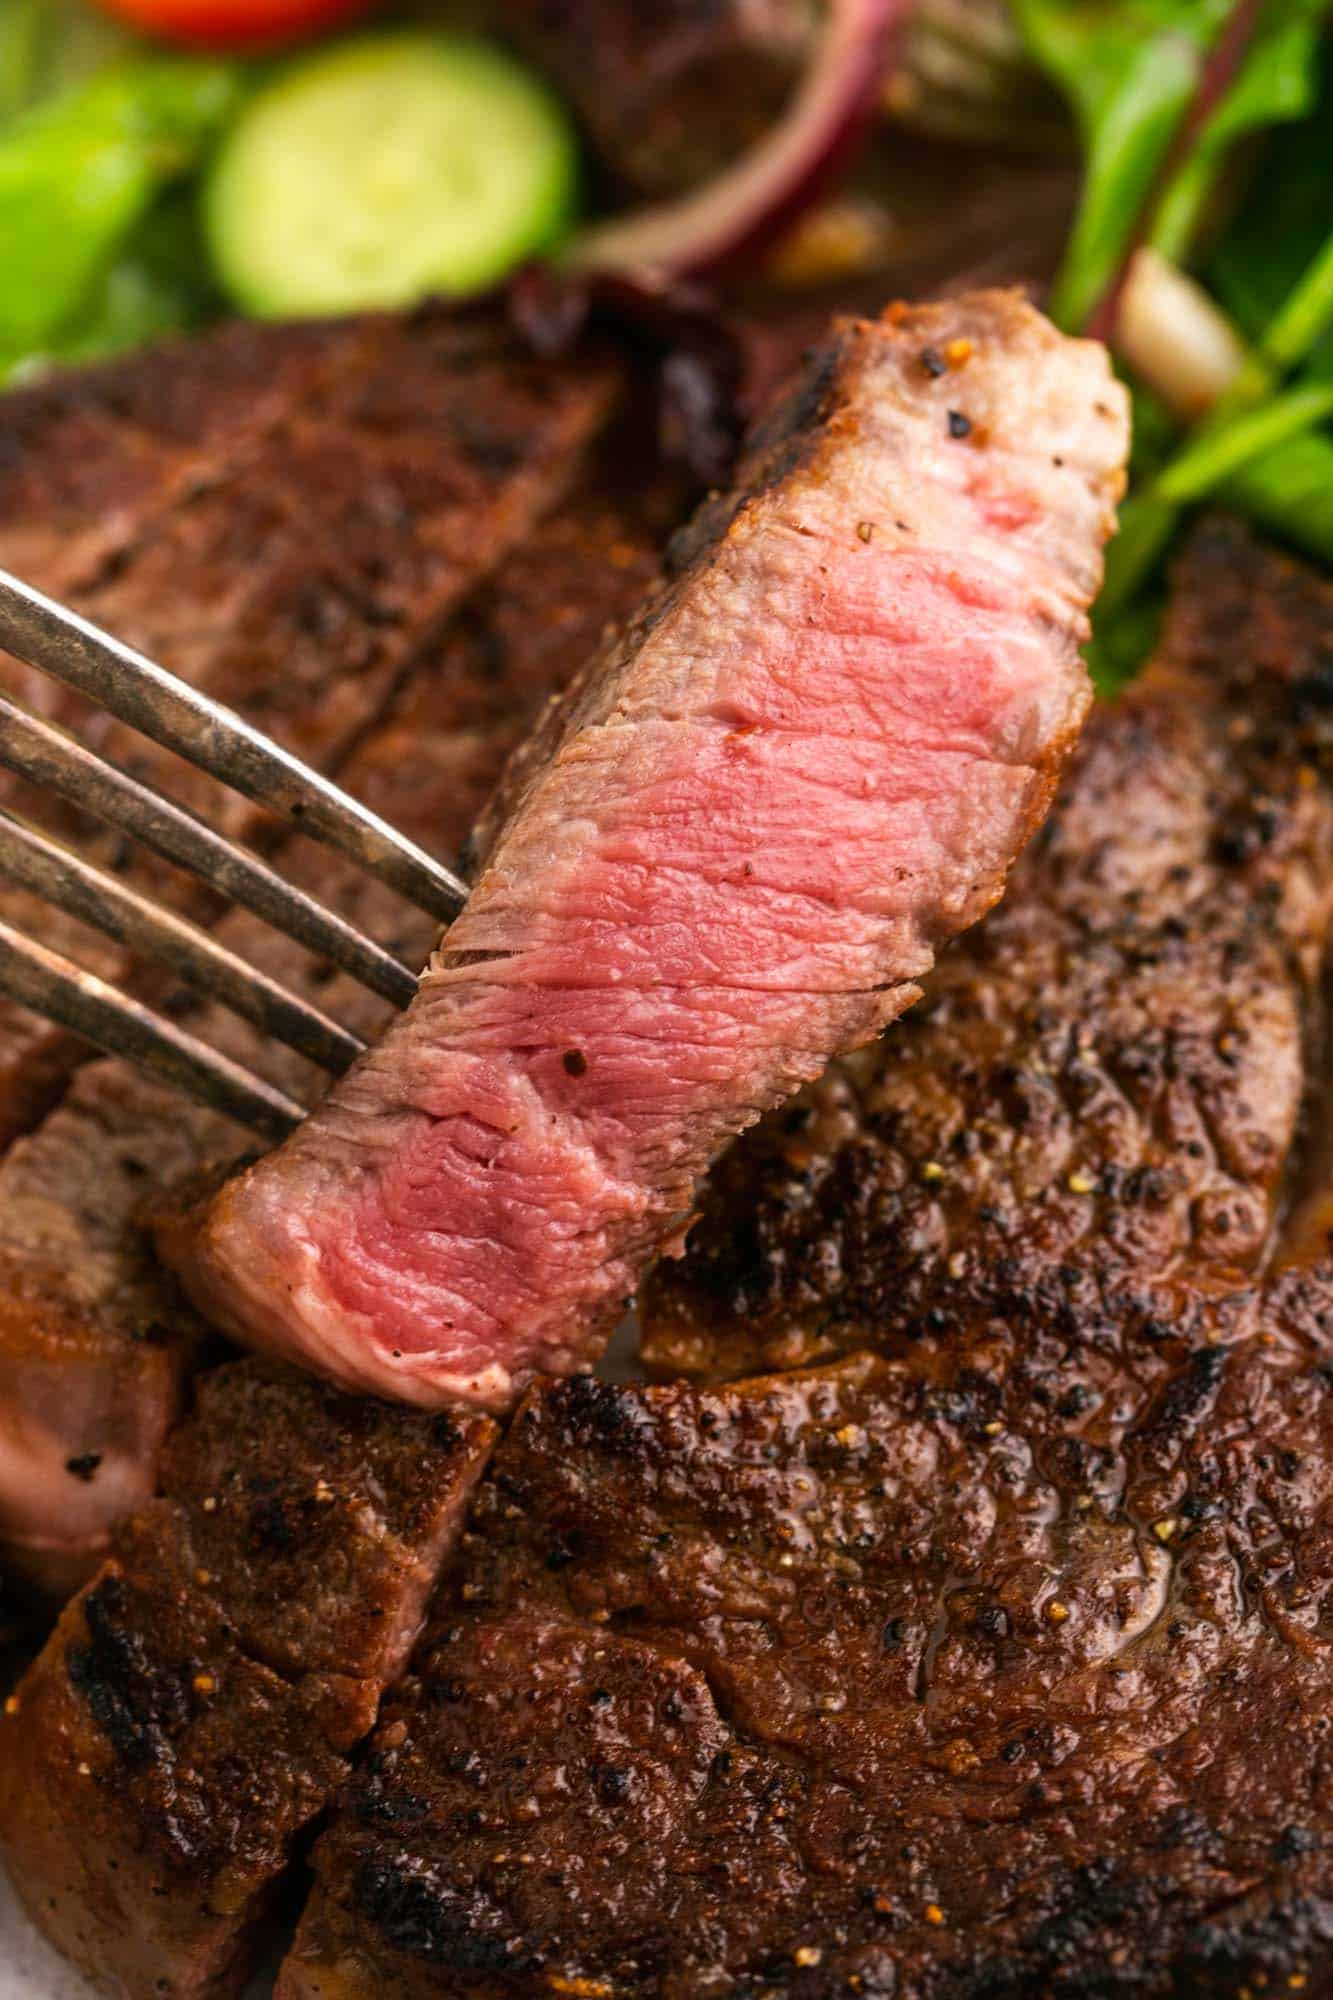
Why You’ll Love This Steak Recipe
- Fast Cooking Method – Depending on the size of the steak and how rare or well-done you like it, it takes around 5 minutes to pan-fry a steak. You’ll let it rest for the same amount of time, and it will be ready to eat in less than 15 minutes.
- No Special Equipment Needed – You don’t need a grill or a broiling pan to make a delicious steak! All you need is a heavy skillet and this pan fried steak recipe.
- Simple Flavors – Steak is already delicious, and only needs a little nudge from seasonings to be amazing. Butter, salt, pepper, garlic, and fresh herbs bring out the best in any cut of steak.
Key Ingredients
Here’s what you need to make this easy pan seared steak recipe.
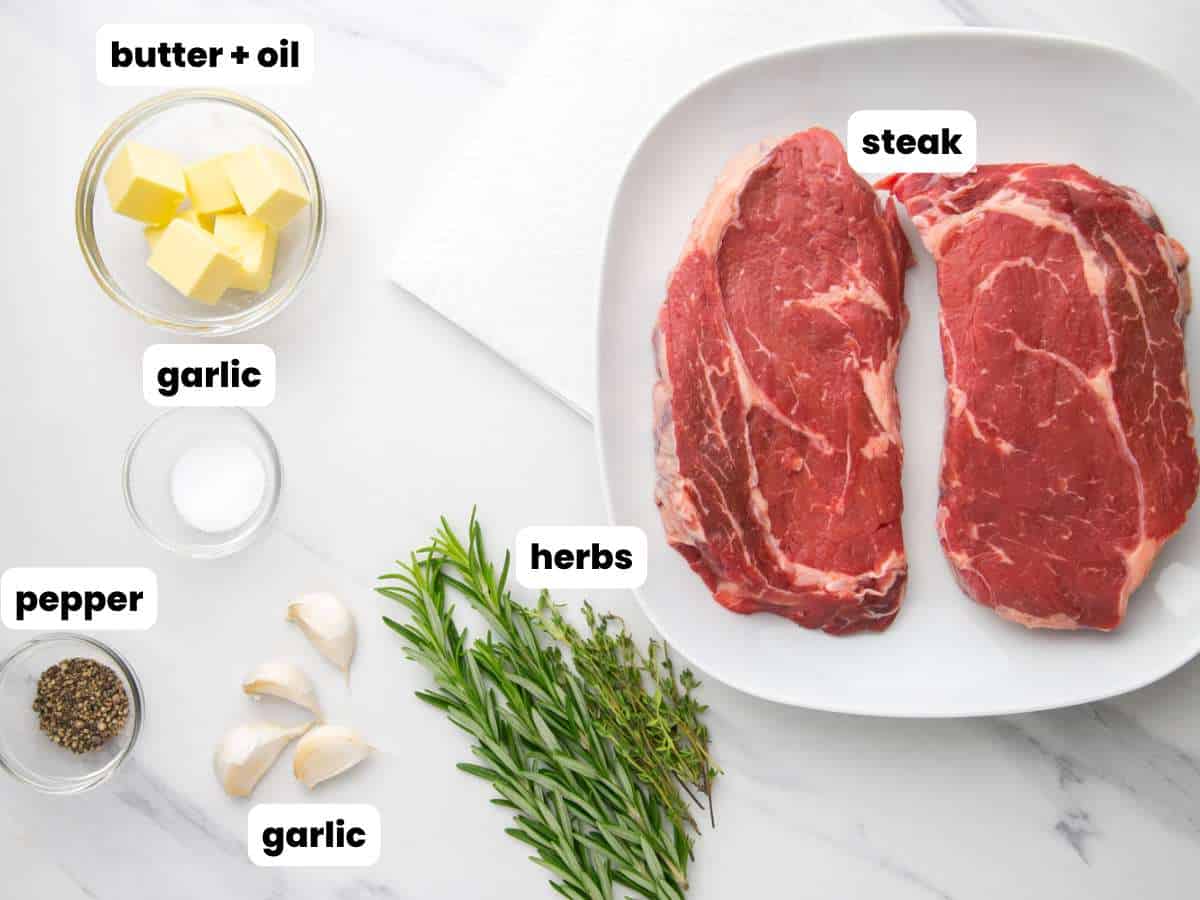
Complete list of ingredients and amounts can be found in the recipe card below.
- Steaks: I’m making two 16-ounce ribeye steaks here. This method works with any cut of steak though, so try it with strip steaks, sirloin, or T-bone steaks as well. You can make 1 steak or 2, but I wouldn’t try to make more than that in one pan.
- Salt and Pepper: It’s so important to make sure that your steak is well-seasoned. You simply need to give the meat a generous sprinkle of kosher salt and ground black pepper.
- Oil: Be sure to use an oil that has a high smoke point. Vegetable or canola oils are perfect. The oil helps to sear the steaks and give them a beautiful crust.
- Butter: Butter is added to the pan after we flip the steaks over, and then it’s spooned over the steak as it cooks. This adds tons of flavor.
- Garlic and Herbs: Lightly smashed whole garlic cloves and sprigs of fresh rosemary and thyme cook next to the steaks, giving the steaks their essence.
How To Pan Fry A Steak
Learn how to sear a steak the easy way here.
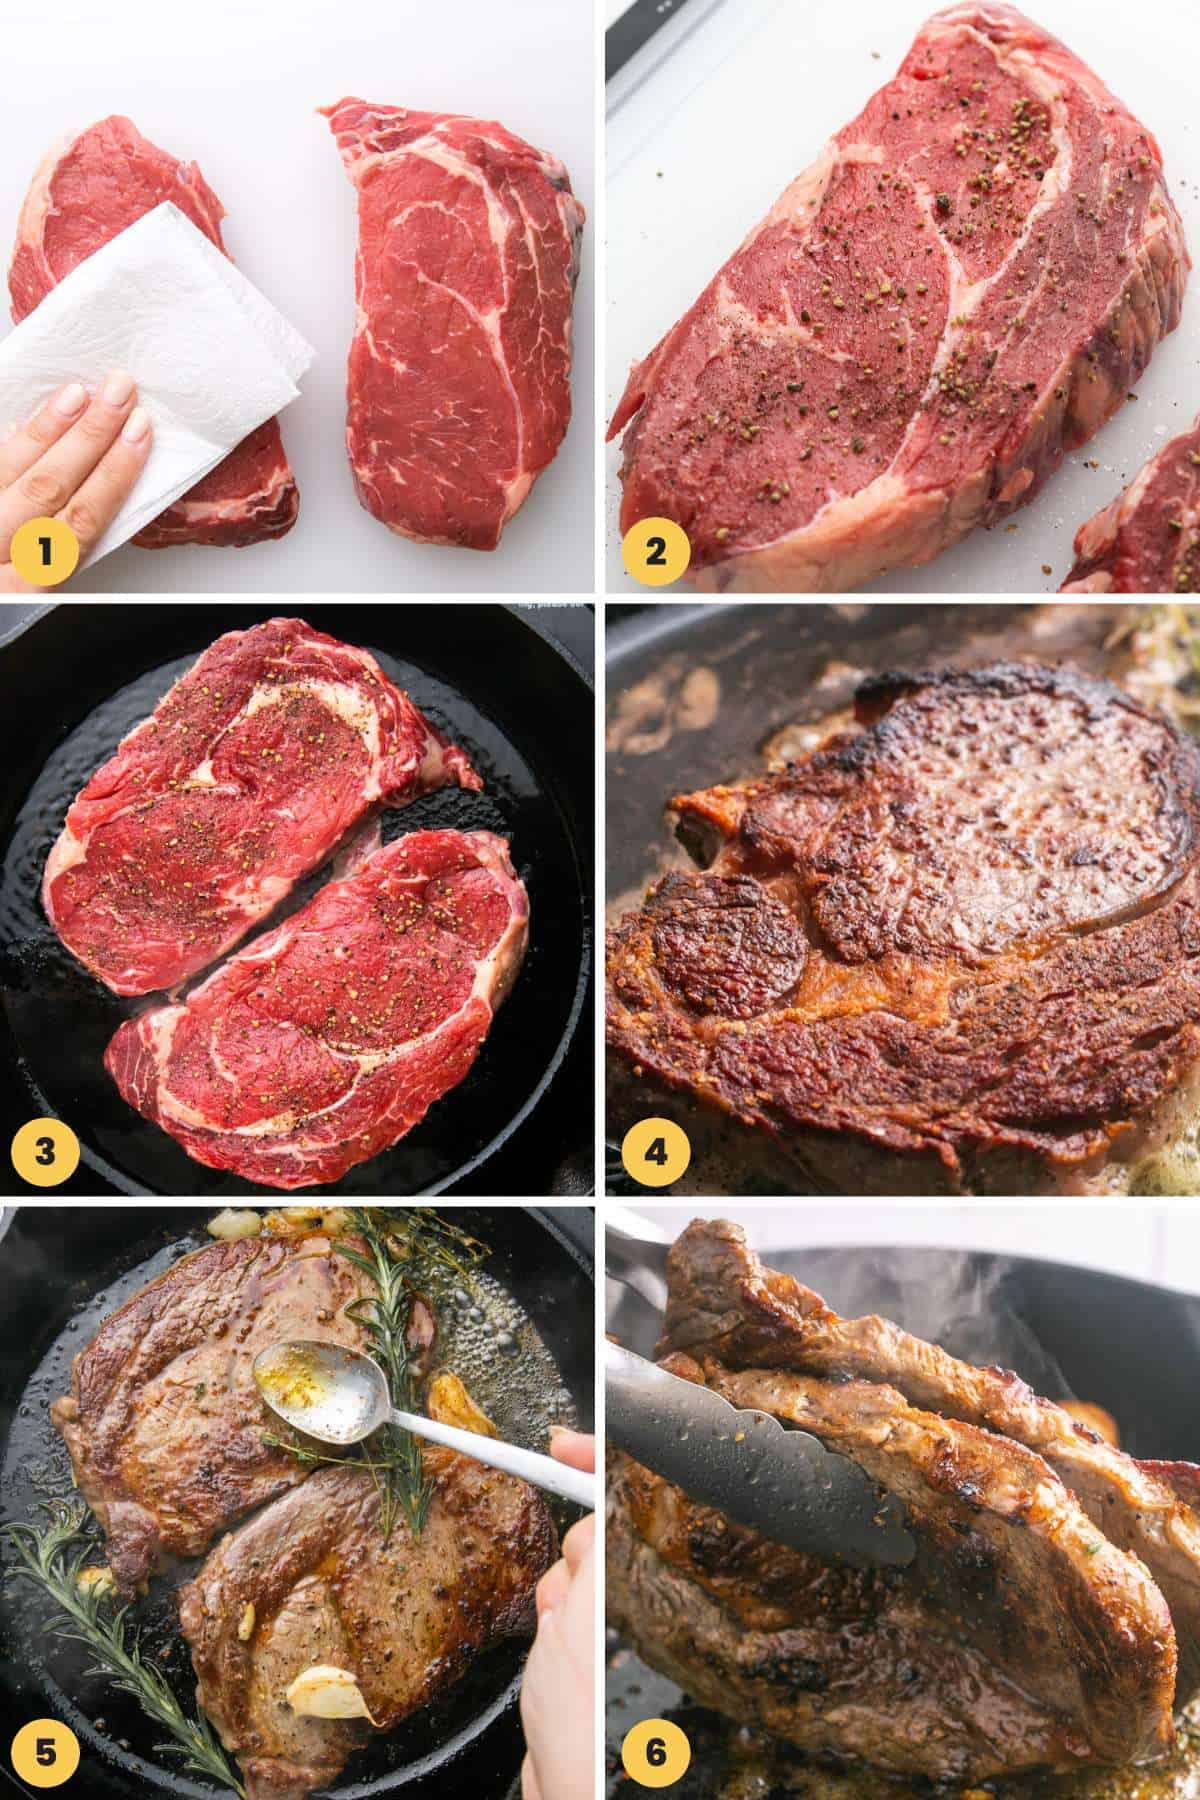
- Dry The Steaks: Use paper towels to pat the meat dry.
- Season: Then generously season the steaks with salt and pepper on all sides.
- Sear: Heat a heavy bottomed pan on medium-high heat. Add the oil, and when it’s shimmering hot, add the steaks and cook for 3 minutes to let a nice crust form.
- Flip: Reduce the heat to medium and flip the steaks over using your kitchen tongs.
- Add Aromatics: Cook for about 30 seconds, then add the butter, garlic, and herbs to the pan. Continue cooking for 2 minutes, basting the steaks constantly with the melted butter. Tilt the pan if needed. Test the steaks to be sure that they are at your desired temperature, which should be 5-10 degrees less than the final temperature you’re aiming for.
- Sear the Sides: Render some of the fat from the sides of your steak by holding them up with your tongs.
- Rest: Remove the steaks from the hot pan and place them on a plate, covered loosely with foil. Let rest for 5-8 minutes, then serve.
Tip!
Choose kosher salt over regular table salt when seasoning steak. The larger grains are easier to sprinkle evenly over the meat, and will draw more moisture from the steak as they dissolve.
Tips for Pan Searing the Best Steak
- Choose the Right Cut: While you can technically cook any cut of meat this way, you’ll enjoy your steak more if you look for the best one while you’re shopping. Fat equals flavor, right? So look for steaks with lots of marbling, or thin ribbons of fat among the muscle. They will be tastier and juicier than leaner cuts. My personal favorite will always be a thick Ribeye steak!
- Steak Thickness: You’ll get the best results from pan frying if you choose a thick piece of steak, is at least 1 ¼ inches thick but preferably 1 ½ to 2 inches. Anything less than that will be overcooked by the time you’ve properly seared the first side in the pan.
- Dry Steaks Fry Better: You should definitely dry the meat with paper towels before cooking it, but if you have extra time, season the steaks and place them on a rack in the fridge. Leave them there for 24 hours or for up to a few days (as long as the fridge temperature stays stable and the fridge is fairly clean, they’ll be fine!). This will help with the searing and you’ll get a nice crust.
- Flip Once, or More: It’s easiest to make this recipe and only flip the steak over once, but you can actually flip it multiple times if you want to. The most important thing is that you don’t flip it over until the first side is well seared.
- Don’t Slice Until You’re Ready to Eat: You can slice pan seared steaks after they’ve rested, but if you aren’t ready to eat, hold off. Steaks lose heat fast once they’re sliced.
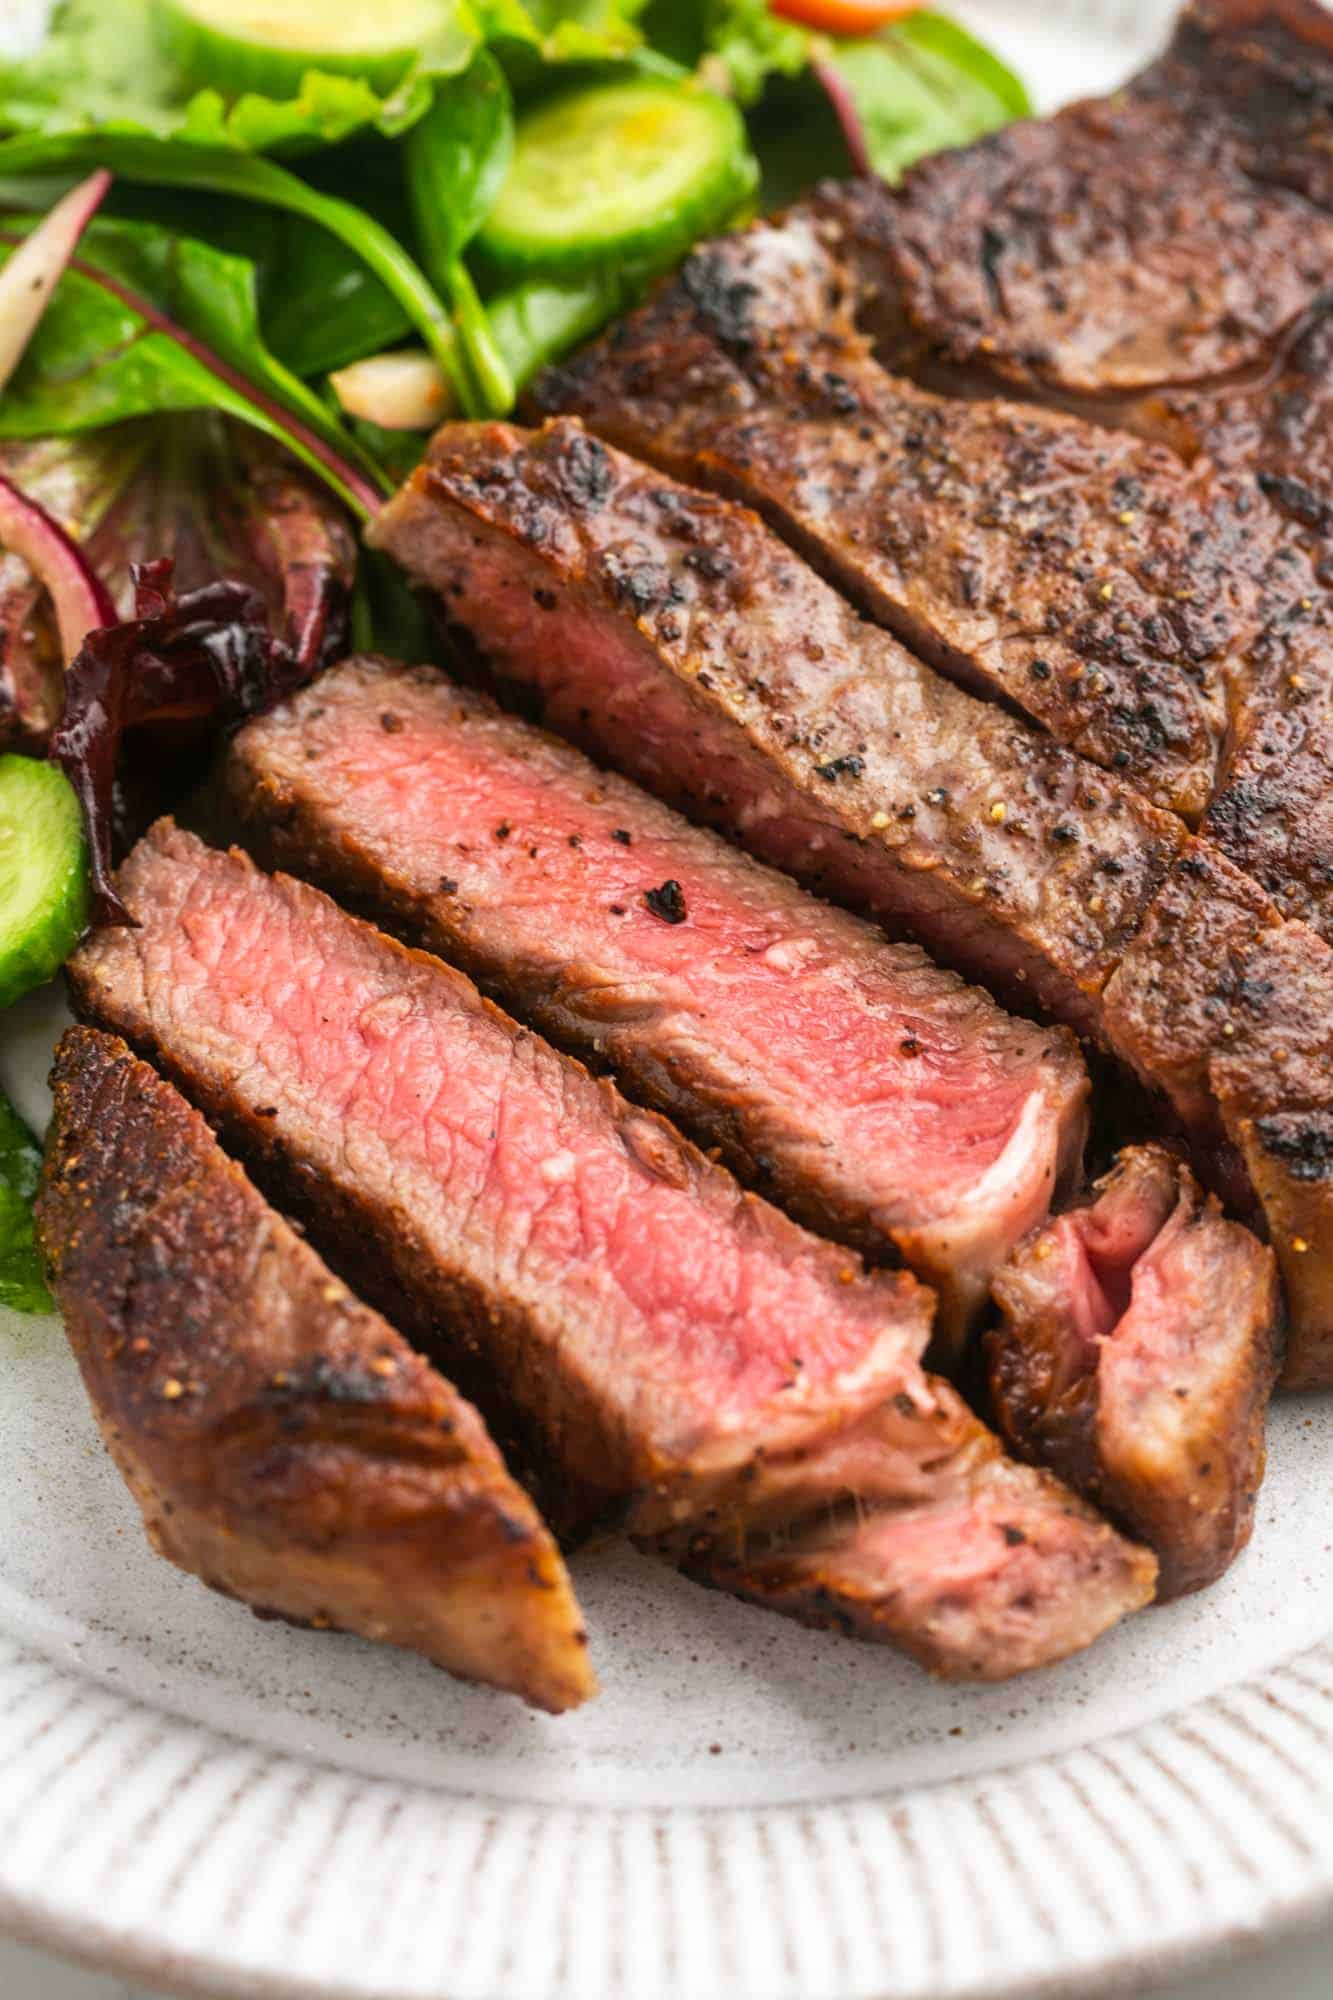
What Temperature to Cook Steak To
The USDA recommends cooking steaks to at least 145°F/63°C for food safety reasons. Aside from that, here are the temperatures you should aim for, depending on how you like your steak cooked:
- Rare: 120 to 130°F or 49 to 54°C
- Medium Rare: 130 to 135°F or 54 to 57°C
- Medium: 135 to 145°F or 57 to 63°C
- Medium Well: 145 to 155°F or 63 to 68°C
- Well Done: 155+ °F or 68+°C
Remember that the temperature of the meat will raise 5-10 degrees while it’s resting!
Learn more about using a kitchen thermometer to check the temperature of food! It truly is the most used tool in my kitchen.
Storing Tips
Keep leftovers in the fridge for 3-4 days, stored in an airtight container.
You can reheat steak, but if not done properly you run the risk of overcooking it when you do that so I wrote a full blog post about the best way to reheat steak – make sure to check it out! I also like to enjoy leftover steak cold, on a steak salad, or in a wrap.
Did you make this? Be sure to leave a review below and tag me on Facebook, Instagram, or Pinterest!
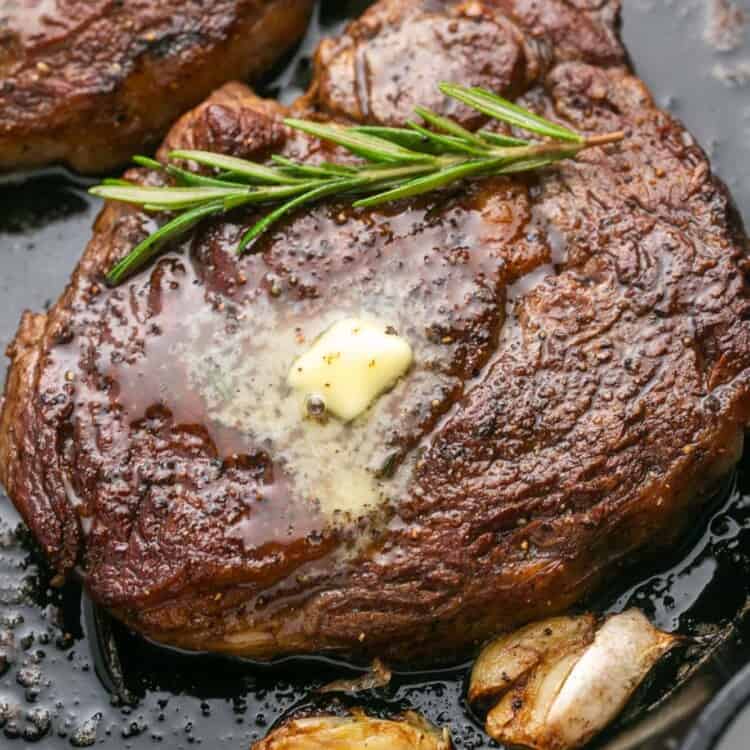
Pan Seared Steak
Equipment
- Instant-read thermometer
Ingredients
- 2 steaks 1 lb each, about 1¼ to 1½” thickness, ribeye, strip, sirloin, t-bone
- 1 teaspoon kosher salt
- ¾ teaspoon ground black pepper
- 1 tablespoon vegetable oil or any high smoke point oil
- 4 tablespoons unsalted butter
- 4 cloves garlic lightly smashed, no need to peel
- 2 sprigs rosemary
- 2 sprigs thyme
Instructions
- Pat the steaks dry with paper towels, then generously season with salt and pepper from all sides. These are thick cuts of meat, so you need to season well.
- Heat a heavy-bottomed pan on medium-high heat. Add oil, and when it’s shimmering add the steaks and cook for 3 minutes and a nice crust will form.
- Reduce heat to medium, flip the steaks using kitchen tongs, and cook for 30 seconds. Then add the butter, garlic, and herbs, and baste with melted butter using a spoon. The cook time here should be 2 minutes in total. Use the thermometer to make sure the steak reaches the desired temperature (keep in mind that the temp will rise by 5-10 degrees as it rests). Don’t forget to sear the sides to render some fat, do this using tongs.
- Remove from the pan, and allow to rest loosely tented with foil for 5-8 minutes before slicing against the grain (only slice if you’re serving right away, because steaks lose heat fast). Do not slice too thin unless you’re making a salad with it.
Notes:
- Choose the Right Cut: While you can technically cook any cut of meat this way, you’ll enjoy your steak more if you look for the best one while you’re shopping. Fat equals flavor, right? So look for steaks with lots of marbling, or thin ribbons of fat among the muscle. They will be tastier and juicier than leaner cuts. My personal favorite will always be a thick Ribeye steak!
- Steak Thickness: You’ll get the best results from pan frying if you choose a thick piece of steak, is at least 1 ¼ inches thick but preferably 1 ½ to 2 inches. Anything less than that will be overcooked by the time you’ve properly seared the first side in the pan.
- Dry Steaks Fry Better: You should definitely dry the meat with paper towels before cooking it, but if you have extra time, season the steaks and place them on a rack in the fridge. Leave them there for 24 hours or for up to a few days (as long as the fridge temperature stays stable and the fridge is fairly clean, they’ll be fine!). This will help with the searing and you’ll get a nice crust.
- Flip Once, or More: It’s easiest to make this recipe and only flip the steak over once, but you can actually flip it multiple times if you want to. The most important thing is that you don’t flip it over until the first side is well seared.
- Don’t Slice Until You’re Ready to Eat: You can slice pan seared steaks after they’ve rested, but if you aren’t ready to eat, hold off. Steaks lose heat fast once they’re sliced.
- To Store: Keep leftovers in the fridge for 3-4 days, stored in an airtight container.
- Steak Temperature: The USDA recommends cooking steaks to at least 145°F/63°C for food safety reasons. Aside from that, here are the temperatures you should aim for, depending on how you like your steak cooked:
- Remember that the temperature of the meat will rise 5-10 degrees while it’s resting.
Nutrition Information
This website provides approximate nutrition information for convenience and as a courtesy only. Nutrition data is gathered primarily from the USDA Food Composition Database, whenever available, or otherwise other online calculators.
© Little Sunny Kitchen
What To Serve With Pan Seared Steak
There’s something filling and amazing about a steak and potatoes meal. It sticks to your ribs and is so satisfying. Here are my best potato recipes to enjoy with a pan seared steak:
- Baked Potato Wedges
- Instant Pot Red Potatoes
- Crockpot Mashed Potatoes
- Homemade French Fries (See my Steak Frites Recipe to learn how to cook both the steak and the fries in the shortest amount of time!)
- Sauteed Mushrooms and Onions are also perfect with a seared steak!
And if you’re looking for a delicious sauce recipe, try this Creamy Horseradish Sauce. I also have an amazing steak mushroom sauce. Both go so well with beef!
FAQs
It’s not necessary to do this and it can actually leave your steaks open to spoilage. It’s been proven that a steak will cook exactly the same when it’s cold as it will when it’s been left at room temperature for two hours.
I prefer to use a cast iron skillet to pan fry steaks. It’s heavy, distributes and retains heat well, and helps to form a beautiful crust on the meat. If you don’t have one of these, don’t worry! Any heavy-bottomed frying pan will work.
Yes, you can. I’d recommend using less oil if you’re using a non-stick pan since you won’t need so much!
These labels are given to beef by the USDA (United States Department of Agriculture) Prime steaks will have lots of marbling, Choice steaks will have a moderate amount of marbling, and Select steaks will be the leanest variety. Because the marbling makes for a better tasting steak, Prime steaks are also the most expensive.
I’ve made myself hungry all over again writing up this pan seared steak recipe for you! I know you’re going to love how much easier it is to prepare steaks this way, and you’re family will love it too!


Dallas Webster says
I have used this recipe and Wow what a flavorful meal! Yes a 2in thickness is perfect for me I like mine Rare.
Jane says
My husband was so impressed when I made this for date night last week. He said it was better than a restaurant! And I couldn’t believe how easy it was to make. 🙂
Little Sunny Kitchen says
I’m so happy to hear that, Jane! Thank you for taking the time to write this kind review!
Jamie says
Loved this steak! So juicy!
Little Sunny Kitchen says
Thank you, Jamie! I’m glad you loved it!
Andie says
Your recipes are always so yummy and this one does not disappoint! I love how simply it is and all the tips you added in. Very helpful!
Little Sunny Kitchen says
Thank you for the wonderful review, Andie! I’m so happy to hear that you enjoyed this recipe!