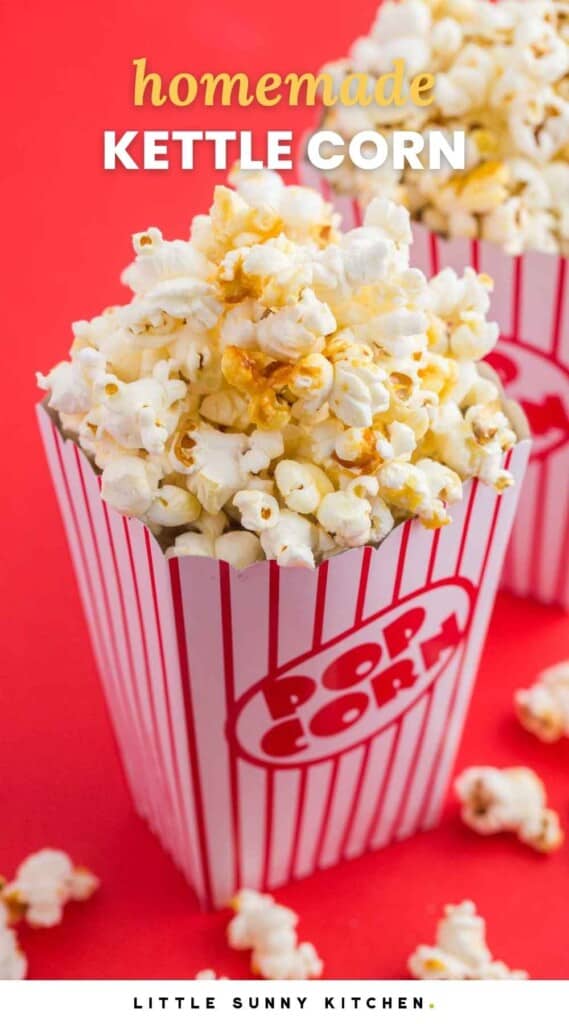
Learn how to make homemade kettle corn that is perfect for a movie night, game day, or to snack on! You won’t be able to stop eating this crunchy, salty and sweet popcorn.

We are making old-fashioned kettle corn today, kettle corn that tastes just like the one you buy at your local fair, amusement parks, farmer’s markets, or sporting events. I love traditional movie theater popcorn but at movie theaters, it’s pretty expensive and basically loaded with butter and sugar. This recipe is the perfect compromise – it tastes just as good but you get to control the ingredients so you can keep them healthy-ish!
This recipe is perfect for a fun girls’ night at home, a party, or a family movie night. Just make sure that you have enough bowls on hand for everyone because once you start eating this tasty popcorn, it will be gone in a flash!
The prep time for this homemade kettle corn is about 5-10 minutes. It’s super simple to make, and you don’t need any special equipment.
When it’s finished you just need to transfer it onto a baking sheet, sprinkle with sea salt, and gently shake it up so that everything gets nice and mixed together. Then just divide it between bowls, and get ready for your taste buds to go crazy because this stuff is so good you won’t be able to stop eating it!
Try my perfect caramel popcorn recipe too! Or make homemade Chex Mix for your next snack attack.
Why You’ll Love This Recipe
- Super Simple. The ingredients and preparation for this kettle corn couldn’t be any simpler. The only thing you need is a saucepan or some kind of pot with lid or a dutch oven (I personally use a stockpot!) and a baking sheet.
- Healthy-ish. There are no artificial flavorings, colors, or preservatives in this recipe so it’s much healthier than the store bought stuff!
- Convenient. You can make as much or as little of this kettle corn at a time so it’s perfect to serve for big parties or if you just want to snack every once in awhile.
- Four Ingredients. All you need is four simple ingredients! Popcorn kernels, sugar, oil, and salt.

Ingredients Needed
Here’s what you need to make kettle corn:
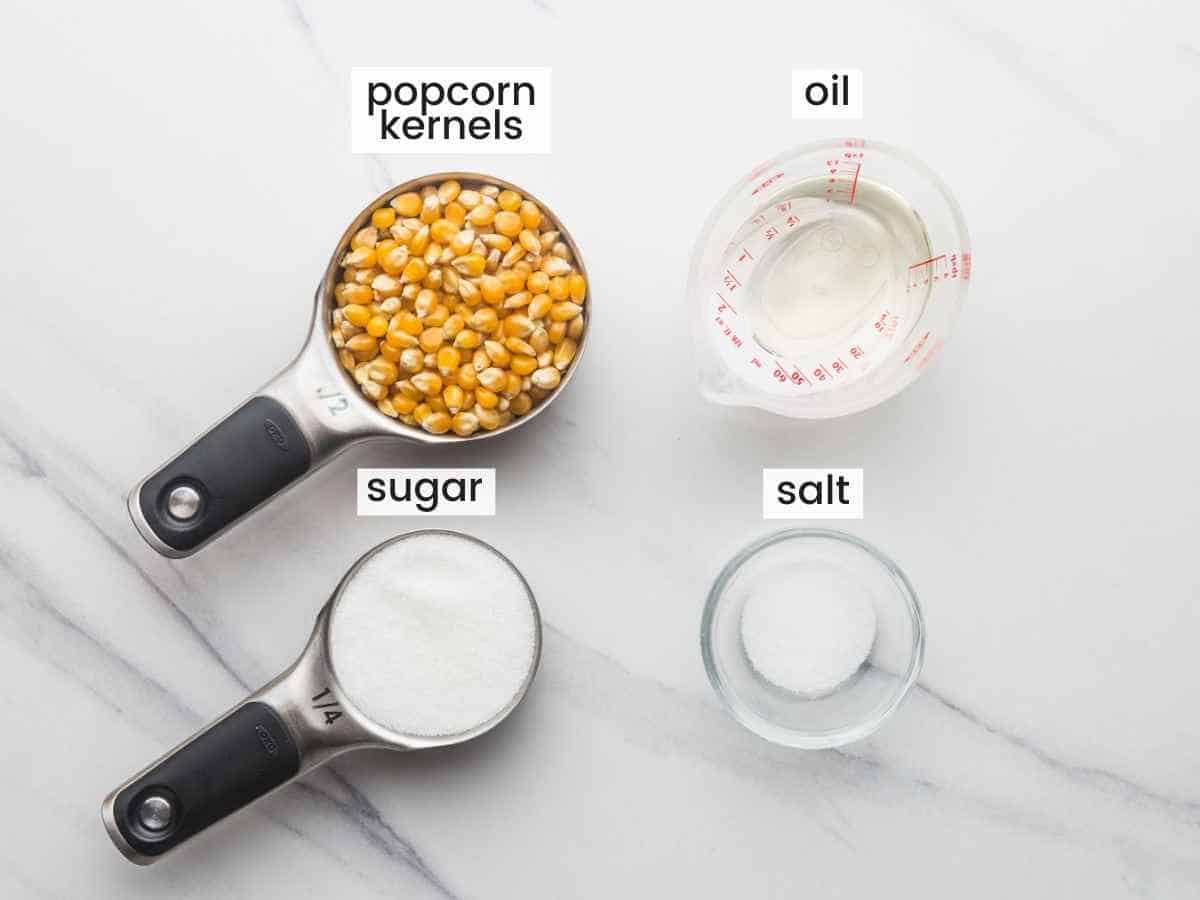
Complete list of ingredients and amounts can be found in the recipe card below.
- Popcorn Kernels: When choosing popcorn kernels, look for kernels that are as fresh as possible. If they’ve been sitting in your pantry for too long, they might not pop. For larger and sturdy popcorn, buy yellow kernels. For smaller tender popcorn, go for white kernels.
- Oil: I normally use peanut or vegetable oil as they’re neutral and are best for classic kettle corn. You can also use refined coconut oil. but keep in mind that coconut oil adds a little flavor, but it’s not overpowering and I actually like it (go for refined coconut oil, as unrefined will have a strong taste of coconut). For neutral tasting oil, go for peanut, sunflower, canola, or vegetable oil. Basically, you need to pick an oil with a high smoke point that also has a neutral taste.
- Sugar: We’re using just normal granulated sugar to sweeten our popcorn. For a stronger caramel flavor, you can use brown sugar.
- Salt: To balance the sweetness, and add a little saltiness to the popcorn.
How To Make Kettle Corn
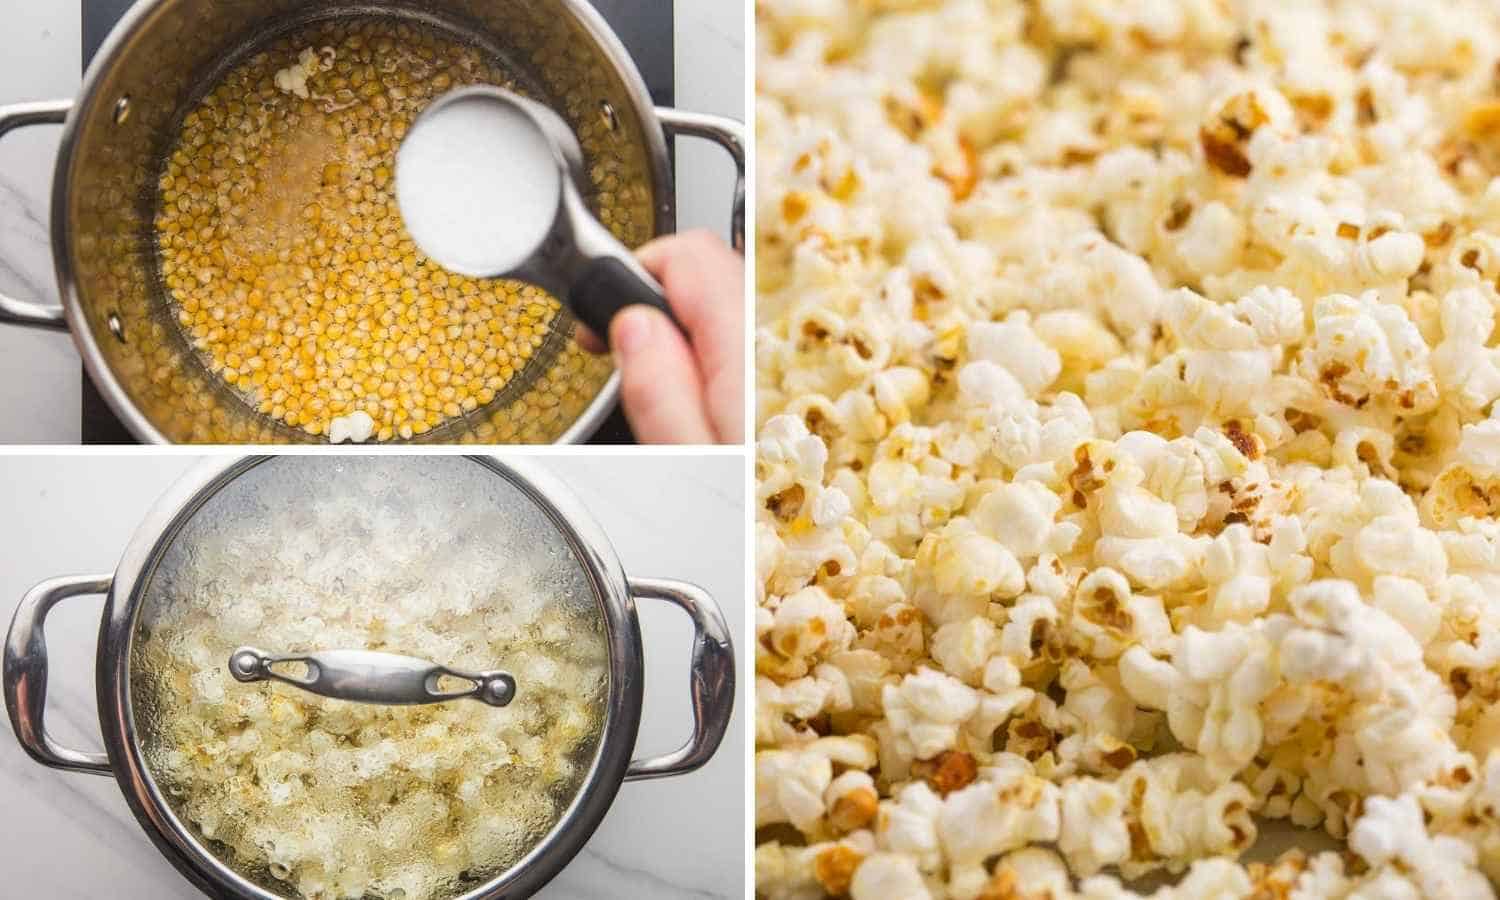
- Heat Oil. In a Large Pot with Lid (4 quart or larger) or a Whirly Pop Popcorn Maker, heat oil over medium-high heat. Add a couple corn kernels to the oil, when they pop it means that the oil is at the desired temperature.
- Add Unpopped Kernels to the oil, followed by the granulated sugar while shaking the pot constantly. Once all the sugar is added, cover with the lid and keep shaking the pot over medium heat. This will ensure that there are no burnt kernels or sugar stuck to the bottom of the pot.
- Transfer to a Baking Sheet. Once all the popcorn kernels are popped, remove from heat immediately and dump onto a Half Size Baking Sheet. Sprinkle with salt while the popcorn is still warm, seperate the popcorn if needed (every kernel will have a thin layer of caramel on it, it’s kind of like candy! So the popcorn might stick a little).
- Transfer to a large bowl and enjoy!
Tip!
Once the popping slows down, and you start hearing a few pops only few and far between, remove the pot from the heat immediately and transfer to a baking sheet.
Top Tips
- It’s important to keep shaking the pot, as the sugar will melt and coat each raw kernel before it pops and then when it pops you will get a candy like thin layer of caramel on each piece of popcorn. If you don’t shake the pot enough, it can sink at the bottom of the pot and burn. If that happens, it can turn bitter and you certainly want to avoid that.
- When the popcorn is popped, transfer to a baking sheet immediately. If you don’t do that, the popcorn might absorb some liquid from the trapped steam under the lid, and it can become chewy.
FAQs
Kettle corn is typically sold at fairs, amusement parks, and carnivals and made in a large oiled cast iron pot. The kernels are cooked in hot oil until they pop, then tossed in salt and sugar for a unique sweet and salty flavor. Popcorn, on the other hand, is typically air-popped or cooked in oil, and then tossed with melted butter and salt for a savory flavor.
I don’t think that there will be any leftovers, but if you happen to have some then you can store them in an airtight container or a Ziploc bag at room temperature for up to 4 days. The leftovers aren’t as good as fresh kettle corn, but they’re always eaten in our house.

Making a large batch
If you need to double the recipe, you don’t need to change anything, just make sure that your pot is large enough.
If you want to make multiple batches, you have to wash the pot between each batch, as any remaining sugar will stick to the pot and burn causing your kettle corn to turn bitter with burnt bits.
Save this recipe for the next time you’re craving popcorn, or have a party! Also, share with your friends so they can enjoy it too!
Did you make this? Be sure to leave a review below and tag me on Facebook, Instagram, or Pinterest!

Homemade Kettle Corn
Recipe Video
Equipment
- Large pot with lid
- Baking sheet, half size
Ingredients
- 3 tablespoons oil vegetable, canola, peanut, or coconut
- ½ cup corn kernels
- ¼ cup granulated sugar
- ½ teaspoon salt
Instructions
- In a large pot with lid or a Whirly Pop Popcorn Maker, heat oil over medium-high heat. Add a couple corn kernels to the oil, when they pop it means that the oil is at the desired temperature.
- Add Unpopped Popcorn Kernels to the oil, followed by the granulated sugar while shaking the pot constantly. Once all the sugar is added, cover with the lid and keep shaking the pot over medium heat. This will ensure that there are no burnt kernels or sugar stuck to the bottom of the pot.
- Once all the popcorn kernels are popped, remove from heat and dump onto a baking sheet. Sprinkle with salt while the popcorn is still warm, seperate the popcorn if needed (every kernel will have a thin layer of caramel on it, it’s kind of like candy! So the popcorn might stick a little).
Notes:
- When the popcorn is popped, transfer to a baking sheet immediately. If you don’t do that, the popcorn might absorb some liquid from the trapped steam under the lid, and it can become chewy.
- Storing. I don’t think that there will be any leftovers, but if you happen to have some then you can store them in an airtight container or a Ziploc bag at room temperature for up to 4 days. The leftovers aren’t as good as fresh kettle corn, but they’re always eaten in our house.
- Making large or multiple batches: If you need to double the recipe, you don’t need to change anything, just make sure that your pot is large enough. If you want to make multiple batches, you have to wash the pot between each batch, as any remaining sugar will stick to the pot and burn causing your kettle corn to turn bitter with burnt bits.
Nutrition Information
This website provides approximate nutrition information for convenience and as a courtesy only. Nutrition data is gathered primarily from the USDA Food Composition Database, whenever available, or otherwise other online calculators.
© Little Sunny Kitchen
Elaine Alswanger says
Easy and super delicious!!!!!!
I have made other recipes and it never really worked so well as this one!
Family gave 5 ⭐️!
Thank you girl
Elaine