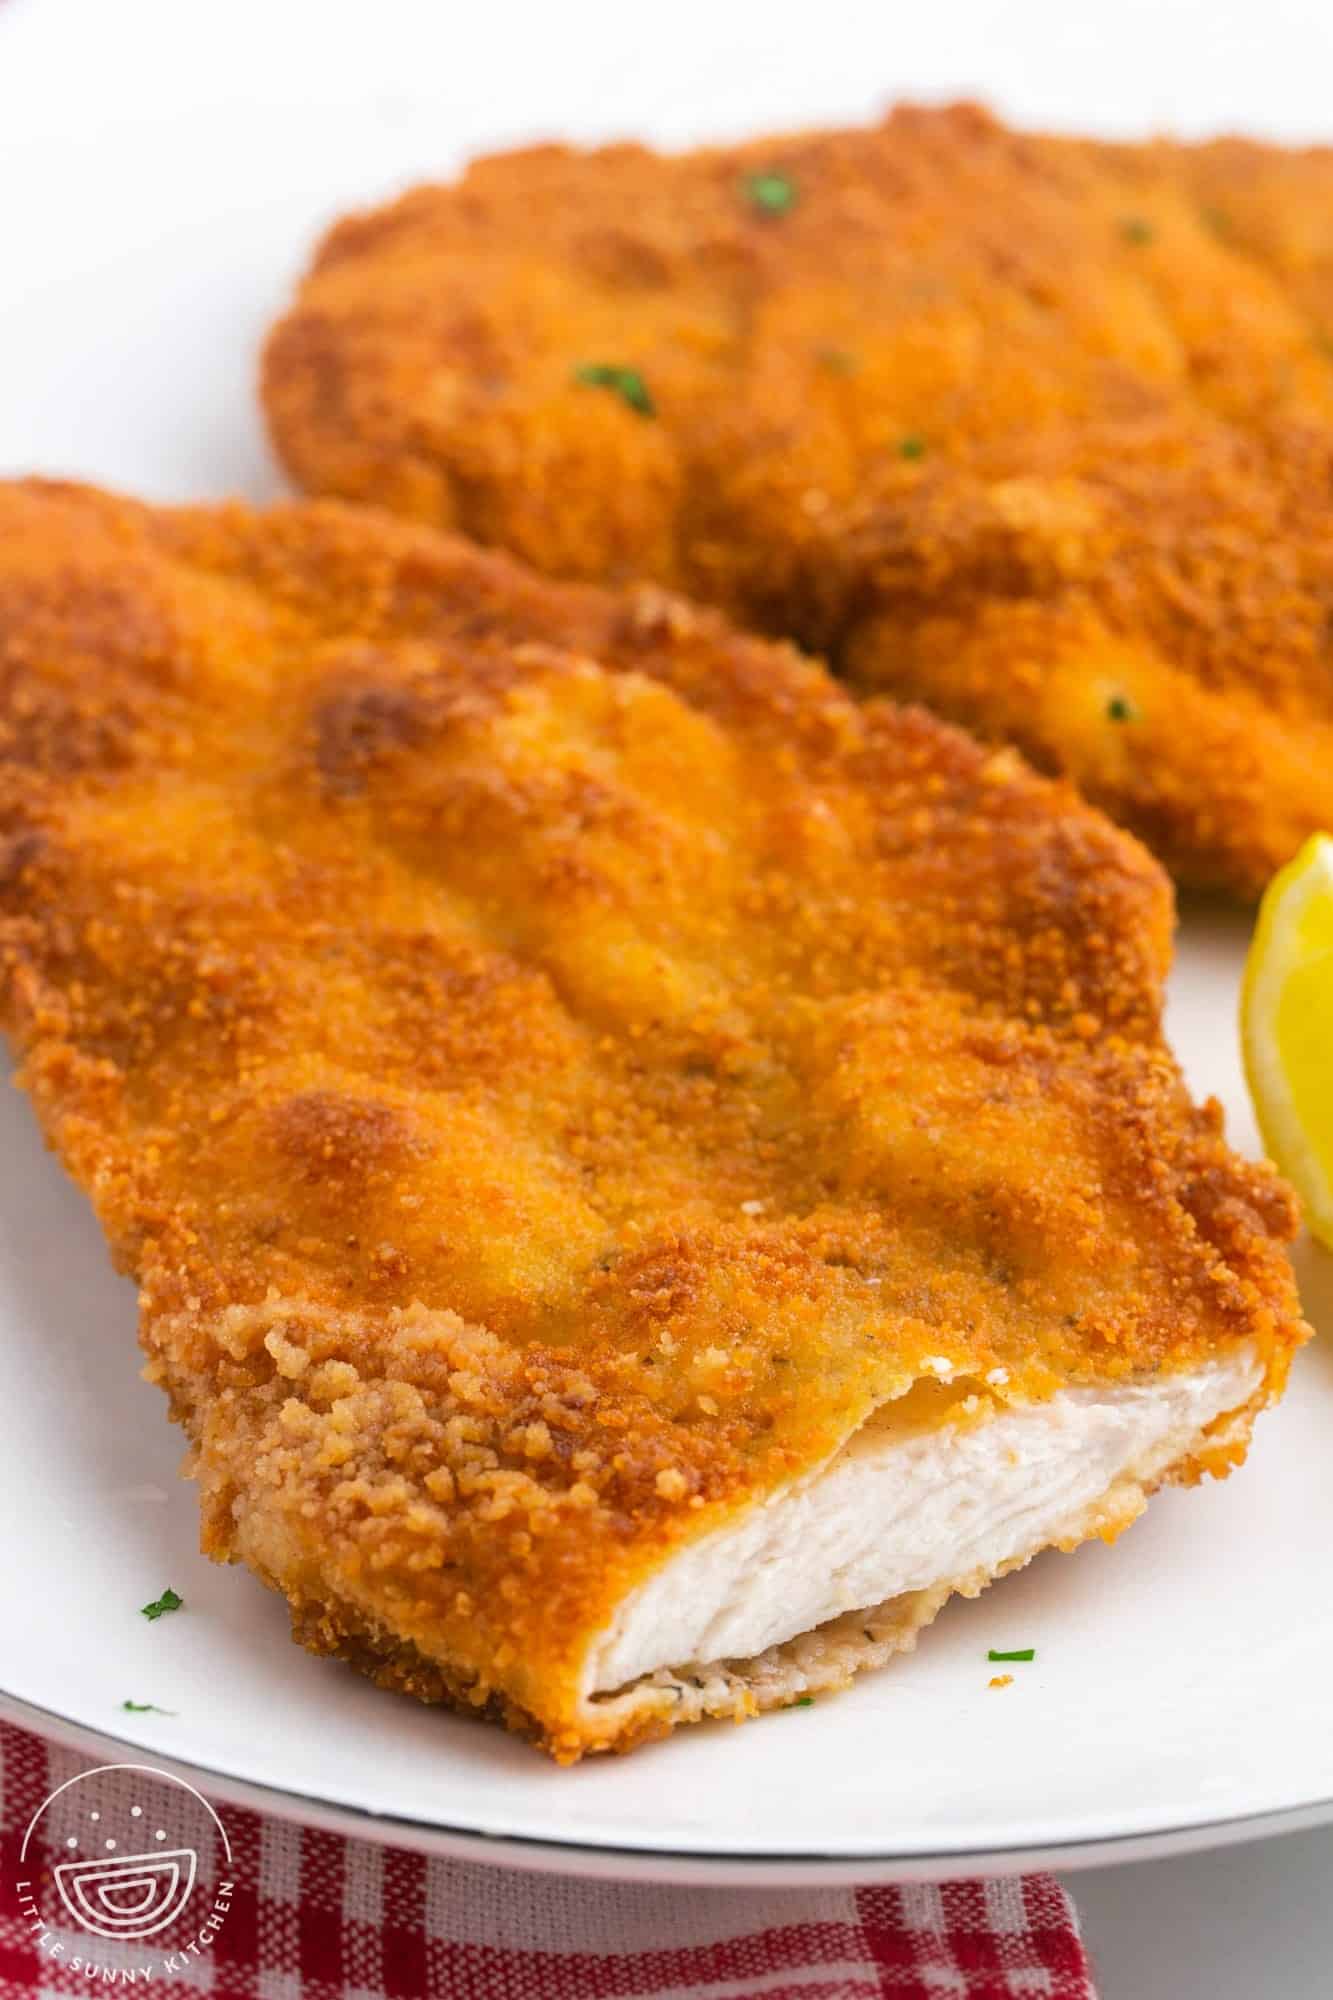
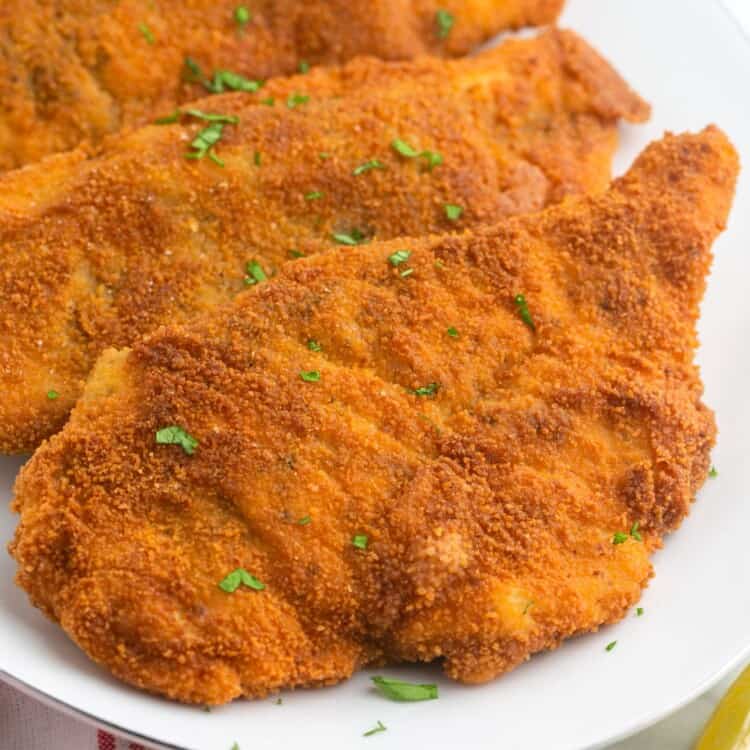
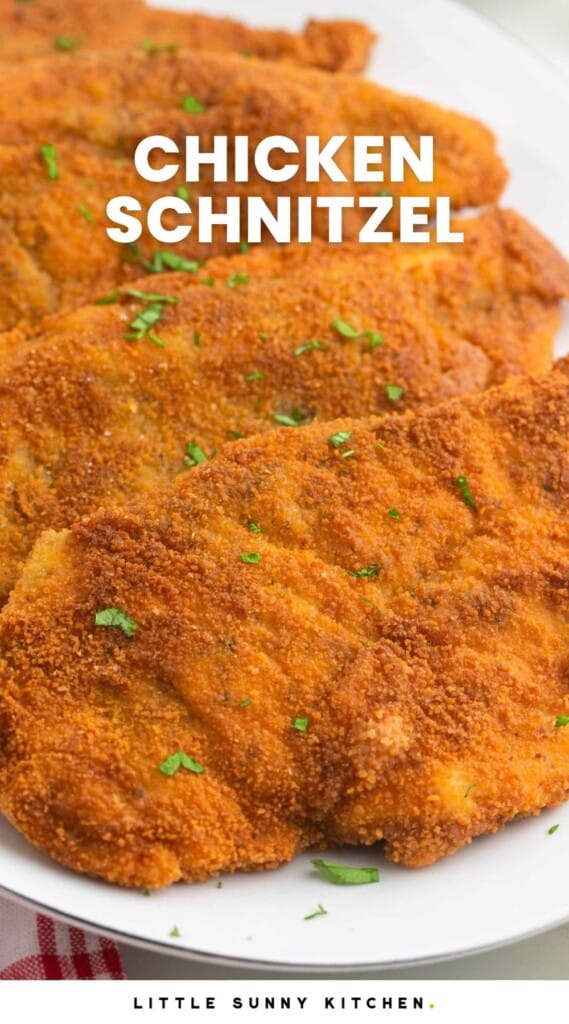
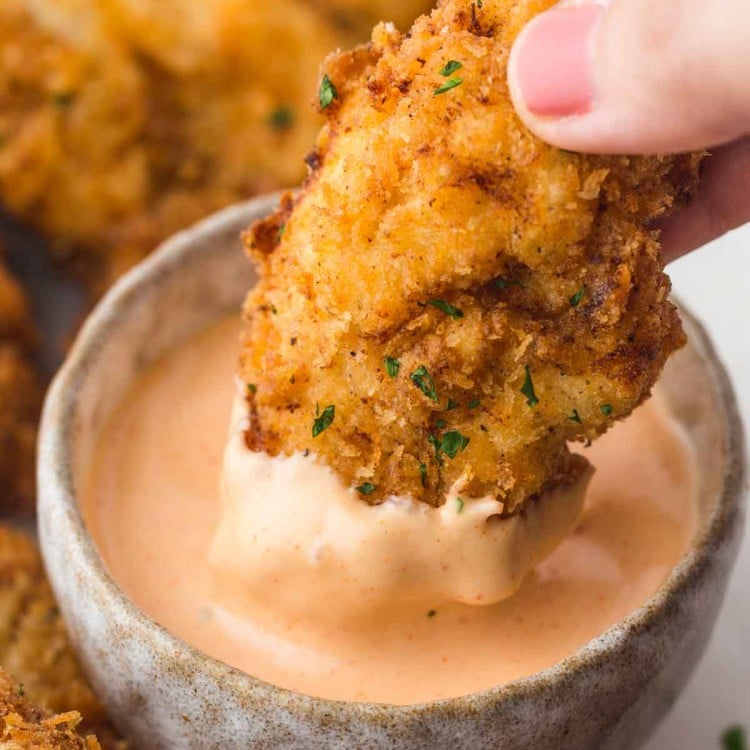
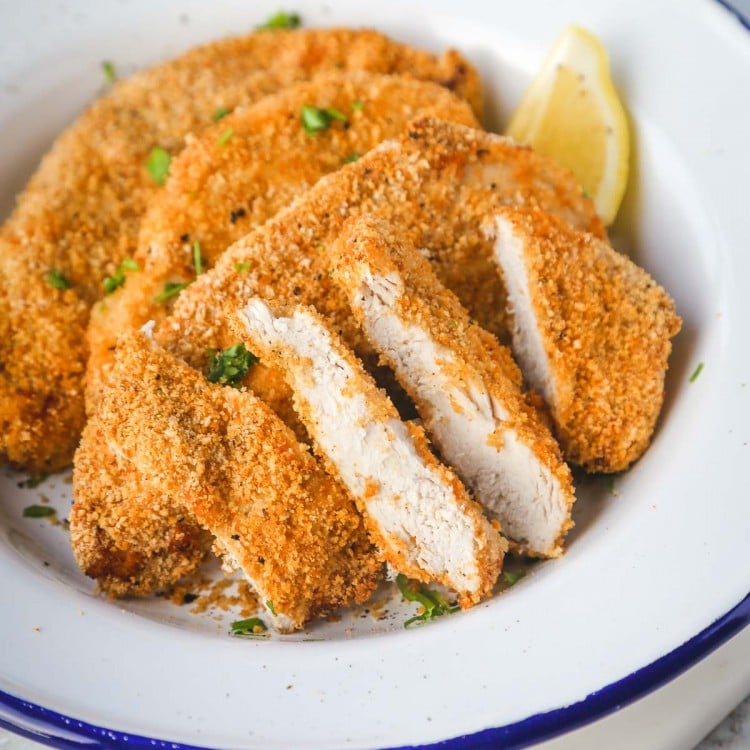
Here’s an easy chicken schnitzel recipe that’s perfect for busy weeknights. Ready in about 30 minutes, thin pieces of chicken are breaded and fried to golden perfection. You’ll have tender and juicy chicken every time!
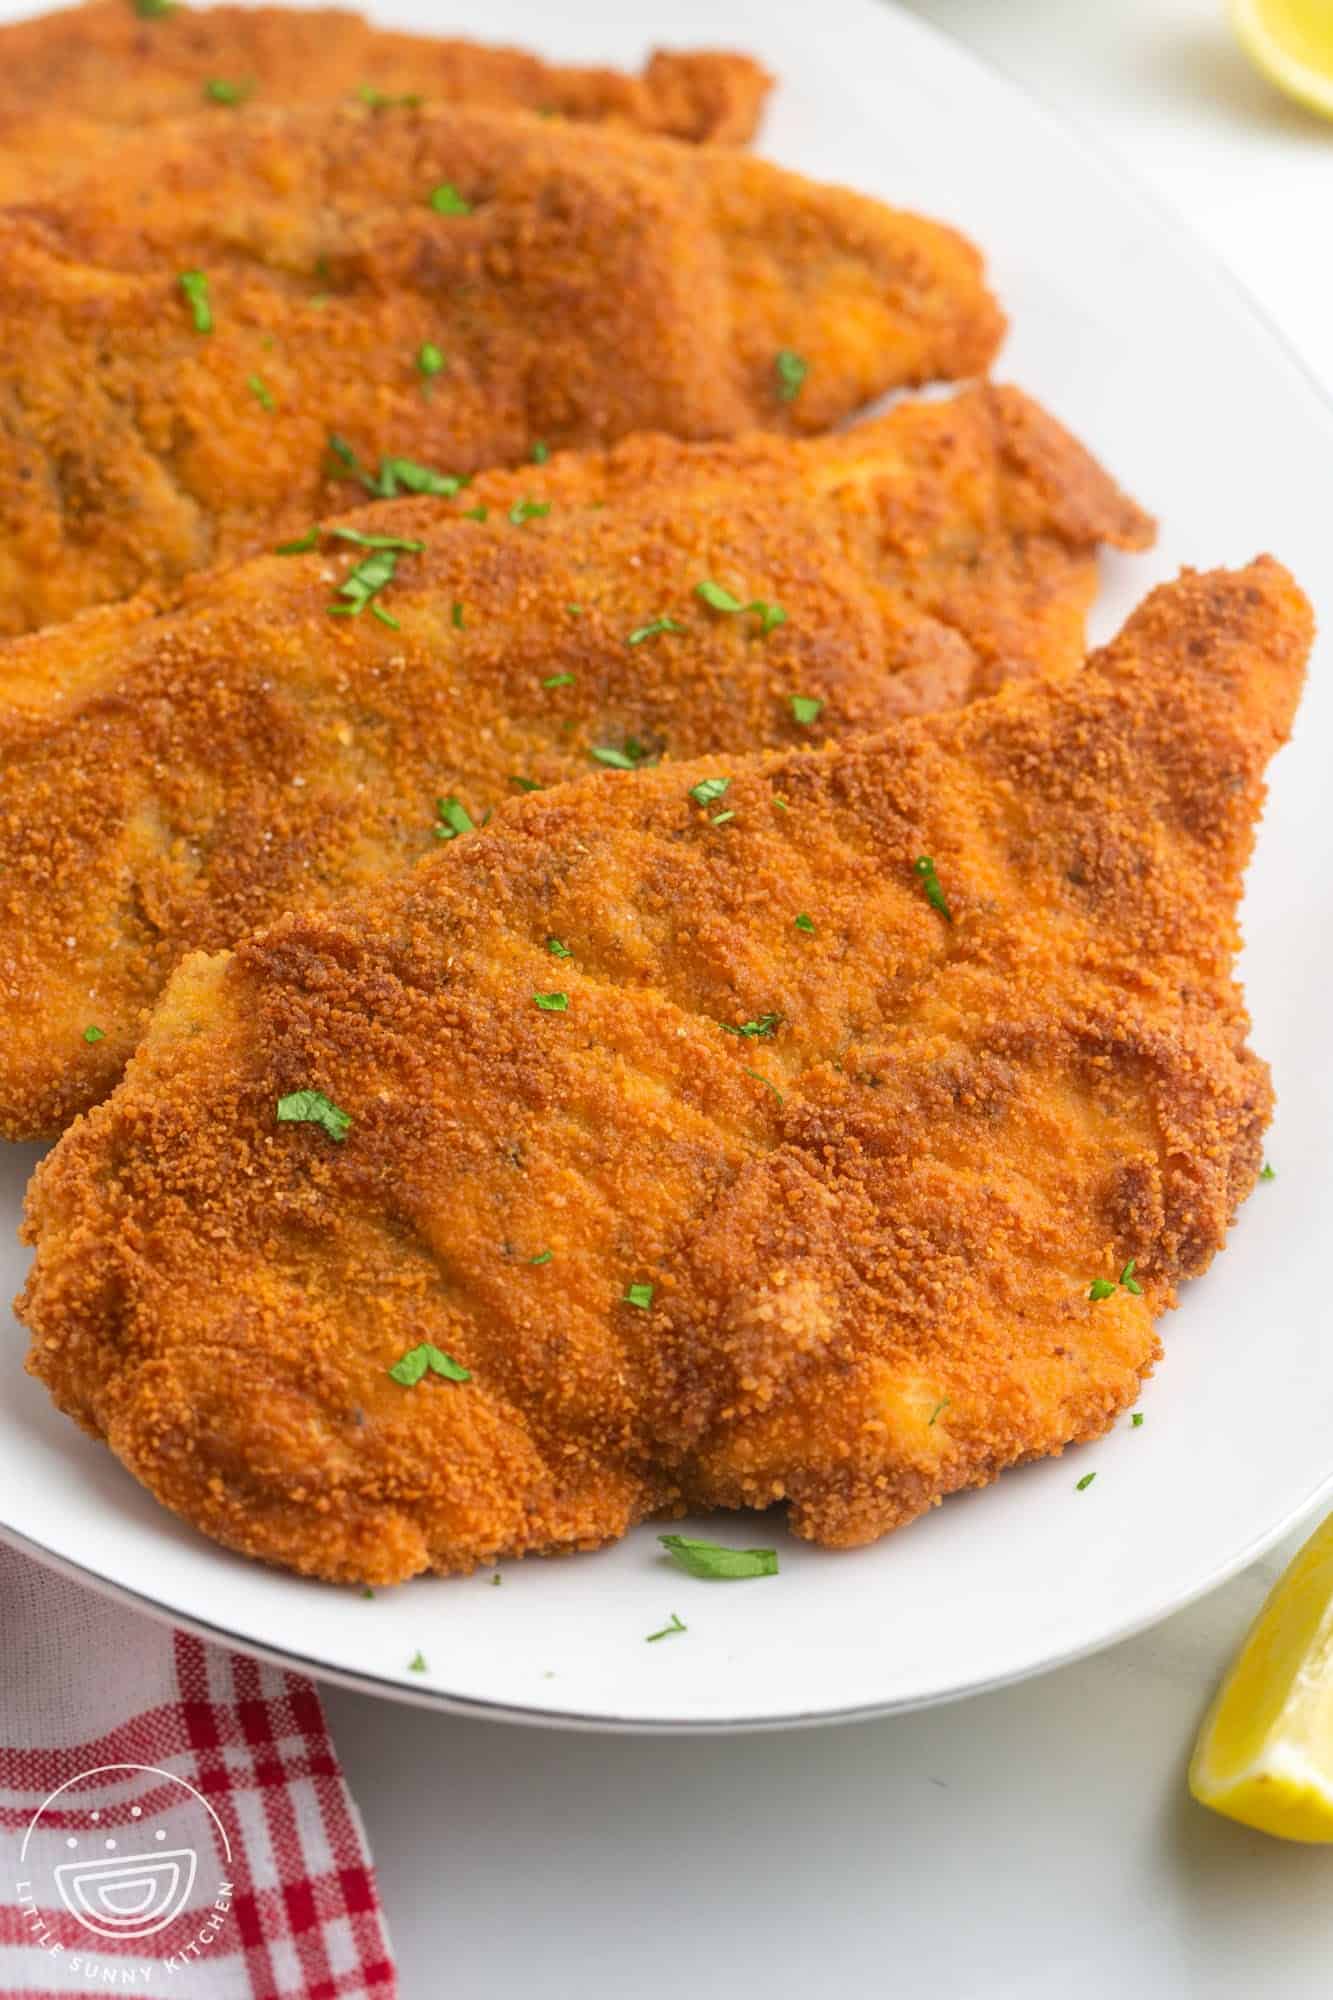
This is one of those recipes that’s easier than you think it is to make. Thin chicken breasts are dredged in flour, eggs, and dried breadcrumbs to create a light, puffed, and crunchy crust. After a few minutes of shallow pan frying, they’re cooked perfectly through. So simple!
What is Chicken Schnitzel?
Chicken schnitzel is slices of chicken thinly pounded then breaded and fried. First made popular in Germany and Austria, you can find versions of schnitzel all over the world now. Veal (wiener-schnitzel), pork, and chicken are the most common varieties.
Why You’ll Love this Recipe
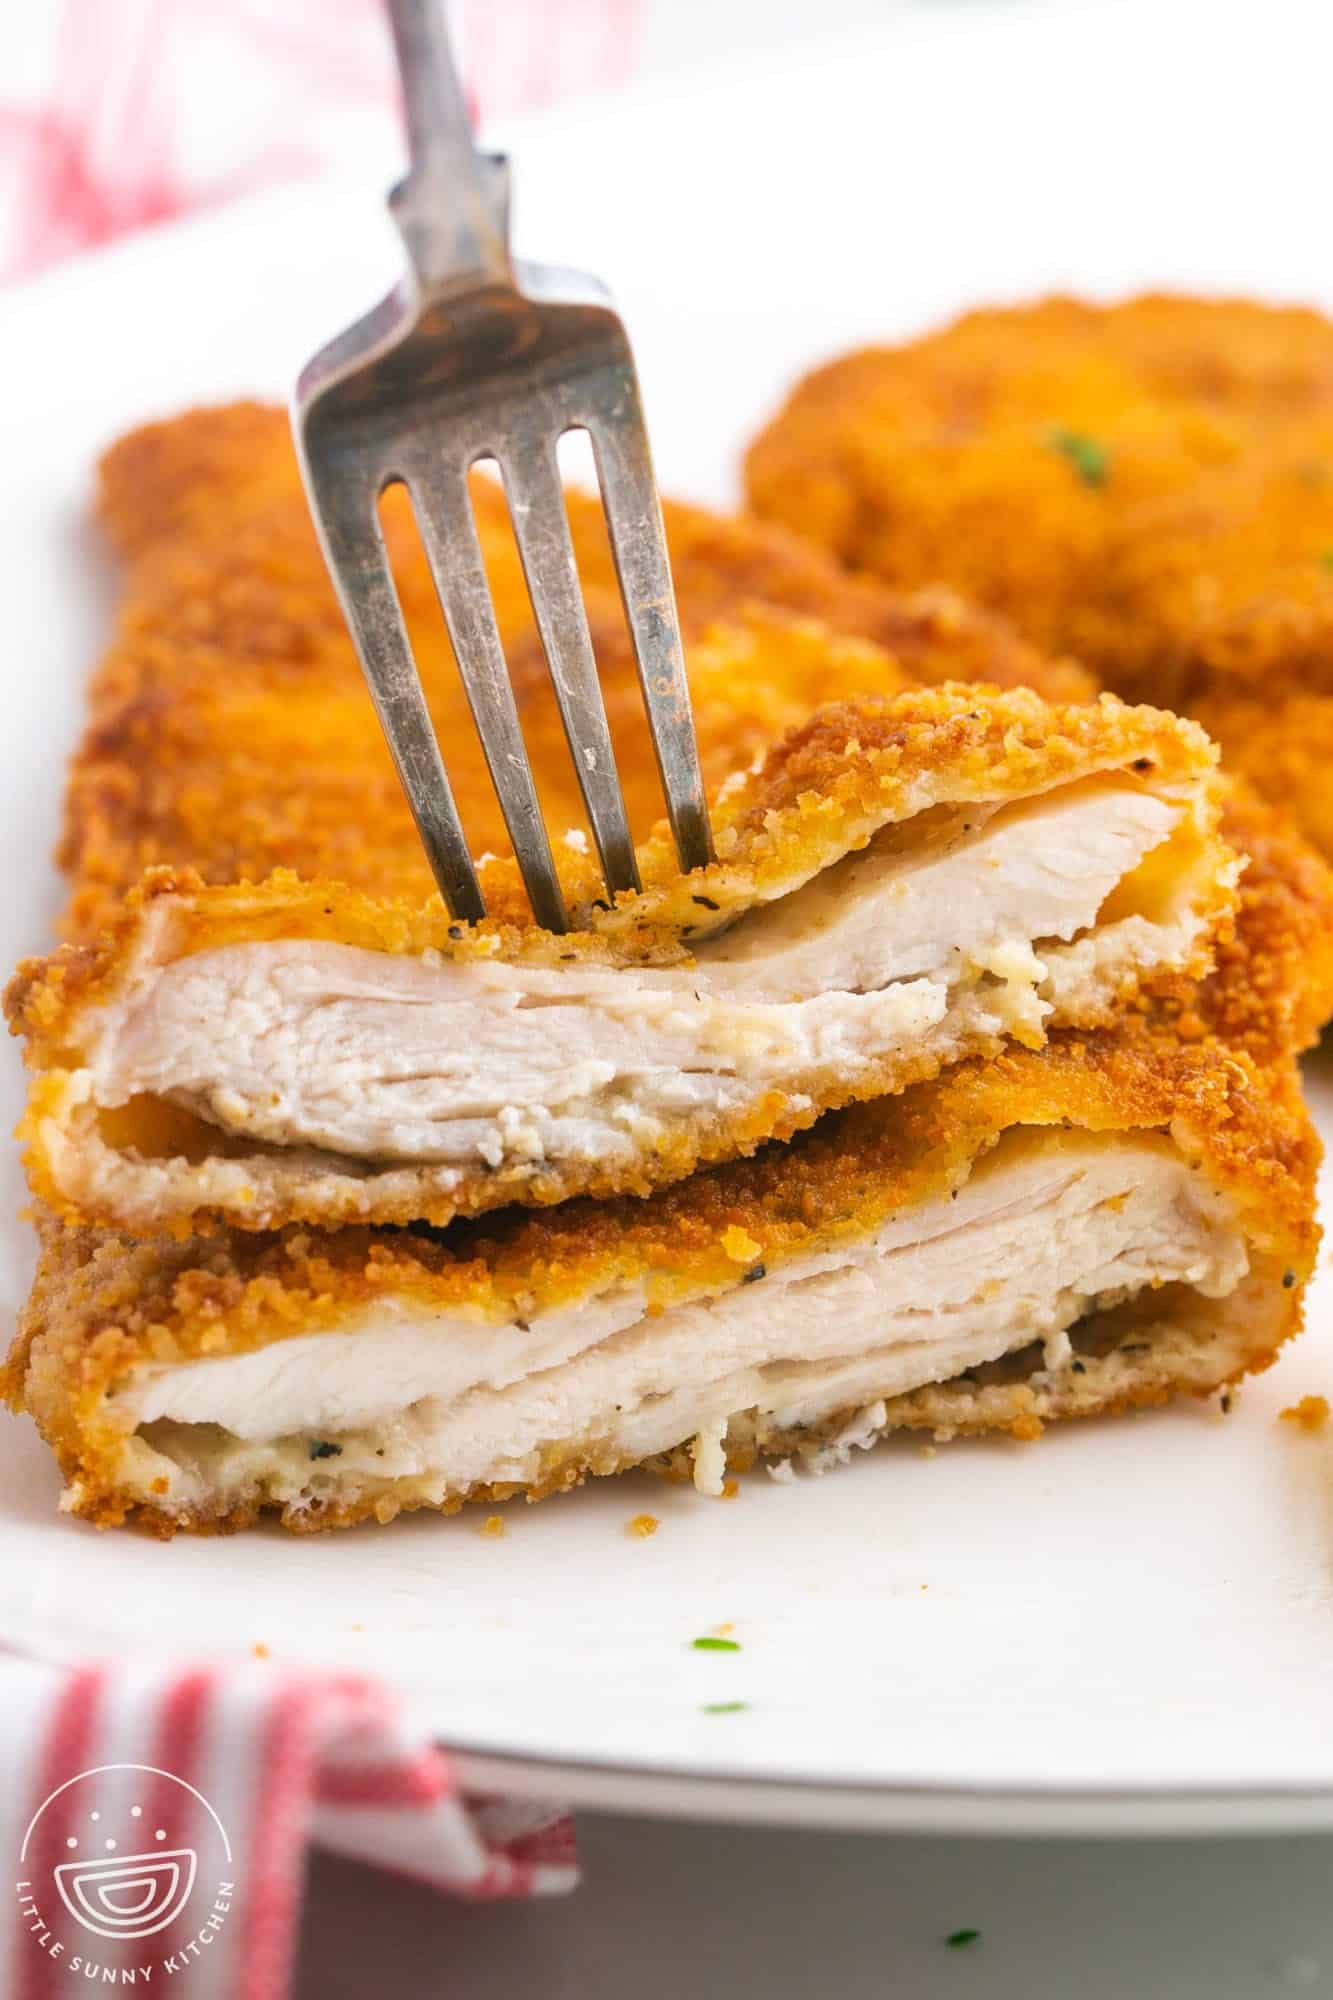
- Tender chicken: The breasts ares pounded thin and cooked quickly so it stays tender and juicy.
- Light and puffy crust: The breadcrumb coating is crispy and light and has the best air pockets.
- It’s quick: The schnitzel is ready in about 30 minutes which makes it perfect for busy weeknights.
The Ingredients
Here’s what you need to make this elegant yet simple meal!
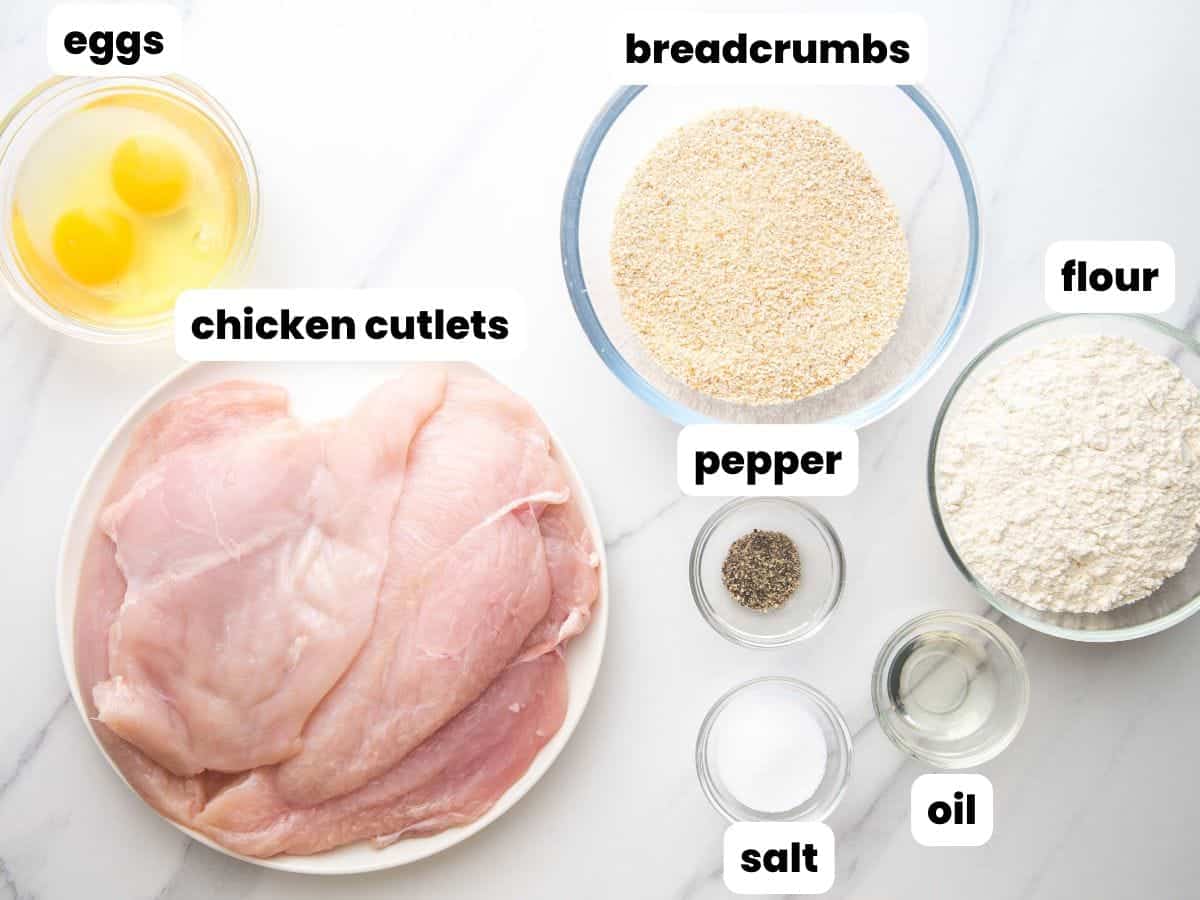
Complete list of ingredients and amounts can be found in the recipe card below.
- 2 large chicken breasts (skinless and boneless): Cut each breast in half lengthwise so you end up with 4 cutlets in total. Each piece should be 6-8 ounces, so they’re big enough for pounding. You can also use boneless and skinless chicken thighs if you prefer.
- Seasoning: I keep it simple with salt and pepper. This recipe calls for 2 teaspoons of salt which might sound like a lot, but there isn’t seasoning anywhere else, so you want to season the cutlets very well.
- Flour: A thin coating of all-purpose flour is all you need on each cutlet.
- Breadcrumbs: Use dried unseasoned breadcrumbs. If you’re making your own breadcrumbs, make sure that they’re super dry and super fine (use a food processor and run it for a few minutes then run the crumbs through a fine mesh strainer). This is very important to get a puffed souffléd crust. For this reason, I don’t recommend using panko as it is not a fine enough crumb.
- Egg dip: I add a tablespoon of vegetable oil to 2 large eggs. The oil helps to loosen up the eggs and makes them more elastic which makes the egg coating more flexible. It helps the crust to puff up as you cook the chicken. You can also substitute a splash of cream for the oil.
- Oil for frying: Use a neutral oil with a high smoke point for frying. Safflower, grapeseed, peanut, or vegetable oils are all good options
- For serving: A fresh squeeze of lemon juice before serving and some chopped fresh parsley sprinkled over the top.
How To Make Chicken Schnitzel
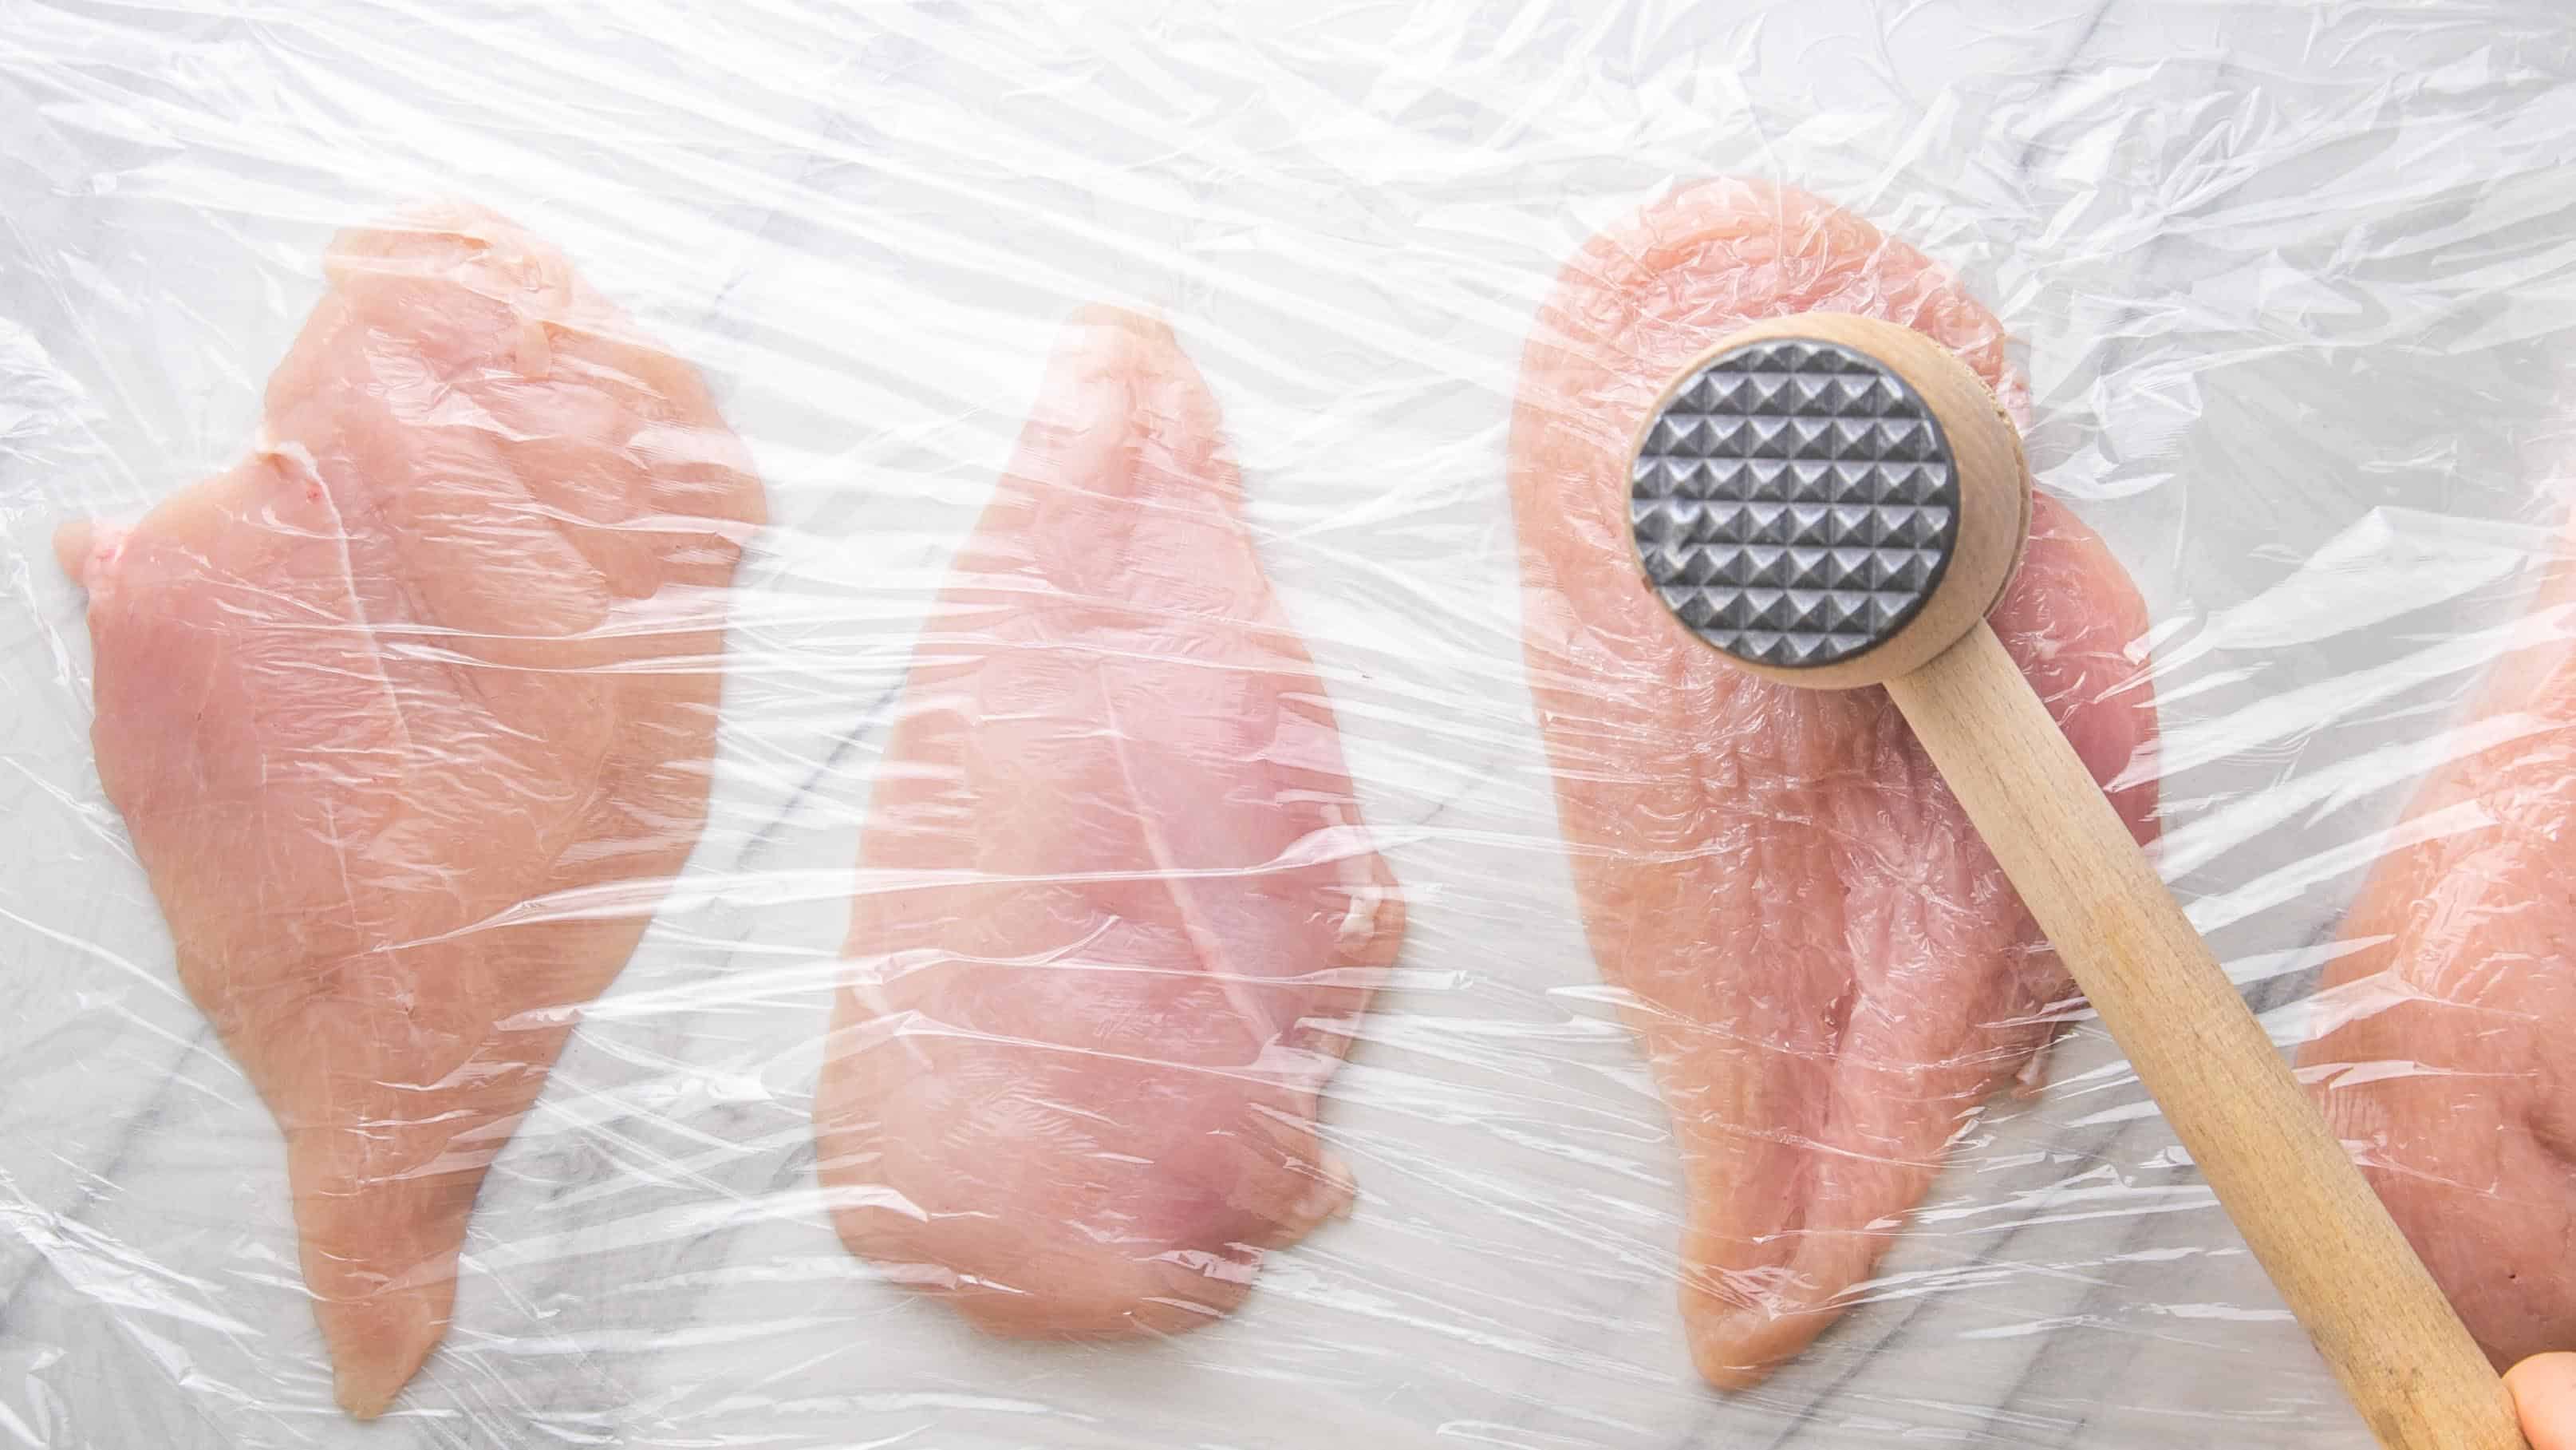
Before you do anything, pound the chicken cutlets. You want to flatten the breasts as evenly as possible without tearing them. Pounding any type of meat helps to make it nice and tender. Place the pieces in between 2 pieces of plastic wrap or parchment paper. Use a meat mallet, rolling pin, or the back of a pan to flatten the breasts to a 1/8-inch thickness.
And then move on to the recipe:
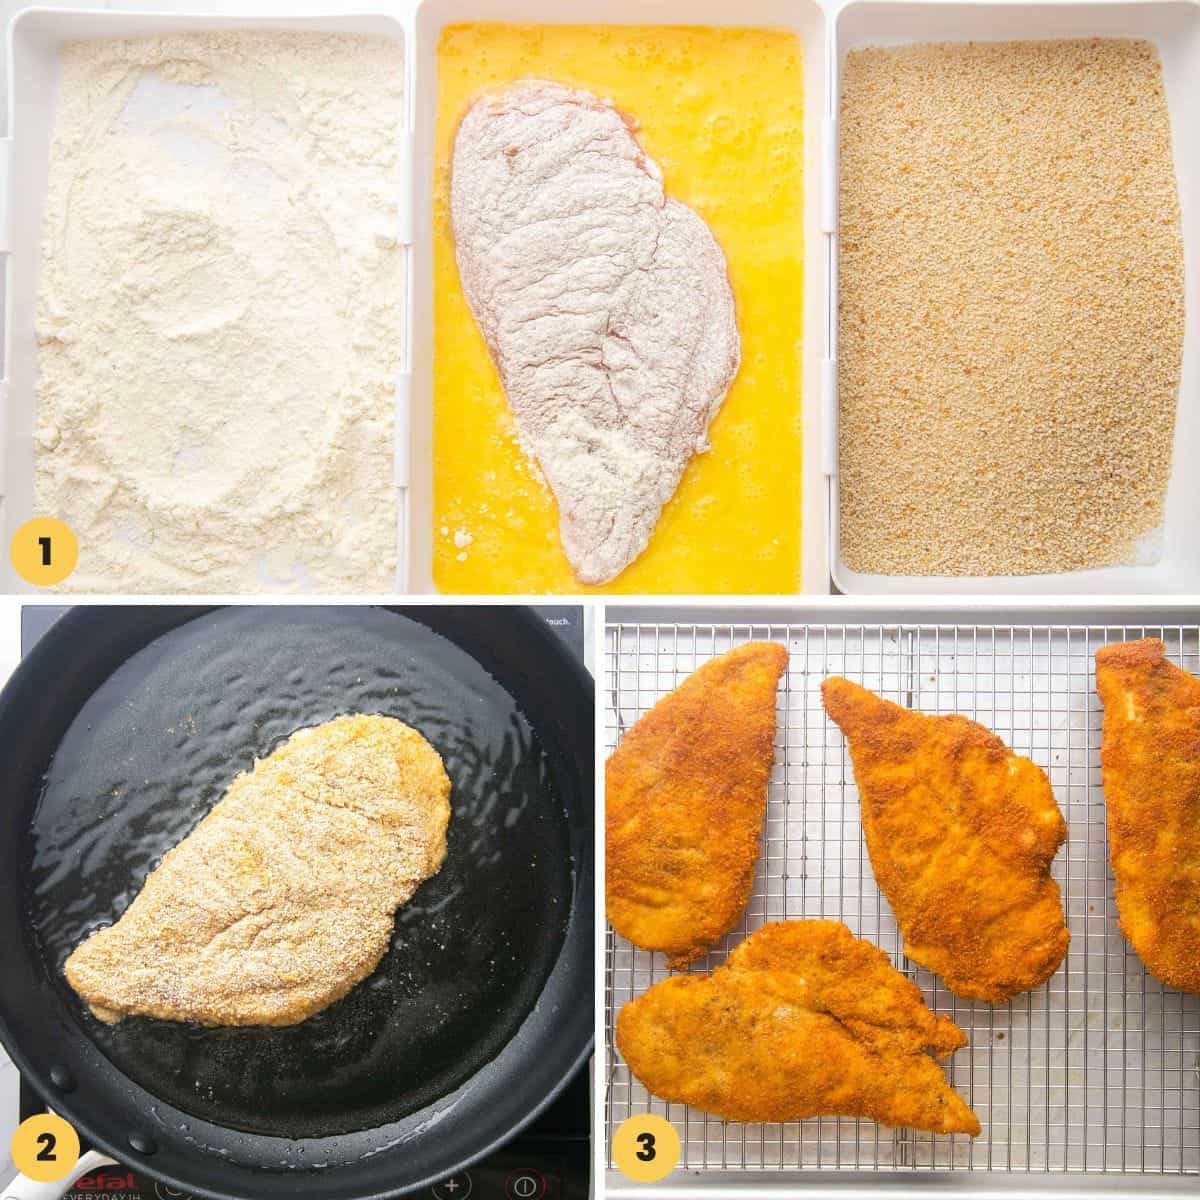
- Dredge the chicken. Grab three bowls and place the flour in one, lightly beat the eggs and vegetable oil in the second one, and add the breadcrumbs in the third bowl. Season the chicken and heat the oil in your pan. As the oil heats up, dip each cutlet in flour and shake off the excess, then dip it into the egg mixture and shake off the excess. The last step is to dip the cutlets in the breadcrumbs just to get coverage all over.
Tip!
Avoid pressing the crumbs into the chicken as you want a light puffy crust with lots of air pockets when fried.
- Fry the chicken. When the oil is hot and shimmering, add the cutlets to the pan, (away from you to prevent the hot oil from splattering), and cook for 3 minutes then flip and cook on the other side until golden brown. Move the pan around while the breasts fry to ensure the hot oil touches the chicken evenly.
- Drain. Remove the pieces from the pan and place them on a sheet pan fitted with a wire rack.
- Serve with lemon wedges and a sprinkle of freshly chopped parsley.
Tip!
- Drain the fried chicken schnitzel on a wire rack. Draining on paper towel may result in a soggy bottom.
Recipe Tips
- Before you start, pat the cutlets dry with a paper towel. The flour will stick to dry cutlets better.
- Test your oil before frying by dropping a breadcrumb into the oil to see if it sizzles. If it does, it means that it’s hot enough for the chicken to go in.
- If you’re having a hard time with the coating sticking to the chicken when it is fried, place the breaded cutlets in the fridge for an hour (or at least 20-30 minutes) before frying. This will help the coating adhere and make a cohesive crispier coating, but the look of the frying might be a little spotty and uneven because the breadcrumbs will absorb the egg and the coating will become a little wet as it sits in the fridge.
- Fry the chicken in batches. Overcrowding the pan won’t allow the breading to crisp up.
- As you cook the second batch of chicken, put the first batch on a wire rack over a baking sheet and keep them warm in a 200°F/100°C oven.
Deep Frying Option
If you want to deep fry the chicken schnitzel, you can. Heat 2 cups of vegetable oil in a Dutch oven. Fry 2-3 cutlets at a time, and gently shake the pot as it cooks so everything cooks evenly, and the cutlets puff up as they cook.
Can I Make it in the Air Fryer?
Definitely! This is a great way to get it just as crispy on the outside and tender and juicy on the inside without the added oil and grease splatter from deep frying.
Add breaded cutlets to a preheated air fryer, set to 380°F/193°C. Cook for 7-8 minutes, flipping halfway. Cook 1 or 2 cutlets at a time, making sure to not overcrowd the basket.
Storing & Reheating Tips
You can safely store leftover chicken schnitzel in an airtight container in the refrigerator for up to 3 days or freezer for 3 months.
You can also freeze the uncooked breaded schnitzel which is a great way to prepare them ahead of time for a quick and easy meal down the road.
Flash-freeze them on a baking sheet once they’ve been dredged. Then, transfer them to a freezer bag. When you’re ready to fry them, thaw them in the fridge overnight then continue with frying instructions.
To reheat leftovers, place them on a wire rack over a baking sheet and heat at 400°F/200°C for 10 – 15 minutes. I would avoid using the microwave to reheat the schnitzel as it will turn soggy.
What To Serve With Chicken Schnitzel
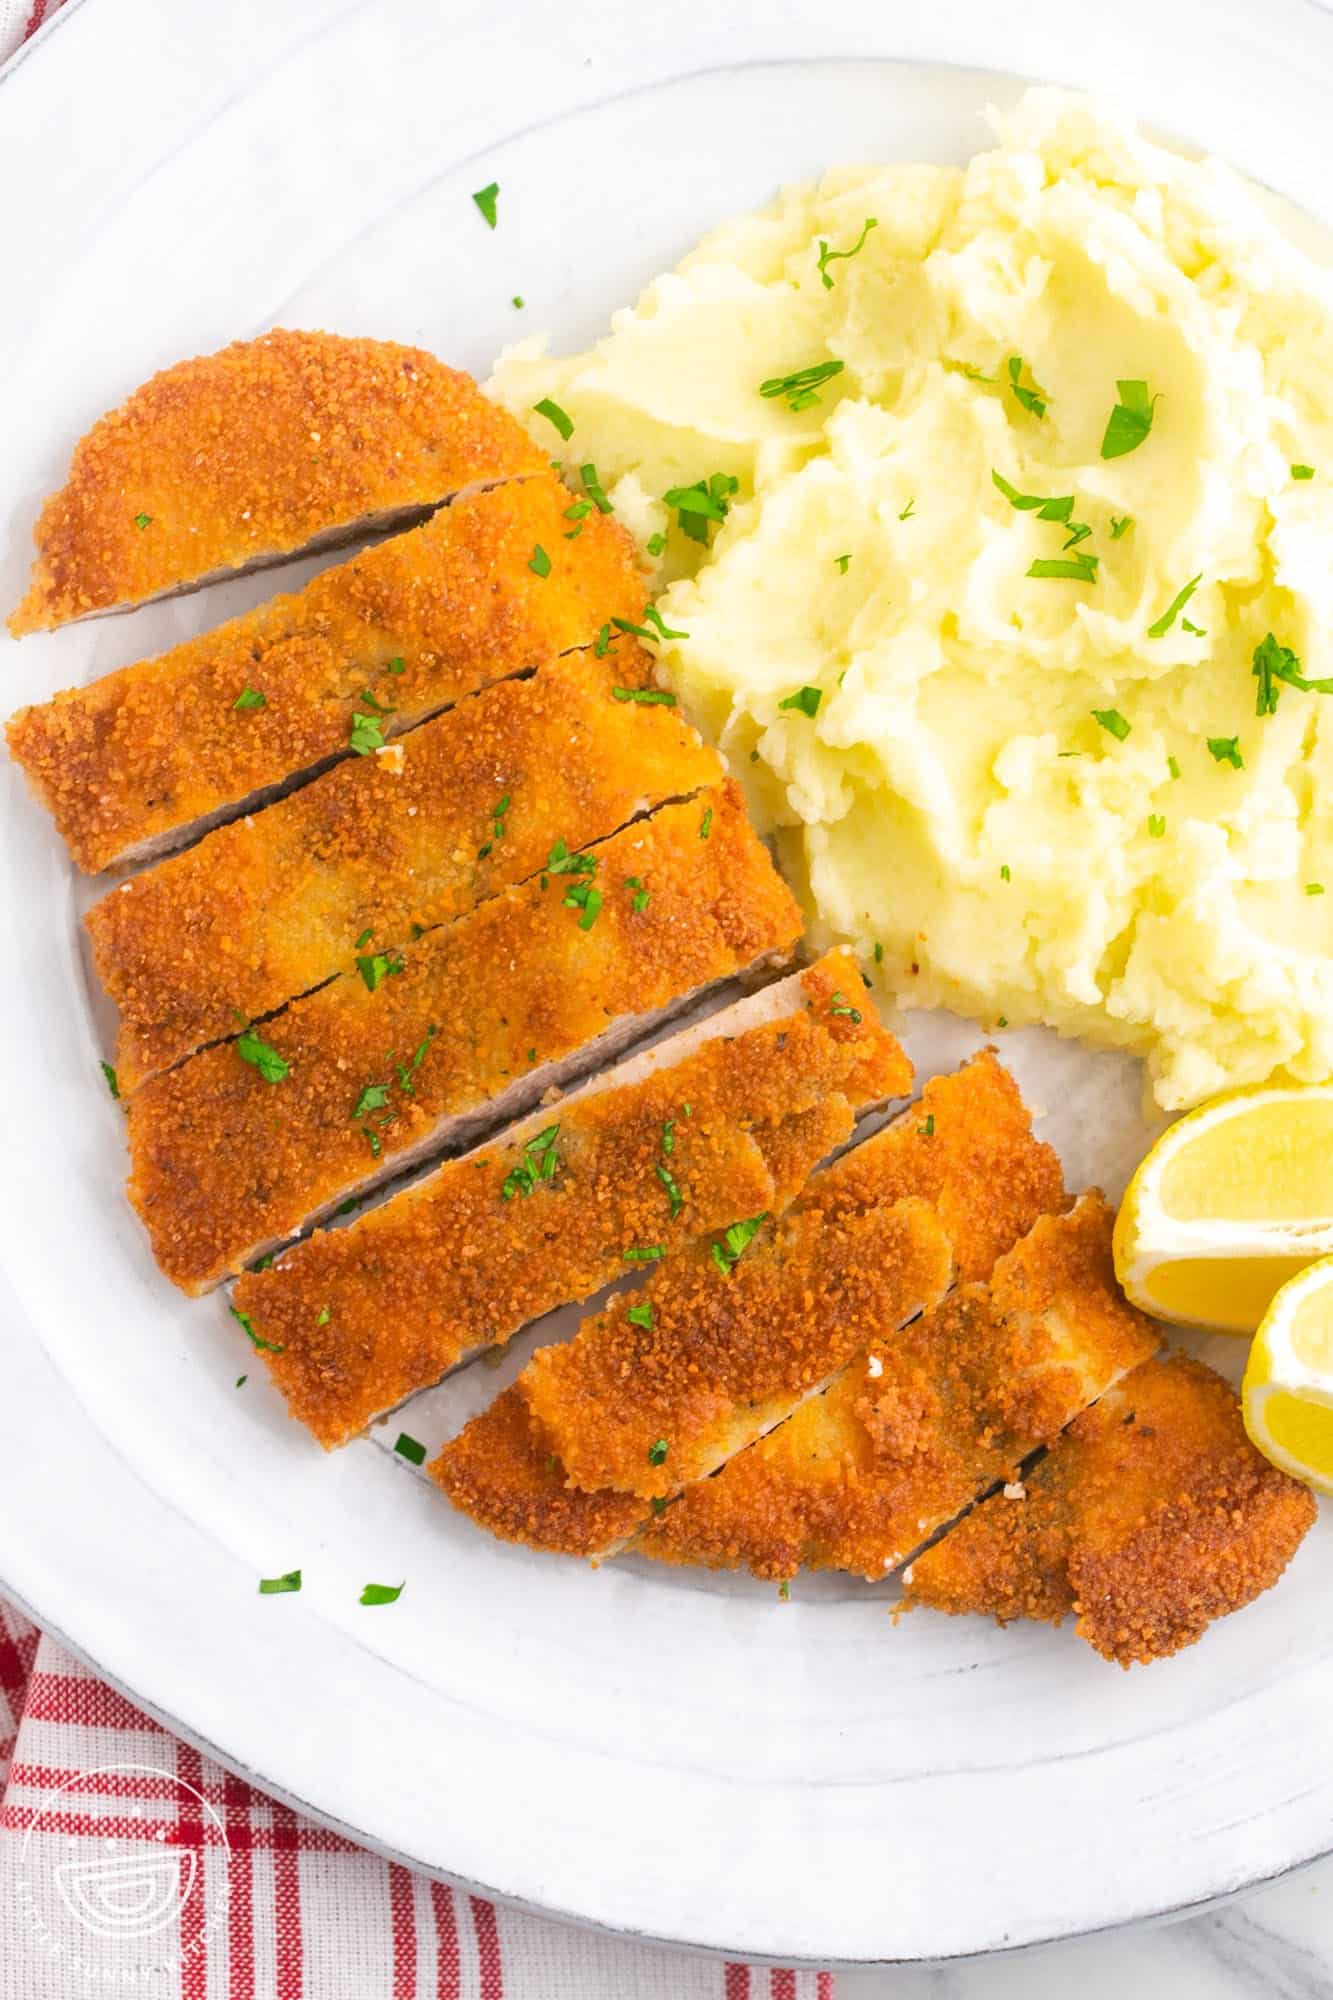
German potato salad and homemade French fries are classic sides to serve with chicken schnitzel. Buttered noodles, mashed potatoes, or lemon rice are also great options to make this a cozy meal. If you’d like something a little lighter, try a fresh green salad or some blanched green beans.
FAQs
Schnitzel and cutlets are basically the same things. Both are thin slices of breasts with a crispy crust.
Pounding the meat helps to create a tender piece of schnitzel. Adding it to hot oil will also help form a crust first, and then the inside of the meat will catch up quickly. The key is to not overcook it, The thin piece of breasts will cook faster and stay juicy if it is timed just right!
It is done when the internal temperature is 165°F/74°C. Use a kitchen thermometer to take the temperature of the meat to check for doneness.
Save this recipe for the next time you are looking for a new way to prepare your chicken breast. Schnitzel is a classic every home cook should know how to make! Pin it for more people to enjoy too!
Did you make this? Be sure to leave a review below and tag me on Facebook, Instagram, or Pinterest!
Chicken Schnitzel
Recipe Video
Ingredients
- 2 large chicken breasts boneless and skinless, 6-8oz each, cut into 4 thin cutlets
- 2 teaspoons salt
- 1 teaspoon ground black pepper
- ½ cup all purpose flour
- 1 cup dried unseasoned breadcrumbs regular very fine and very dry breadcrumbs
- 2 large eggs
- 1 tablespoon vegetable oil
- Oil for frying – safflower, grapeseed, peanut or vegetable
- Lemon wedges for serving
- Chopped fresh parsley for serving
Instructions
- Pound the chicken between 2 pieces of plastic wrap or parchment paper to ⅛” inch thick. Use a meat mallet, a rolling pin, or the back of a pan to flatten the chicken breasts.
- To a bowl add flour, to a second bowl add eggs with vegetable oil and lightly beat until frothy. To a third bowl, add breadcrumbs.
- Season chicken with salt and pepper, and heat ⅛ inch of oil in a pan. As you heat the oil dip each chicken cutlet in the flour shaking off any excess, then dip in egg (shake off excess), and finally in the breadcrumbs (do not press at all, just get coverage).
- When the oil is hot and shimmering (add a few breadcrumbs to check), add chicken cutlets away from you (do not overcrowd the pan, and work in batches), and cook for 3 minutes moving the pan around so the hot oil evenly touches the chicken as its being cooked. Flip and cook on the other side and continue swirling the pan until the chicken is golden brown.
- Remove from the pan and place the chicken on a paper towel-lined plate or sheet pan fitted with a wire rack. Repeat with the remaining chicken cutlets.
- Serve with potato salad, a fresh salad, or mashed potatoes, lemon wedges (squeeze a little before eating), and a sprinkle of freshly chopped parsley.
Notes:
- Before you start, pat the cutlets dry with a paper towel. The flour will stick to dry cutlets better.
- Test your oil before frying by dropping a breadcrumb into the oil to see if it sizzles. If it does, it means that it’s hot enough for the chicken to go in.
- If you’re having a hard time with the coating sticking to the chicken when it is fried, place the breaded cutlets in the fridge for an hour (or at least 20-30 minutes) before frying. This will help the coating adhere and make a cohesive crispier coating, but the look of the frying might be a little spotty and uneven because the breadcrumbs will absorb the egg and the coating will become a little wet as it sits in the fridge.
- Fry the chicken in batches. Overcrowding the pan won’t allow the breading to crisp up.
- As you cook the second batch of chicken, put the first batch on a wire rack over a baking sheet and keep them warm in a 200°F/100°C oven.
Nutrition Information
This website provides approximate nutrition information for convenience and as a courtesy only. Nutrition data is gathered primarily from the USDA Food Composition Database, whenever available, or otherwise other online calculators.
© Little Sunny Kitchen


Kristen says
My kids are very picky eaters and they loved this chicken. They even said they prefer it over chicken nuggets.
Little Sunny Kitchen says
I’m so glad that your kids loved this recipe, Kristen! Thanks for sharing this kind review!
Katie says
So delicious and crispy! This is a dinner that everyone loves.
Little Sunny Kitchen says
Thank you, Katie! I’m so glad to hear that!