
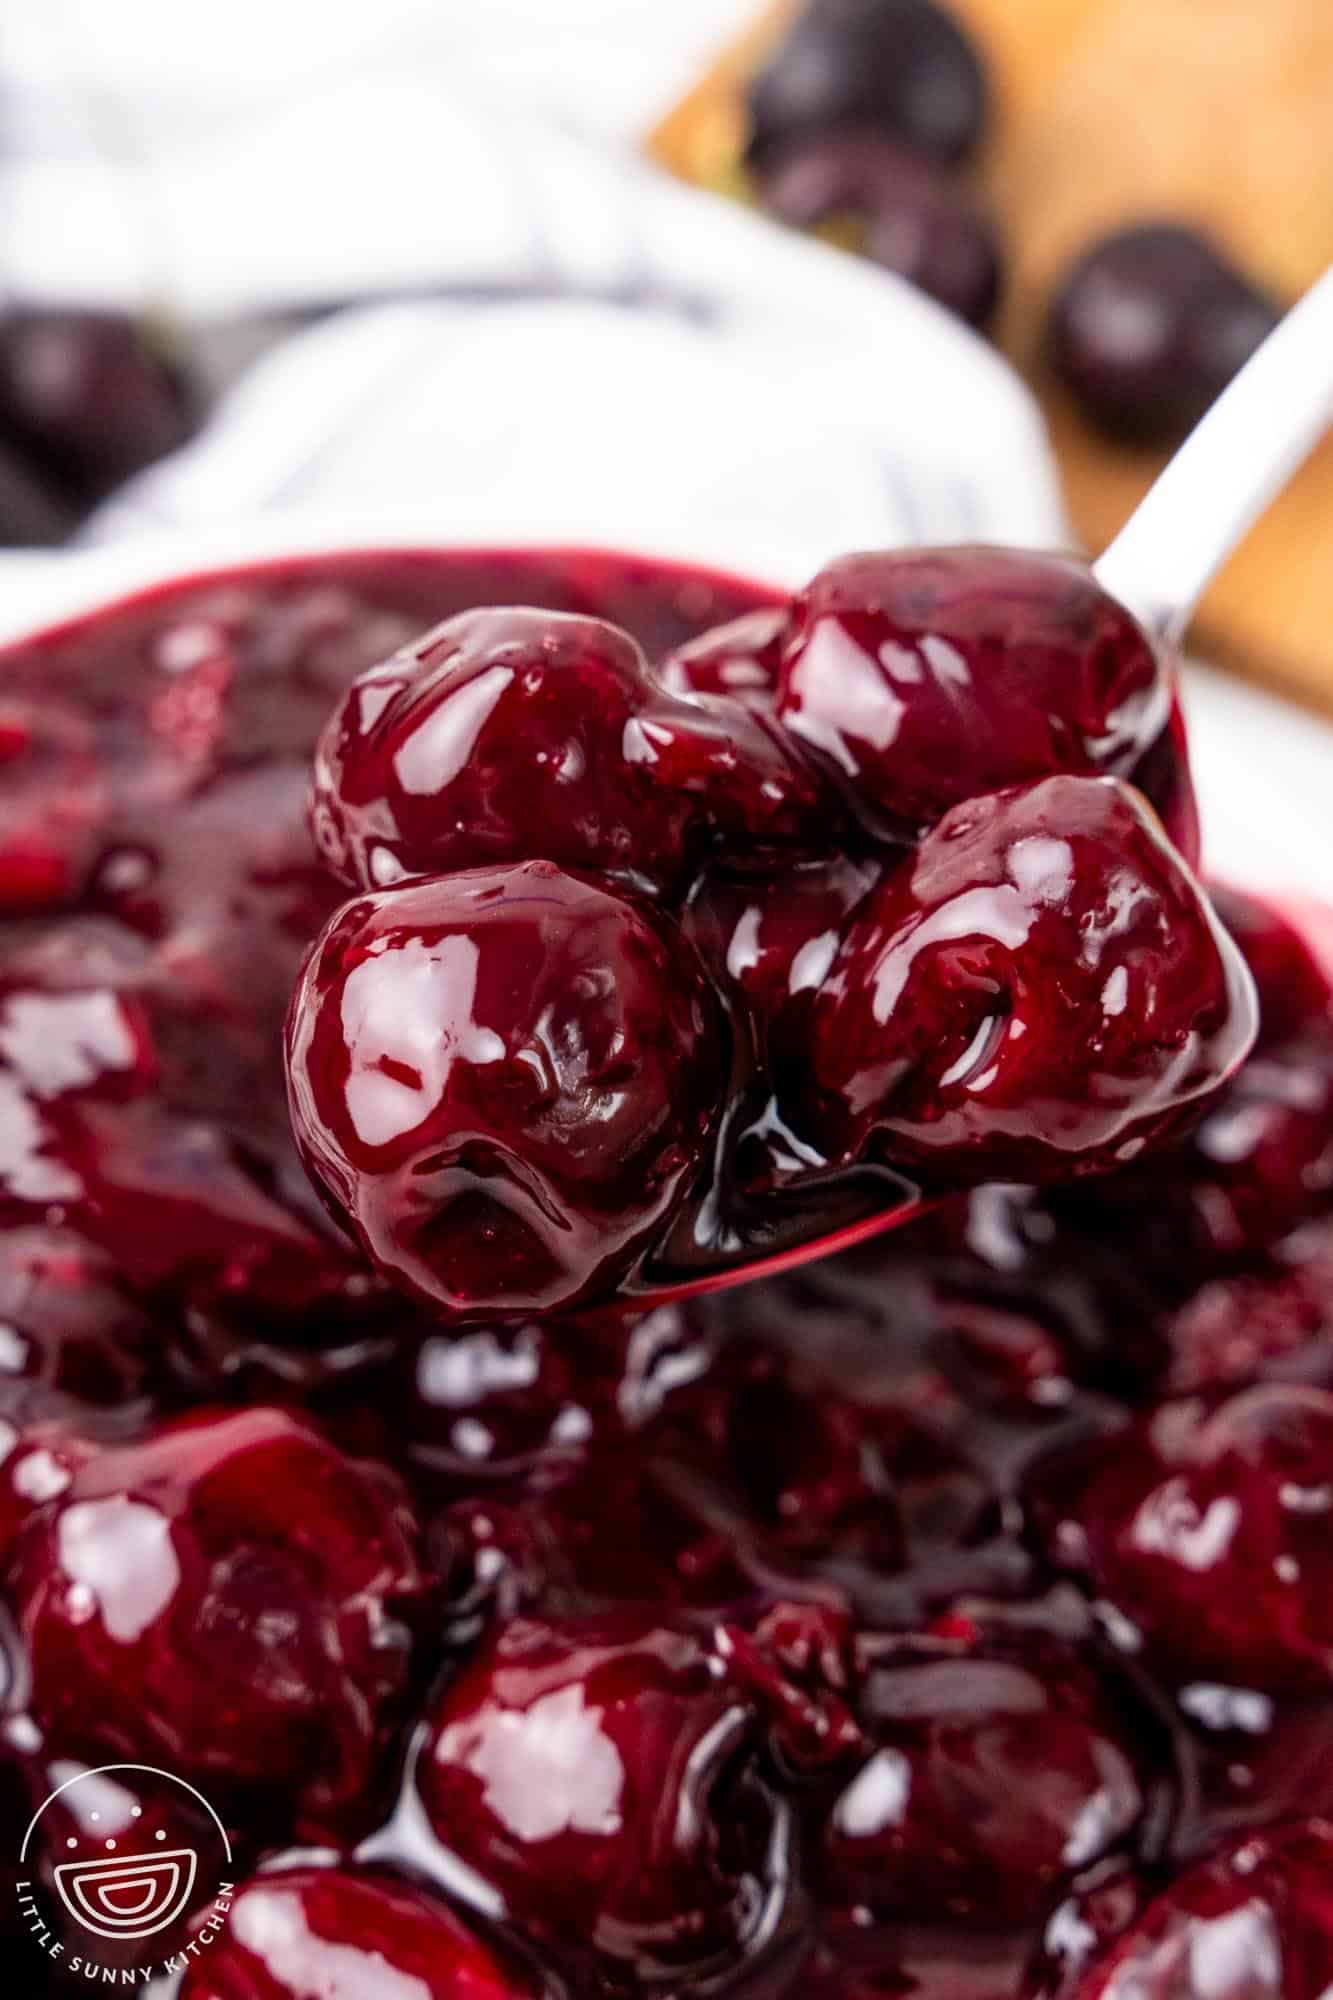
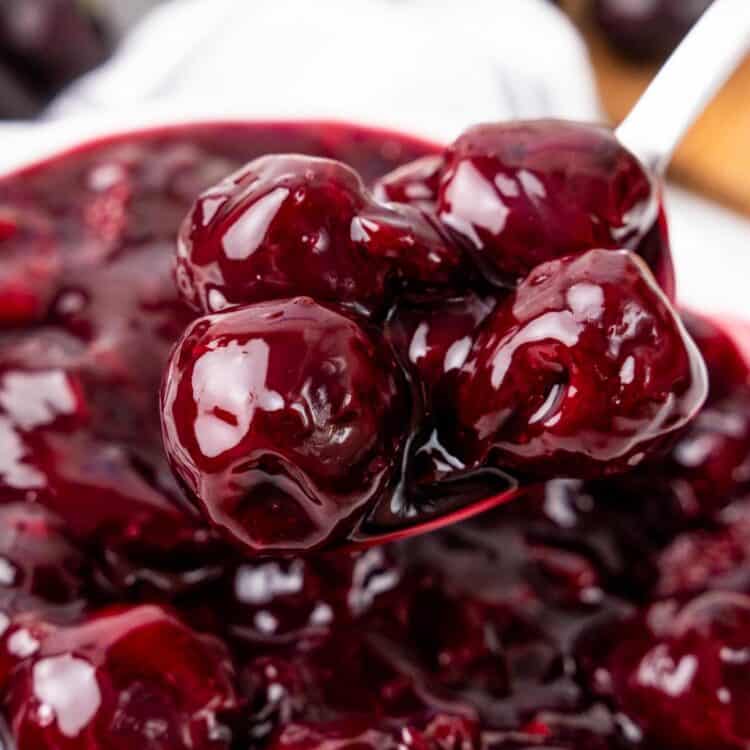
Skip the canned stuff. This homemade cherry pie filling is bursting with juicy sweet cherries and takes just 20 minutes to make. Whether you’re baking a classic pie, topping cheesecake, or filling hand pies, this easy recipe is thick, glossy, and packed with real cherry flavor. Plus, it stores beautifully and can be made ahead for all your dessert needs.

Homemade Pie Filling I Make Every Year!
Every summer when the cherries on our trees are ready, I make this delicious cherry filling. It’s one of those simple things I really look forward to. I pit a big bowl of tart cherries, grab a saucepan, and let everything simmer until it turns into a glossy, jammy sauce. I use it for cherry pie or cherry pie bars, but we also love it over cheesecake, layered into yogurt parfaits, or just in a small bowl with a spoon.
It has the perfect balance of sweet and tart and tastes so much better than store-bought. Sometimes I add a little nutmeg or a pinch of warm spices if I’m pairing it with buttery pie dough or baking it in the oven. The recipe makes enough for one full 9-inch pie or about two cans’ worth of filling. I usually keep a jar in the refrigerator so it’s ready whenever we want something fruity and homemade. I hope you love it, too!
Ingredient Notes
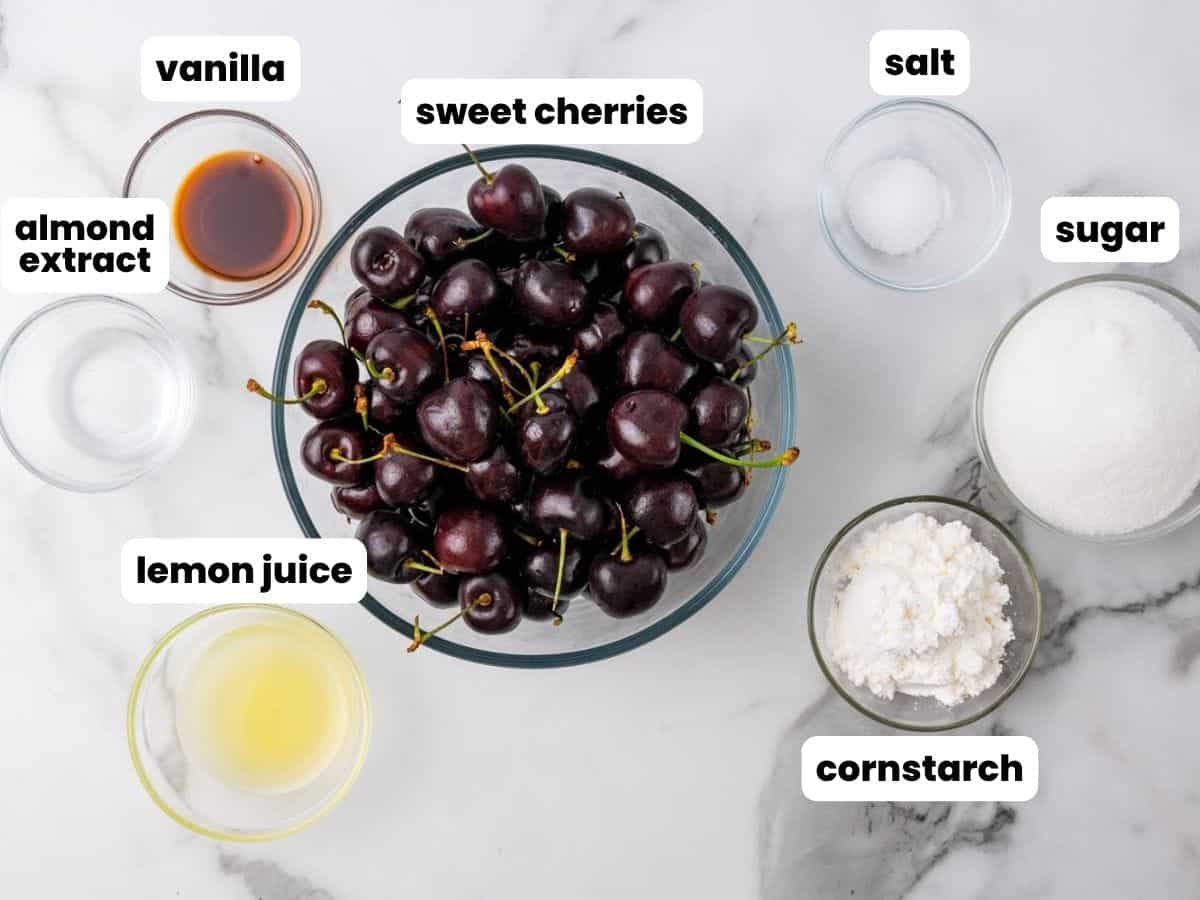
Complete list of ingredients and amounts can be found in the recipe card below.
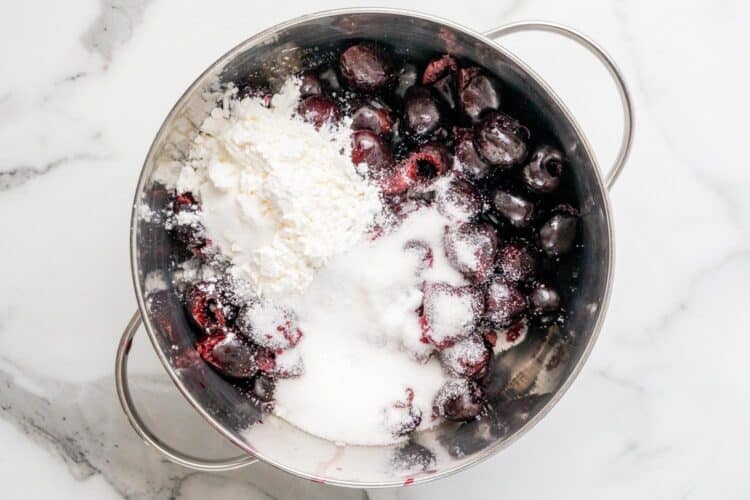
- Cherries: I usually make this pie filling with fresh cherries when they’re in season, but frozen cherries work just as well. You need to thaw and drain before using. You can use sweet dark cherries, tart cherries, or even a mix of both. Keep in mind that tart or sour cherries may require a bit more sugar to balance out their flavor.
- Granulated sugar: Adjust based on cherry sweetness or tartness. Taste your cherries first.
- Cornstarch: Thickens the filling. Don’t skip or substitute with flour as it won’t give the same glossy finish.
- Lemon juice: Balances sweetness and enhances flavor. Use freshly squeezed juice.
- Water: Start with ¼ cup and add more only if needed for consistency.
- Almond extract: Optional, but boosts cherry flavor. Use a light hand; ½ teaspoon is enough.
Tip!
If you’re starting with fresh whole cherries, you’ll need to pit them first. It can take a little time, so I use a cherry pitter to make the job easier. It’s one of those small tools that’s totally worth it if you bake with cherries often. If you don’t have one, you can use the blunt end of a chopstick or press the cherry over a small piping tip; the pit pops right out.
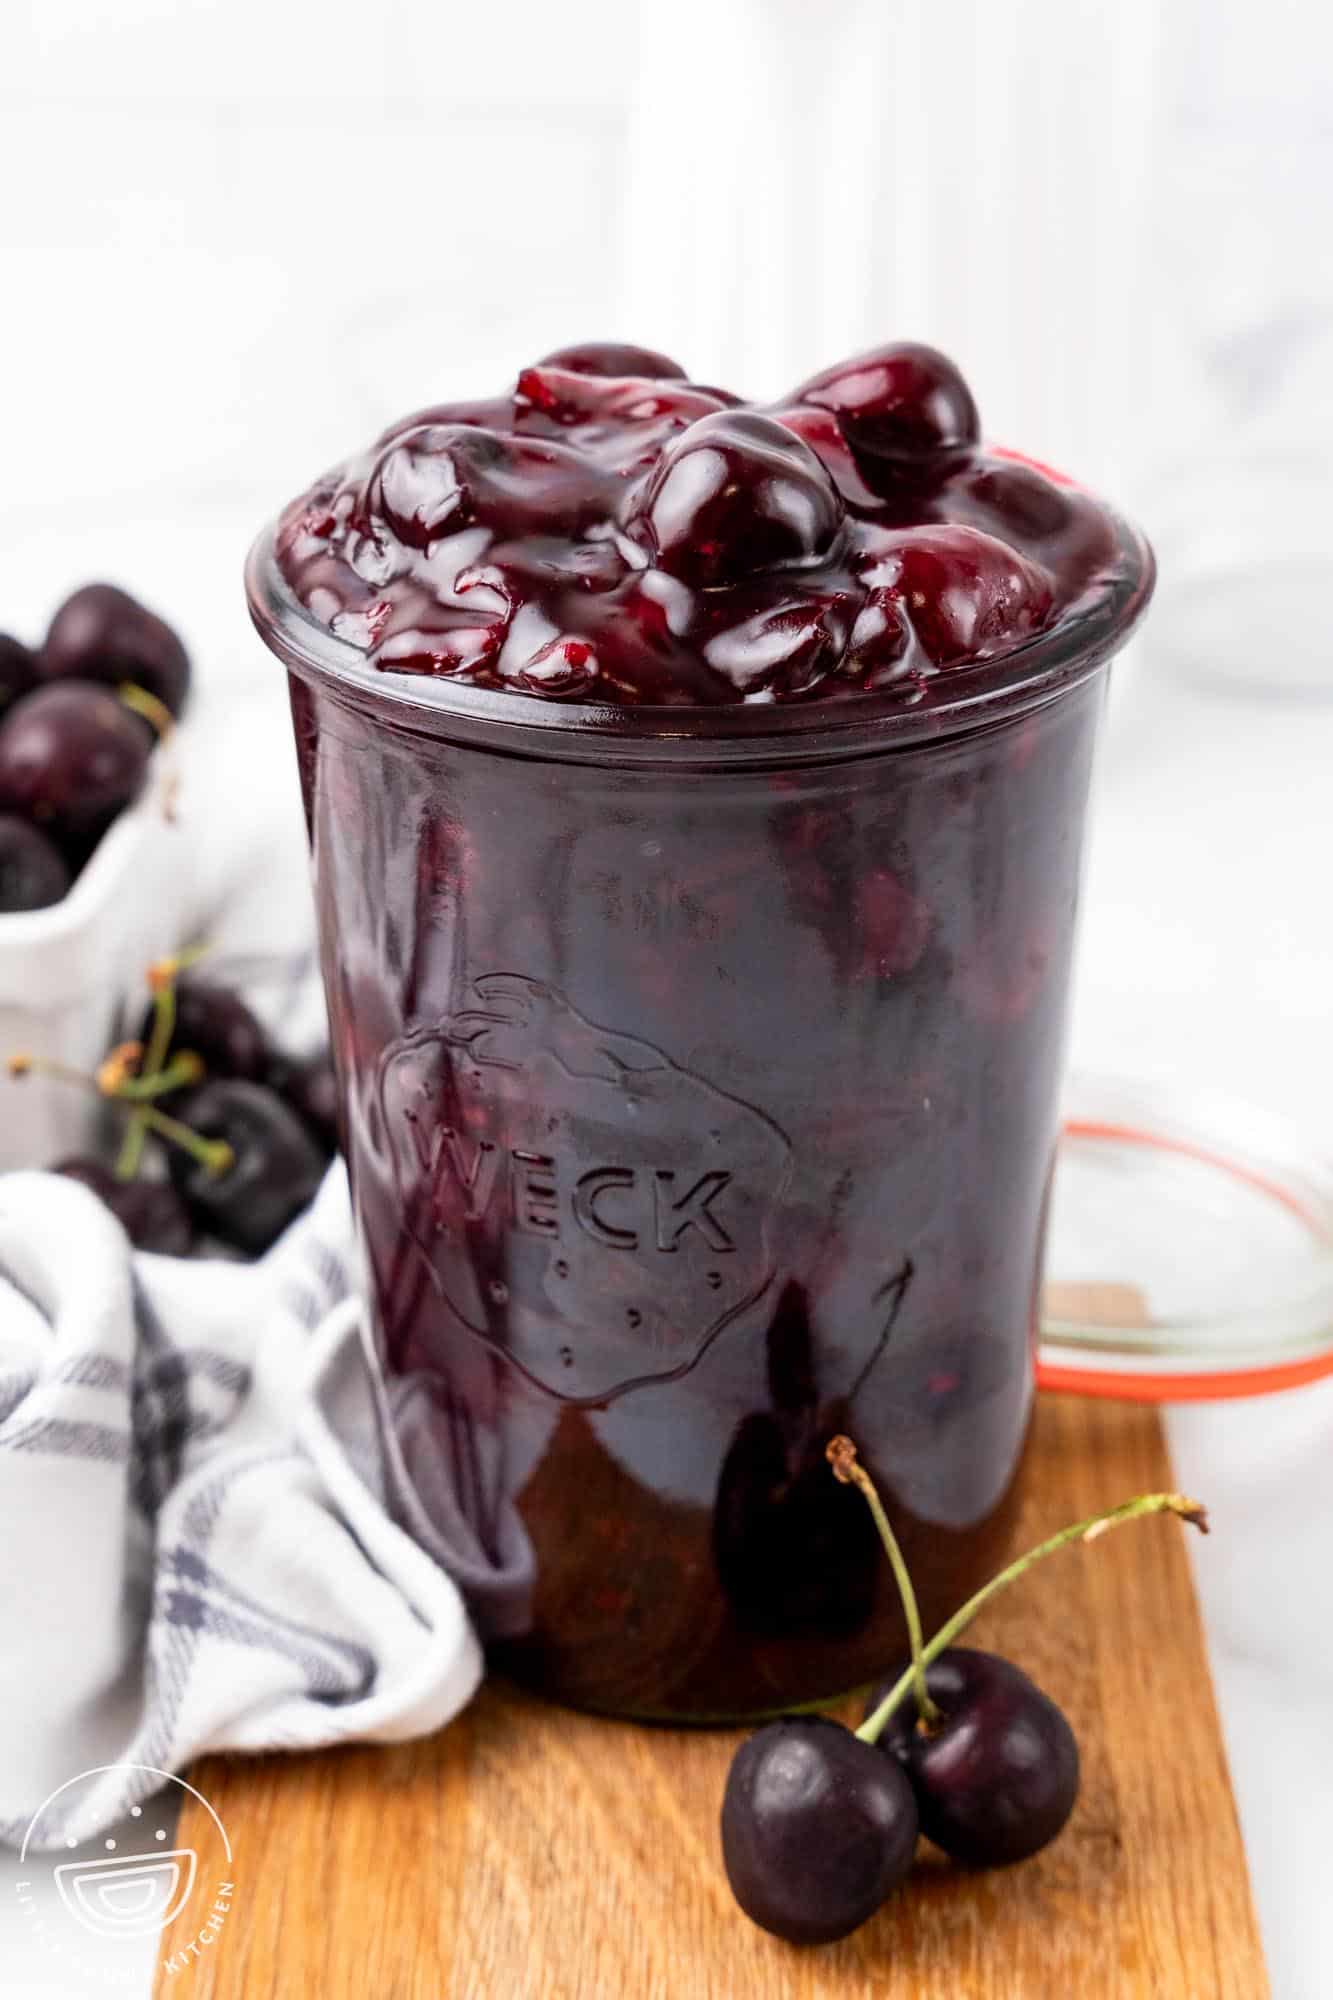
Storing Tips
- Fridge: Store in an airtight container for up to 5 days. Let it cool completely before refrigerating.
- Freezer: Freeze in a freezer-safe bag or container for up to 3 months. Leave space for expansion. Thaw in the fridge overnight.
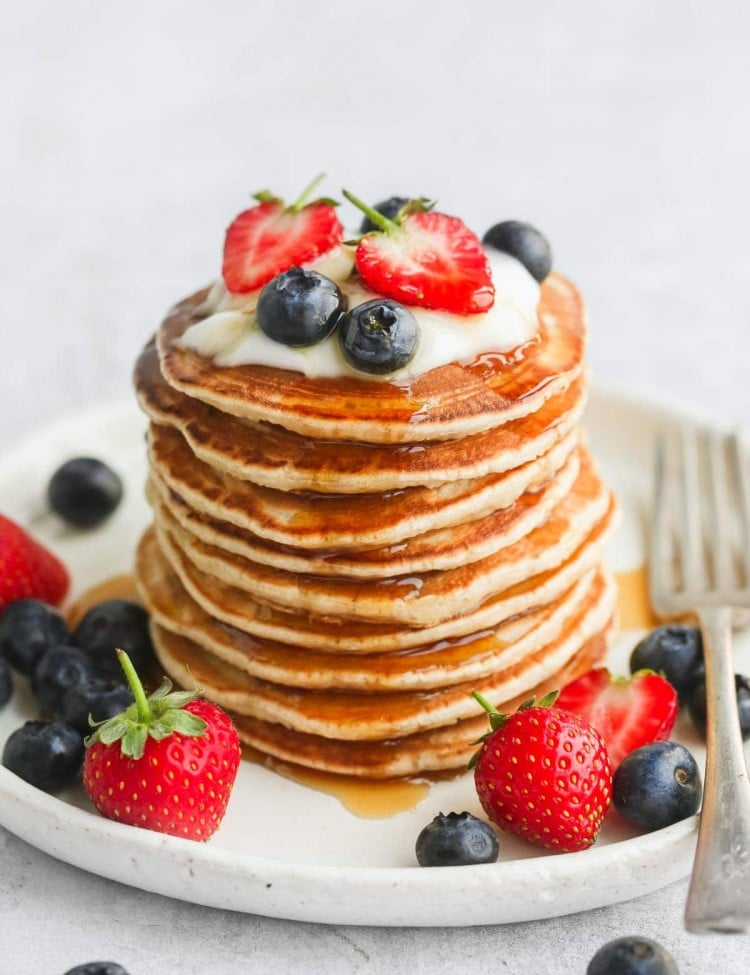
- Reheat: Only if serving warm, like for topping pancakes or waffles, or if the filling has thickened too much. Heat gently on the stove with a splash of water to loosen.
- Make ahead: Can be prepared 2-3 days in advance and stored in the fridge until ready to use.

OMG! I will never buy canned filling again – this recipe is excellent! I followed the recipe except I only had lime so used that instead of lemon. Delicious! Thank you so much for sharing – I don’t need to look any further for a cherry pie filling recipe.
Monica
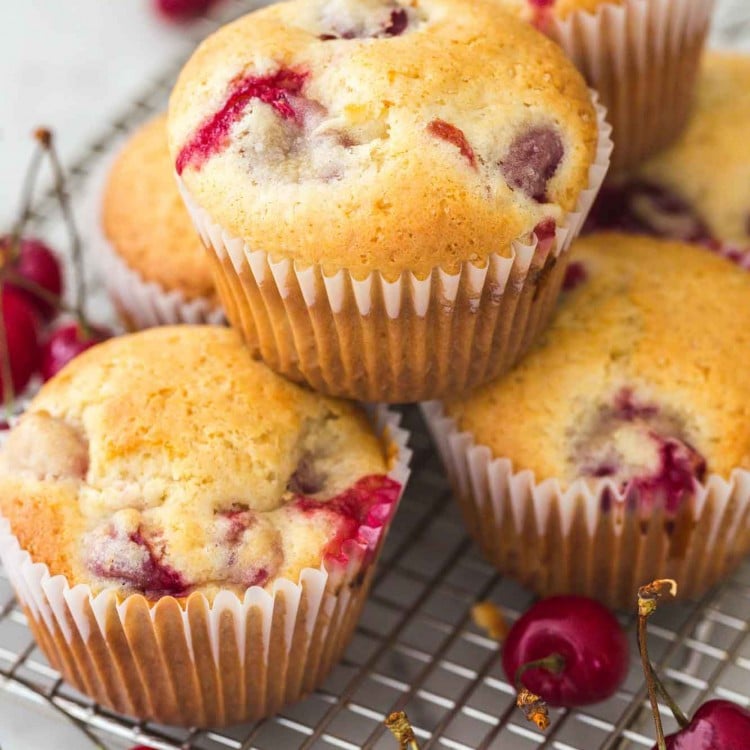
What to Use It In
- Cherry Pie: Use the full batch for a double crust pie. Use this homemade pie crust recipe to make the pie!
- Cherry Dump Cake: Swap in this filling instead of canned.
- No Bake Cheesecake: Spoon on top before serving.
- New York Style Cheesecake: Cool the filling, then use as a topping.
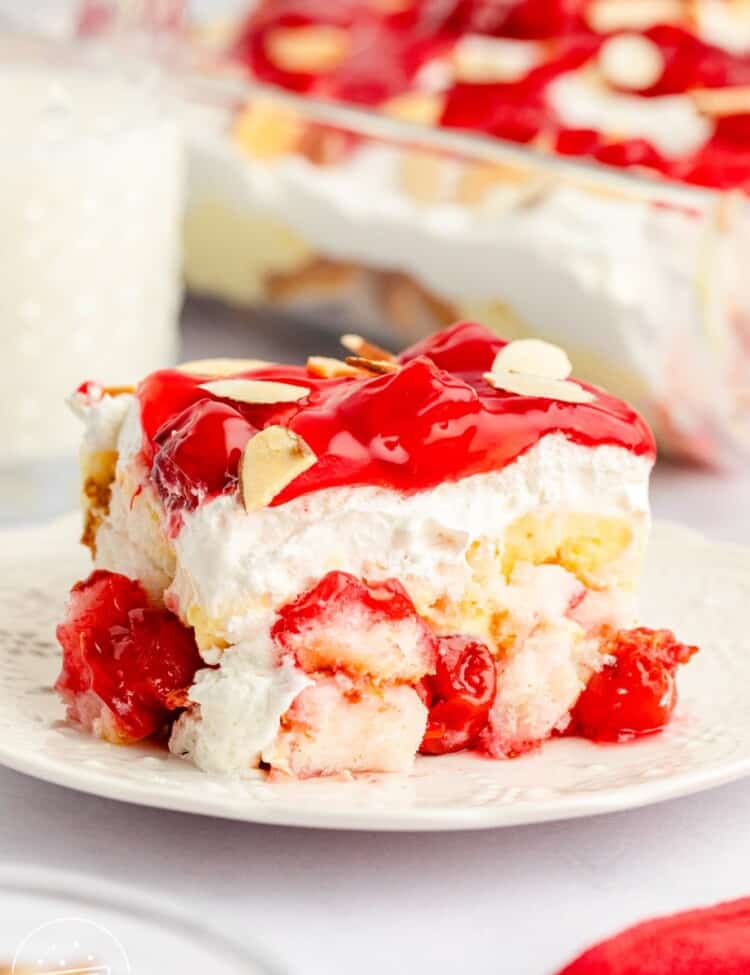
- Heaven on Earth Cake: Layer between the cake and pudding mixture.
More Cherry Recipes


Did you make this? Be sure to leave a review below and tag me on Facebook, Instagram, or Pinterest!
Cherry Pie Filling
Equipment
- Large pot
- Wooden spoon or silicone spatula
Ingredients
- 2 pounds (900 g) sweet cherries washed and pitted (about 6 cups)
- ¾ cup (150 g) granulated sugar
- ¼ to ½ cup (60-120 ml) water
- 3 tablespoons (24 g) cornstarch
- 2 tablespoons (30 ml) lemon juice from about half a lemon
- ¼ teaspoon salt
- 1 teaspoon (5 ml) pure vanilla extract
- ½ teaspoon almond extract
Instructions
- In a large pot over medium heat, combine the cherries, sugar, ¼ cup (60 ml) water, cornstarch, lemon juice, and salt. Stir frequently and bring to a low boil.

- Continue cooking for 10 to 15 minutes, until the cherries have softened and the mixture has thickened. Add more water as needed for desired consistency.
- Remove from the heat and stir in the vanilla and almond extracts. Let cool before using or storing.

Notes:
- If using frozen cherries, thaw first and drain.
- For a deeper flavor, substitute 2 tablespoons (30 ml) of water with cherry juice.
- Adjust the sweetness according to the cherry variety and use.
- This recipe yields approximately 4 cups of filling, which is enough for one 9-inch pie.
This website provides approximate nutrition information for convenience and as a courtesy only. Nutrition data is gathered primarily from the USDA Food Composition Database, whenever available, or otherwise other online calculators.
© Little Sunny Kitchen
Tips and Variations
- Don’t cook it for too long. Once the filling starts to simmer and thicken, take it off the heat. If it cooks too long, the cherries can get too soft and the texture can turn heavy.
- Add a pinch of spice. Cinnamon or nutmeg brings warmth and depth, especially for fall bakes. You can also try a little ground ginger or cardamom for something different.
- Try different flavorings. Almond extract gives that classic cherry pie flavor, but vanilla, orange zest, or a splash of kirsch or amaretto all work really well too.

Monica says
OMG! I will never buy canned filling again – this recipe is excellent! I followed the recipe except I only had lime so used that instead of lemon. Delicious! Thank you so much for sharing – I don’t need to look any further for a cherry pie filling recipe.
Little Sunny Kitchen says
Thank you so much for trying my recipe, Monica! I’m so happy that you love it, and I appreciate you stopping back to leave a comment.