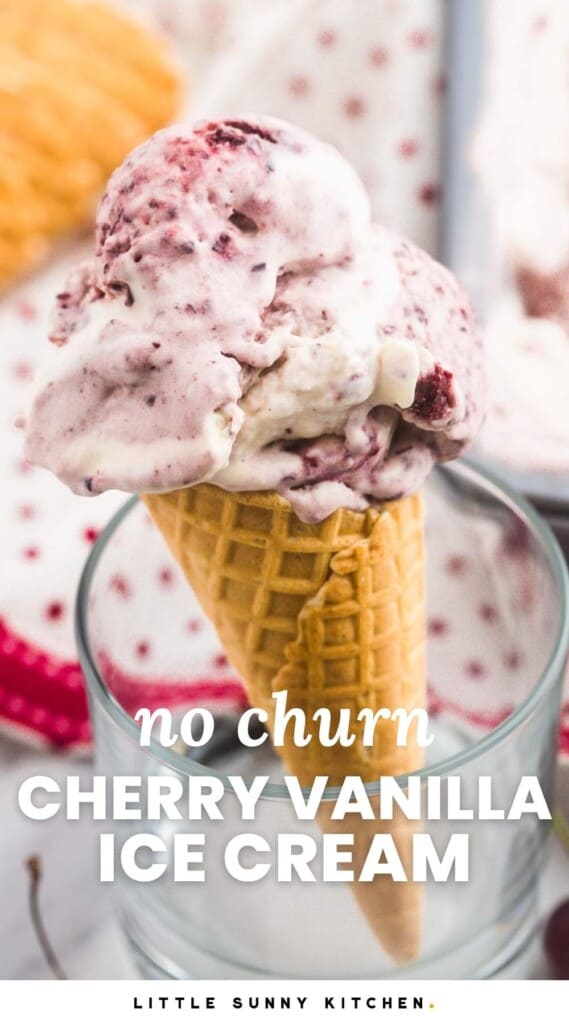
This cherry vanilla ice cream is creamy, fruity, and made without an ice cream maker. Part of the vanilla base stays plain, while the rest is mixed with cherries and layered with a little extra cherry swirl, so you get both vanilla and cherry flavor in every scoop. Use fresh cherries when they are in season, or frozen cherries for an easy homemade ice cream any time of year.
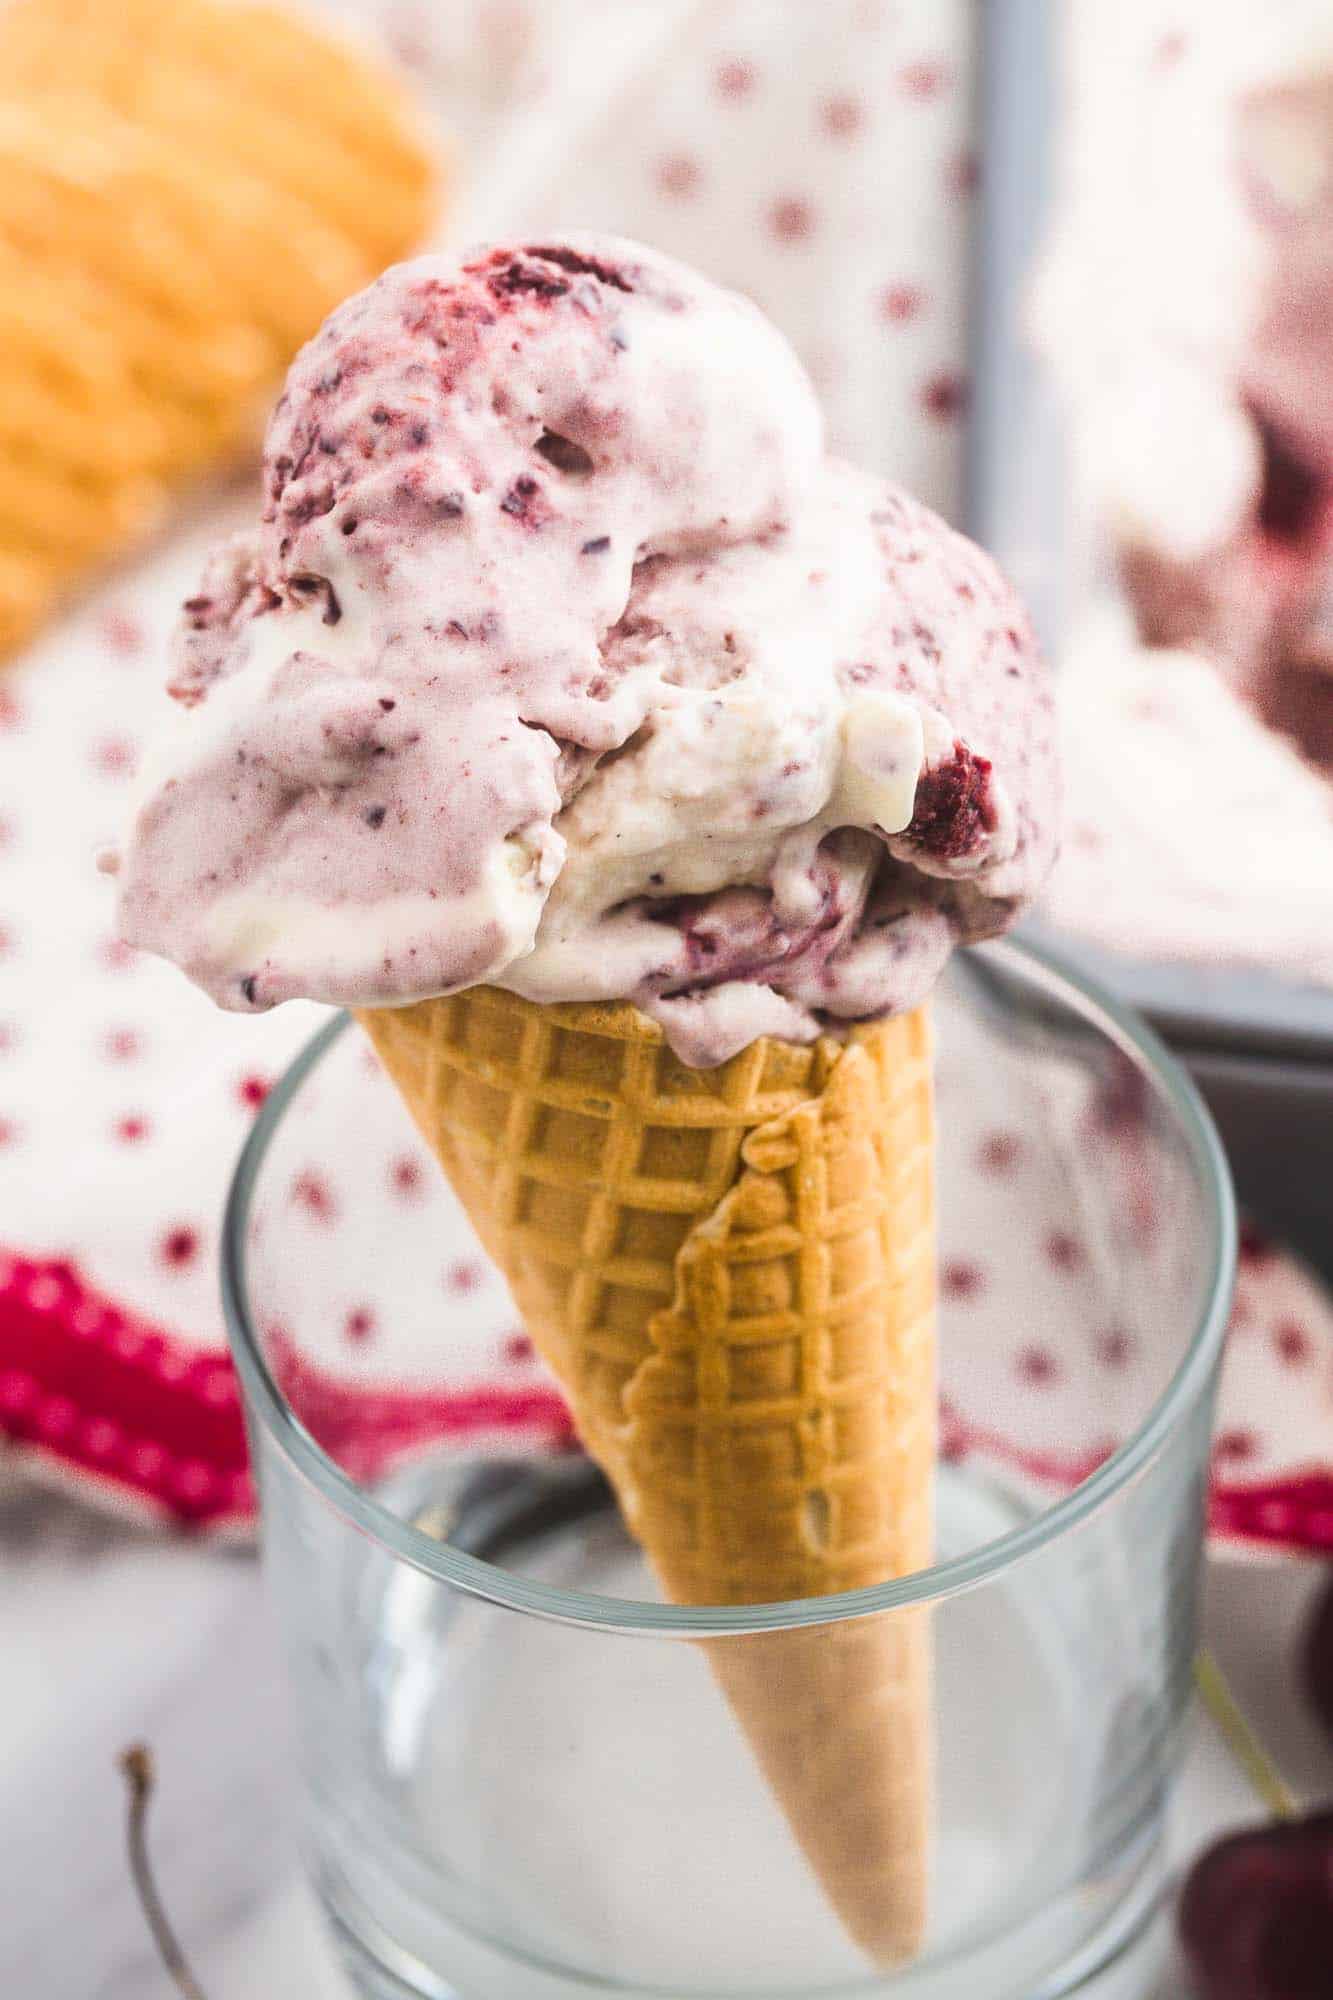

Why I layer the cherry swirl
The cherry swirl is my favorite part of this recipe, and it is what makes the ice cream feel homemade in the best way. Instead of mixing the cherries completely into the base, I layer them in so you get vanilla ice cream with little pockets of bright cherry flavor. It is still simple and no-churn, but the texture is much better when the cherry mixture is thick and spoonable.
Use the cherries you have, but keep the swirl thick
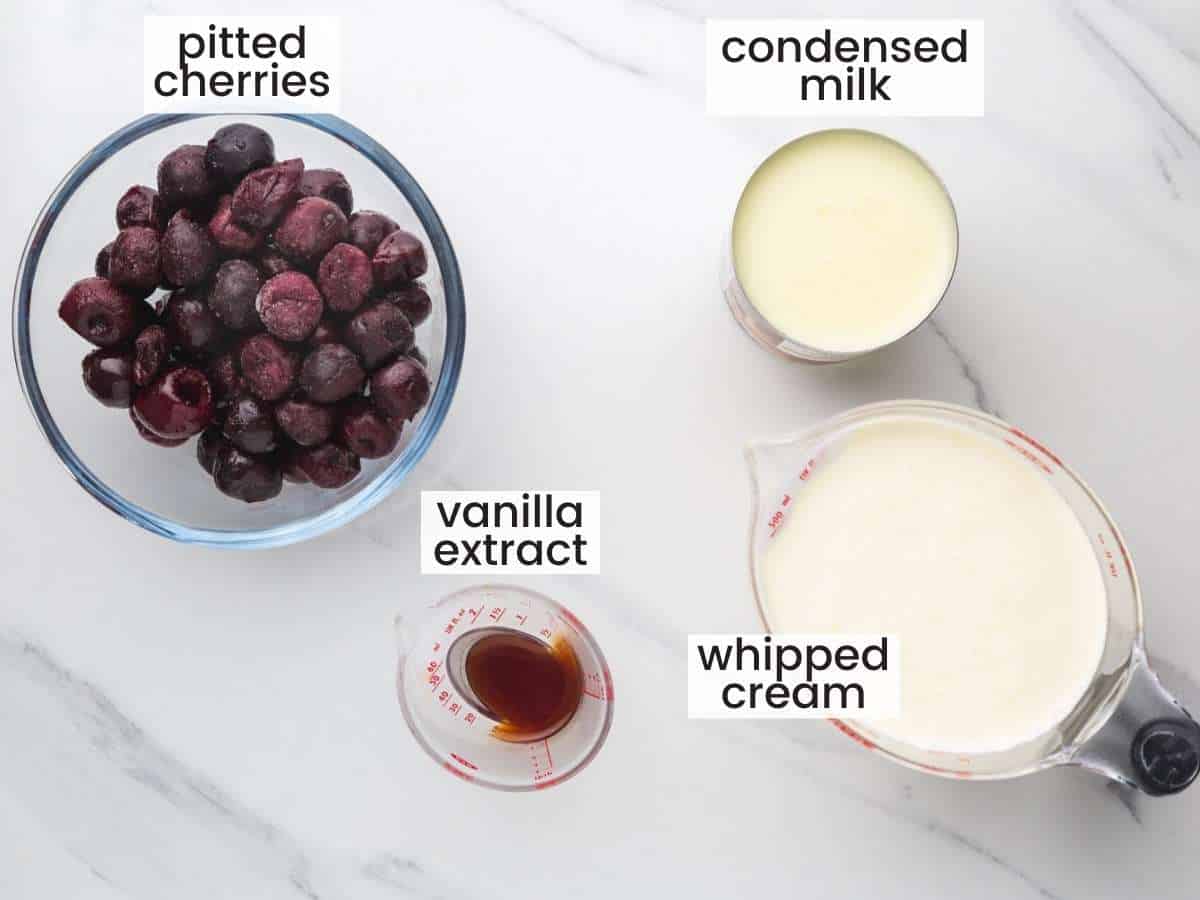
Complete list of ingredients and amounts can be found in the recipe card below.
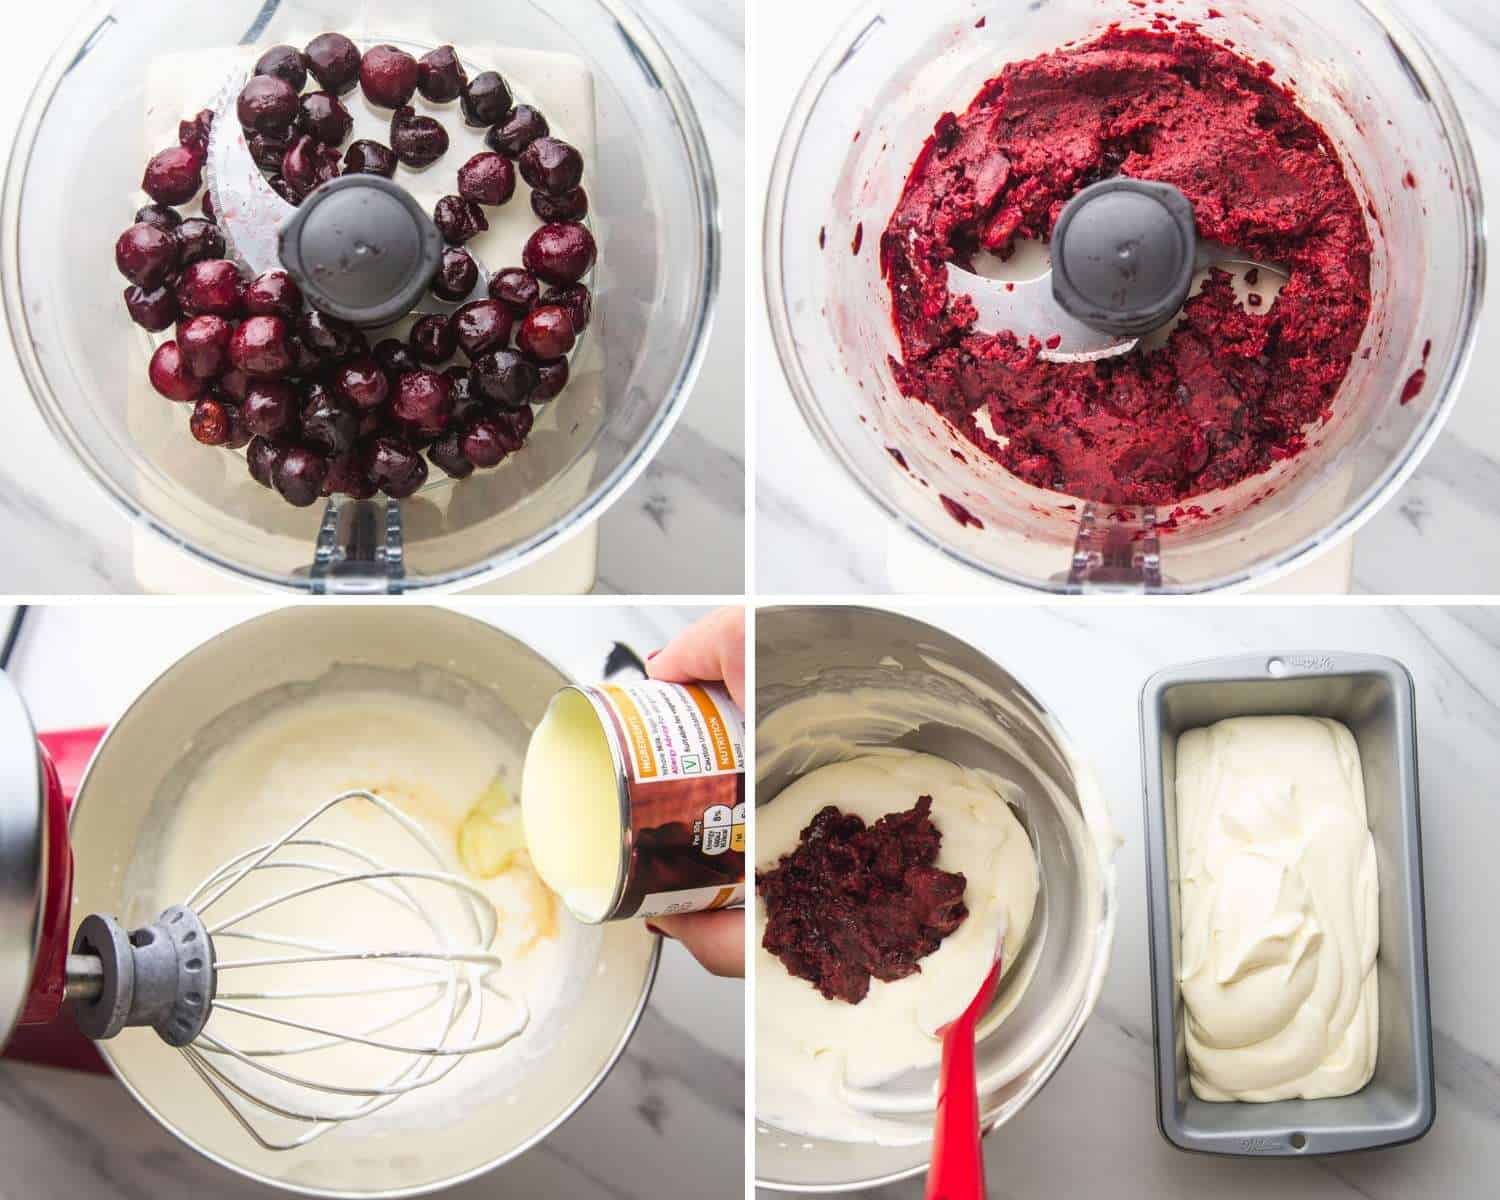
I usually make this with frozen cherries because they are already pitted and easy to keep in the freezer, but fresh cherries are wonderful when they are in season. If you are starting with fresh cherries, a cherry pitter makes the prep much quicker. The only thing I really watch for is extra juice, especially with thawed frozen cherries, because too much liquid can thin the cherry mixture and affect the final texture.
For the base, use cold heavy cream so it whips properly, sweetened condensed milk instead of evaporated milk, and a little lemon juice to brighten the flavor. I would not swap regular milk for the heavy cream here, since the base needs enough fat to freeze smoothly.
Tip!
You can intensify the cherry flavor by either using whole cherries, and roasting them then pitting them. Or by adding a little bit of cherry extract to the cherry mixture.
Layer the cherries instead of mixing them all in
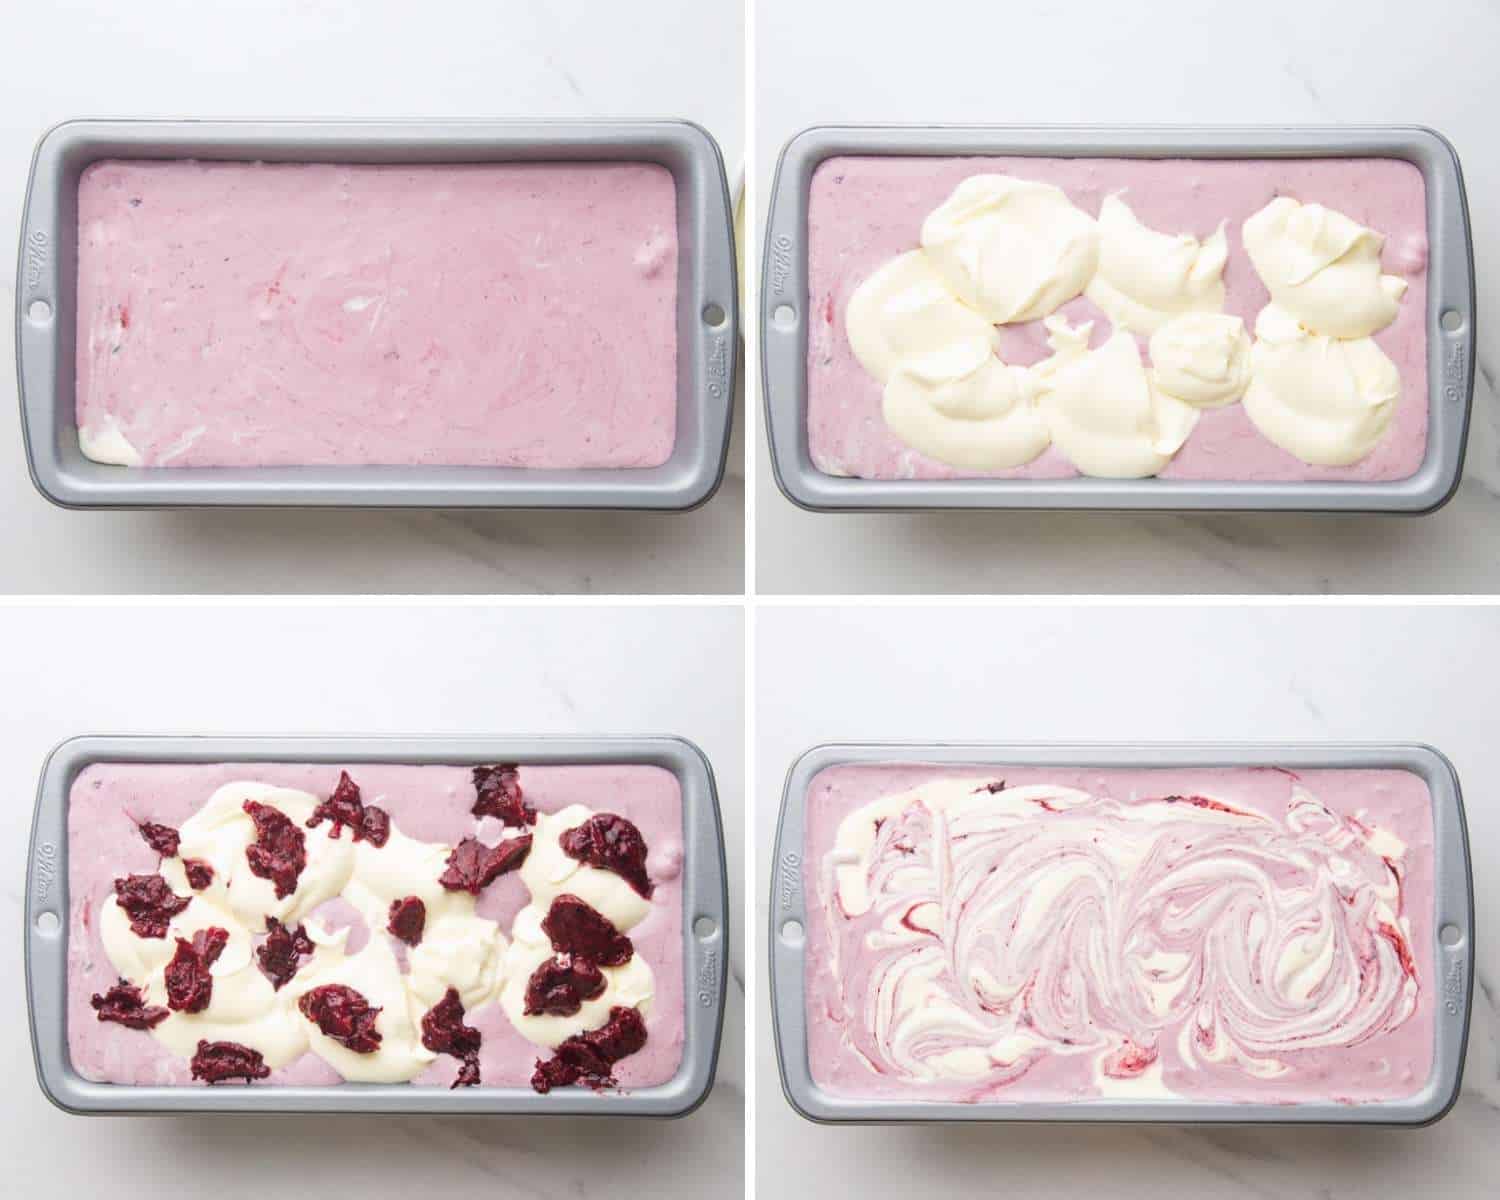
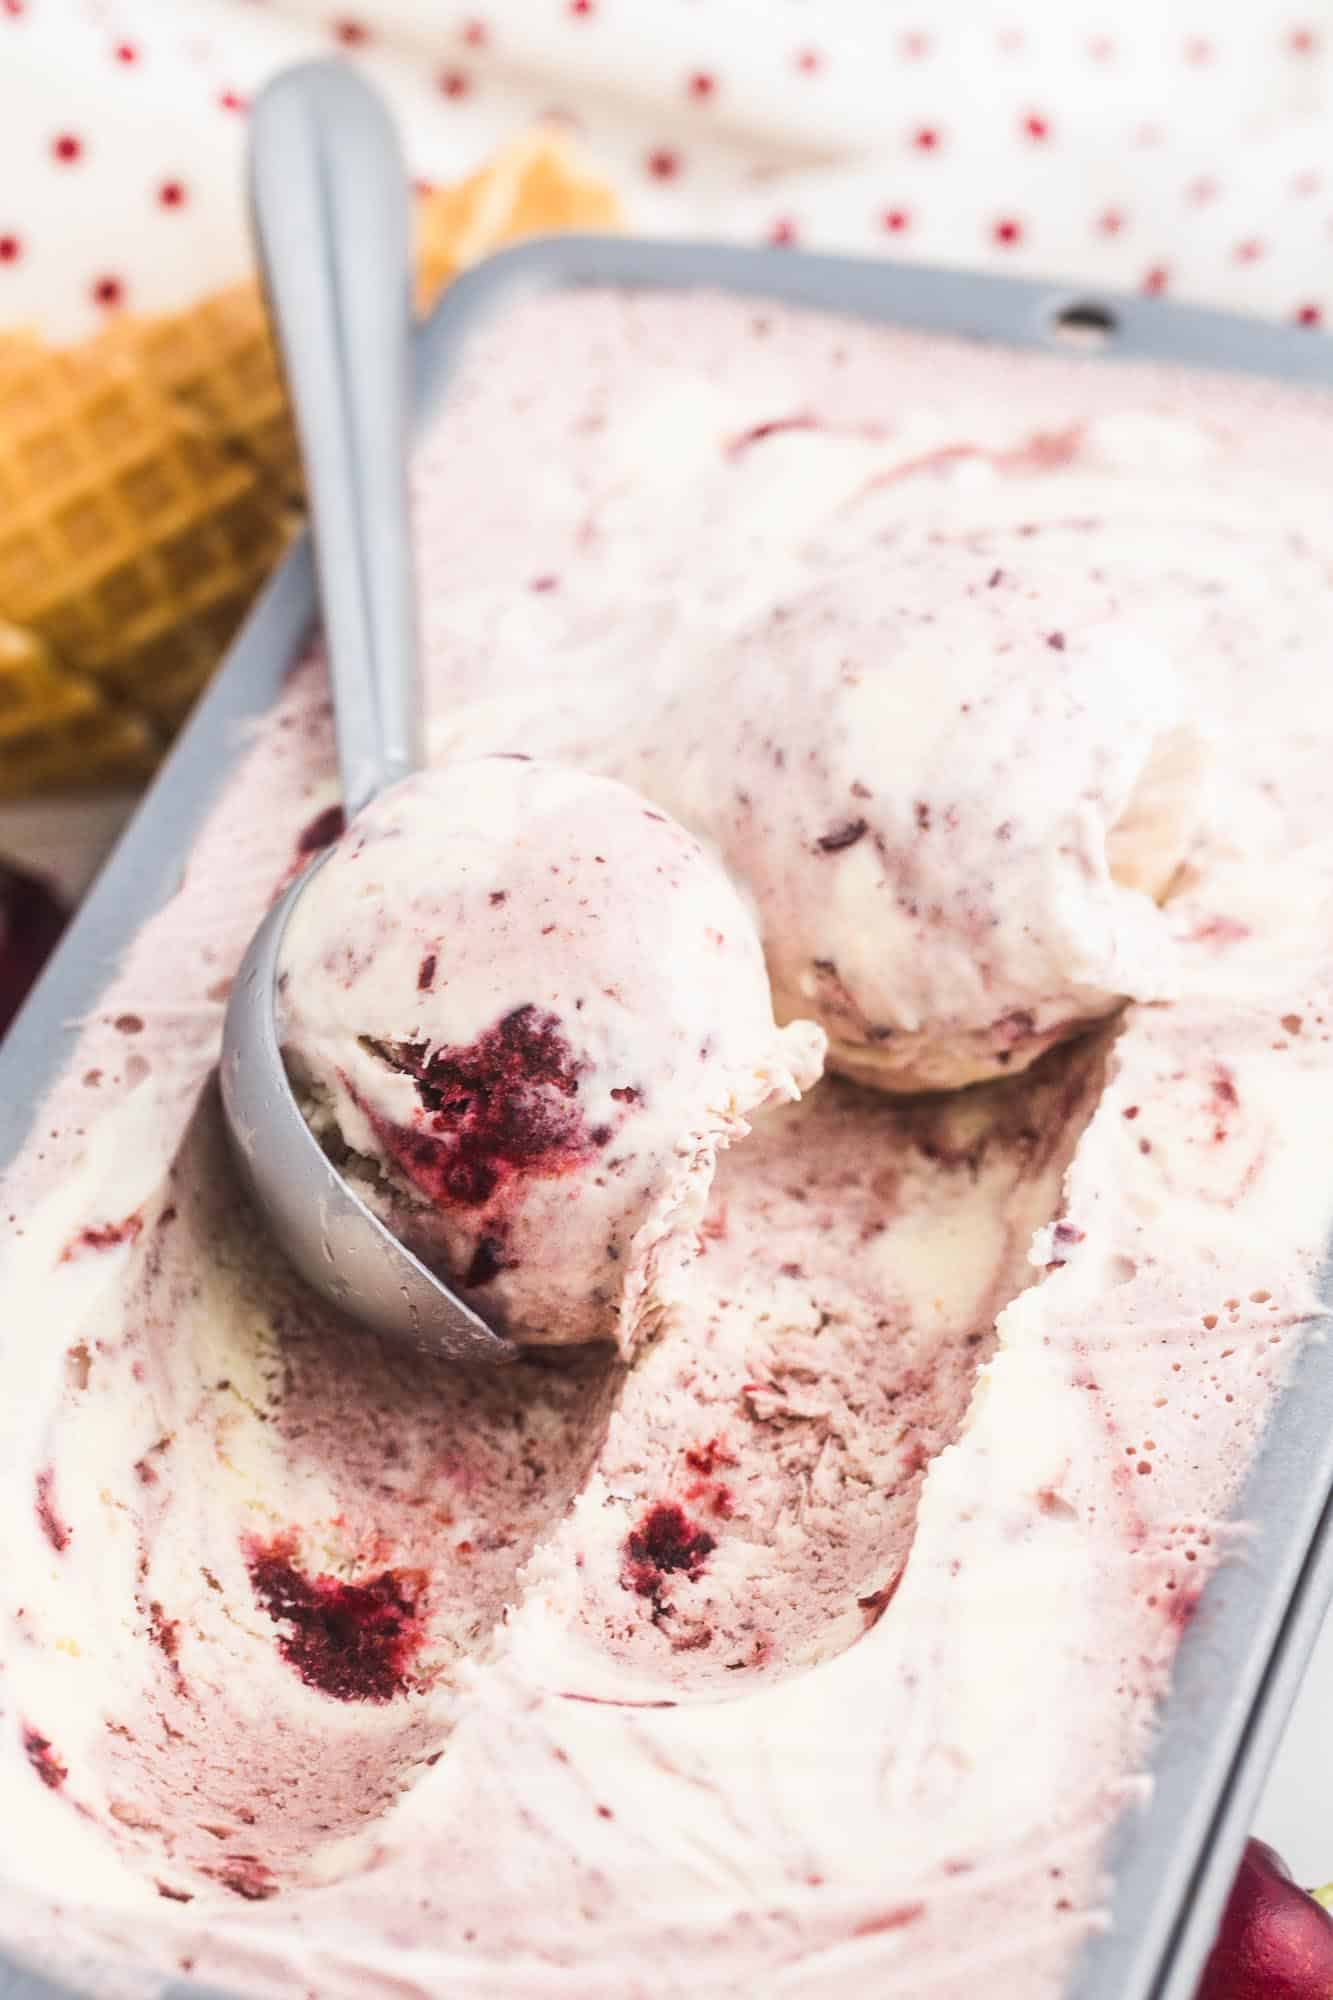
After you whip the cream and fold in the condensed milk, the base should look thick, fluffy, and smooth. Spread one-third of the vanilla base into the loaf pan, then mix most of the chopped cherries into another third of the base and spoon it on top. Add the remaining vanilla base, spoon the reserved cherries over the surface, and swirl gently with a chopstick or spoon. This gives you vanilla and cherry in each scoop, with a prettier finish than stirring everything together.
Let it soften before you scoop
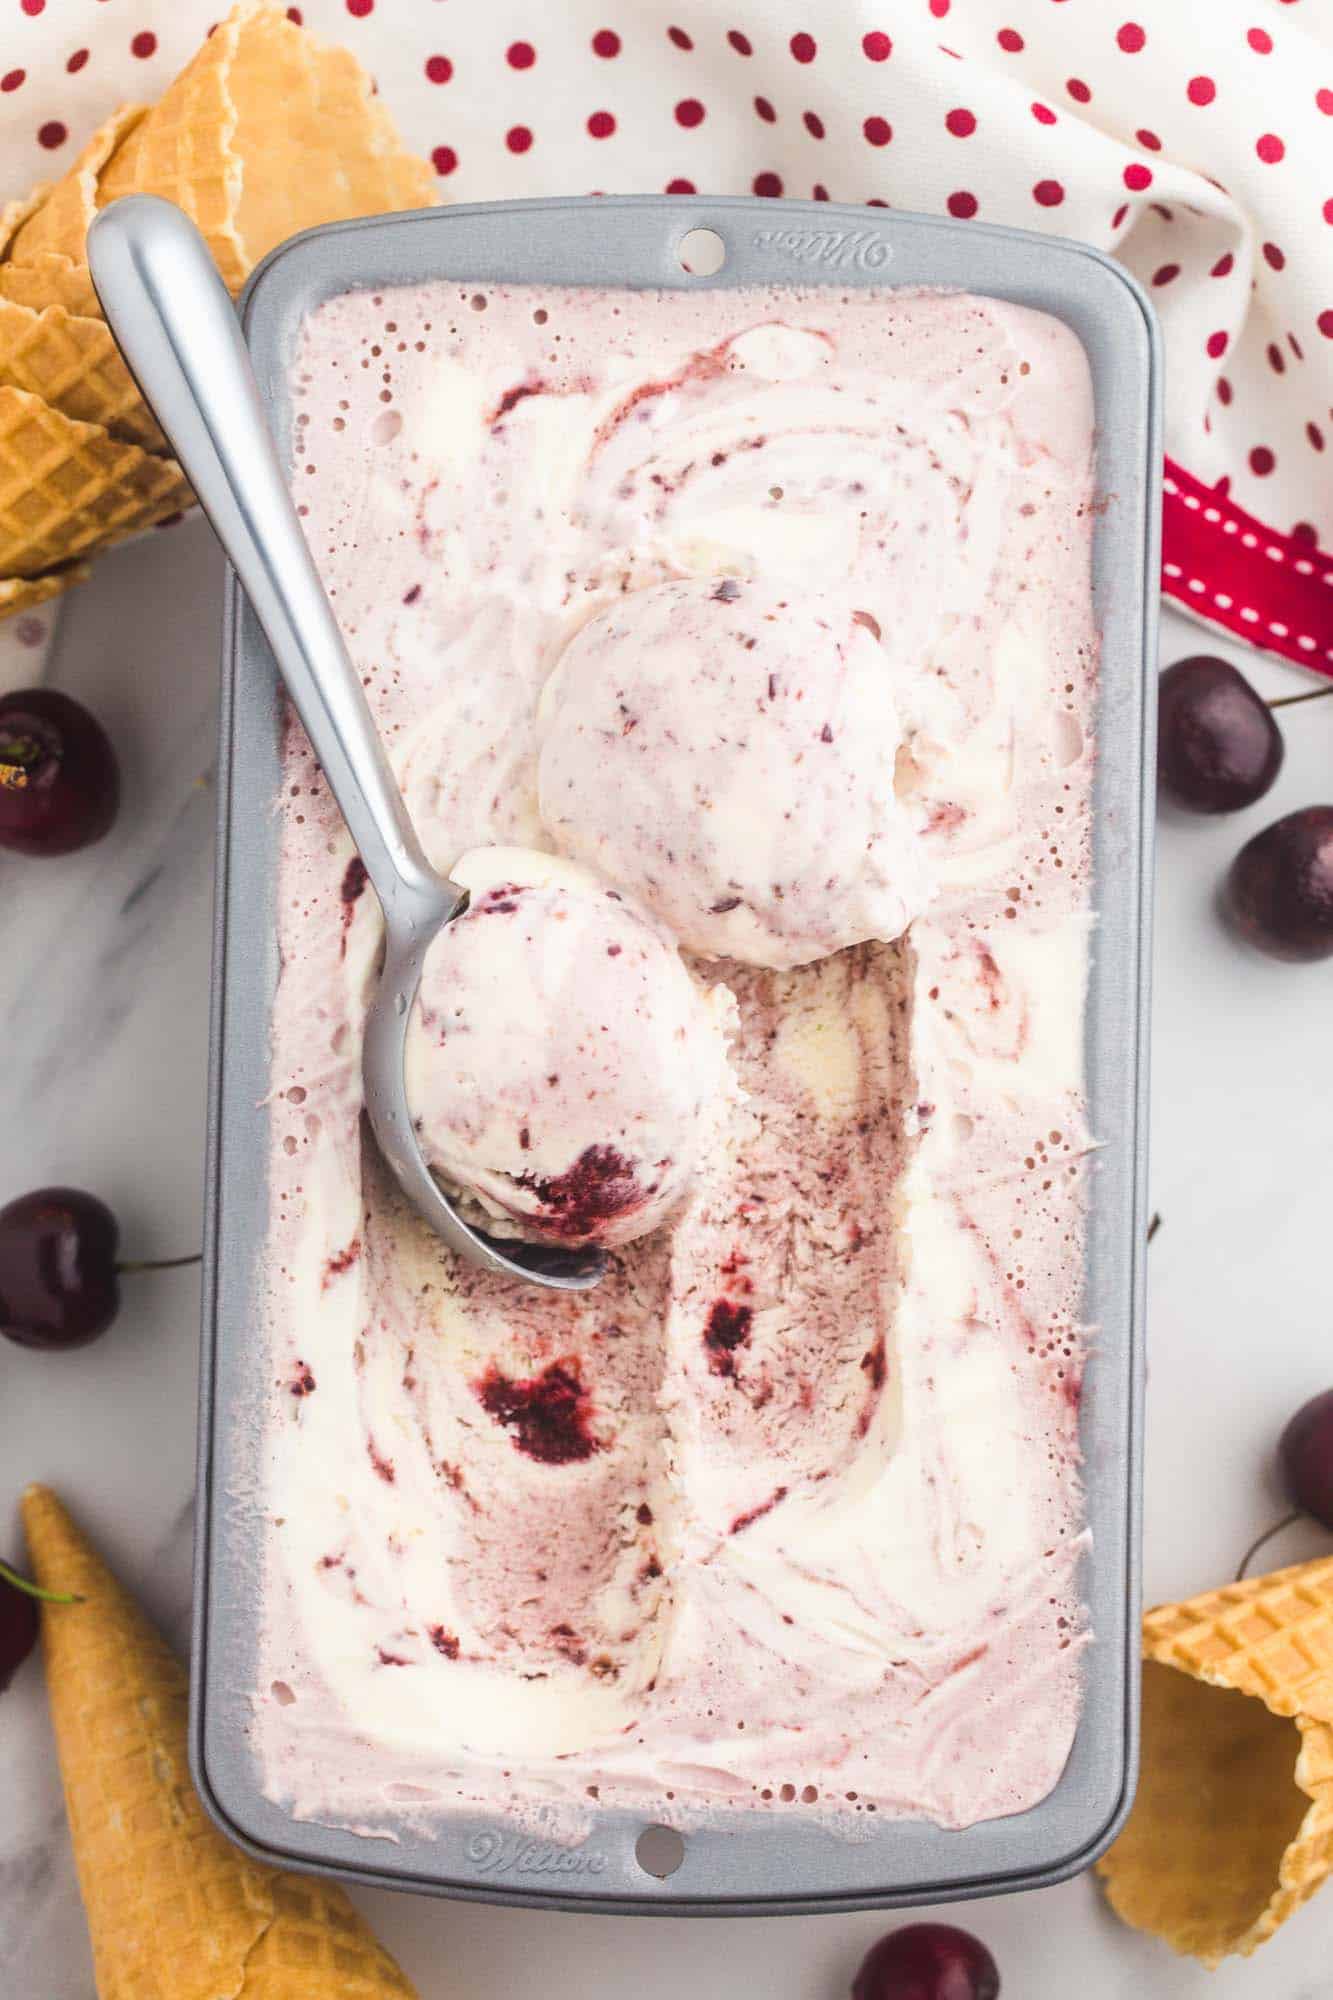
Freeze the ice cream for 4 to 6 hours, or overnight if you want firmer scoops. It will be firm straight from the freezer, so let it sit at room temperature for 10 to 15 minutes before serving. Store leftovers tightly covered, with plastic wrap or parchment pressed against the surface, to help prevent ice crystals from forming. The ice cream will keep for up to 2 months, but the texture is best within the first couple of weeks.
Small changes that work with this base
This vanilla cherry base is easy to adjust without changing the method. Add chopped dark chocolate for a cherry chocolate chip version, or use a little almond extract with the vanilla for a classic cherry almond flavor. For a sweeter, old-fashioned flavor, use well-drained maraschino cherries instead of fresh or frozen cherries. Avoid cherry pie filling or loose sauces, since they add too much sugar and liquid to the swirl.
More Summer Treats To Try
Did you make this? Be sure to leave a review below and tag me on Facebook, Instagram, or Pinterest!

No Churn Cherry Vanilla Ice Cream
Equipment
- Stand mixer with whisk attachment
- Rubber Spatula
- 9×5 inch (23×13 cm) loaf pan
- Plastic wrap
- Chopstick or spoon
Ingredients
- 6 ounces (170 g) frozen pitted cherries still frozen or thawed, or use fresh cherries
- 2 cups (475 ml) heavy whipping cream chilled
- 1 14-ounce can (400 g) sweetened condensed milk
- 2 teaspoons (10 ml) pure vanilla extract
- 1 tablespoon (15 ml) fresh lemon juice
Instructions
- Add the cherries to a food processor and pulse until finely chopped with small pieces remaining. Do not blend into a smooth puree.
- In a chilled stand mixer bowl, whip the heavy cream on medium high speed until stiff peaks form. Stop as soon as the cream holds its shape.
- Add the sweetened condensed milk, pure vanilla extract, and lemon juice. Fold gently with a rubber spatula until no streaks remain.
- Spread ⅓ of the vanilla cream mixture into the loaf pan.
- Add another ⅓ of the vanilla cream mixture to a separate bowl with most of the chopped cherries, reserving about ¼ cup of cherries. Fold gently until marbled.
- Spoon the cherry cream mixture over the vanilla layer. Spread the remaining vanilla cream mixture on top.
- Spoon the reserved cherries over the top. Swirl gently with a chopstick or spoon.
- Cover with plastic wrap pressed directly onto the surface of the ice cream. Freeze for at least 4 hours, or overnight for firmer scoops.
- Let the ice cream sit at room temperature for 15 to 20 minutes before scooping.
Notes:
- Fresh pitted cherries can be used instead of frozen cherries. If they are very juicy, drain off any excess liquid after chopping so the cherry mixture stays thick.
- If using thawed cherries, drain off any excess liquid before pulsing so the swirl stays thick.
- Do not overwhip the cream, or the ice cream base can become grainy.
- For the cleanest cherry swirl, pulse the cherries until finely chopped but not completely smooth.
- Store the ice cream in the loaf pan or an airtight freezer container for up to 2 months. Press plastic wrap directly onto the surface before covering to help prevent ice crystals.
Nutrition Information
This website provides approximate nutrition information for convenience and as a courtesy only. Nutrition data is gathered primarily from the USDA Food Composition Database, whenever available, or otherwise other online calculators.
© Little Sunny Kitchen



Leave a Review!