
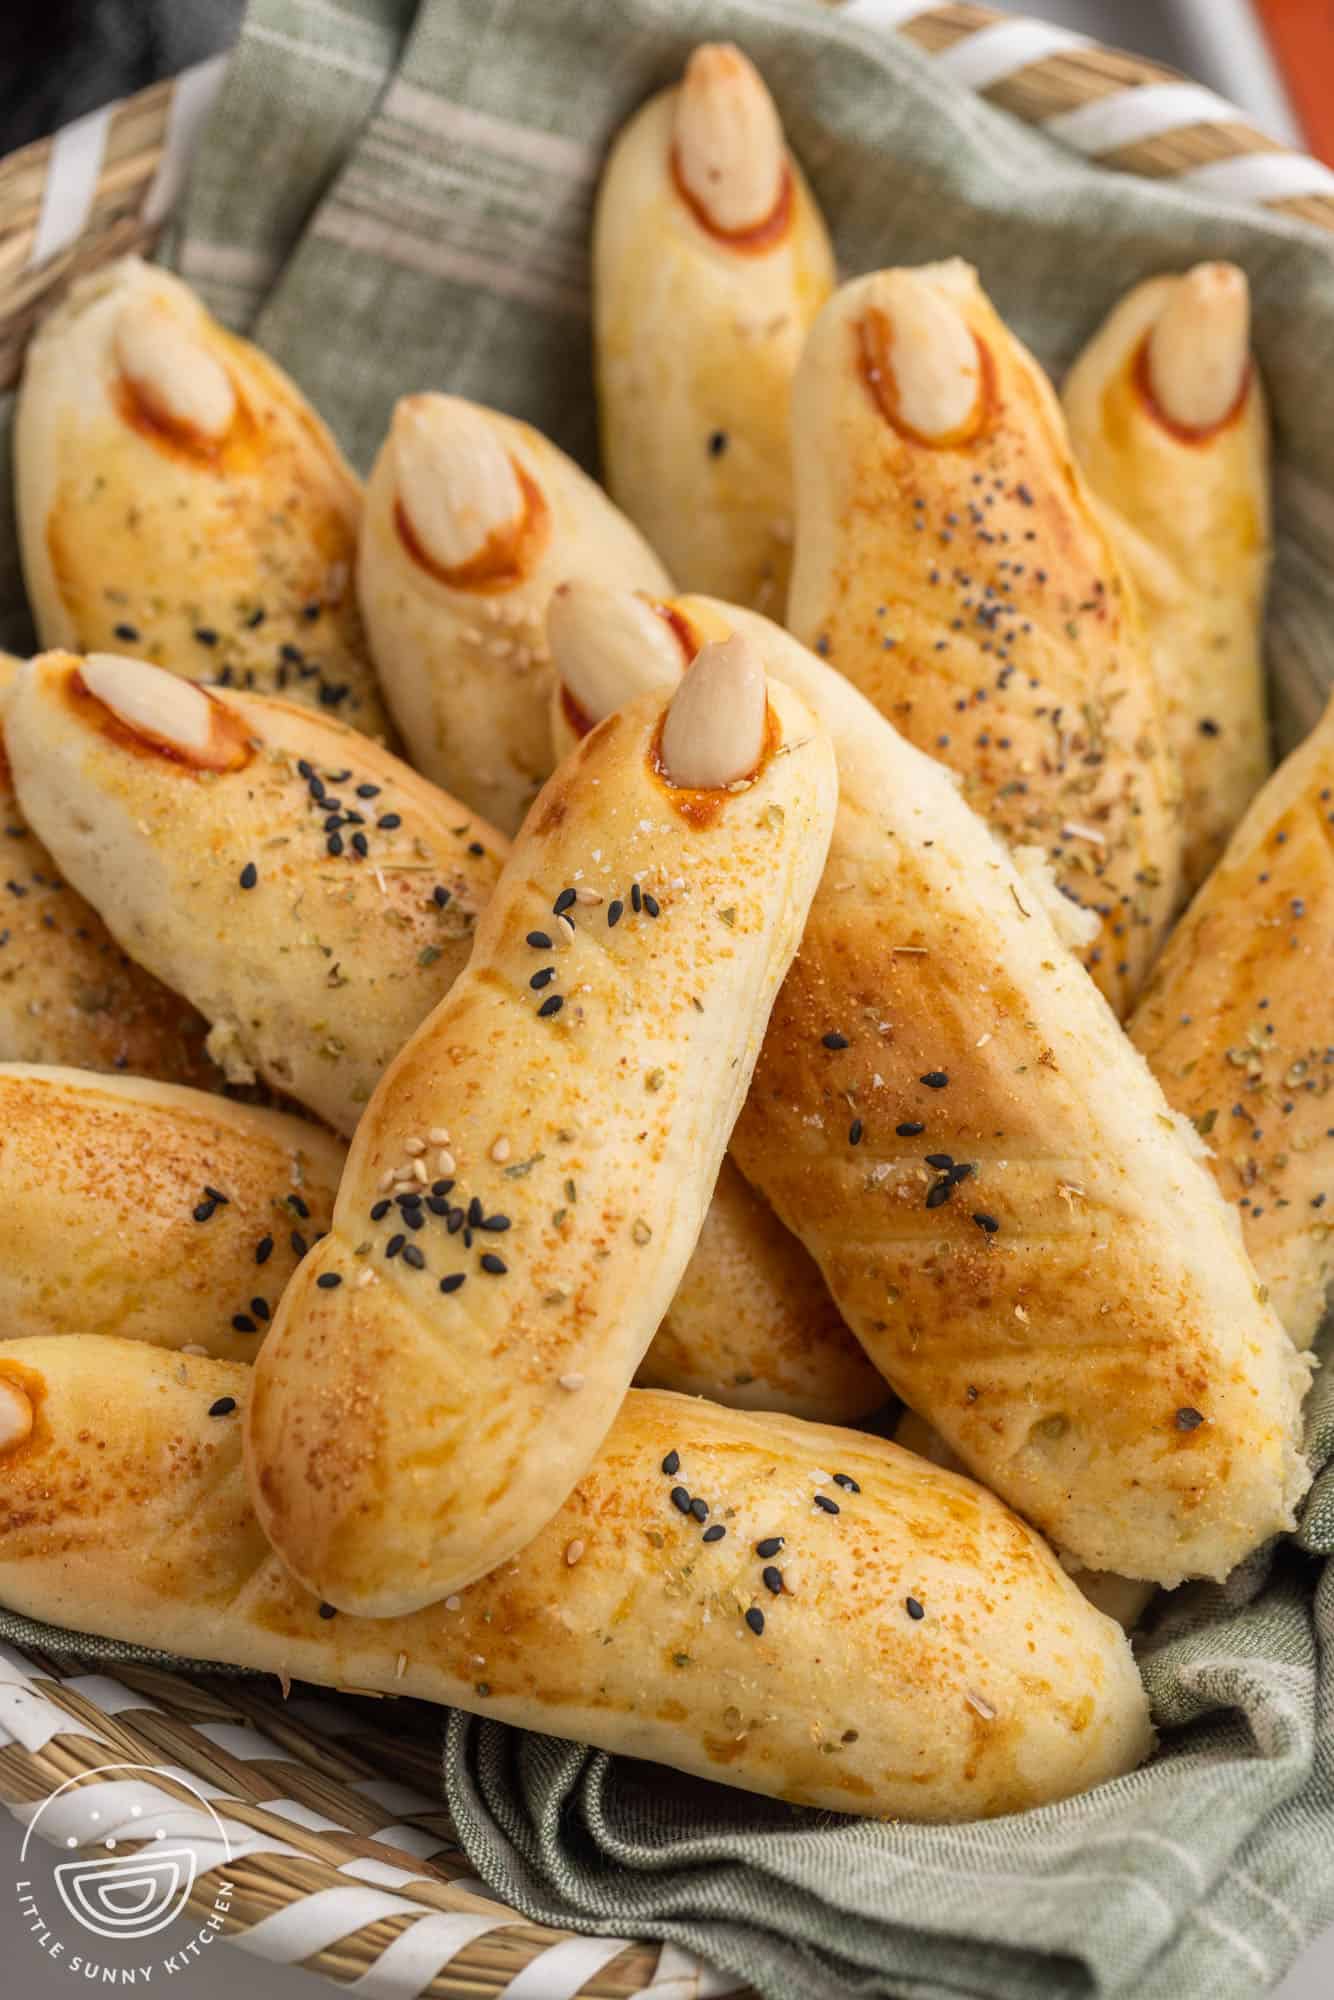
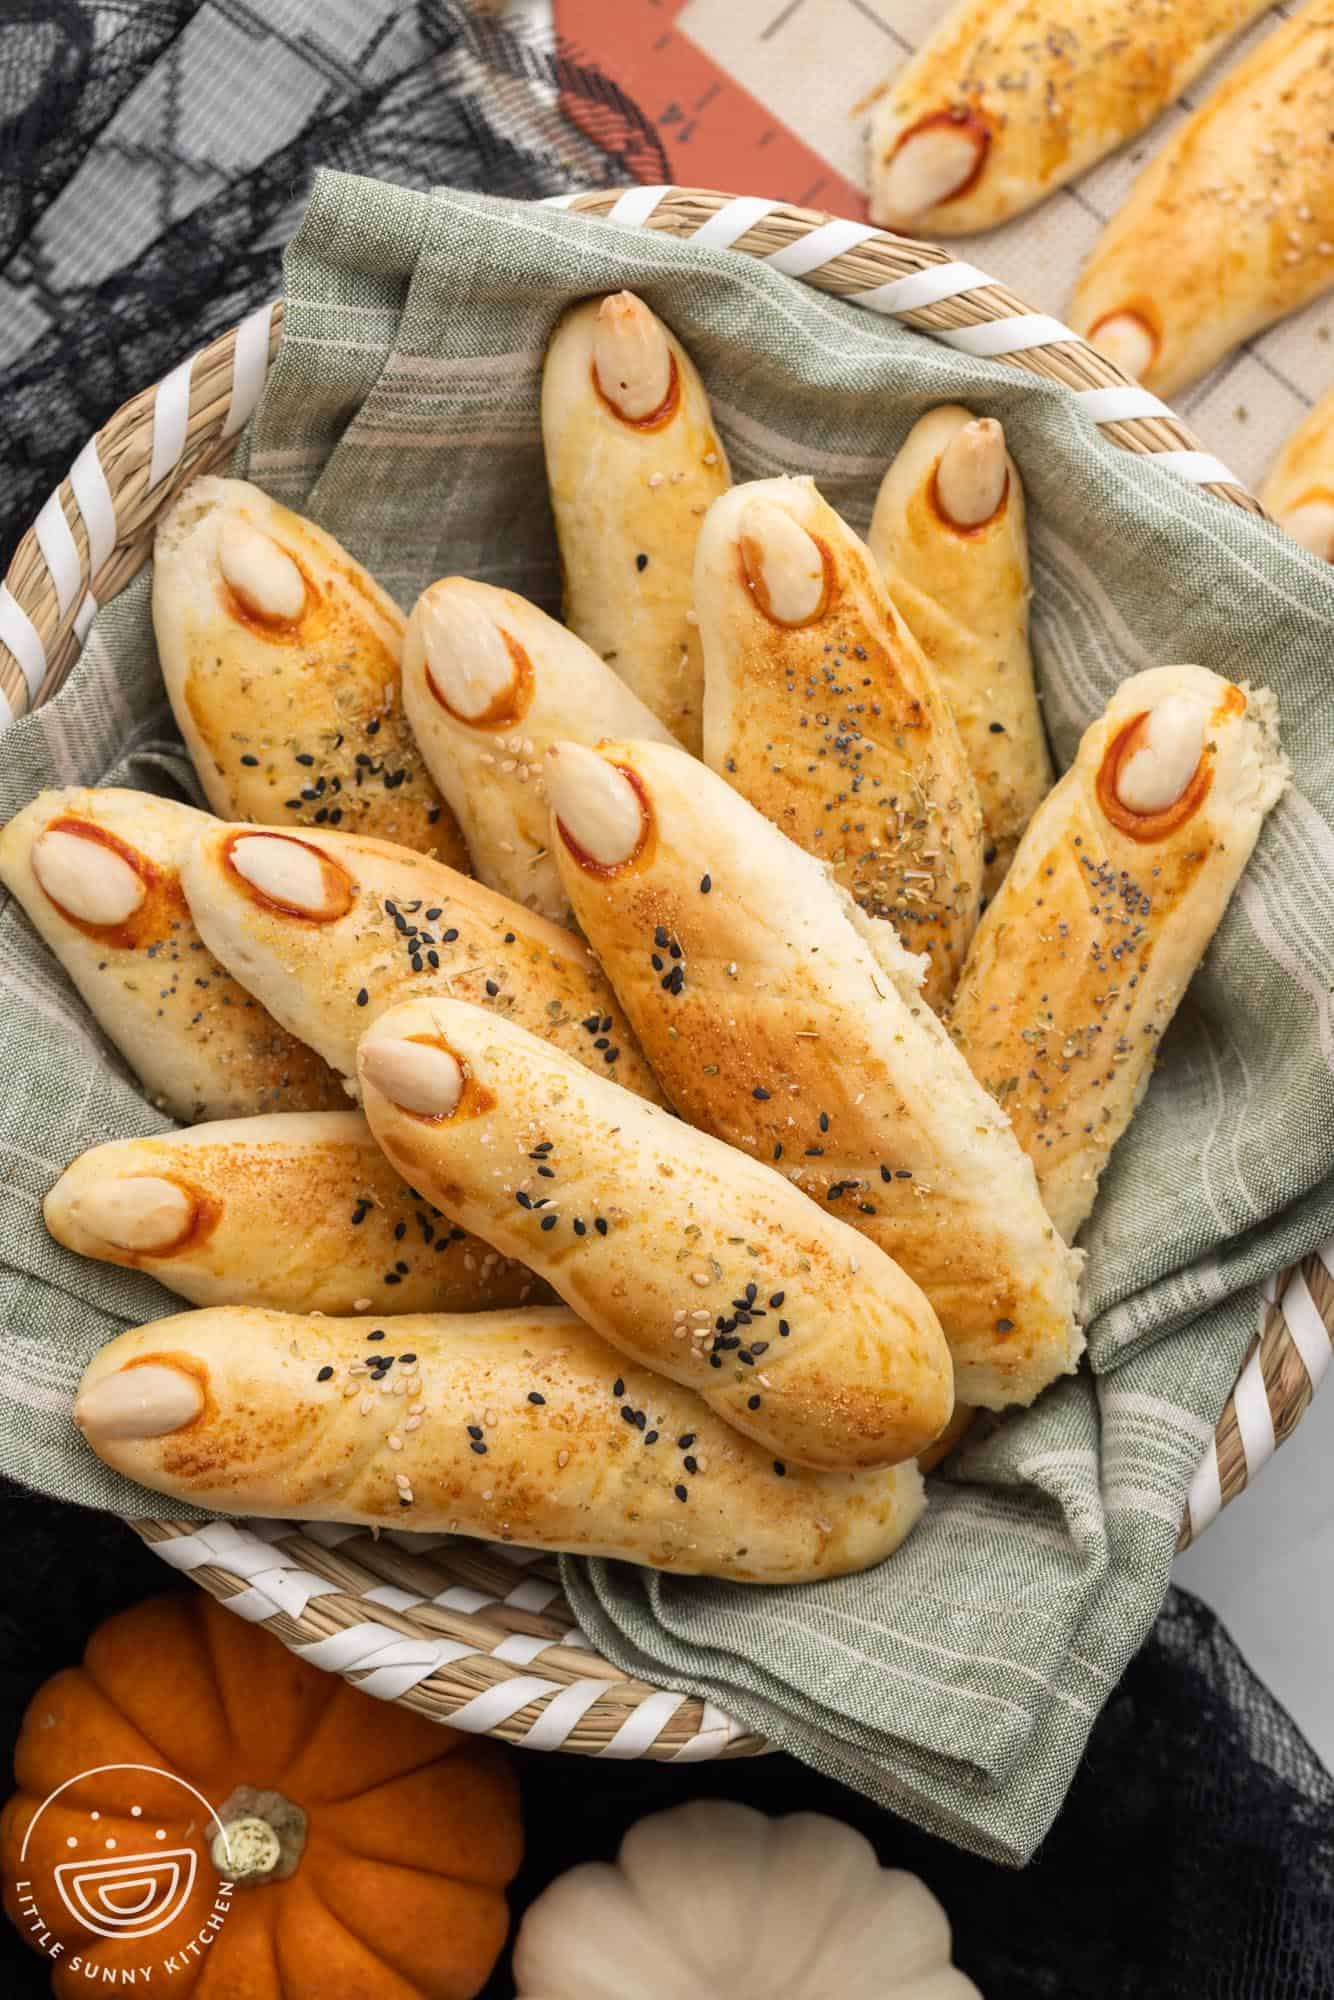
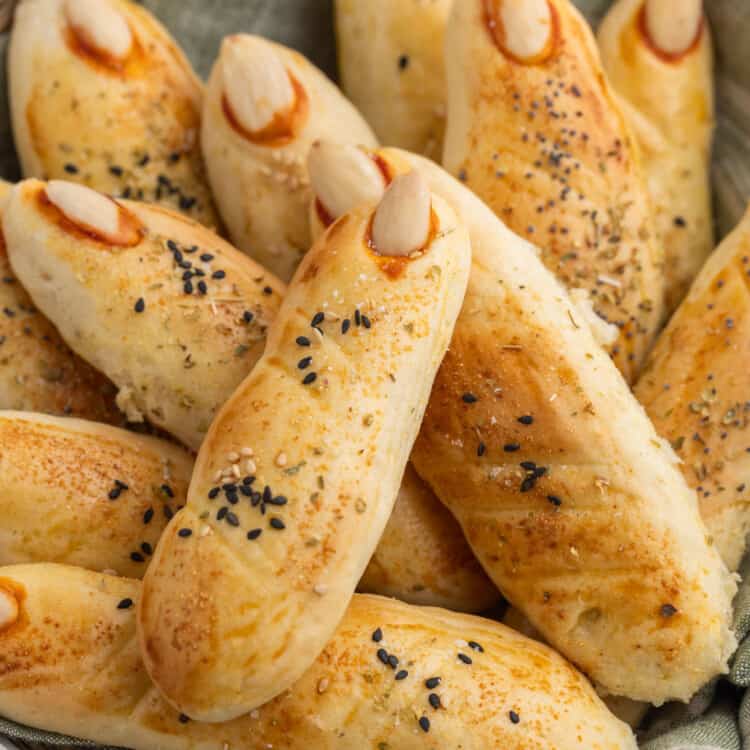
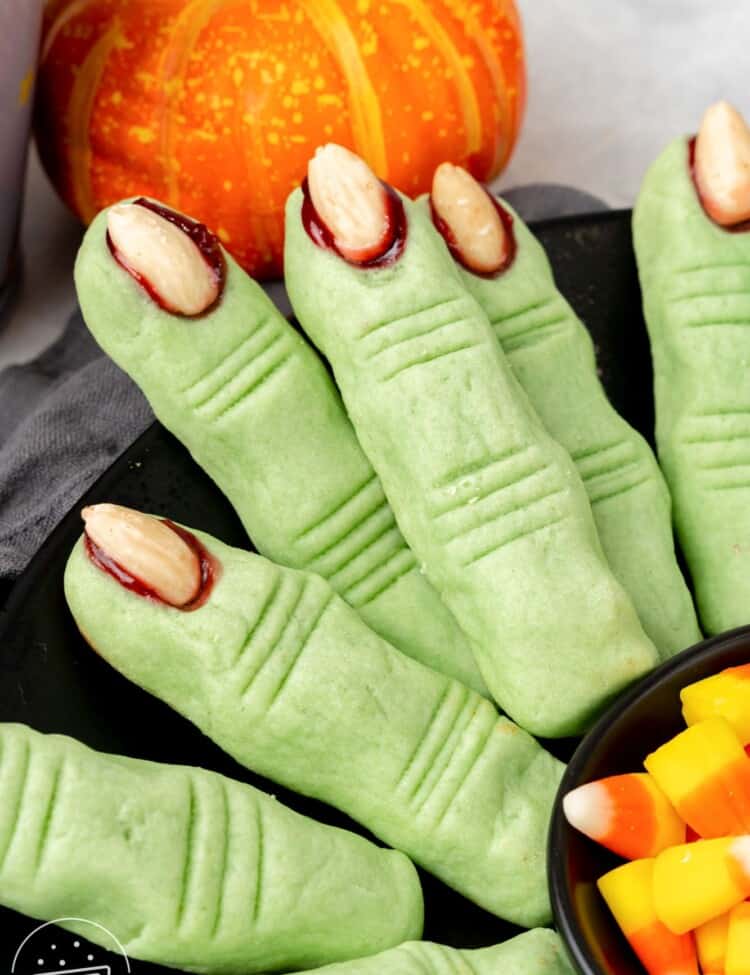
This Witch Finger Breadsticks recipe is super fun to make and perfect for spooking your friends and family during Halloween. These breadsticks look just like witch fingers and even have “nails” made of almonds! Best of all, they’re not just creepy to look at; they taste really good too.
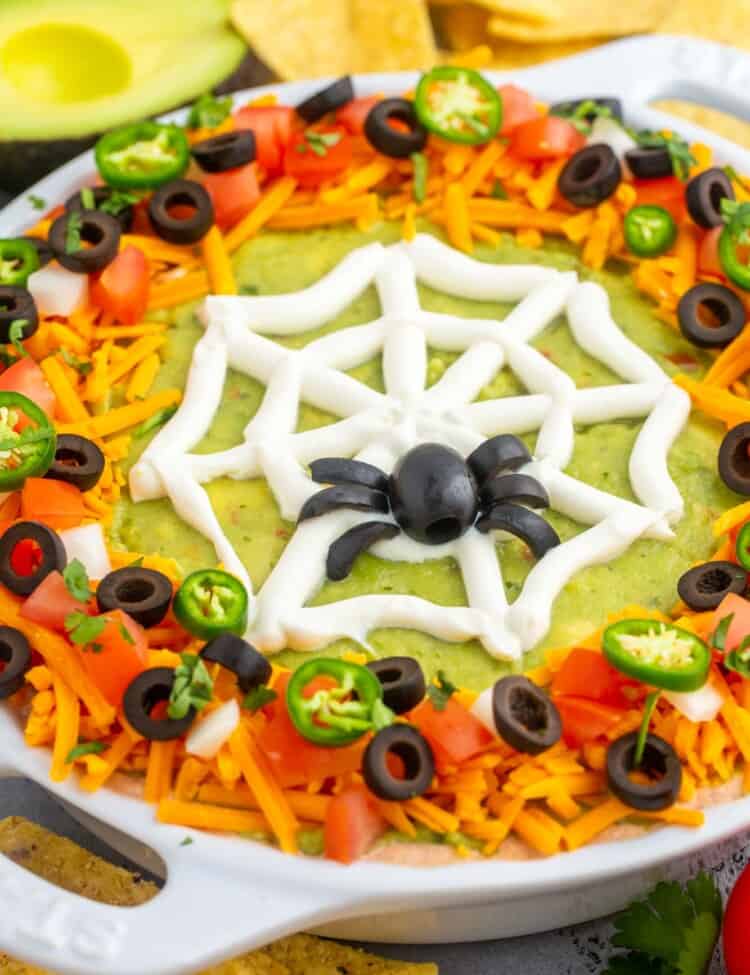
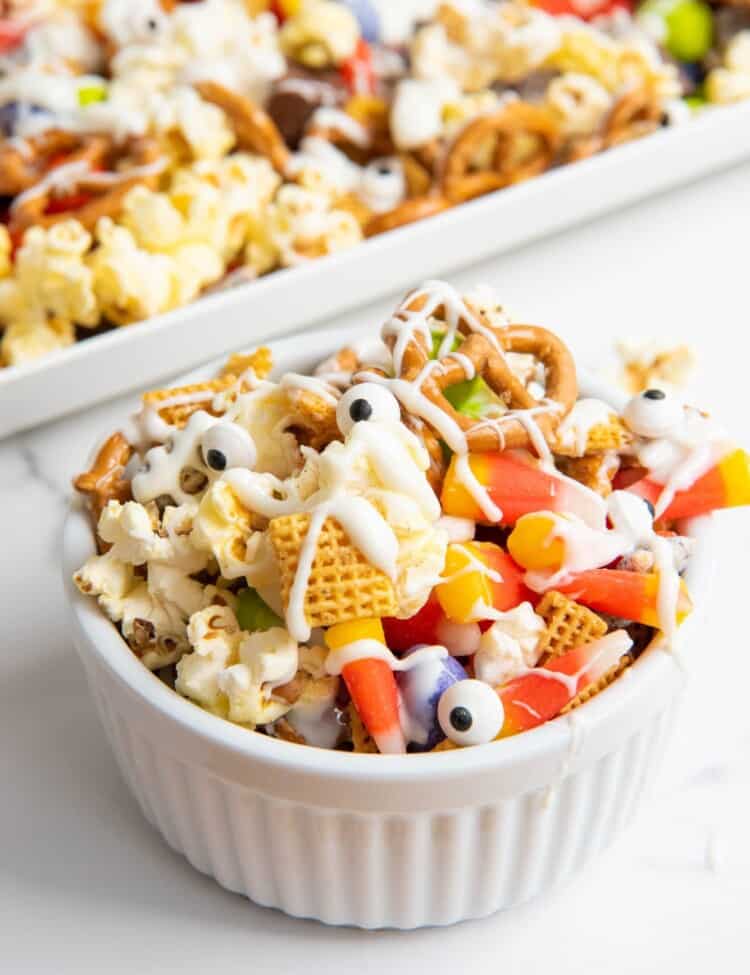
When it comes to Halloween party foods, you want stuff that’s both fun to look at and yummy to eat. If you’re searching for more Halloween recipes that hit the mark, be sure to check out these: Wicked Witch Finger Cookies, Halloween Taco Dip, and Ghost Marshmallow Popcorn Balls.
Ingredients Needed
Here’s what you need to make these spooky breadsticks:
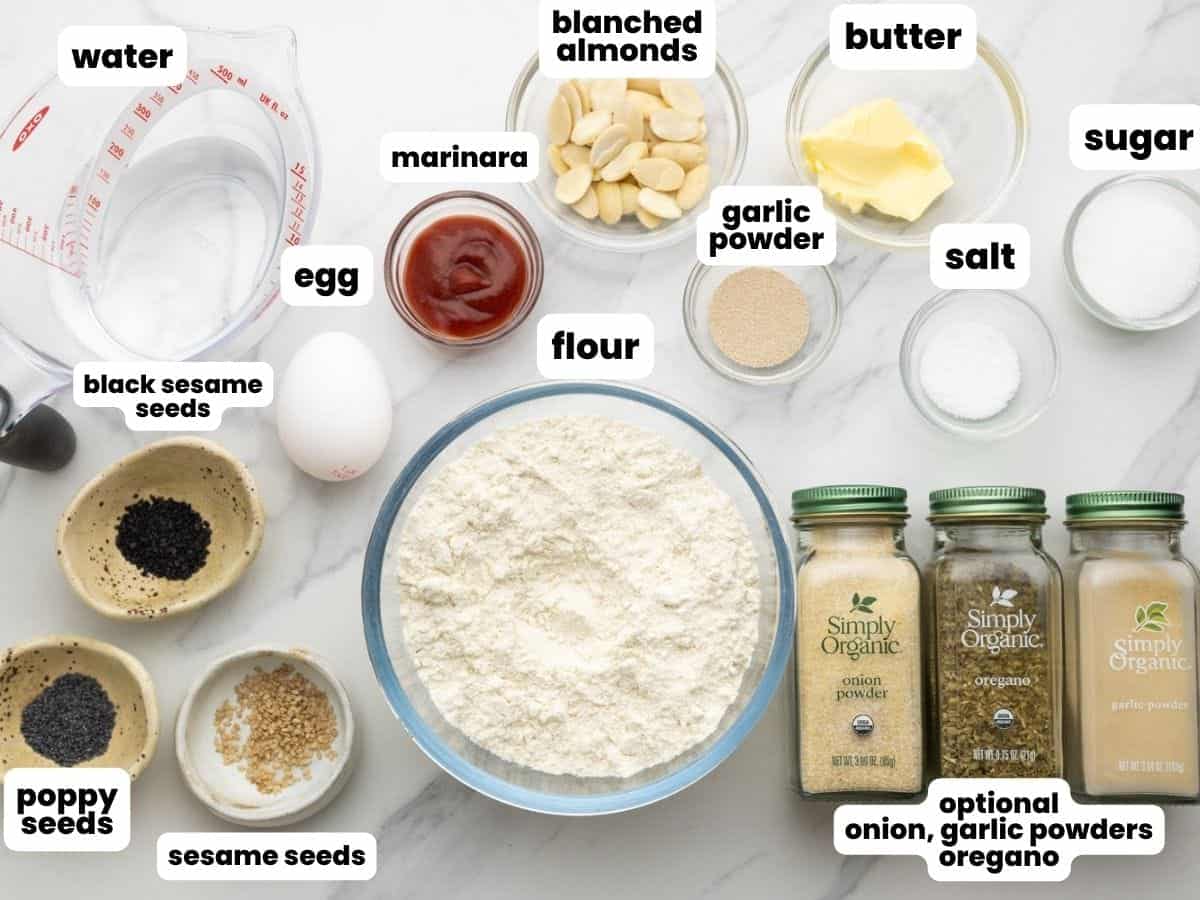
- Warm Tap Water: Just make sure it’s not too hot. This helps the yeast work its magic to make the dough rise.
- Sugar and Yeast: These two work together to activate the yeast.
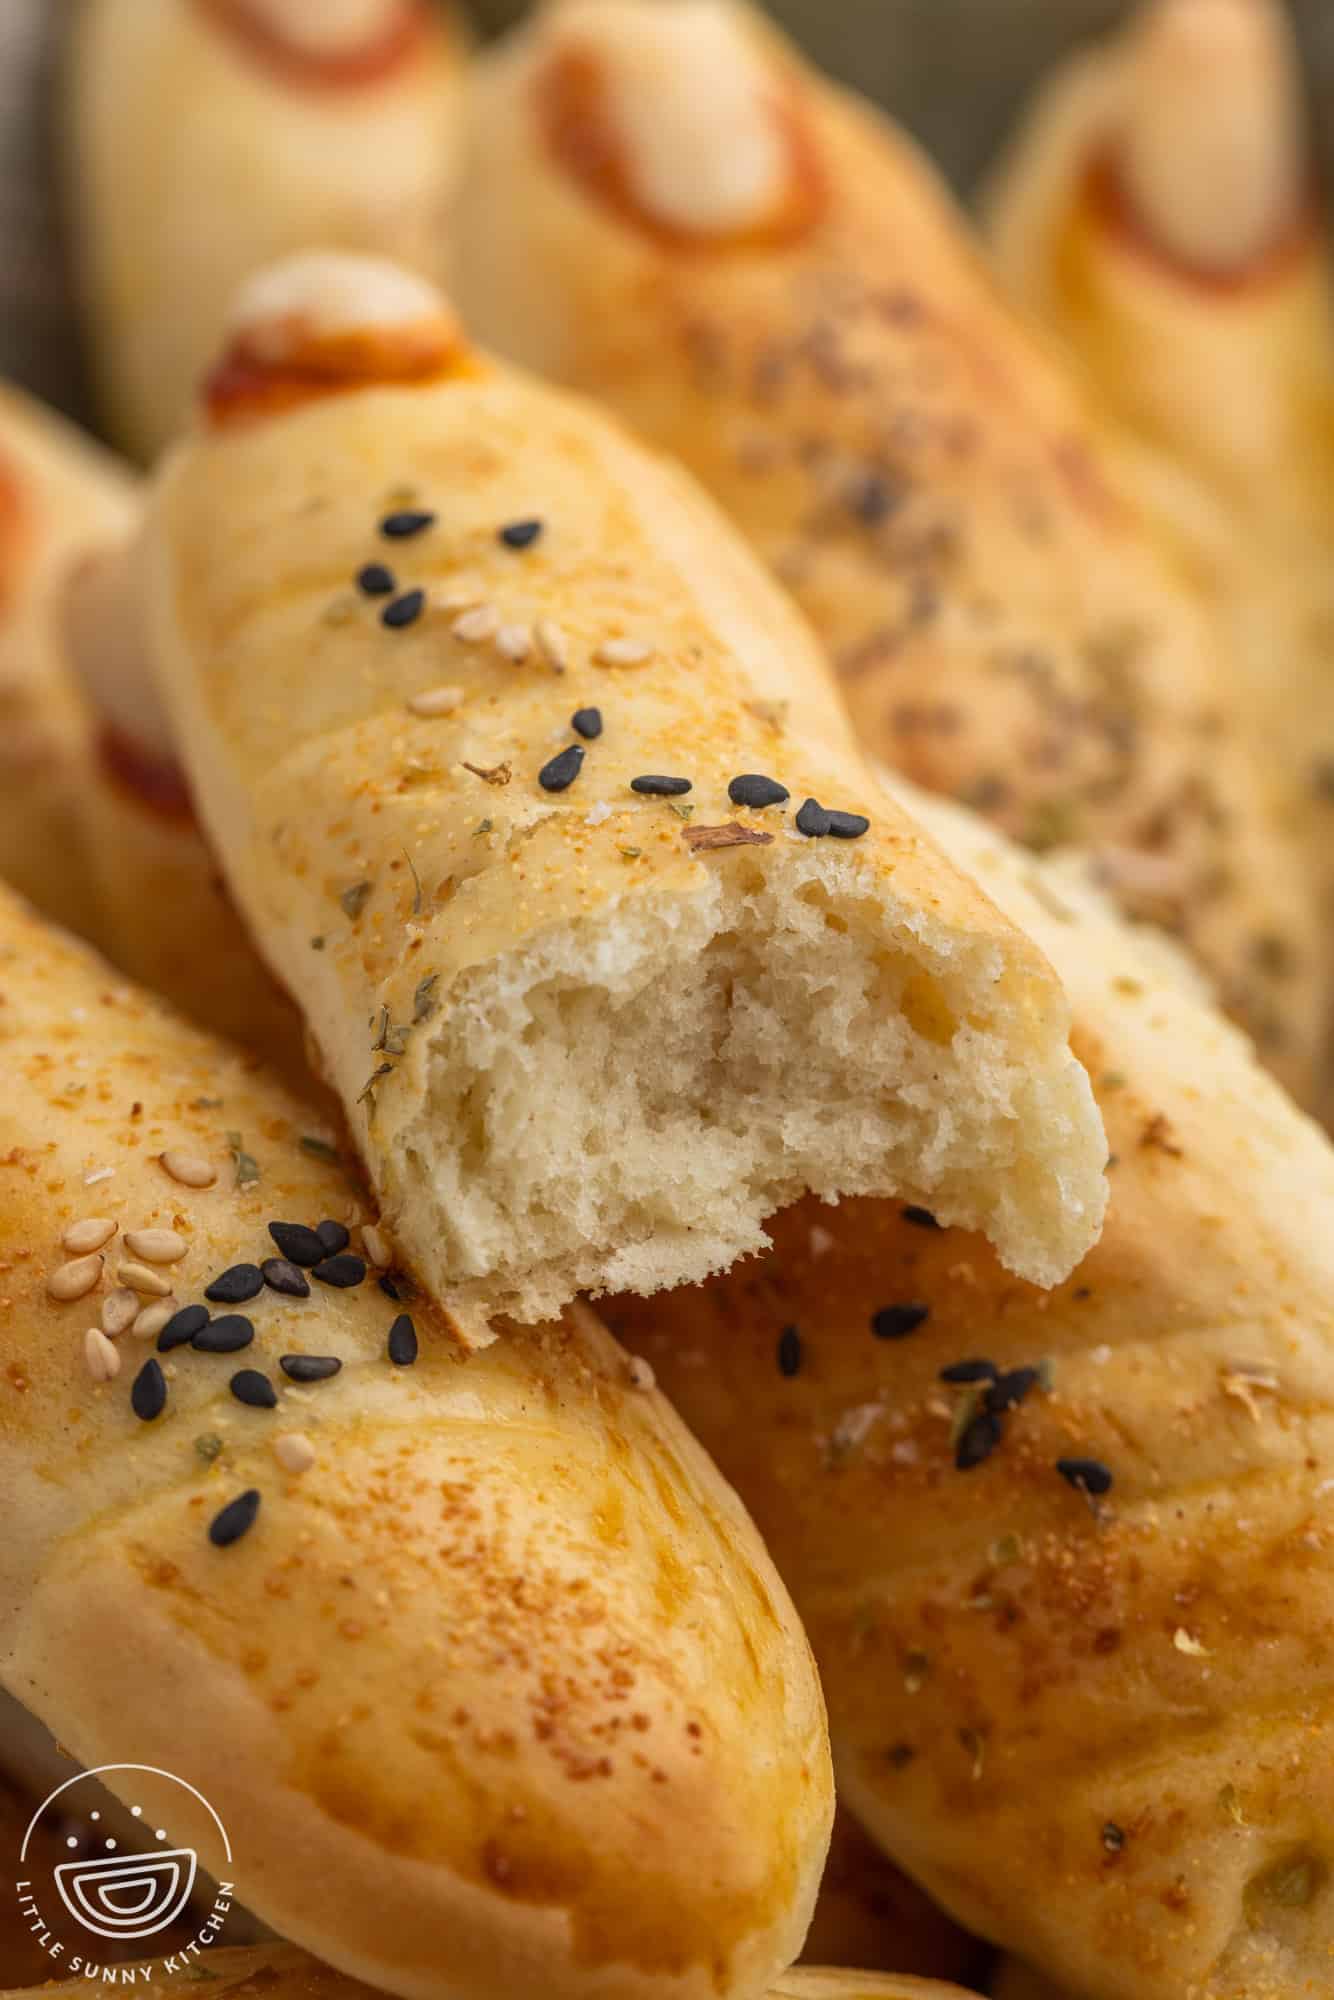
- Bread Flour: This type of flour makes the breadsticks chewy and tasty. But if all purpose flour is all you have, you can use that too.
- Salt and Melted Butter: Added for flavor.
- Toppings: Includes garlic granules, dried oregano, sesame seeds (white and black) for seasoning, and blanched almonds and marinara for the “nails.”
Complete list of ingredients and amounts can be found in the recipe card below.
How To Make Witch Finger Breadsticks
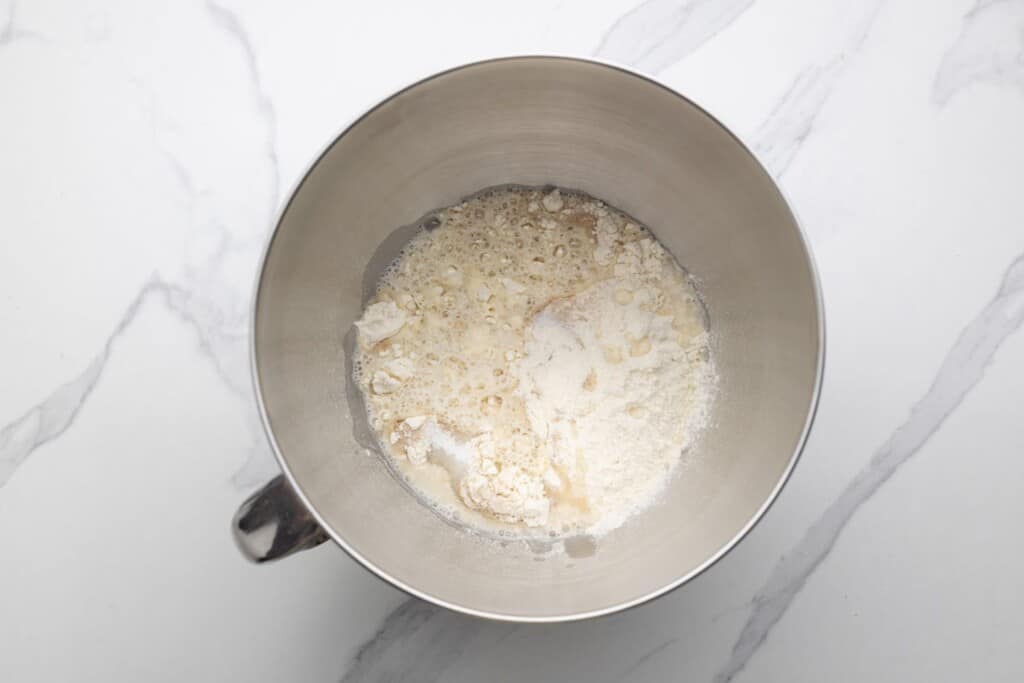
- Prep the Yeast Mixture: First, grab a small bowl and mix together warm water, sugar, and dry yeast. Set this bowl aside for about 10 minutes. You’ll know it’s ready when you see bubbles forming on top.
- Make the Dough: While you’re waiting for the yeast, take another bowl and pour in bread flour. Add in salt and melted unsalted butter. Once the yeast mixture is ready, add it to this bowl as well. Mix everything together until it forms a dough.
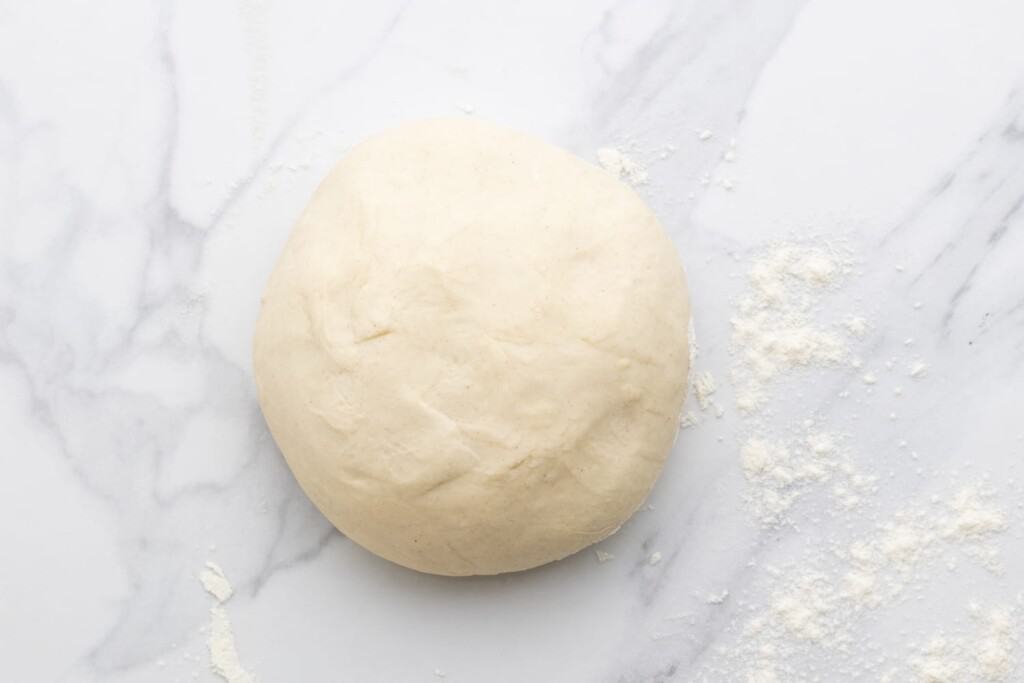
- Knead the Dough: Sprinkle some flour on your countertop and place the dough on it. Knead the dough with your hands for about 7 minutes. You want it to turn into a smooth ball.
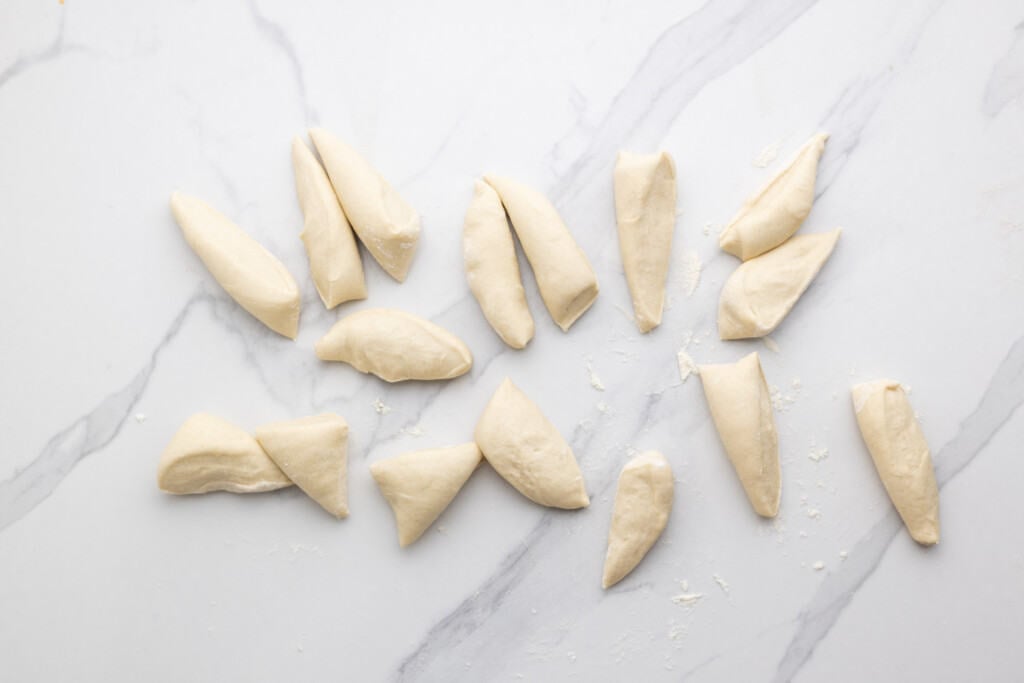
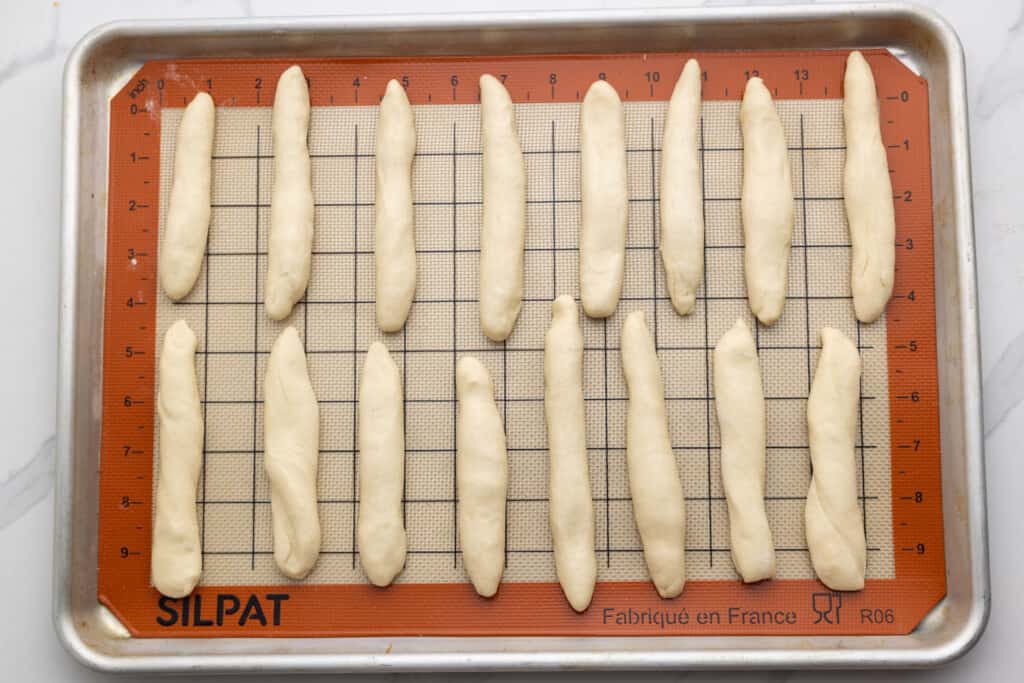
- Shape the Fingers: Split the dough into 16 equal pieces. Roll each piece into a long, thin shape, like a rope. Place these “ropes” on a baking sheet that you’ve lined with parchment paper.
- Let it Rise: Cover the shaped dough with a kitchen towel. Leave it in a warm spot for about half an hour. This helps the dough rise and get fluffy.
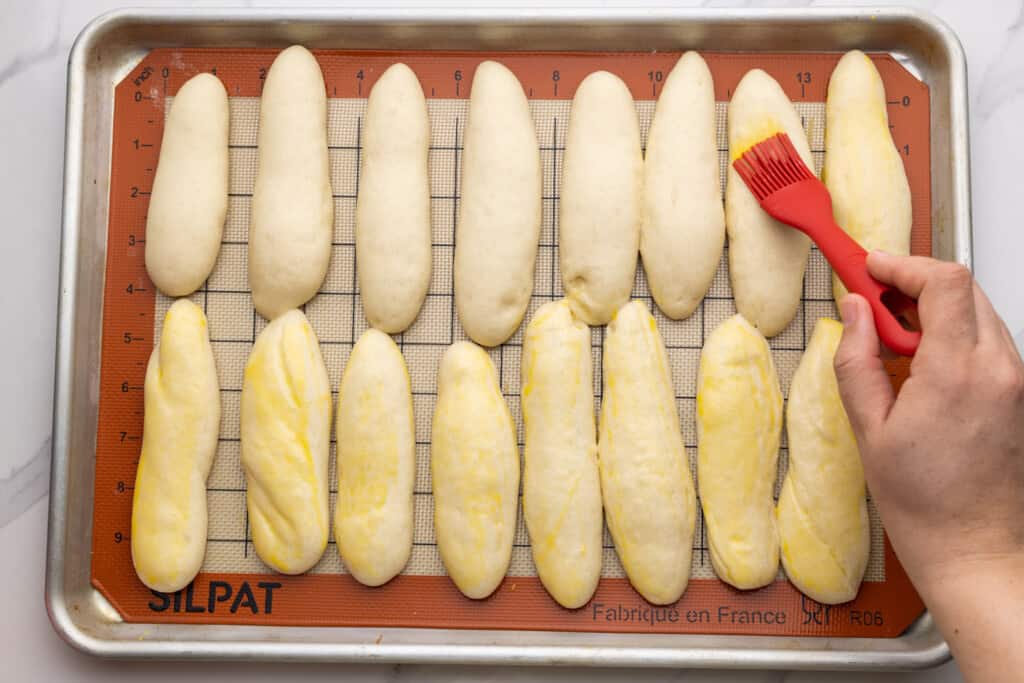
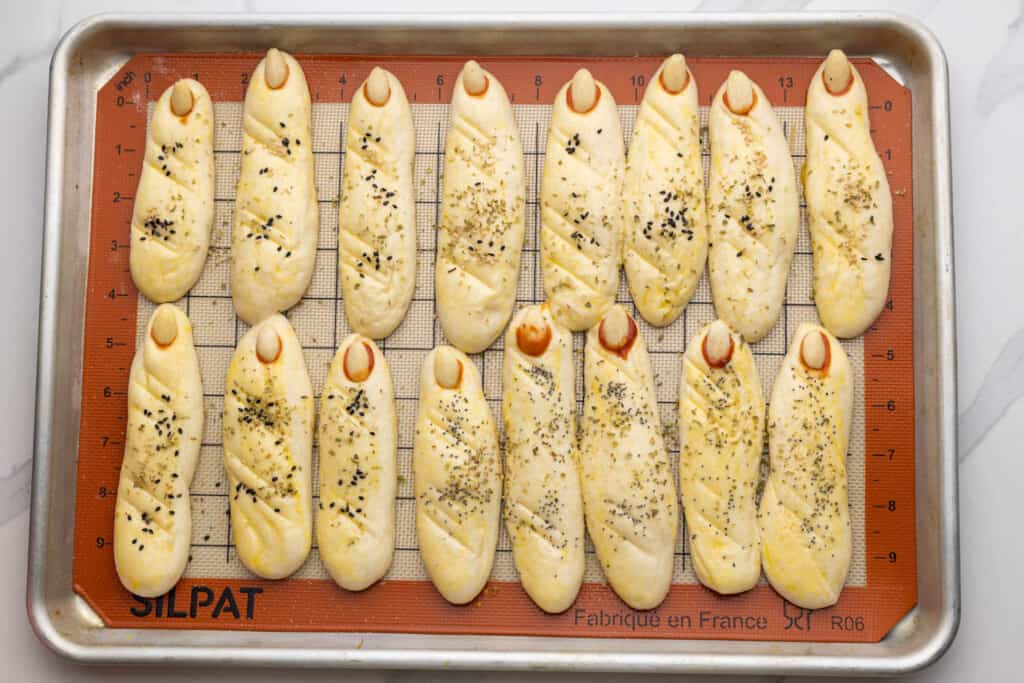
- Add the Toppings: It’s time to make them look like witch fingers! First, beat an egg and brush it over the dough. Then, sprinkle some garlic granules and dried oregano over them for extra flavor. Dip 16 almonds in either marinara or tomato sauce and press them into one end of each “finger.”
- Bake: Preheat your oven to 390°F (200°C). Put your baking sheet in the oven and let the breadsticks bake for about 10 minutes.
- Serve: Take the breadsticks out of the oven. You can eat them while they’re still warm or let them cool down a bit. Either way, they’re ready to be the star of your Halloween table!
Recipe Tips
- Make sure your water is warm, but not hot, to activate the yeast correctly. If you have a thermometer, it must be up to 130°F (55°C) not higher.
- Knead the dough well; this helps the breadsticks get a good texture by forming enough gluten.
- Press the almonds in firmly, so they don’t fall off while baking.
Storing Tips
- Room Temperature: If you plan to eat the breadsticks within a day or two, store them in an airtight container at room temperature.
- Fridge: For longer storage but less than a week, put them in an airtight container and store in the fridge. Just warm them up a little before eating.
- Freezer: If you want to keep them for more than a week, you can freeze them. Wrap each breadstick in plastic wrap, then put them all in a zip-top bag. When you’re ready to eat them, thaw at room temperature and warm them up in the oven.
What To Serve With
- Alfredo Sauce: This creamy sauce is my go-to dip for breadsticks. Try making it at home; it’s worth it!
- Marinara: Homemade marinara sauce is simple to make, but you can also go for a store-bought jar if you have a brand you like.
- Ranch Sauce: Making ranch sauce at home is way better than getting it from the store. Trust me, it’s awesome!
- Salsa Ranchera: This is a Mexican-style salsa made with roasted veggies. It’s simple to make and goes well with the breadsticks.
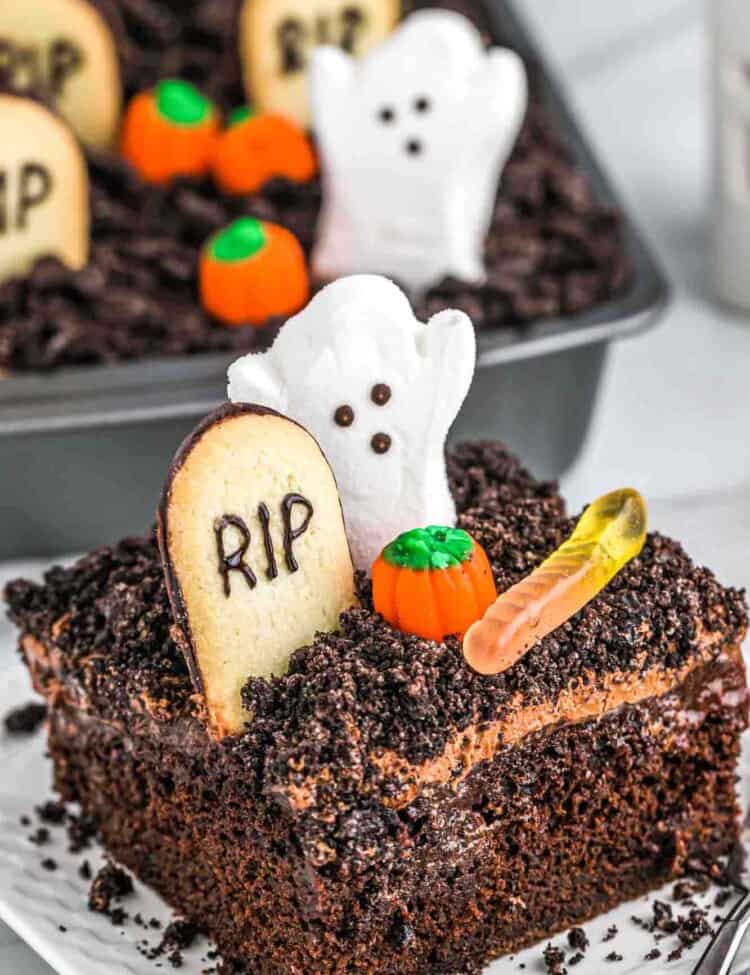
More Halloween Recipes To Try

Halloween Dirt Cupcakes

Halloween Taco Dip

Halloween Witch Finger Cookies

Ghost Marshmallow Popcorn Balls
These witch finger breadsticks are a hit for Halloween and are really fun to make. Plus, they taste really good! Keep this recipe handy for the holiday and feel free to share it with your friends so they can enjoy it too.
Did you make this? Be sure to leave a review below and tag me on Facebook, Instagram, or Pinterest!
Witch Finger Breadsticks
Recipe Video
Ingredients
- ¼ cup warm tap water NOT boiling or super hot, up to 130°F (55°C) see note 1.
- 1 tablespoon granulated sugar
- 1 teaspoon dry yeast see note 2
- 2 ¼ cups bread flour
- 1 teaspoon salt
- 1 tablespoon unsalted butter melted
For the topping
- 1 egg for egg wash
- ½ teaspoon garlic granules
- ½ teaspoon dried oregano
- 1 teaspoon sesame seeds black and white
- 16 blanched almonds
- 2 tablespoons marinara or tomato sauce or ketchup
Instructions
- In a small bowl, mix water with sugar and yeast. Set aside and leave the yeast to activate and bubble, it should take around 10 minutes.
- In a bowl, mix flour with melted butter, salt, and the yeast mixture. Knead it out on a floured surface and knead for 7 minutes or until you get a smooth ball of dough.
- Divide the dough ball into 12 equal balls, and roll each out into a rope.
- Place each "rope" onto a baking pan lined with parchment paper. Cover with a towel, and let it rise in a warm place for 30 minutes.
- Using a pastry brush, brush with an egg wash, then sprinkle with seasonings. Dip each almond in marinara, then press it firmly into the end of each breadstick.
- Preheat the oven to 390°F (200°C) just 10 minutes before the 30 minutes above end. Bake the breadsticks for 10 minutes.
- Remove from the oven and serve warm.
Notes:
- Water temperature – if it’s so scorching hot you can’t touch it, then it will kill the yeast. Must be up to 130°F (55°C).
- Yeast – use yeast that is labeled with “instant” or “rapid rise”. If using normal yeast (usually labeled “active dry yeast”) then dissolve yeast in water first.
- Nutrition calculated per breadstick.
Nutrition Information
This website provides approximate nutrition information for convenience and as a courtesy only. Nutrition data is gathered primarily from the USDA Food Composition Database, whenever available, or otherwise other online calculators.
© Little Sunny Kitchen
Dorothy says
How did you make the knuckle impressions?
Little Sunny Kitchen says
I just gently scored the dough with a paring knife before baking it. Enjoy!
Terry Evans says
I’d like to make these. Recently I saw a recipe using pizza dough. Is your recipe like pizza dough or more like a dinner roll because I didn’t particularly like them, they lacked flavor.
Little Sunny Kitchen says
Hi Terry! These breadsticks will be more like dinner rolls, soft and chewy. Enjoy!