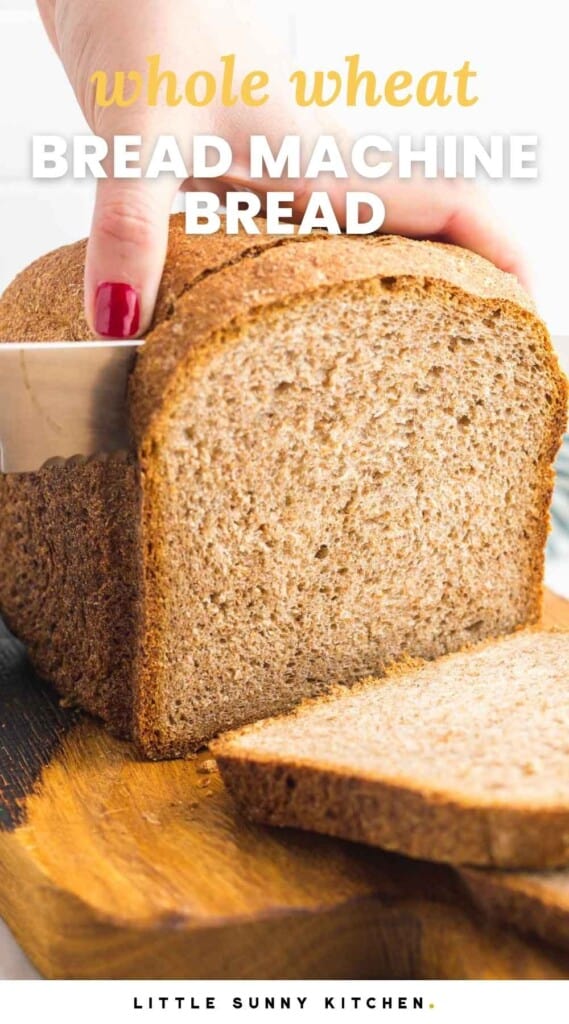
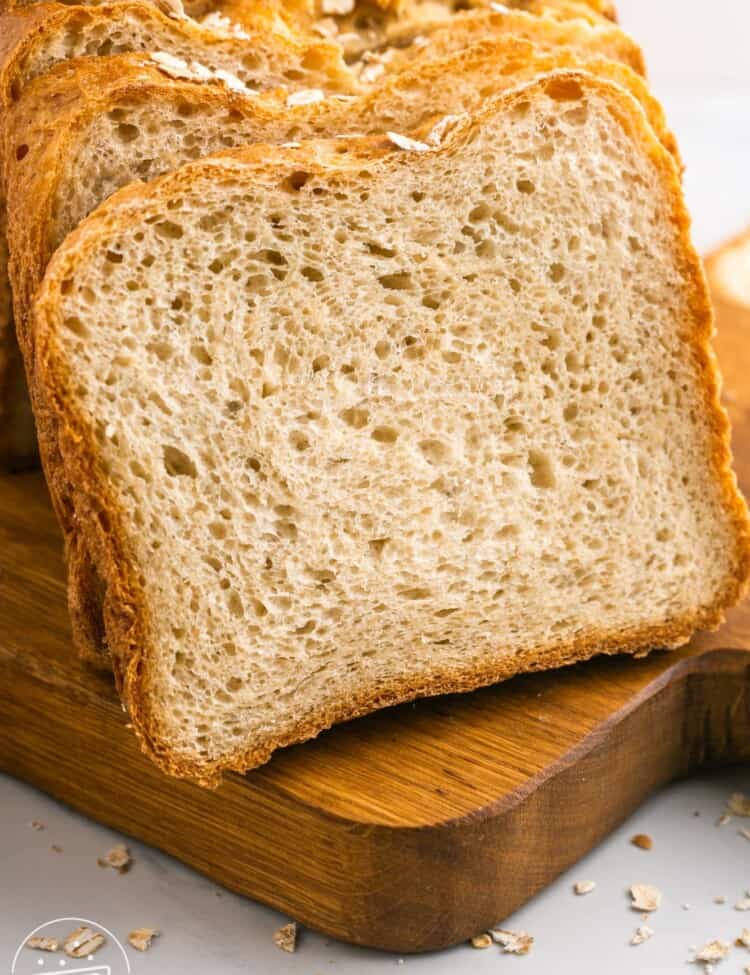
A simple and easy Whole Wheat Bread Machine Recipe. This is the perfect bread machine recipe for wholemeal bread that will make healthy and delicious sandwiches and toast for your family.
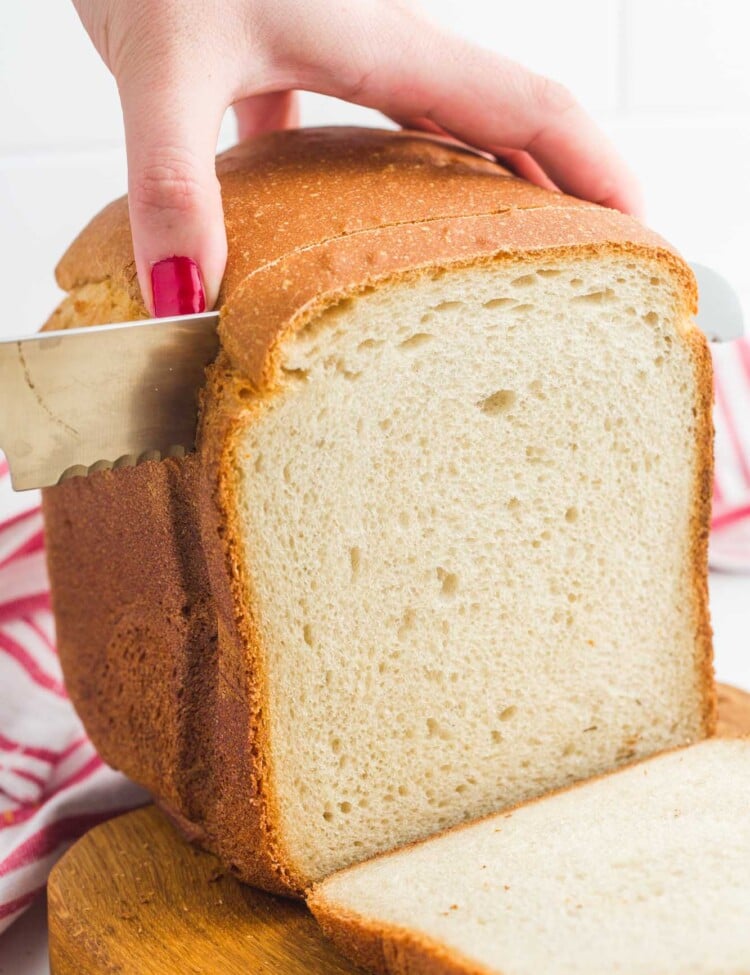
I love making a simple loaf of bread in my bread machine to use for everyday breakfasts and lunches, or as a side with a quick dinner. Bread Machine White Bread, Thyme Bread, Oatmeal Bread, and Seed Bread are some of my favorites, but I come back to this bread machine whole wheat recipe often, too.
If you’re looking for healthy bread machine recipes, you have come to the right place. Using a bread machine to make wholesome homemade wheat bread is the easiest thing ever! You just toss the ingredients in and let the machine knead and bake your loaf for you.

I love this recipe!! this is my second time making it!! thank you!
Kelly L
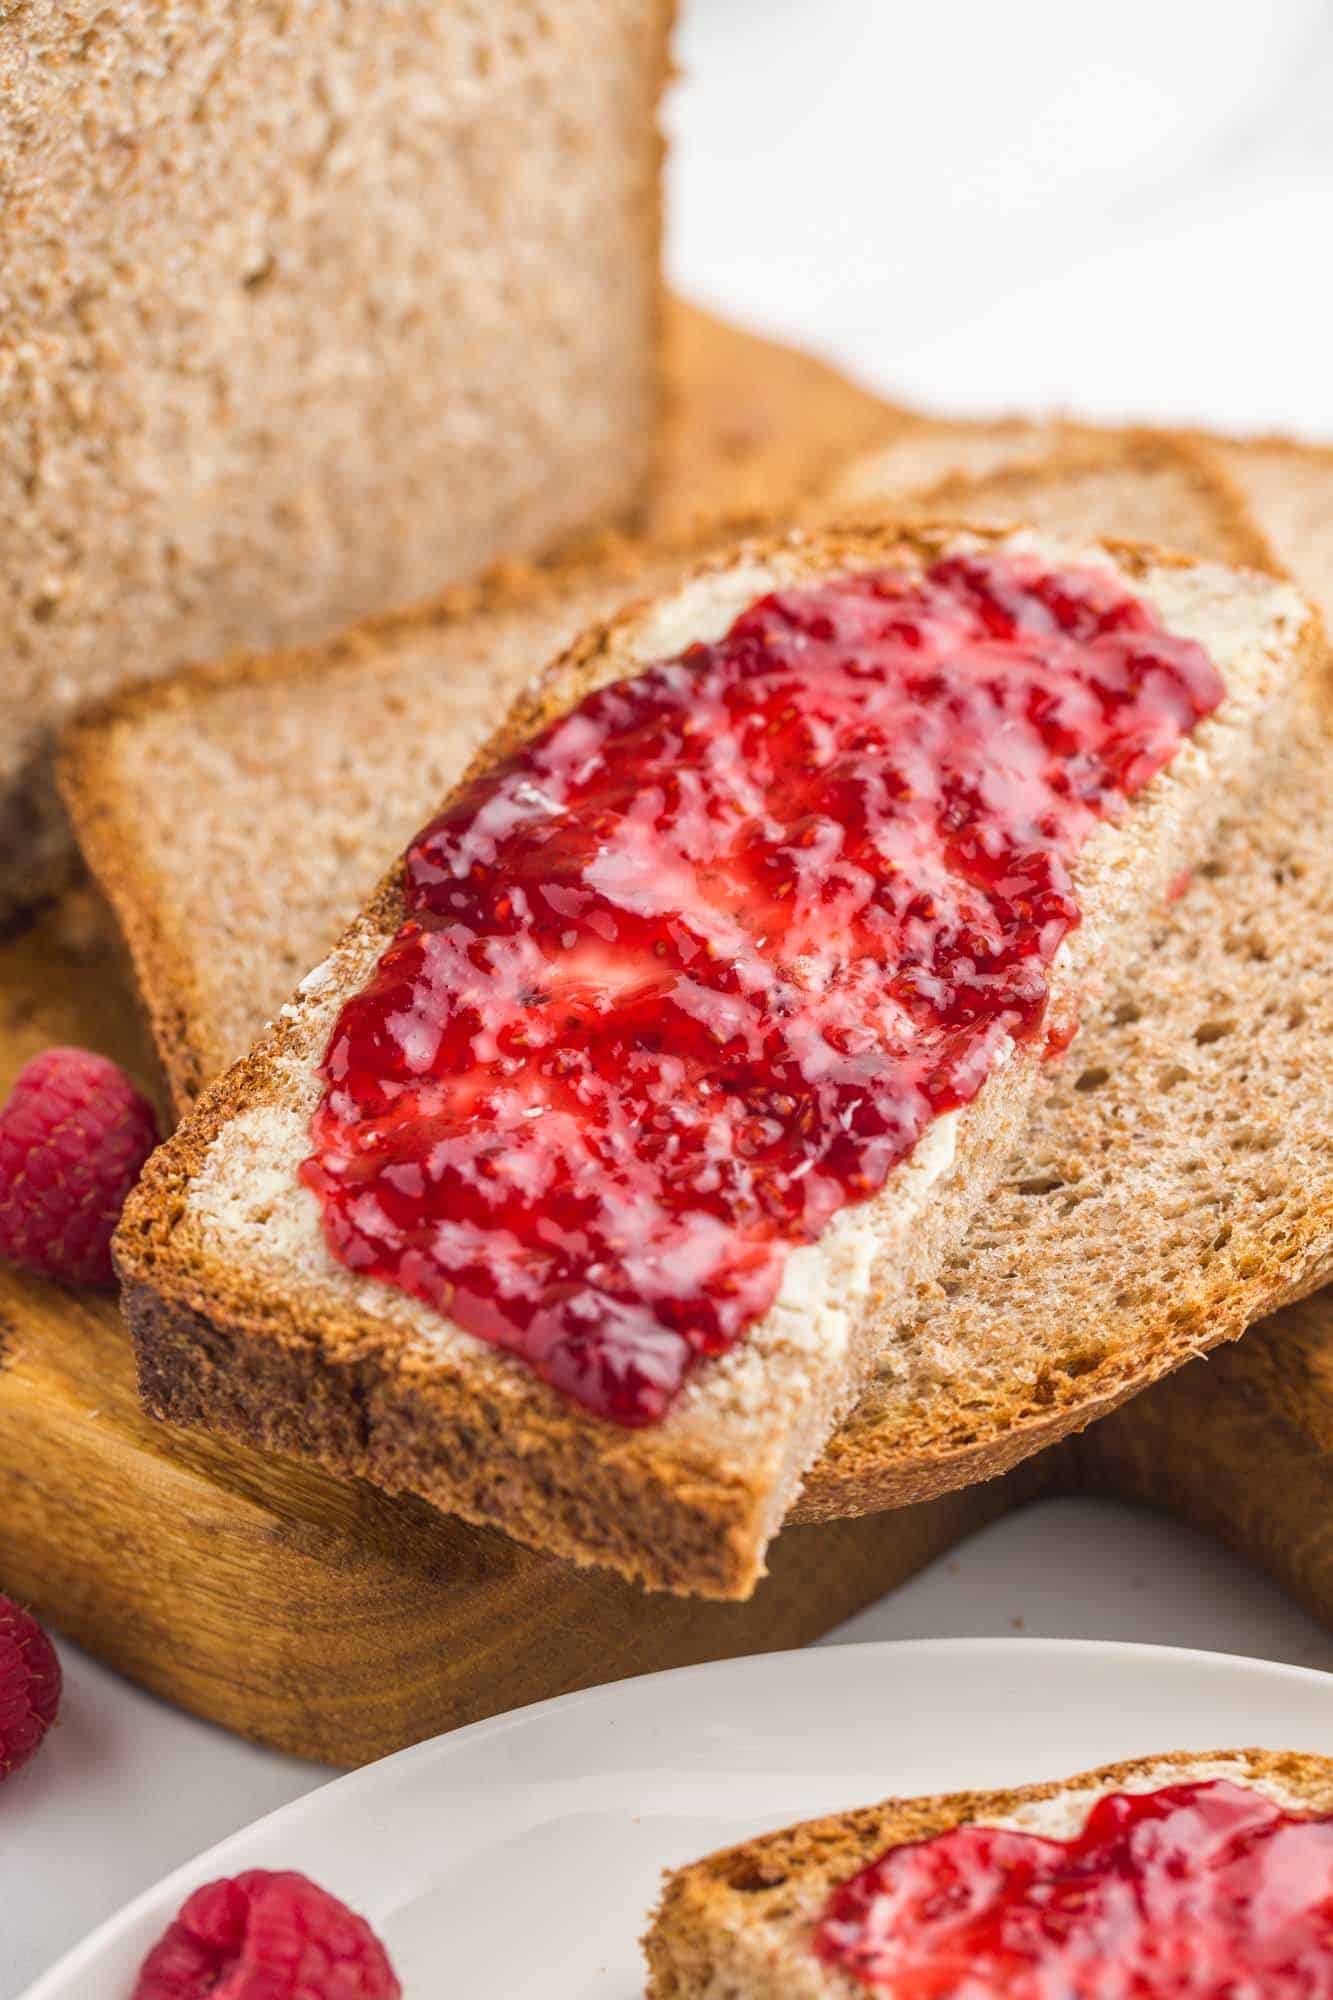
Don’t have a bread machine? Try my no-knead bread recipe instead! Try using your homemade sandwich bread to make tuna salad sandwiches or a classic BLT!

Key Ingredients
Complete list of ingredients and amounts can be found in the recipe card below.
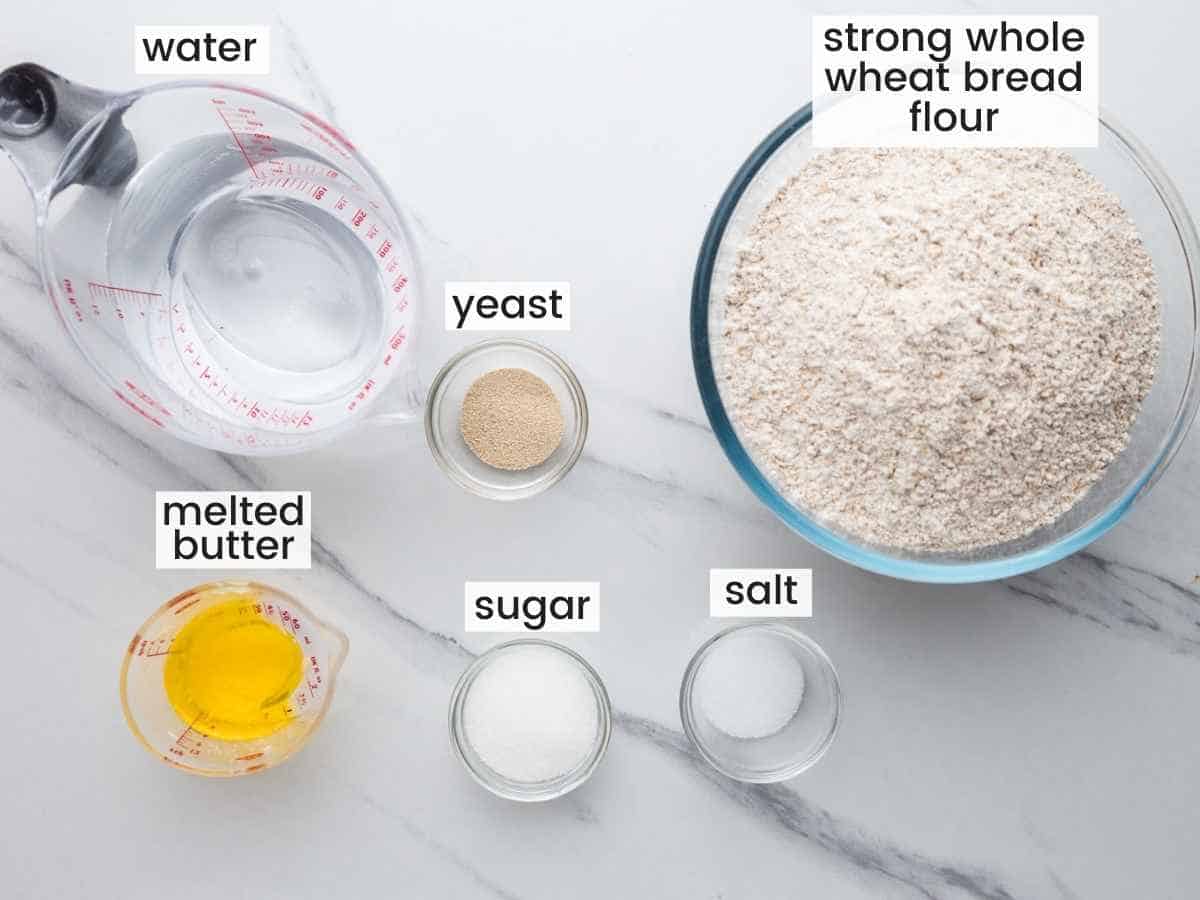
You only need six simple and inexpensive ingredients to make this whole wheat bread machine recipe. You’ll add them to your bread maker in the following order:
- Water: Water mixes everything else together into a cohesive dough.
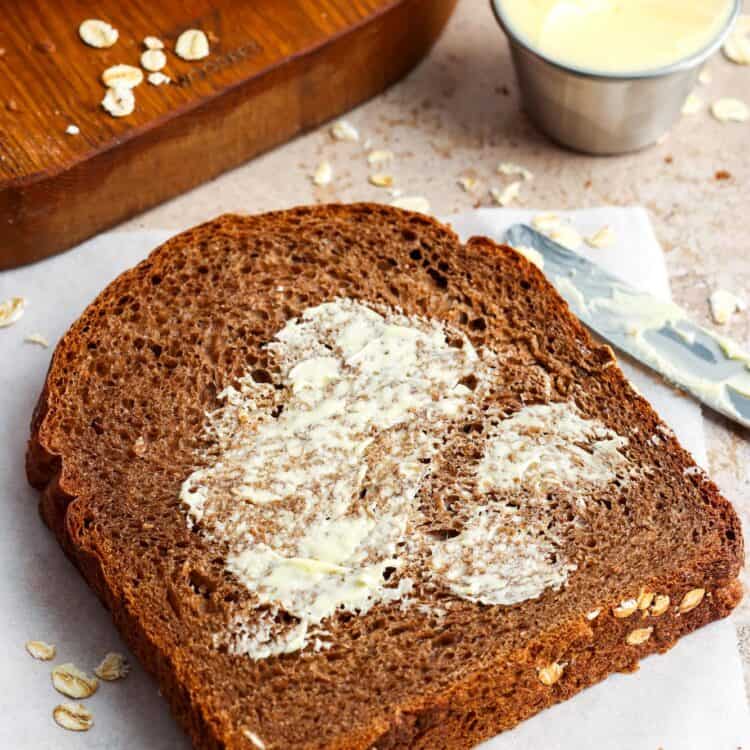
- Melted Butter: I like the flavor that butter adds to homemade breads, but you can use olive oil if you prefer.
- Sugar: A bit of granulated sugar helps to wake up the yeast and helps to give this bread a golden-brown crust. You can leave the sugar out if you’d like to make sugar-free wheat bread.
- Salt: Salt is added for flavor. It’s optional if you would like to reduce the sodium in this recipe.
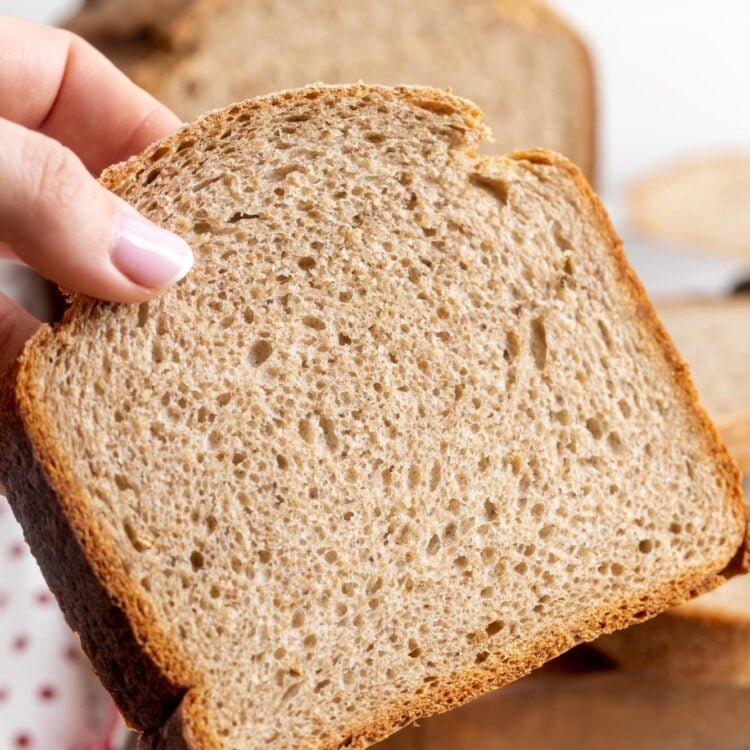
- Strong Whole Wheat Bread Flour: The type you should search for in the US and Canada will be labeled as “Whole wheat flour”. In the UK and Australia, this is called “Strong wholemeal bread flour”. It will have a coarser, more grainy texture than white flour. It will also usually be labeled as “strong” or “high-gluten” which means that it has a high amount of gluten, which is perfect for breadmaking.
- Instant Yeast: Instant yeast is the right choice when deciding what type of yeast to buy for your bread maker bread. You may also see “bread maker yeast”. This is also Instant yeast, just with a different label, so feel free to use either. Active Dry Yeast won’t properly bloom in the bread maker, so don’t use that here.
How to Make Whole Wheat Bread in a Bread Machine
Visit my recipe for Bread Machine White Bread for more tips and tricks!
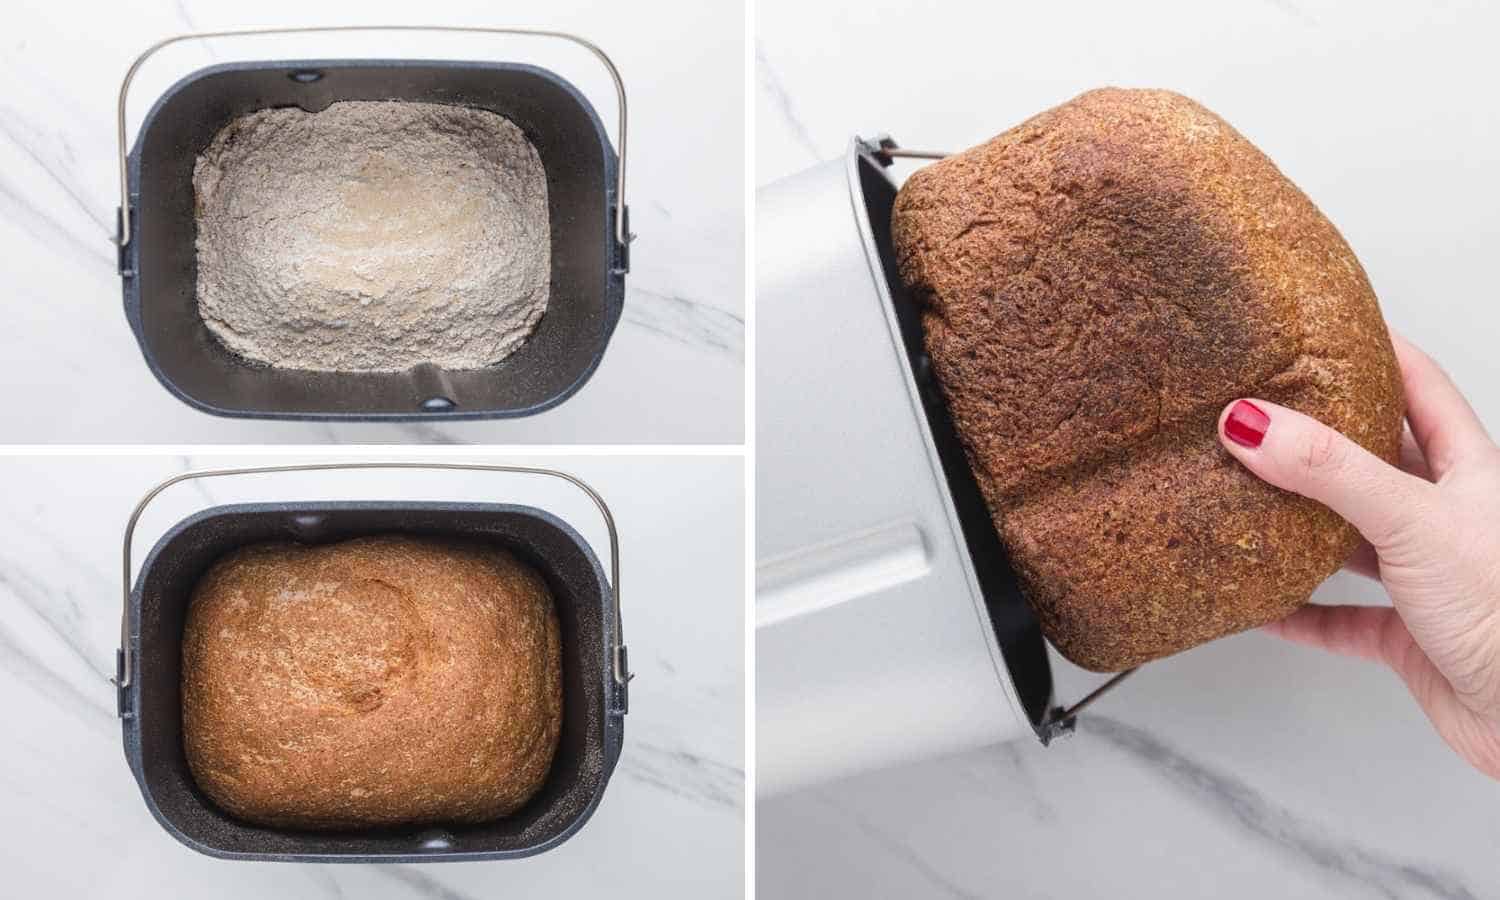
- Add Ingredients: Layer your ingredients in the pan of the bread machine in the following order: Water, Butter/Oil, Salt, Sugar, Flour, and lastly, Yeast.
- Set Up and Turn On: Add the bread pan to the bread machine, and make sure that it’s secured. Close the lid, and plug in the machine. Choose the wholemeal or whole wheat bread setting, medium size, and start the machine.
- Let the Bread Maker Work: The bread machine will now take over for you, and knead, proof, and bake your bread dough!
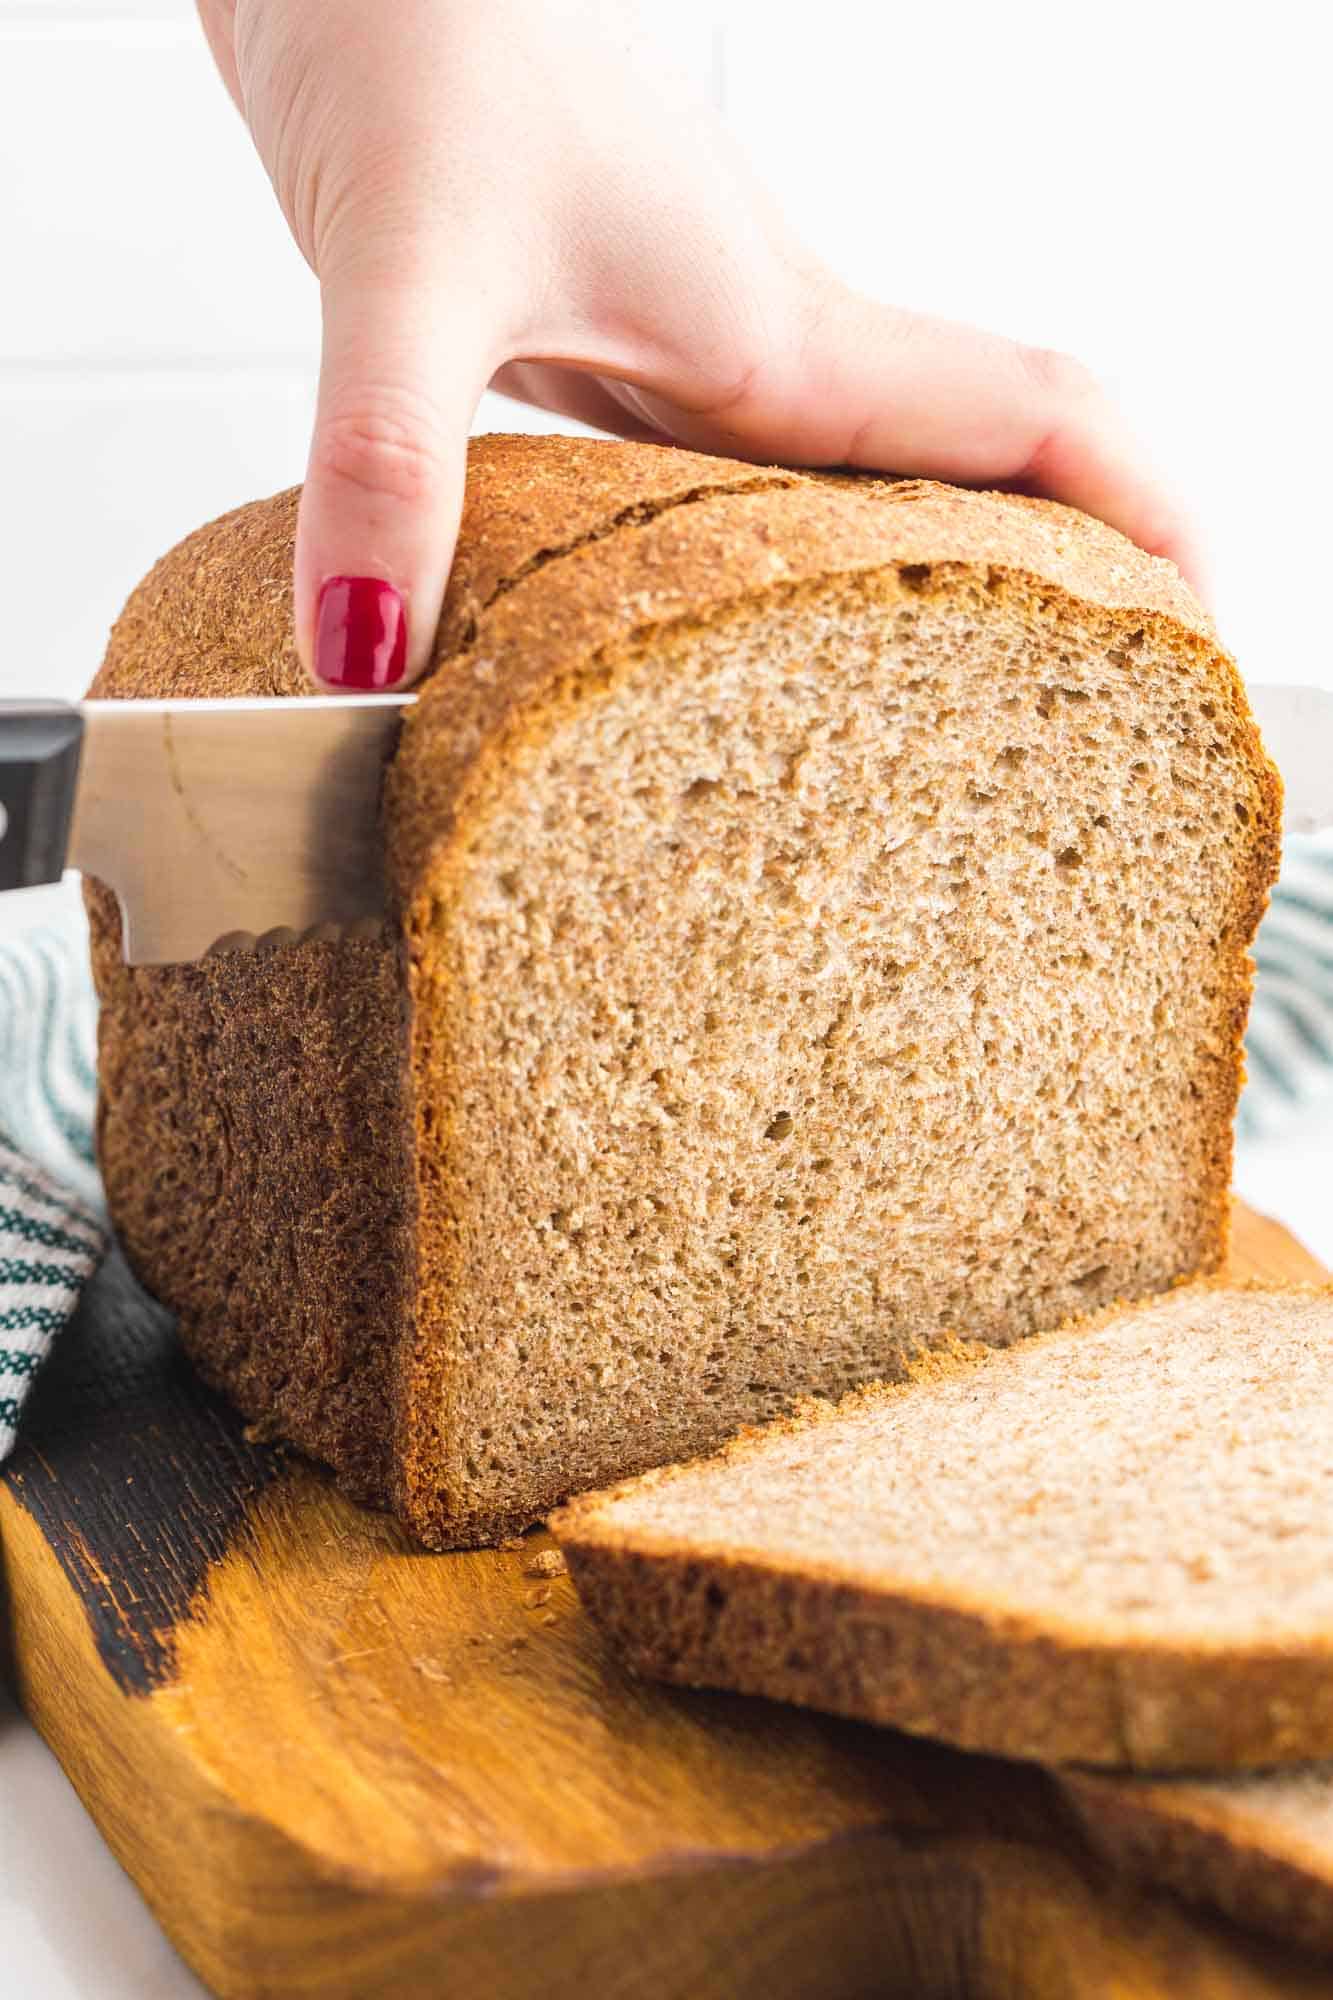
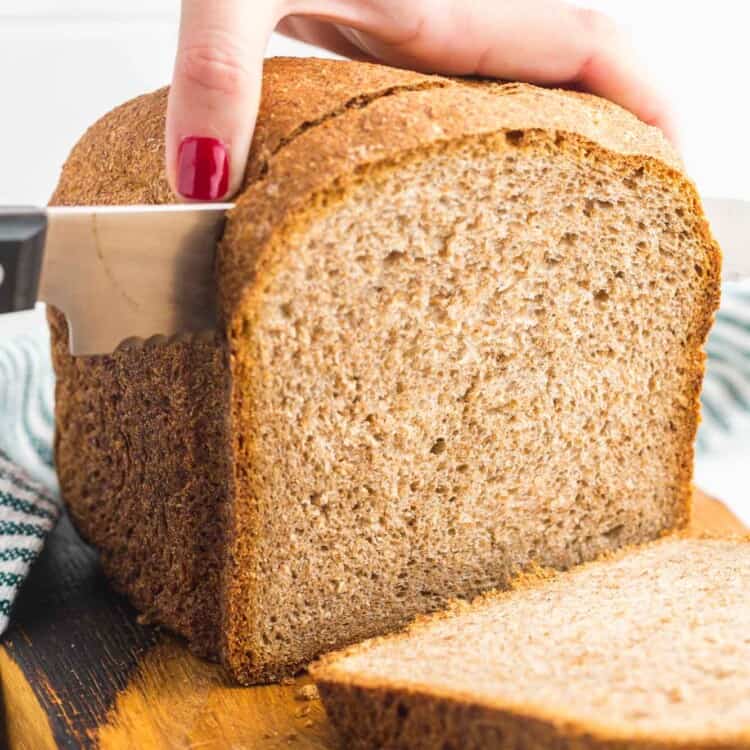
- Cool: When the baking cycle ends, unplug the bread machine, open the lid, and remove the pan from the machine with kitchen mitts. Allow the bread to cool for 10 minutes in the pan, then shake it out of the pan and allow it to cool completely. Carefully remove the paddle from the bottom of the loaf if it got stuck there.
Tip!
I’ve provided measurements in cups for your convenience, but measuring by weight is best. A digital scale will help you ensure that you are using the correct weight of flour.
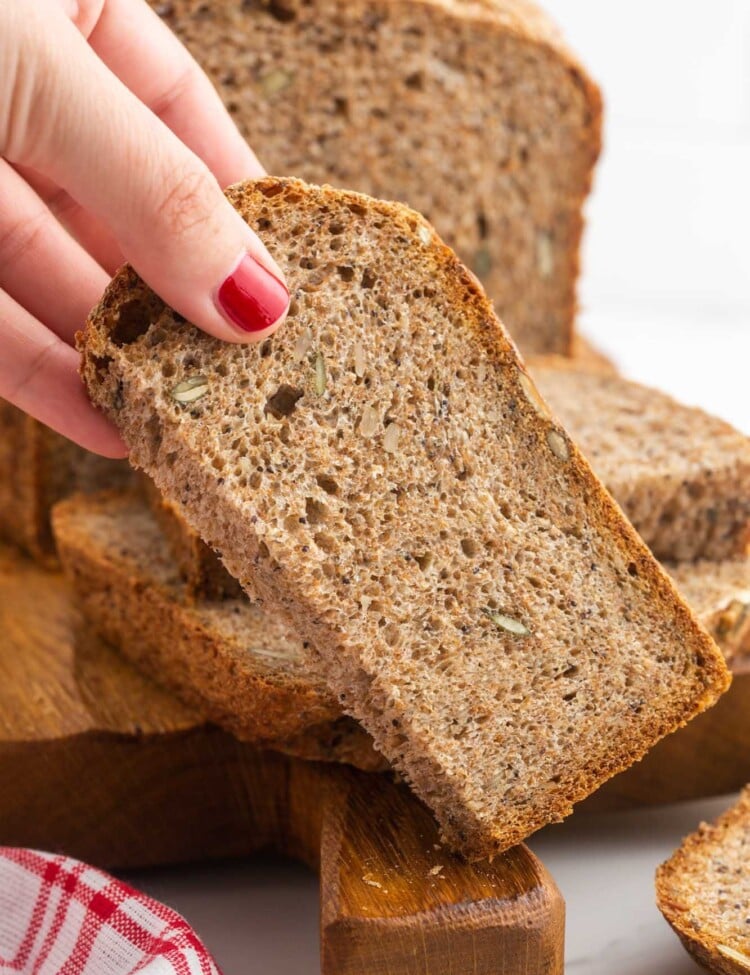
More Bread Machine Recipes to Try
Bread Machine Brown Bread
Bread Machine Rye Bread Recipe

Bread Machine Cinnamon Rolls

Bread Machine Dinner Rolls
FAQs
The manufacturer’s instructions will tell you to add the liquids first, then the dry ingredients. The instant yeast always goes in last. This ensures that the yeast is separated from the liquids until the kneading begins, and is an important step to follow.
Follow this recipe, using 50% strong whole wheat flour and 50% white bread flour. Increase the yeast to 1 ½ teaspoons, then follow the recipe as written.
You should store your homemade bread wrapped in plastic wrap or foil to keep it soft and fresh. Bread machine wheat bread can also be frozen, wrapped well and airtight, for up to two months. Avoid putting bread in the fridge, as the conditions there will dry out your loaf.
This Hamilton Beach programmable bread maker is very well rated on Amazon and available at a reasonable price. You can buy more expensive bread makers, but I would start with a basic one until you’re comfortable and know that you want to use it often.
You should always make sure that your yeast is fresh and active. It could be that your yeast is dead, or you added too much salt or sugar, or you forgot to add the yeast.
You probably added too much yeast.
If this happens for some reason, add more liquid (1 tablespoon at a time) until a ball of dough is formed.
You need to add more flour, add it gradually (1 tablespoon at a time) until a ball of dough is formed.
This whole wheat bread machine recipe makes the best Peanut Butter and Jelly Sandwiches ever, and so much more! I can’t wait to hear about what you do with your homemade bread.
Did you make this? Be sure to leave a review below and tag me on Facebook, Instagram, or Pinterest!
Bread Machine Whole Wheat Bread
Equipment
Ingredients
- 1 ½ cups (350 ml) water temperature 110°F/45°C
- 2 tablespoons (30 g) melted butter can be substituted with oil
- 4 teaspoons granulated sugar
- 1 ½ teaspoons salt
- 4 cups (480 g) whole wheat flour strong wholemeal flour in the UK
- 1 teaspoon instant yeast
Instructions
- Layer your ingredients in the pan of the bread machine in the following order: Water, Butter/Oil, Salt, Sugar, Flour, and lastly, Yeast.
- Add the bread pan to the bread machine, and make sure that it’s secured. Close the lid, and plug in the machine. Choose the wholemeal or whole wheat bread setting, medium size, and start the machine.
- The bread machine will now take over for you, and knead, proof, and bake your bread dough!
- When the baking cycle ends, unplug the bread machine, open the lid, and remove the pan from the machine with kitchen mitts. Allow the bread to cool for 10 minutes in the pan, then shake it out of the pan and allow it to cool completely. Carefully remove the paddle from the bottom of the loaf if it got stuck there.
Notes:
- Warm Water: When making bread it’s best to have all ingredients at room temperature to start. The water should be a bit above that, at 110°F/45°C, in order to activate the yeast.
- You Can Sift the Flour: Sifting flour before making bread with it helps to aerate it, and will make a fluffier, less dense bread. It’s not necessary for success but is an option.
- You will get a medium 1 and ½ lb or 750g loaf.
- Nutrition: Calculated is just a rough estimate for the smallest loaf if it’s sliced into 10 slices. Info is per slice.
Nutrition Information
This website provides approximate nutrition information for convenience and as a courtesy only. Nutrition data is gathered primarily from the USDA Food Composition Database, whenever available, or otherwise other online calculators.
© Little Sunny Kitchen


Judy McEachran says
excellent recipe in bread machine. I put it together the night before.
kudos!
Diana says
So glad it turned out well for you, Judy!
Pap Pap says
Can u tell me what temperature to set it at I went by your instructions and maybe I took the bread out too soon. I don’t know, but it was mushy so I put it in the oven and it tasted good.
It was set at 3 1/2 minutes, but I figured that was wrong. I’m learning thank you
Diana says
Bread machines don’t use a set oven temperature, they run a program. Choose Whole Wheat (or Basic), medium size or 2 lb loaf, medium crust. If a loaf is a bit underbaked, finish it in the oven at 350°F (180°C) for 10 to 15 minutes until the center hits about 200 to 205°F (93 to 96°C), then cool completely before slicing.
Kelly says
Hi Diana, I made this recipe over the weekend exactly as written (I didn’t sift the flour). But I noticed when it was rising, it rose *way* high, like about to touch the top of the lid. Then by the bake cycle, it collapsed and continued to collapse. When the bread was done there was a giant crater hole in the center. The collapse took up half the size of the bread. It tastes great and baked “normal” otherwise (density, doneness, etc). Just wondering what might be the issue here. Also, when I took the bread out, there was condensation in the pan and the bottom of the loaf was somewhat damp.
Diana says
Thanks for the detailed note, Kelly. The big rise then collapse usually means overproofing. Try using a little less yeast, keep liquids cool, and reduce the water by 1 to 2 tablespoons if the dough looks very soft. Make sure you are using the Whole Wheat cycle, do not skip the salt. You may also consider adding 1 tablespoon vital wheat gluten for structure. When it finishes, leave it in the pan for 5 minutes, then turn out to a rack so the bottom does not get damp. If your machine has a crust setting, choose medium or dark. Let me know how the next loaf goes and we can keep tweaking.
Meg says
I’ve been using this recipe for a couple of years, and it has become my go-to/bread recipe. I omit the sugar, use extra virgin olive oil instead of butter, and don’t bother sifting the flour,but the recipe still works great every time.
Little Sunny Kitchen says
Hi Meg! Thank you so much for stopping back to rate the recipe and leave me a note! It sounds like you’ve found a winner 🙂
Sharon says
Bland. No real taste and very dense.
Diana says
Hi Sharon, I’m sorry the loaf didn’t turn out as you hoped. Whole wheat bread can be a little tricky in the bread machine. If your machine has both basic and whole wheat cycles, it may help to try each. The basic cycle has a shorter rise that can sometimes give a lighter texture, while the whole wheat cycle allows more time for structure and flavor to develop but can bake up denser. Also be sure your yeast is fresh and fluff the flour before measuring. A spoonful of honey can boost the flavor too.