
This fun and easy Vampire Float is a cute and creepy Halloween treat! These ice cream treats are perfect for parties, and will be happily enjoyed by both kids and adults this spooky season.
It’s finally time for cute and spooky Halloween treats, and this “bloody” ice cream float is perfectly on theme.
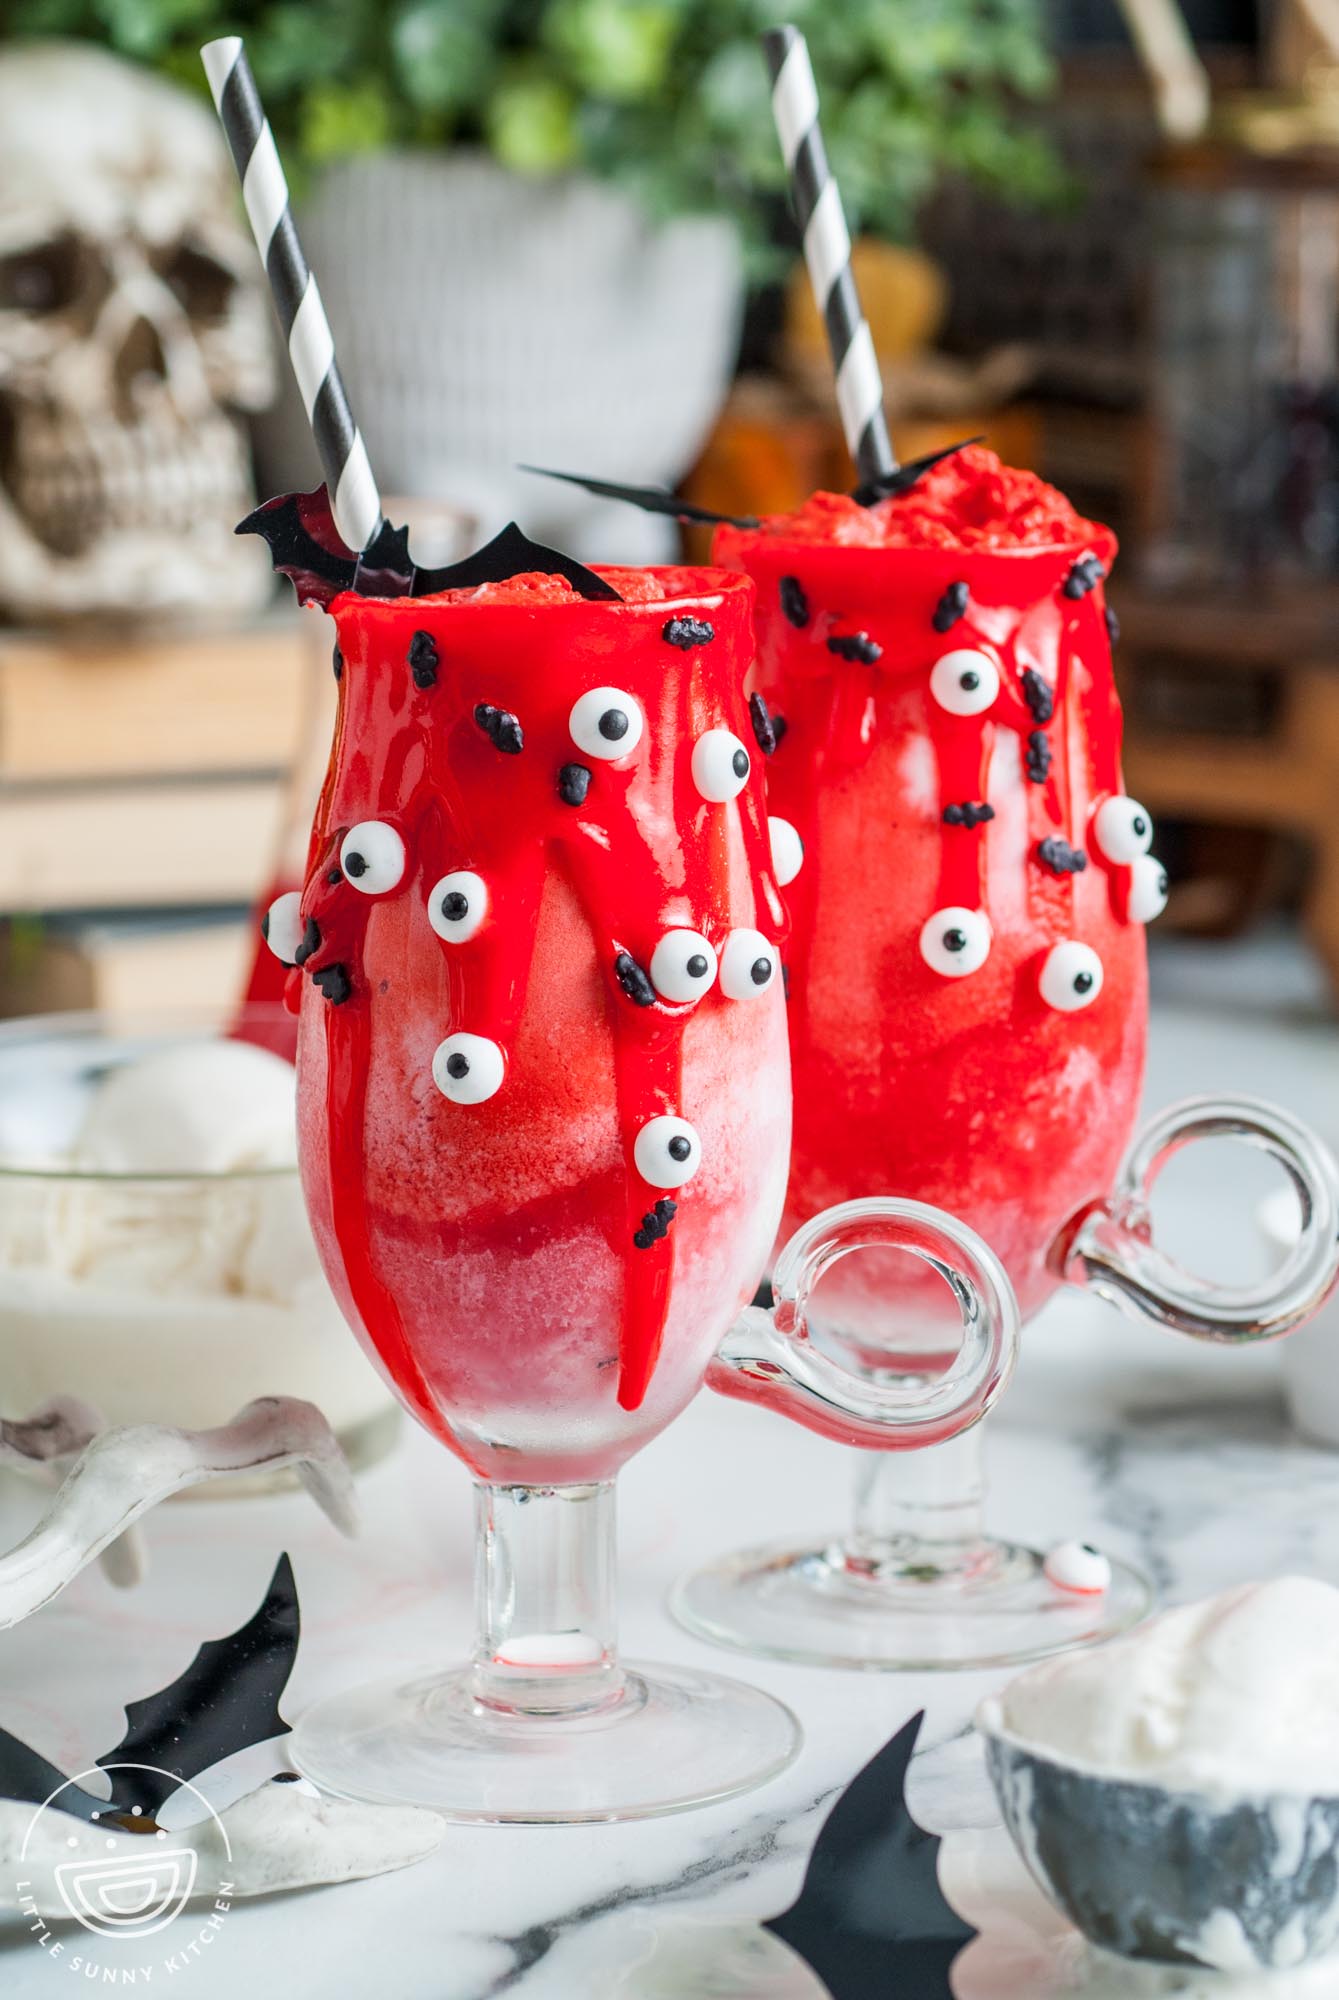
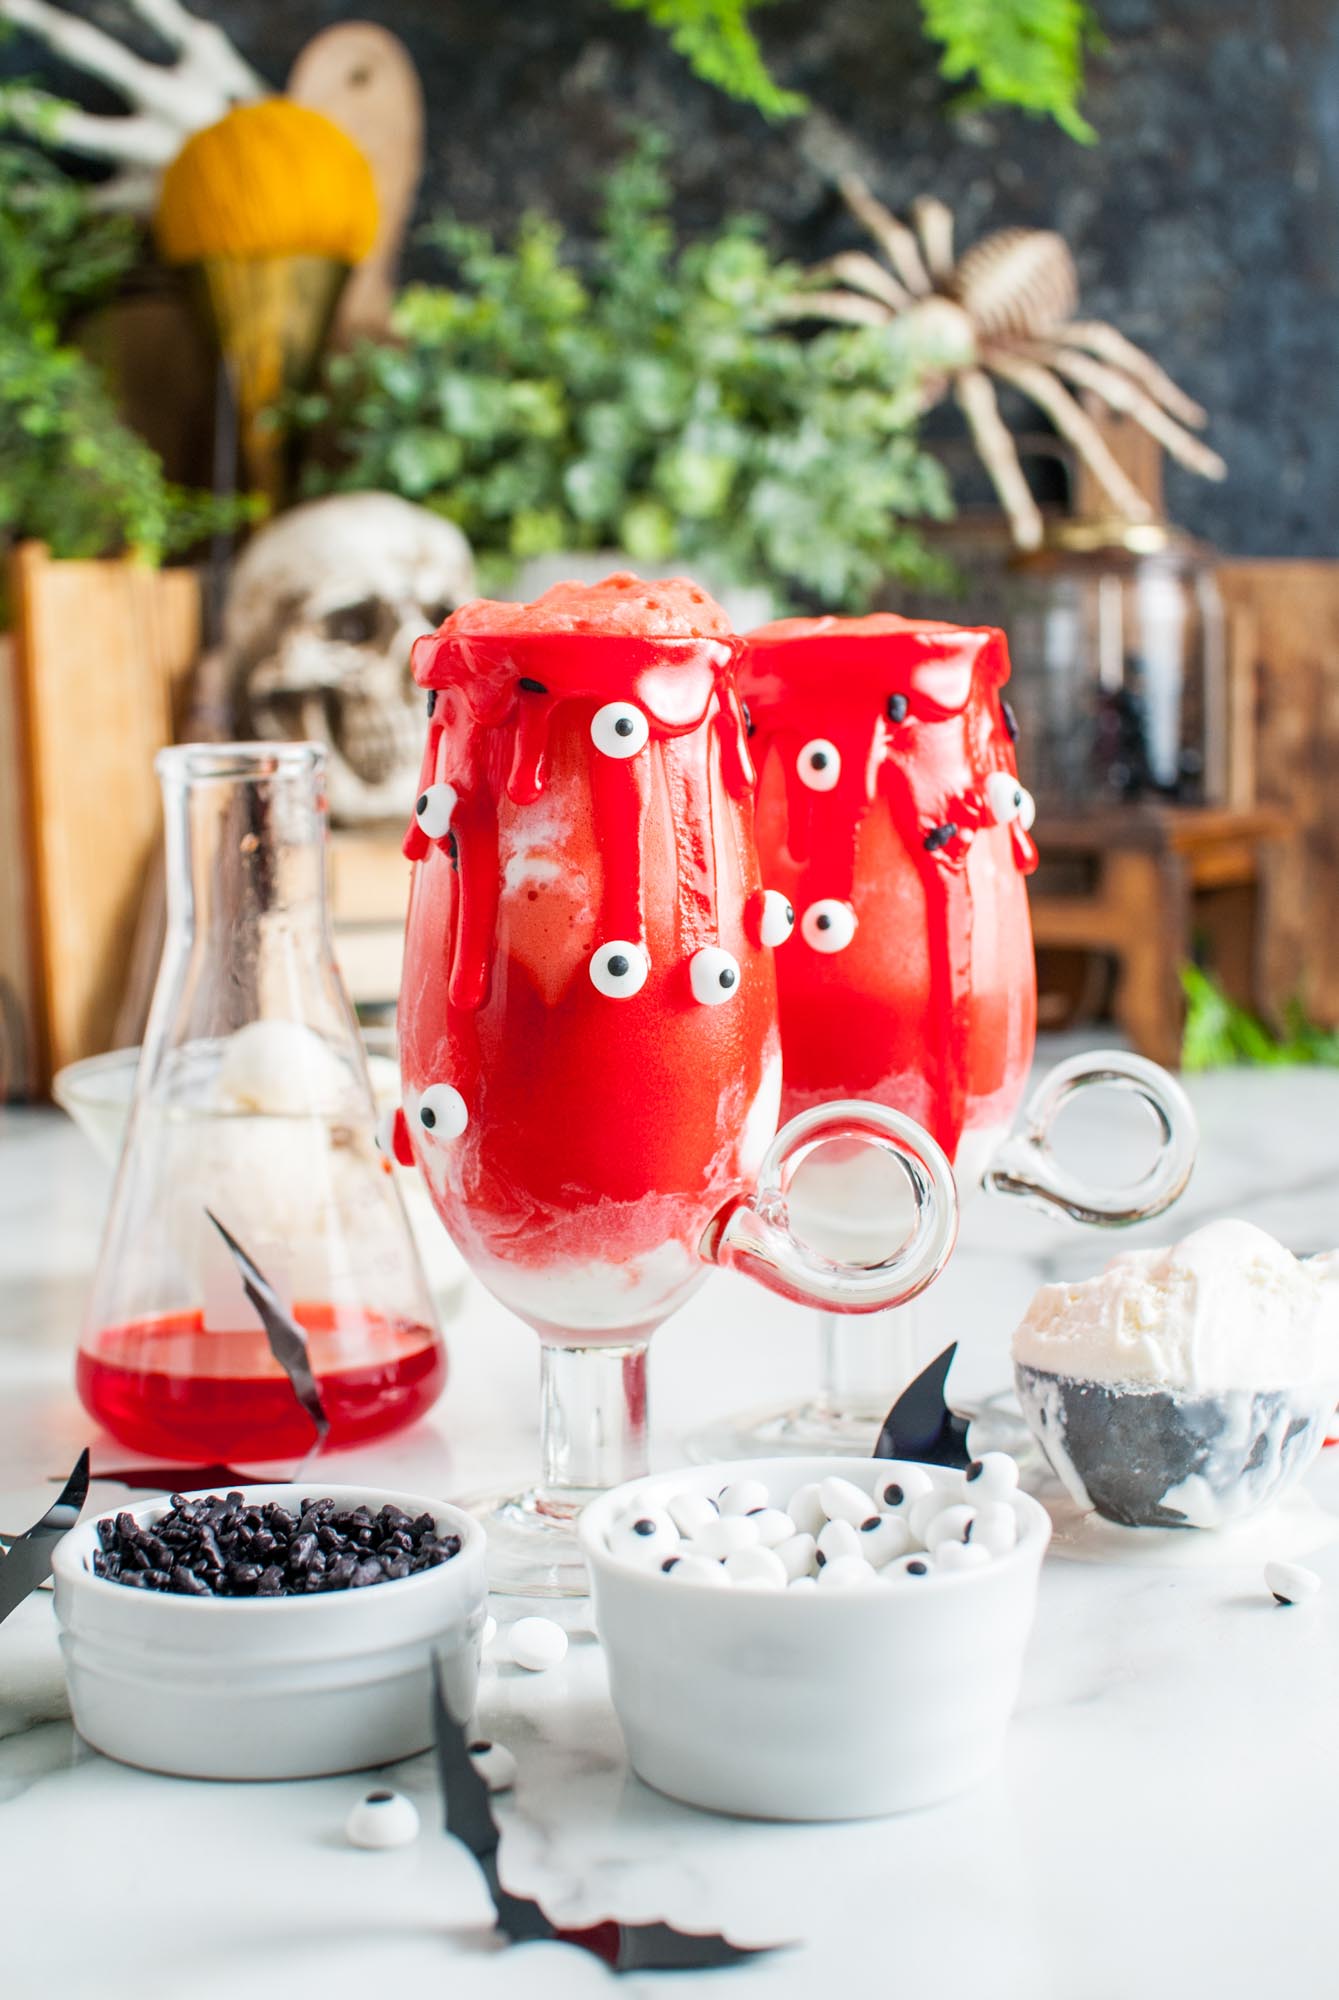
In this Vampire float, dark red soda blends with vanilla ice cream to make a deliciously sweet and creamy fruity frozen drink.
Take a few minutes to decorate the glass with drips of frosting and fun, festive sprinkles and you’ll feel just like you’re about to share an O- or AB+ cocktail with Dracula or a group of friendly vampires!
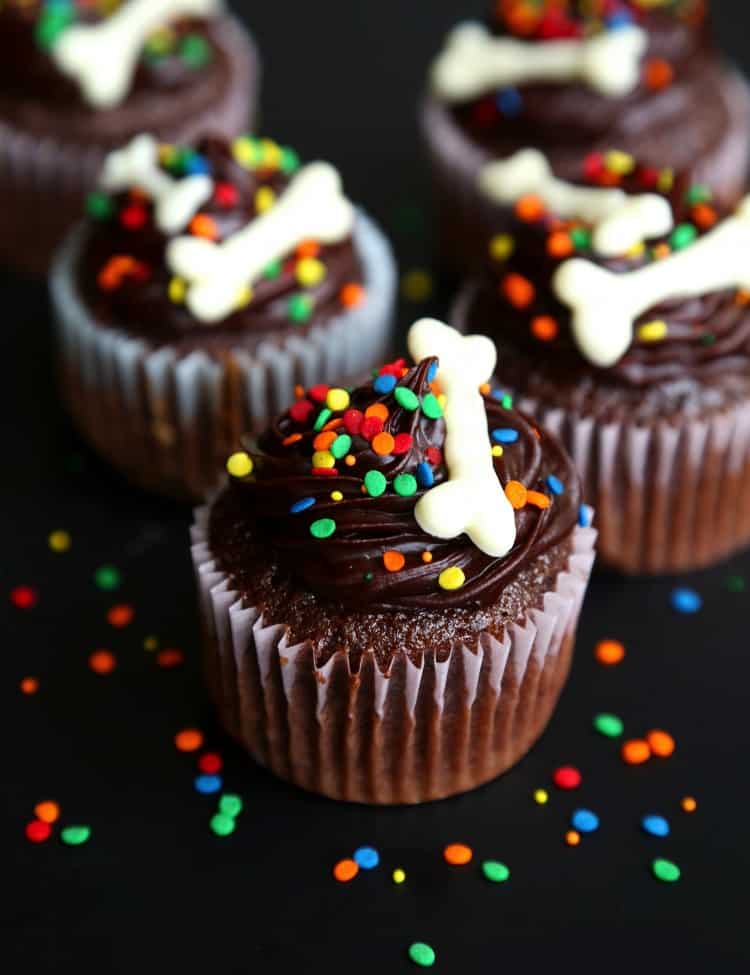
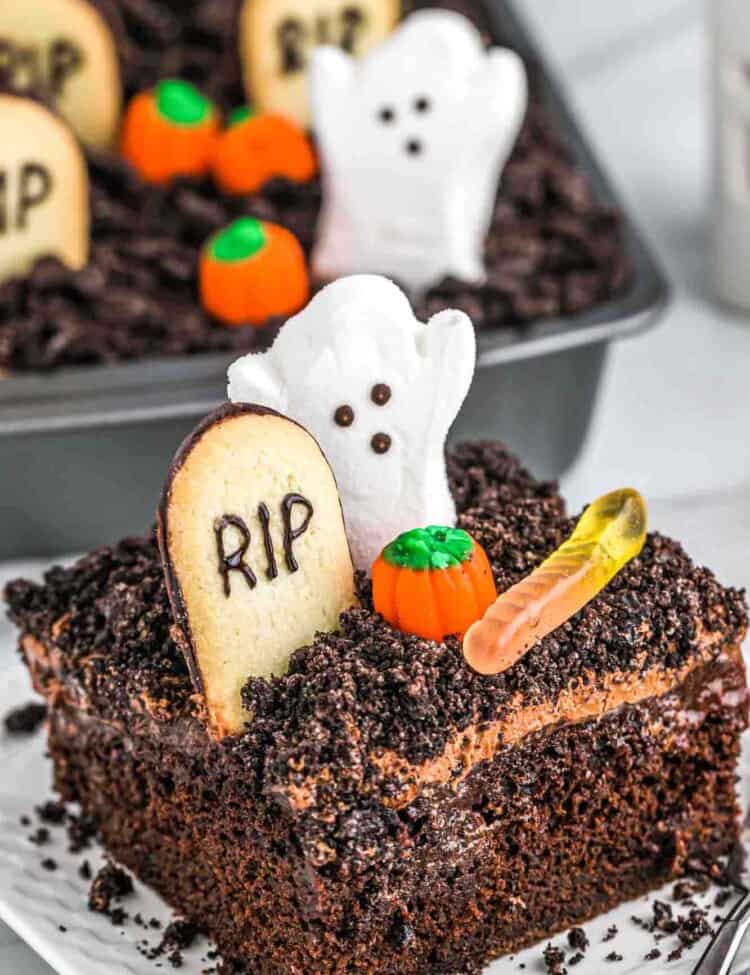
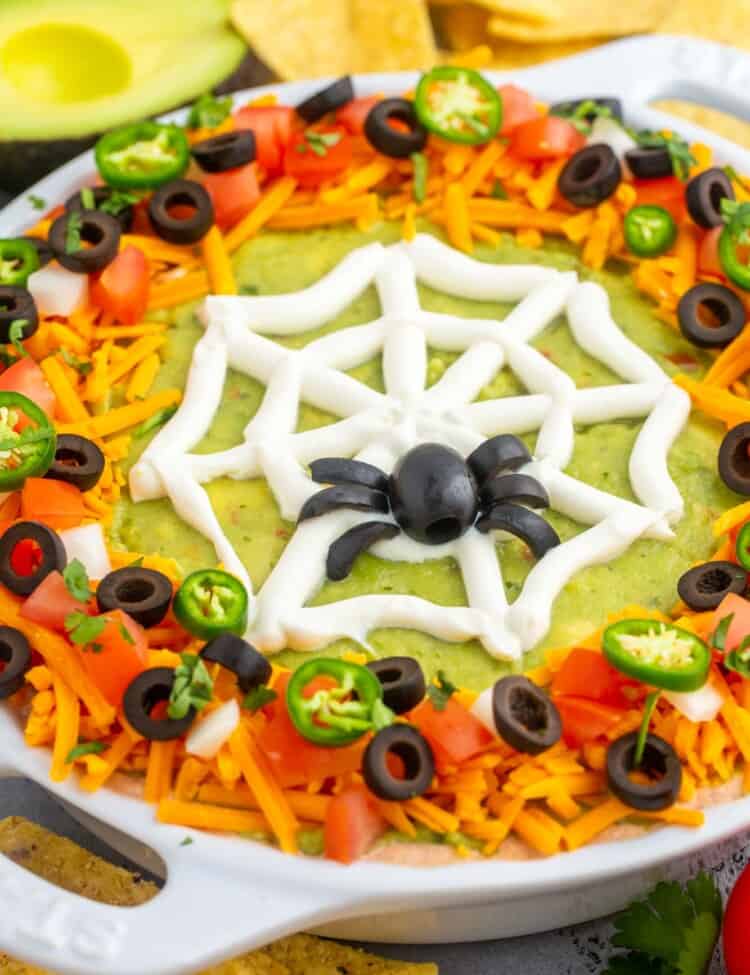
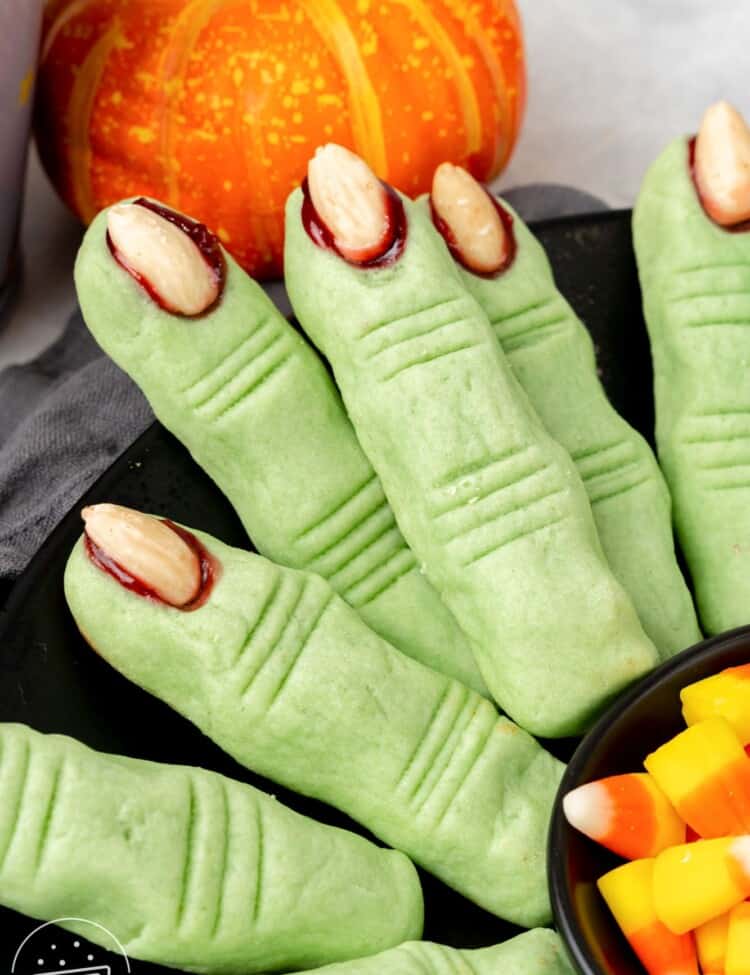
Try more of my favorite Halloween recipes! Serve these ice cream floats along with my Halloween Taco Dip, Graveyard Chocolate Cheesecake Dip, and green Halloween Witch Finger Cookies to create the perfect Halloween party spread.
Vampire Float Recipe Highlights
- Fun to Create –Make these yourself, or invite the whole family to help you decorate the glasses with red frosting and candy eyes. You can be as creative as you feel like!
- Easy to Customize – Use the soda and ice cream flavors here as a guideline, and then feel free to shake things up! I’ll give you some suggestions for switching up the flavors below.
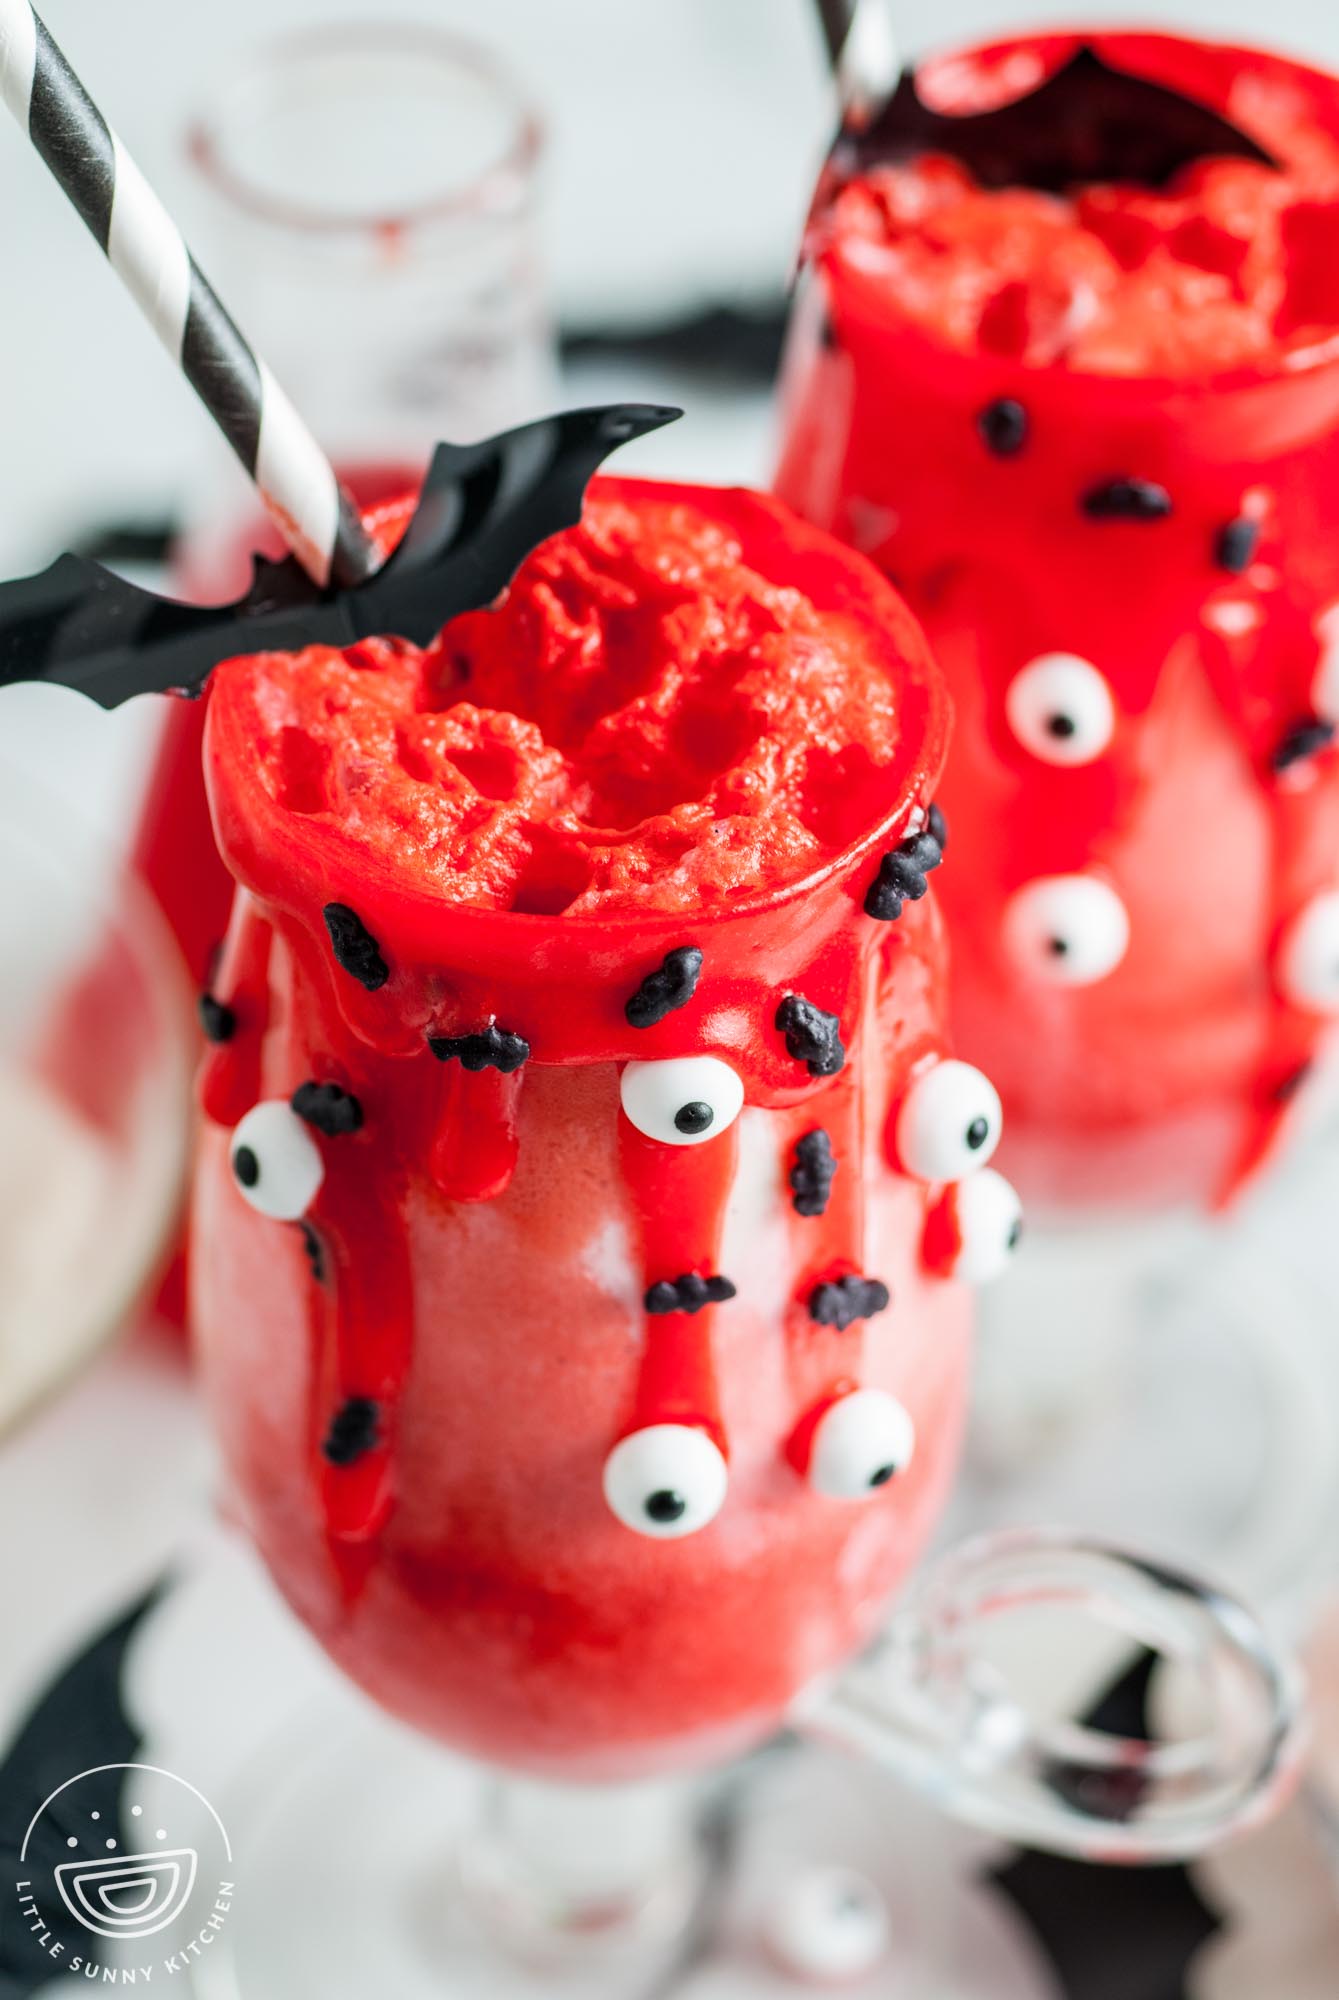
- Perfectly Spooky – These bloody red ice cream floats can be as scary as you want them to be, or totally adorable for younger kids. This is a kid-friendly Halloween drink recipe that is so much fun.
Key Ingredients
Here’s what you need to make this Vampire Halloween Float:
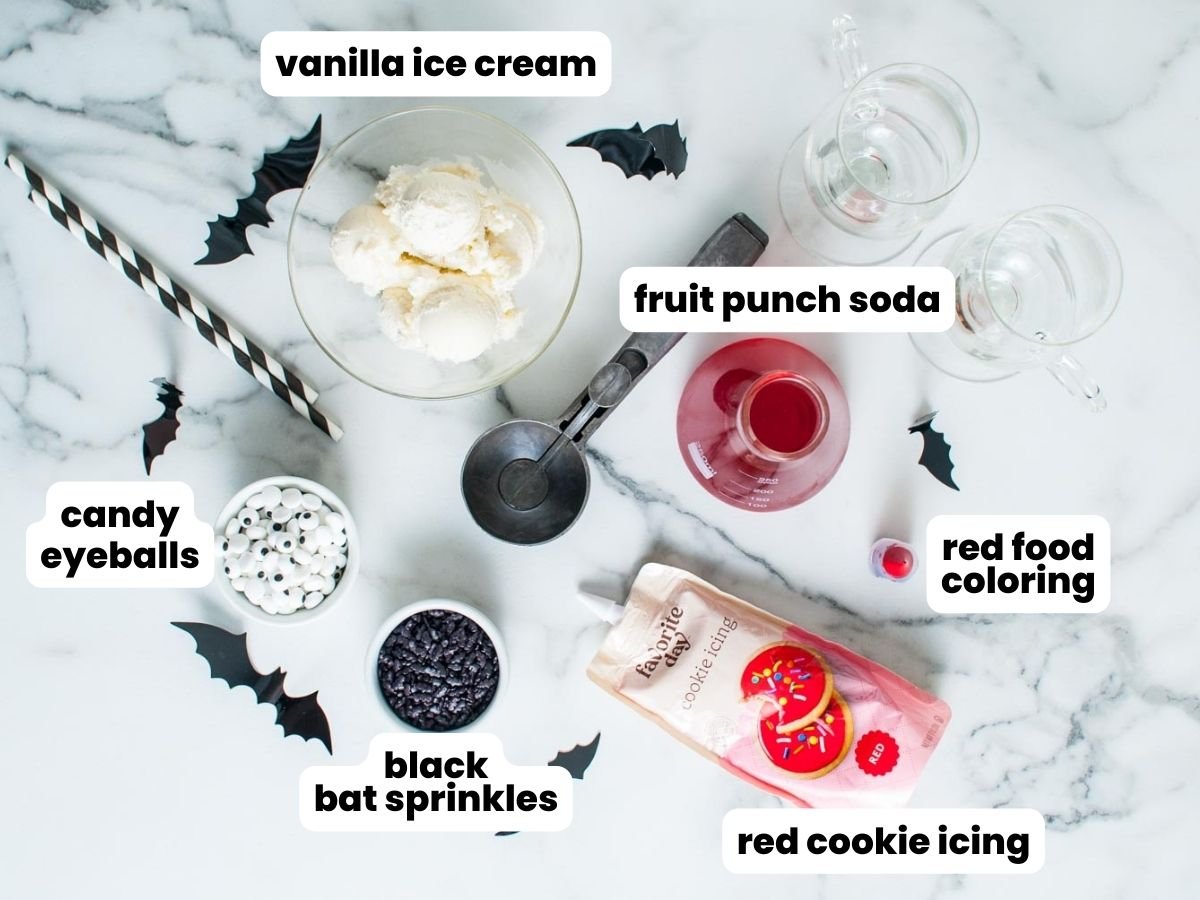
Complete list of ingredients and amounts can be found in the recipe card below.
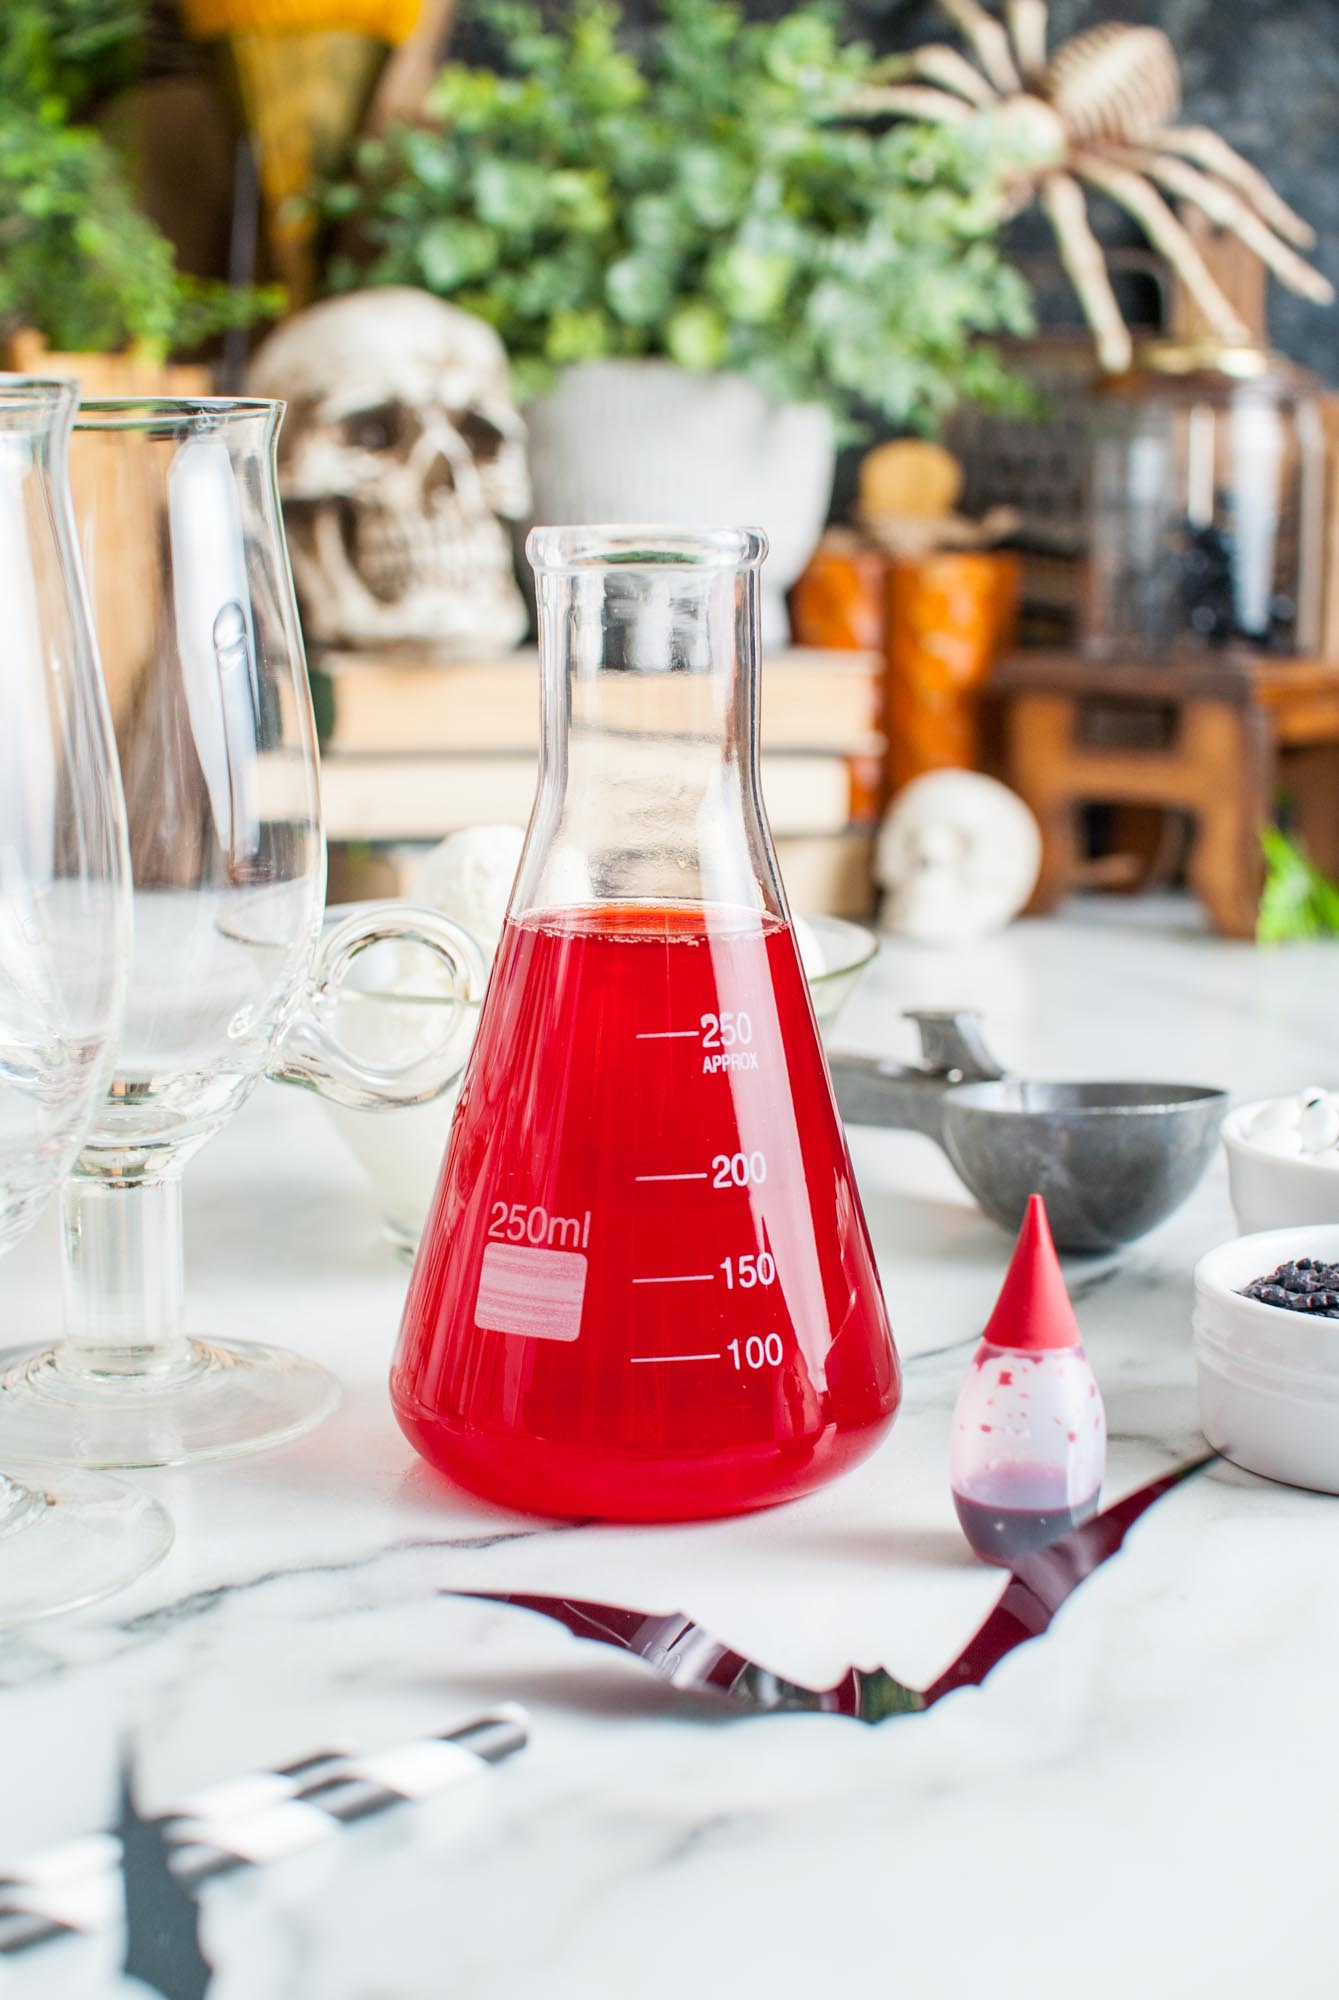
- Soda: Fruit punch soda is already red, and we’ll add extra red food coloring to it so that it’s really, really red. You could try strawberry soda too!
- Vanilla Ice Cream: This is the perfect ice cream flavor for just about any type of float. Use your favorite brand.
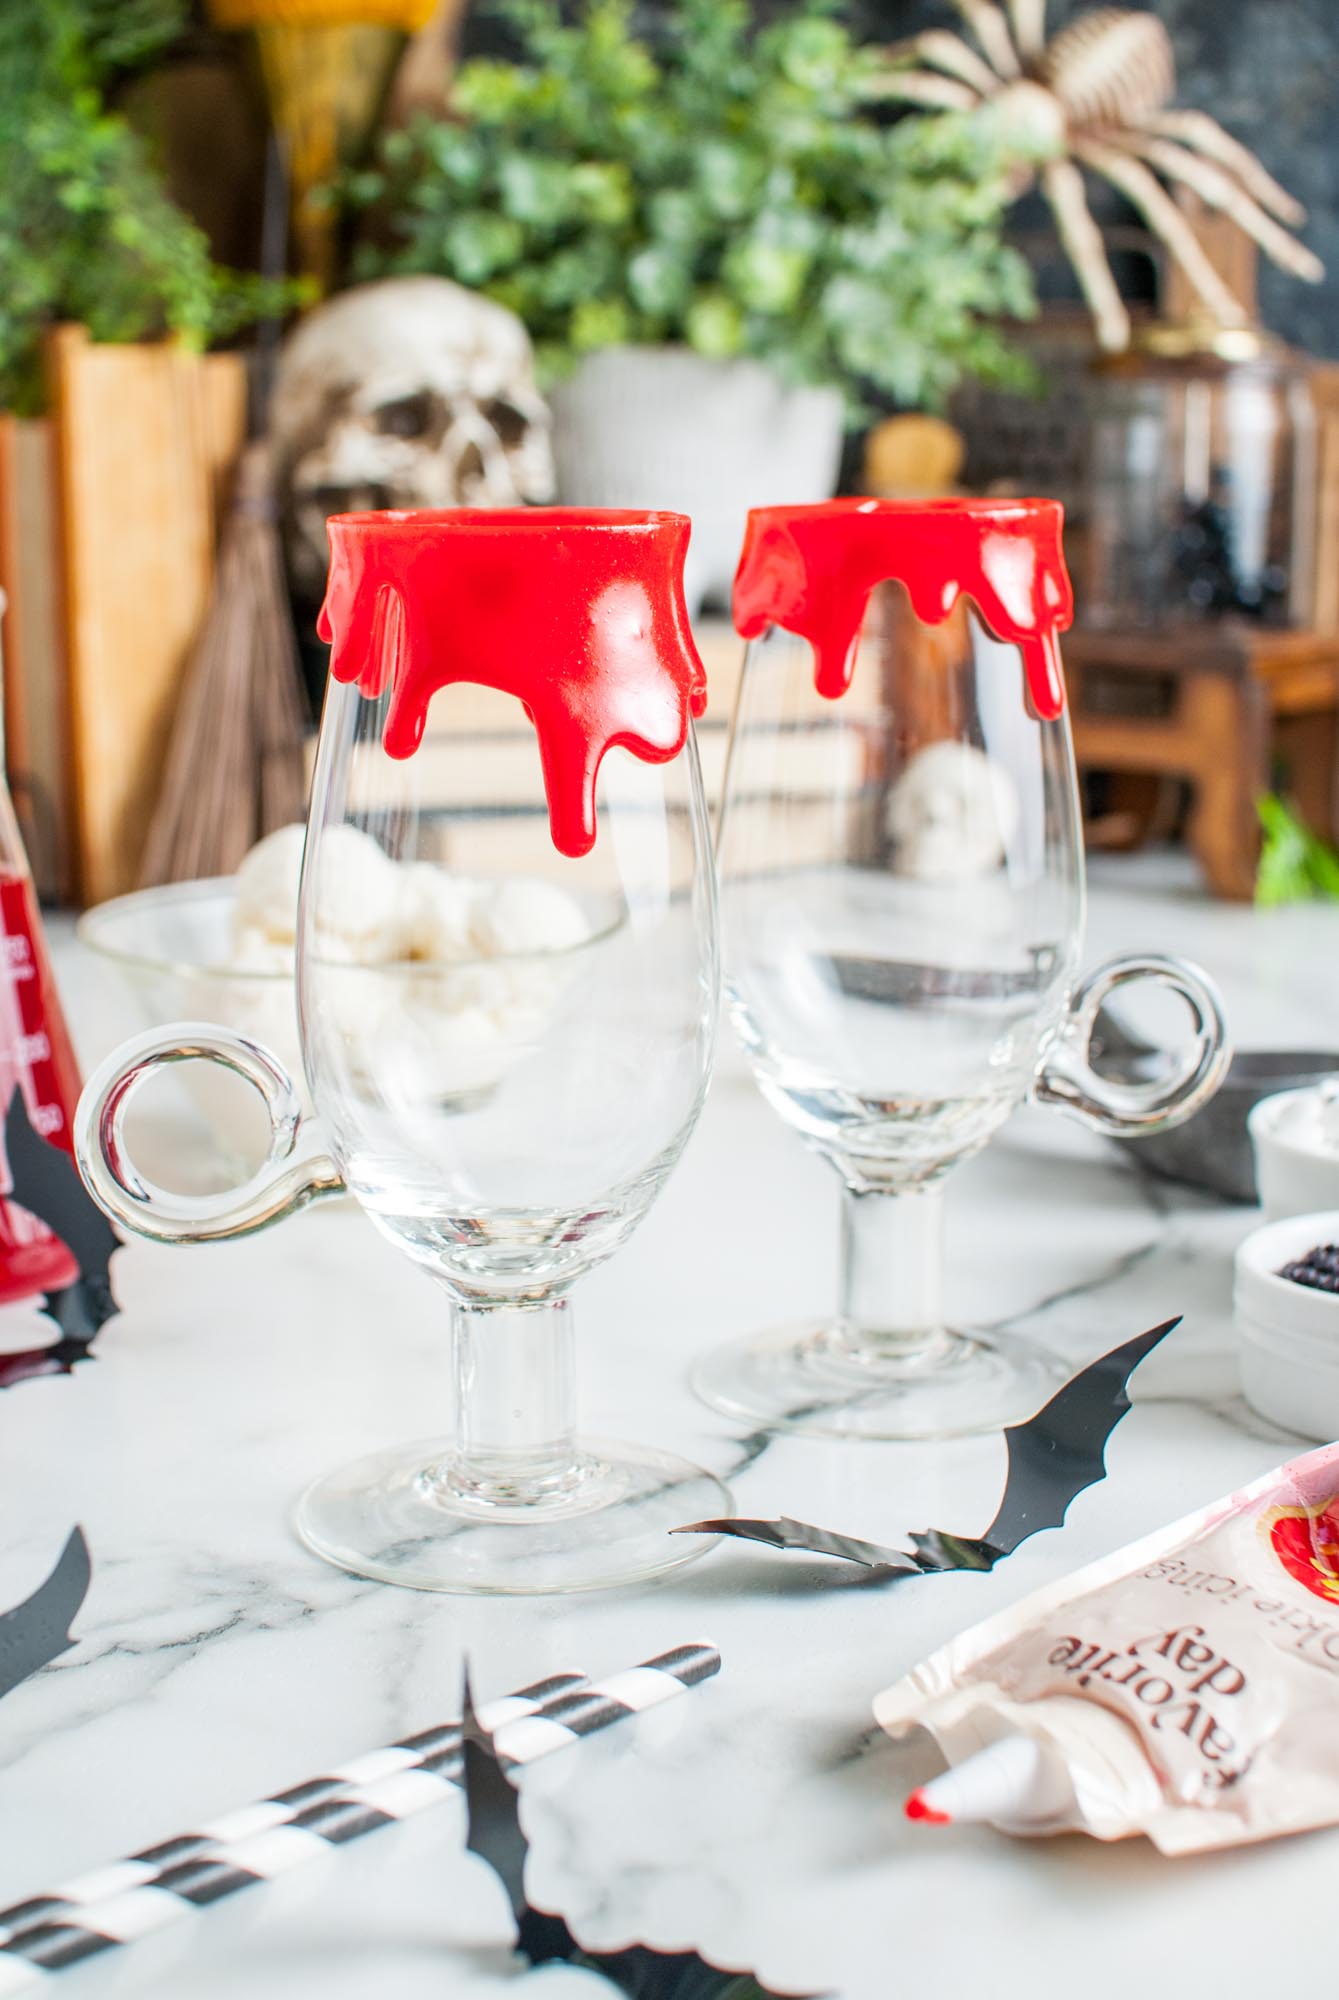
- Red Cookie Icing: I picked up this pre-made icing at Target, but you should be able to find it at most large grocery stores. Red gel writing icing works well too.
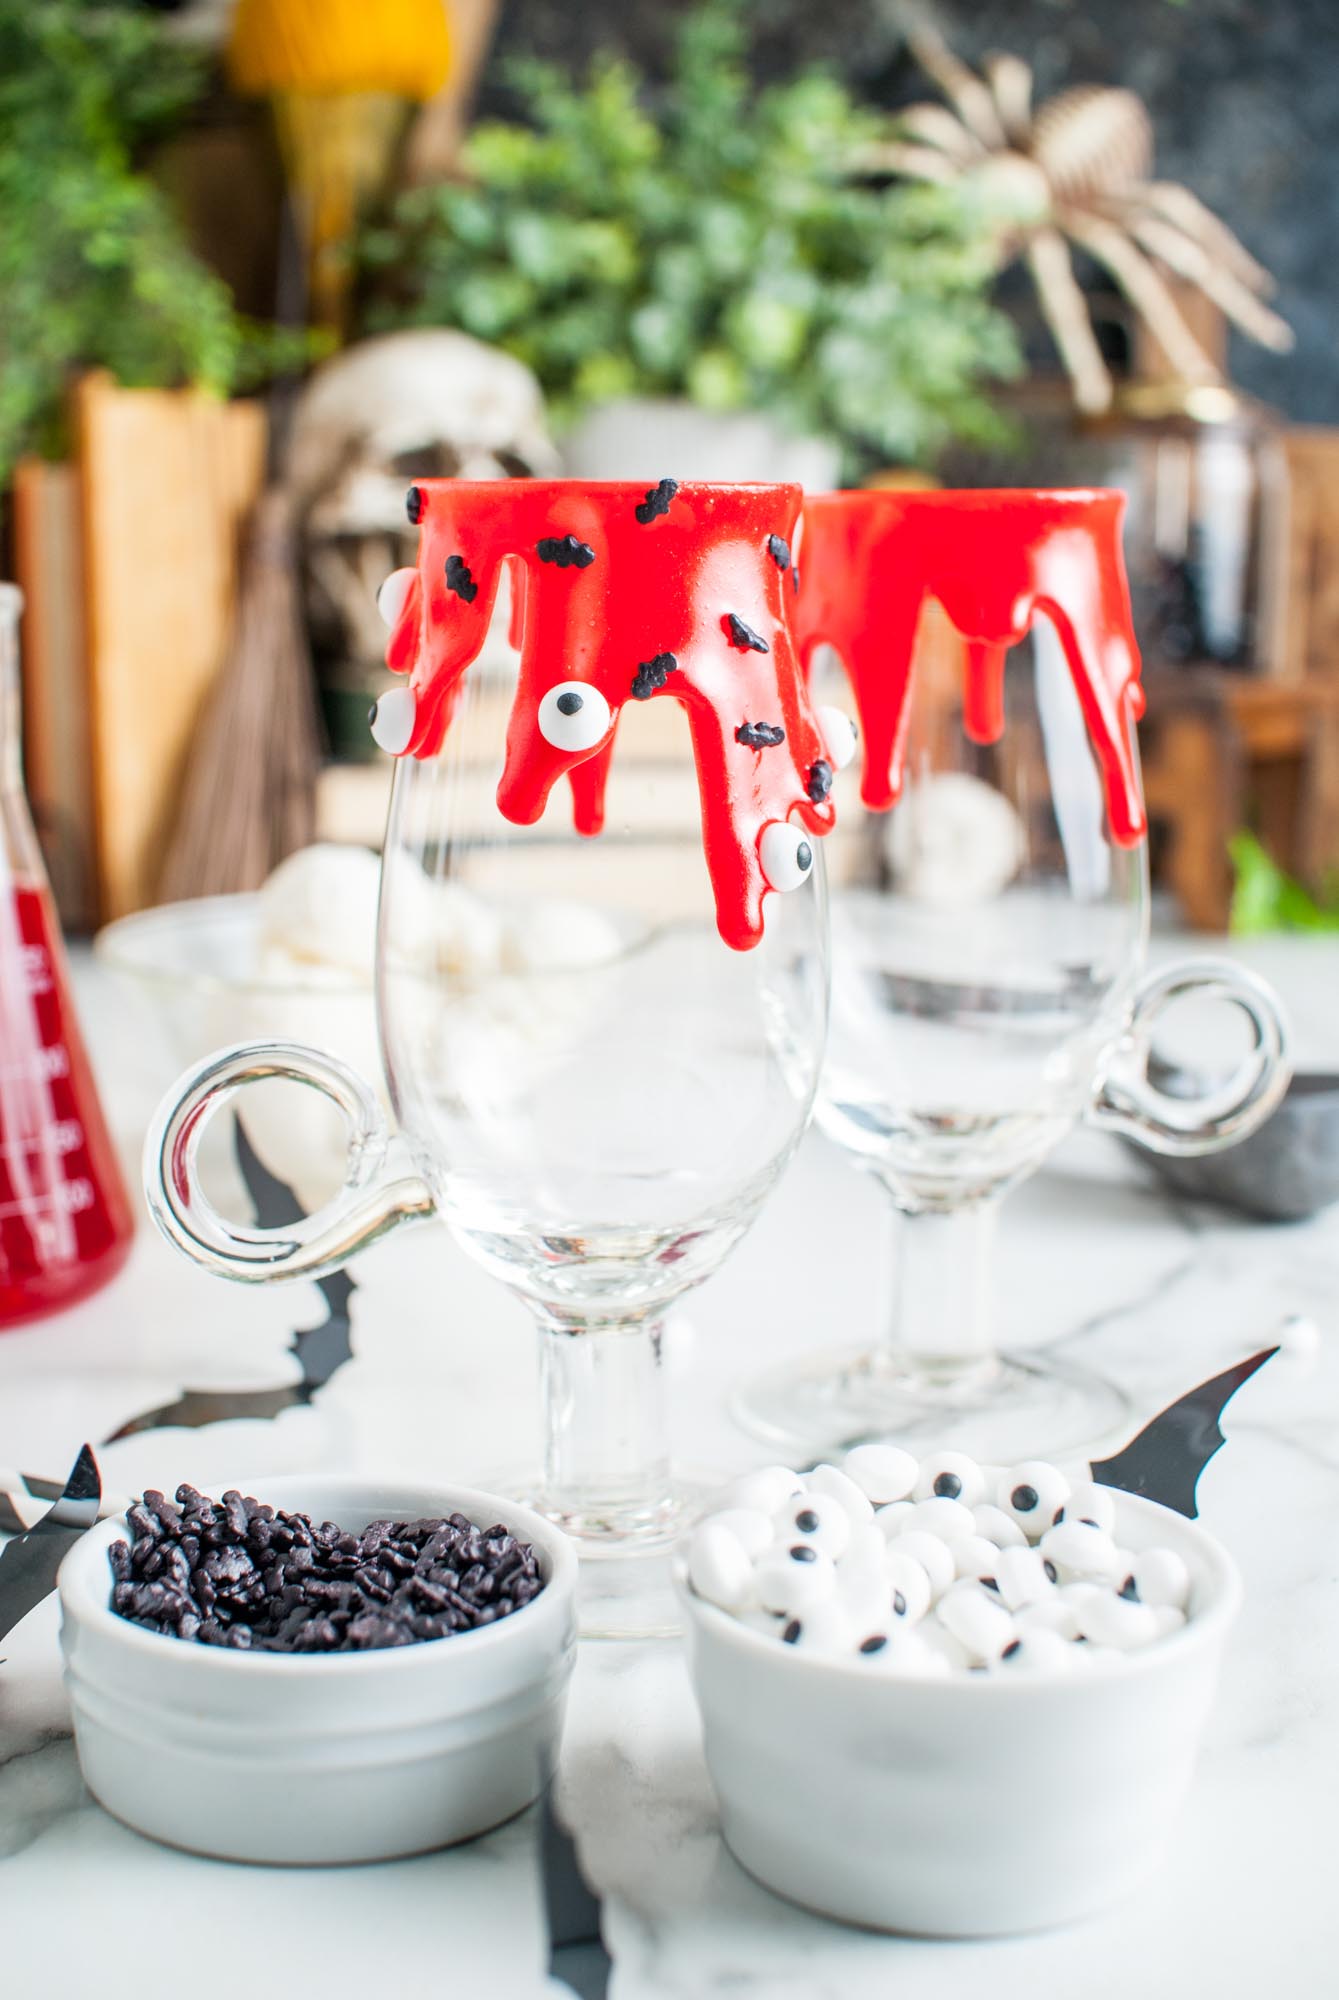
- Candy Eyeballs: Look for small candy eyes near the Halloween baking supplies. These come in different sizes sometimes, so choose one size, or use a few different sizes for even more fun.
- Black Sprinkles: I’m using small black sprinkles that look like bats. They seem fitting for a vampire drink. If you can’t find those, any kind of black sprinkles will be just fine. These spider sprinkles are cute!
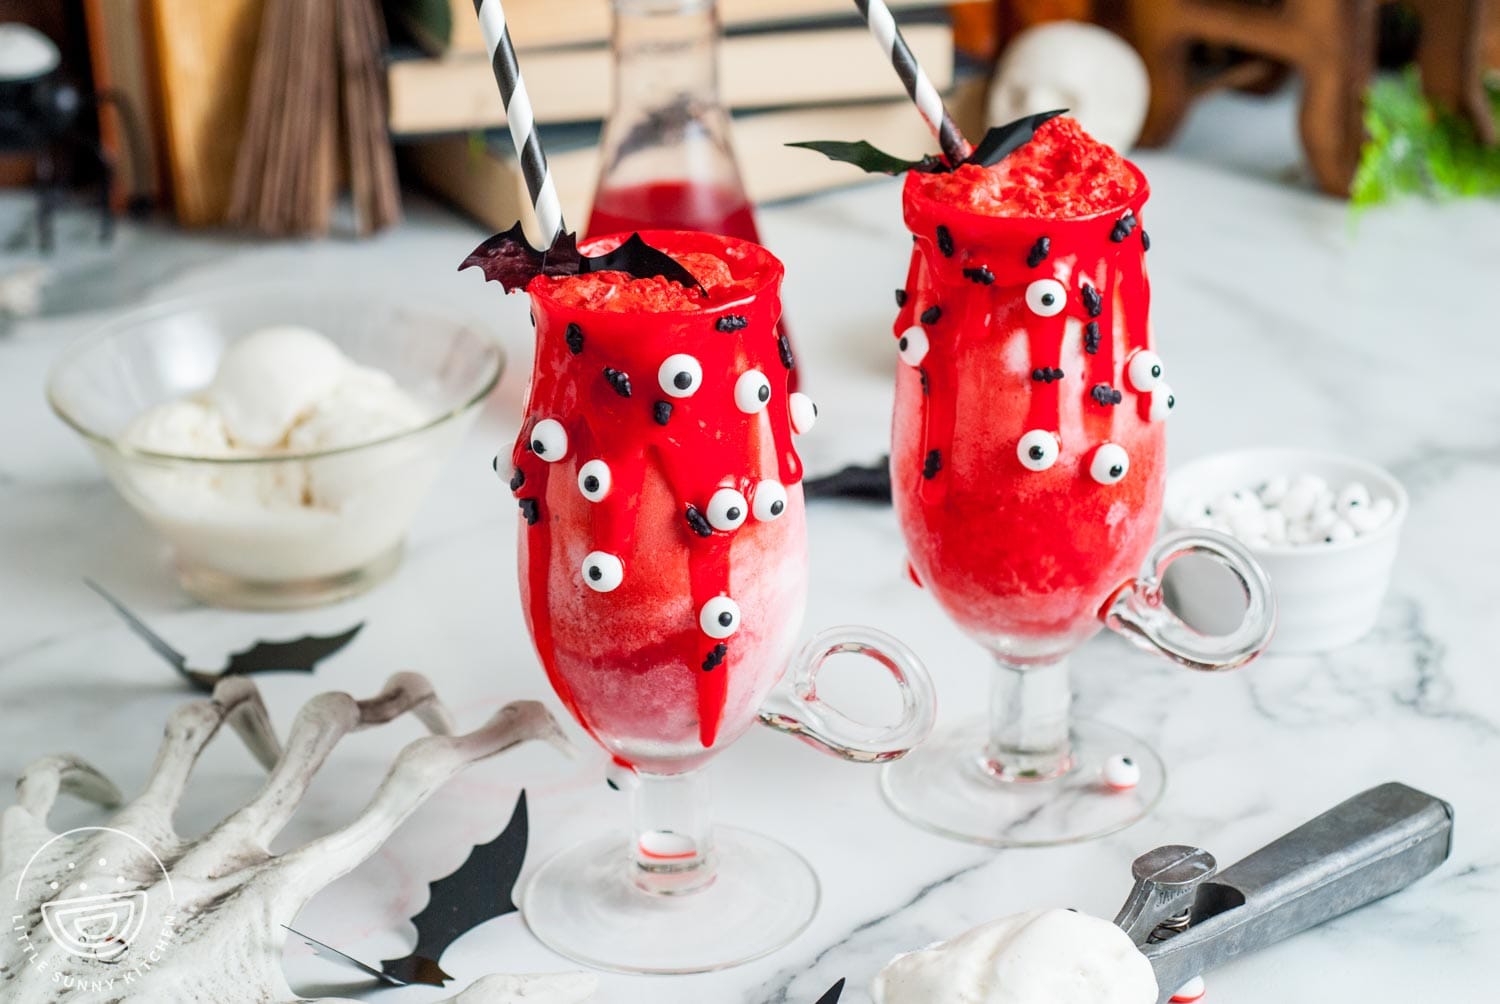
- Extras: Dress up your festive Vampire Float with black and white paper straws, paper bat decorations, plastic vampire fangs, or any other Halloween extras that you can find.
How To Make a Vampire Float
Tip!
Be ready to serve your ice cream floats right away after making them! The foam will rise and then fall with time, so don’t let them sit too long.
Recipe Tips
- Be flexible. The exact amount of ice cream and soda needed to make an ice cream float will vary based on the volume of your glasses. The same goes for the icing – you may need more or less, depending on how artistic you get!
- For the icing drips. If your icing isn’t “drippy” enough, you can gently heat the package of red decorating gel by placing it in a bowl of hot water for a minute. If it’s too drippy, place the glasses in the fridge to slow things down.
- Use cold soda. The ice cream and the soda really must be cold when you combine them together. If the soda is warm, you’ll get too much fizzing and foam will go over the edge of the glass.
- Chill the glasses. Once you’ve added the frosting rims, store the glasses in the fridge or freezer to keep them ready. Then you can make the floats when your guests arrive!
- Pour slowly. The trick to making a good float is to do it very carefully! Adding soda to ice cream too quickly will cause it to foam up too much. Take your time.
Variations
- Instead of fruit punch soda, you can use any type of clear soda combined with red food coloring. Try it with lemon-lime, ginger ale, or cream soda.
- Instead of vanilla ice cream, try this with a dark chocolate ice cream. The result will be a bit muddy, but in a spooky graveyard kind of way.
- Toppings. For a classic finish, top your ice cream floats with whipped cream and a maraschino cherry!
- For grown ups only, add a touch of your favorite liquor to the soda before pouring it. I’d recommend a vanilla or berry-flavored vodka here. Another option: serve the ice cream floats to the kids, and make Apple Cider Margaritas for the adults.
Recipe FAQs
Should You add ice cream or soda first when making a float?
While you could technically do it either way, I find it less messy to add the soda to the ice cream in the glass. If you start with the soda, and then add the ice cream, you’re more likely to have an overflow situation.
Can I make this with Strawberry Ice Cream?
Yes! Strawberry vampire floats would be delicious! Add food coloring to your favorite clear pop, and mix it with strawberry ice cream in the glasses.
What type of glass should I use to make ice cream floats?
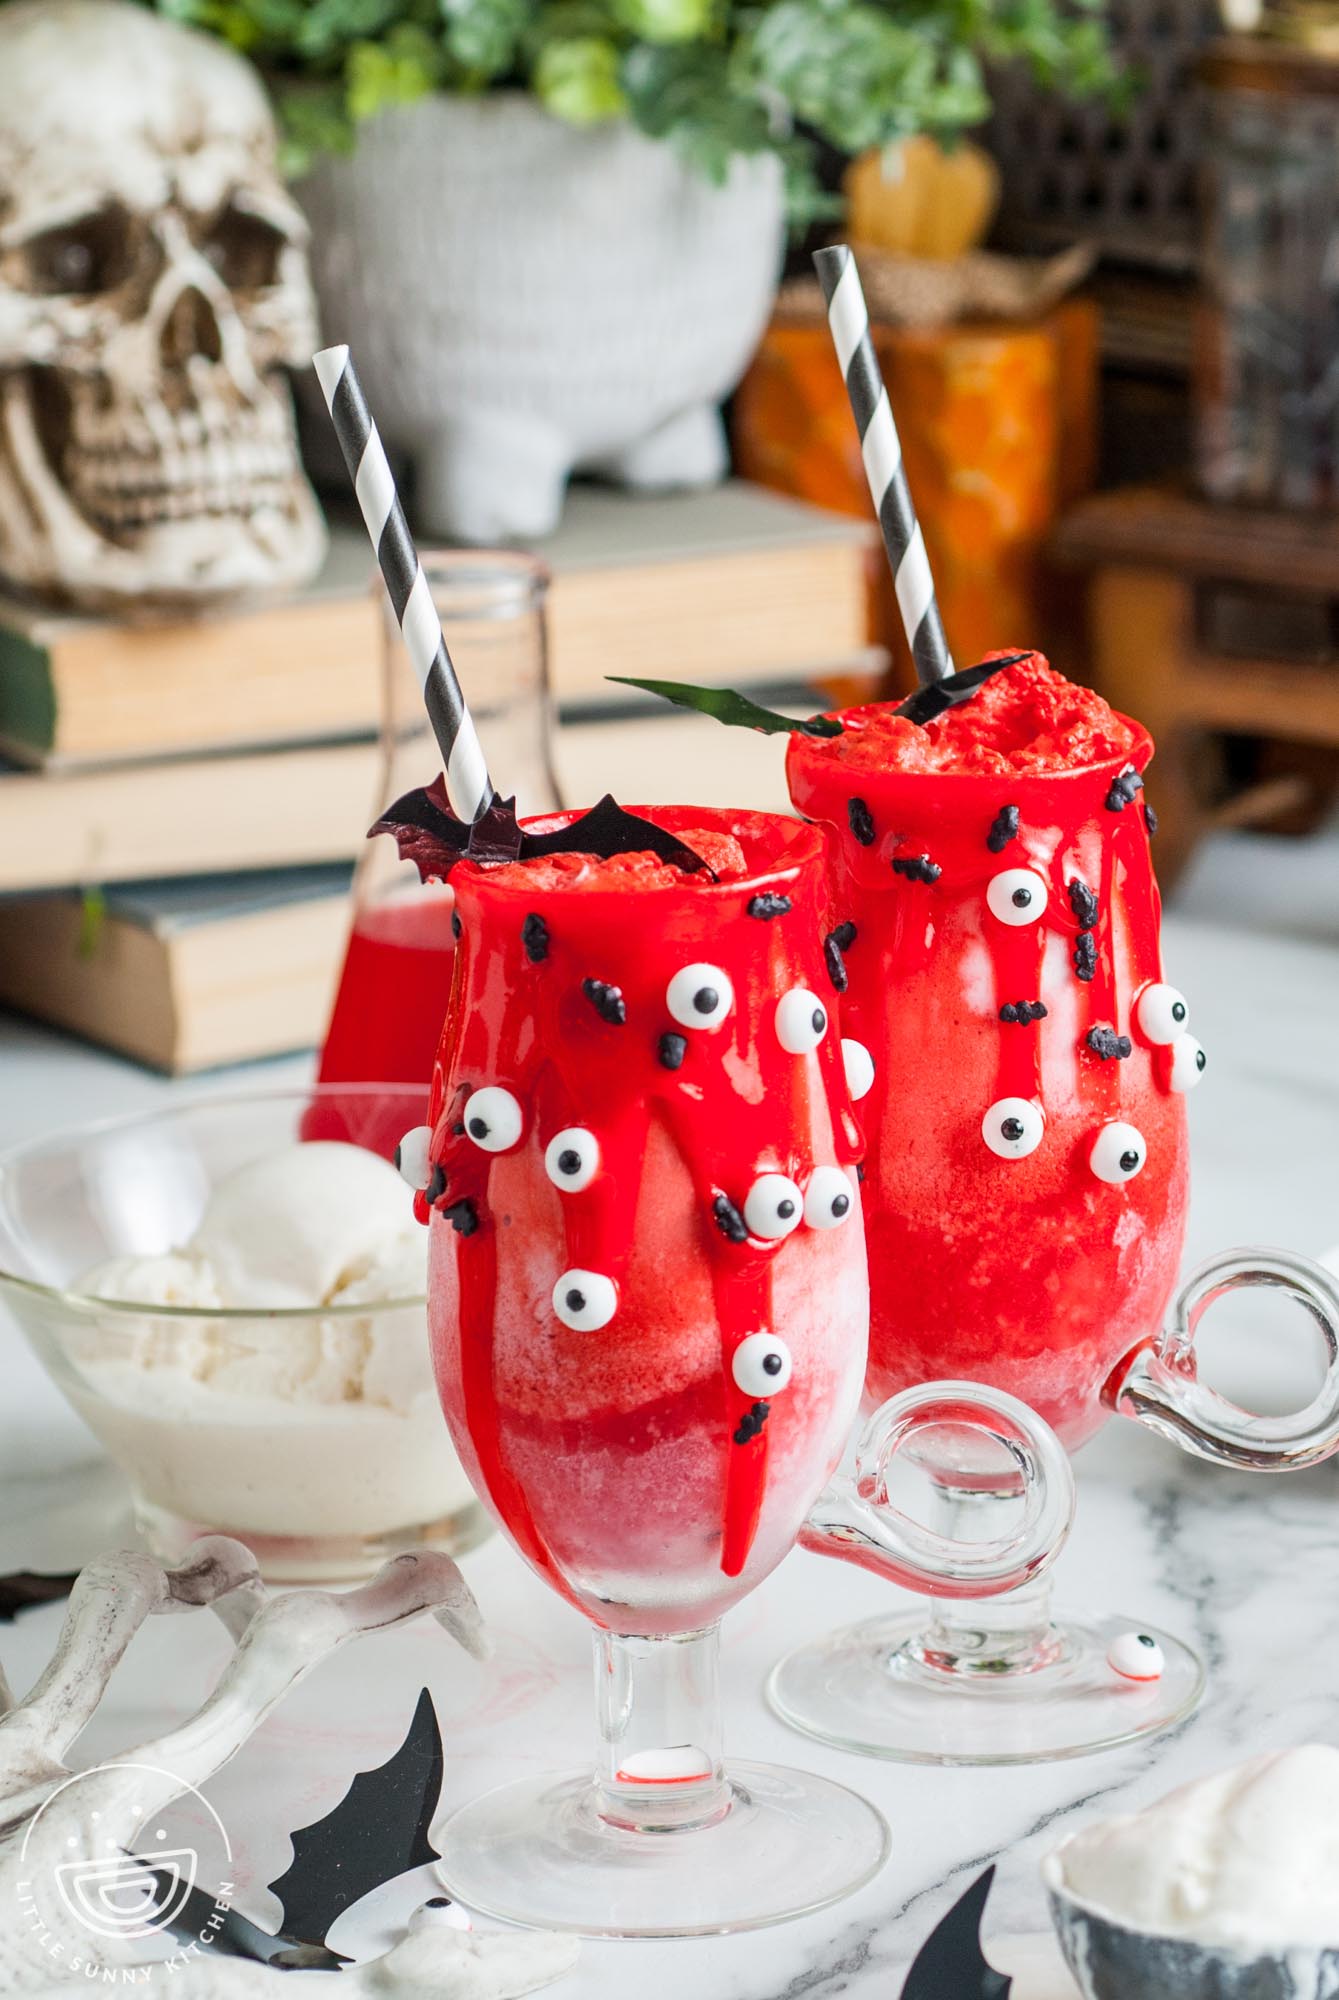
I suggest using clear glasses for this recipe. They don’t have to be fancy, but I do think that footed clear mugs are a great choice for showing off all of the fun decorations.


Everyone is going to be so excited to sip on one of these deliciously spooky Vampire Floats! Make these for your family, or prepare them for your Halloween Party, but don’t forget to save the recipe for later.
Did you make this? Be sure to leave a review below and tag me on Facebook, Instagram, or Pinterest!
Vampire Float
Equipment
- Glasses
Ingredients
- Red writing icing approx 1-2 tablespoons of icing per glass
- Candy Eyeball sprinkles
- Black sprinkles
- ⅔ cup vanilla bean ice cream
- ⅓ cup fruit punch soda chilled
- Red food coloring optional
Instructions
- Using the red writing icing, working slowly, line the top outside rim of a clean dry glass with the red icing. Every once in a while, pause while still squeezing the icing to help form larger drips.
- Gently place the eyeballs and bats around the edge of the rimmed glass.
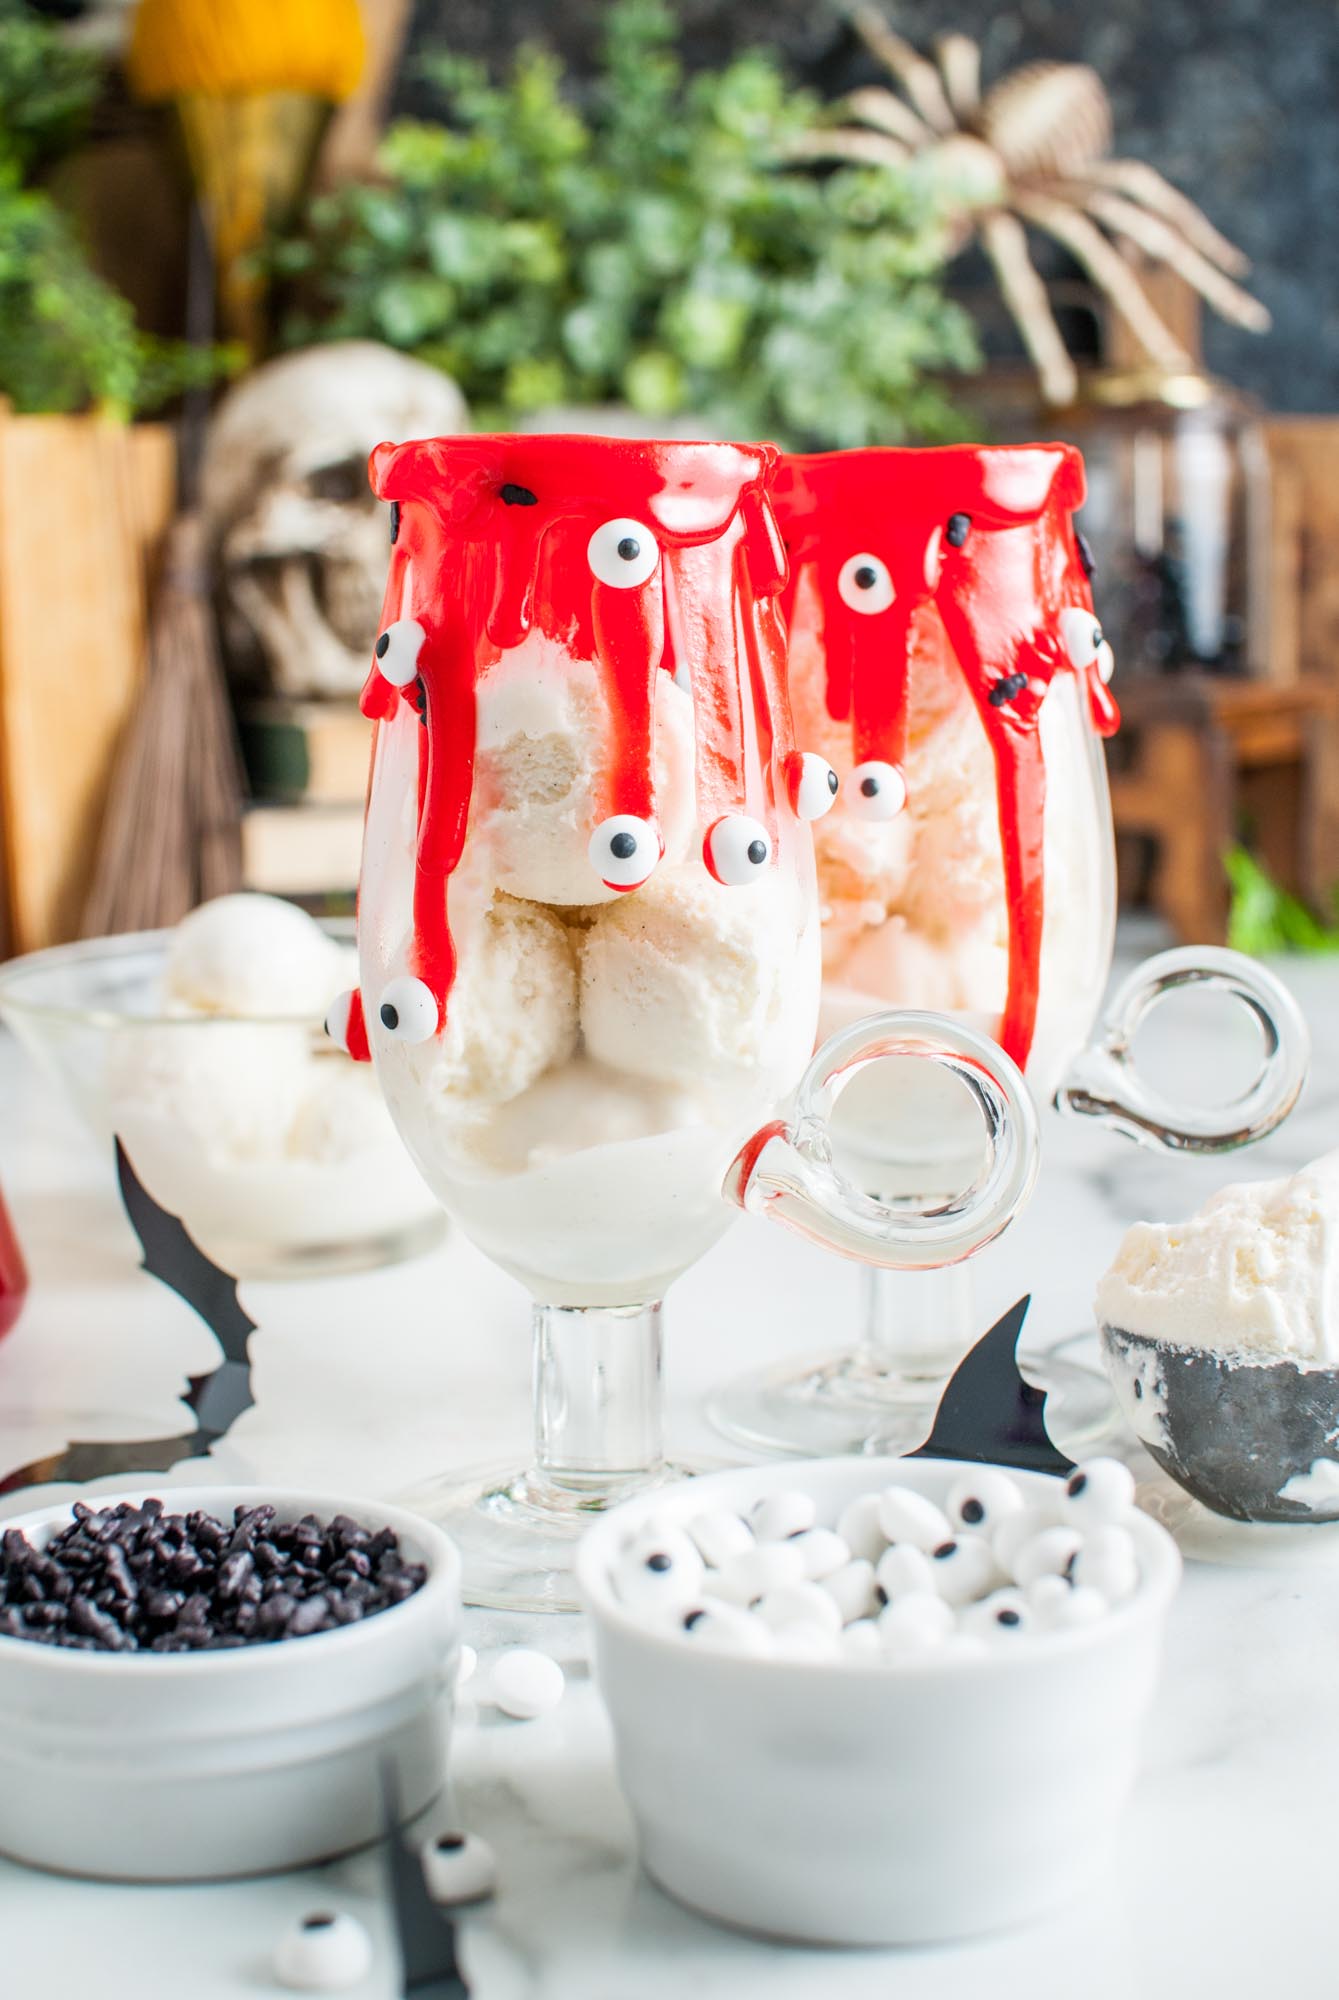
- Scoop vanilla ice cream into the prepared glasses, filling about 75% of the way.
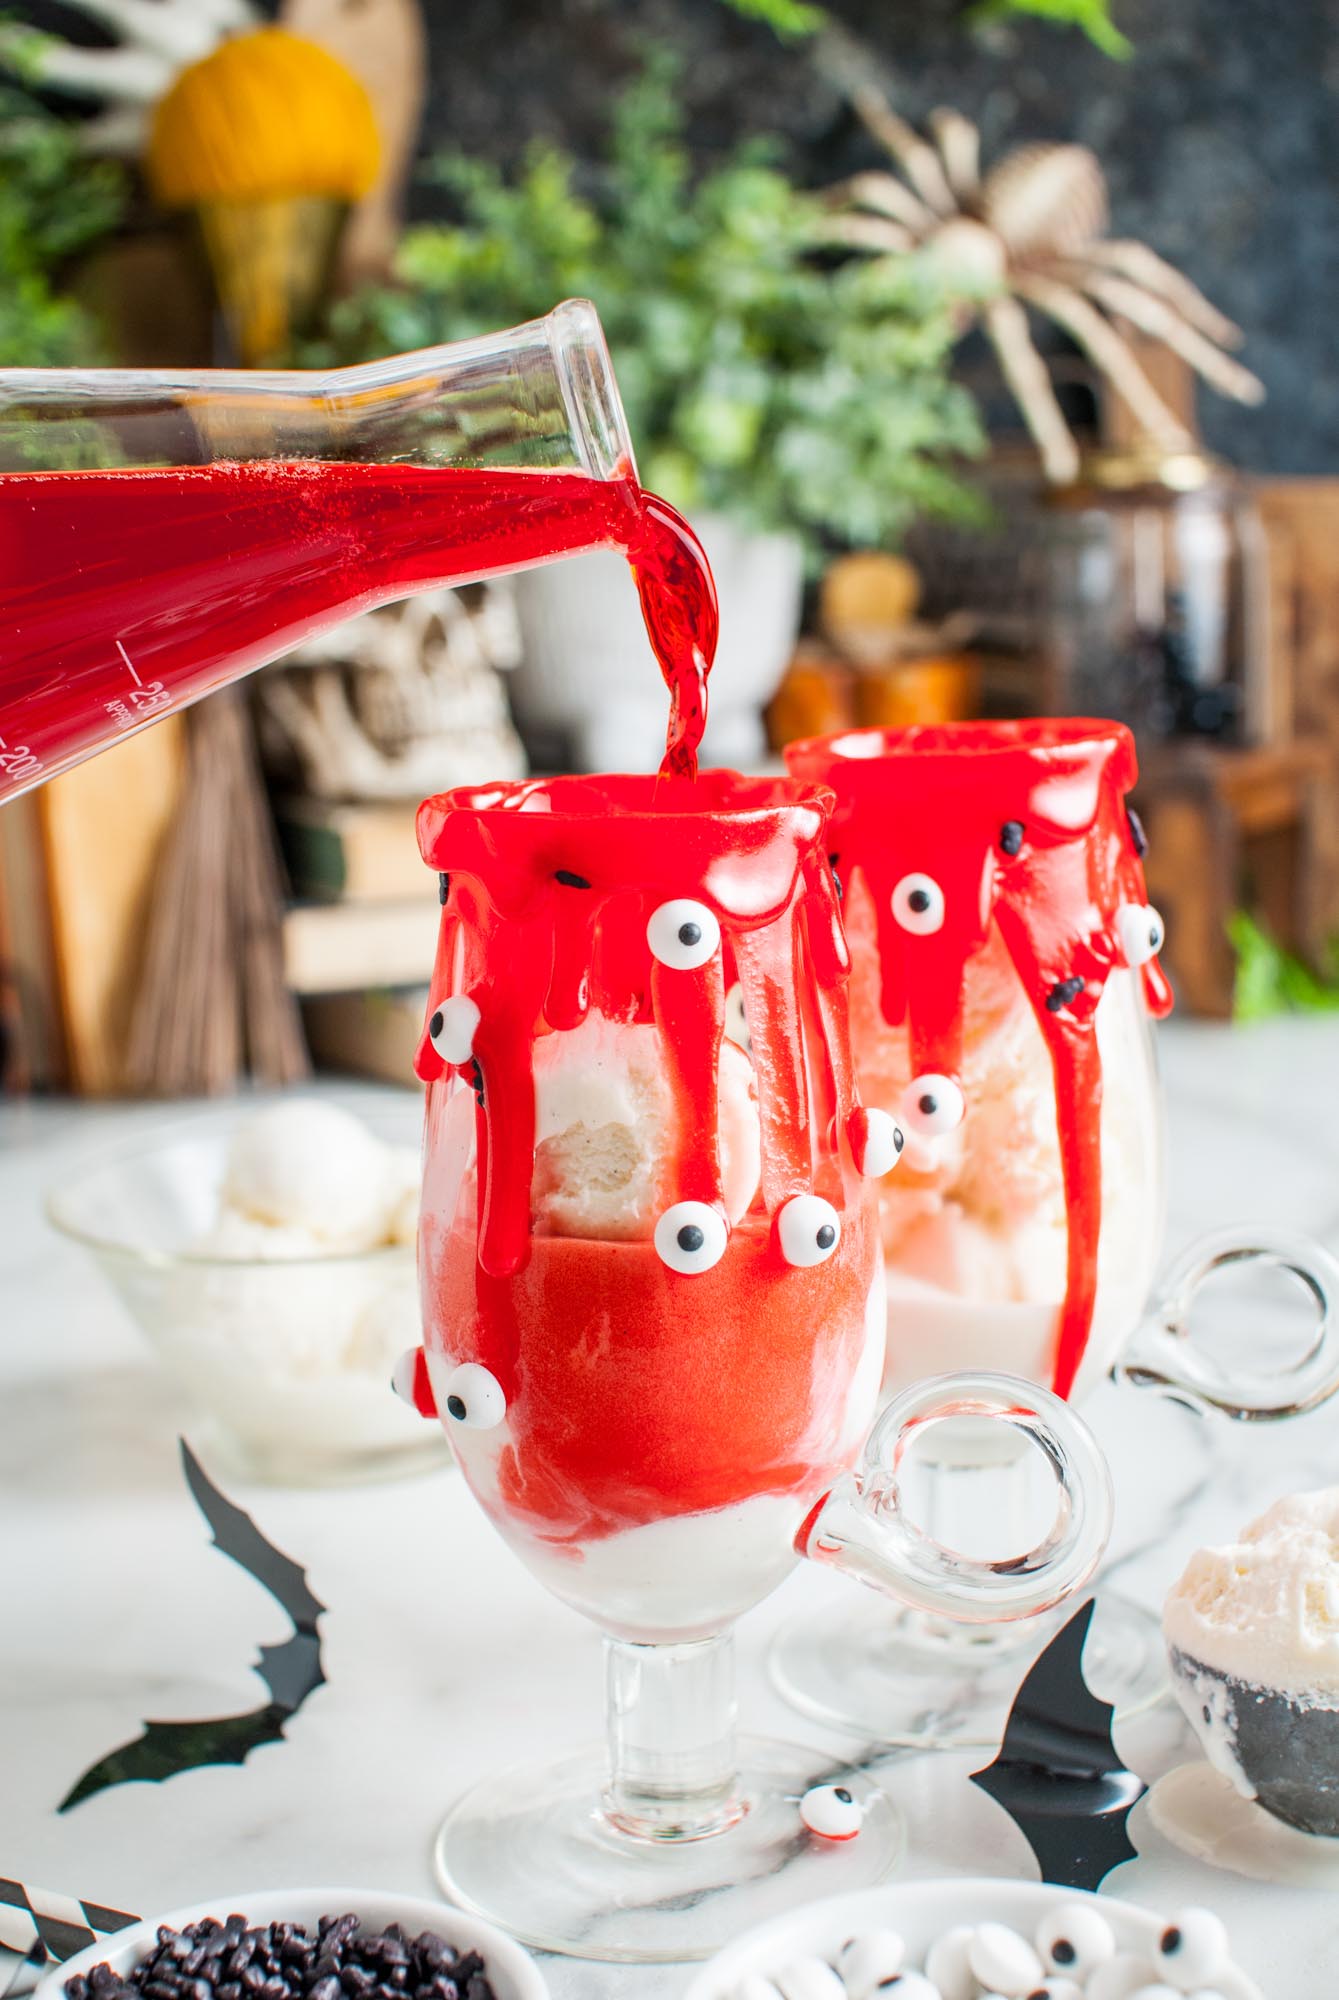
- If you would like to make your soda extra vibrant, add a few drops of red food coloring to the soda.
- Stream in the fruit punch soda, being cautious as to not overflow. You may need to do a second pour of soda once the foam has stopped expanding after the first pour.
- Add spooky straws and halloween garnishes such as plastic bats, plastic vampire teeth, or halloween candy.
Notes:
- Be flexible. The amount of ingredients needed to make each ice cream float will vary slightly depending on the size of your glass.
- Use this recipe as a guideline, and make as many floats as you need to serve your guests!
- For the icing drips. If your icing isn’t “drippy” enough, you can gently heat the package by placing it in a bowl of hot water for a minute. If it’s too drippy, place the glasses in the fridge to slow things down.
- Use cold soda. The ice cream and the soda really must be cold when you combine them together. If the soda is warm, you’ll get too much fizzing and foam will go over the edge of the glass.
- Chill the glasses. Once you’ve added the frosting rims, store the glasses in the fridge or freezer to keep them ready. Then you can make the floats when your guests arrive!
- Pour slowly. The trick to making a good float is to do it very carefully! Adding soda to ice cream too quickly will cause it to foam up too much. Take your time.
Nutrition Information
This website provides approximate nutrition information for convenience and as a courtesy only. Nutrition data is gathered primarily from the USDA Food Composition Database, whenever available, or otherwise other online calculators.
© Little Sunny Kitchen
Leave a Review!