How to make your Thanksgiving turkey taste as good as it looks! In this complete Thanksgiving or Christmas turkey guide, I’m sharing everything with you from how to buy a bird, to prepping the turkey, brining, cooking times, and much more! This guide will ensure that you serve the most amazing centerpiece at your next Thanksgiving dinner!
>> I also included FREE Thanksgiving printables for you at the end of the post, so make sure not to miss them!
Shopping
The first thing that you have to think about is what type of bird should you buy? This will determine the quality and flavor of the bird, and its impacts on the environment as in how it was raised. Here’s what you should look for and what do the labels mean:
- Natural turkeys are minimally processed birds without any additives, this means that no seasonings or water are added to them. The term natural has nothing to do with how the turkeys were raised, or what they were fed, and they usually have less flavor than organic, free-range, and heritage breed turkeys.
- Kosher turkeys are turkeys that have been treated with salt so they are deeply seasoned, and are great for retaining their moisture. They are much more forgiving than other types of turkey when it comes to accidentally overcooking your turkey, as they don’t dry out as easily. The downside of kosher turkey is that they can be too salty for some people, and this type of turkeys should never be brined.
- Self-basting turkeys are probably the most popular supermarket type of turkey. Self-basting means that the turkeys are injected with salt, broth, vegetable oil, and or/butter. The turkey comes out uniformly moist and can be cooked with minimal prep, but the turkey flavor can be a little diluted due to the injected seasonings and liquids.
- Organic and free-range turkeys have been raised in a more humane way, which means that they were able to roam around in their barn with access to an outdoor space. It also means that they were raised without any antibiotics and were fed with organic food.
- Heritage breed turkeys quite expensive but have the best and strongest flavor. Heritage turkeys have smaller breasts and larger legs which makes them perfect for dark meat lovers.
You also need to decide whether you’re buying a fresh or frozen turkey. Fresh turkeys are usually pre-ordered from a butcher, but can also be found at the supermarket. Don’t leave this to the last minute as they sell out quickly.
If buying a frozen turkey, then make sure to buy it at least 5 days before Thanksgiving to have enough time to thaw it (more on this below). If you have plenty of freezer space, then I recommend that you buy a turkey as soon as they appear at the grocery store.
Whilst all turkeys will end up with great results if cooked properly, in my family we usually go for natural turkeys, organic and free-range, or heritage breed turkeys when possible.
How Much Turkey Do You Need
After deciding on what type of turkey you want to buy, think of what size of bird do you need. The turkeys available at supermarkets generally weigh between 10 and 25 pounds (4.5-11kg), and the most purchased size is usually around 15 pounds (7kg).
If you’re roasting a whole bird, then you will need 1lb/450g per adult (you will end up with half a pound of edible meat), and a total of half a pound per child.
If you want leftovers, then go for 1.5lb per person. If you’re roasting a turkey breast/boneless meat then go for 4oz/125g per person.
Thawing
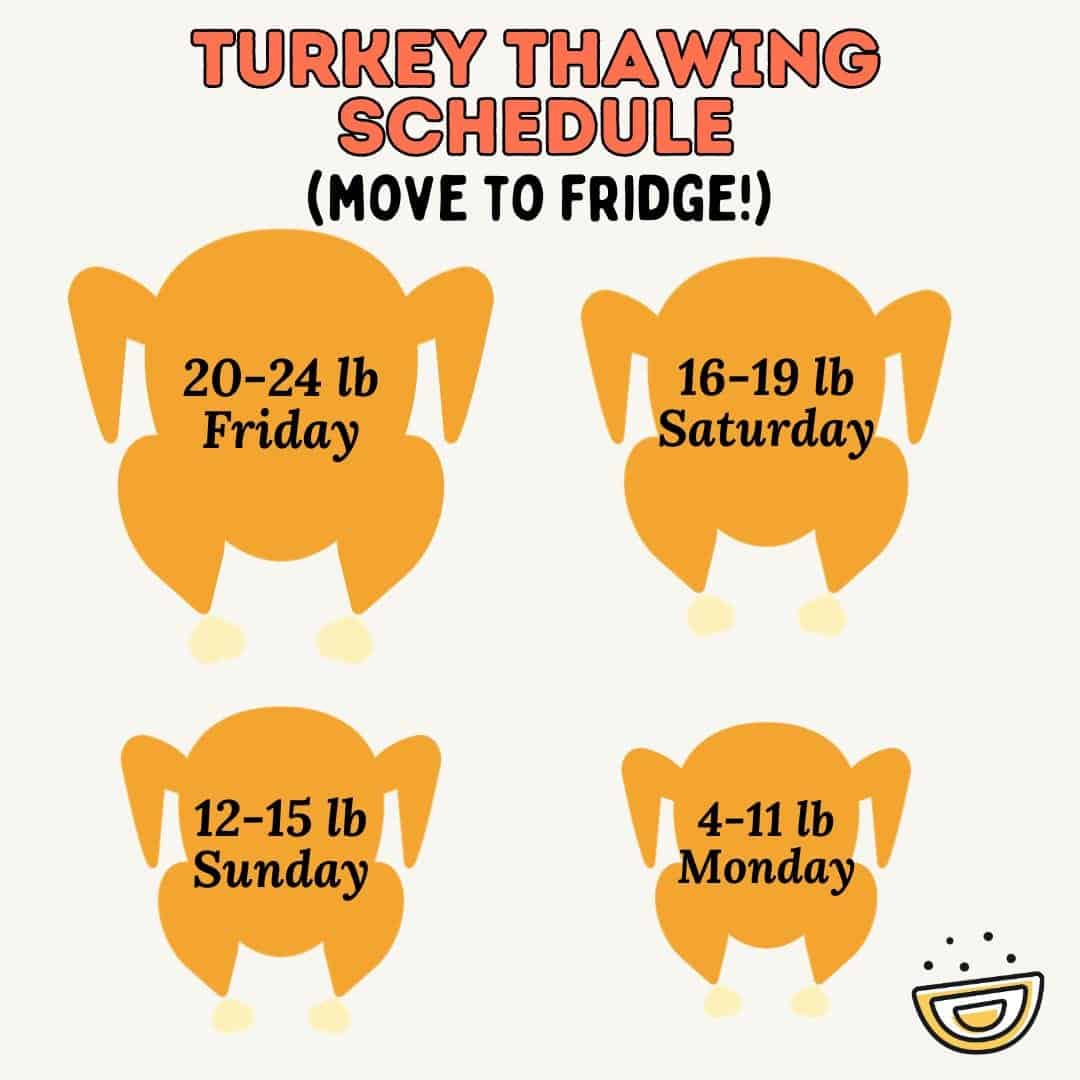
The best way to defrost a frozen turkey is at the bottom of the refrigerator or in a cooler, placed on a tray, for 3-6 days to fully defrost depending on the size of the turkey.
If you forgot to thaw your turkey and need to do it quickly, a safe way to do it is by placing it in water (not warmer than 70°F/21°C) changing the water every half an hour). It will take around 2.5 hours for every 5 pounds of turkey, so a 15-pound turkey will take around 7.5-8 hours to fully defrost.
Brining
Brining results in moist and juicy meat by soaking it in salted water overnight. Is it necessary? No. Does it help get juicer meat? Yes!
Be sure that your turkey is not salted already, do not brine kosher or self-basting turkeys as they will be overly salted if brined. Always check the label, and if the label doesn’t say anything, then it’s safe to assume that it’s a natural turkey and okay to brine.
It is totally fine to brine a partially thawed turkey but thawed is always best. There are two methods to brine turkey: Traditional brine and dry brine, so decide which brining method you will be going for. I’m personally a fan of dry brine as I find it easier to do and it gives great results.
Traditional brine: Start by clearing some fridge space, and find a large pot or container that can fit your turkey. You will need 3/4 cup of table salt for every 4 quarts of water. Add any seasonings that you would like to use such as black peppercorns, bay leaves, juniper berries, cloves, lemon or orange peels, allspice berries, etc.
Make sure that the turkey is submerged in the salt solution, and if it’s sinking up to the top then weigh it down with a plate. Cover, and leave it in the fridge to brine for 12-24 hours. Do not wash the salted water off before cooking. Find my Wet Brine Recipe here.
Dry brine: In a small bowl, mix 3 tablespoons of salt with 1 teaspoon of ground black pepper and 2 teaspoons of herbs.
Pat dry the turkey with paper towels, then using your hands loosen the skin to separate it from the meat. Rub the seasoned salt onto the meat (breast and legs), and sprinkle a little bit more over the skin.
Place on a tray, and leave in the fridge uncovered for 1-3 days. This will dry out the skin, and help it crisp up when roasted.
Basting
Many think that basting helps you get juicer meat, but the truth is it doesn’t. If you’re behind schedule then basting can help cook the turkey faster, but I’m personally not a fan of opening the oven often as this will let heat out and lower the temperature of the oven.
How Long to Cook a Turkey
Oven: Roast your turkey at 350°F (180°C) until it reaches the right temperature (check the section below). Depending on the size of the turkey, it might take anywhere from 2 hours for a small bird, to 6 hours for a large bird.
For an unstuffed bird, it should roughly take about 15 minutes per pound.
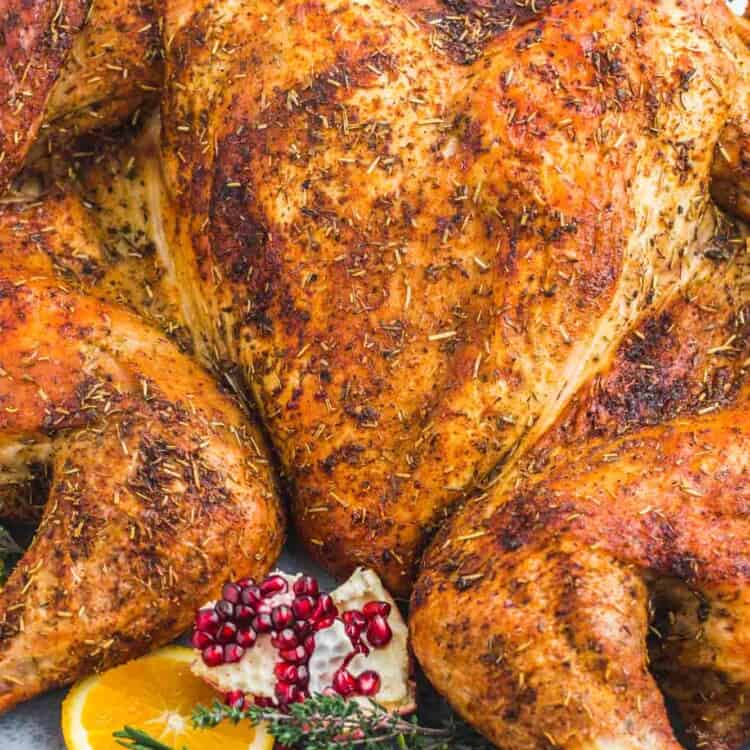
The quickest way to cook a turkey is by spatchcocking it! I roasted a 12-13lb turkey in just 1 hour and 15 minutes. Find my Roast Spatchcock Turkey Recipe here.
Grill: You can totally grill a whole turkey, it’s so easy and it works so well! a 12lb turkey, takes about 2 and half hour. Find my Grilled Turkey Recipe here.
Smoker: Smoke your turkey for 6-10 hours depending on the size, make sure to check out my Smoked Turkey Recipe for more details.
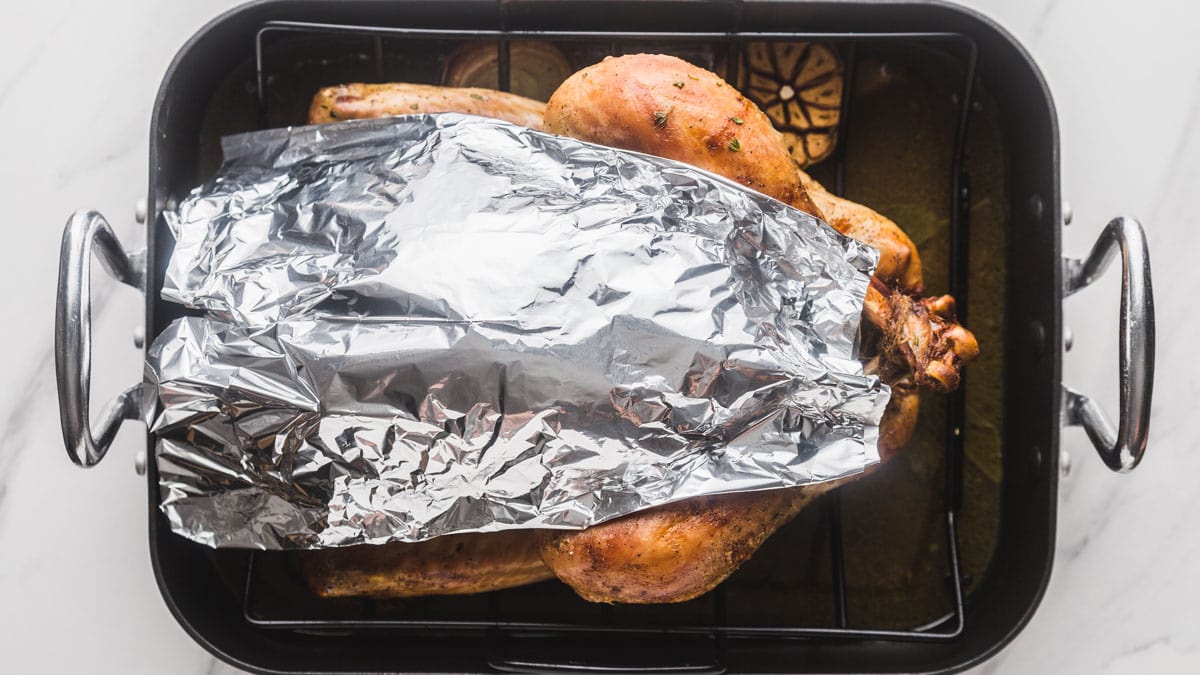
If the turkey breast is browning too quickly, loosely shield it with aluminum foil to protect it from over-browning and drying out.
Check The Temperature
Many turkeys are sold with pop-up thermometers already inserted in the turkey breast. These thermometers are not trustworthy indicators and should not be relied on. I always remove them!
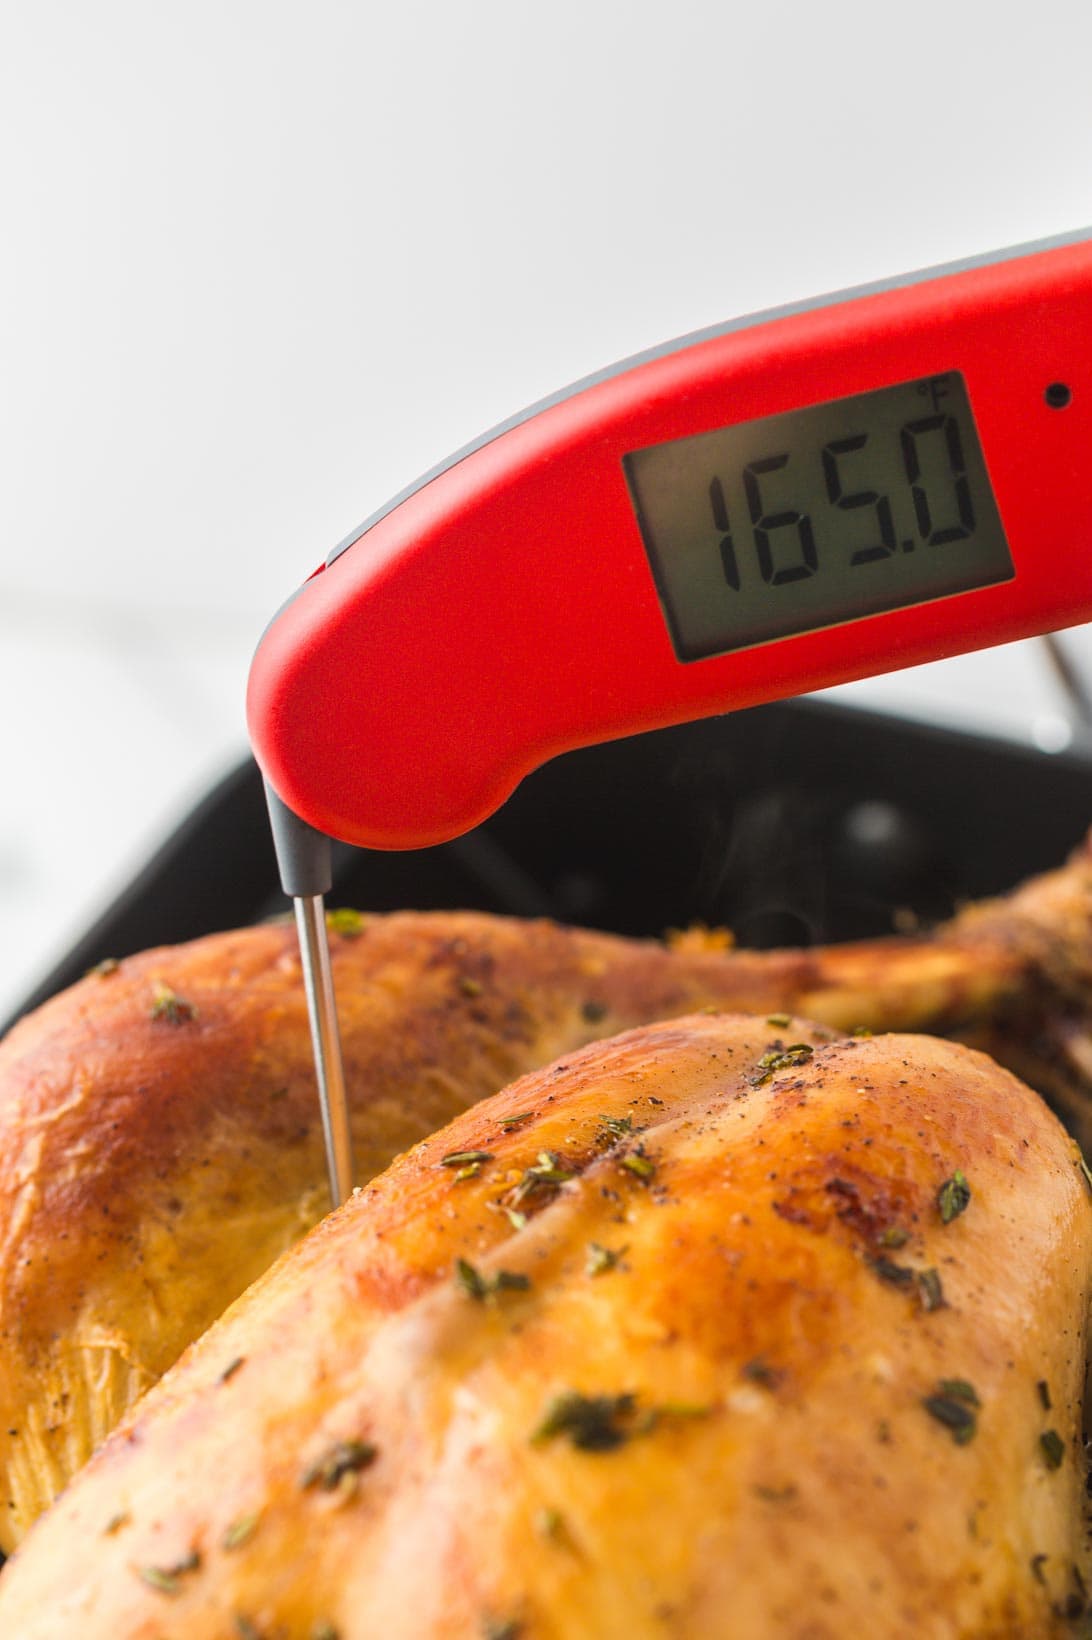
The most reliable way to check for doneness is to check using a kitchen thermometer like the Instant Read Thermapen (US link/UK link) that I love and use, or a cheaper kitchen thermometer like this one. When a kitchen thermometer is inserted into the thickest part of the breast reaches 155°F (68°C), and the inner thigh reaches at least 165°F (74°C).
When you check the temperature of the meat, make sure that the thermometer is not touching a bone for an accurate reading. Keep in mind that the temperature of the meat will rise by around 10 degrees as it rests after it’s removed from the oven.
If you’re roasting a stuffed bird, the center of the stuffing should reach at least 165°F (74°C).
After removing the turkey from the oven, it’s very important to let it rest for 30-40 minutes. Loosely cover it with foil, and leave it there while you prepare the sides. This will allow the juices to redistribute throughout the meat, and ensures that the meat stays juicy and moist after carving.
How to Carve a Turkey
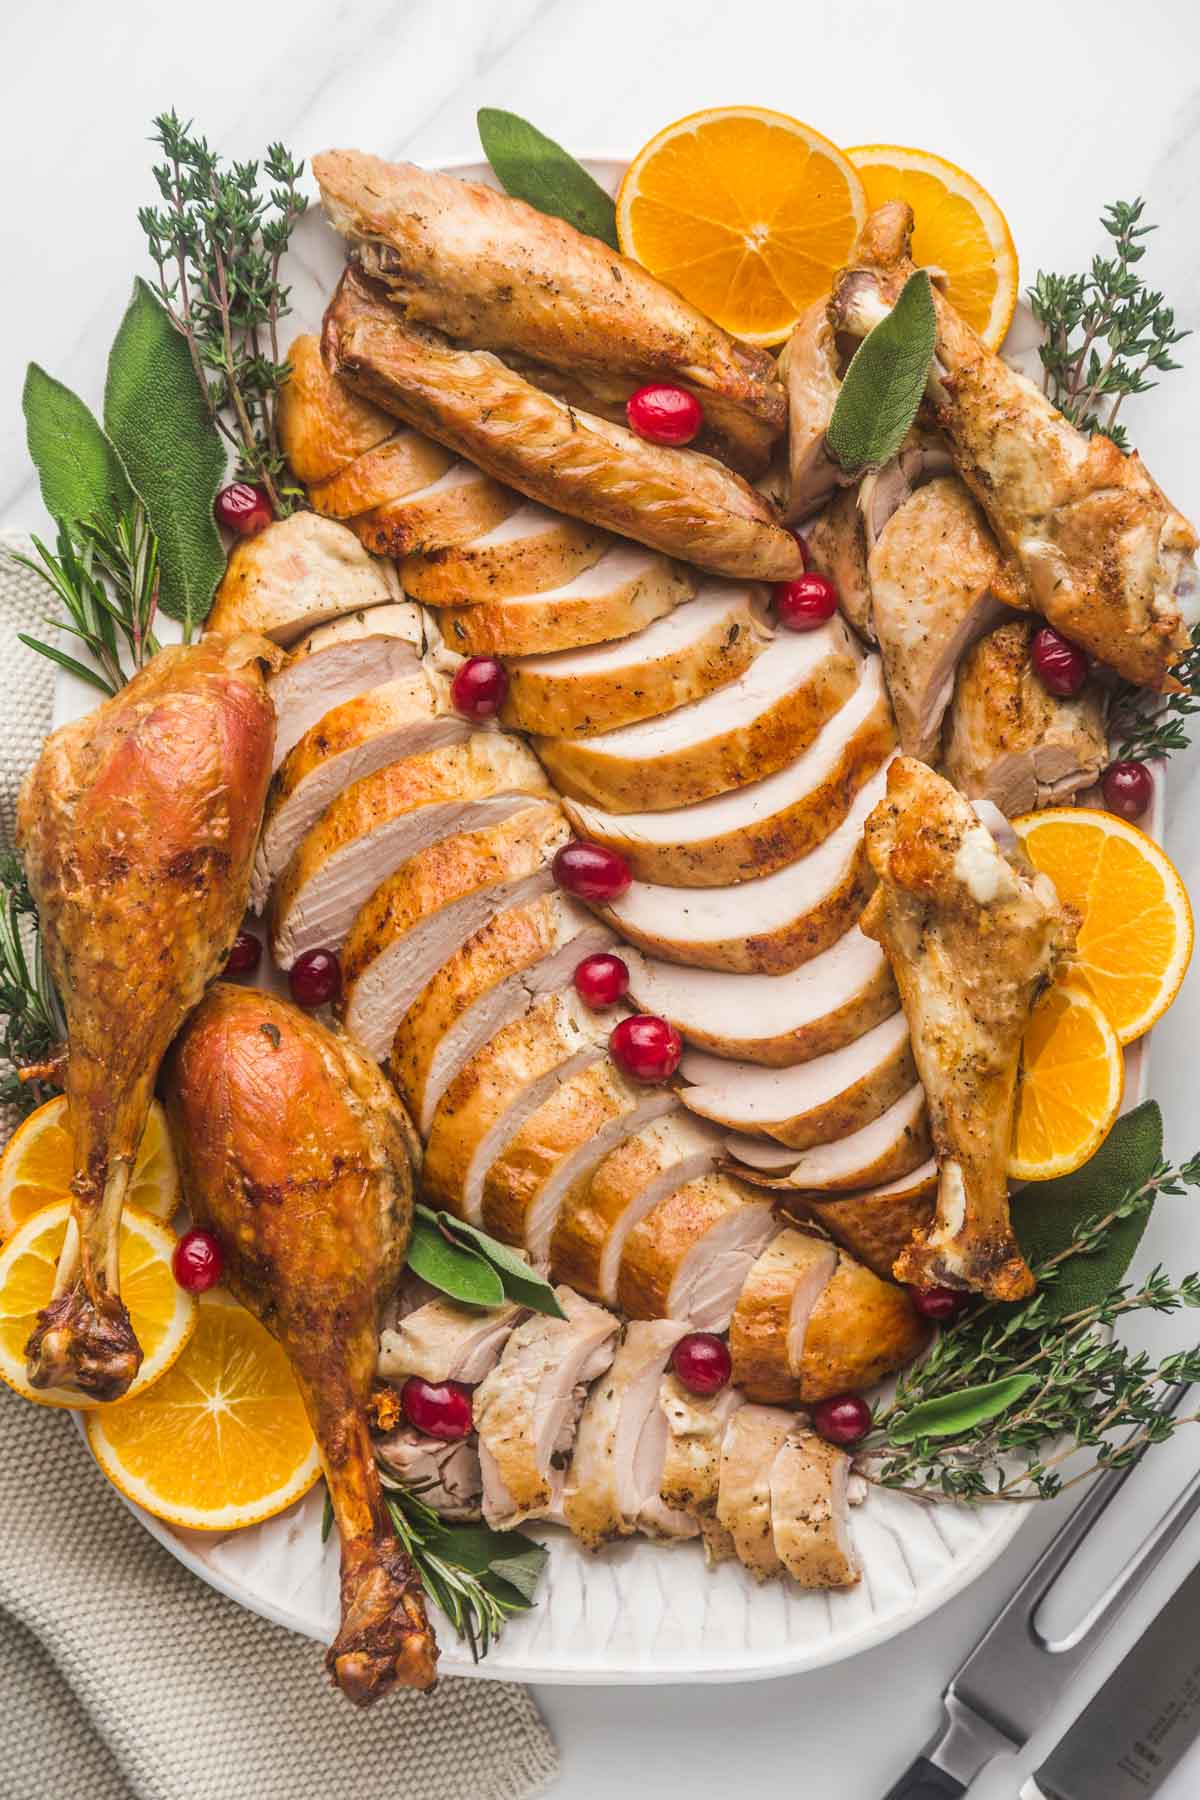
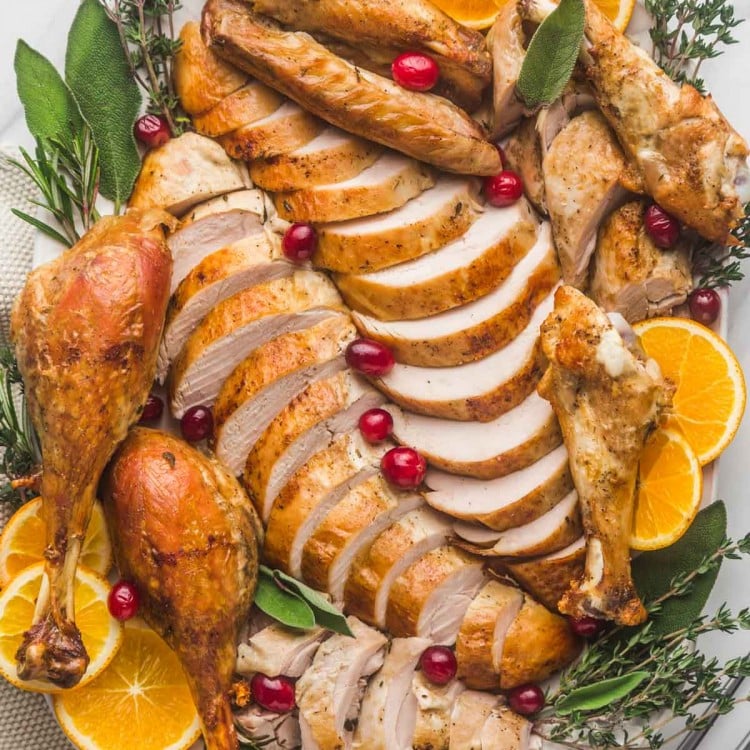
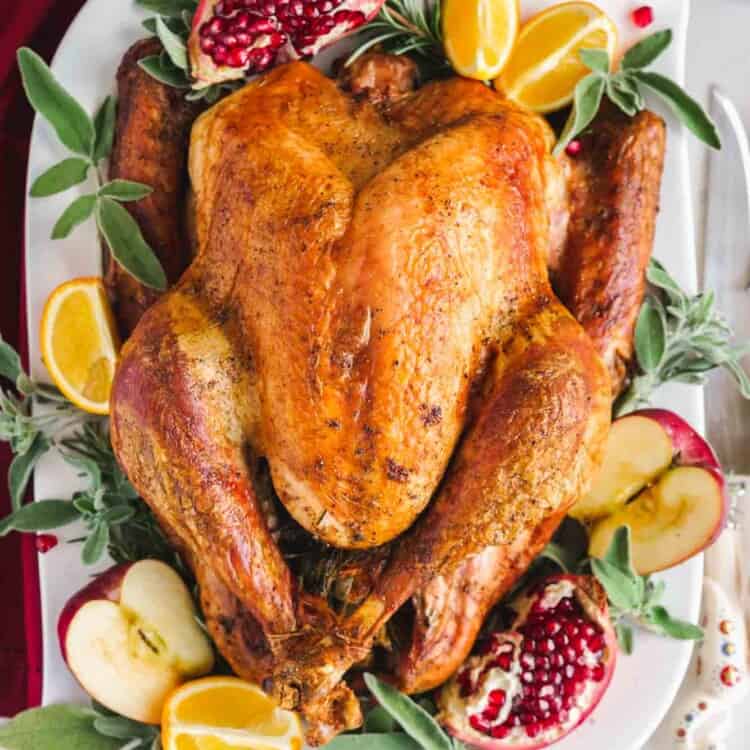
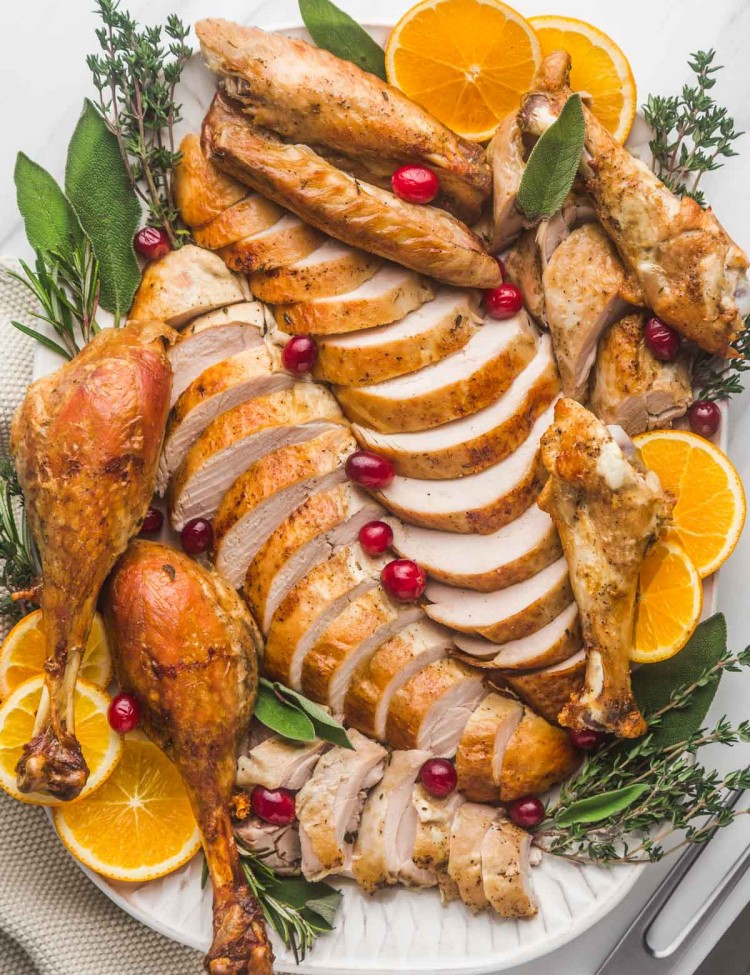
After roasting and resting the bird, it’s time to carve it. I highly recommend that you carve the turkey in the kitchen, and then present it on a platter for serving (see image below).
- Get your hefty sharp knife out, and with the turkey breast side up, separate the legs by cutting the skin between the leg and the breast. Cut down and toward the backbone until the hip joint is exposed. Separate the joint using the tip of the knife by making a twisting movement to release the leg. Repeat with the other leg and transfer to a warm platter.
- Separate the drumstick and the thigh from each other by cutting the joint between them again with the blade of the knife slightly twisting.
- Remove the wings the same way, separate the drumettes from the flats and place on the platter.
- Locate the breastbone, and cut down the entire breast side off the bone and it should come out in one piece. Take your time and do this carefully. Slice the breast into half-inch slices so each slice gets a bit of the crispy skin, repeat with the other side and transfer to a platter.
- Debone the thighs by slicing the meat off the bone from the backside, then slice it into thin slices similar to the breast and serve on the platter.
Roast Turkey Recipe
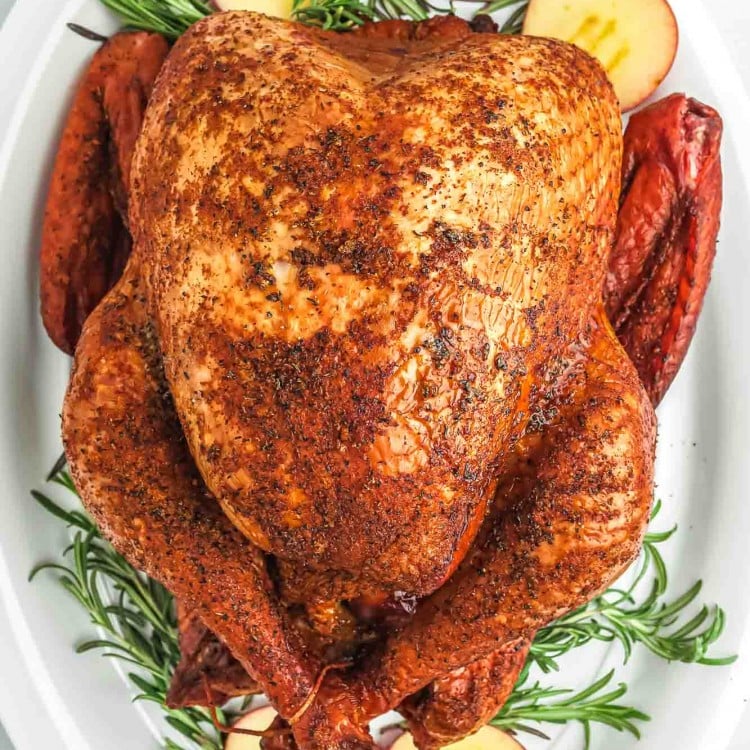
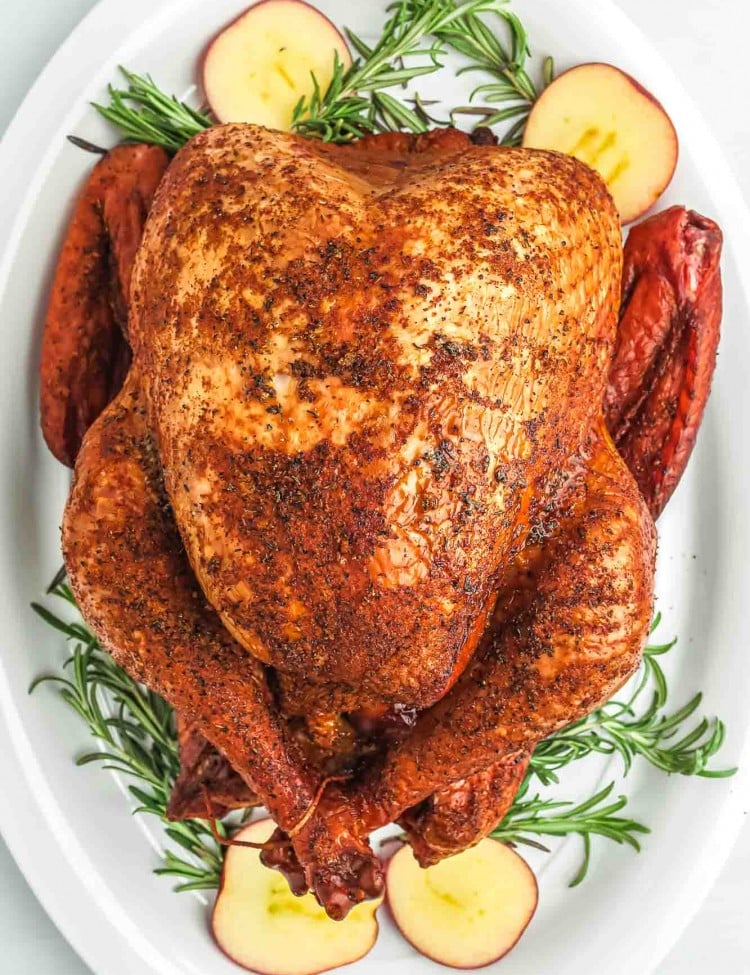
The best recipe to start with is a basic one, I love this roast turkey recipe as it’s a simple foolproof recipe that anyone can make! It’s also very versatile and you can easily change up the seasonings. The best seasoning to start with is either just butter, salt, and pepper. Or try my Turkey Seasoning for more herby flavor.
Frequently Asked Questions
If you plan to buy a fresh turkey, then buy it 1 or 2 days before you plan to cook it. If buying frozen, buy it at least 5-6 days before you plan to cook it to have enough time to thaw it.
Rub with softened butter and season with salt and pepper. You can also fill the cavity with aromatics.
Season generously with salt and pepper, then fill with onion quarters, garlic cloves, lemon wedges, and mixed fresh herbs.
Only if it’s browning too quickly, and make sure that you tent it with aluminum loosely to allow hot air to circulate.
No! According to the USDA Food Safety and Inspection Service, washing raw poultry and meat is not recommended as you risk spreading bacteria to other foods, utensils, and surfaces.
It should be at room temperature, so remove it from the fridge 1 hour before cooking.
Thanksgiving Sides
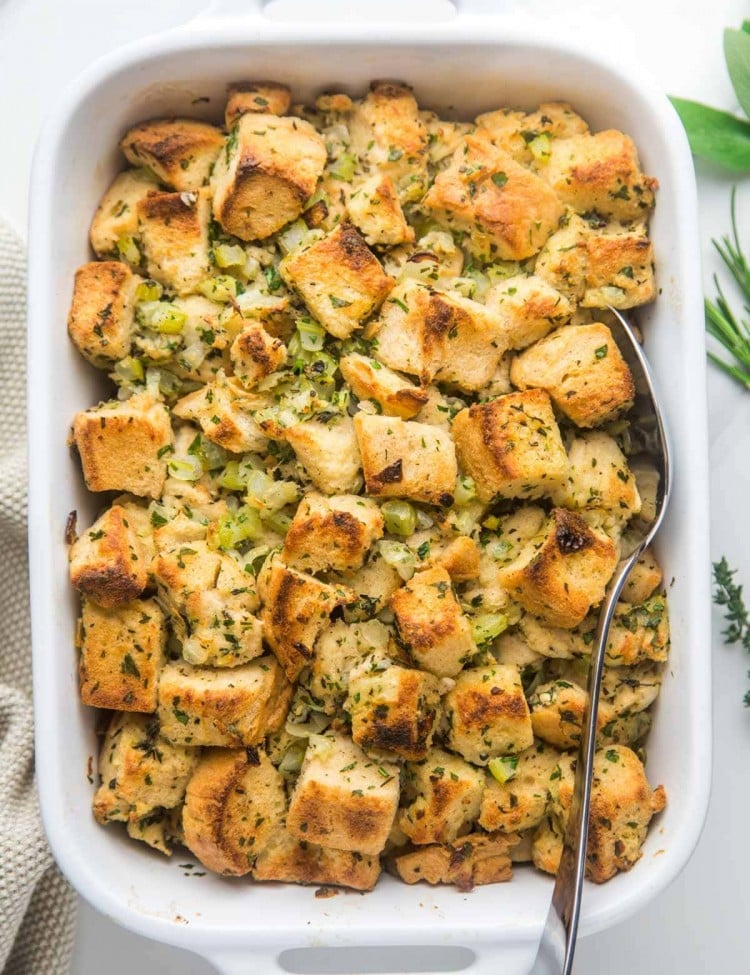
- Classic stuffing
- The best ever homemade cranberry sauce
- Brown sugar glazed carrots
- Roasted frozen brussels sprouts
- Cheesy spaghetti squash
- Creamed corn
- Cheesy scalloped potatoes
- Slow cooker butternut squash soup
Free Thanksgiving Printable
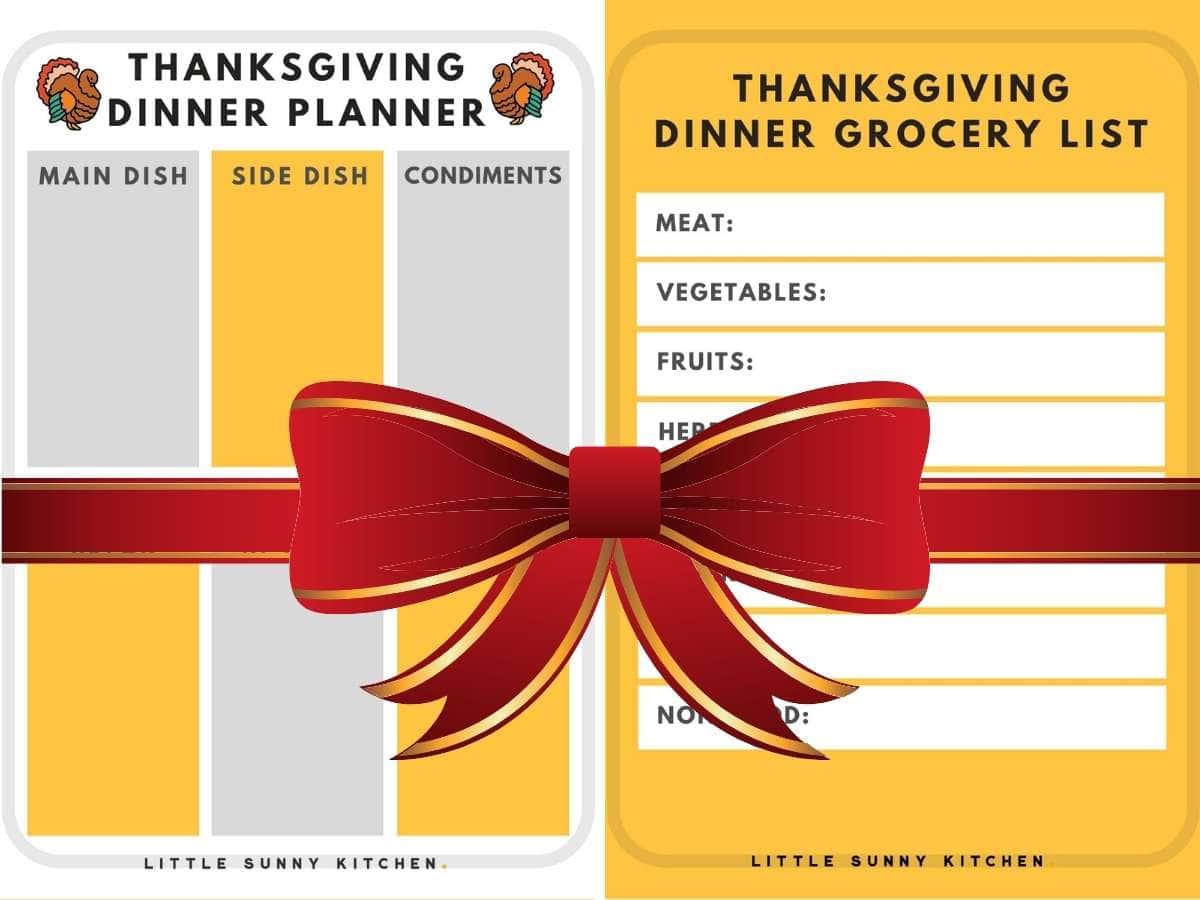
And lastly, here’s a FREE printable for you to download! A Thanksgiving dinner planner, and a grocery list sheet to make sure that you’re all set and ready for Turkey day! You can download them right here: Thanksgiving Dinner Planner.
I hope that you find this guide useful! If you have any Turkey questions, leave a comment below. Happy Thanksgiving!

Leave a Review!