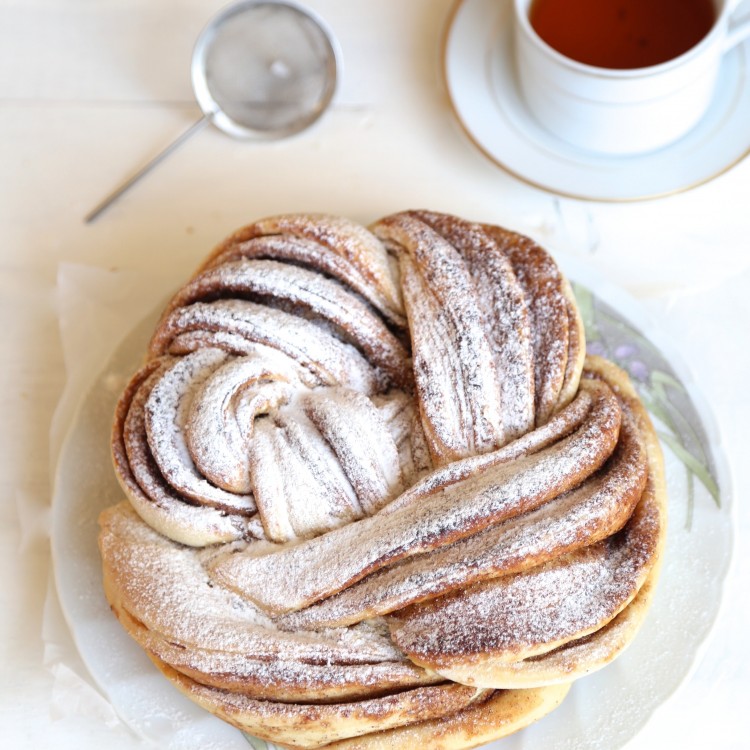
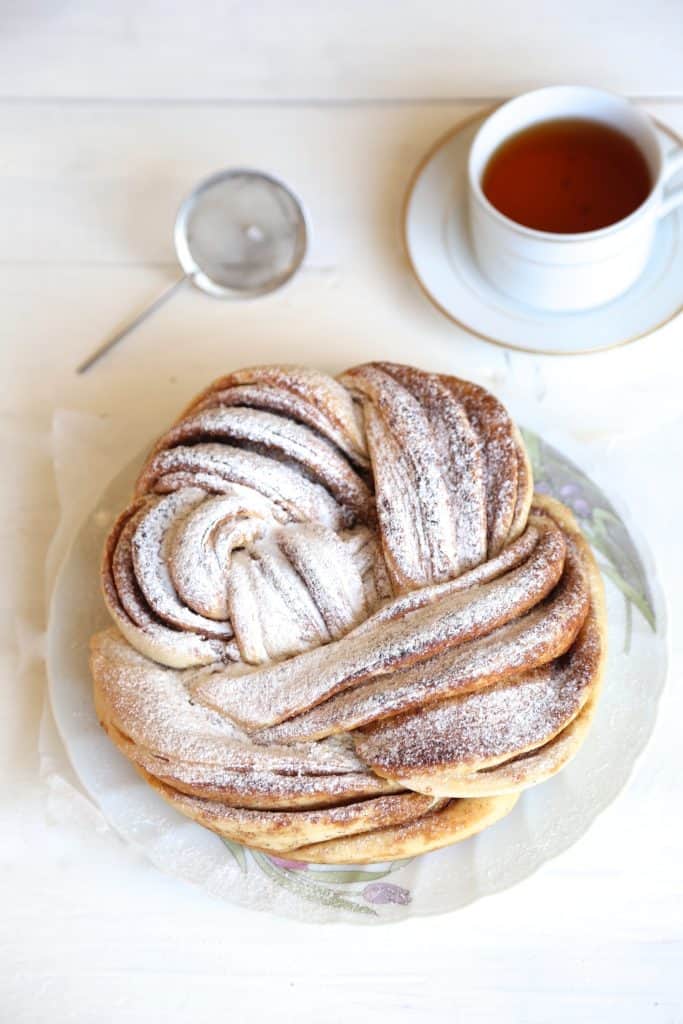
A Russian braided cinnamon wreath that my Grandmother used to bake for us…
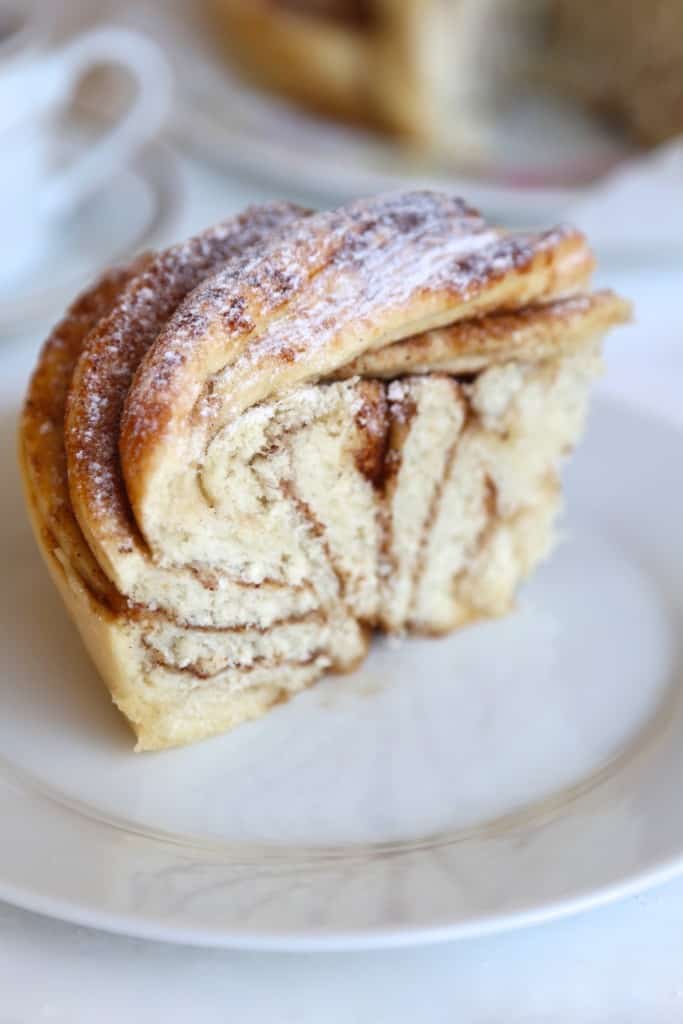
This is one of these beautiful breads that I really enjoy baking and eating! It is so good to have a piece of this beautiful bread with a warm cup of tea or coffee in the morning…. Or in the evening, or anytime of the day! Cinnamon is one of my all time favorite ingredients, it just makes everything taste 100x better 😀
Oh and by the way you really need to try these Nutella Cinnamon Rolls, try them, you won’t regret it!
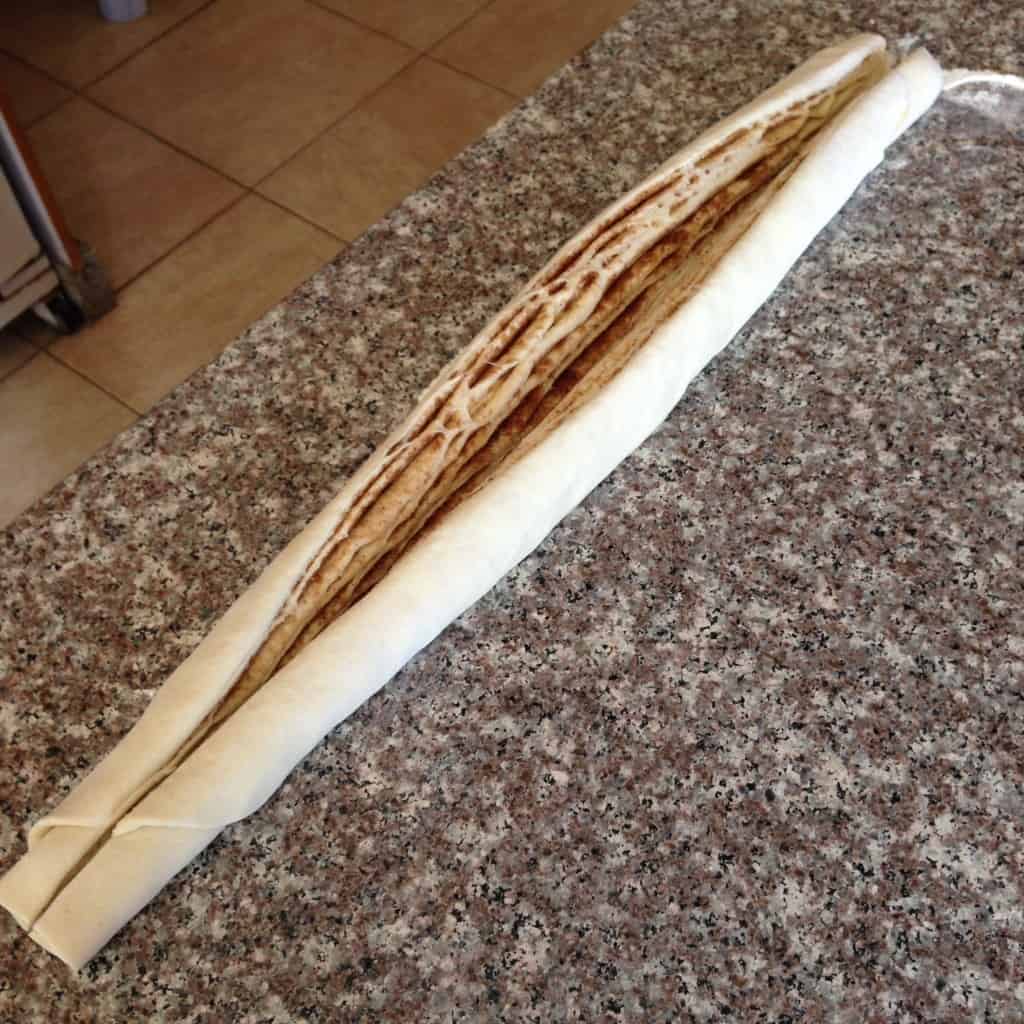
What I love about this bread is that it really is fun to make, and the result is always beautiful! Shaping the braided wreath is quite easy, I have posted a few pictures below just to show you how is it done, when you bake yours please send me a picture I would love to see! 😉
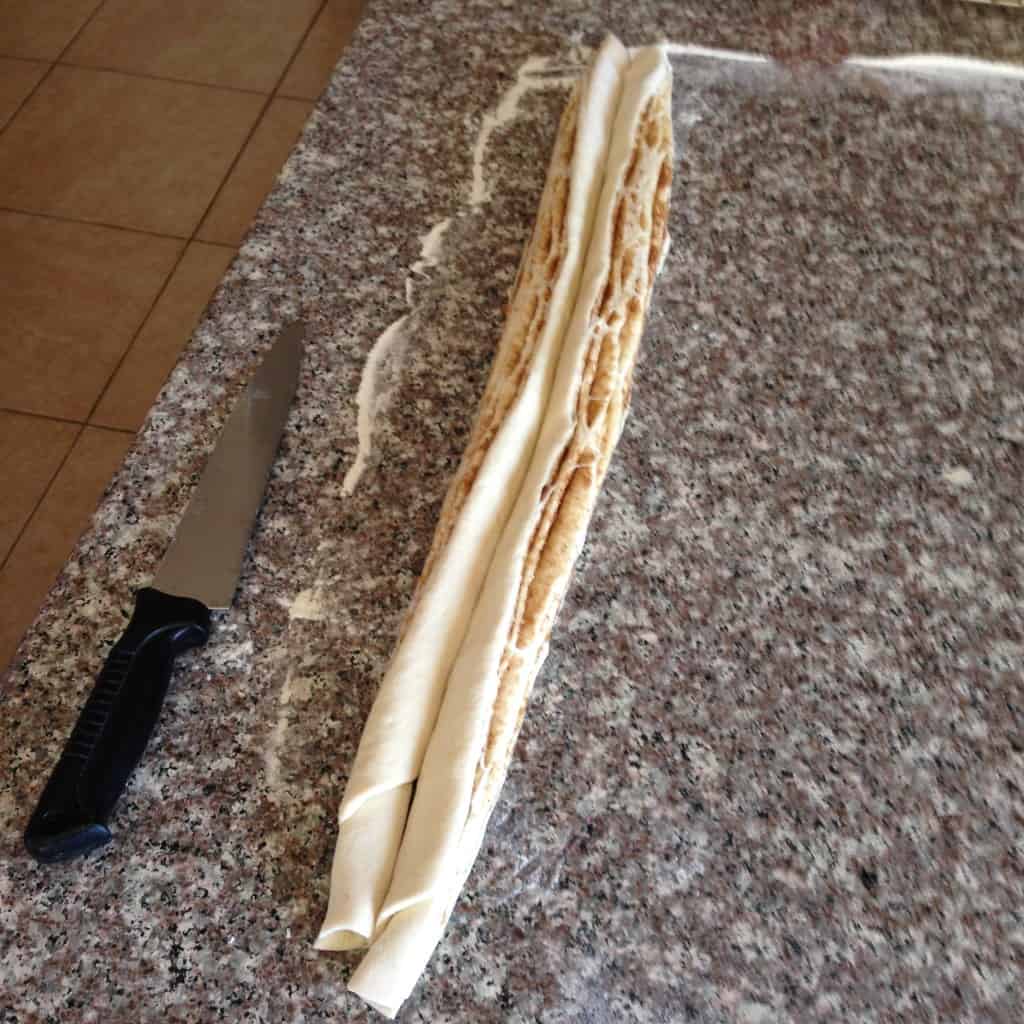
Start by flattening the dough ball out and rolling it into a rectangle. Brush with softened (room temperature) butter, then sprinkle with cinnamon and sugar. Roll into a pinwheel from the longer side of the rectangle and then using a sharp knife cut into 2 equal halves.
Slowly turn the 2 halves facing outwards so you can see the layers inside.
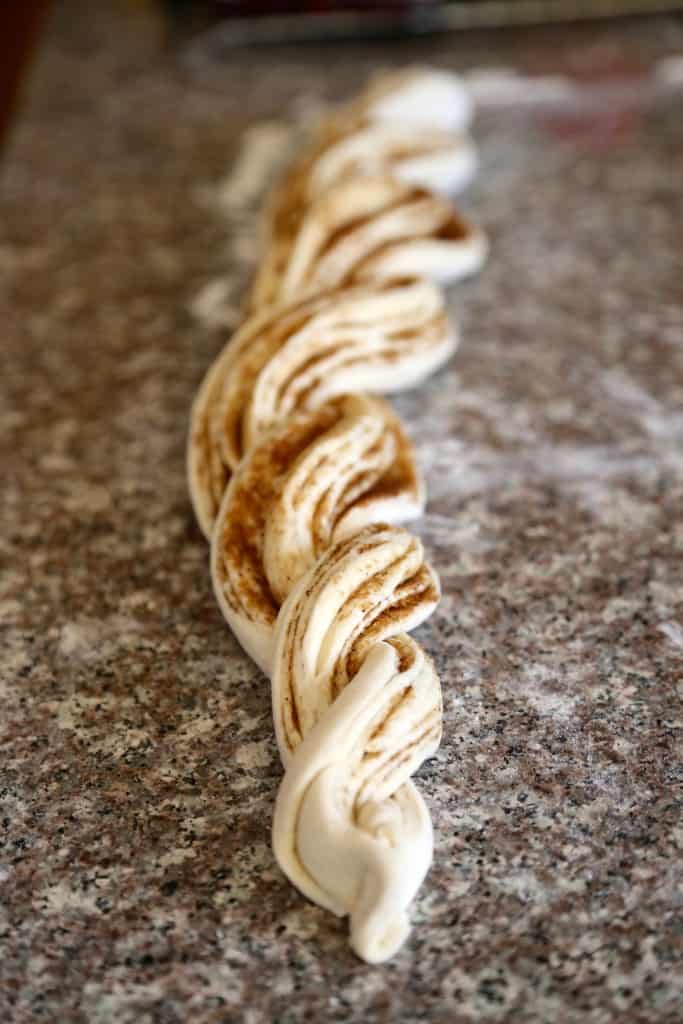
Then place the two halves crossing each other to create X shape. Pick up the 2 ends of the bottom and cross again. Pinch the ends together and repeat.
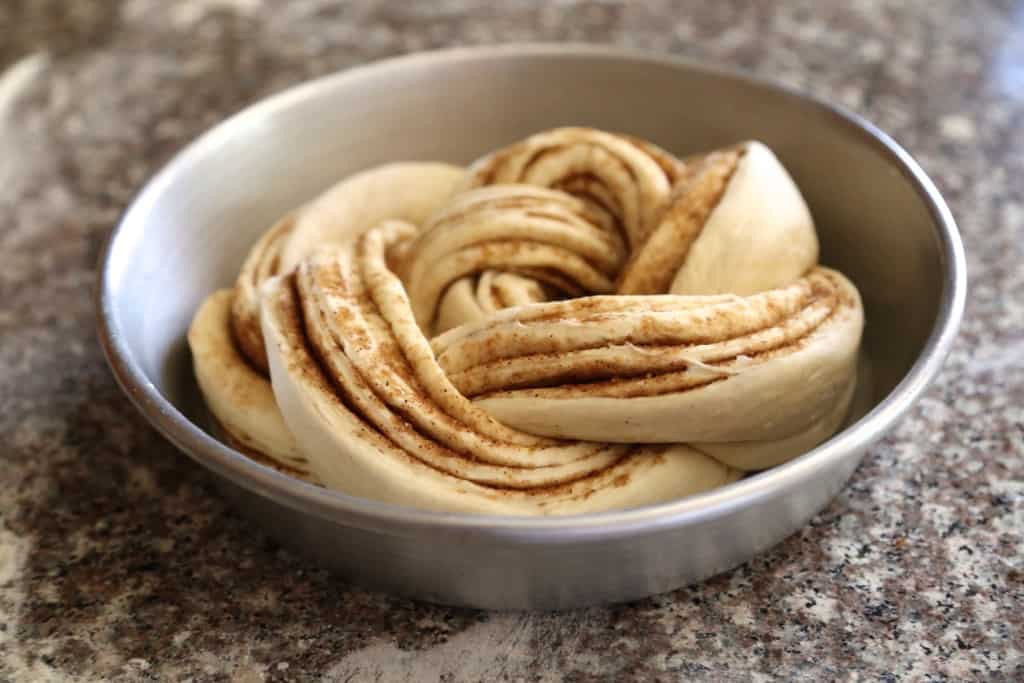
Place in your pan in a wreath shape. Cover with a damp cloth and let rise in pan for 30 minutes. Bake for about 40 minutes or until golden (as per instructions below). Finally, let it cool on the wire rack and sprinkle with sugar and cinnamon on top. Cut into slices and Enjoy!
This recipe is originally Russian, my Grandmother used to bake it for us in Moscow whenever we visited, it made the whole house smell like Christmas. She would cut it into cake-like slices and serve it with unsweetened tea. Ahh how I miss these days!
Did you make this? Be sure to leave a review below and tag me on Facebook, Instagram, or Pinterest!
Russian Rose Bread (Cinnamon Wreath)
Ingredients
For the dough:
- 4 cups all-purpose flour 480g
- 2 ½ teaspoons instant yeast
- 2 ½ teaspoons granulated sugar
- 1 teaspoon salt
- ¼ cup vegetable oil 60ml
- 1 tablespoon distilled white vinegar
- 1 ¼ cup warm water
For the filling:
- 1 stick unsalted butter 113g, softened
- ½ cup granulated sugar 100g
- 3 teaspoons powdered cinnamon
Instructions
- With a small piece of softened butter, grease a 10 inch springform pan.
- In a bowl of a stand mixer, combine flour with yeast, sugar, salt, oil, vinegar and warm water. Knead on medium speed until the dough is elastic. If the dough seems too dry, add a splash of water.
- When you're done kneading, coat the dough ball with oil and cover with a clean towel, let it rise and double in size (takes about an hour).
- Lightly flour the work surface and roll out the dough as thin as you can shaping it into a rectangle.
- Brush with softened butter and sprinkle generously with sugar and cinnamon. Roll the dough into a pinwheel (from the longer side of the rectangle). Using a sharp knife cut it along its length into 2 equal halves. Slowly turn the 2 halves facing outwards so you can see the layers inside. Then place them crossing each other to create X shape. Pick up the 2 ends from the bottom and cross again. Pinch the ends together and repeat.
- Place in your pan in a wreath shape. Cover with a clean towel and allow to rise for 30 minutes. Sprinkle with sugar and cinnamon on top.
- As your dough is rising, preheat the oven to 400°F/200°C.
- Bake wreath at 400°F/200°C for 10 minutes and then lower to 350°F/180°C, and bake for another 30 or 40 minutes until the top is golden brown.
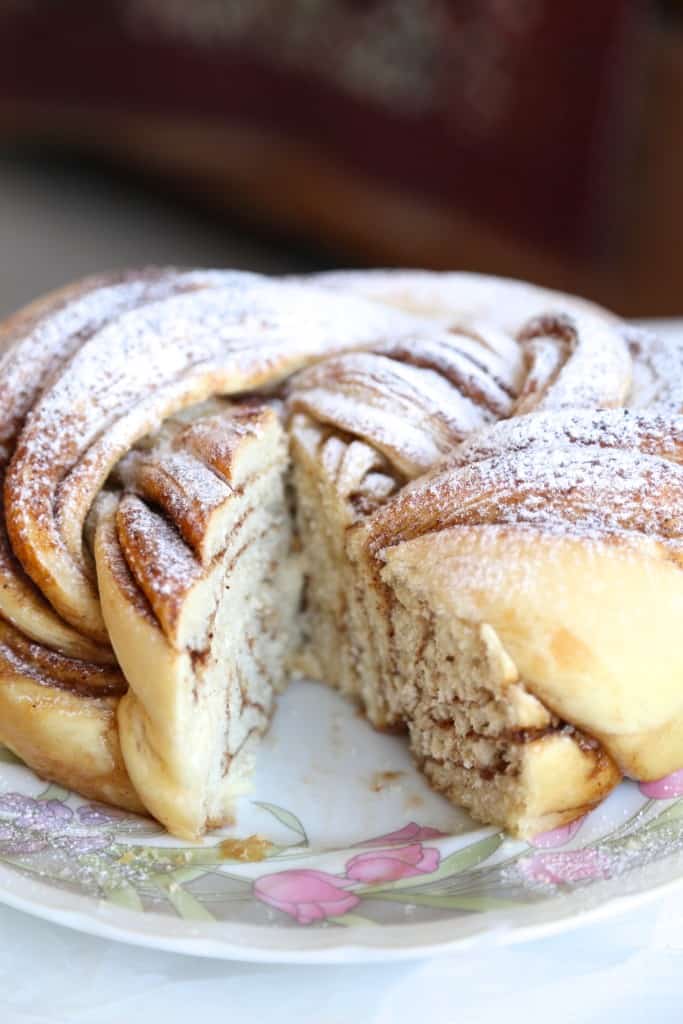
- Remove from the oven, and allow it to cool completely and sprinkle with some powdered sugar before serving.
Nutrition Information
This website provides approximate nutrition information for convenience and as a courtesy only. Nutrition data is gathered primarily from the USDA Food Composition Database, whenever available, or otherwise other online calculators.
© Little Sunny Kitchen



Donna says
This looks amazing and I want to try it, BUT I confess you lost me in the instructions, where you say: “Then place the two halves crossing each other to create X shape. Pick up the 2 ends of the bottom and cross again. Pinch the ends together and repeat.” I just don’t understand how the photo at that point (one long piece of dough) equals making an “X”…
I must be spatially challenged, but please help! A few more photos maybe?
I see this recipe was posted in 2018, which is an eternity-ago in internet time, so I’m not really hopeful about a response 😣 -but if you DO happen to have the time to clarify this, I’ll be forever grateful!
Little Sunny Kitchen says
Luckily, the shaping of this loaf is pretty forgiving! Cut the long roll in half to expose the inside layers, and then gently form those two pieces into a twisted rose shape!
dwkgokbnw says
Good bread! It’s a easy recipe to follow and do, yielding great results.
Rita says
This recipe is really excellent. I make a lot of different types of bread and it is pretty unusual that the bread recipe needs no adjusting at all to get it just right. I kneaded it in my mixer and that worked perfectly too. I am going to make it again tomorrow for an event.