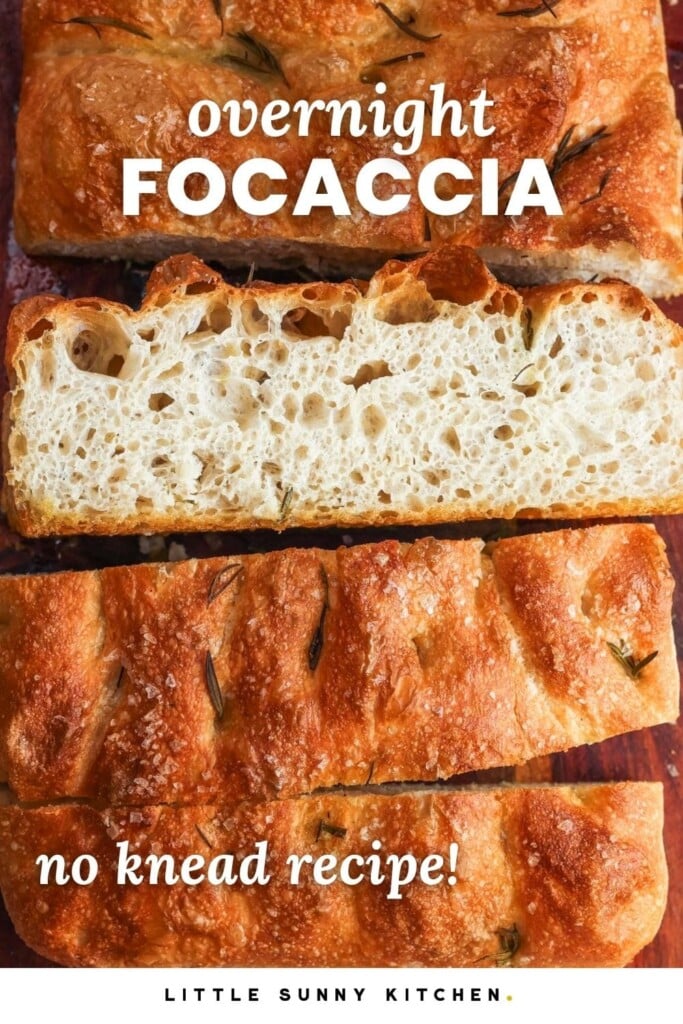
Overnight Focaccia with a crisp olive oil crust and a light, chewy center. Mix this dough in one bowl, give it just one set of stretch and folds, and let time do the rest of the work with a long overnight proof in the fridge. Bake the next day in a 9×13 pan for thick, airy slices, or in a half sheet pan for a thinner loaf that splits for sandwiches.

What 7 or 8 Tries Taught Me
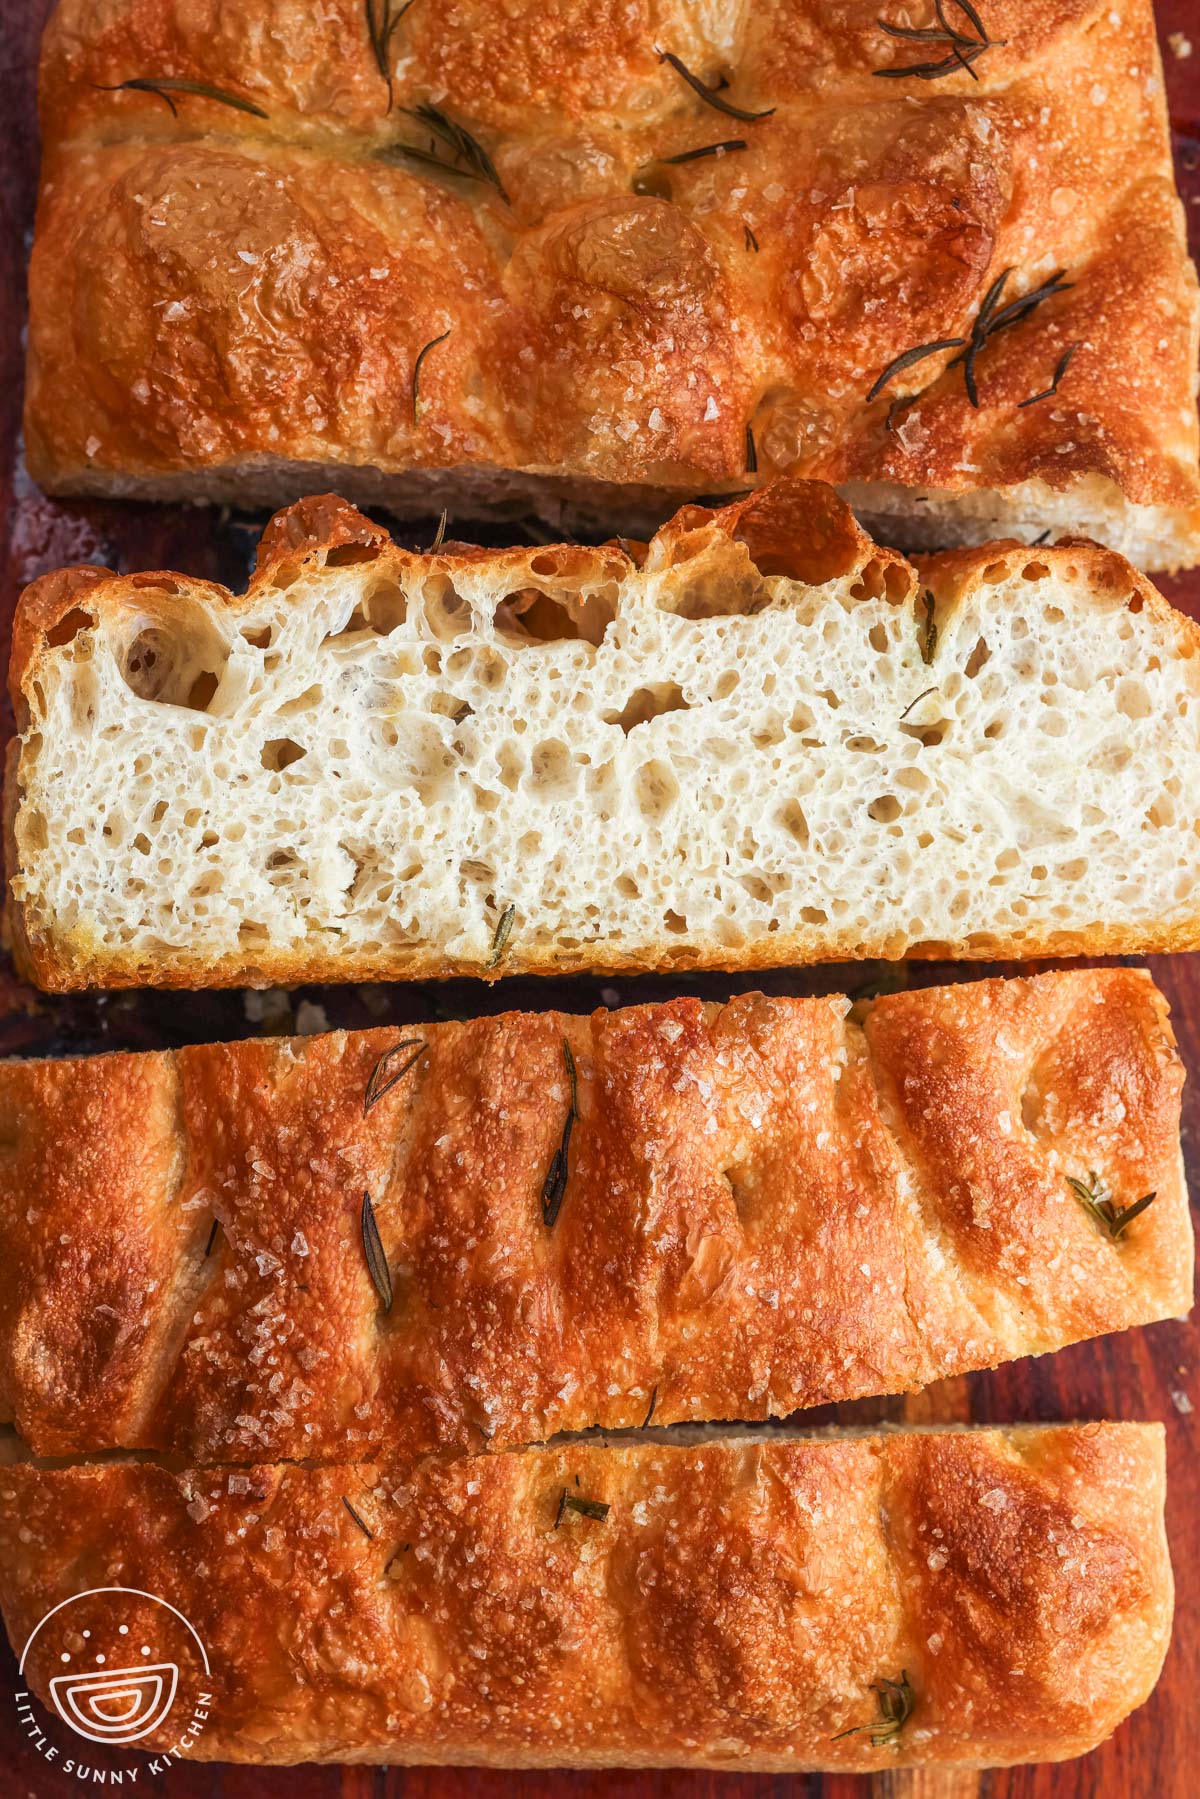
I made this focaccia at least 7 times to make sure that it had everything I wanted out of an overnight bread recipe: it’s tender and lightly chewy on the inside, browned and flavored with olive oil on the outside, and has a flexible baking schedule that can handle being left in the fridge overnight or for up to 2 days.
Aside from testing different hydration levels (high-hydration wins every time for focaccia), I tested all-purpose flour and bread flour, each with and without oil added to the dough. This final no-knead recipe uses bread flour for chewiness, and leaves the olive oil out of the dough to keep it light. Use EVOO on the bottom of the pan and on top of the bread for a flavorful crisp crust.
Ingredient Notes
- Bread Flour: The higher protein in bread flour gives you chewy focaccia, so it’s worth it to pick up a bag if you don’t already have it. Measure the flour carefully if you’re using cups (spoon and fill the cup rather than dipping it into the bag), or weigh the flour with a digital scale for the most accurate amount.
- Kosher Salt: When baking bread, it’s usually best to weigh the salt as well. In total, the dough needs 12 grams of salt for flavor, which is 2½ teaspoons Morton kosher salt or 1 tablespoon plus 1¼ teaspoons Diamond Crystal. The difference comes from the size of the salt crystals. If you measure by weight, 12 grams of either works.
- Olive Oil: Choose a good quality extra virgin olive oil to add flavor to this bread. The whole loaf will be coated in oil, rather than adding the oil to the dough.
- Instant Yeast: You only need a small amount of instant yeast here, since the bread will rise slowly in the fridge overnight. Choose instant over active dry yeast for simplicity.
Pan Size Makes a Difference
This recipe has been tested using two different baking pans, and each creates a different type of focaccia.
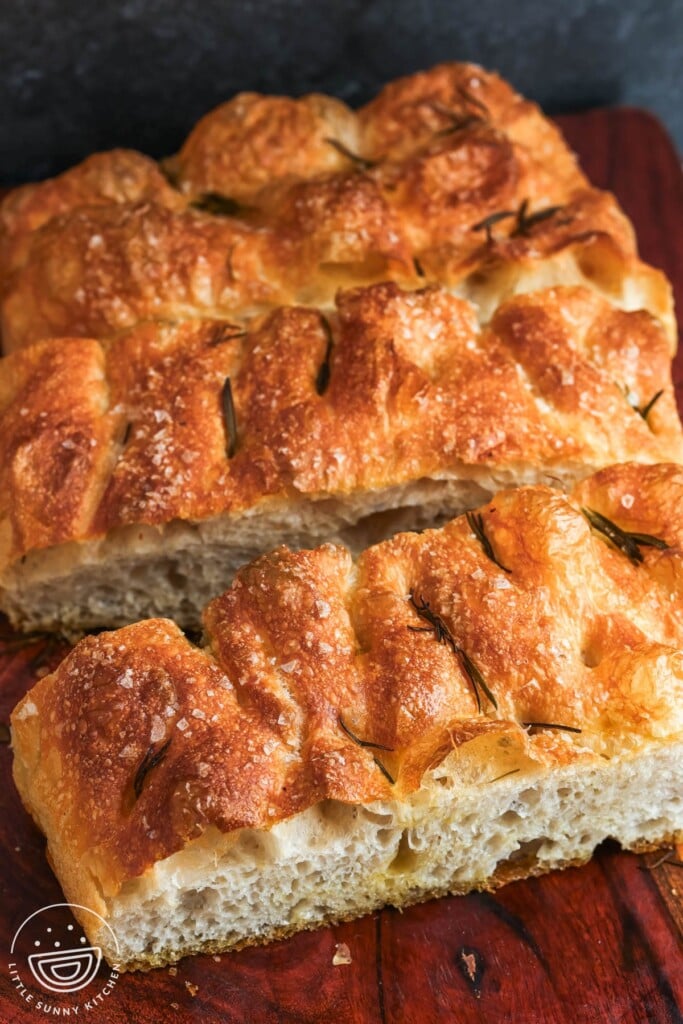
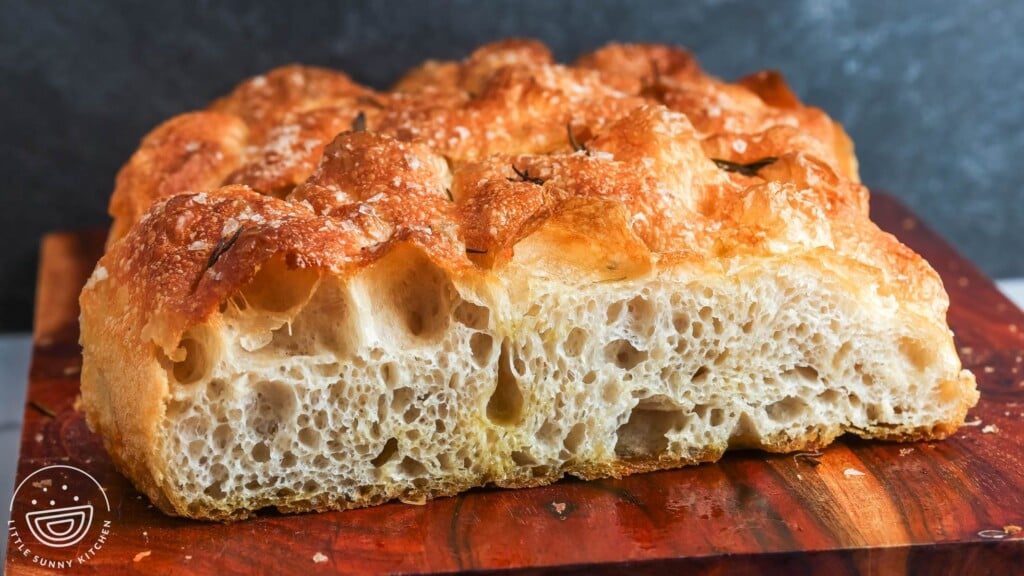
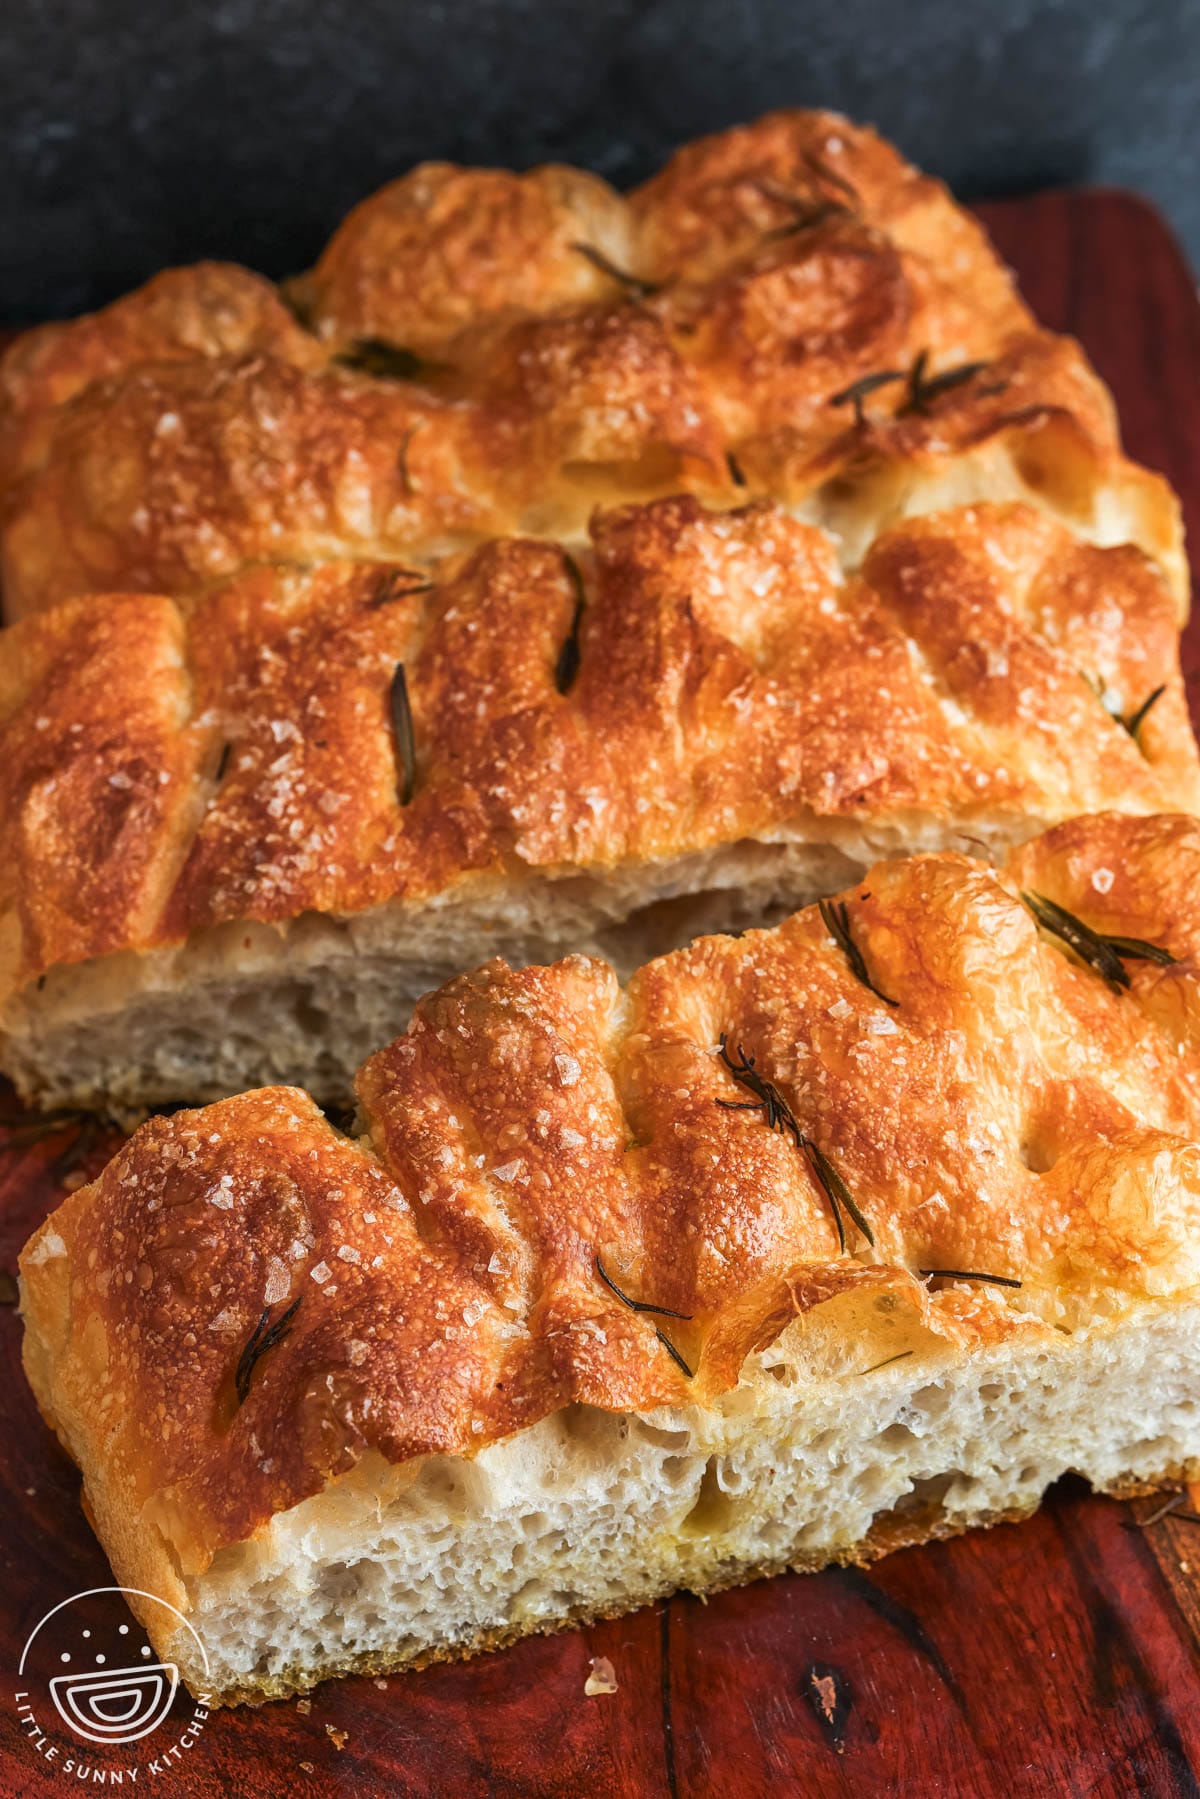
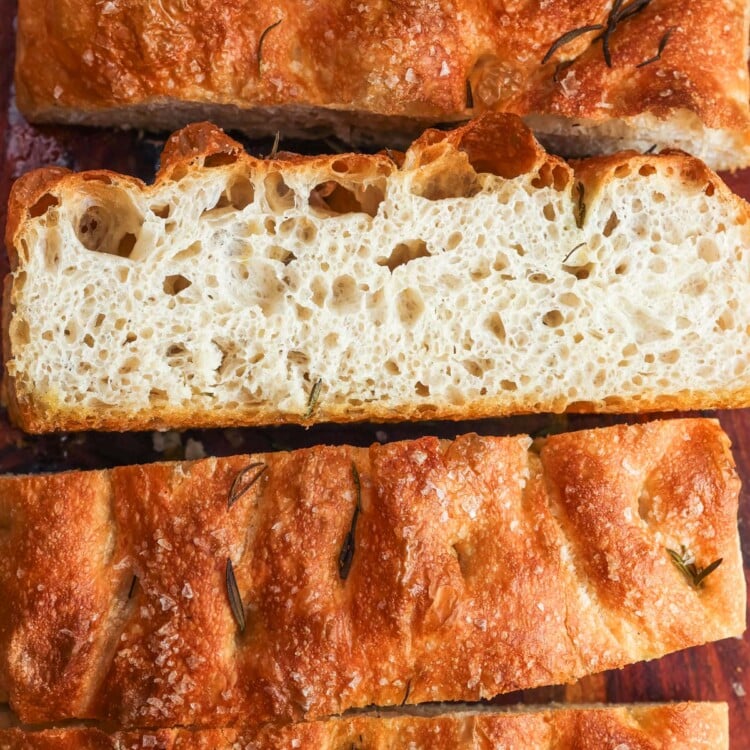
This focaccia was baked in a 9×13-inch metal baking pan, making a thicker loaf that can be sliced into tall slabs as a side dish or for dipping. In this pan, bake the bread for about 30 minutes.
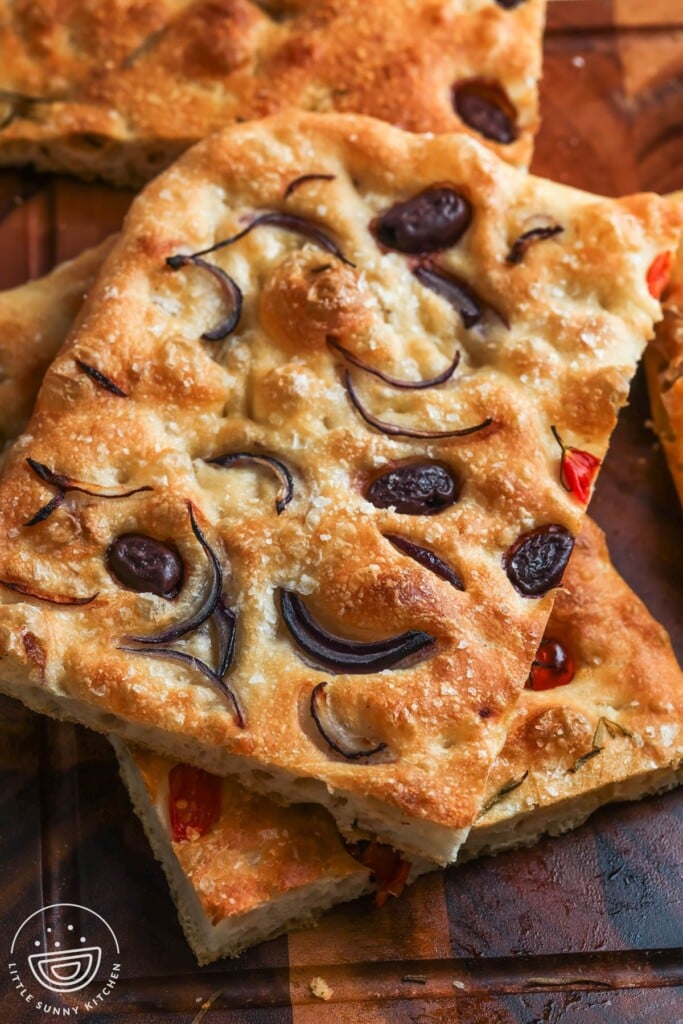
This focaccia was baked in a half sheet pan (18×13-inches) to create a thinner, larger loaf that’s perfect for adding toppings. It can also be split lengthwise for sandwiches. This version bakes in about 25 minutes.
- Use a Metal Pan. Metal pans conduct heat more quickly and evenly than glass or ceramic, which helps to create a browned crust and airy center.
- Use Olive Oil on the bottom and sides of the pan rather than parchment. The oil heats quickly in the metal pan to create a fried effect on the bottom crust.
- For a Half Recipe (perfect for two people), bake it in a 9×9 square metal pan for about 25 minutes.
Making Focaccia
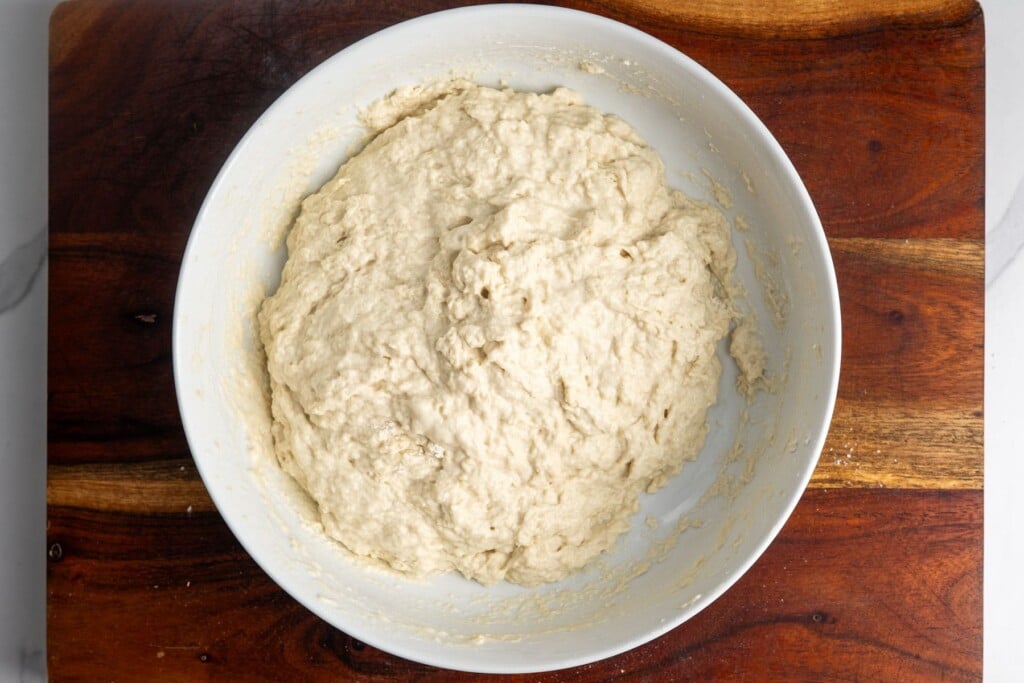
1. Mix the flour, water, yeast, and salt in a large bowl to create a shaggy mixture. The dough will be wet and sticky at this point. Cover and let it rest for 30 minutes.
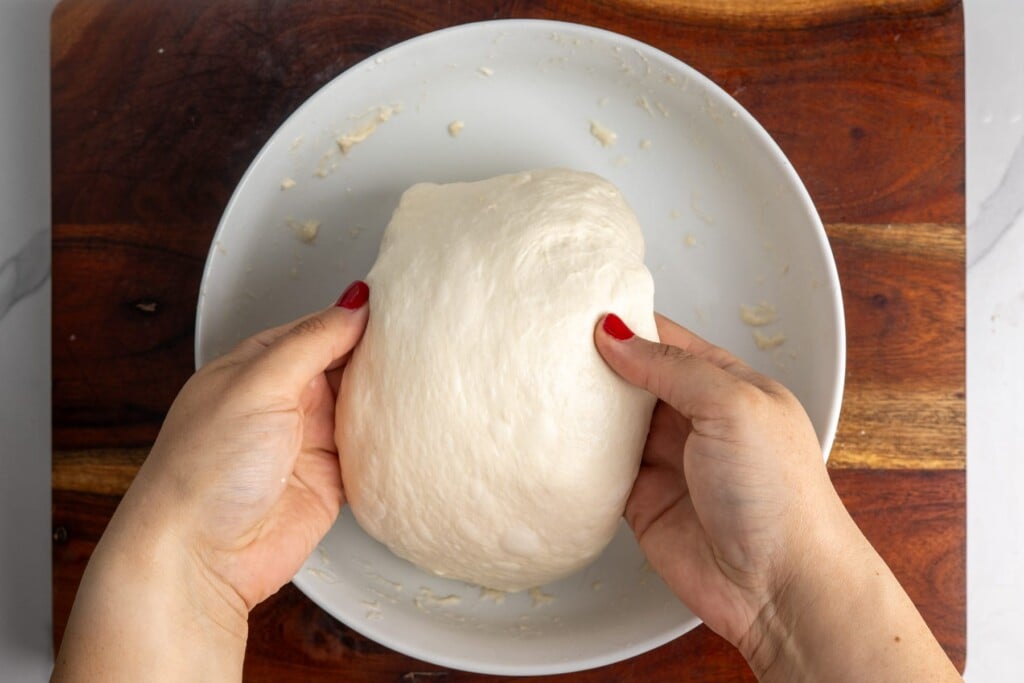
2. Wet your hands, and give the dough just one set of stretch and folds. To do this, grab one edge of the dough, stretch it up, and fold it over the center of the dough. Do this from all four sides, turning the bowl as you go. The dough should now feel a bit firmer and smoother. The long, cold rest will do the rest of the work.
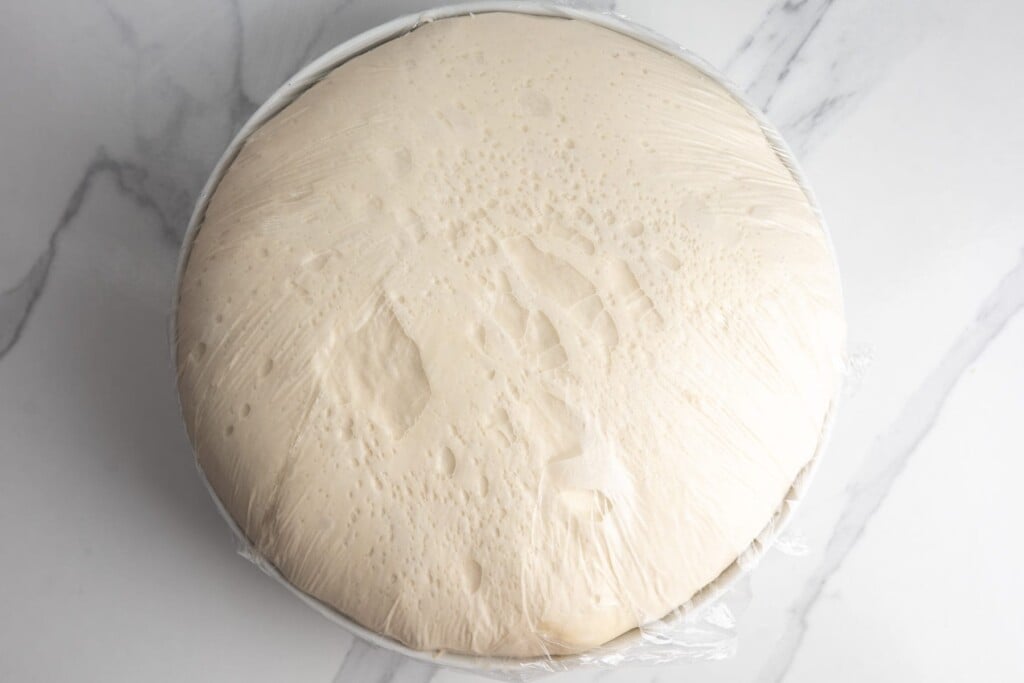
3. Overnight Rise: Cover the dough and refrigerate it overnight, or up to 48 hours. The dough should be risen and have bubbles on the surface.
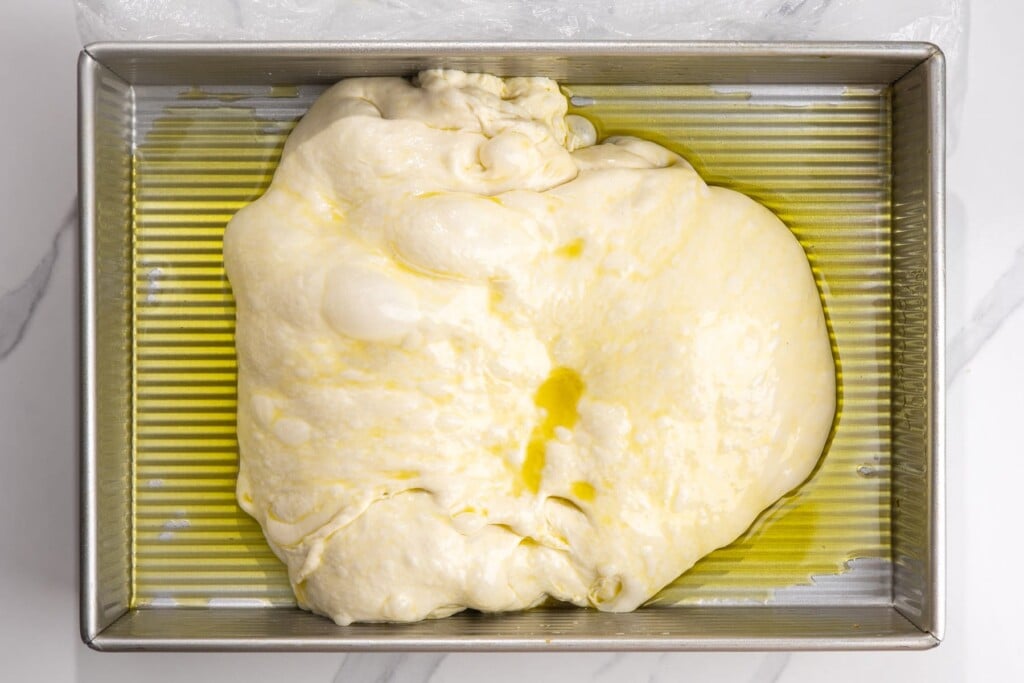
4. Pour olive oil into the bottom of your pan and spread it all over. Add the dough, gently spreading it out toward the edges without pressing the gas out. You don’t need to completely fill the pan, as the dough will spread on its own later.
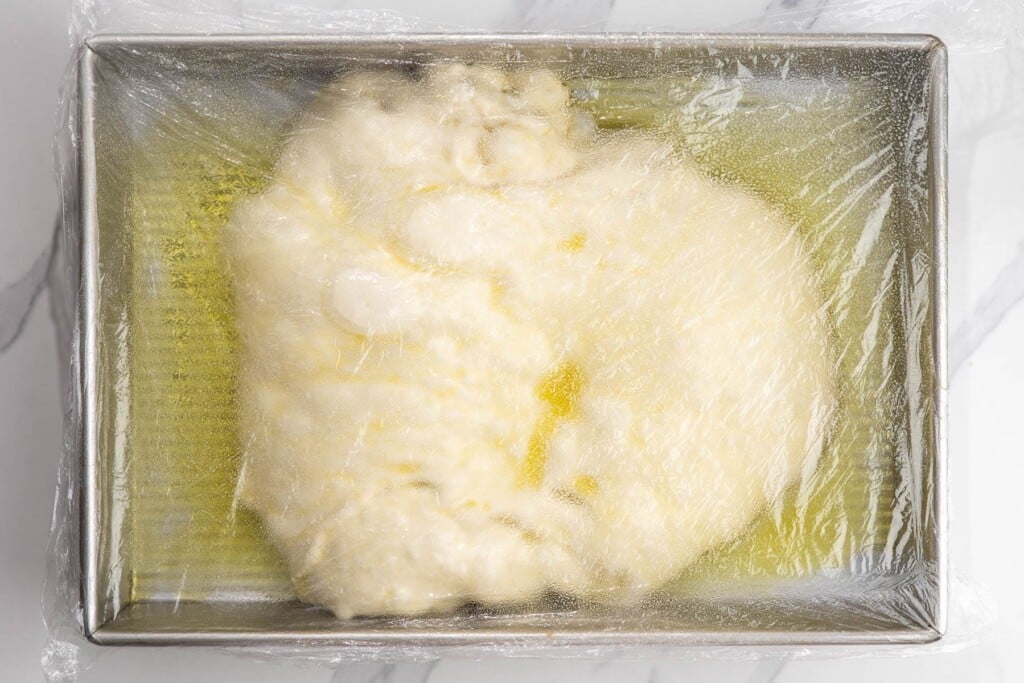
5. Proof: Cover the pan loosely and let the dough rise again at room temperature. This step will take between 1-3 hours. Judge by appearance rather than the clock.
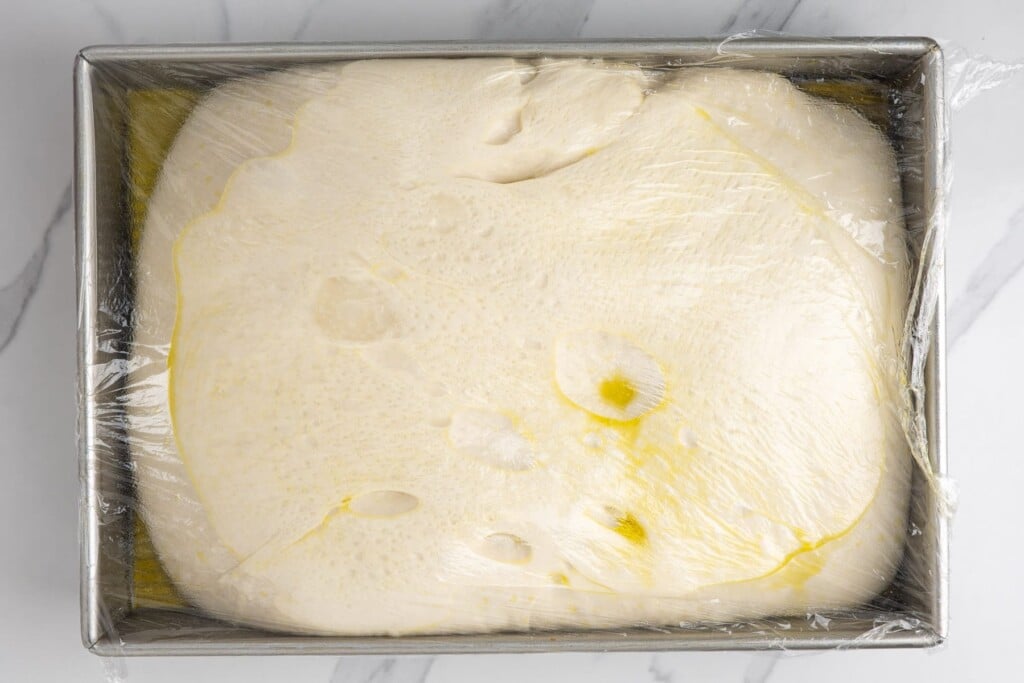
6. The dough is done proofing when it has spread across the pan and looks puffy and bubbly again. The timing will depend on how long the dough rose in the fridge, as well as the temperature in your kitchen.
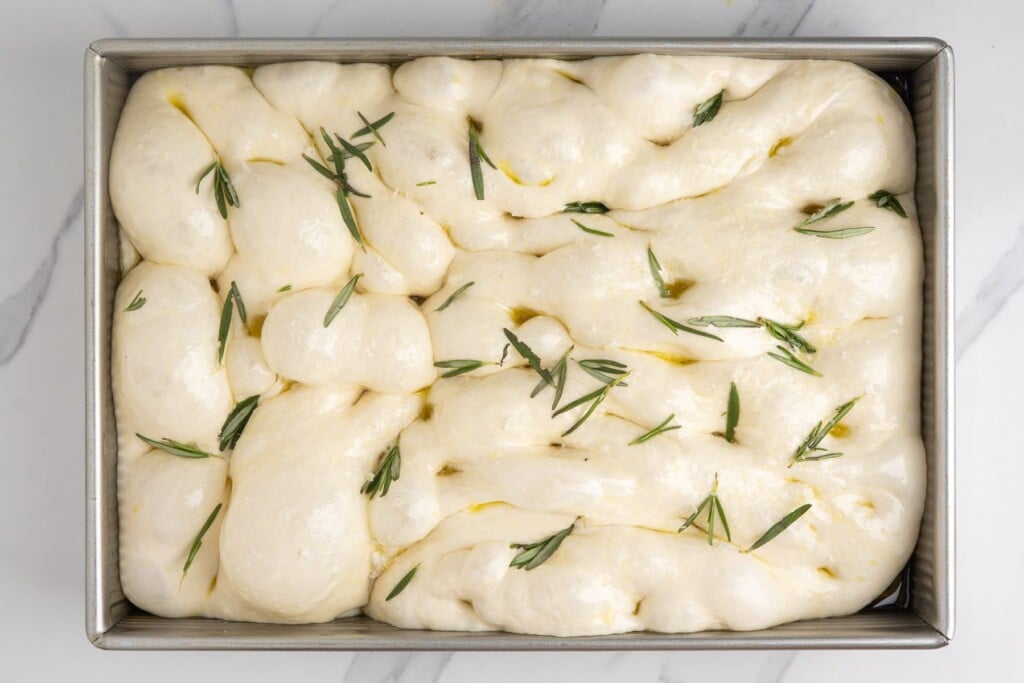
7. Preheat your oven, then drizzle olive oil over the dough. Press down into the dough to create deep dimples, and then sprinkle with rosemary and flaky sea salt.
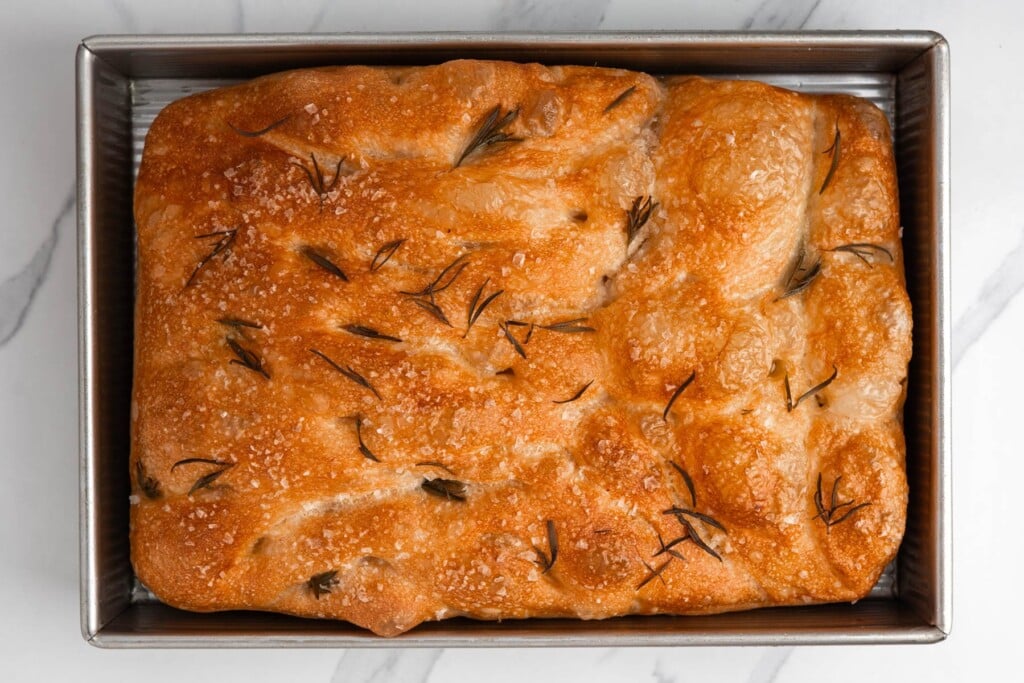
8. Bake as directed. The bread is done when the top is golden brown, and the edges are pulling away from the pan. The internal temperature should be 200°F (93°C). Slide the focaccia onto a wire rack to cool for at least 20 minutes before slicing.
The Overnight Focaccia Schedule
Here are a couple of sample proofing and baking schedules that you can use to plan out your overnight focaccia for tomorrow. I’ve created one that you mix up after dinner for lunch the next day, and one that you can technically make all in one day, but you’ll need to start early in the morning to bake later at night.
Because the dough can proof in the fridge for up to 48 hours, you have options.
Mix after Dinner Today and Bake Tomorrow for Lunch
Day 1, 6:00 pm: Mix the Dough, cover, and let sit at room temperature for 30 minutes.
Day 1, 6:30 pm: Do one set of stretch and folds, then cover and refrigerate.
Day 2, 9:00 am: Stretch the cold dough into an oiled metal pan. Cover and let proof until the dough is puffy and bubbly and has filled the pan. This will take anywhere from 1 to 3 hours.
Day 2, approximately 11:00 am: Preheat the oven, add olive oil to the dough, and dimple it with your fingers.
Day 2, 11:30 am: Bake the focaccia for 30 minutes, or until it’s golden brown and reaches an internal temperature of 200°F.
Day 2, 12:00 pm: Remove from the oven, and cool on a wire rack for 20 minutes.
Day 2, 12:20 pm: Enjoy your freshly baked focaccia for lunch, as a side for minestrone or tomato soup, or made into sandwiches.
Mix Before Work, Bake in the evening or the Next Day
Day 1, 7:00 am: Mix the Dough, cover, and let sit at room temperature for 30 minutes.
Day 1, 7:30 am: Do one set of stretch and folds, then cover and refrigerate until after dinner, approximately 11 hours.
Note: At this point, you can decide to finish proofing and baking today (you’ll be done around 10 pm), or you can leave the dough in the fridge until tomorrow and bake it whenever you have a few hours.
Day 1, 6:30 pm: Stretch the cold dough into an oiled metal pan. Cover and let proof until the dough is puffy and bubbly and has filled the pan. This will take anywhere from 1 to 3 hours.
Day 1, approximately 8:30 pm: Preheat the oven, add olive oil to the dough, and dimple it with your fingers.
Day 1, 9:00 pm: Bake the focaccia for 30 minutes, or until it’s golden brown and reaches an internal temperature of 200°F.
Day 1, 9:30 pm: Remove from the oven, and cool on a wire rack for 20 minutes.
Day 1, 10:00 pm: Before bed, store the focaccia in an airtight container. Transfer to the freezer for longer storage, or reheat tomorrow when you’re ready to eat.
Troubleshooting
Dough doesn’t look ready in the fridge. If you check on your dough and it doesn’t look puffy with large air bubbles on top, it’s likely that you need to let it ferment for a few more hours. Leave it alone and plan to bake it later when it’s ready.
Dough has lost its bubbles. Be careful about overhandling the dough after the fridge ferment. Use light hands to spread the dough into the pan so that you don’t deflate the air pockets.
Bread isn’t fully baked after 30 minutes. This could have to do with the temperature of your oven. If the bread doesn’t measure 200°F in the center, continue baking until it does, checking after 3-5 minutes.
Focaccia is gummy in the center. This happens if you slice into the bread before it’s had a chance to cool. Wait at least 20 minutes before slicing into your freshly baked focaccia.
Focaccia Toppings
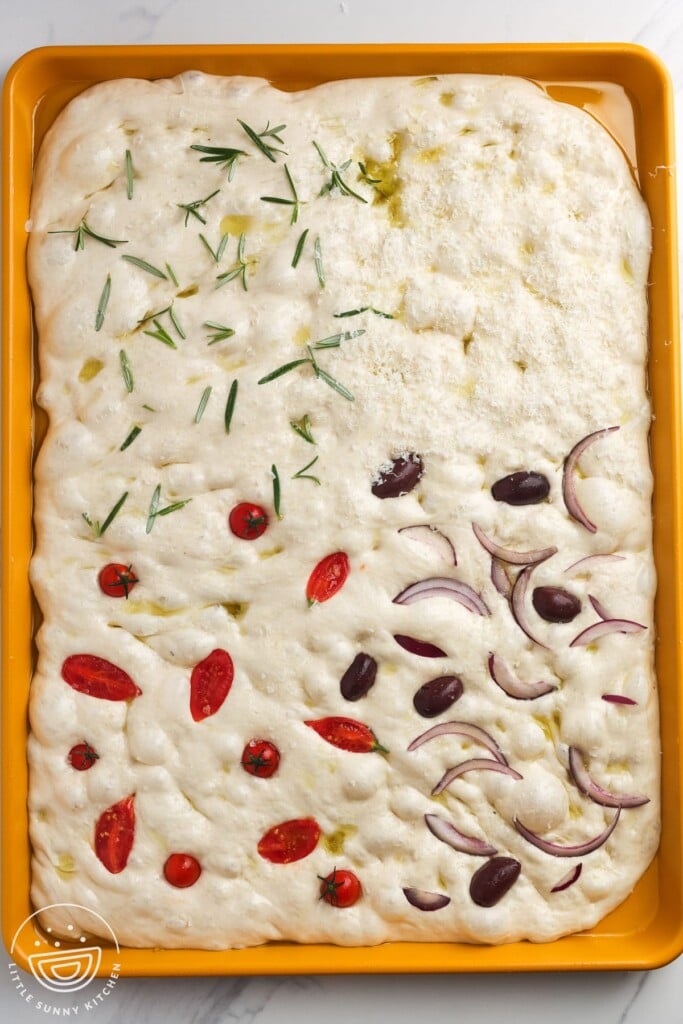
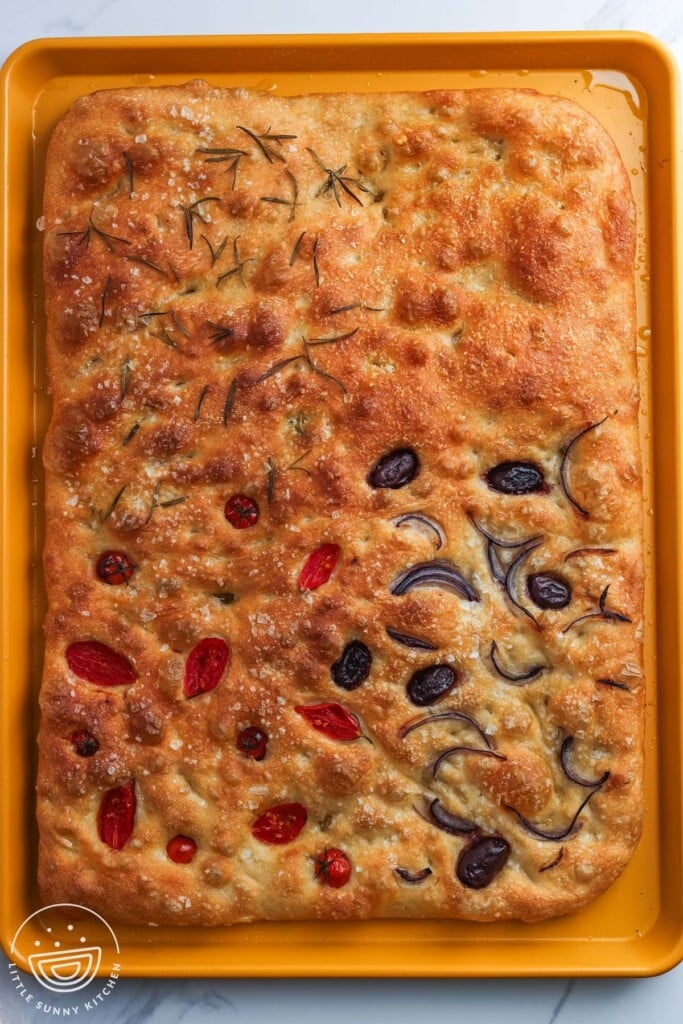
The half sheet pan version of this bread recipe has plenty of surface area for toppings, and if you’re feeding people with different tastes, you can use a variety of toppings on each quarter of the bread.
Try sliced cherry or grape tomatoes, sliced red onion, black olives, or a sprinkle of rosemary leaves and flaky sea salt. A simple topping of grated Parmesan cheese is one of my favorites, but keep an eye on it, as the cheese can brown quickly.
Focaccia Slab Sandwiches
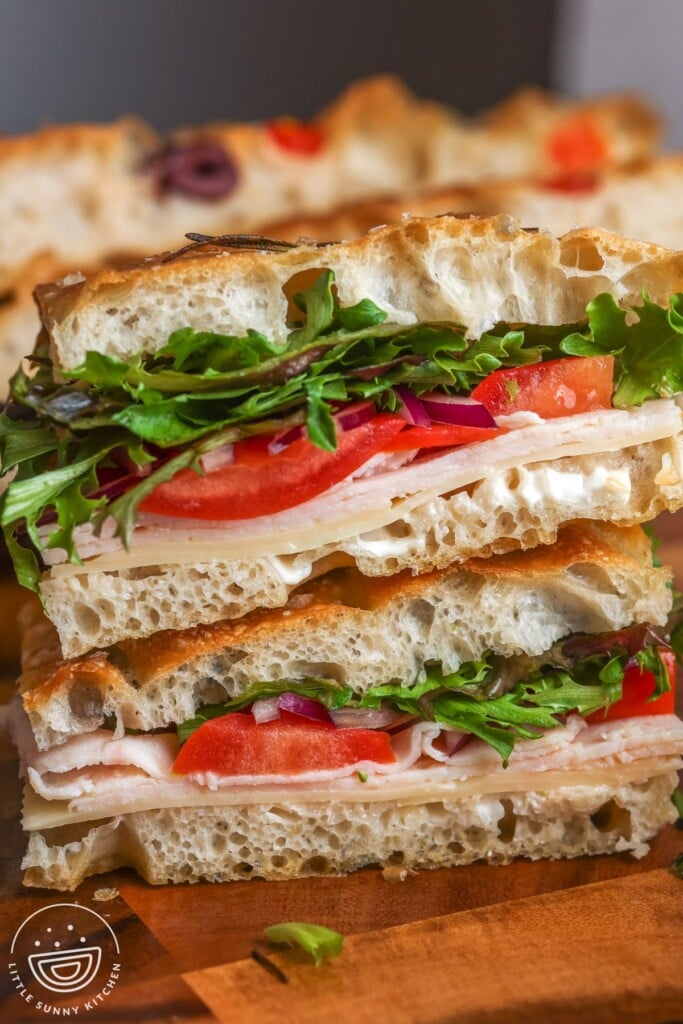
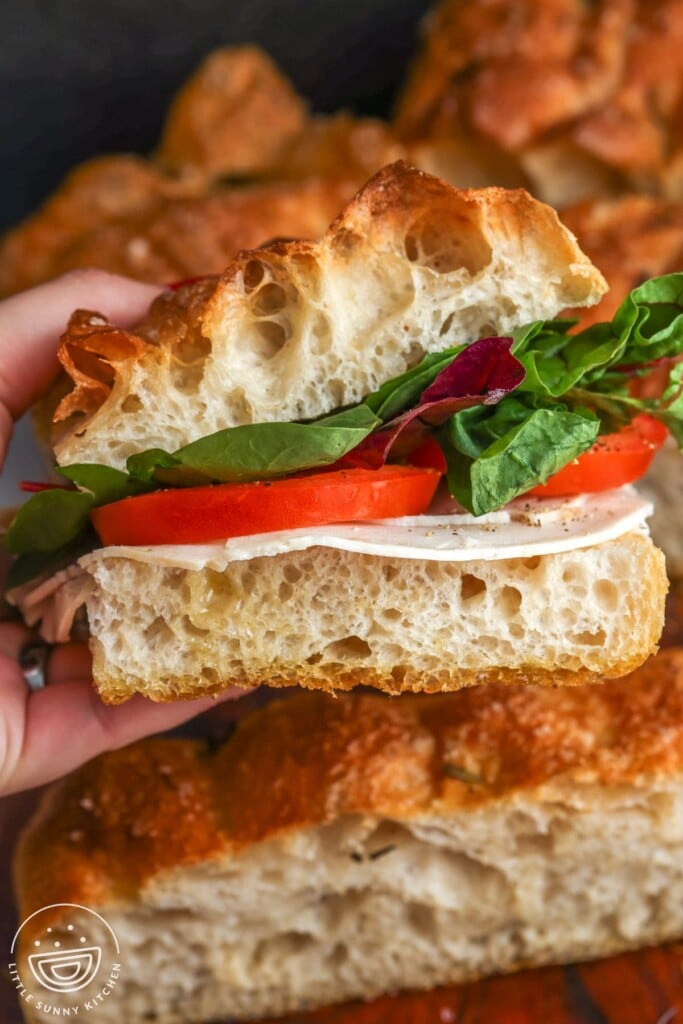
Focaccia baked in a half sheet pan is the perfect thickness for sandwiches. It’s thin enough to split and sturdy enough to hold plenty of fillings.
If you’re feeding a crowd, you can make focaccia slab sandwiches! Simply split the whole loaf lengthwise using a large serrated knife. Fill the bottom of the bread with your toppings, cover with the top, and then slice into individual servings.
Try mozzarella, tomato, and basil for caprese sandwiches, grilled chicken and homemade pesto sandwiches, or your favorite deli meats and toppings.
Storage, Reheating, and Freezing Focaccia
- Store the cooled bread in an airtight container at room temperature for up to 2 days.
- To reheat focaccia and make the crust crisp again, reheat in an oven set to 350°F (180°C) for 5 to 10 minutes.
- Freeze individual pieces of focaccia for up to 2 months. Thaw at room temperature and reheat in the oven as above.
FAQ
Do I have to weigh the flour?
I’ve given you the measurements for this recipe in cups for convenience, but note that the ratio of flour to water in this high-hydration dough is very important. At about 86 percent hydration, a heavy cup of flour changes the result of the recipe more than it would in a stiffer dough. Extra flour can lead to a heavier, denser focaccia that rises less, so if you can, weigh the flour.
Why Doesn’t My Focaccia Have a Light, Airy Texture?
There can be many reasons for this, but most likely, your dough overfermented during the final room-temperature rise. Overproofed focaccia dough will have a flat or deflating surface, and the bubbles inside the dough will be too easily popped when you dimple the dough. Next time, keep an eye on the dough as it’s proofing to avoid getting to that stage.
Can I Bake Focaccia on the Same Day?
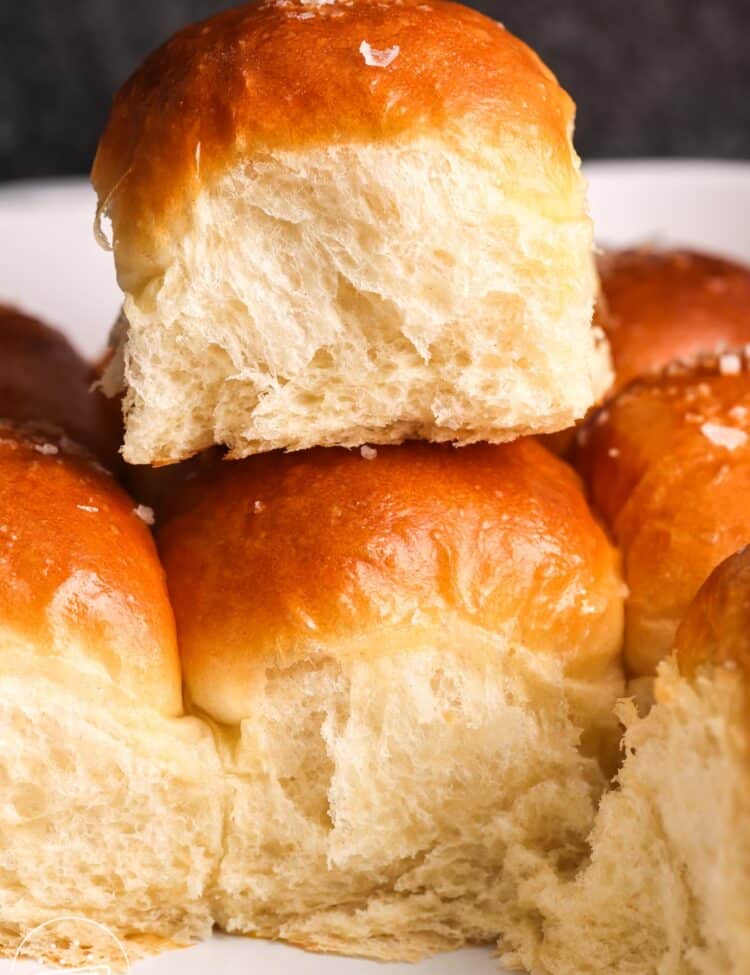
This recipe was designed for a long ferment in the fridge, so the easiest thing is to leave it there overnight. If you want to bake it on the same day, you’ll end up starting early in the morning and then baking the bread late at night. See the “Mix Before Work” schedule above. If you’re in more of a hurry for freshly baked bread, try my Easy Dinner Rolls; they only take 40 minutes.
Did you make this? Be sure to leave a review below and tag me on Facebook, Instagram, or Pinterest!
Overnight No Knead Focaccia
Equipment
- Digital Scale (optional but recommended)
- Flexible dough scraper or silicone spatula
- Bowl cover or plastic wrap
- Instant-read thermometer (optional but recommended)
Ingredients
Dough
- 4 cups (480 g) bread flour spooned and leveled
- 1¾ cups (414 ml) water at room temperature
- 1 teaspoon (3 g) instant yeast
- 12 grams kosher salt 12g kosher salt is equal to 2½ teaspoons Morton, or 1 tablespoon plus 1¼ teaspoons Diamond Crystal (see note)
Pan and Topping
- ¼ cup (60 ml) extra virgin olive oil divided
- 1 tablespoon (3 g) fresh rosemary leaves finely chopped
- ½ teaspoon (1 g) flaky sea salt
Instructions
- In a large bowl, stir together the bread flour, water, instant yeast, and kosher salt with a dough scraper or spatula until no dry flour remains. The dough will be wet, sticky, and shaggy. That is correct; do not add more flour.
- Cover the bowl and let the dough rest at room temperature for 30 minutes.
- Wet your hands. Grab one edge of the dough, stretch it upward, and fold it over the center. Turn the bowl a quarter turn and repeat until all four sides have been folded. This one set of folds gives the wet dough a little more structure; the dough will feel a little smoother and tighter.
- Cover the bowl tightly and refrigerate overnight, or up to 48 hours. Before moving on, check that the dough has risen and has bubbles on the surface. If it spent time at room temperature before it went into the refrigerator, it will have risen more.
- Pour 2 tablespoons of the olive oil into a 9 by 13 inch (23 by 33 cm) and spread it over the bottom and up the sides. Scrape the dough into the pan in one piece and gently stretch it toward the edges without pressing the gas out. It will almost fill the pan at this point.
- Cover the pan loosely and let the dough proof at room temperature until it has filled the pan and looks puffy and bubbly. Judge by appearance, not the clock, but it takes 1 to 3 hours. The time depends on how much the dough rose before it was chilled and how warm the kitchen is.
- About 30 minutes before the dough is ready, heat the oven to 410°F (210°C), or 390°F (200°C) for a fan oven.
- Drizzle the remaining 2 tablespoons olive oil over the dough. Oil your fingertips and press straight down to the bottom of the pan all over the surface to make deep dimples. If needed, gently push the dough into the corners of the pan. Sprinkle with the rosemary and flaky sea salt.
- Bake for about 30 minutes, until the top is golden brown, and an instant read thermometer in the center reads 200°F (93°C).
- Slide the focaccia out of the pan onto a wire rack and cool for at least 20 minutes before slicing.
Notes:
- Weigh the flour. This is a high-hydration dough, about 86 percent water by weight, so it is meant to be wet and sticky. Extra flour from a packed measuring cup makes a heavier focaccia that rises less. A digital scale gives the most consistent results.
- Salt. Morton and Diamond Crystal kosher salt weigh very differently by the spoon, which is why both volumes are given for the same 12 g. If you have a scale, use 12 g of either.
- Olive oil. All the oil goes in the pan and on top, with none mixed into the dough. Tested both ways; leaving it out of the dough keeps the crust chewier, and the oil underneath and on top already carries plenty of flavor.
- Half sheet pan. For a thinner focaccia that splits for sandwiches, use an 18 by 13 inch pan and bake about 25 minutes, until the center reaches 200°F (93°C).
- Half batch. Halve every ingredient and bake in a 9 by 9 inch metal pan for about 25 minutes, until the center reaches 200°F (93°C).
- Storage. Cool completely, then store airtight at room temperature for up to 2 days. Reheat at 350°F (180°C) for 5 to 10 minutes.
- Freezing. Freeze individual pieces airtight for up to 2 months. Thaw at room temperature and reheat as above.
- Nutrition. The numbers given here are approximate and include the entire recipe, since you can slice it in so many different ways.
Nutrition Information
This website provides approximate nutrition information for convenience and as a courtesy only. Nutrition data is gathered primarily from the USDA Food Composition Database, whenever available, or otherwise other online calculators.
© Little Sunny Kitchen

Carol Lèe says
Hi
Seems like an easy bread recipe I would like to make & eat. Would like to know if spelt flour would work as wheat flour does not agree with my GI track. Thank you
Diana says
Hi Carol, I haven’t tested this one with spelt, so I can’t promise the same result. If you try it, the dough will likely be slacker and spread more, since spelt handles water differently. I’d love to hear how it turns out.
Rob Baxter says
Yet to make it but it sounds good. You did scare me though when read about doing stretches, thought you have a regime of physical exercise planned as part of the menu! Thankfully just the dough!
Little Sunny Kitchen says
Haha, no workout required! I hope you enjoy the focaccia when you make it. Let me know how it turns out!