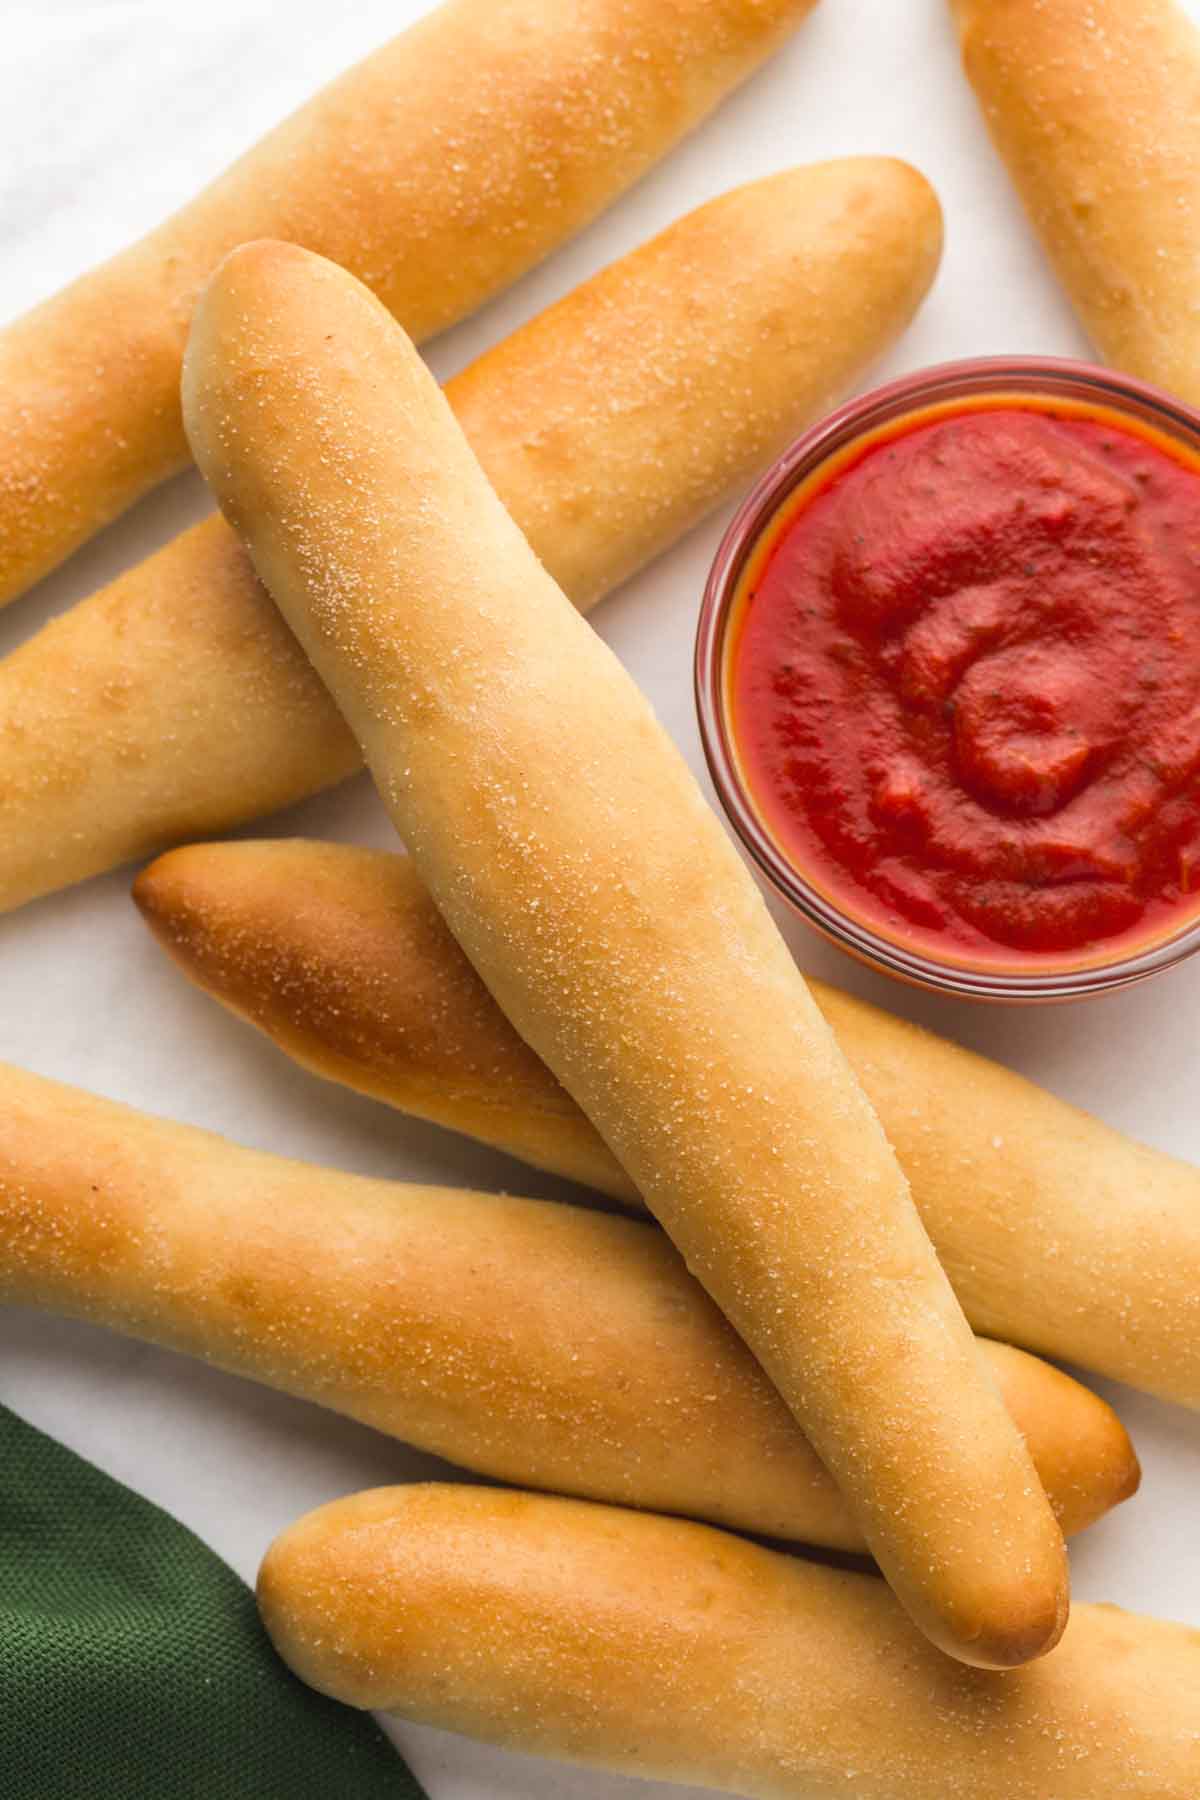
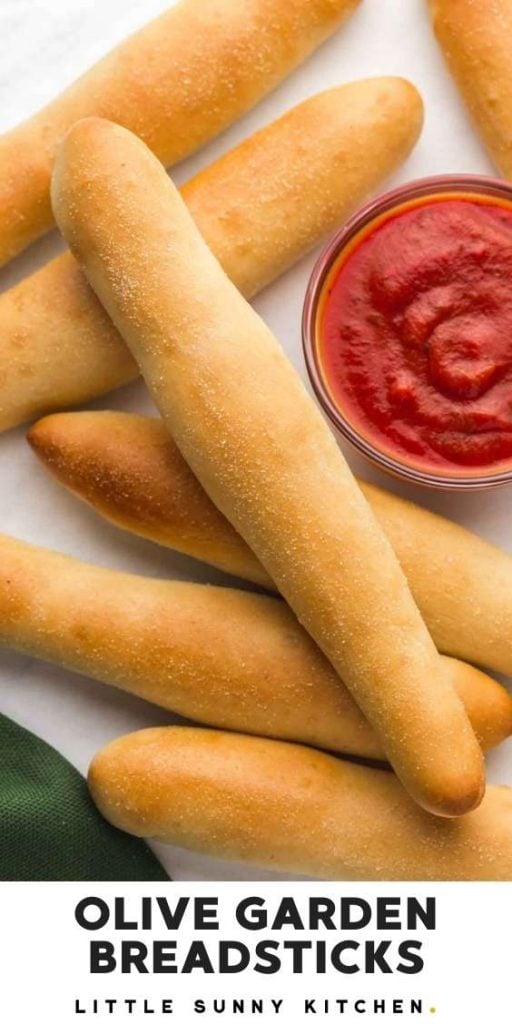
Olive Garden Breadsticks copycat recipe for you to recreate at home! These simple Italian breadsticks are buttery, garlicky, and ultra-soft. Serve with alfredo sauce, cheesy marinara, or homemade marinara.
If you’re familiar with Olive Garden then you’d know that most people go there for their breadsticks and not the pasta (I’m not kidding!).
You get unlimited breadsticks and salad, and for me, that’s a win! It’s how the Italians show their generosity and that, of course, sounds good to me and makes me want to visit their restaurant more often. I mean, I already LOVE restaurants where you get unlimited refills when it comes to drinks, but unlimited breadsticks and salad? Count me in!
Sadly, we can’t dine out every night, and I always crave Olive Garden’s iconic breadsticks. So I thought why not try and recreate these breadsticks at home, I mean, that means that I can have Olive Garden breadsticks anytime, right? Yay!
They’re perfect with my ravioli lasagna, homemade chicken parmesan, or any of your favorite dinners.
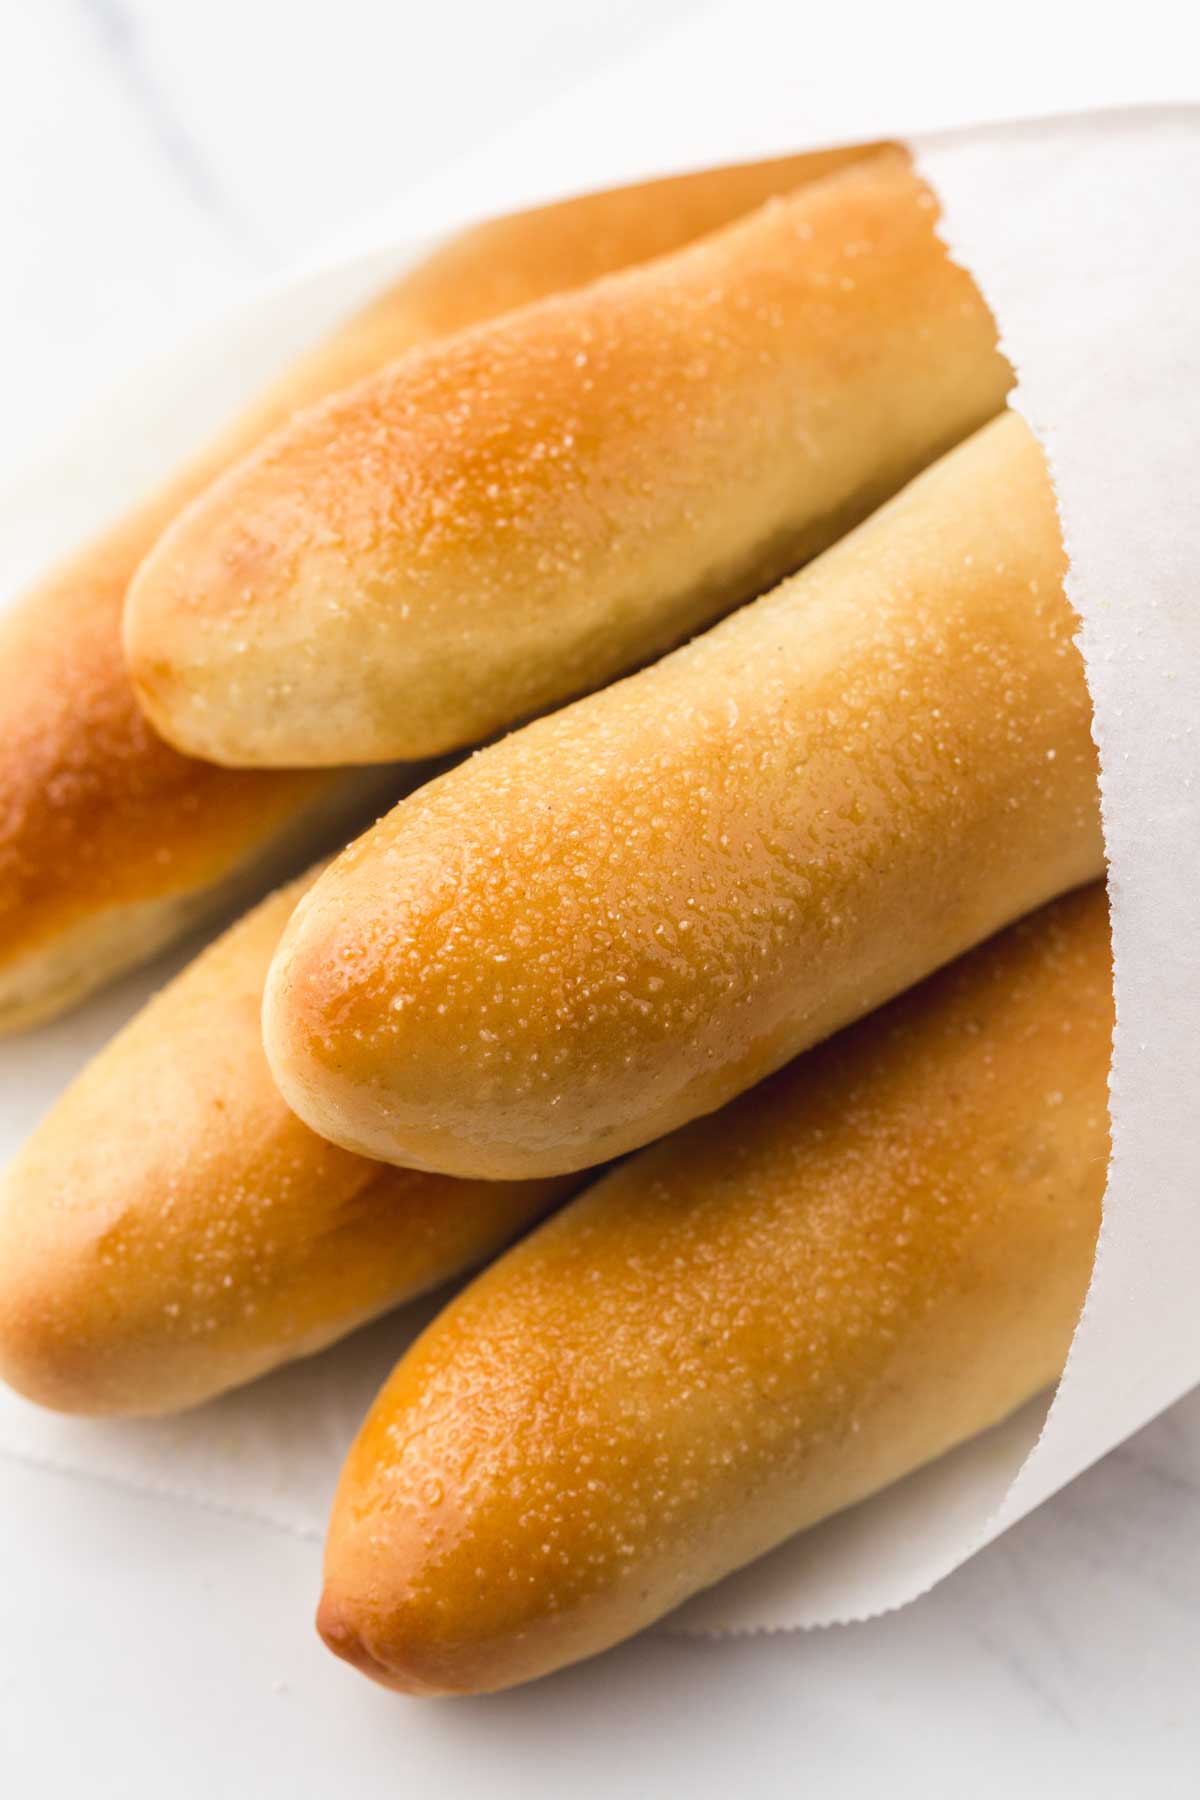
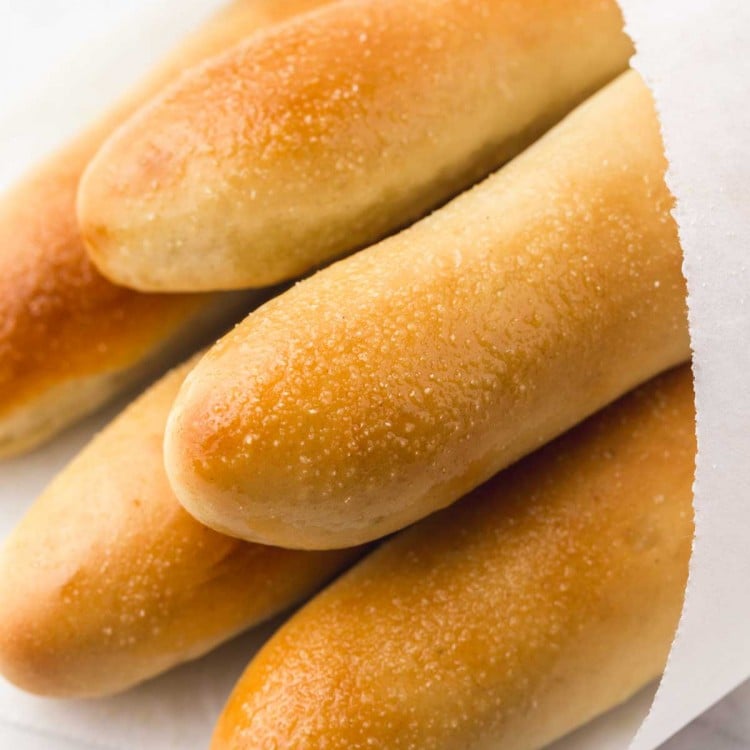
Now let’s talk about the texture of the breadsticks and what they taste like. They’re light, airy, pillowy but chewy, they’re garlic-scented, savory, and buttery. I can’t think of more perfect breadsticks than these, and to be honest, you can never eat just one! Honestly, they’re SO addictive!
The Ingredients
You only need a handful of ingredients to make these breadsticks:
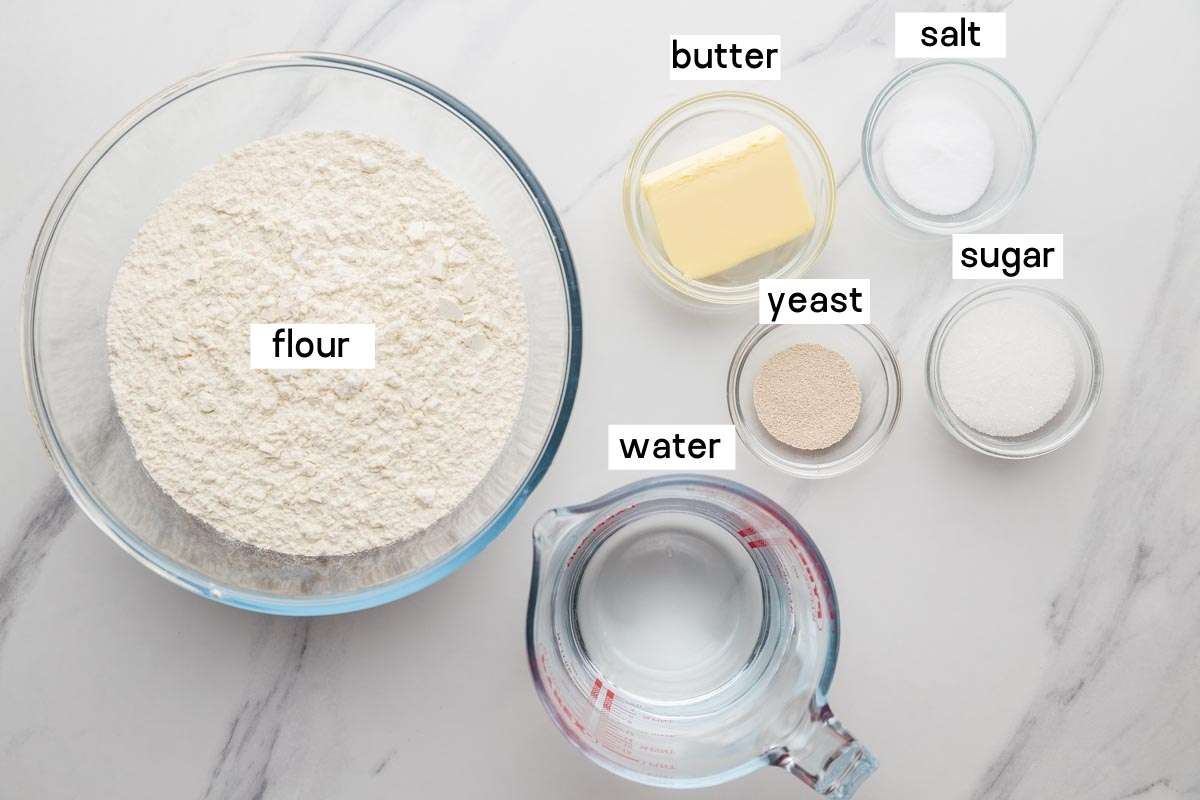
Complete list of ingredients and amounts can be found in the recipe card below.
- Sweetener – You can either use granulated sugar or honey, to sweeten the breadsticks a little.
- Yeast – If using rapid yeast, then just mix with the ingredients and work with the dough. If using dry yeast, then it needs to proof with water and sugar and when it bubbles, it can be mixed with the flour.
- Flour – either use all-purpose flour or bread flour (for the images, I’ve used organic white bread flour).
- Salt – Fine salt or table salt will do, this is added to flavor the breadsticks.
- Butter – I like to use unsalted butter and then add as much salt as I like, if you only have salted butter, then cut the salt amount in half (to 1 teaspoon). Can also be substituted with olive oil, I tested it a few times, and it works great!
- Salt, garlic granules, and butter – the butter will be melted and brushed over warm breadsticks along with garlic granules and salt.
How to Make Olive Garden Breadsticks
I know that the idea of baking these breadsticks at home might be intimidating, but trust me, this is so easy!
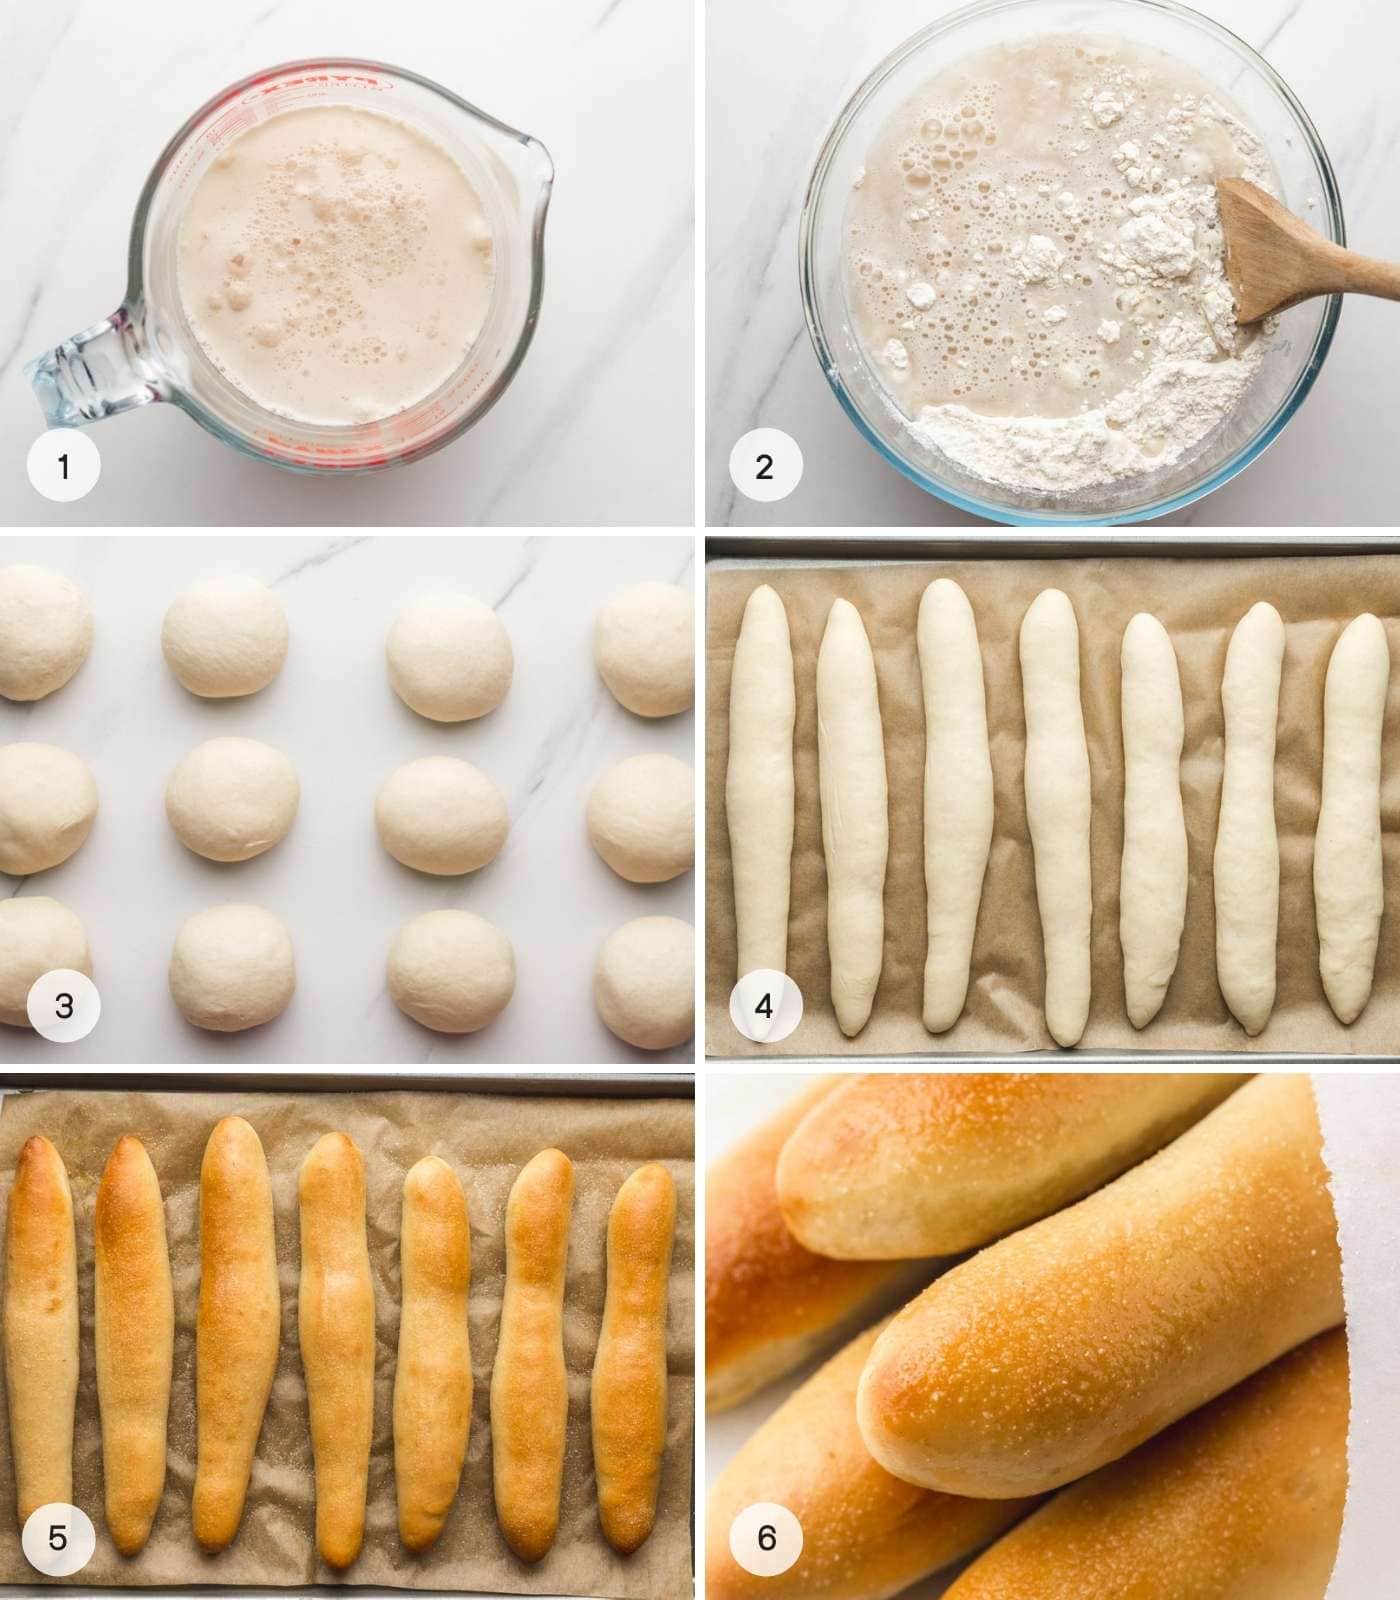
- In a small bowl, mix water with sugar and yeast. Set aside and leave the yeast to activate and bubble, it should take around 10 minutes.
- In a bowl, mix flour with melted butter or olive oil, salt, and the yeast mixture. Knead it out on a floured surface and knead for 7 minutes or until you get a smooth ball of dough.
- Divide the dough ball into 12 equal balls, and roll each out into a rope.
- Place each “rope” onto a baking pan lined with parchment paper. Cover with a towel, and let it rise in a warm place for 1 hour (they won’t double in size, and that’s ok).
- You can brush the breadsticks with egg wash for a glossy finish, but I usually skip this step to replicate Olive Garden’s texture.
- Preheat the oven to 390°F (200°C) just 10 minutes before the 1 hour above ends. Bake the breadsticks for 15 minutes.
- Remove from the oven, and while they’re still warm, brush with melted butter and sprinkle with garlic salt (mix the garlic with salt in a small bowl then sprinkle the mixture). Serve warm with homemade alfredo sauce, marinara, or cheesy marinara and Olive Garden’s Salad.
Yeast Dough
Many baking beginners find yeast dough a little intimidating, but I promise, it’s so easy if you understand how it works.
There are 2 main types of yeast:
- Wet yeast: Also known as fresh or cake yeast.
- Dry yeast: Active dry or Instant yeast, and that’s what we’re using in this breadstick recipe. Dry yeast is in a dormant state, and require liquid to wake from it or to activate.
To make sure that your dry yeast is active and “alive”, it is recommended that you dissolve it in liquid with sugar and leave it in a warm place for 5-10 minutes. If it comes foamy and bubbly, then it’s good to use. If not, then it’s off and should be tossed.
What to Serve With
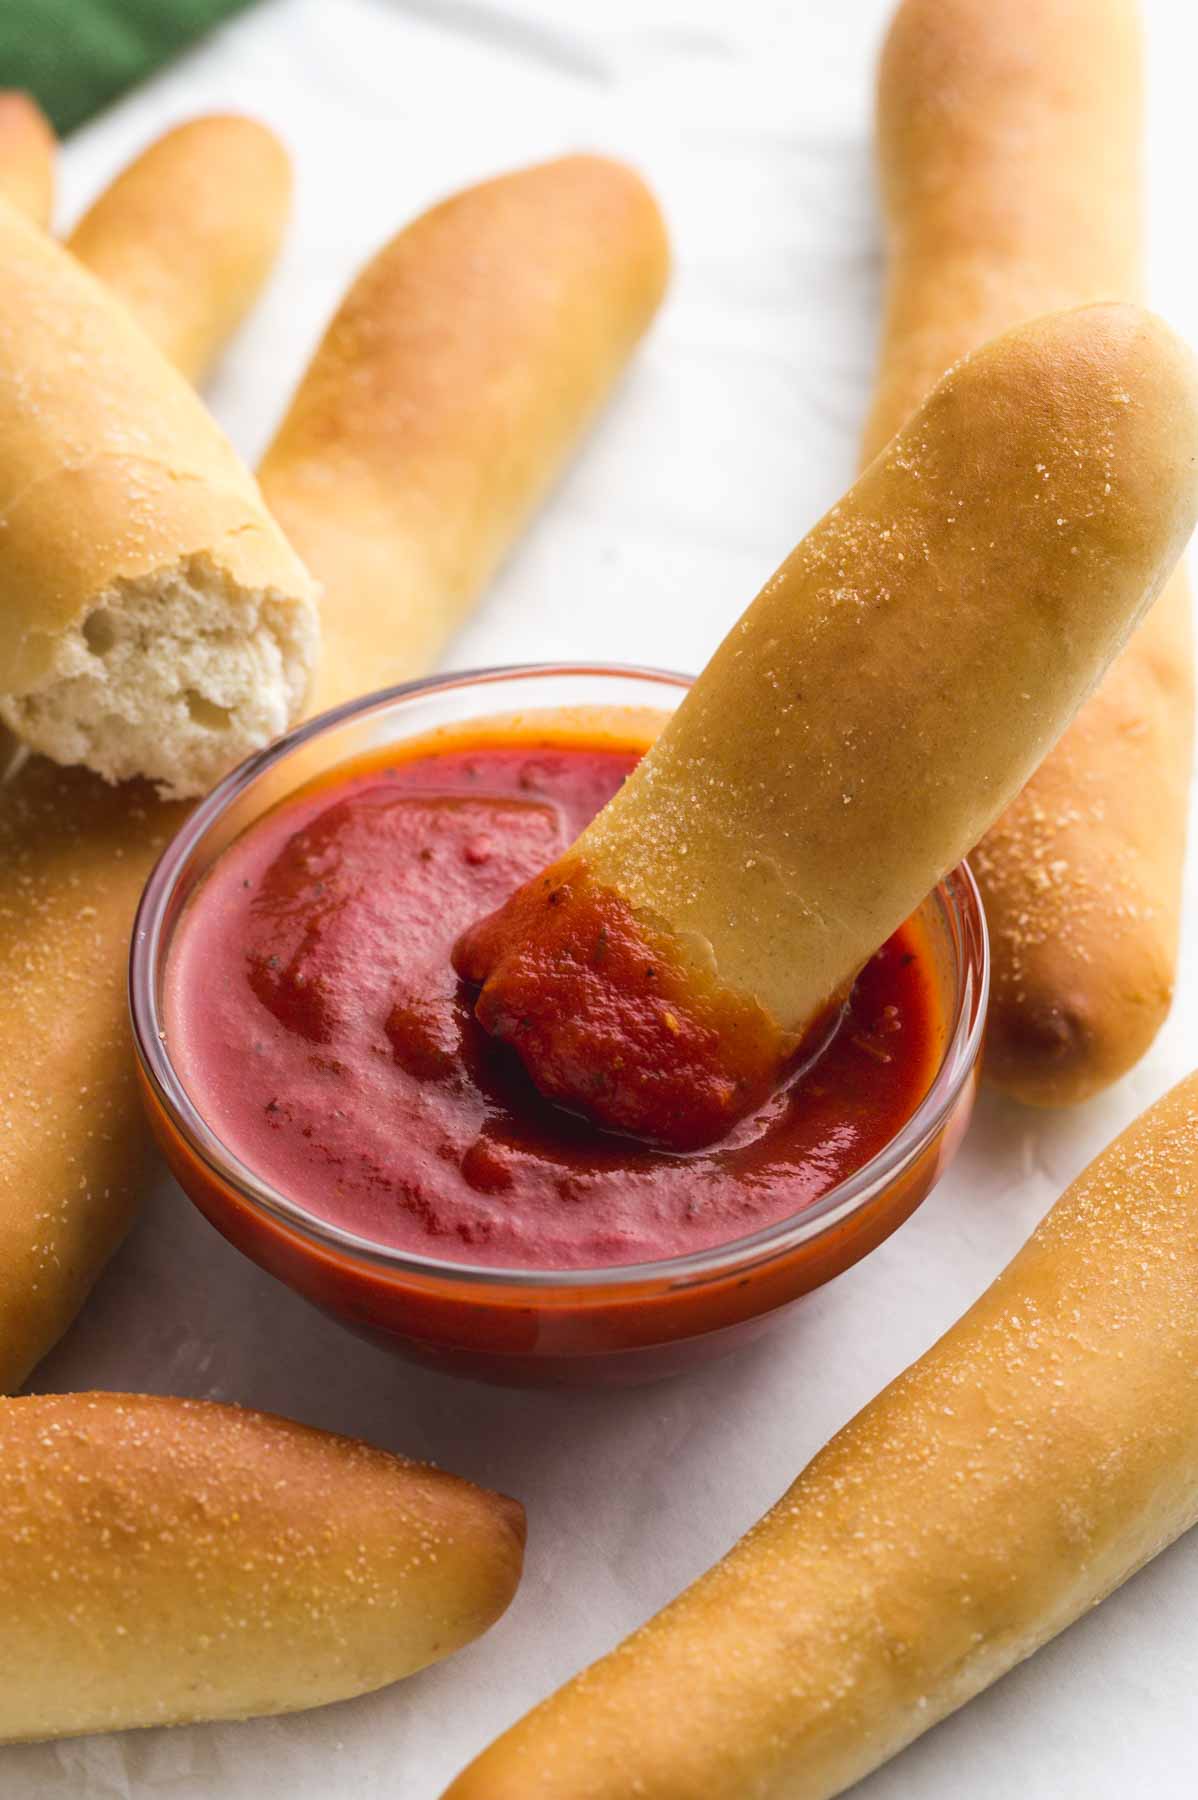
- Alfredo sauce! My favorite dip for breadsticks at Olive Garden is alfredo sauce, and I have a great recipe for homemade alfredo sauce that you can try.
- Marinara – making a homemade marinara sauce is SO easy, or use store-bought jarred one if there’s one that you like.
- Ranch sauce – I always make it at home from scratch, 100x times better than store-bought ranch!
- Salsa Ranchera – Mexican roasted vegetable salsa, so easy and good!
- Honey Mustard Sauce – I love this sauce with crispy chicken tenders, but it’s also great with breadsticks. Find the recipe here.
- Olive Garden Salad – I have a copycat recipe for you to follow! You can’t beat fresh breadsticks and salad!
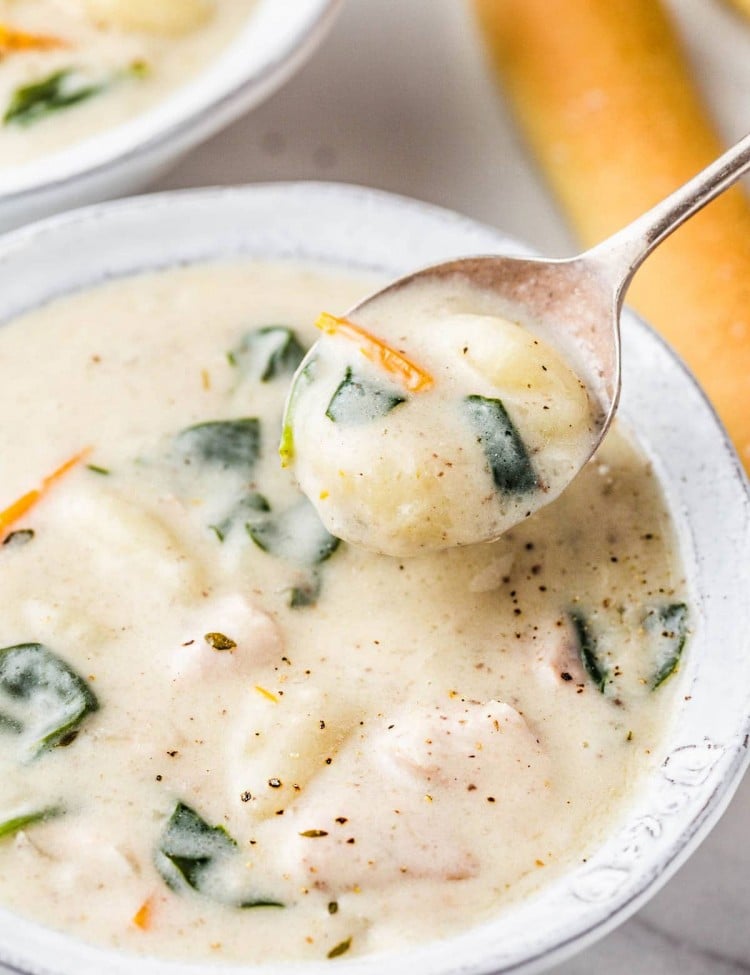
- Chicken Gnocchi Soup – For the full Olive Garden experience, make this soup and enjoy it with homemade breadsticks!
- Olive Garden Chicken Pasta, a delicious dinner made with just a few ingredients in the slow cooker!
Variations
- Plain breadsticks – brush with an egg wash before baking.
- Everything bagel breadsticks – brush with an egg wash and sprinkle with everything bagel seasoning before baking.
- Italian herb breadsticks – brush with an egg wash and sprinkle with oregano before baking.
- Sweet cinnamon – leave the breadsticks plain, bake and then brush with melted butter and toss in cinnamon sugar (granulated sugar mixed with ground cinnamon).
Recommended Tools
- A glass jug.
- Kitchenaid mixer with a dough hook attachment OR a glass bowl with a wooden spoon and knead the dough with your hands.
- 2 half sheet baking pans, and non-stick parchment paper.
- Pastry brush.
Did you make this? Be sure to leave a review below and tag me on Facebook, Instagram, or Pinterest!
Olive Garden Breadsticks
Recipe Video
Ingredients
- 1 and ½ cups warm tap water NOT boiling or super hot, up to 130°F (55°C) see note 1.
- 2 tablespoons granulated sugar
- 2 teaspoons dry yeast see note 2
- 4 and ½ cups bread flour
- 2 teaspoons salt
- 3 tablespoons unsalted butter melted
For the topping
- 1 tablespoon unsalted butter
- ¼ teaspoon salt
- ½ teaspoon garlic granules
Instructions
- In a small bowl, mix water with sugar and yeast. Set aside and leave the yeast to activate and bubble, it should take around 10 minutes.
- In a bowl, mix flour with melted butter, salt, and the yeast mixture. Knead it out on a floured surface and knead for 7 minutes or until you get a smooth ball of dough.
- Divide the dough ball into 12 equal balls, and roll each out into a rope.
- Place each "rope" onto a baking pan lined with parchment paper. Cover with a towel, and let it rise in a warm place for 1 hour.
- Preheat the oven to 390°F (200°C) towards the end of the 1 hour rise time. Bake the breadsticks for 15 minutes.
- Remove from the oven, and while they're still warm, brush with melted butter and sprinkle with garlic salt (mix the garlic with salt in a small bowl then sprinkle the mixture). Serve warm.
Notes:
- Water temperature – if it’s so scorching hot you can’t touch it, then it will kill the yeast. Must be up to 130°F (55°C).
- Yeast – use yeast that is labelled with “instant” or “rapid rise”. If using normal yeast (usually labelled “active dry yeast”) then dissolve yeast in water first.
- On super hot days, the dough might rise so quickly i.e 30 minutes might be enough so keep an eye on it as you won’t want it to over-rise.
- Nutrition calculated is per breadstick.
- Plain breadsticks – brush with an egg wash before baking.
- Everything bagel breadsticks – brush with an egg wash and sprinkle with everything bagel seasoning before baking.
- Italian herb breadsticks – brush with an egg wash and sprinkle with oregano before baking.
- Sweet cinnamon – leave the breadsticks plain, bake and then brush with melted butter and toss in cinnamon sugar (granulated sugar mixed with ground cinnamon).
Nutrition Information
This website provides approximate nutrition information for convenience and as a courtesy only. Nutrition data is gathered primarily from the USDA Food Composition Database, whenever available, or otherwise other online calculators.
© Little Sunny Kitchen
Joy says
Mine were so dry? Is the dough usually brittle
Little Sunny Kitchen says
Hi Joy. No, normally the dough is very easy to work with. It’s possible that you added too much flour to the mix. Are you using a spoon to fill your measuring cup, rather than scooping down into a canister?
Angel says
can you freeze the dough?
Little Sunny Kitchen says
Hi Angel, I haven’t tested freezing the dough for this recipe. If I were to try it, I’d freeze the breadsticks after I formed them and before the 2nd rise. Then thaw at room temperature before baking.
Joshuah says
I loved this recipe, made some nice buns too!
Little Sunny Kitchen says
Yes, the dough can be used to make buns or breadsticks. Thank you so much for trying my recipe and for the great feedback.
Deb says
OG’s bread sticks have been a favorite of mine since I worked there when I was young. I’ve tried quite a few other copycat recipes, but nothing ever quite lives up to the real ones. I’m hoping these will! Can’t wait to try them.
Diana says
Hope these bring back those classic flavors, would love to hear what you think after you try them!
Cher W. says
It’s a good and easy recipe.
Little Sunny Kitchen says
Thank you, Cher!