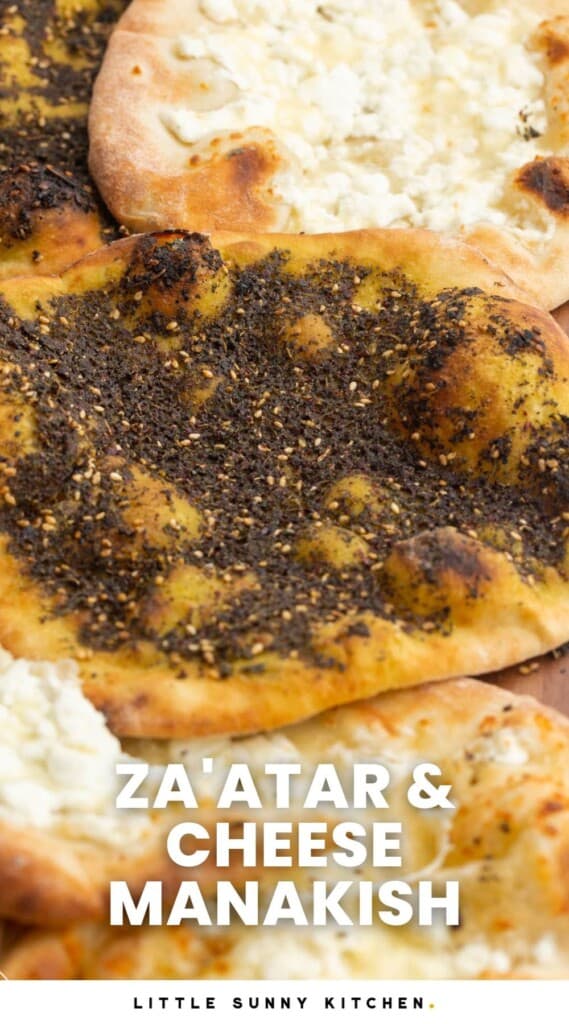
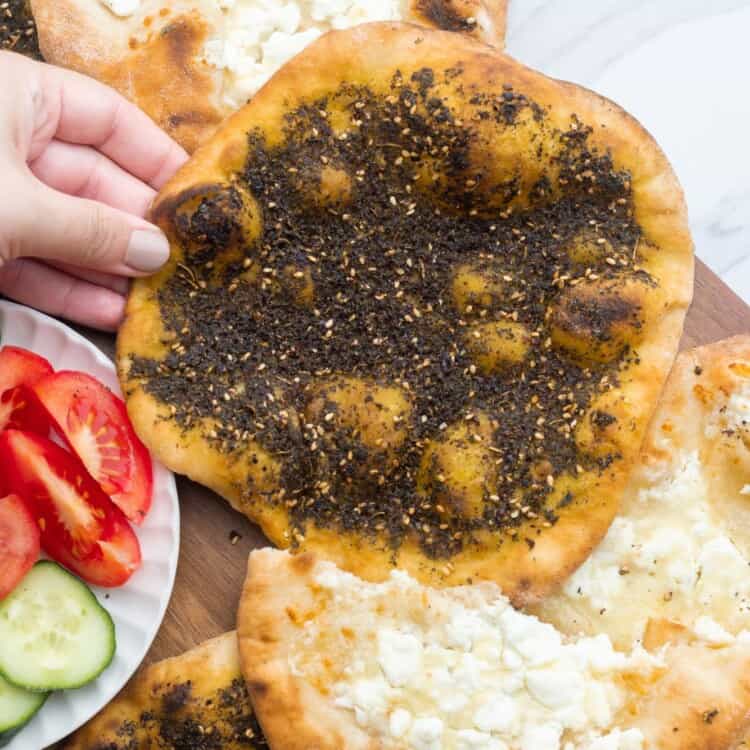
Bake golden and crispy Manakish at home! This Middle Eastern flatbread is topped with fragrant zaatar or a blend of delicious salty cheese. Perfect for breakfast or lunch, these amazing savory pies will leave a lasting impression!
What are Manakish or Manakeesh?
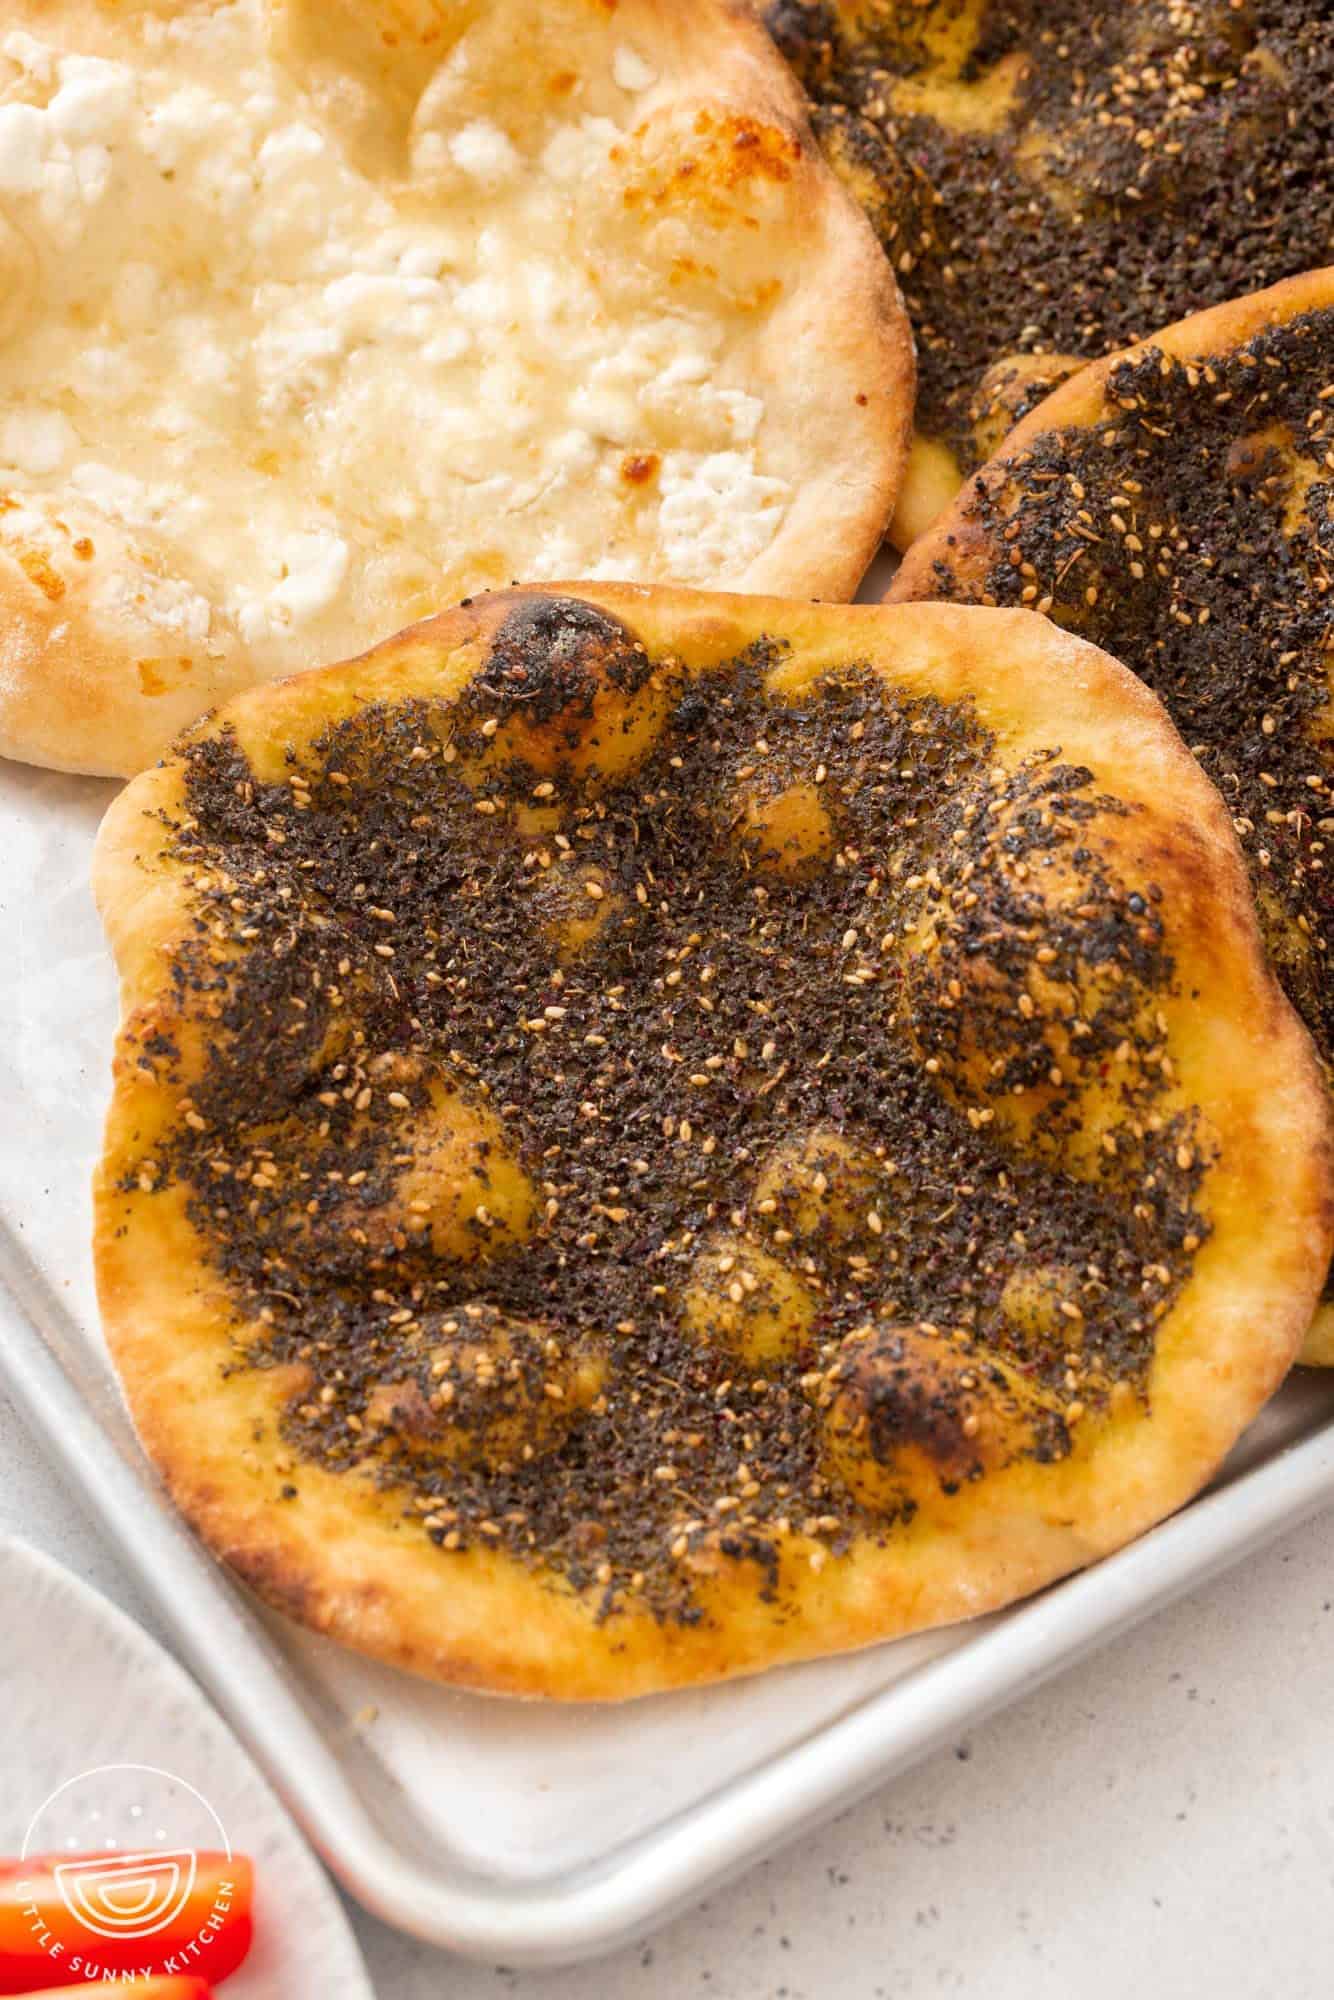
Manakish, also known as manakeesh, manaquish, mana’eesh, and manousheh (for a single pie), is a flavorful Middle Eastern or Levantine flatbread or pie (similar to pizza, I call this recipe Lebanese pizza).
They start with an easy-to-make soft and pillowy dough and then they’re topped with various toppings. Zaatar spread is the most popular option, but cheese, halloumi, and ground lamb with tomatoes (this variation is called sfiha), are also common and super delicious!
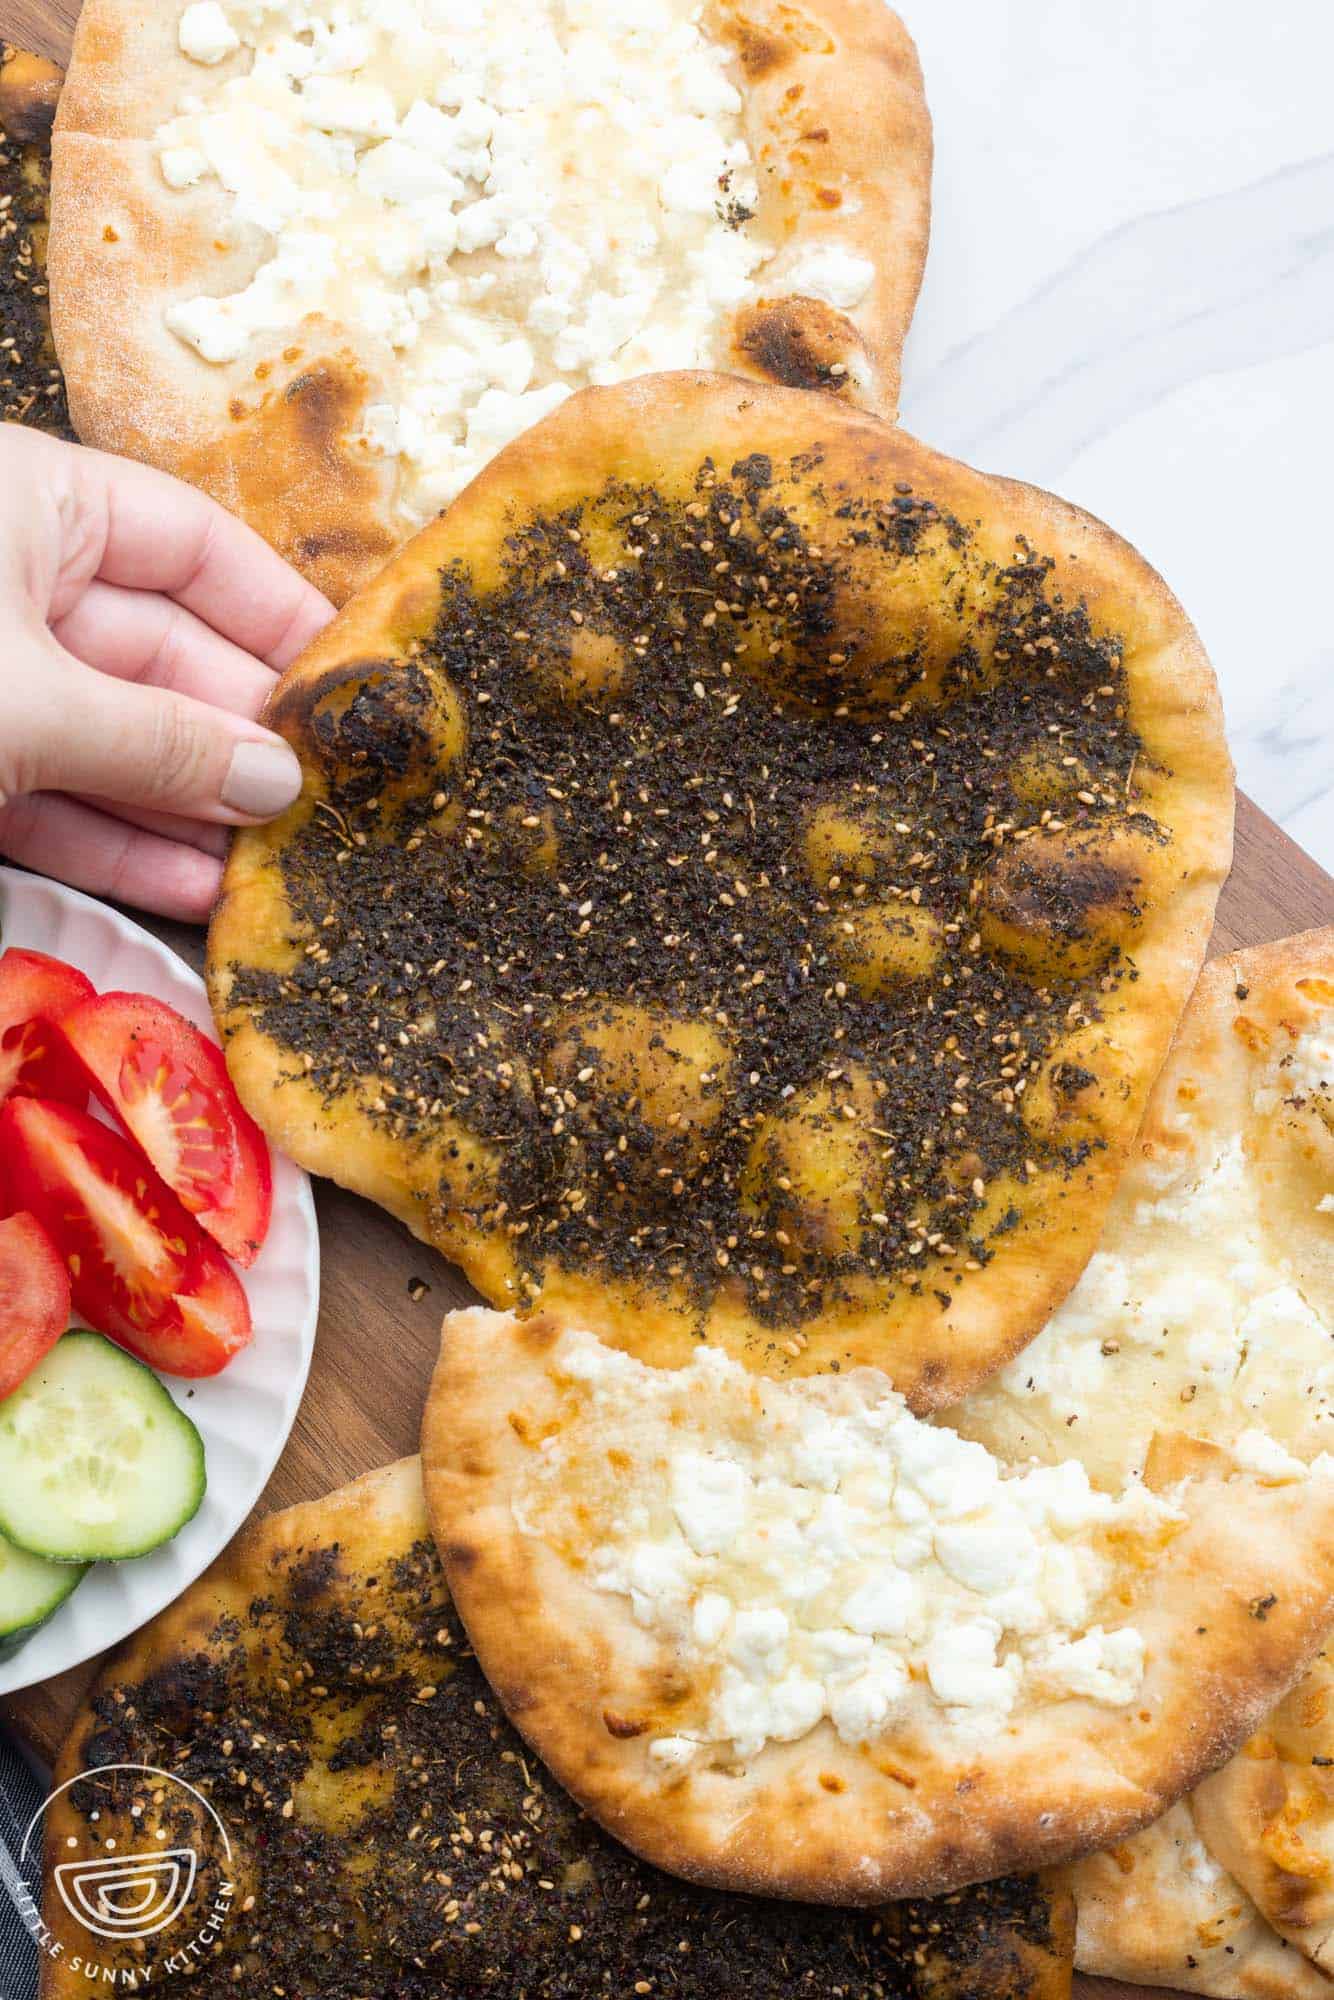
Another variation that is common and I love to make is topping half of the flatbread with zaatar spread and the other half with cheese so you get the best of both worlds!
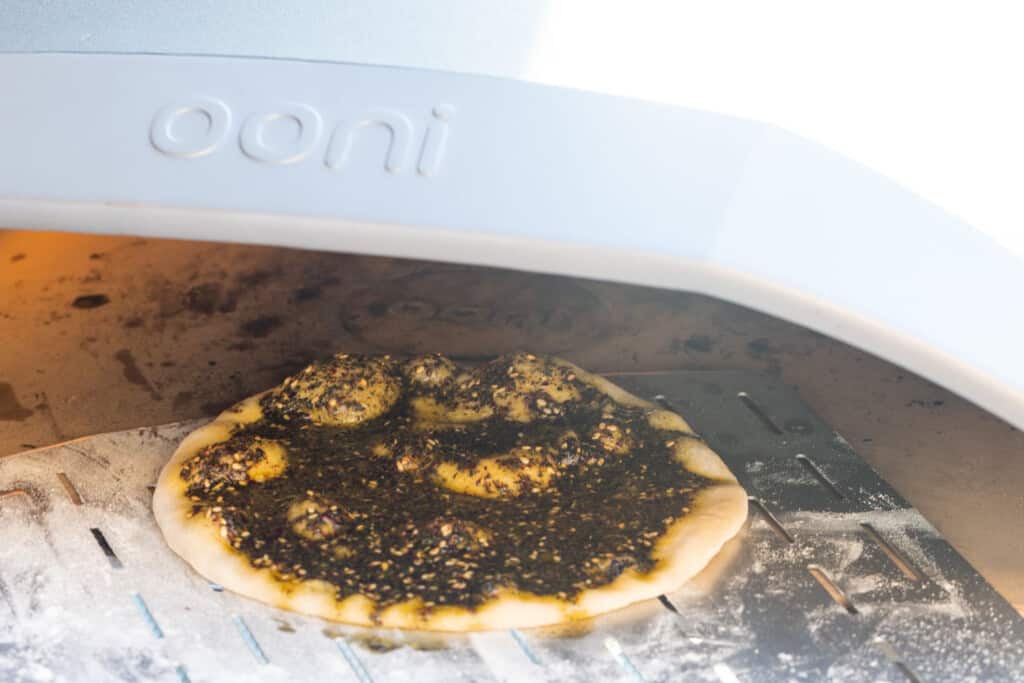
Manakish are usually baked in the oven until golden brown and crispy. I like to make mine in my gas pizza oven for an even more golden crunch!
We often serve manakish for breakfast or lunch, and it’s also popular to serve it for brunch or for suhoor during Ramadan alongside some fried Halloumi and fresh tomatoes.
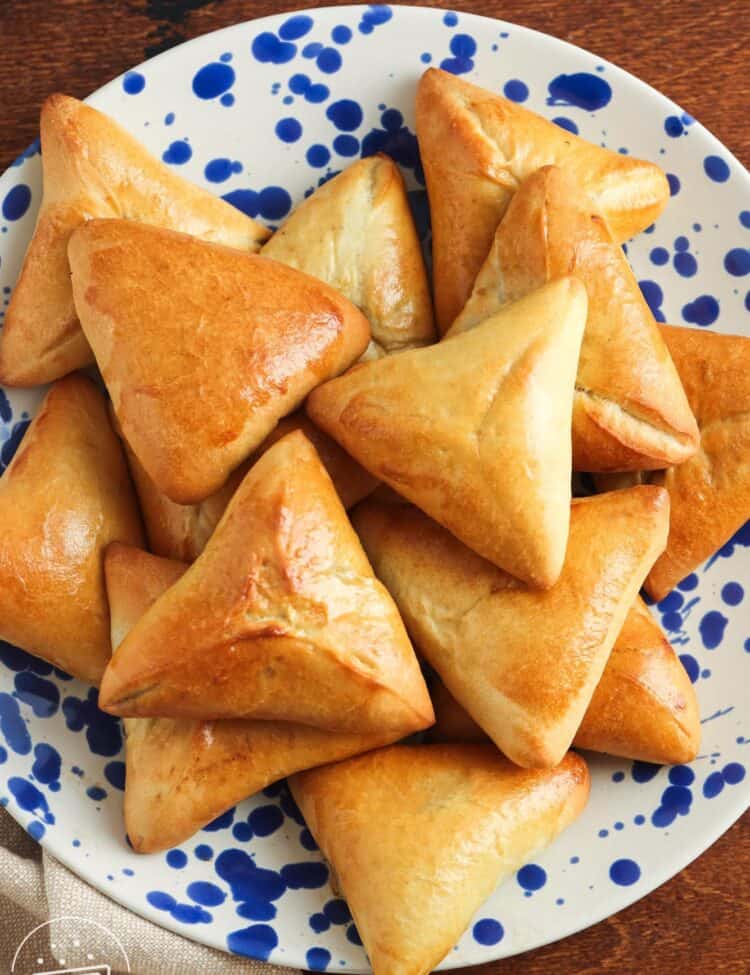
Another favorite for Ramadan is my meat-stuffed Sambousek pastries!
Why You’ll Love This Recipe
Get ready for soft and pillowy dough topped with flavorful Middle Eastern-inspired toppings and baked to a golden crispy brown! Manakish or manakeesh are easy to make at home and you can customize the toppings to suit your tastes.
If you have a stand mixer, it will do most of the work for you by kneading the dough. Great for sharing with friends and family, Manakish is a great addition to your table any time of the day!
key ingredients
Here’s what you need to make the dough for this fluffy flatbread:
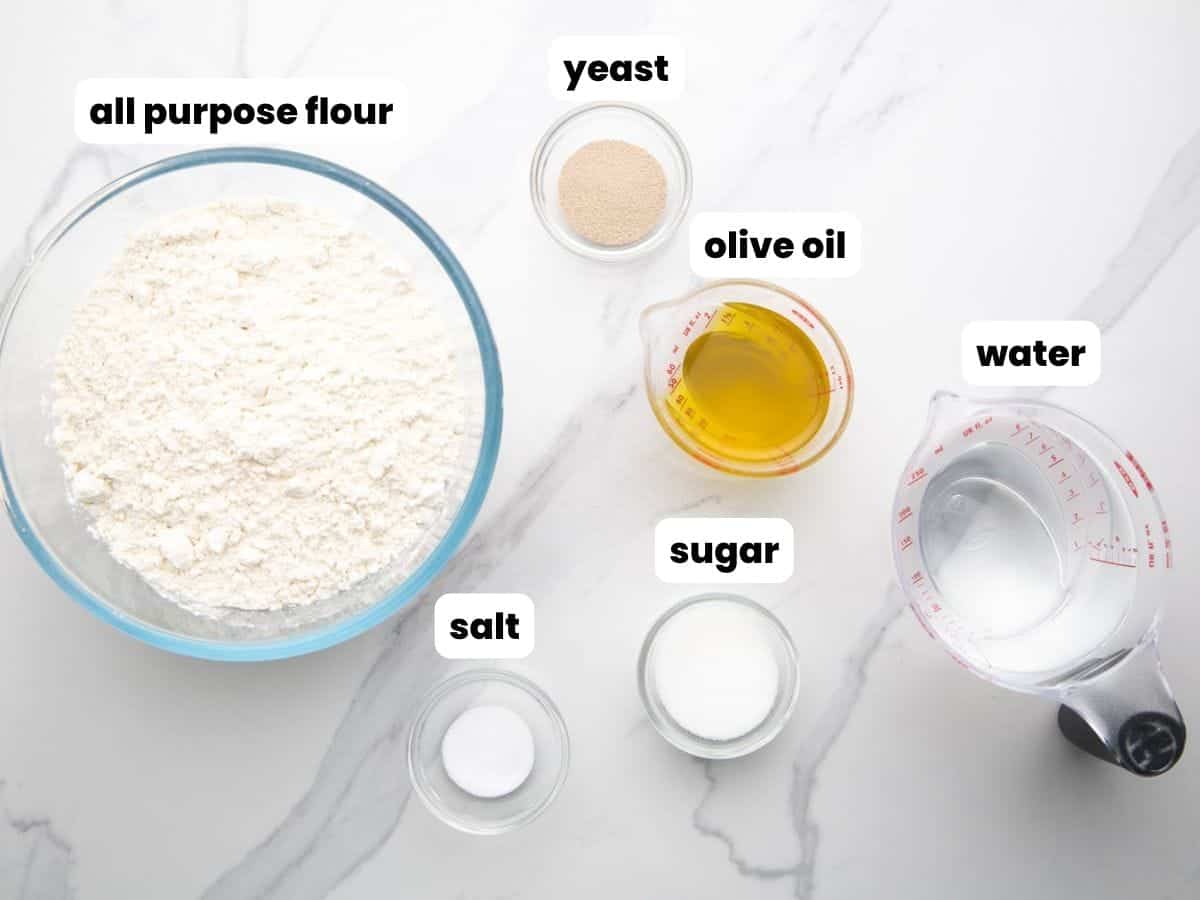
- Instant yeast: Dried instant yeast doesn’t have to be proofed first before adding to the dry ingredients, but I like to give it a head start by leaving it to sit in some warm water for 10 minutes until bubbly.
And for the fillings, here’s what you need:
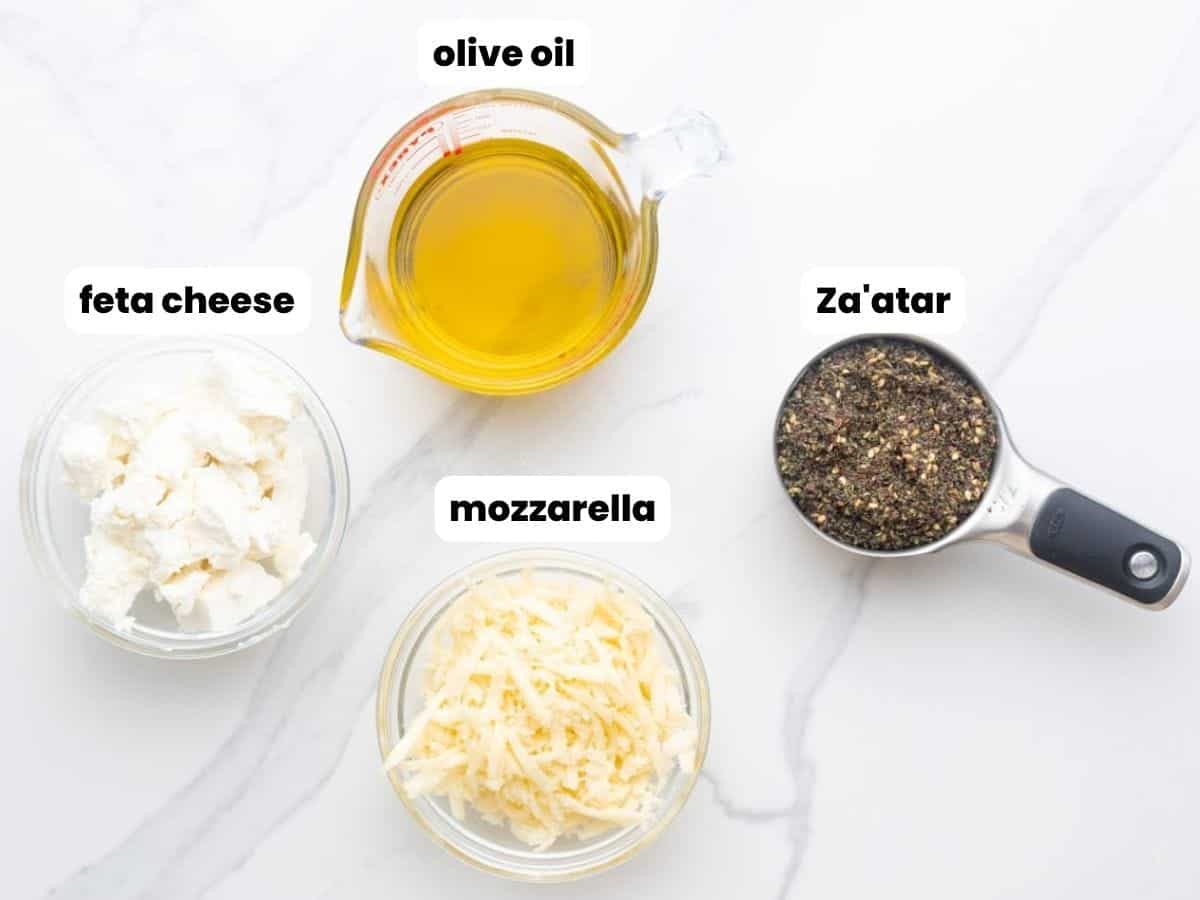
- Zaatar: You’ll need half a cup of Zaatar mix and some olive oil. You can make your own Zaatar spice mix or find it premade in most Middle Eastern grocery stores. It’s a blend of dried herbs, sumac, toasted sesame seeds, cumin, salt, and extra virgin olive oil.
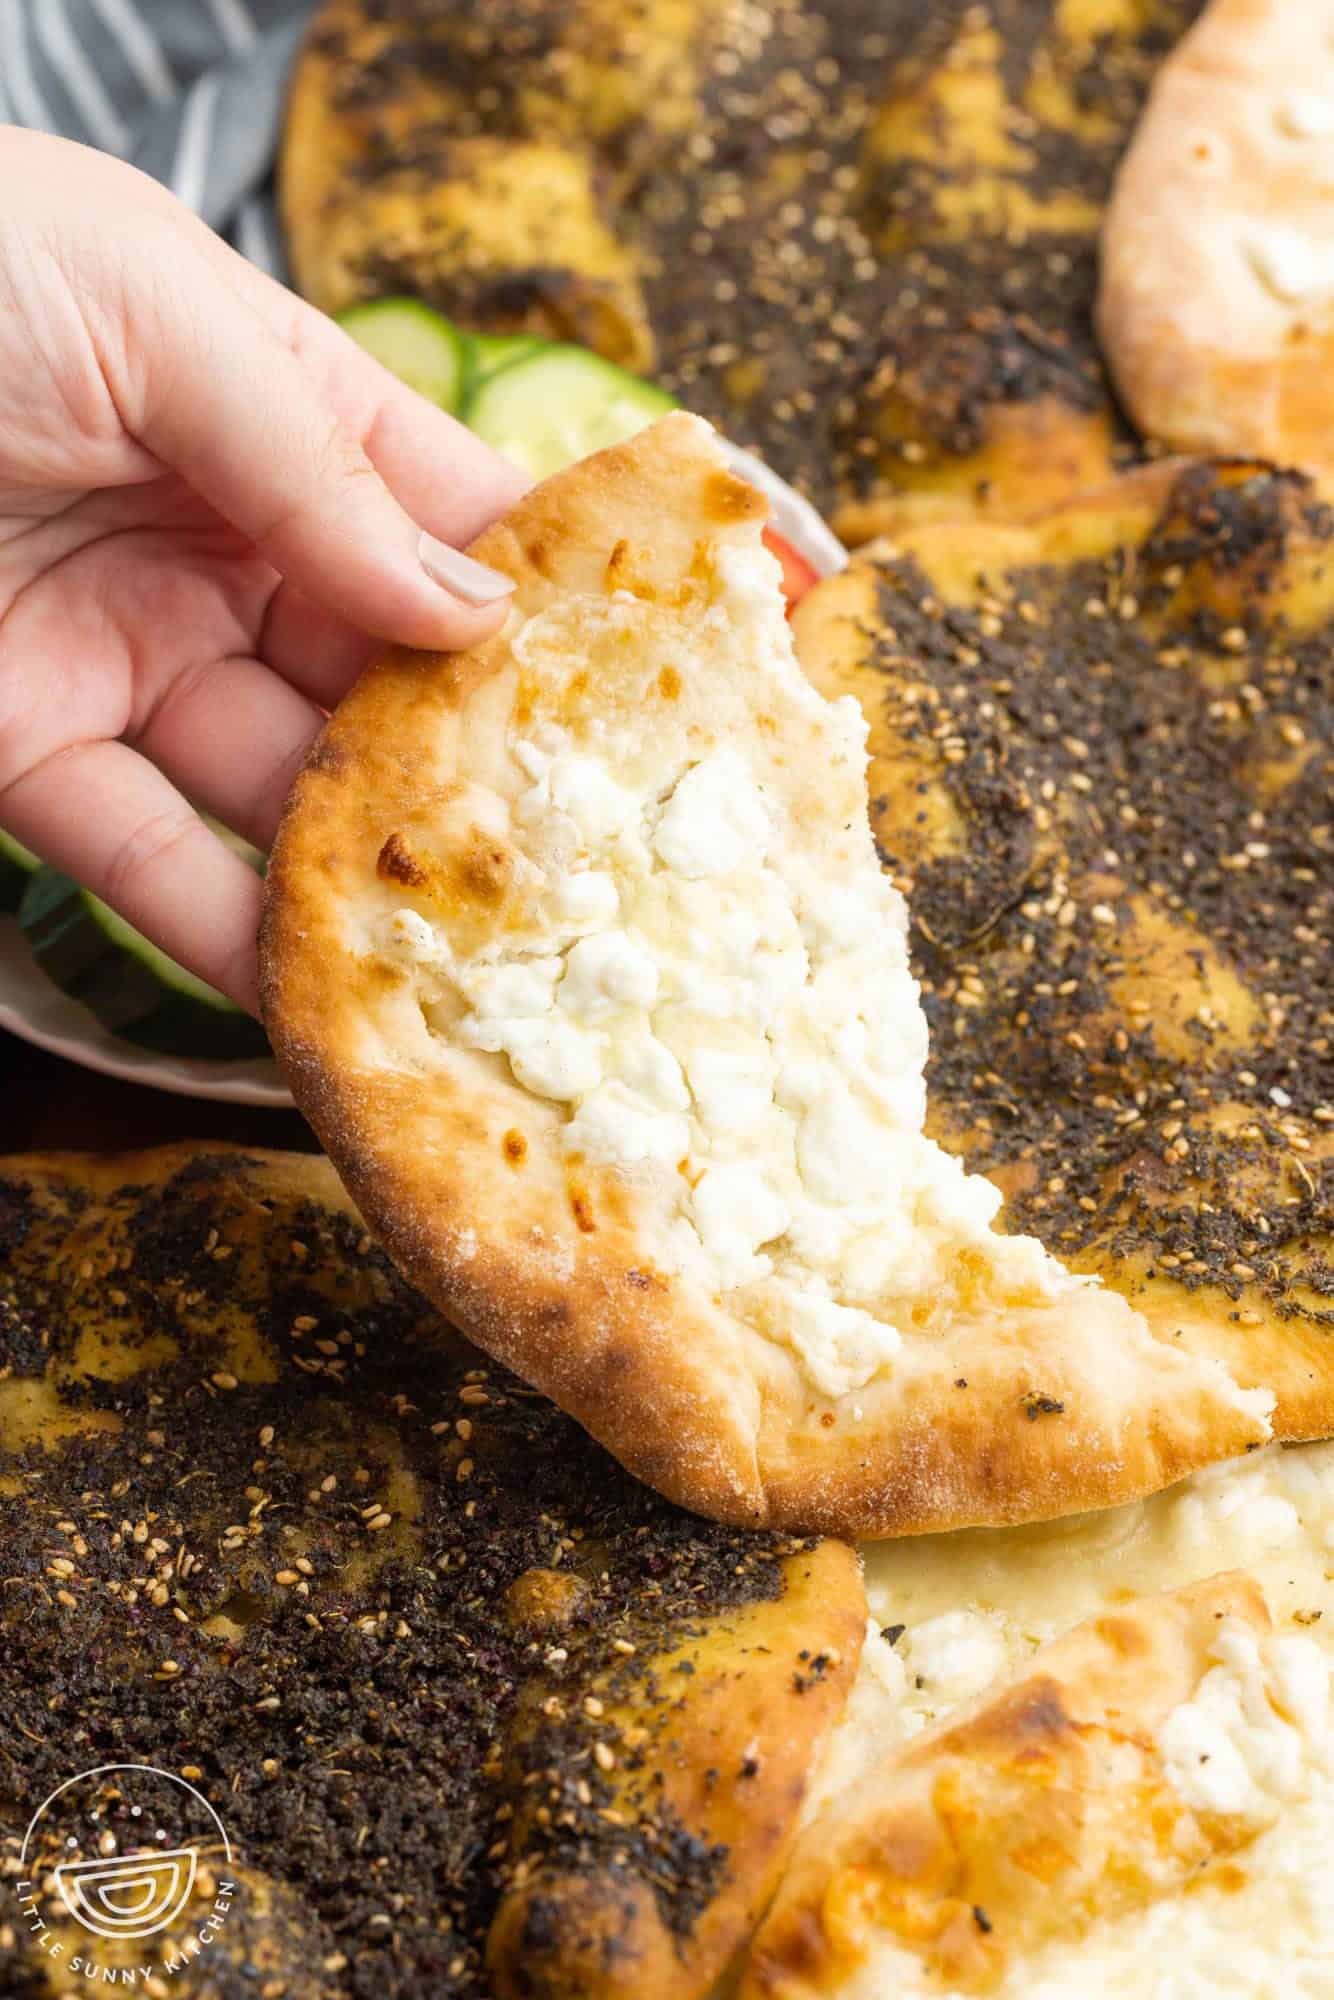
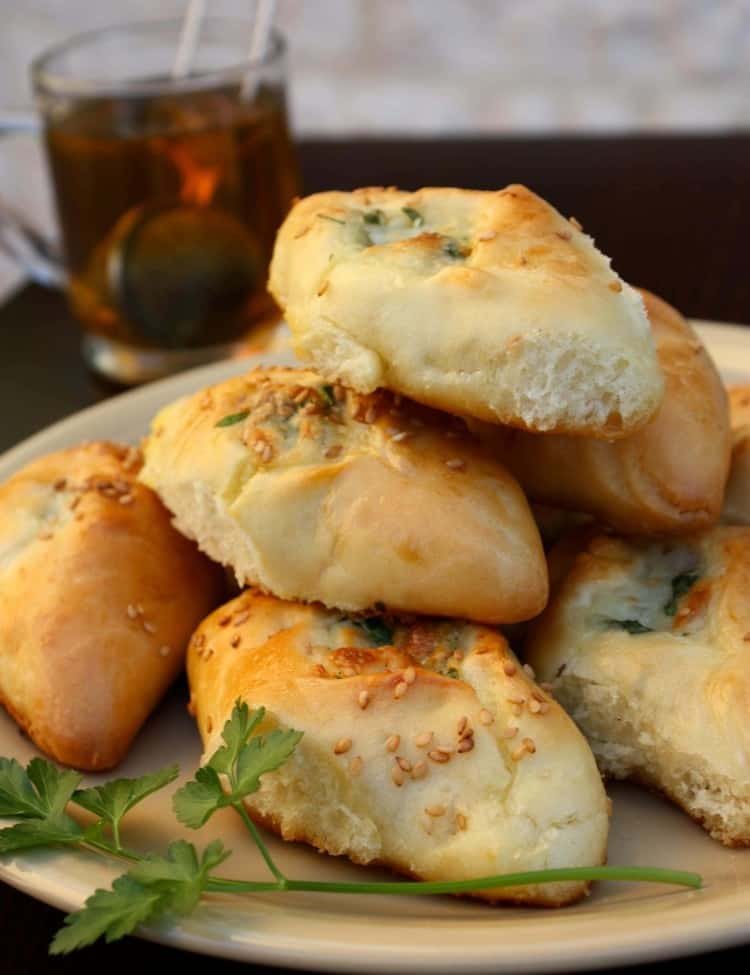
- Cheese: I use shredded mozzarella cheese and crumbled feta cheese. Traditional cheese used for cheese manakeesh is called akkawi, but in the West, it isn’t easy to find. We do feta and mozzarella instead which is very delicious!
Complete list of ingredients and amounts can be found in the recipe card below.
How To Make Manakish
The dough for your manakish needs time to rise before you shape it and then again before you bake it. Plan ahead to account for 1.5 hours of resting time.
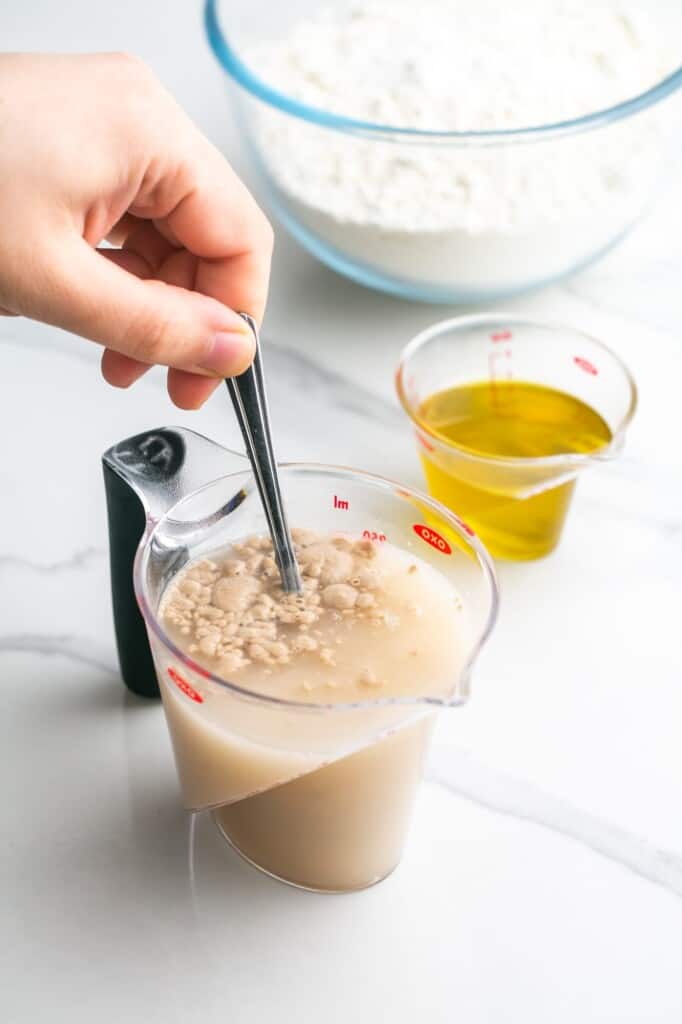
- Activate the yeast. Yeast is what will make your bread soft and fluffy! Add some warm water to activate it and wait for 10 minutes. You should see bubbles on the surface. If you don’t see any action, your yeast could be expired.
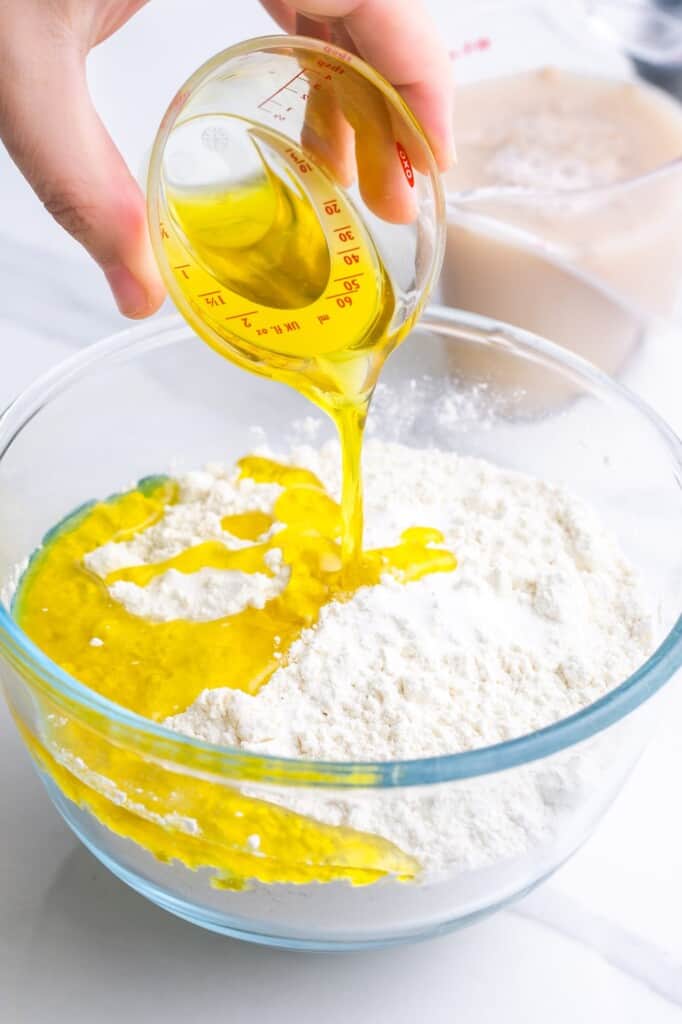
- Make the dough. Add the manakish dough ingredients to the bowl of a stand mixer and add the dough hook attachment. I use this Kitchen-Aid mixer with the dough hook attachment and get great results every time.
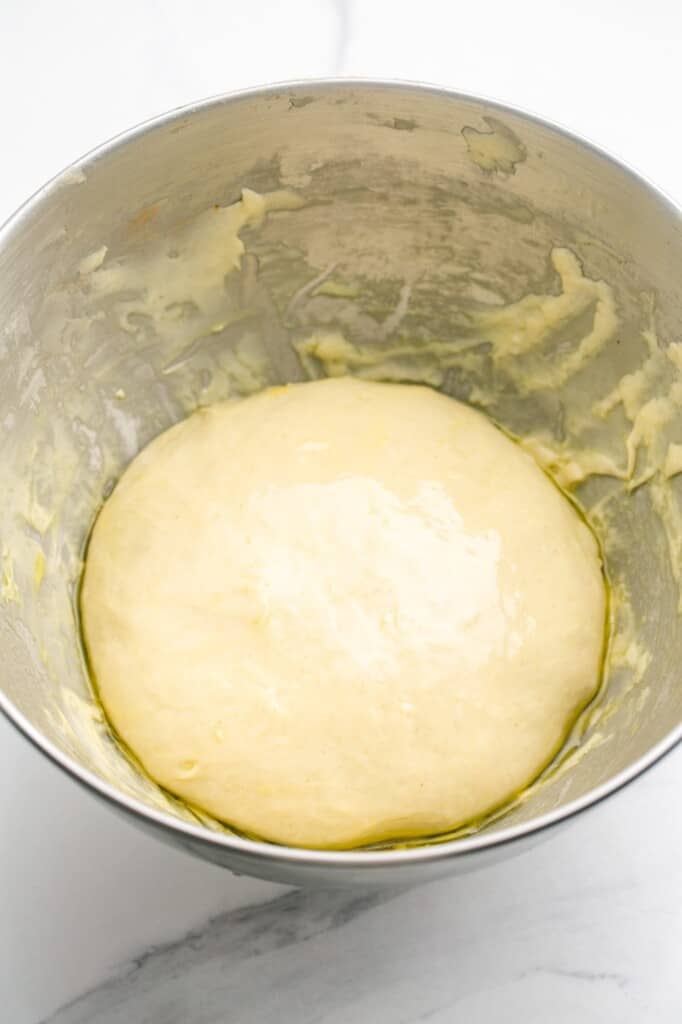
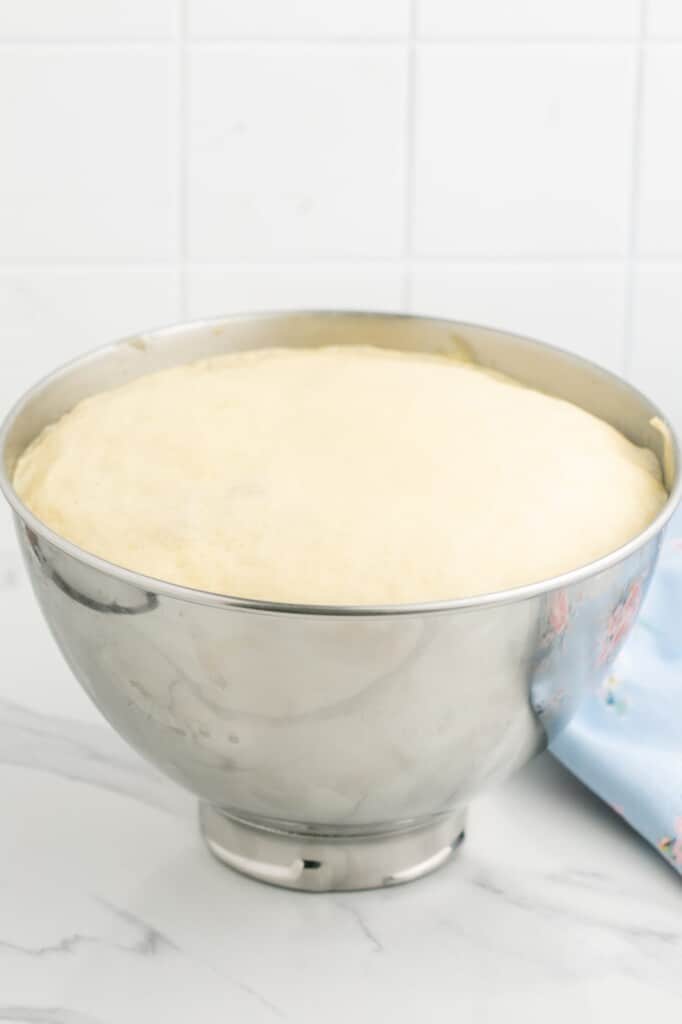
- Rest. Coat the dough ball in olive oil, cover the bowl with plastic wrap or a towel, and place it in a warm spot in your kitchen to double in size. This usually takes about an hour.

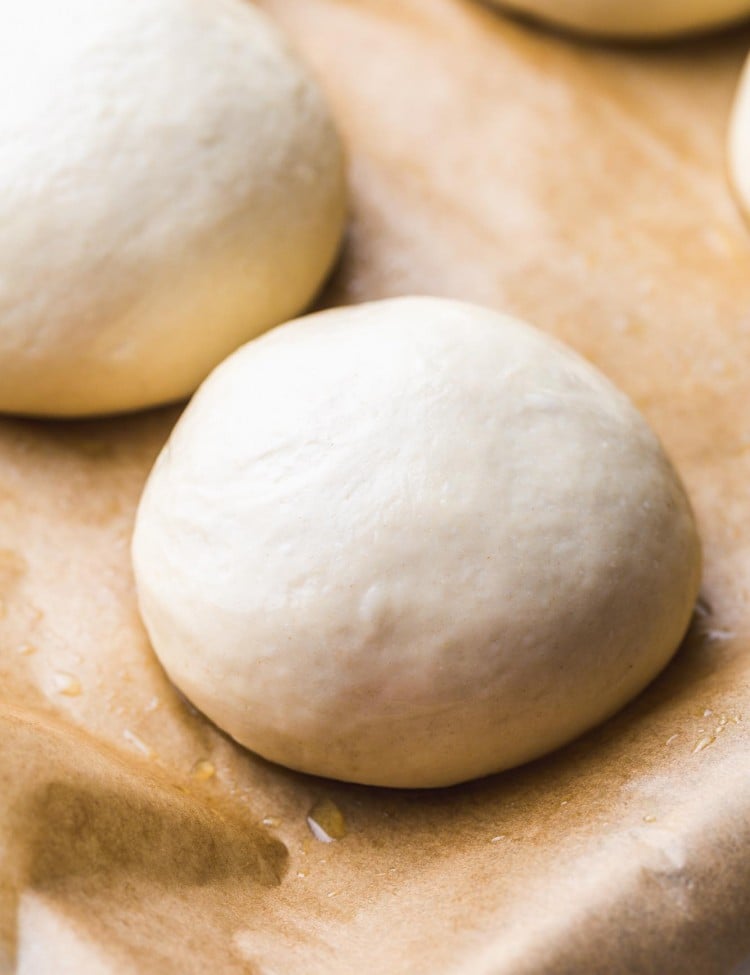
- Portion the dough. Transfer the dough to a lightly floured surface and portion it into 6 – 8 balls (for smaller manakeesh, divide into 12). Cover them with a towel and let them rise again for 20 – 30 minutes.
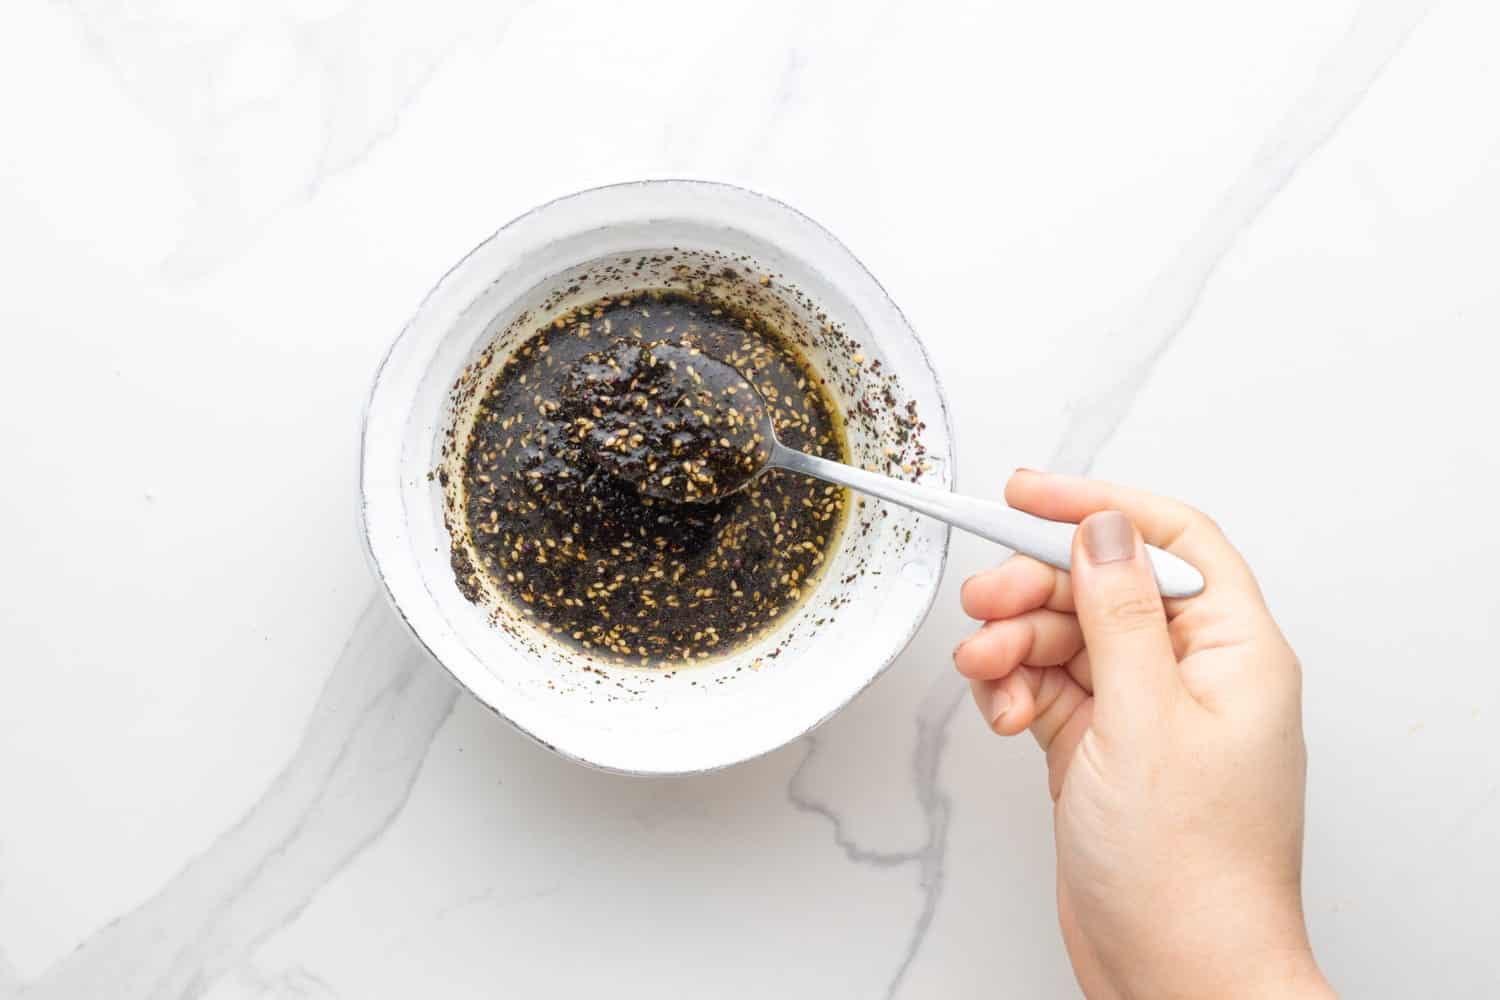
- Make toppings. While the dough is rising, mix the zaatar and olive oil for one topping and the two cheeses for the other topping.
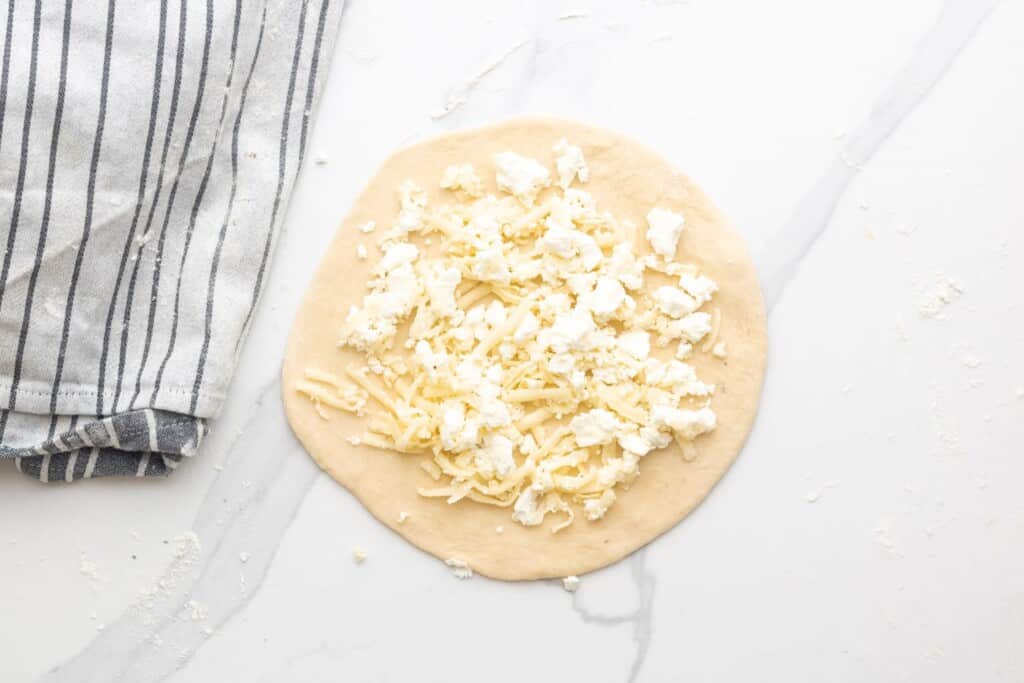
- Assemble and bake. Roll each dough ball into a thin round disc. I have this rolling pin which I absolutely love. I also like that it has guide rings which I did not use for this recipe, but generally, I use them a lot. Sprinkle with the toppings and bake until they’re golden brown in color and slightly crispy.
Tip!
Enjoy your manakish while they are still warm and fresh out of the oven. I cut them before slicing them in half using a pizza cutter for easy handling and eating.
Recipe Tips
- Activate the yeast: Check the expiry date on your yeast and make sure you use warm water to activate it. If your yeast is lifeless, then your bread won’t rise!
- Don’t over-knead: Knead the dough until it becomes smooth and elastic, then stop. Over-kneading can result in your bread having a tough and dense texture.
- Let the dough rise: Patience is the key to achieving a light and fluffy texture, so give the dough the time it needs to double in size.
- Avoid overtopping: The toppings are so delicious, you might be tempted to load them on, but be careful not to overdo it. Too much topping can weigh down the dough and prevent the manakish from baking properly.
Storing Tips
Baked manakish will keep in an airtight container or zip-top bag for 2–3 days at room temperature.
For longer storage, pop them into the fridge for up to 1 week. You can even freeze them for up to 3 months to enjoy later.
I like to freeze mine and then I thaw them in the fridge before reheating. I usually reheat them in a 350°F/180°C oven until they’re warmed through. You can reheat them in the microwave, but they just won’t be as crispy.
What To Serve With
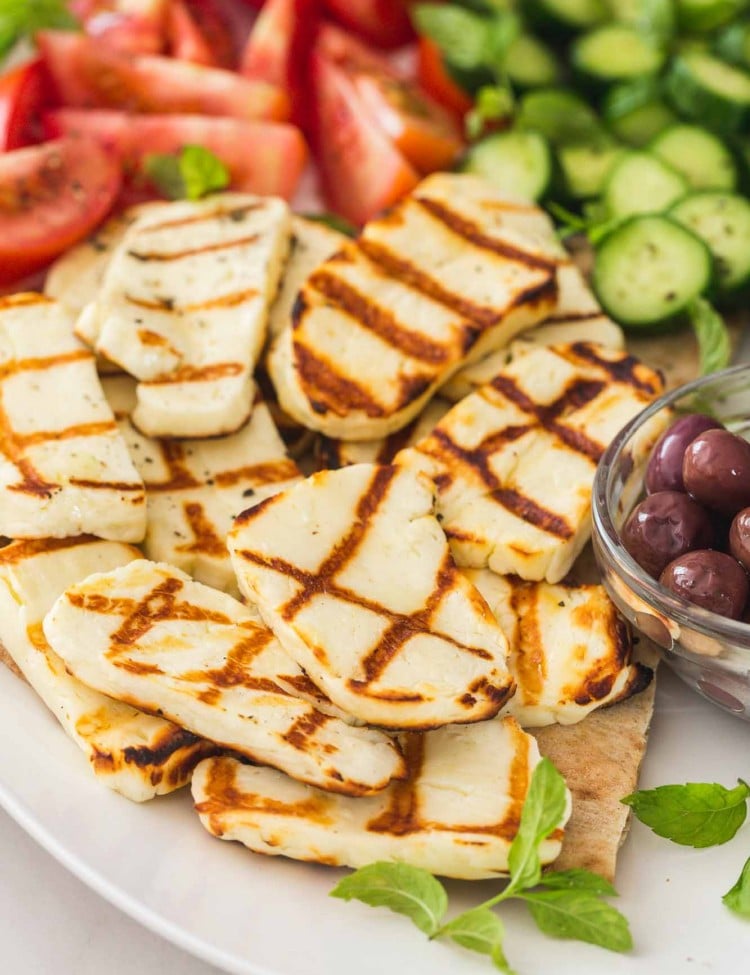
Manakish are usually served with a spread of fresh vegetables (tomato and cucumber), along with labneh (strained yogurt), olives, and sweet black tea with fresh mint leaves.
Grilled halloumi is also a delicious accompaniment and sometimes you’ll find hummus and baba ganoush served on the side.
Recipe FAQs
You can usually find zaatar in Middle Eastern grocery stores, specialty food shops, and online. You can also make your own homemade zaatar. I have a recipe link for my favorite blend in the ingredients list.
Sure! While a stand mixer makes the kneading process easier, you can also knead the dough by hand. Mix the ingredients in a bowl, then turn the dough out onto a lightly floured surface and knead for about 10-15 minutes until you achieve a smooth and elastic consistency.
Yes, you can prepare the dough ahead of time. After the dough has risen, you can punch it down, wrap it tightly in plastic wrap, and store it in the refrigerator for up to 24 hours. When you’re ready to bake, let the dough come to room temperature, then proceed with shaping, topping, and baking as directed.
Of course! This recipe will give you 6 – 8 manakish, but you can adjust the size according to your preference. Divide the dough into more or less portions depending on what you want. Just keep in mind that the baking time may need adjustment based on the size.
Yes, you can. In addition to the classic zaatar and cheese options, you can try topping your bread with minced lamb, chopped tomatoes and onions, or any other ingredients you might like.
More Middle Eastern Recipes To Try
All Middle Eastern →

Save this recipe for the next time you’re in the mood for Middle Eastern fare. Manakish are easy enough for even beginners in the kitchen! Pin it for more people to enjoy too!
Did you make this? Be sure to leave a review below and tag me on Facebook, Instagram, or Pinterest!
Manakish
Equipment
- Stand-mixer
Ingredients
- ¾ cup (180 ml) water 120°F-130°F (49°C-55°C)
- 2 teaspoons (6 g) instant yeast
- 3 cups (360 g) all purpose flour
- ½ teaspoon salt
- 1 tablespoon granulated sugar
- ¼ cup (60 ml) extra virgin olive oil plus 1 tablespoon of oil for oiling the bowl
Zaatar filling:
- ½ cup Za'atar spice
- ½ cup (120 ml) extra virgin olive oil
Cheese filling
- ½ cup (55 g) shredded mozzarella cheese
- ½ cup (55 g) feta cheese crumbled
Instructions
- Start by activating the yeast in the warm water, stirring until it’s fully dissolved. Let the mixture sit for about 10 minutes until bubbles form.
- In a stand mixer bowl, combine the flour, salt, sugar, and olive oil. Then, add in the yeast and water mixture. Using the dough hook attachment, knead the dough until all ingredients are incorporated. If needed, add a tablespoon or two of water and continue kneading until you have a smooth, elastic dough.
- Drizzle the extra olive oil over the dough, ensuring it’s coated all around. Cover the bowl with plastic wrap or a towel and let it rise in a warm area until it doubles in size, which should take around an hour.
- Once the dough has risen, transfer it to a lightly floured surface and divide it into 6-8 equal portions. Shape these into balls, cover with a towel, and let them rest for another 20-30 minutes.
- As the dough rests, get your fillings ready. Mix the zaatar with olive oil for one filling, and combine the two cheeses for the other.
- Preheat your oven to 450°F/230°C and line a baking sheet with parchment paper.
- Roll each dough ball into a thin, round disc (about 8 inches in diameter). Spread 1-2 tablespoons of the zaatar mixture on half of the discs, and sprinkle the cheese mixture over the other half.
- Bake the flatbreads in the preheated oven for about 10 minutes, or until they’re fully cooked. If you’re using a pizza oven, it will take approximately 2 minutes to cook. Serve the flatbreads while they’re still warm.
Notes:
- Yeast Activation: Ensure your yeast isn’t expired and use warm water for activation. Warm water must be at 120°F-130°F (49°C-55°C) temperatures.
- Knead Moderately: Stop kneading when the dough becomes smooth and elastic. Over-kneading may lead to tough and dense bread.
- Rising Time: Allow the dough sufficient time to double in size for a light and fluffy texture.
- Topping Balance: Resist the urge to overload the toppings; too much can prevent proper baking.
- Serving: Enjoy your Manakish warm and fresh from the oven. Slice them with a pizza cutter before serving.
- Short-term Storage: Store baked Manakish at room temperature in an airtight container for 2-3 days.
- Long-term Storage: They last up to a week in the fridge or three months in the freezer. Thaw frozen Manakish in the fridge and reheat at 350°F/180°C for best results. You can microwave them, but they won’t be as crispy.
Nutrition Information
This website provides approximate nutrition information for convenience and as a courtesy only. Nutrition data is gathered primarily from the USDA Food Composition Database, whenever available, or otherwise other online calculators.
© Little Sunny Kitchen

Toni says
Such an amazing and tasty recipe! Can’t wait to make it again!
Little Sunny Kitchen says
Thank you, Toni! I’m happy to hear you enjoyed it!
April says
OMG this was soooo good! We loved the texture of the bread and the cheese and toppings were amazing!
Little Sunny Kitchen says
I’m so glad you love it, April! Thanks for the kind review!
Maryam says
I love trying new bread recipes but they can be overwhelming if new and unfamiliar. This one is so thorough and detailed, I can’t wait to give it a try!
Little Sunny Kitchen says
Thank you, Maryam! I hope you like it!