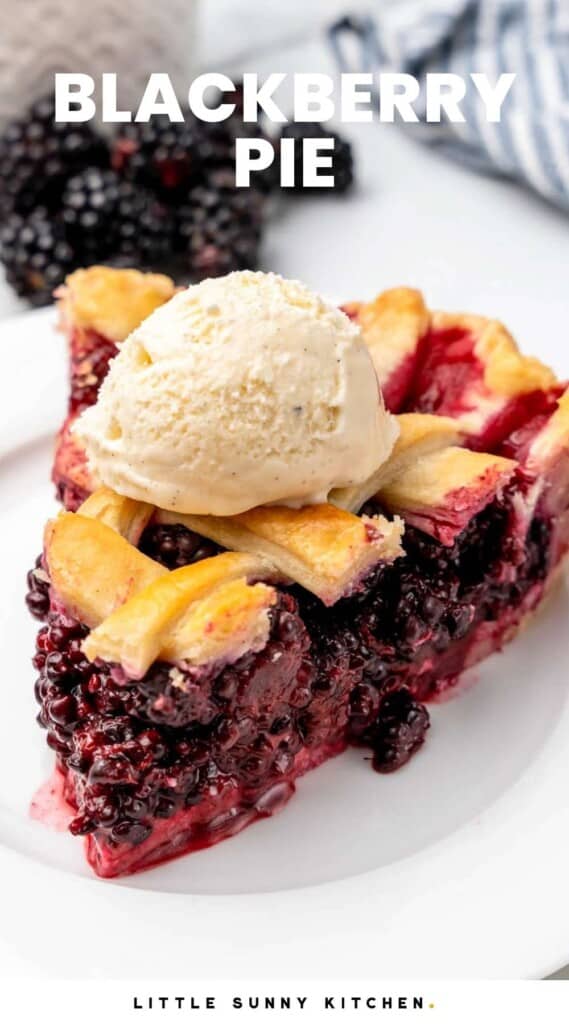
Sweet and tart Blackberry Pie is a summertime must-have! This amazing fresh fruit pie will be a huge hit when you serve it at your next picnic or BBQ.
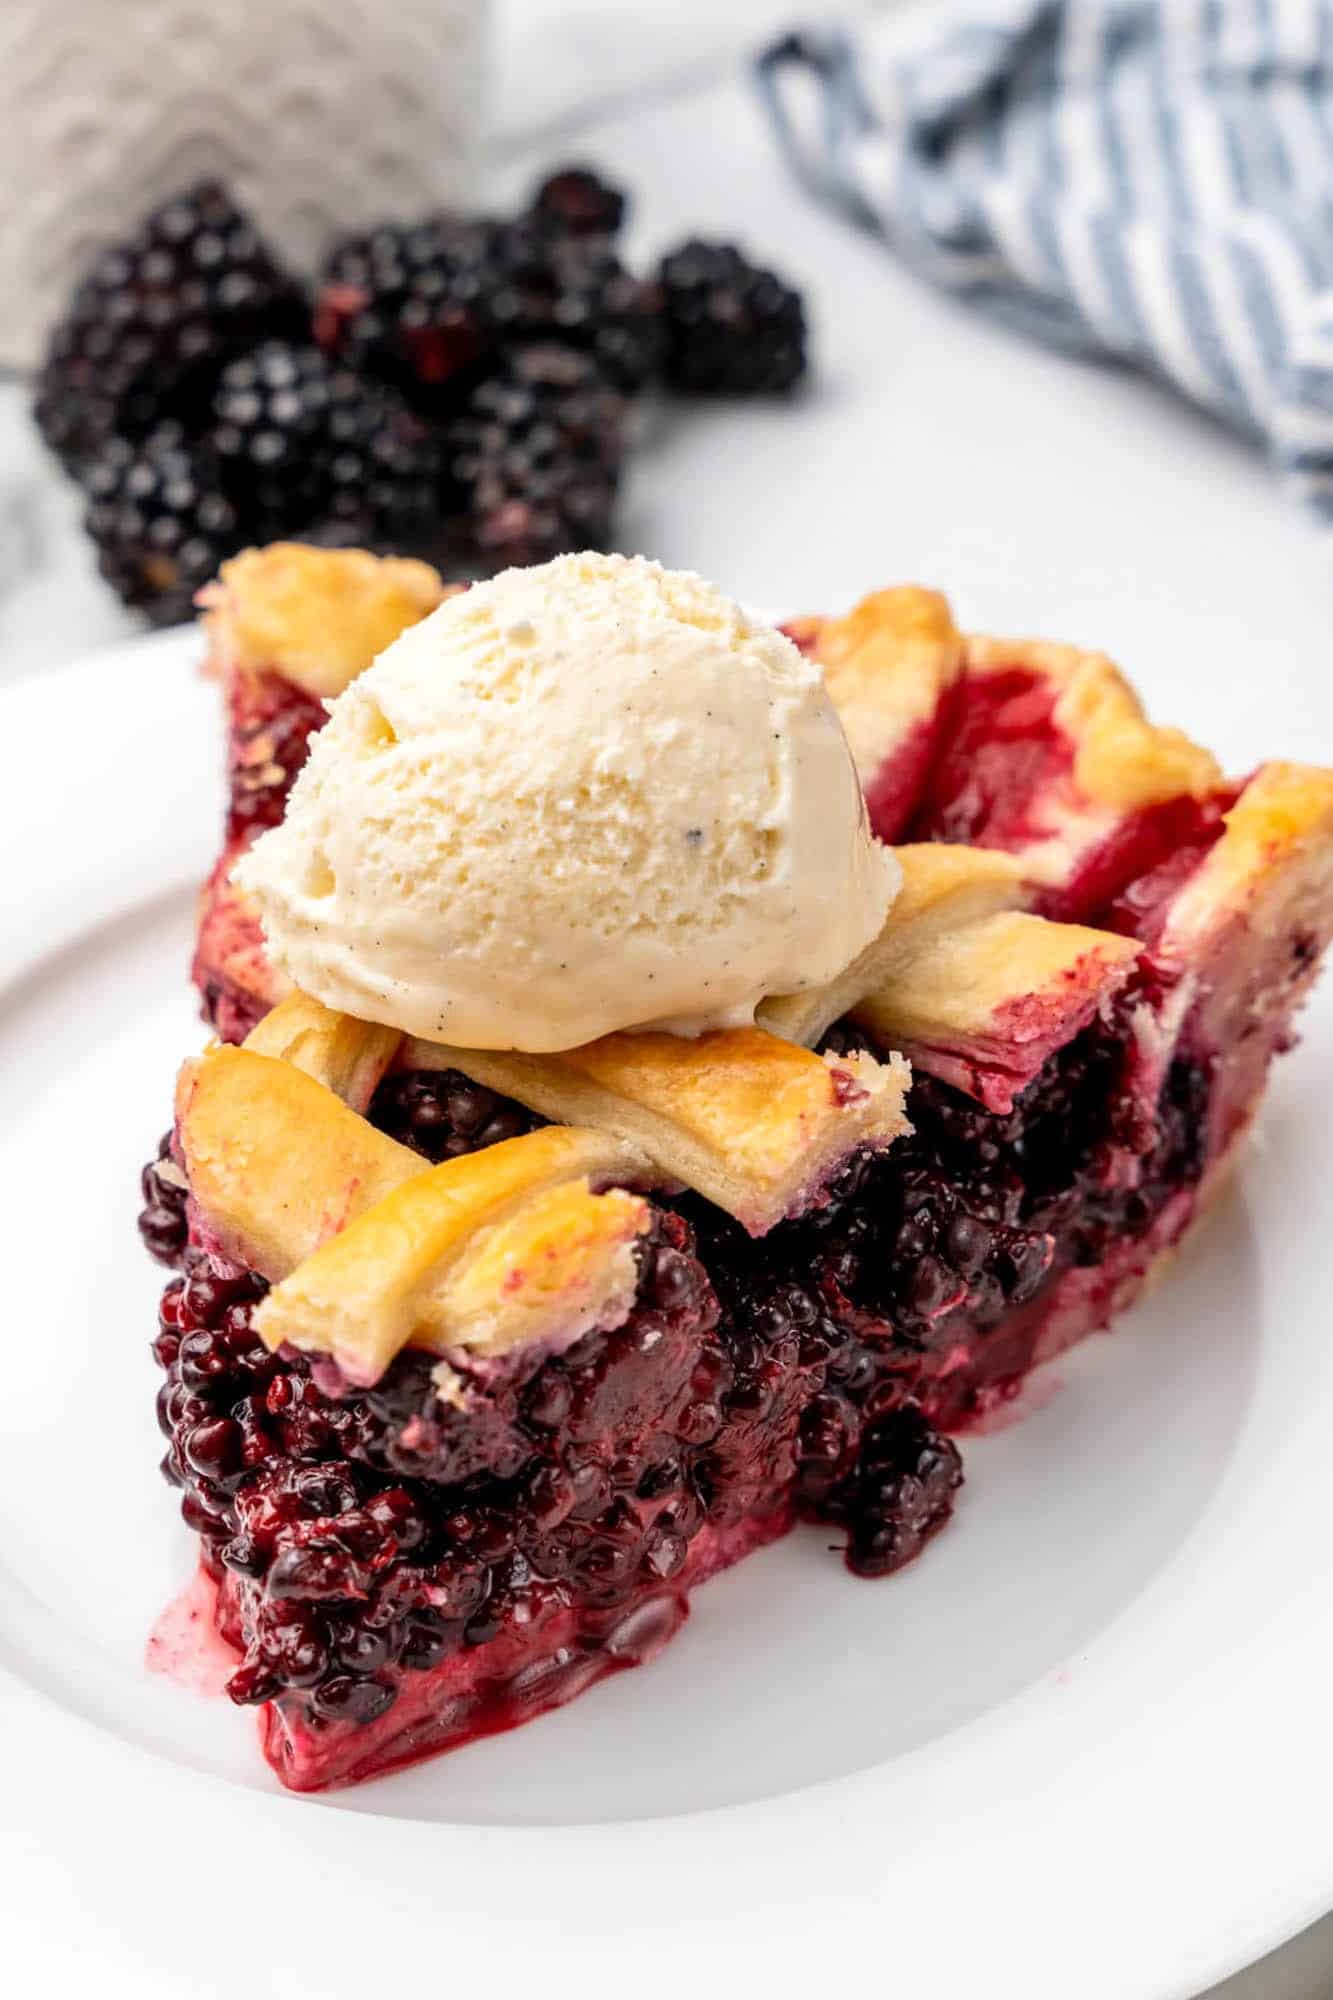
Get yourself some beautiful blackberries and get ready to make the best pie you’ve ever had!
Blackberry Pie is not the most common fruit pie. Compared to Apple Pie, Blueberry Pie or Cherry Pie, it might not even be one you think of when you decide to get in the kitchen and bake.
But a delicious, homemade Blackberry Pie can certainly hold its own with all of the other fruit pie heavyweights, and when you bring it out after dinner, everyone will want a slice!
With its flaky, buttery crust, syrupy berry filling, and topped with whipped cream or vanilla ice cream, this blackberry pie recipe is irresistible.
Get the full recipe here, along with instructions for making an impressive lattice top pie crust.
Should You Use Fresh or Frozen Blackberries for Pie?
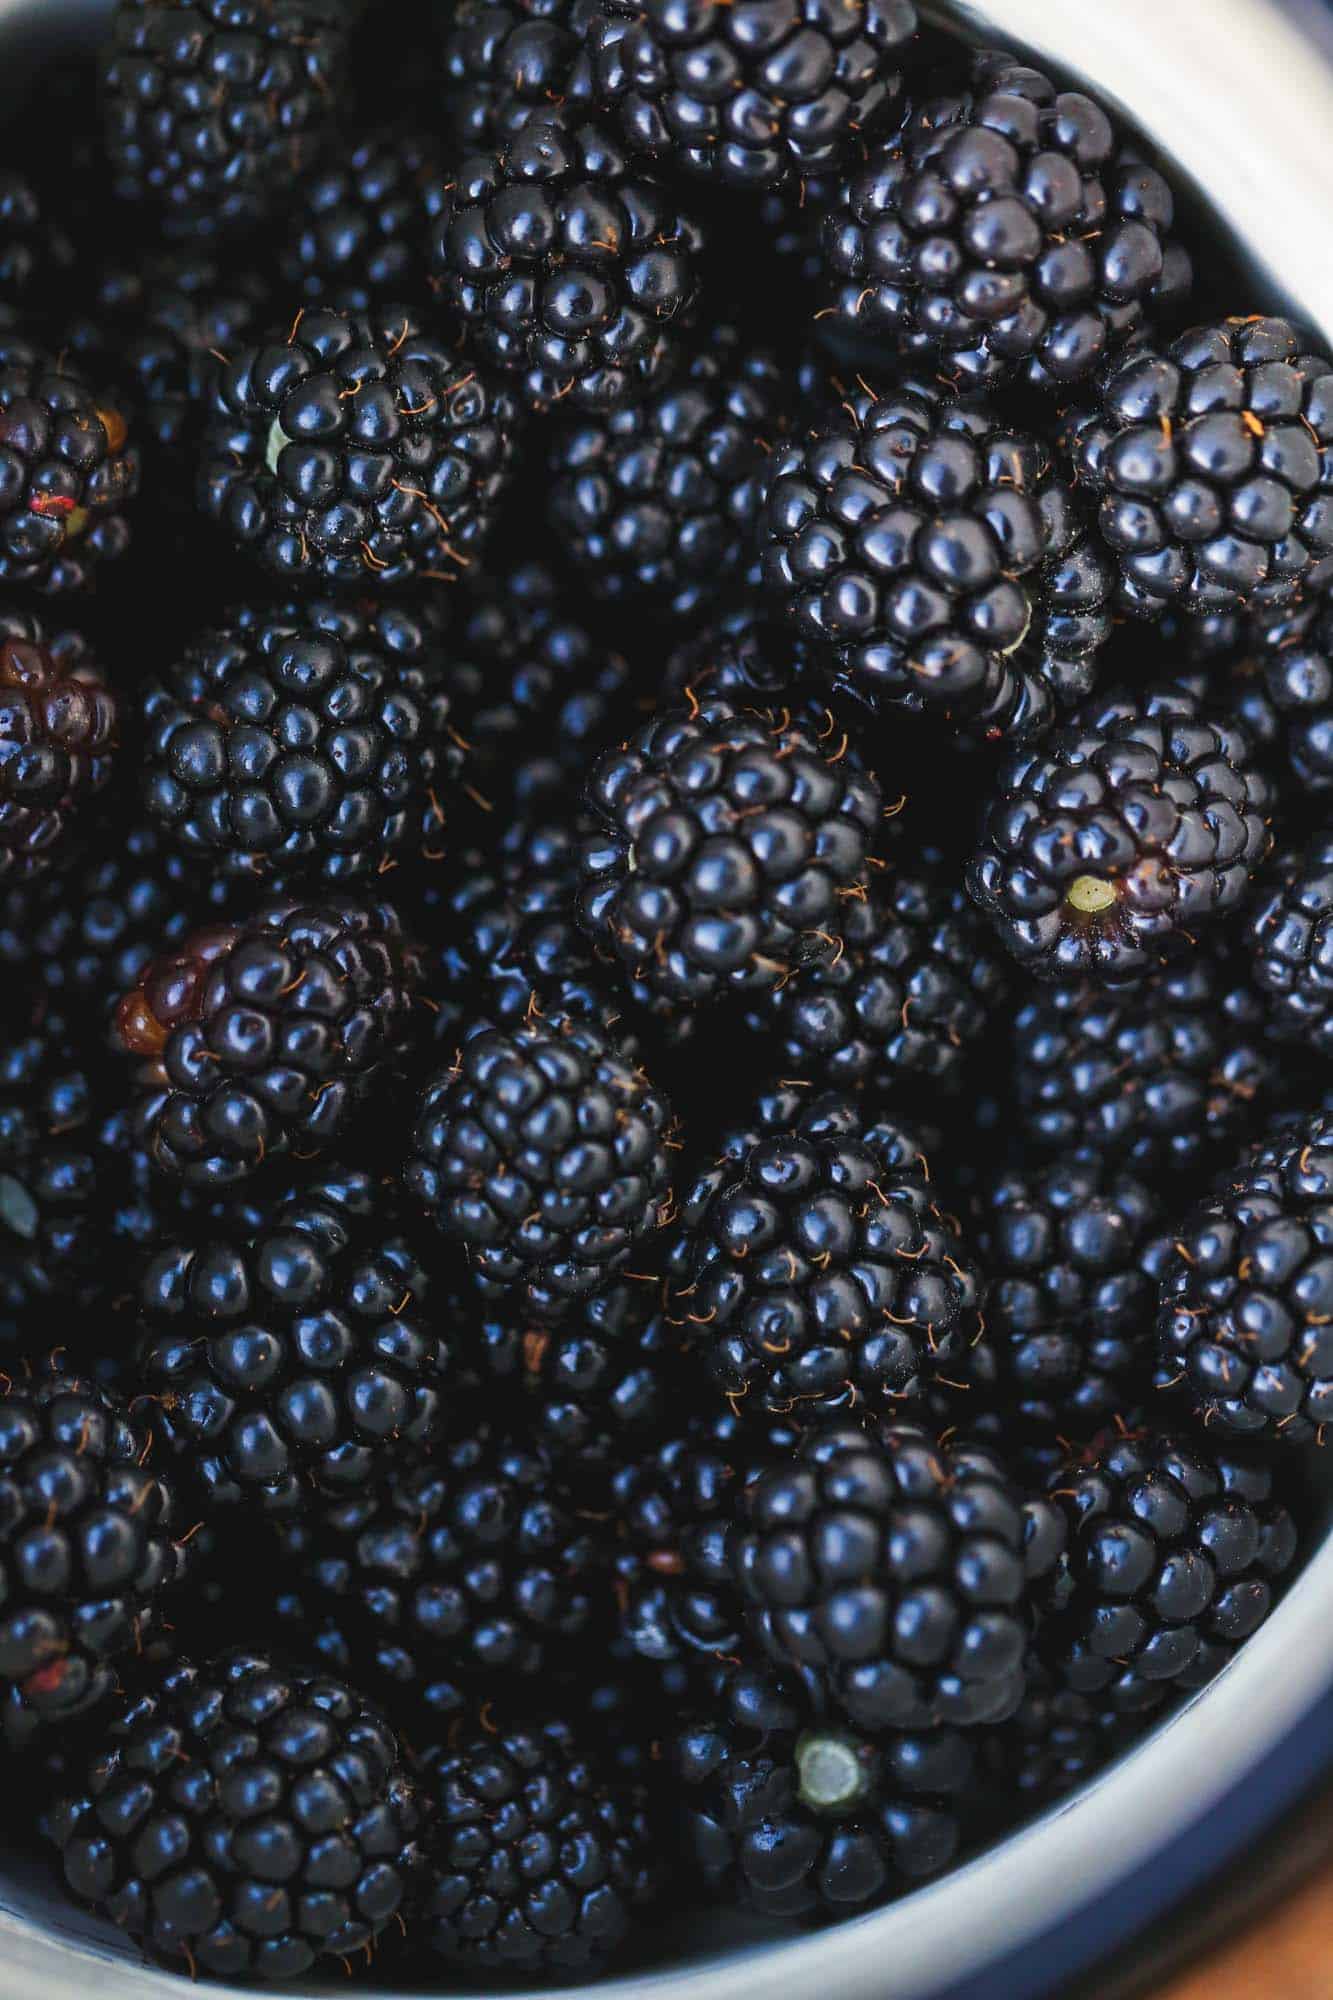
Fresh blackberries are preferred when making this homemade pie. Just look at how beautiful they are!
In most places, blackberries are in season during the summer months. Look for locally grown berries for the best flavor.
If you can’t get your hands on fresh blackberries, or if the berries at the store aren’t the freshest this week, feel free to use frozen blackberries instead. Simply allow them to thaw first, and drain away the liquid that comes out.
Whether you use fresh or frozen blackberries in your pie, do a taste test before you start baking.
If the berries are sweet, you may want to reduce the amount of sugar in the recipe. If they are tart (as blackberries sometimes are) you should use the amount listed, or add more to taste.
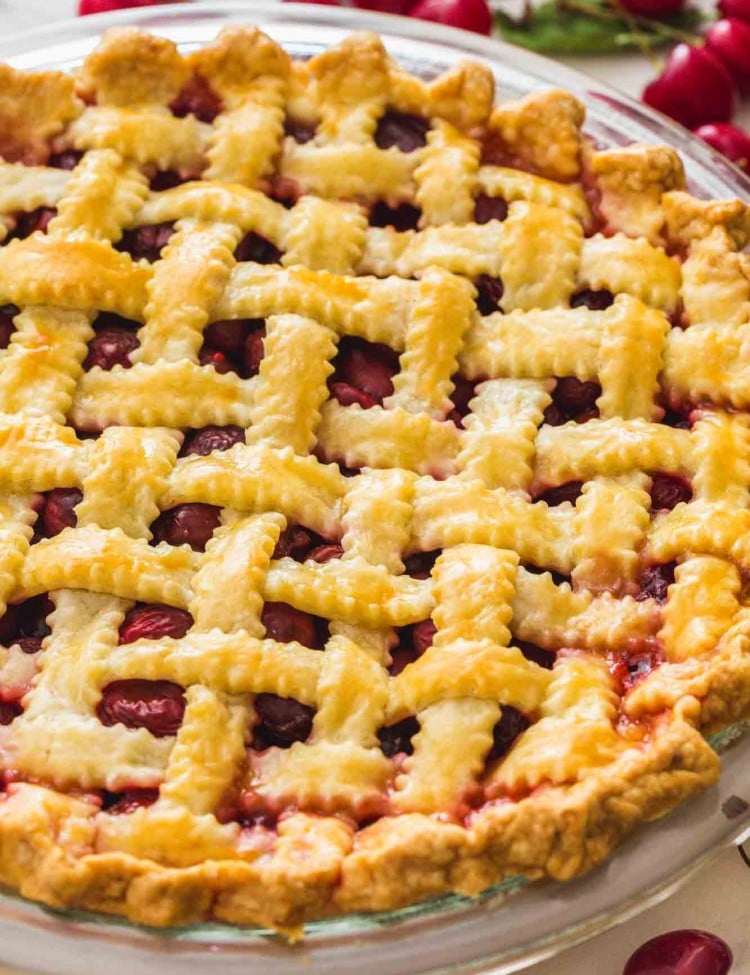
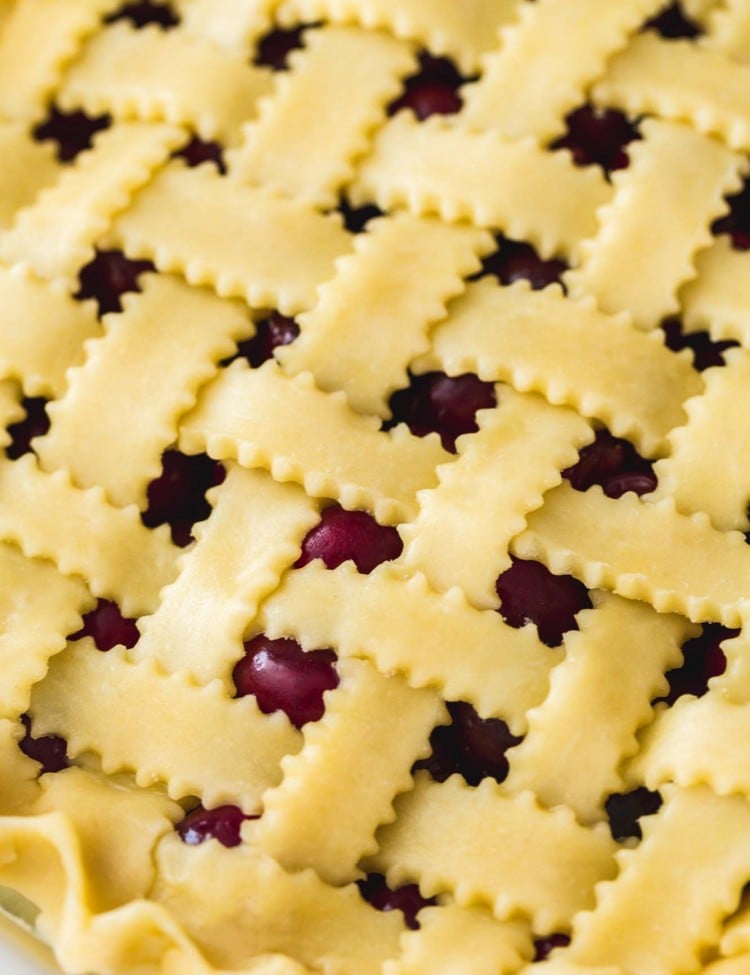
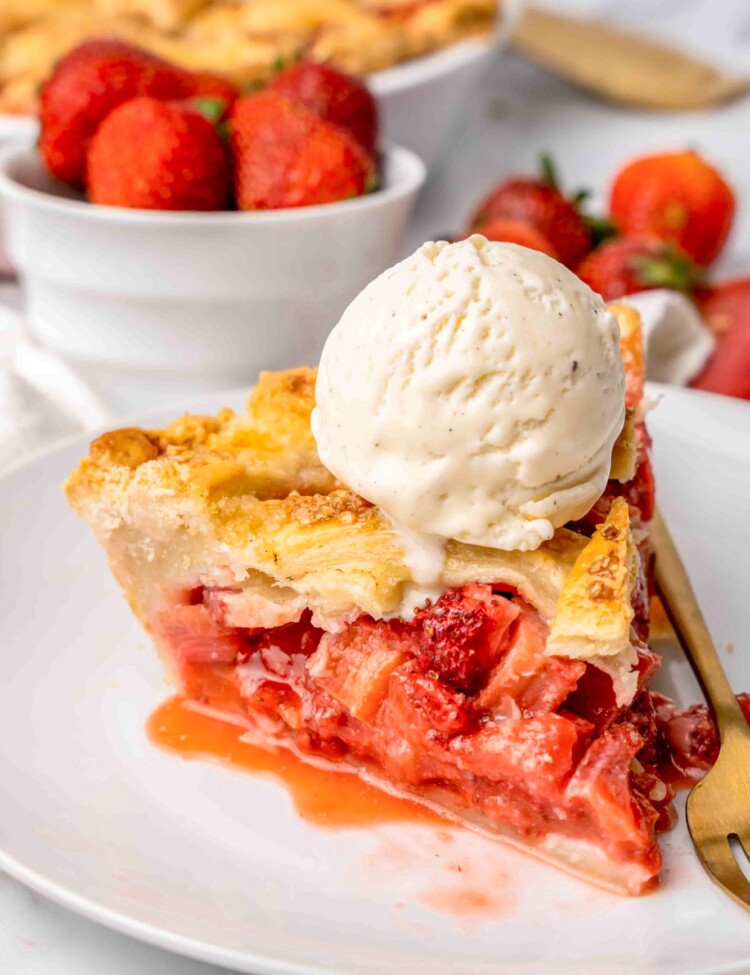
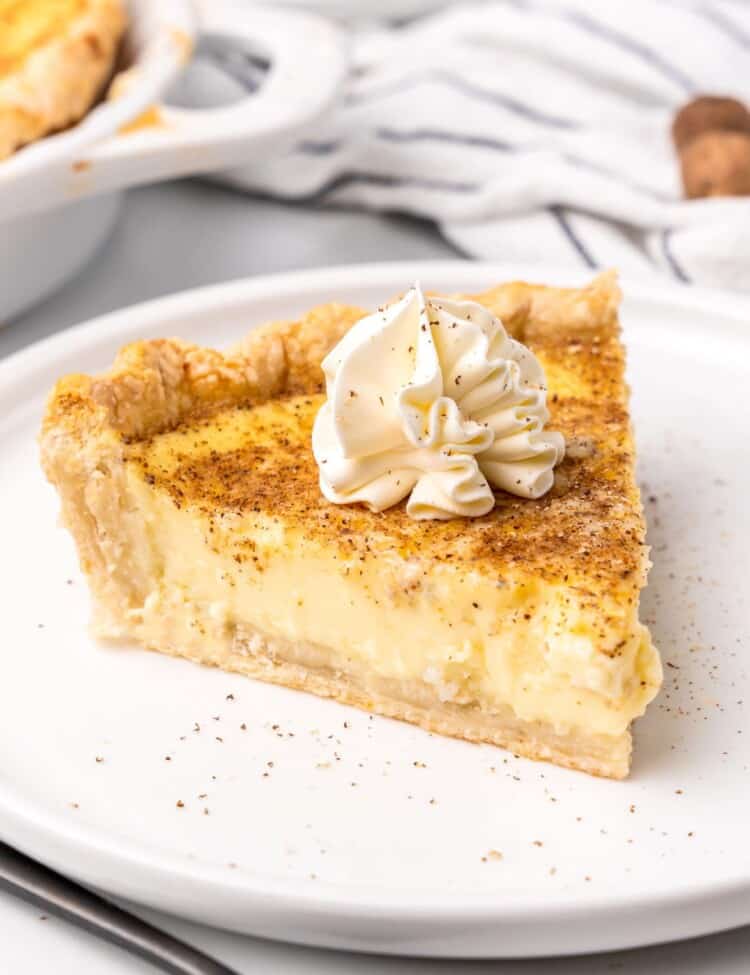
I love making fruit pies! You should check out all of my 20+ pie recipes, but I think you’ll specifically enjoy this recipe for Peach Pie. Summer is not the same without one!
Why You’ll Love This Blackberry Pie Recipe
- Simple Ingredients – Everything you need to make blackberry pies can be found in your regular grocery store all year round.
- The Best Homemade Pie Crust – Homemade crust might seem intimidating, but I promise it’s very simple. Follow the easy instructions here to make a flaky, perfect pie crust.
- Big Flavor– Elevate the already delicious flavor of fresh berries with sugar, lemon juice, and cinnamon. Or, try vanilla or almond extract instead to change things up.
Key Ingredients in Blackberry Pie
Here’s what you need to make this Pie! Simple, fresh ingredients make this recipe easy.
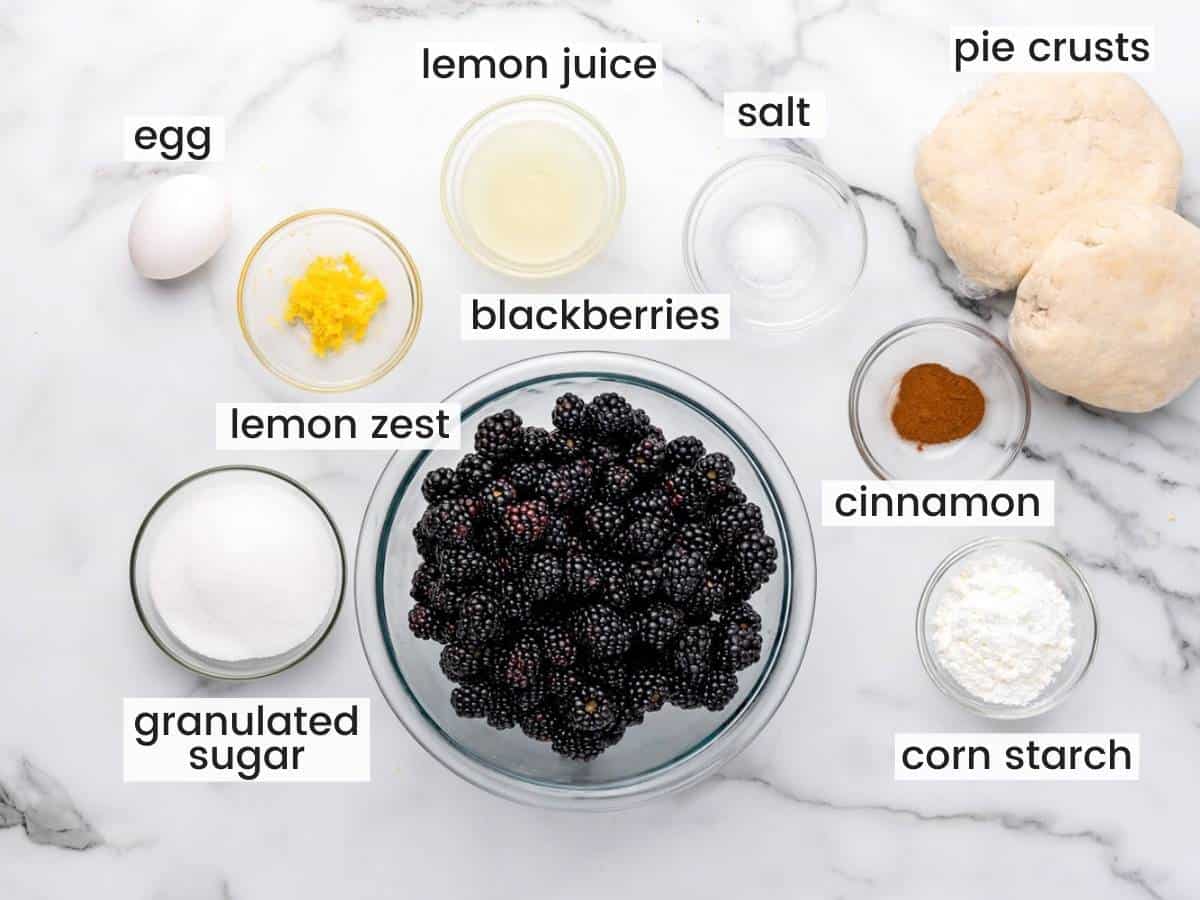
Complete list of ingredients and amounts can be found in the recipe card below.
- Pie Crust: To make this crust you’ll need all-purpose flour, salt, butter, and shortening. Using both fats makes the crust easier to work with in warm temperatures, but you can also use an all-butter pie crust, or use your own tried and true crust recipe instead.
- Blackberries: Fresh or frozen blackberries can be used in this recipe. If you want to use frozen berries, thaw them first, and drain away any liquid. For fresh berries, simply rinse and dry them.
- Cornstarch: To create a thick, silky pie filling, we will add cornstarch as a thickener.
- Sugar: Blackberries are sweet, but they need to be sweeter if they’re going to be part of this dessert! Taste your berries to see how much sugar you’ll need to add.
- Lemon: The zest and the juice are added to give the pie a bit of brightness.
- Cinnamon: I like cinnamon in blackberry pie. You might enjoy vanilla extract or almond extract instead.
- Egg Wash: A simple combination of egg and water is brushed on the crust to help it brown up beautifully.
Tip!
You can use the crust recipe here, or try my all-butter pie crust if you want a simpler recipe without any vegetable shortening. Both are flaky and delicious!
How To Make Blackberry Pie
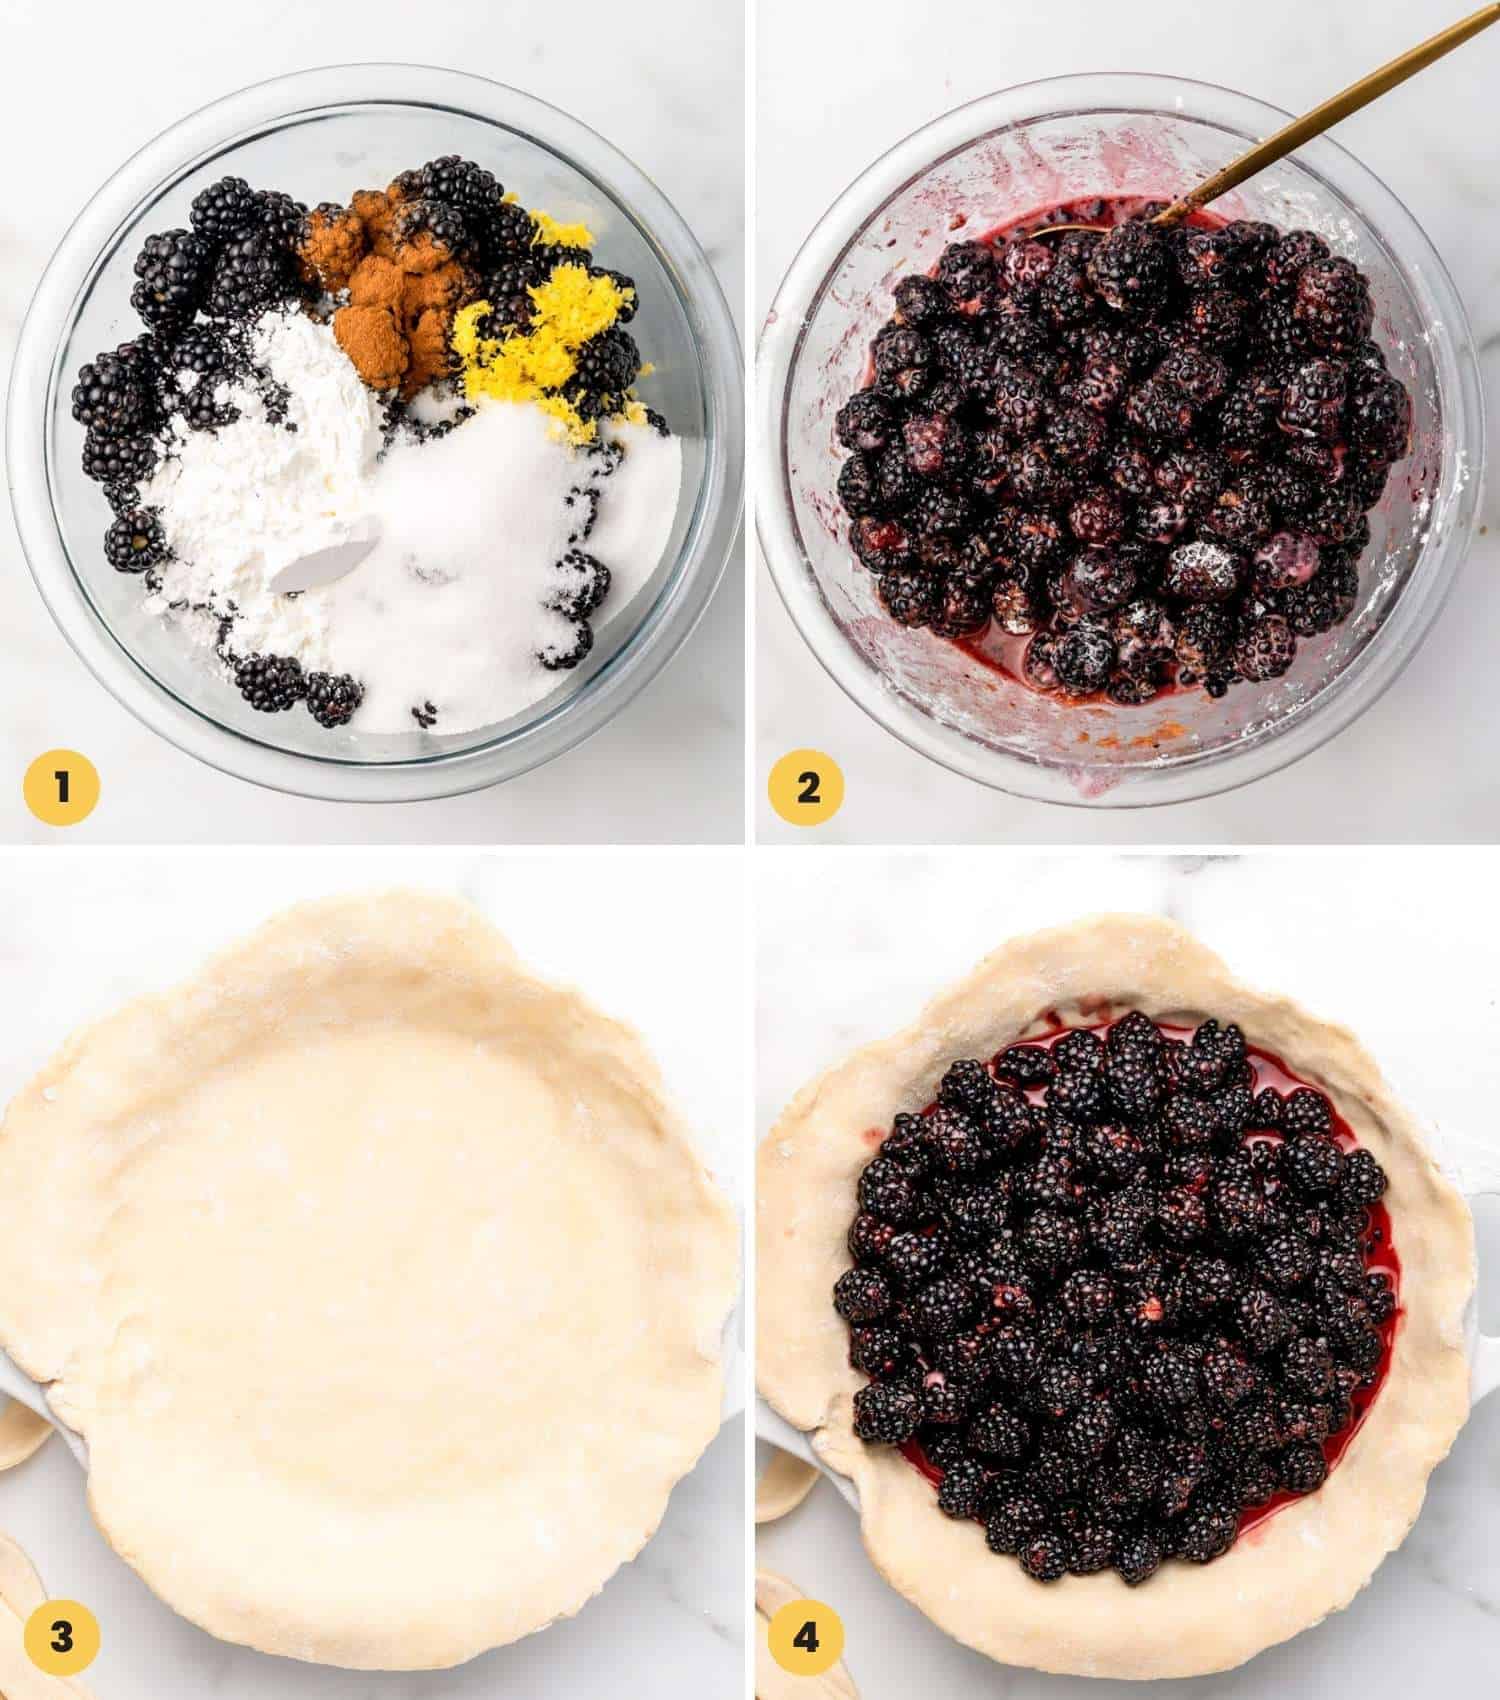
- Prepare the Filling: In a medium bowl mix blackberries, lemon zest, lemon juice, cinnamon, salt, sugar, and cornstarch.
- Rest: Allow the berry mixture to sit for 30 minutes until the juices come out.
- Roll Out the Dough: You should have two balls of pie crust dough ready in the fridge. Roll out a 13-inch circle of dough for the bottom pie crust, and place it in a 9-inch pie pan.
- Add the blackberries: Add the filling to the bottom pie crust, and place it in the refrigerator while you roll out the top crust. It’s best to keep the dough as cold as possible until you put the pie in the oven.
Tip!
Use the fridge throughout this process to keep the pie dough cold. Cold dough is the key to a flaky crust!
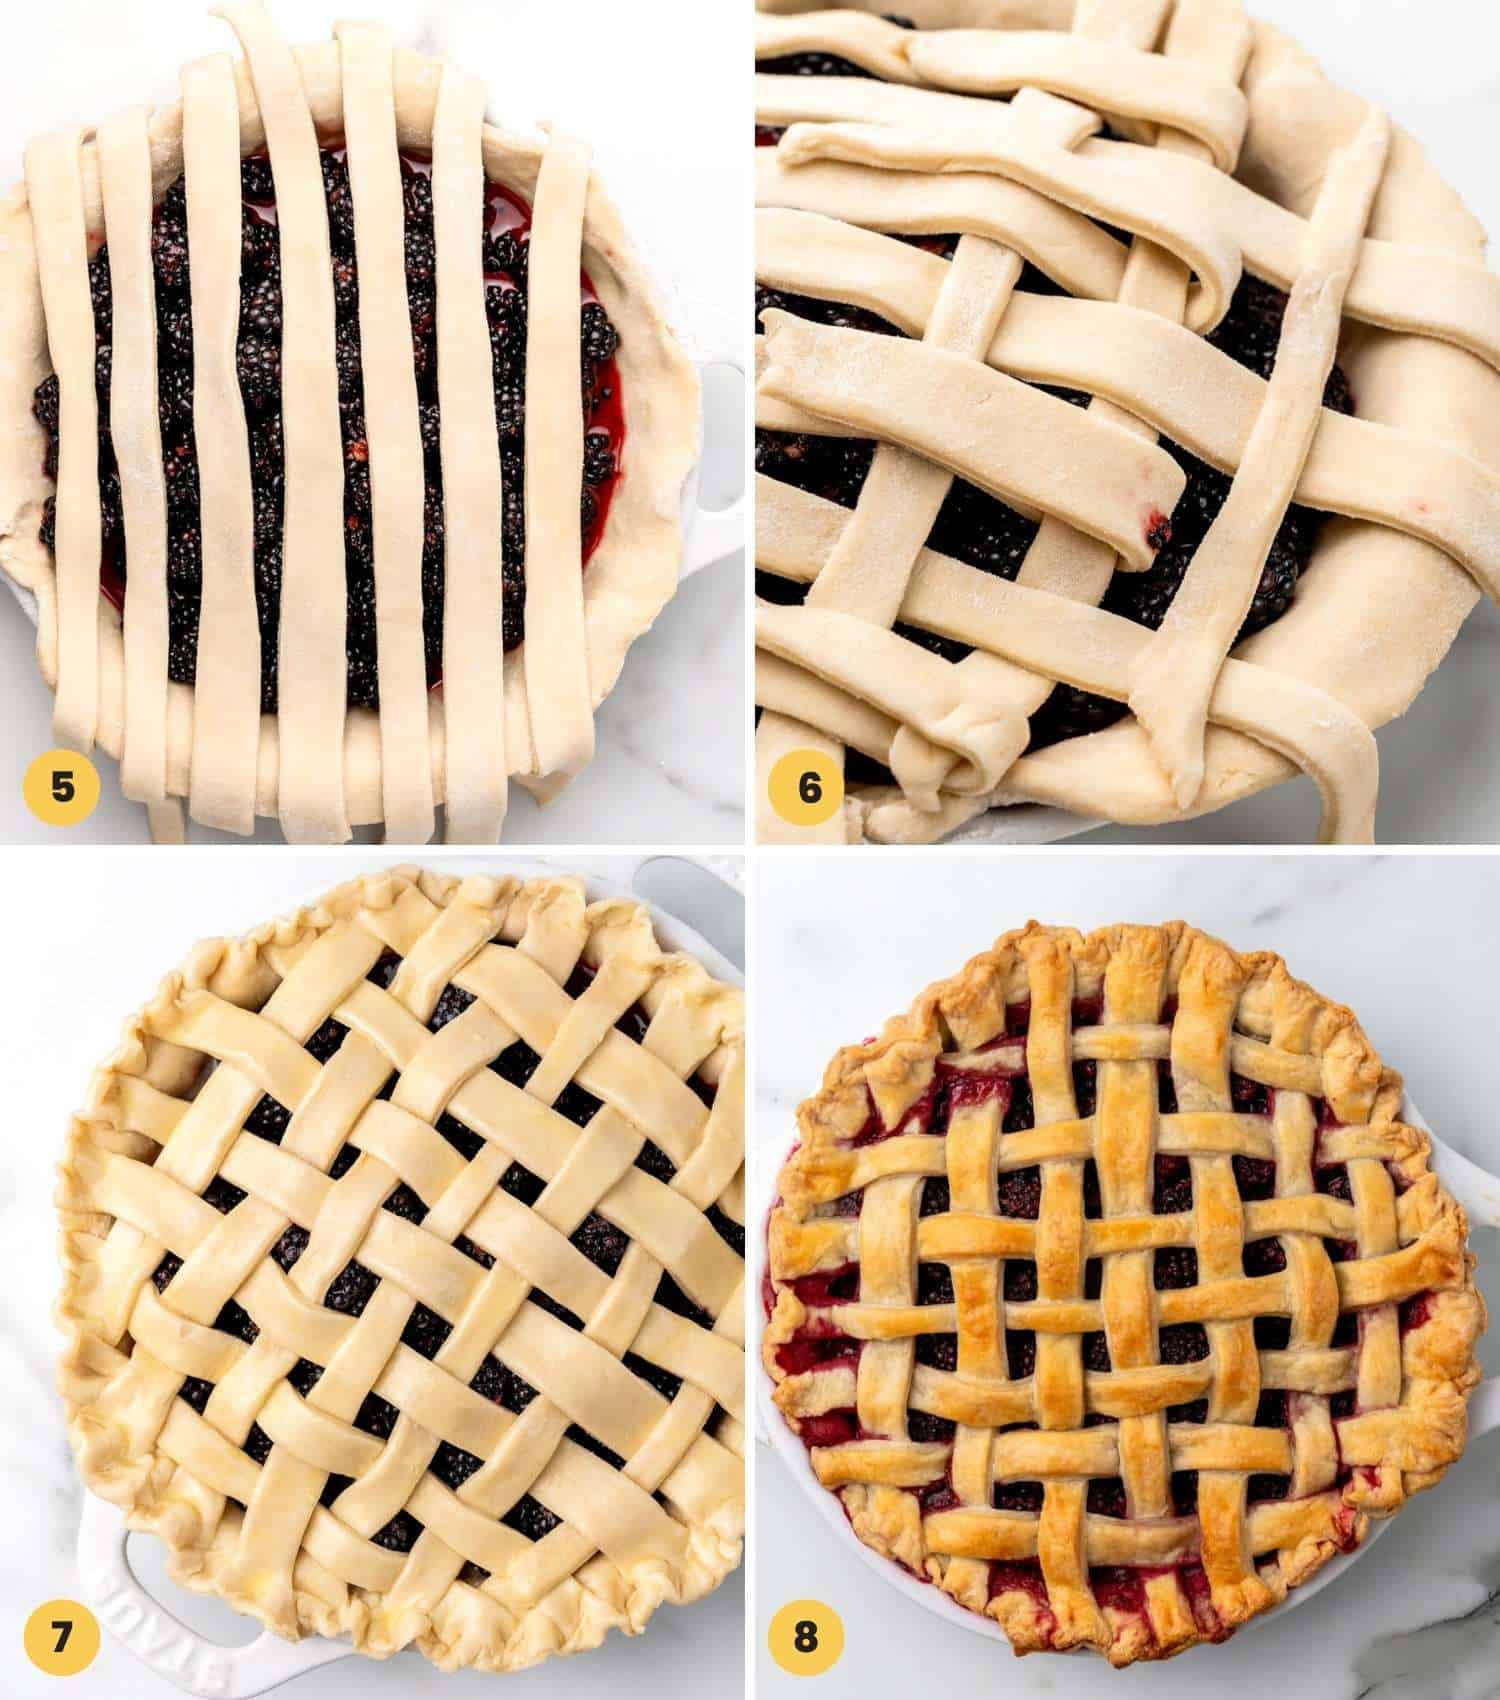
- Start a Lattice Crust: Roll out the second ball of dough to create a 12-inch circle. Use a knife, pastry wheel, or pizza cutter to cut the circle into 10-12 equal-width strips. Place half of the strips across the top of the pie.
- Weave: Fold every other strip of dough in half, away from the center of the pie. Then add a perpendicular strip of dough next to those folds, and replace the strips. Then do the same to the other side of the pie using the opposite strips.
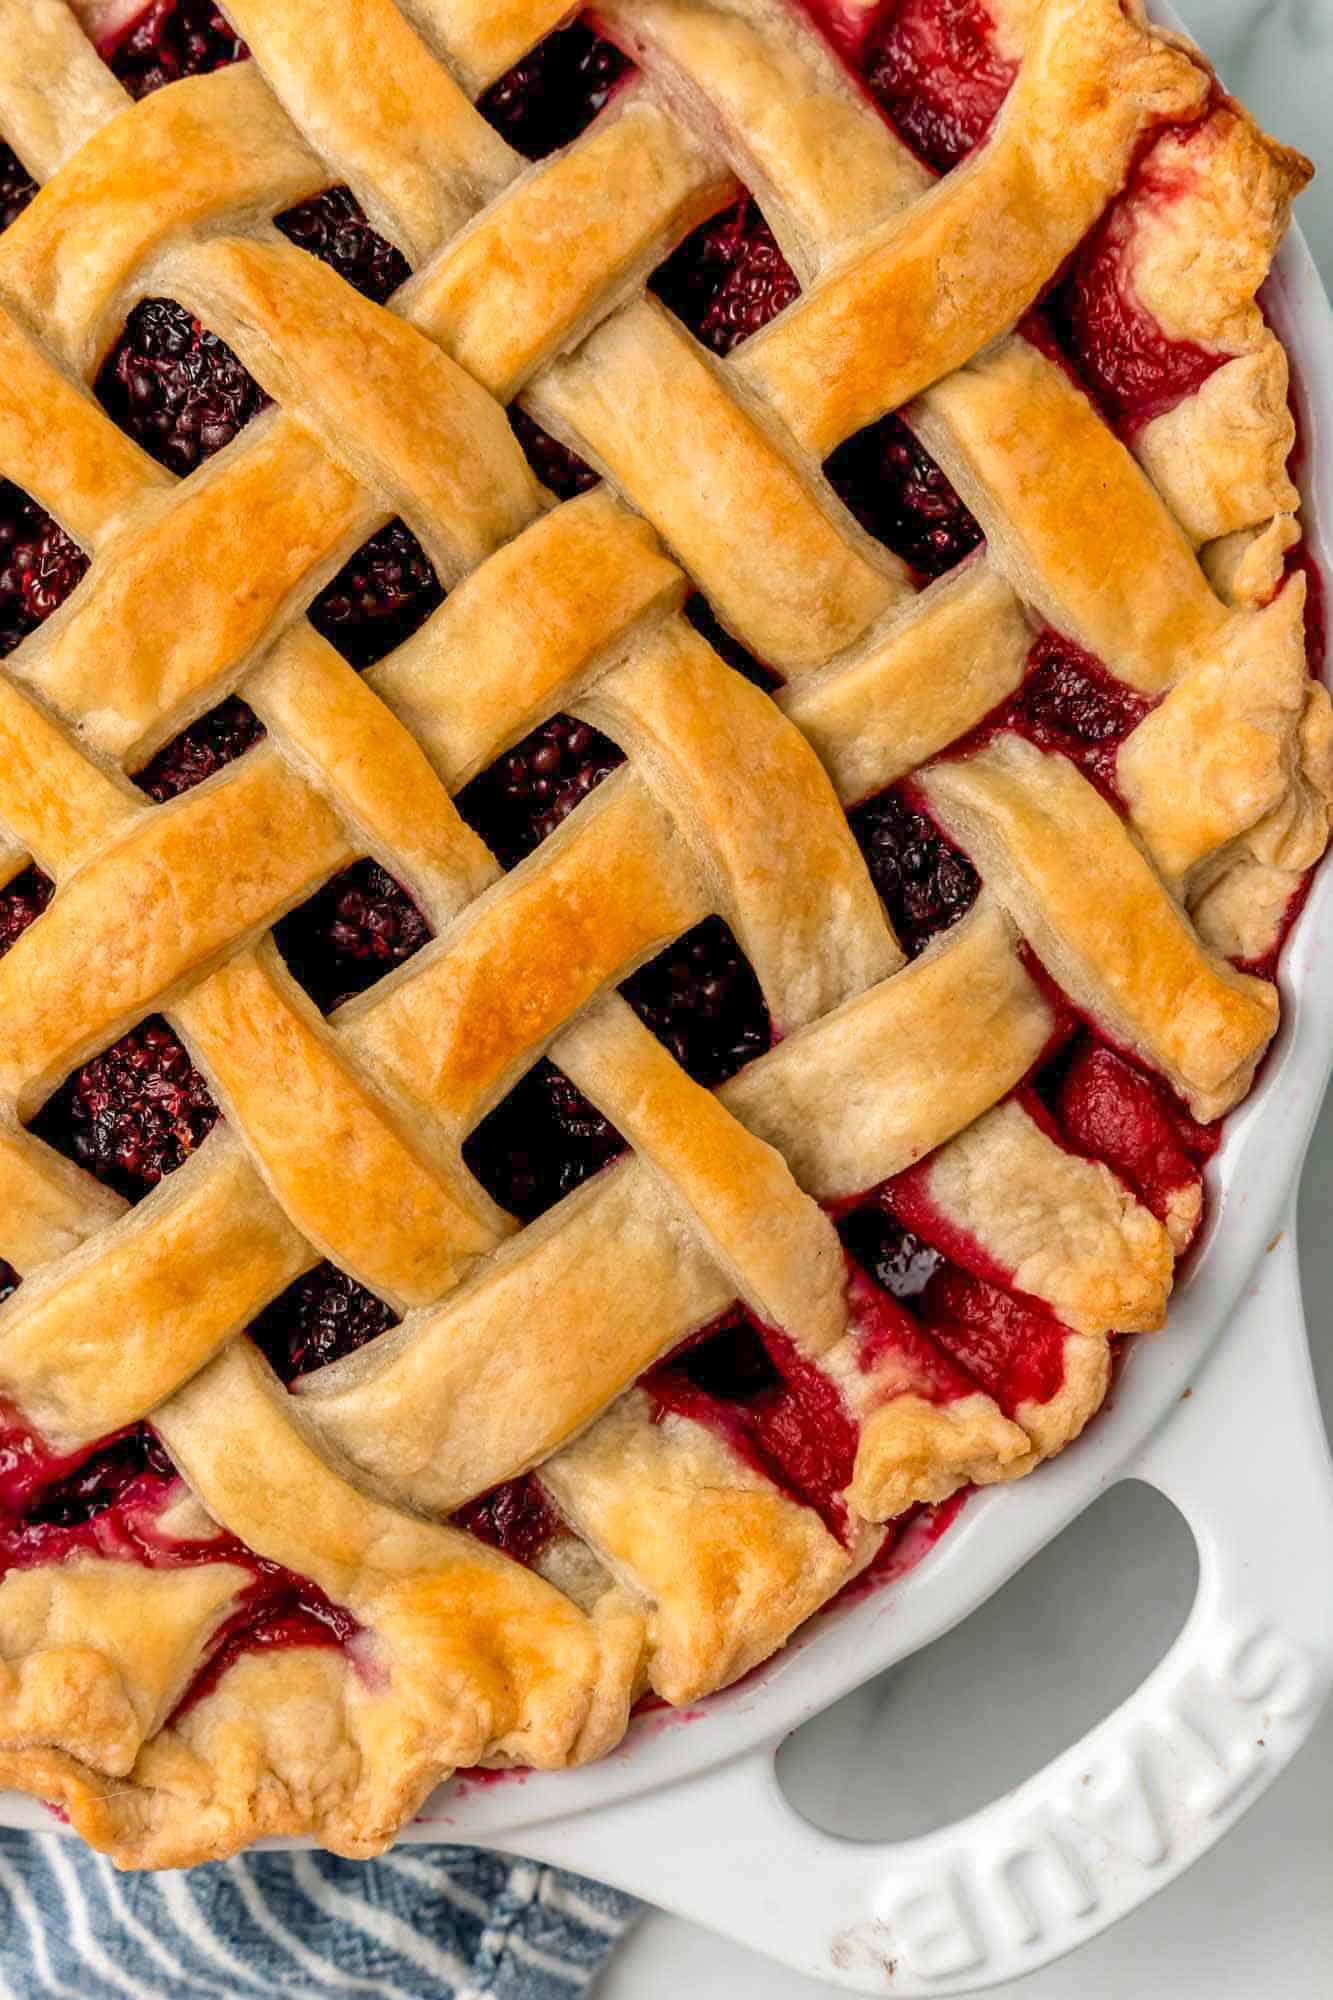
- Finish Lattice: Continue weaving the pie crust pieces until you’ve used them all up. Trim the edge of the crust to make it even. Press the ends of the strips together with the edges of the bottom crust to create a seal, and crimp the edges. Place the pie in the fridge to chill for 30 minutes before baking.
- Brush and Bake: When ready to bake, brush the top of the pie with egg wash and then bake in a preheated 425°F/220°C oven for 20 minutes. Then reduce the heat to 375°F/190°C and continue baking for 30 minutes, or until the pie is browned and bubbling on the edges.
Recipe Tips
- Need more help with the lattice top? I have a whole post with more pictures outlining the whole process step by step. You can also skip that part and make a solid pie crust instead if you prefer. Be sure to cut slits or small holes to allow steam to escape.
- Don’t Skip the Starch. Cornstarch is key to thickening the juices from the berries. You can also use all-purpose flour or ground instant tapioca as a thickener, but I find that cornstarch works best.
- Let it Cool. The filling will be way too hot to eat when the pie first comes out of the oven! Be sure to let it cool for at least two hours before serving.
Storing Tips
You can store this pie at room temperature or in the fridge. Be sure that it’s covered and well-sealed either way.
It will stay good for 4-5 days if stored in the refrigerator, and about 2 days on the counter.
Recommended Tools for Making Pies
I use these items for almost every pie I make. They are super helpful kitchen tools that will make blackberry pies or any kind of pie super simple to construct.
- Pastry Cutter.
- Pastry Wheel.
- 9-Inch Pie Plate. This is the pie dish that I use, and I love how it comes with a lid that comes in so handy for storing!
- Pastry Brush. This is for brushing on an egg wash before baking your pie. I like to use a silicone pastry brush because it’s easy to wash and sanitize.
FAQs
Yes, you can use frozen blackberries to make this pie. Just be sure to thaw and drain them first.
The crust on your pie will be golden brown all over when the pie is ready, and you’ll see that the filling is bubbling through the vents.
The two-stage baking process here should give you a beautifully browned crust without any worries about burning. Since all ovens are a bit different, you may need to cover the edges if you see that they are getting too dark. Pieces of foil wrapped around just the crust should do the trick!
I can’t wait to hear about how much everyone loved the classic blackberry pie that you made from scratch! Pin this recipe so others can find it too.
Did you make this? Be sure to leave a review below and tag me on Facebook, Instagram, or Pinterest!
Blackberry Pie
Equipment
- Pastry cutter
- pastry wheel
Ingredients
For the pie crust
- 2 ½ cups all purpose flour
- 1 teaspoon salt
- ¾ cup vegetable shortening chilled
- 6 tablespoons unsalted butter chilled
- 6 tablespoons ice cold water
For the filling
- 5 cups fresh blackberries see Note 1
- 1 tablespoon lemon zest
- 3 tablespoons lemon juice
- ¾ teaspoon ground cinnamon See Note 2
- ½ teaspoon salt
- ¾ cup white granulated sugar See Note 3
- ¼ cup cornstarch
For the egg wash
- 1 egg
- 1 tablespoon water
Instructions
- In a medium bowl combine flour and salt. Add cold cubed butter and shortening.
- Mix the butter, shortening, flour and salt together with a pastry cutter until it resembles coarse crumbs.
- Add ice cold water to the dough a little at a time just until the dough comes together.
- Separate the dough into two equal portions, wrap in plastic wrap and refrigerate for about an hour and up to 3 days.
- Remove one dough ball from the refrigerator and roll it out into a 13-inch circle and transfer to a 9-inch pie dish. Place the crust back in the fridge until ready.
- In a medium bowl mix blackberries, lemon zest, lemon juice, cinnamon, salt, sugar, and cornstarch.
- Transfer the pie filling to the pie dish, and place in the refrigerator.
- Remove the other ball of dough from the refrigerator and roll it out into a 12-inch circle. Use a knife or pastry wheel (or pizza cutter!) to cut the circle into 10-12 equal strips.
- Retrieve the bottom crust from the refrigerator and trim excess dough from the edges using scissors. You can leave about 1 inch of excess to create a thick pie crust, or trim more if you prefer a thinner crust.
- Arrange the pie crust strips on top of the pie in a lattice pattern. Pinch the edges to seal. For a detailed tutorial, check out my lattice pie crust post!
- Mix egg and water together to create an egg wash. Brush the lattice top with the mixture.
- Bake the pie for 20 minutes at 425°F/220°C, then reduce the heat to 375°F/190°C and continue baking for 30 minutes.
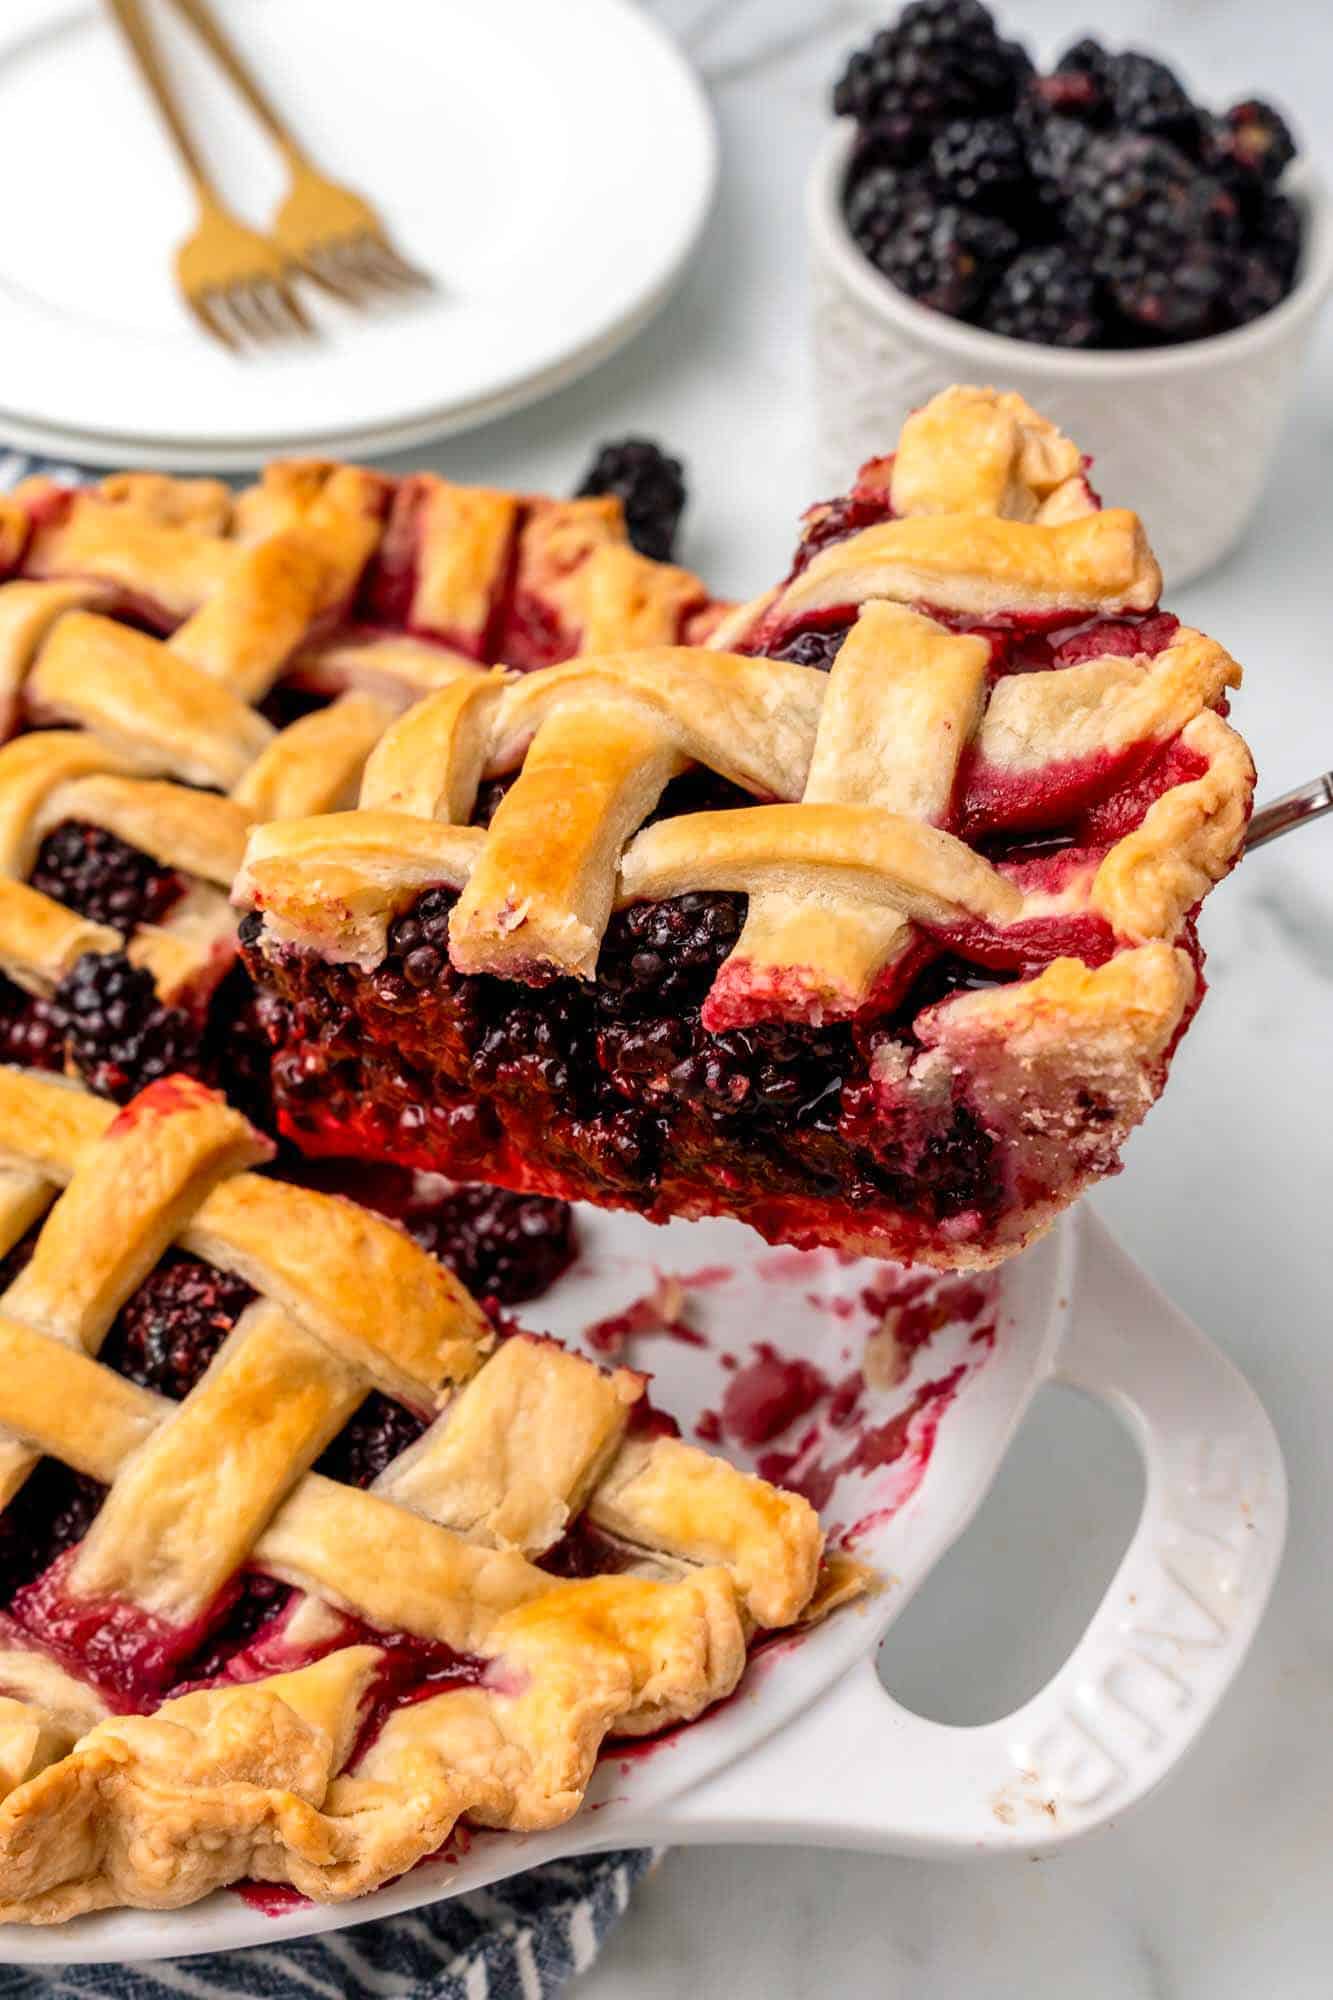
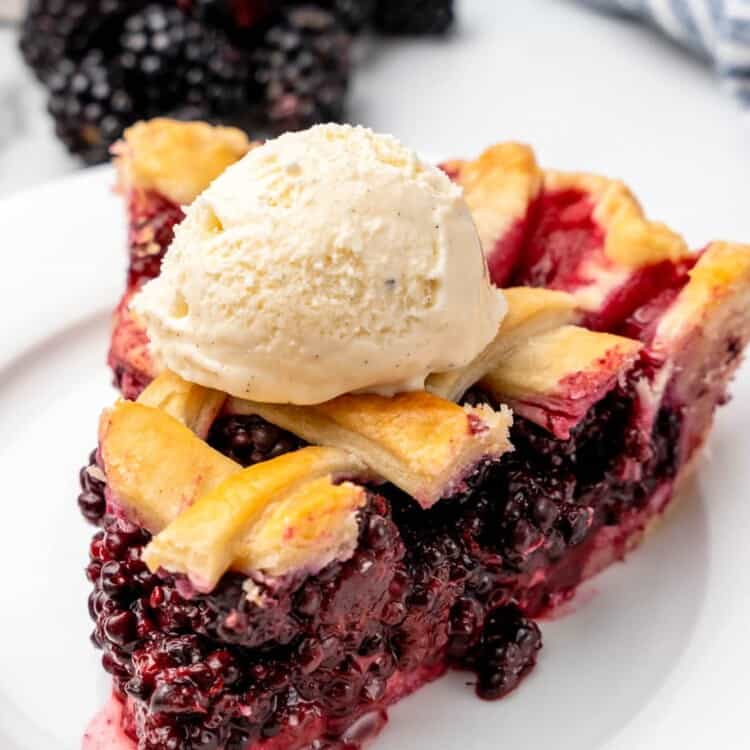
- Allow the pie to cool down for at least two hours before serving as is, or with a scoop of vanilla ice cream.
Notes:
- To use frozen berries, thaw and drain away the liquid first.
- In place of cinnamon, you can use 1 teaspoon of vanilla extract or ¼ teaspoon of almond extract to flavor the filling.
- Taste the blackberries before making the filling. If they are very sweet, you may be able to use just ½ cup of sugar. Tart blackberries will need more, up to 1 cup of sugar.
- It’s very important to chill the dough before working with it. You want the butter in the dough to be cold. This creates the flakiness that makes pie crust so yummy.
- For an extra flaky dough, cut the butter into larger cubes before starting. For a more tender crust, cut the butter into smaller pieces. I have an excellent tutorial for how to make a lattice pie crust, but you can also do a solid top crust on this pie, or cut out shapes to cover the pie in a decorative way.
- If you prefer to make pie crust without using shortening, see my recipe for All-Butter Pie Crust and use that instead!
- To Store: Keep leftovers covered in the fridge for up to 4 days. This will also stay fresh at room temperature, but only for about 2 days.
Nutrition Information
This website provides approximate nutrition information for convenience and as a courtesy only. Nutrition data is gathered primarily from the USDA Food Composition Database, whenever available, or otherwise other online calculators.
© Little Sunny Kitchen



Louise M Sharadin says
I grew up on fruit pies. I don’t remember eating this. I’m sure it’s very good. I think my taste buds would be in Heaven if I ate this.
Little Sunny Kitchen says
I do think you’ll love this recipe! I hope you get to try it soon.