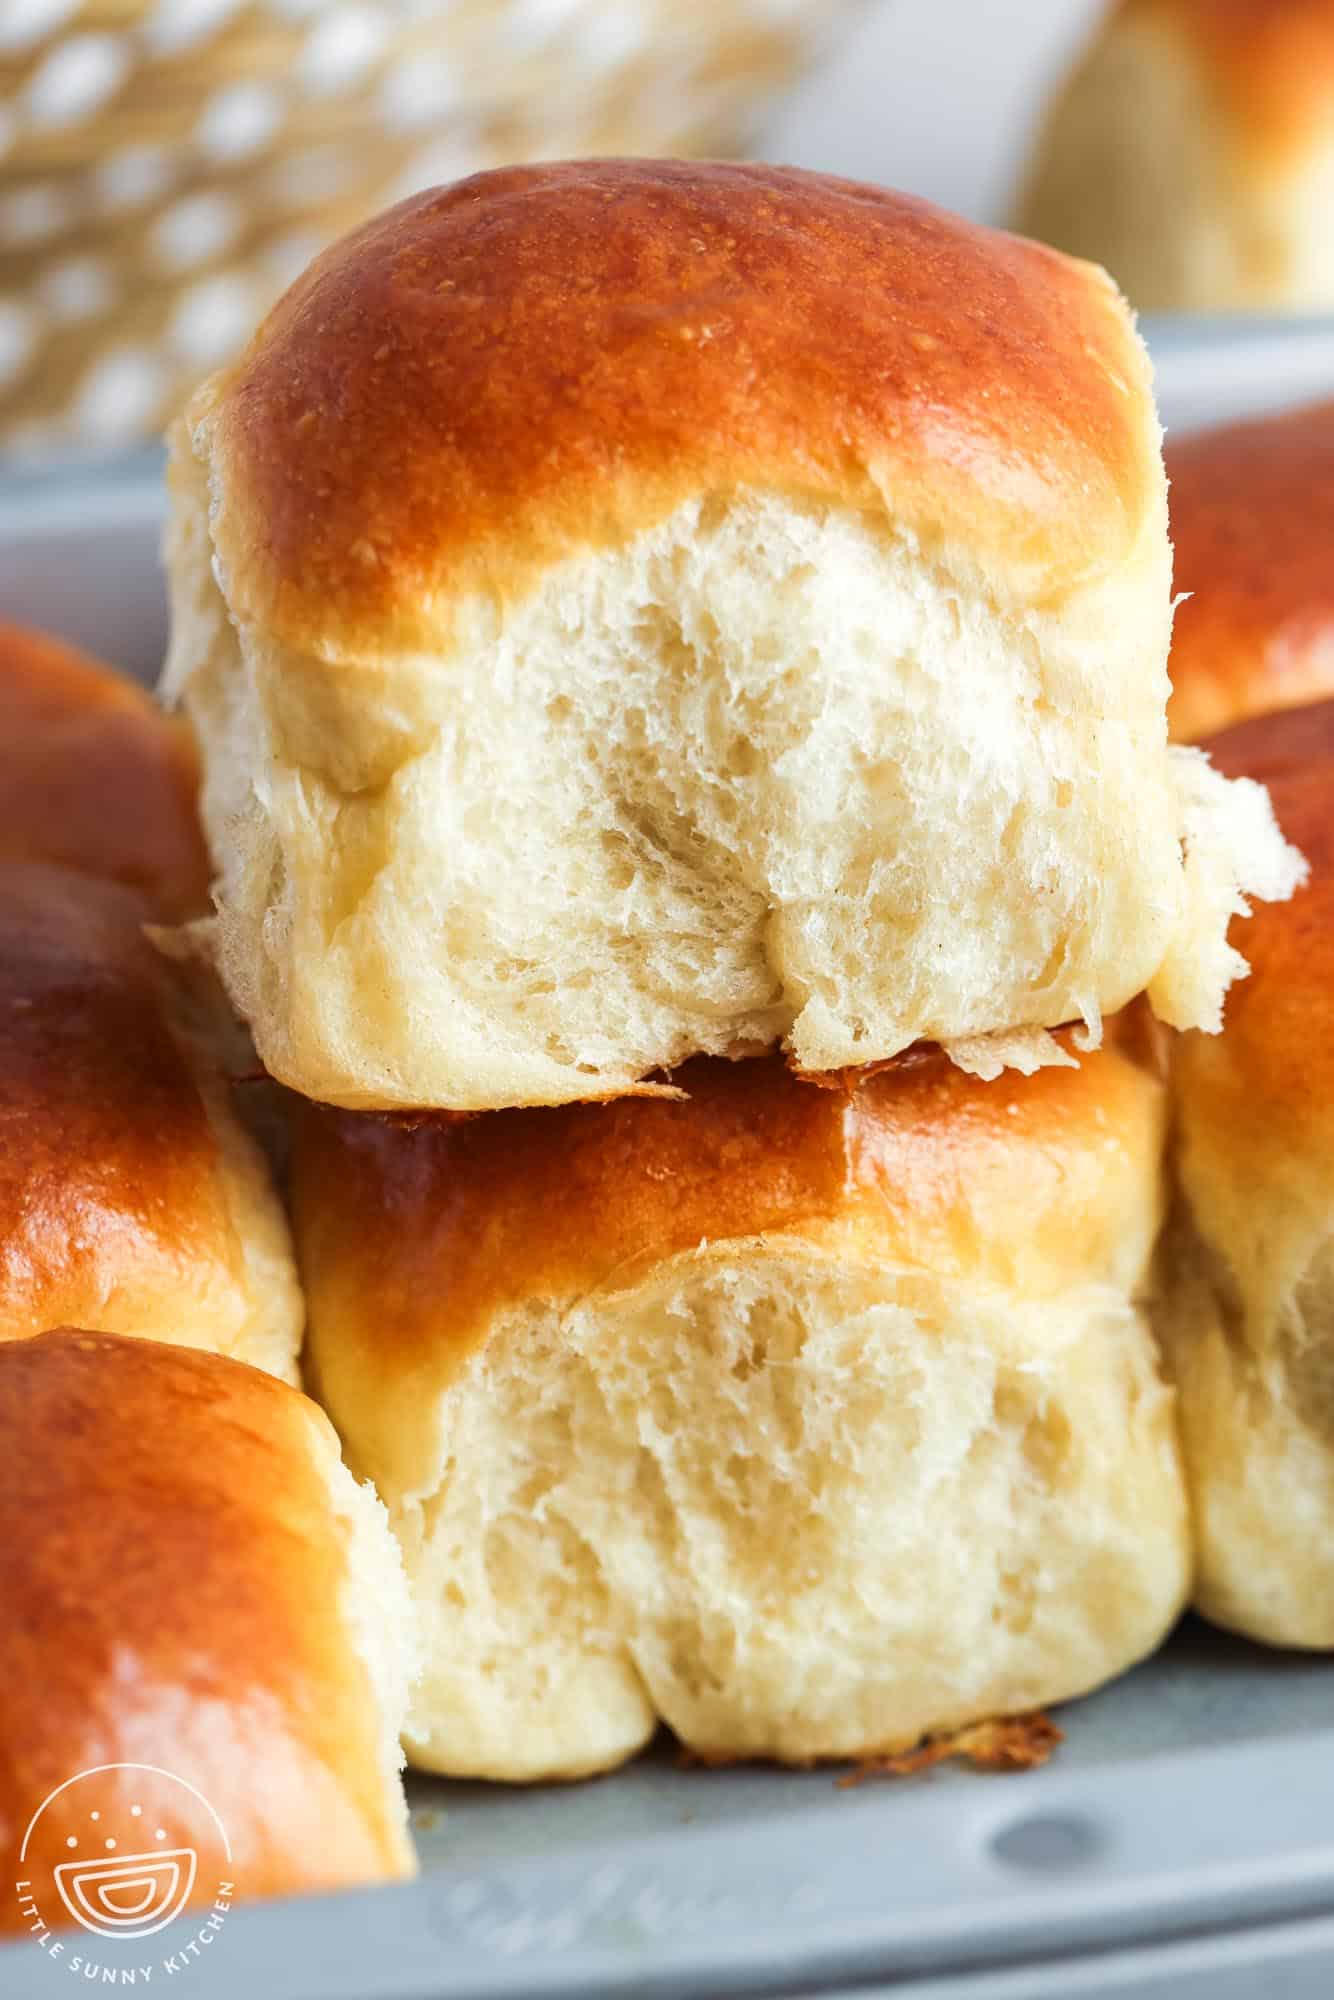
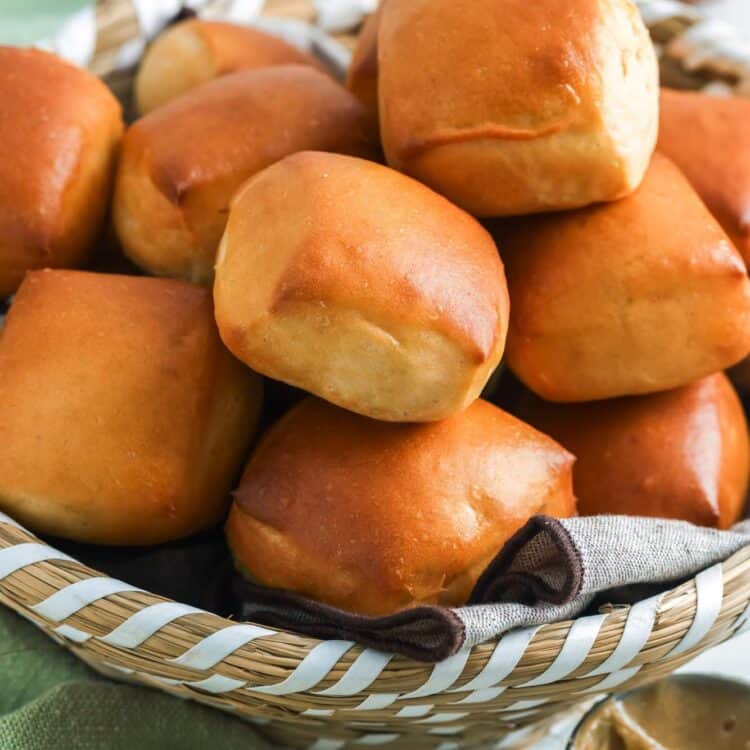
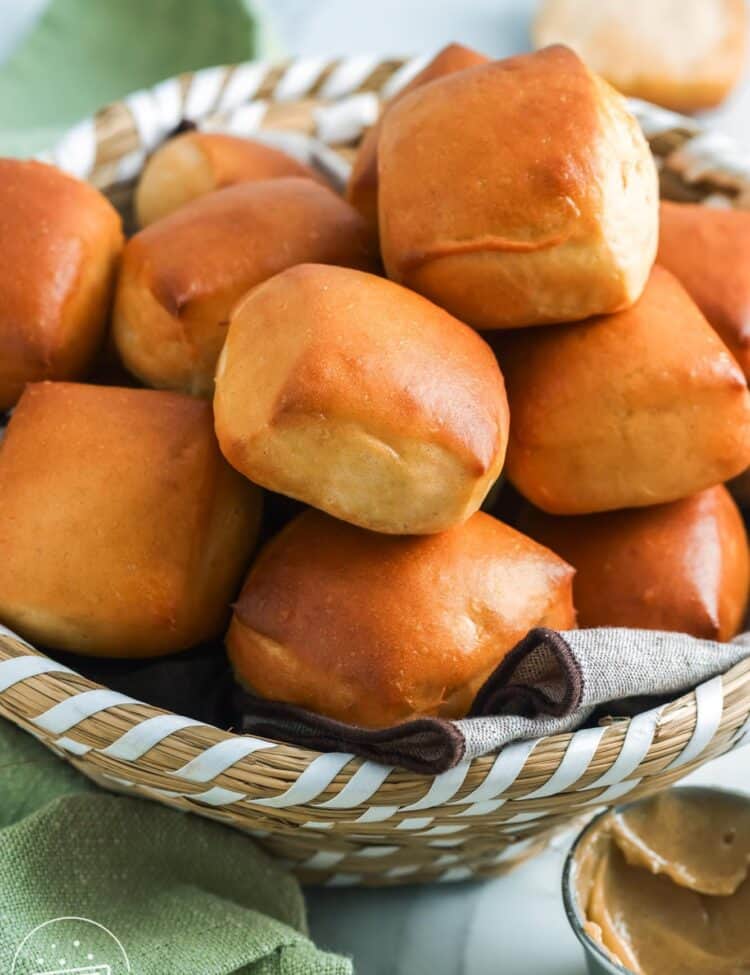
These easy dinner rolls can be made in just 40 minutes from start to finish! They’re so soft and tender, and hold their shape very well.
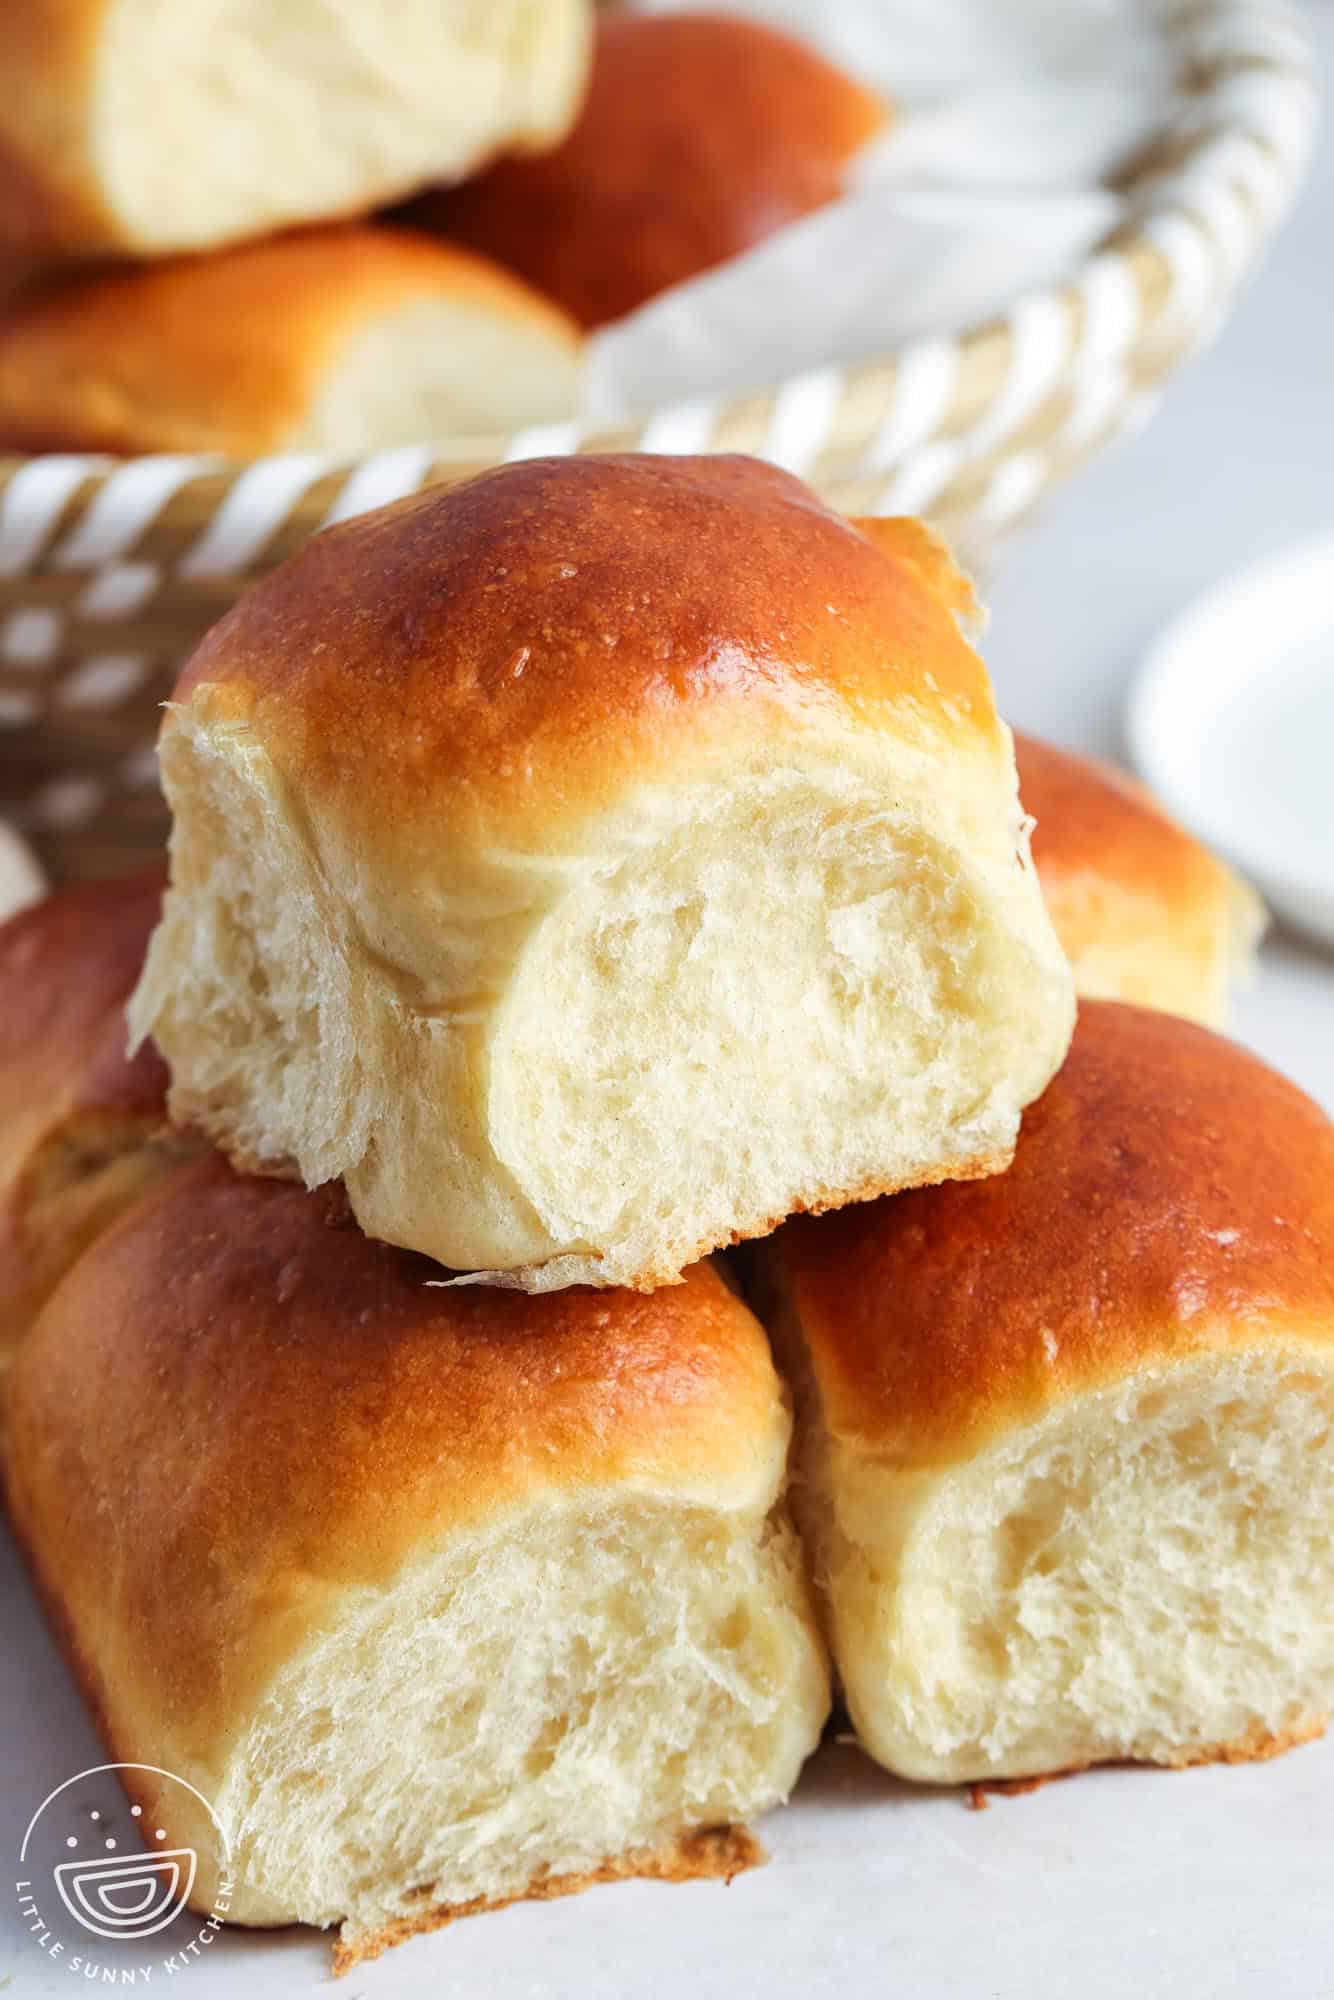
This is the only dinner roll recipe that you will ever need! It’s really simple to make, and the rolls taste amazing just like the 2-3 hour dinner rolls that you have no time to make.
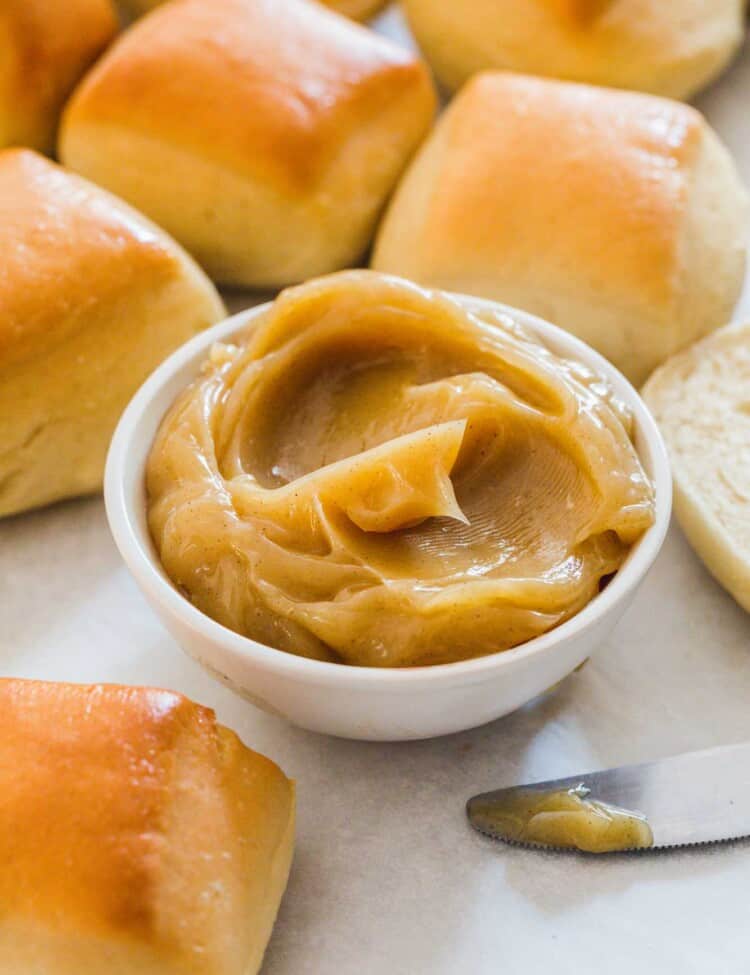
Looking for more homemade bread recipes? Try my Texas Roadhouse Rolls, or these delicious Homemade Breadsticks.
Key Ingredients
Here’s what you need to make these easy dinner rolls
Complete list of ingredients and amounts can be found in the recipe card below.
- Yeast: If using instant/rapid yeast, then just mix with the ingredients and work with the dough. If using dry yeast, mix it with warm water and sugar and wait for it to bubble and activate.
- Flour: Either use all-purpose flour or bread flour. I tested the recipe with both, and both options worked well.
- Sugar: Sugar activates the yeast and adds the perfect amount of sweetness to these rolls.
- Salt: Fine salt or table salt will do, this is added to flavor the rolls.
How To Make Dinner Rolls
- Combine yeast with water and sugar. Give it a quick stir, and let it stand for 5 minutes to bubble and activate the yeast (this step is not necessary if using instant yeast).
- Knead. In a bowl of a stand mixer, or in a large mixing bowl, combine the yeast mixture with oil, egg, flour, and salt. Knead using a stand mixer with a dough hook, or by hand, until you get a smooth and tacky dough ball.
- Divide. On a lightly oiled surface, divide the dough into 9 balls (around 2oz/60g each).
- Rise. Lightly grease a 9-inch oven-proof ceramic baking dish (or a quarter baking sheet). And place the dough balls about half-inch apart. Cover with a towel or plastic/saran wrap and allow them to rise for at least 15 minutes. When I’m in a rush, I just let them rest for 15 minutes but if I have more time I let them rest for more until they double in size.
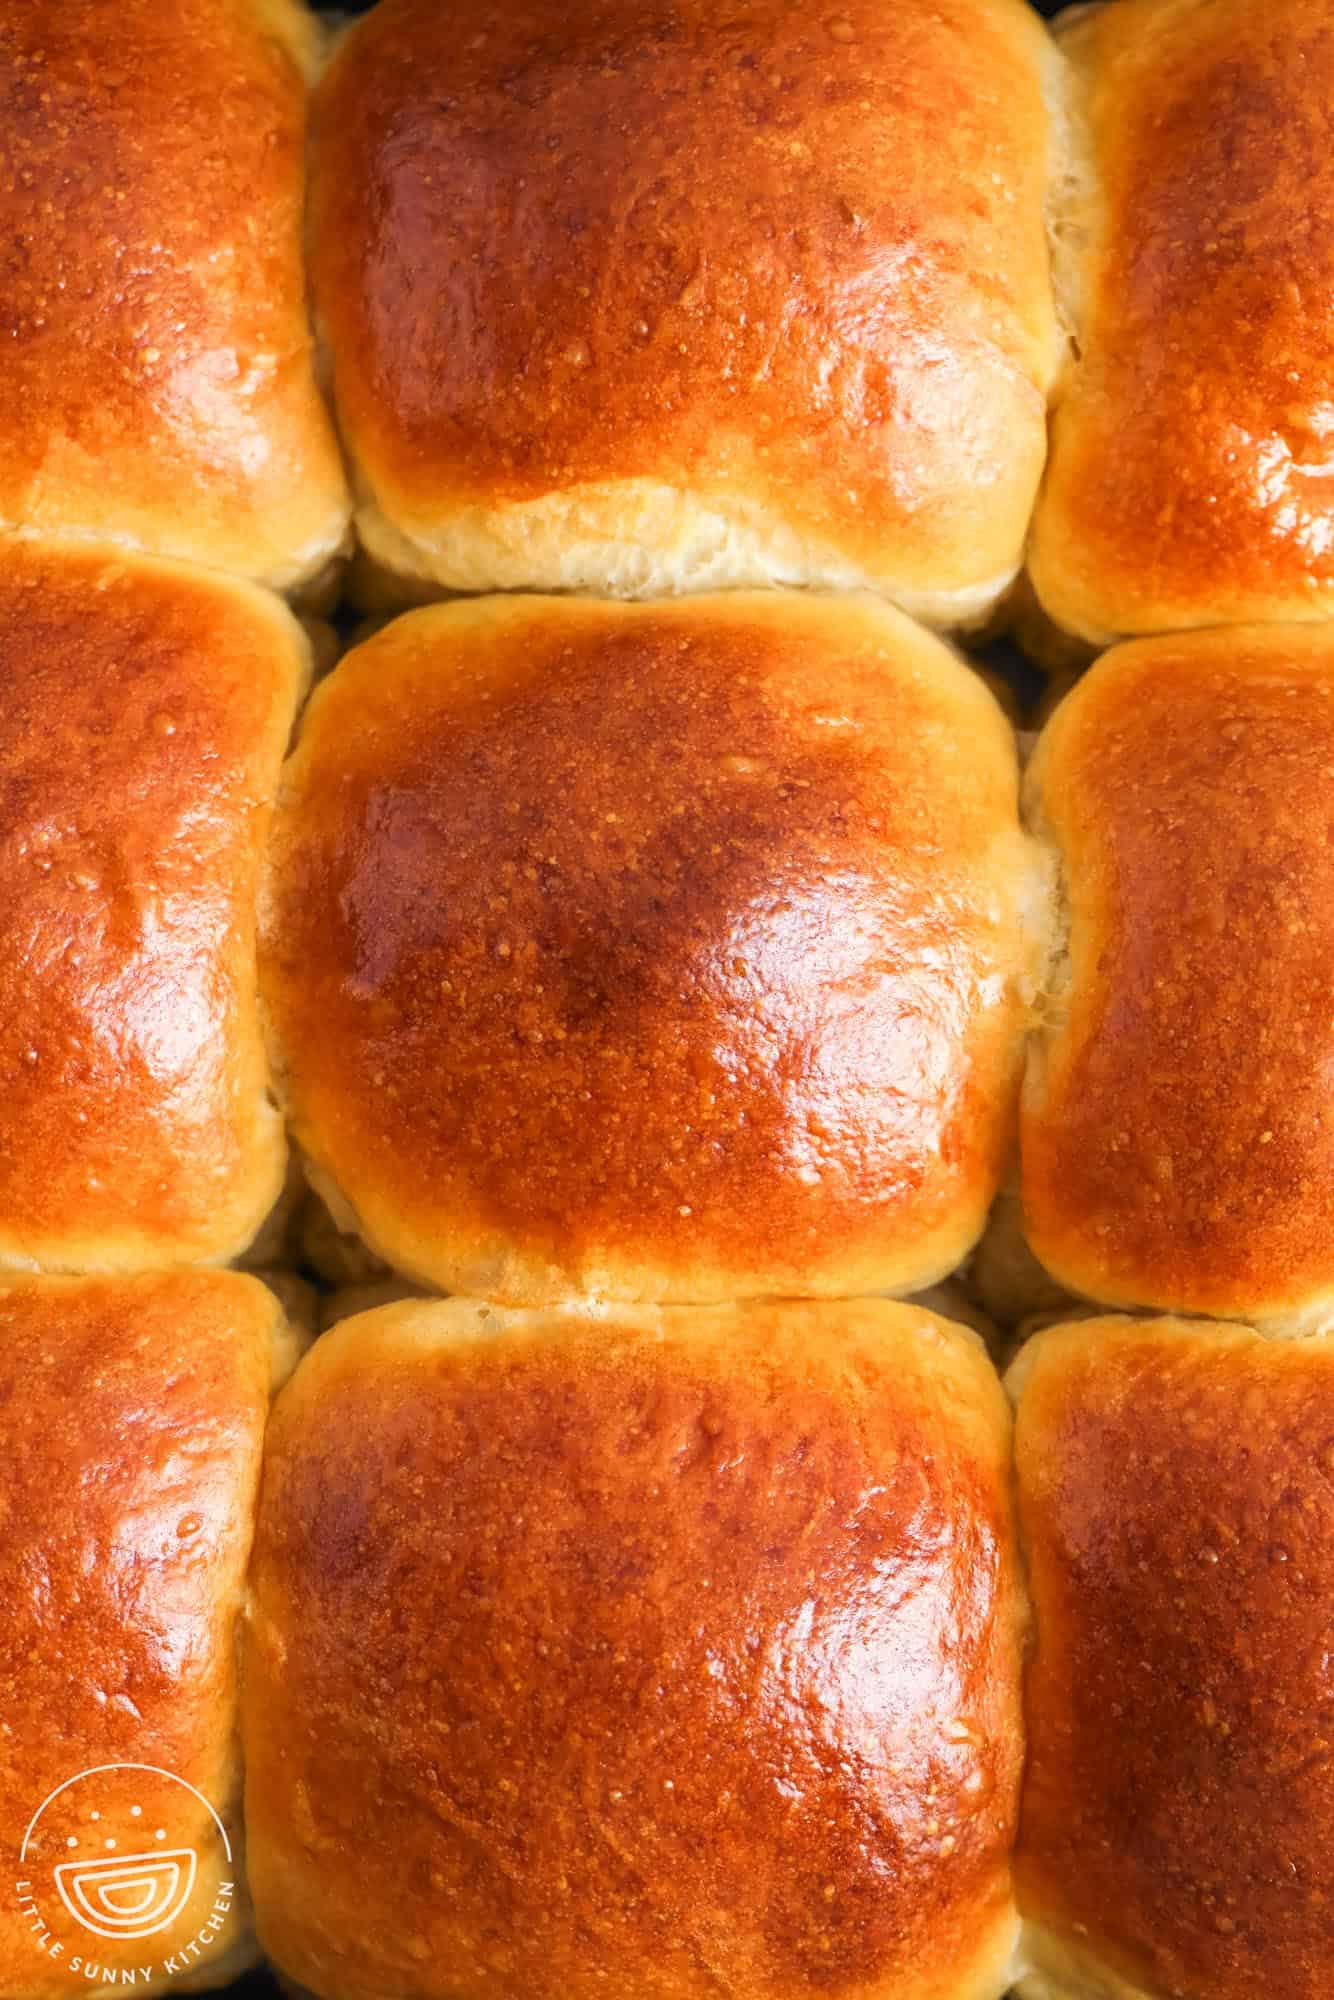
- Bake. Preheat the oven to 375°F/190°C. Remove the plastic wrap, and you can either bake the dinner rolls for 12-15 minutes without brushing them with anything (and brush the melted butter after they’re baked and still warm). Or brush them with milk, egg wash, or butter before baking.
Tip!
Brush the rolls with melted unsalted butter while they are still warm. This way the butter seeps in and makes them super yummy!
Storing Tips
Store the dinner rolls in a Ziploc bag at room temperature for up to 5 days. They also freeze very well for up to 2 months.
FAQs
Yes! The bread machine can knead the dough for you. Add all of the ingredients in the order listed, and select the dough setting. Remove the dough when it’s finished kneading, divide into rolls, and continue with the recipe.
Test your instant yeast and make sure that it’s still active. Sprinkle some yeast and a pinch of sugar over a bowl of warm water. Give it a stir and let it sit for a few minutes. If the mixture bubbles and the yeast dissolves completely into the water, it’s good! If not, toss it and buy a new one.
I hope that you love this recipe as much as I do! I know that you’ll keep making it for dinner every week! Pin this recipe so everyone can enjoy it.
Did you make this? Be sure to leave a review below and tag me on Facebook, Instagram, or Pinterest!

Easy Dinner Rolls Recipe
Equipment
- Stand-mixer with dough hook attachment
- 9×9 inch baking dish
- Kitchen scale optional
Ingredients
- 1 tablespoon (9 g) dry or instant yeast
- 1 cup (240 ml) lukewarm water 110-115°F (43-46°C)
- 2 tablespoons (25 g) granulated sugar
- ⅓ cup (80 ml) neutral-tasting oil vegetable, corn, avocado, or sunflower
- 1 ½ teaspoons table salt
- 1 large (9 g) egg
- 3 ½ cups (440 g) all purpose flour
For egg wash (optional)
- 1 egg beaten, and mixed with 1 tsp water or milk
Instructions
- In the bowl of a stand mixer or a large mixing bowl, combine the yeast, lukewarm water, and sugar. Stir briefly and let stand for 5 minutes if using active dry yeast.
- Add the oil, egg, salt, and flour to the bowl. Mix on low speed until the dough begins to come together.
- Increase to medium-low speed and knead until the dough is smooth, elastic, and clears the sides of the bowl, about 6-10 minutes.
- Lightly oil your hands and work surface. Divide the dough into 9 equal portions, about 2 ounces (60 g) each, and shape into smooth balls.
- Grease a 9×9 inch (23×23 cm) baking dish with oil or nonstick spray. Place the dough balls in the dish, spacing them evenly apart.
- Cover loosely with a kitchen towel or plastic wrap. Let rise in a warm place for at least 15 minutes, or until puffy. To test if the rolls are fully proofed, gently press one with a fingertip. If the indentation springs back slowly and partially remains, they are ready to bake.
- Meanwhile, preheat the oven to 375°F (190°C).
- Uncover the rolls and optionally brush with egg wash for a shiny finish.
- Bake for 15 minutes, or until the tops are golden brown and the rolls are baked through.
- Immediately brush the tops with melted butter. Sprinkle with flaky sea salt if desired, and serve warm.
Notes:
- The dough should feel tacky but not sticky. Avoid adding extra flour unless necessary.
- These rolls can also be baked in a 9×13 inch (23×33 cm) dish or on a large baking sheet. The rolls will spread out more and have a slightly different shape, but they will still taste the same.
- Rolls can be stored in a zip-top bag at room temperature for up to 5 days.
- To freeze, cool completely, and place in a freezer-safe bag. Store for up to 2 months. Reheat in the oven wrapped in foil.
Nutrition Information
This website provides approximate nutrition information for convenience and as a courtesy only. Nutrition data is gathered primarily from the USDA Food Composition Database, whenever available, or otherwise other online calculators.
© Little Sunny Kitchen



Joanne says
Made the rolls 15 minutes, followed recipe and had trouble with them sticking to pan.
I used a glass baking pan.
Also I think I’d like them to be a little sweeter. What can I do to improve?
Little Sunny Kitchen says
Hi Joanne, Next time, maybe use a bit more cooking spray to grease the pan. That should keep them from sticking. You can add more sugar to the dough, up to 4 tablespoons, to make them a bit sweeter. The dough might rise a little bit faster with more sugar added, so keep an eye on it!
Jackie K Jones says
I love these rolls My My southern yeast bread all the way
Diana says
Thanks so much, Jackie! I’m glad you loved them!
Carolina says
My family and I loved these rolls. They were so soft and fluffy.
Little Sunny Kitchen says
Thank you so much, Carolina!