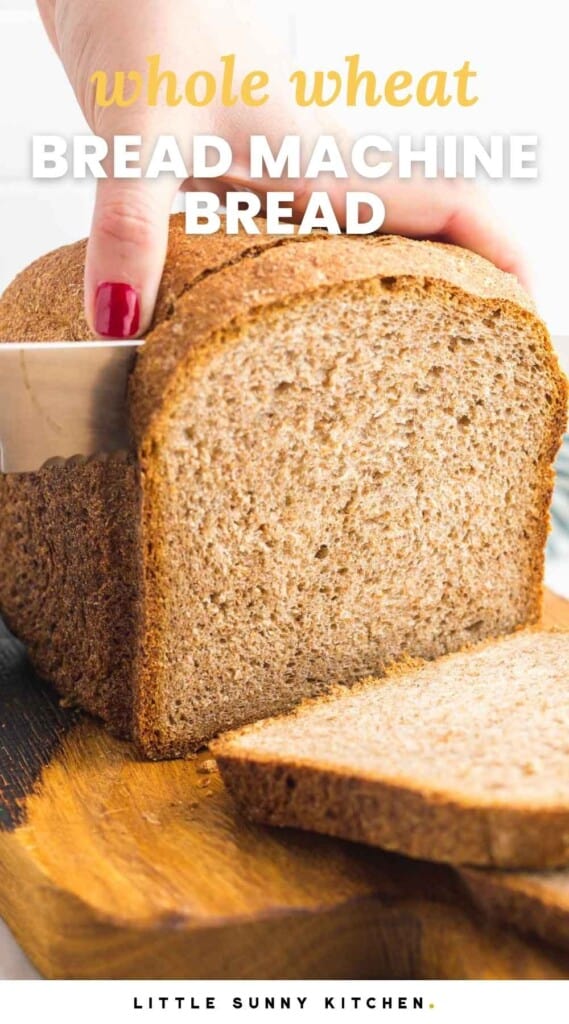
This bread machine whole wheat bread is an easy everyday loaf made with 100% whole wheat flour and just six simple ingredients. With only about 5 minutes of hands on prep, the bread machine takes care of the kneading, rising, and baking for a hearty, sliceable loaf that is great for sandwiches and toast.
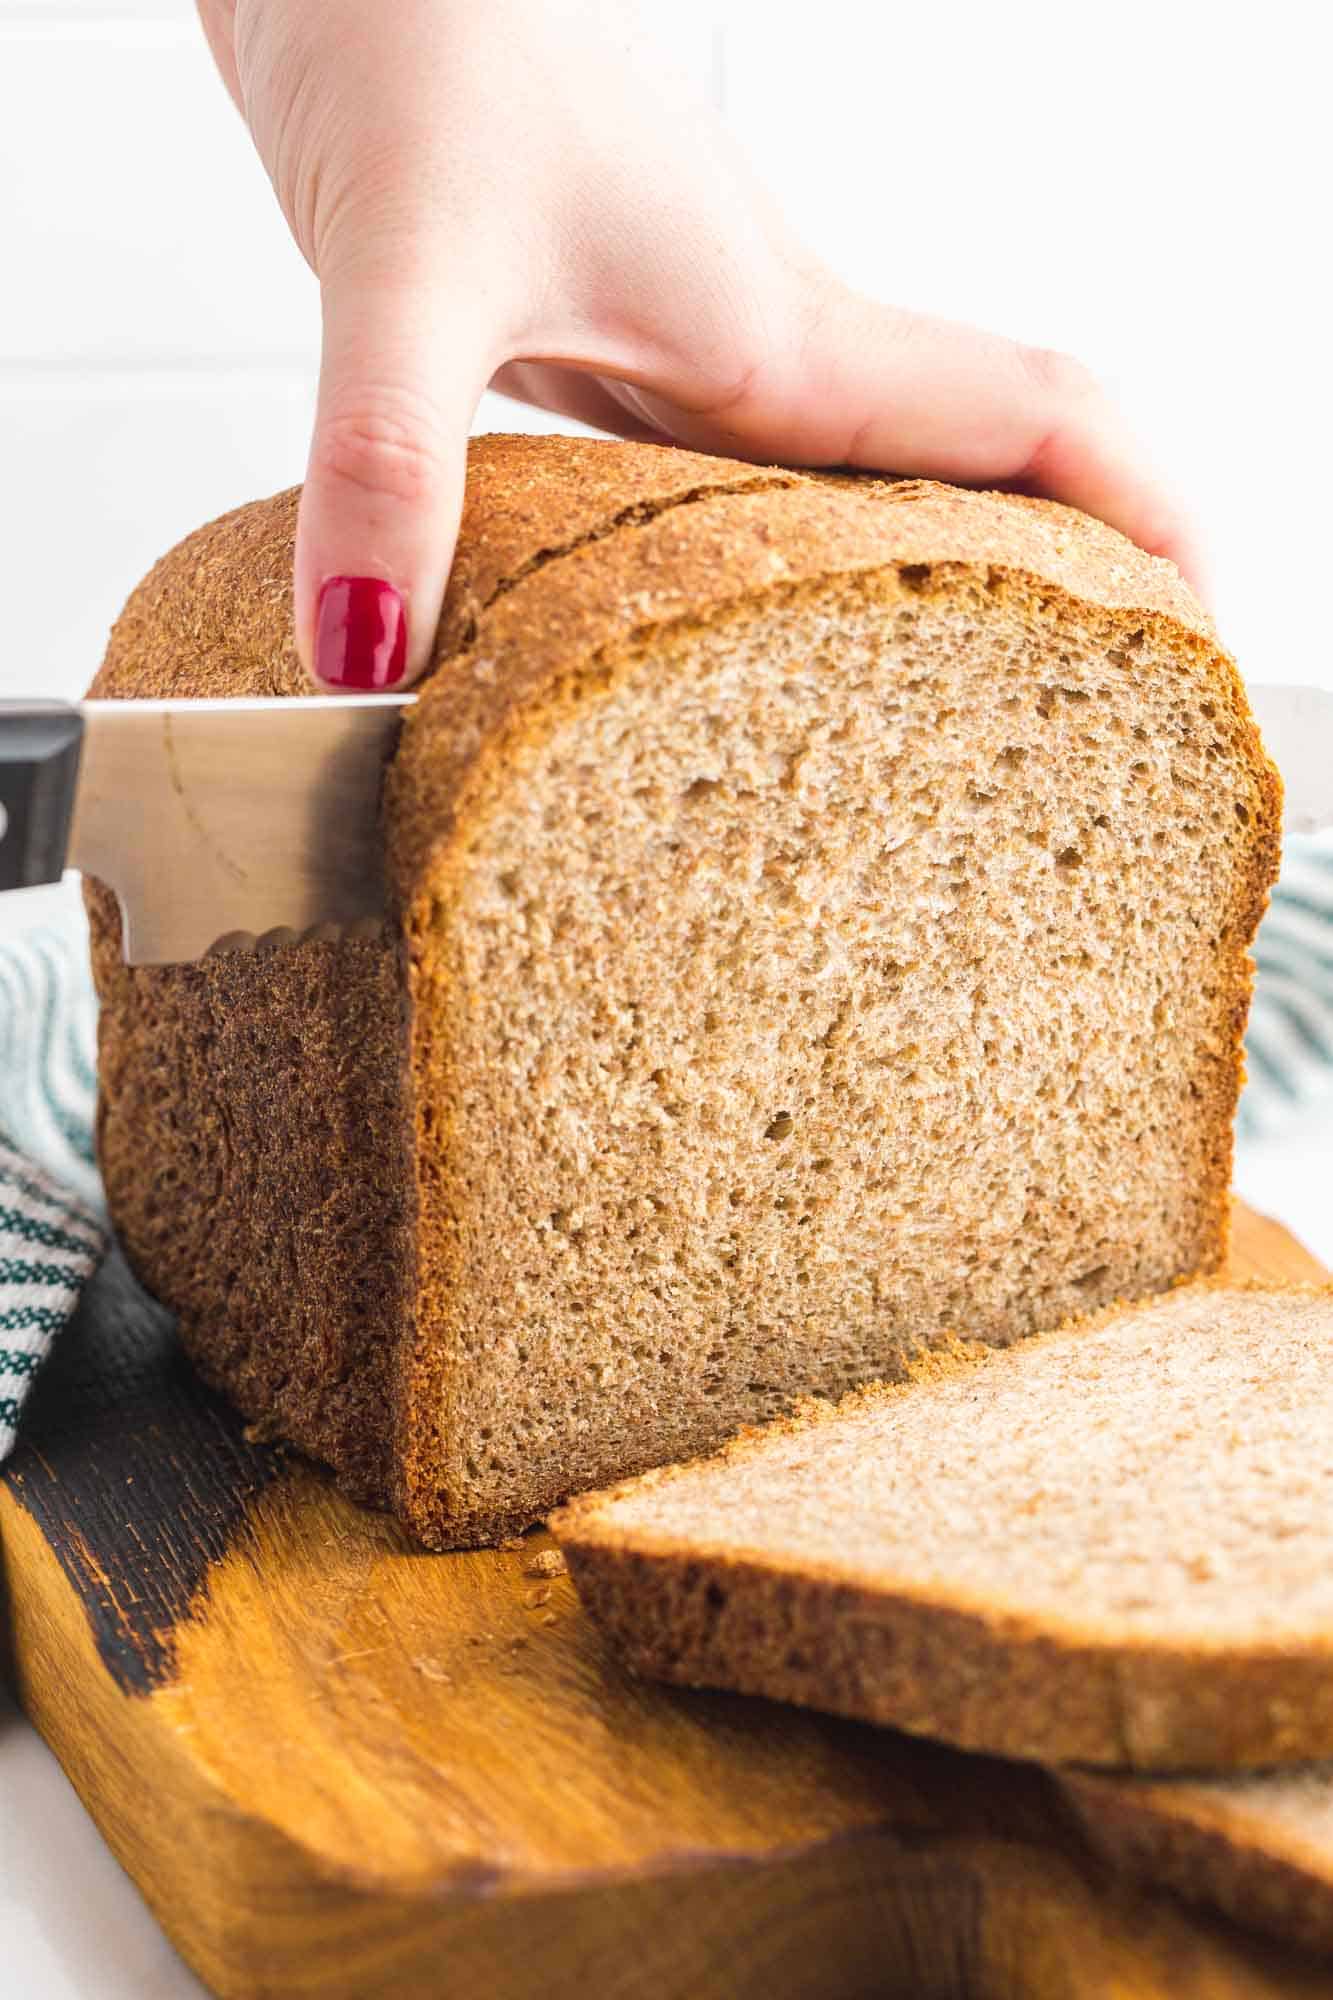
I love making a simple loaf of bread in my bread machine to use for everyday breakfasts and lunches, or as a side with a quick dinner. Bread Machine White Bread, Oatmeal Bread, and Seed Bread are some of my favorites, but I come back to this bread machine whole wheat recipe often, too.
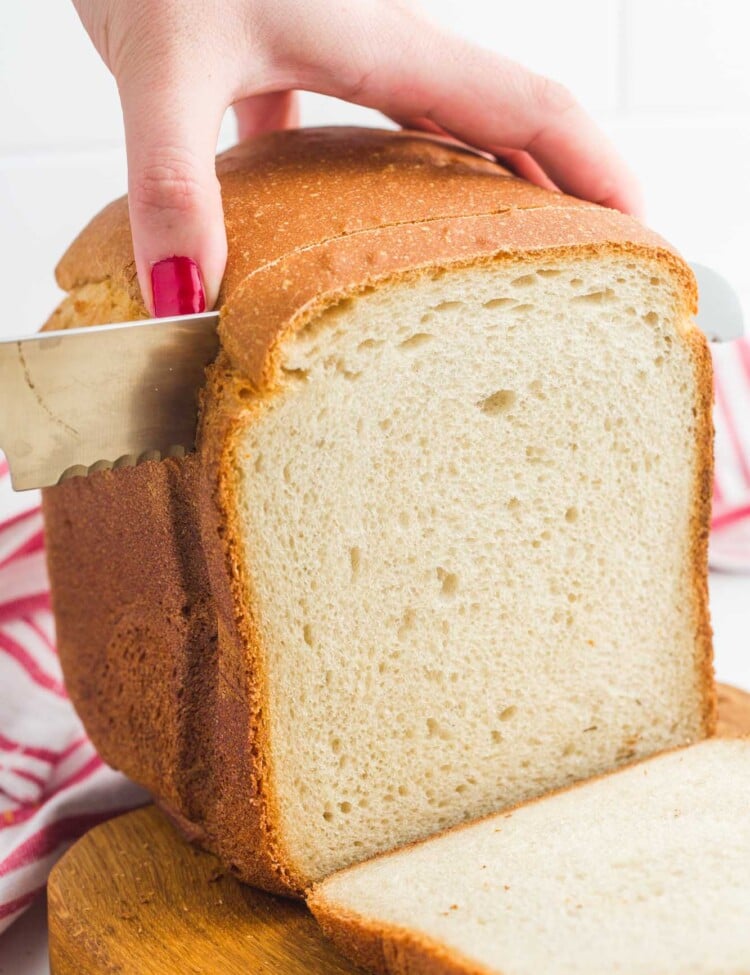
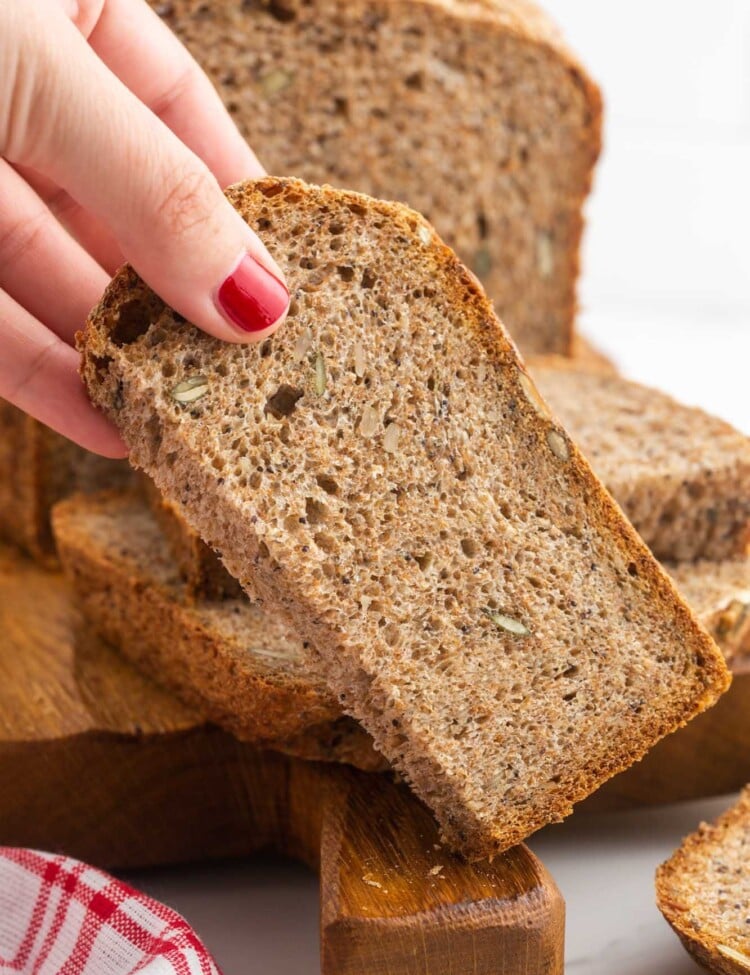
Don’t have a bread machine? Try my no-knead bread recipe instead! Try using your homemade sandwich bread to make tuna salad sandwiches or a classic BLT!

I love this recipe!! this is my second time making it!! thank you!
Kelly L

Why I Keep Coming Back to This Whole Wheat Bread
This has become one of my most popular bread machine recipes, with more than 140 reader ratings and hundreds of comments. I like it for everyday sandwiches and toast because the ingredient list is short and the bread machine handles everything from kneading to baking. One thing I have learned from making whole wheat bread is that checking the dough during kneading makes a big difference, since different whole wheat flours can absorb water differently.
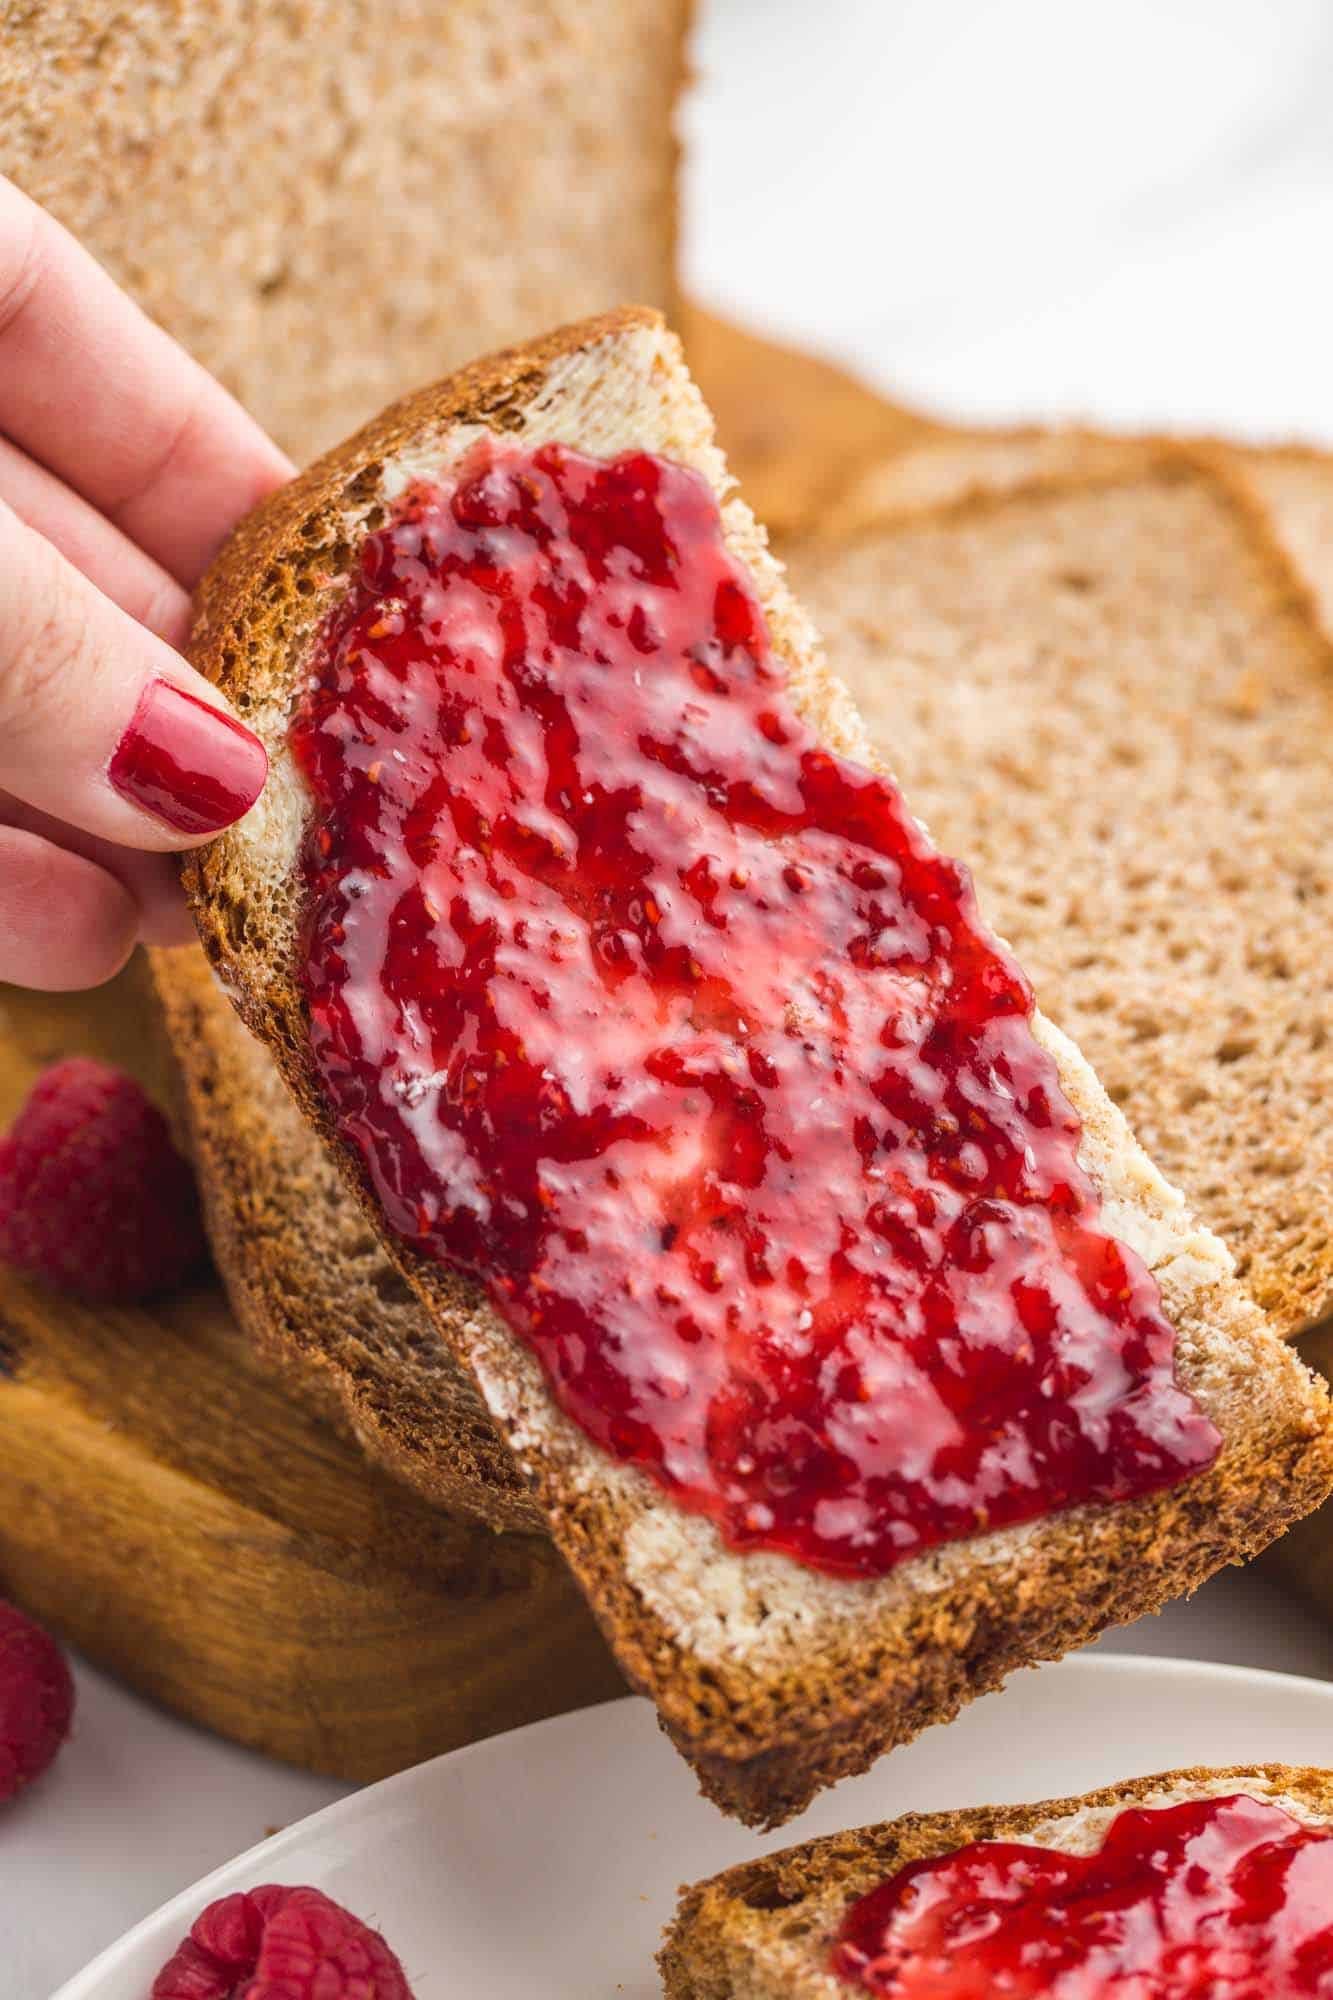
Key Ingredients
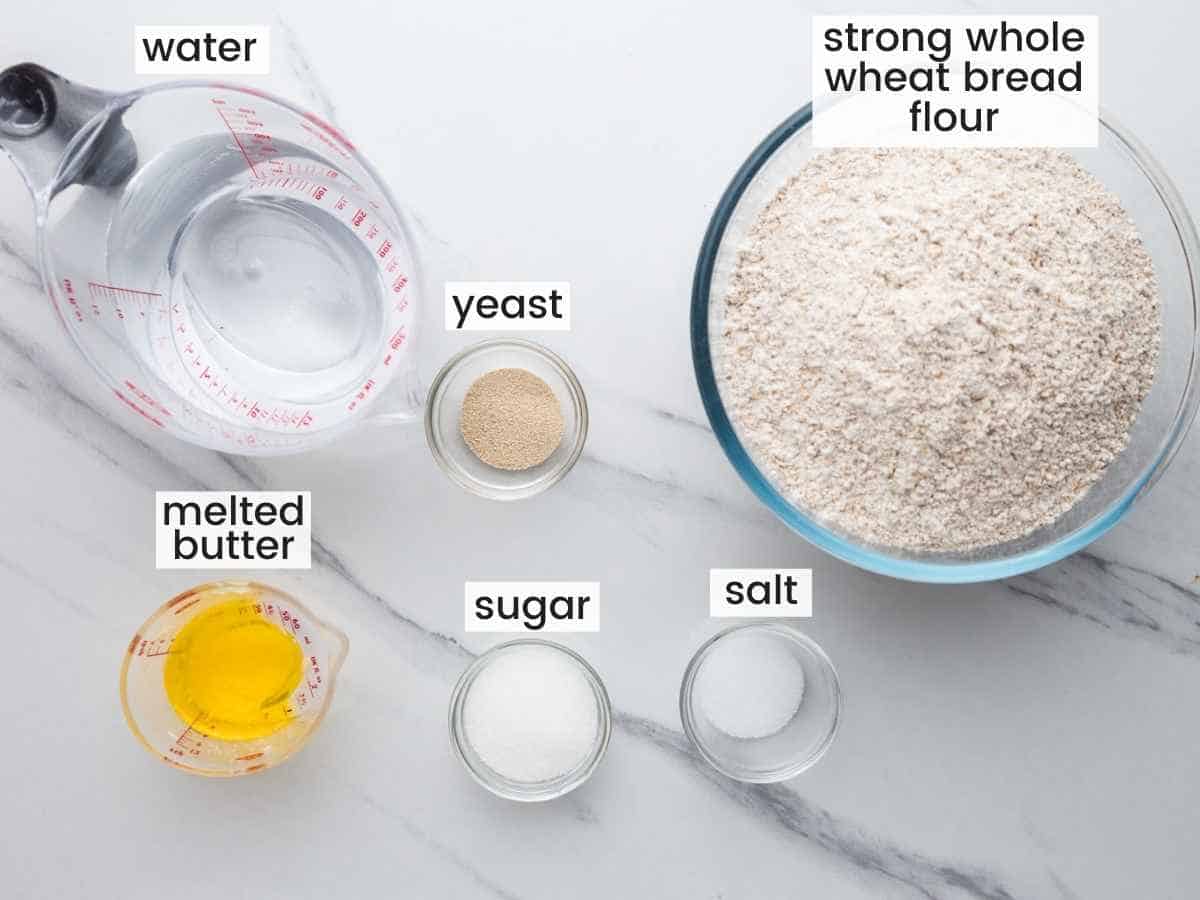
Complete list of ingredients and amounts can be found in the recipe card below.
- Whole Wheat Flour: The type you should search for in the US and Canada will be labeled as “Whole wheat flour”. In the UK and Australia, this is called “Strong wholemeal bread flour”. It will have a coarser, more grainy texture than white flour. It will also usually be labeled as “strong” or “high-gluten” which means that it has a high amount of gluten, which is perfect for breadmaking. For the most accurate results, weigh the flour rather than measuring it by volume.
- Instant Yeast: This recipe was developed using instant yeast, sometimes labeled bread machine yeast. For the most consistent results, I recommend using it rather than substituting another type of yeast.
- Melted Butter: Adds flavor and helps keep the crumb tender. Olive oil can also be used if you prefer.
- Sugar: A small amount of granulated sugar adds a touch of sweetness and helps the crust brown. Leaving the sugar out will give you a paler crust and a slower rise.
- Salt: Salt does more than season the loaf. It controls how fast the yeast works and strengthens the dough. Do not leave it out or reduce it, or the loaf will rise too fast and sink in the middle.
- Water: Use water at 110°F (43°C), as tested for this recipe.
How to Make Whole Wheat Bread in a Bread Machine
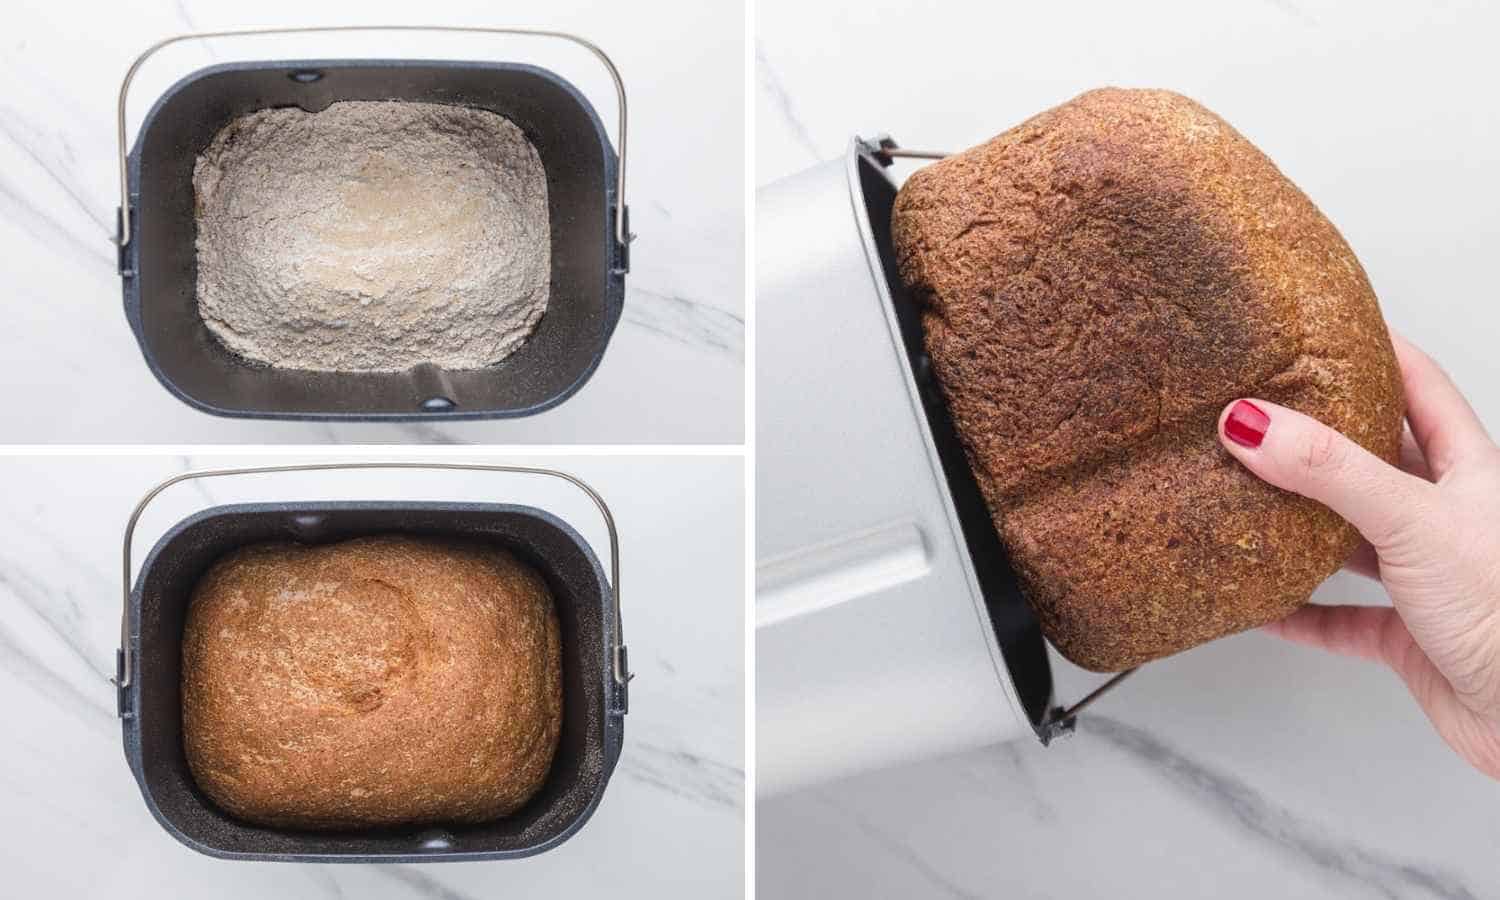
Visit my recipe for Bread Machine White Bread for more tips and tricks!
- Add Ingredients: Layer your ingredients in the pan of the bread machine in the following order: Water, Butter/Oil, Sugar, Salt, Flour, and lastly, Yeast.
- Set Up and Turn On: Add the bread pan to the bread machine, and make sure that it’s secured. Close the lid, and plug in the machine. Select the Whole Wheat or Whole Grain cycle and the 1½ pound loaf size.
- Let the Bread Maker Work: The bread machine will now take over for you, and knead, proof, and bake your bread dough!
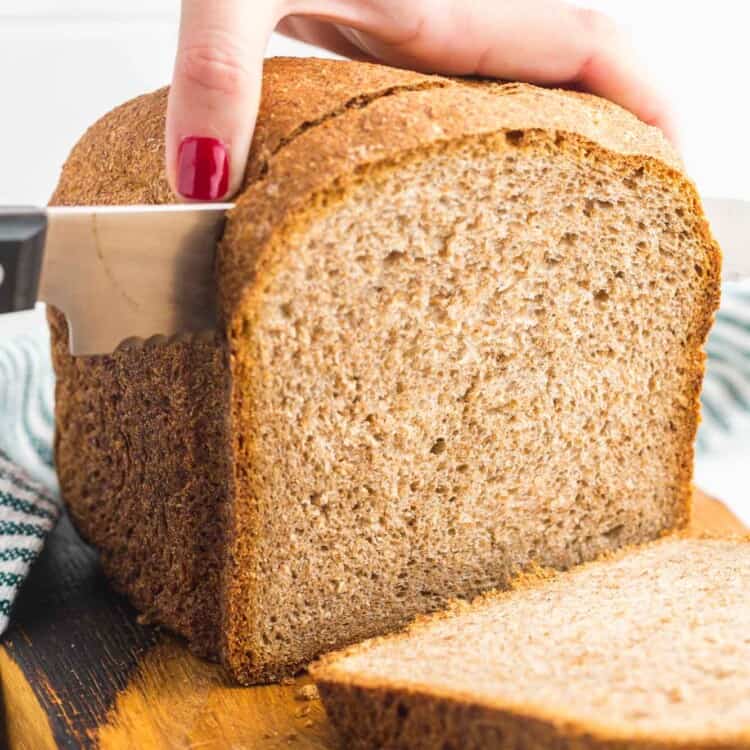
- Cool: When the baking cycle ends, unplug the bread machine, open the lid, and remove the pan from the machine with kitchen mitts. Allow the bread to cool for 10 minutes in the pan, then shake it out of the pan and allow it to cool completely. Carefully remove the paddle from the bottom of the loaf if it got stuck there.
Check the Dough During Kneading
Bread machines vary, and whole wheat flour can absorb different amounts of water, so it is worth checking the dough during the first kneading cycle. The dough should form a soft, smooth ball that is slightly tacky but not wet or smeared around the bottom of the pan.
If the dough looks dry or crumbly, add water 1 teaspoon at a time. If it looks very sticky and is not forming a ball, add whole wheat flour 1 tablespoon at a time.
What to Expect From 100% Whole Wheat Bread
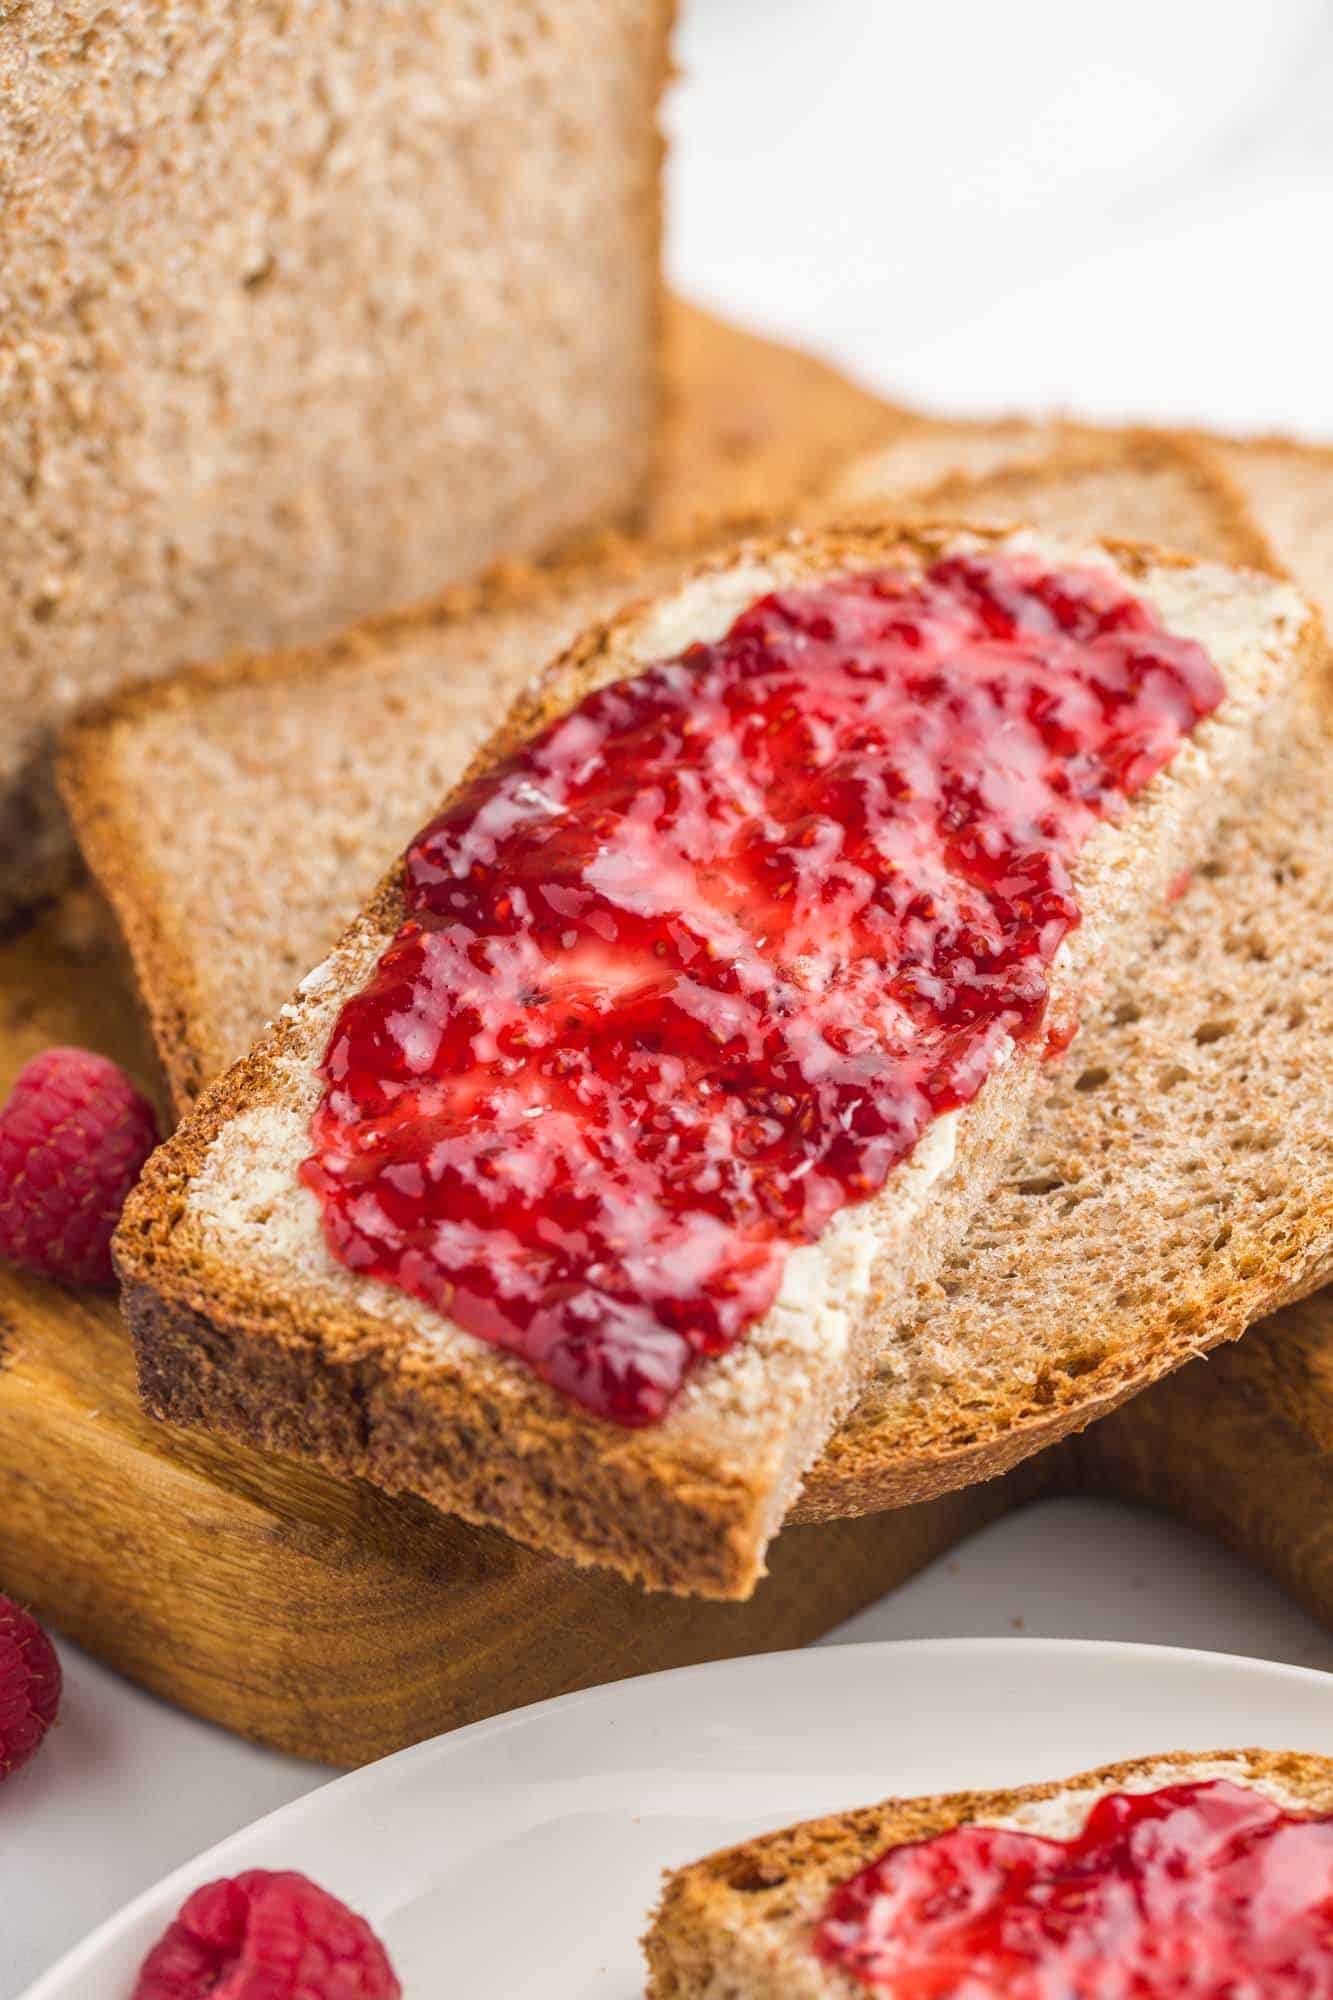
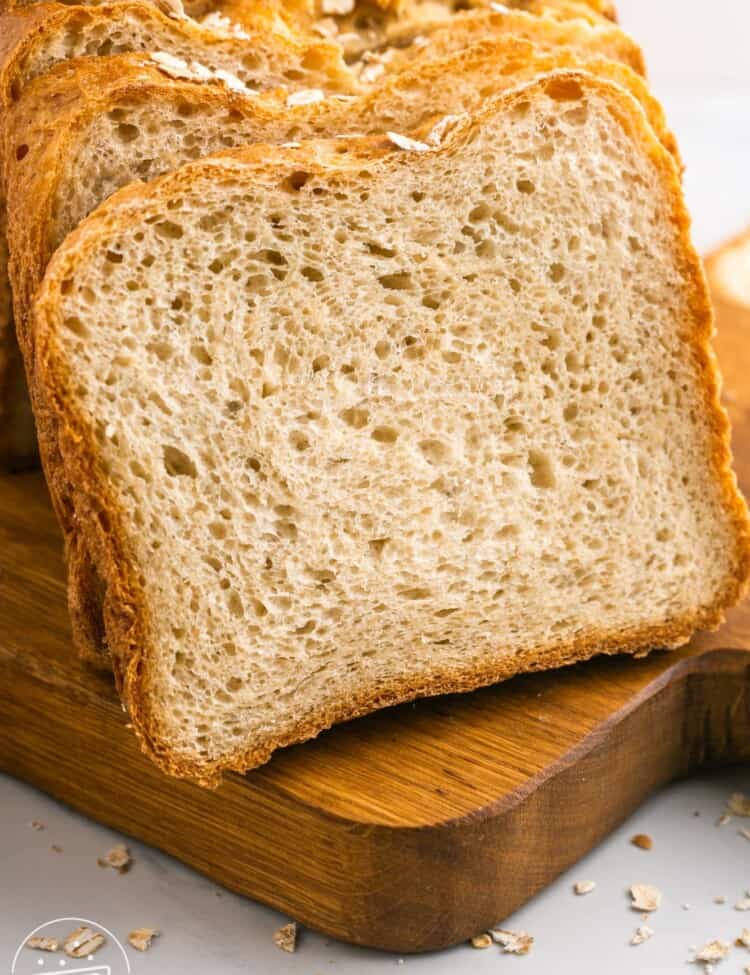
Because this loaf is made entirely with whole wheat flour, it will be darker and slightly denser than bread made with white bread flour. It should still rise well and have a soft, sliceable crumb, but it will have the heartier texture and nutty flavor you expect from whole wheat bread.
More Bread Machine Recipes to Try
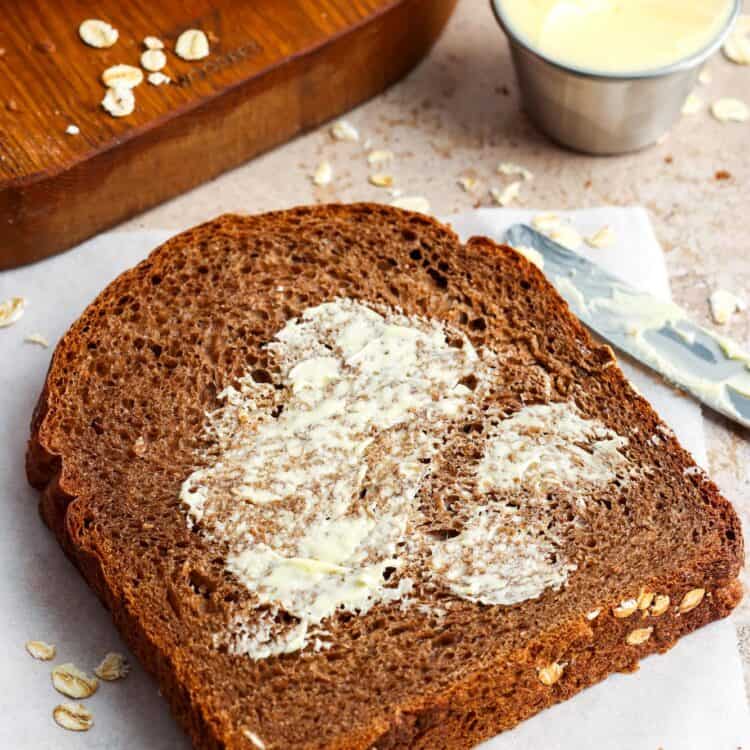
Bread Machine Brown Bread
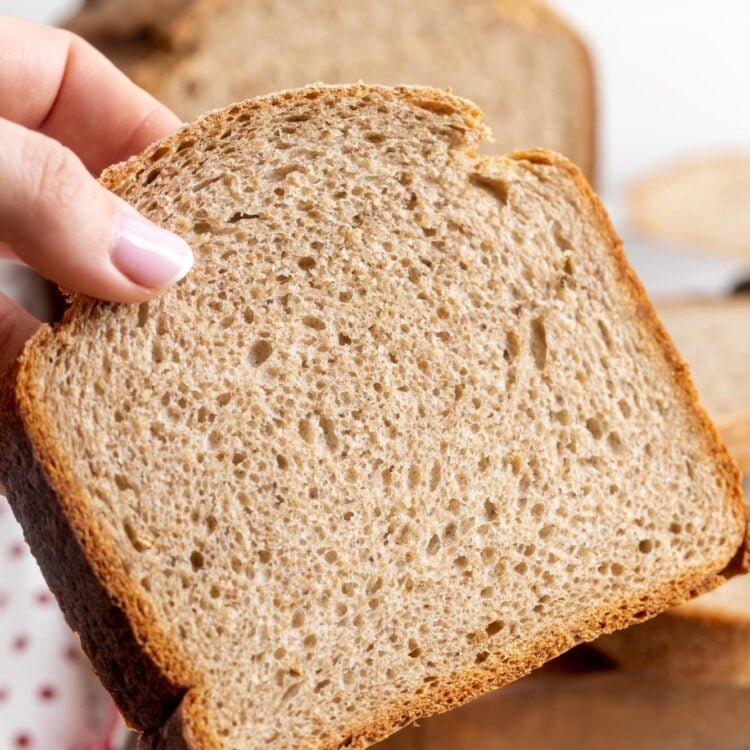
Bread Machine Rye Bread Recipe

Bread Machine Cinnamon Rolls
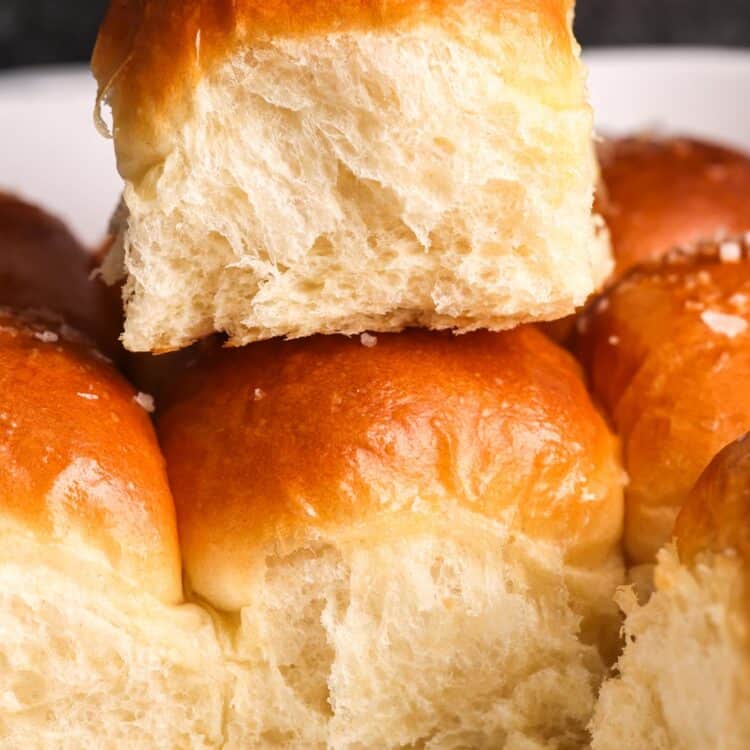
Bread Machine Dinner Rolls
FAQs
Follow your bread machine manufacturer’s recommended ingredient order. For the machine used to test this recipe, the ingredients are added with the liquids first and the yeast last.
Follow this recipe, using 50% whole wheat flour and 50% white bread flour. Increase the yeast to 1 ½ teaspoons, then follow the recipe as written.
You should store your homemade bread wrapped in plastic wrap or foil to keep it soft and fresh. Bread machine wheat bread can also be frozen, wrapped well and airtight, for up to two months. Avoid putting bread in the fridge, as the conditions there will dry out your loaf.
You should always make sure that your yeast is fresh and active. It could be that your yeast is dead, or you added too much salt or sugar, or you forgot to add the yeast.
You probably added too much yeast.
If this happens for some reason, add more liquid (1 tablespoon at a time) until a ball of dough is formed.
You need to add more flour, add it gradually (1 tablespoon at a time) until a ball of dough is formed.
This loaf makes good peanut butter and jelly sandwiches, and good toast.
Did you make this? Be sure to leave a review below and tag me on Facebook, Instagram, or Pinterest!
Bread Machine Whole Wheat Bread
Equipment
Ingredients
- 1 ½ cups (350 ml) water at 110°F (43°C)
- 2 tablespoons (28 g) unsalted butter melted, or 2 tablespoons olive oil
- 4 teaspoons granulated sugar
- 1 ½ teaspoons salt
- 4 cups (480 g) whole wheat flour strong wholemeal flour in the UK
- 1 teaspoon instant yeast
Instructions
- Layer your ingredients in the pan of the bread machine in the following order: Water, Butter/Oil, Sugar, Salt, Flour, and lastly, Yeast.
- Add the bread pan to the bread machine, and make sure that it’s secured. Close the lid, and plug in the machine. Select the Whole Wheat or Whole Grain cycle, the 1½ pound loaf size, and medium crust.
- The bread machine will now take over for you, and knead, proof, and bake your bread dough!
- When the baking cycle ends, unplug the bread machine, open the lid, and remove the pan from the machine with kitchen mitts.
- Allow the bread to cool for 10 minutes in the pan, then turn it out and let it cool completely on a wire rack before slicing. Carefully remove the paddle from the bottom of the loaf if it got stuck there.
Notes:
- Weigh the Flour: 4 cups of whole wheat flour can differ by 50 to 70 grams from one person to the next depending on how it goes into the cup, and that swing is the most common reason this loaf comes out dense or sinks in the middle. This recipe is built on 480 g. If you do not have a scale, stir the flour in the bag to loosen it, spoon it into the measuring cup, and level the top with a knife. Do not scoop the cup straight through the flour.
- Water temperature: Use water at about 110°F (43°C), as tested for this recipe. An instant-read thermometer is the easiest way to check the temperature.
- Yield: One medium loaf, about 1½ pounds (680 g).
- Cook Time: 4 hours, based on the tested bread machine. Cycle times vary by model.
- Nutrition: Nutrition is a rough estimate, based on the loaf cut into 10 slices.
Nutrition Information
This website provides approximate nutrition information for convenience and as a courtesy only. Nutrition data is gathered primarily from the USDA Food Composition Database, whenever available, or otherwise other online calculators.
© Little Sunny Kitchen



Ilya says
Simplest recipe I’ve tried yet and works like a charm. Thank you!!
Little Sunny Kitchen says
Thank you, Ilya! I’m so glad it turned out well for you!
George M says
I’ve tried this twice, tasted nice and texture was good. For some reason, it rises and then the top collapsed both times when the bake starts. Any suggestion for what ingredient adjustments might be beneficial to try? It seemed like I was getting an ok dough ball during the first knead.
Diana says
Hi George, thanks for coming back twice and for the detail, that actually helps a lot.
A loaf that rises well and then sinks as the bake starts is almost always over-proofed rather than an ingredient being wrong. The dough stretches further than it can hold, and the moment the heat hits it, it drops.
Three things to check before changing any quantities:
Are you weighing the flour? This recipe is built on 480 g. Four cups can come out 50 to 70 grams light depending on how it goes into the cup, and a loaf that’s short on flour is exactly the one that collapses.
Are you using the full 1½ teaspoons of salt? Salt controls how fast the yeast works. Cutting it, even slightly, gives you a fast rise and then a sink.
Which loaf size and cycle did you select? If the machine is set larger than 1½ pounds, it runs a longer rise than this dough wants.
If all three check out, hold back 2 tablespoons of the water next time and see if the top holds. Let me know how you get on, please!
George M says
Yes, I am weighing the flour. Made sure I was using 480g each time.
I’m almost certain I used the correct amount of salt each time. I was very careful to make sure I measured everything as closely as possible.
For the machine cycle, I used the 1.5 pound loaf size so that is also correct.
Interestingly, I found that when I used cool water instead of the warm water in the recipe, the amount of collapse was significantly reduced. The top wasn’t quite round but not nearly as sunken in, so that seems to help.
I was also considering trying half the amount of yeast as I saw that recommended online when the bread collapses. Do you think reducing the amount of water would be more effective than reducing the amount of yeast?
Thanks for your reply! After I get this loaf right, I intend to try your whole wheat seed loaf I saw on here. That looks great 🙂
Little Sunny Kitchen says
Hi George! I’d try reducing the water before reducing the yeast. Hold back 2 tablespoons of water and check the dough during kneading. It should form a soft, slightly tacky ball without smearing around the bottom of the pan. If it still collapses after that, you could try reducing the yeast slightly.
Diana says
One more thing, George, I should have picked up on this in my last reply. Your cool water result is very useful, so stick with it.
Bread machines warm the dough during the rise cycle, so starting with 110°F water is warmth on top of warmth. That speeds fermentation up, which is exactly what causes a loaf to rise fast and then sink. Cool or room temperature water slows it back down.
So do both, keep using the cooler water, and hold back the 2 tablespoons. If the top holds, that’s your answer and I’d rather you didn’t touch the yeast at all, since this recipe is not heavy on it to begin with.
And yes, do try the seed loaf. Let me know how it goes.
Virginia Phillips says
nice flavor but a little too dense. My a/c is on 78 for reference. It definitely didn’t rise like in the picture and the 100% whole wheat made a darker loaf than pictured. I think next time I’ll up the yeast 1/2 tsp and see how that turns out.
Diana says
Thanks for the feedback, Virginia. Whole wheat bread can definitely bake up darker and a little denser, but it should still rise well. A little extra yeast may help, and I’d also check the dough during kneading. If it looks dry, add water 1 teaspoon at a time until it looks soft and slightly tacky.
Virginia Phillips says
I checked the dough and it was nice and smooth, it just didn’t raise well.
Jessie Minter says
turned out just as your said. thank you
Little Sunny Kitchen says
Thank you, Jessie! I’m so glad it turned out well for you.
Joe Murphy says
I want to make this bread, but I prefer to remove the dough from the bread maker and cook it in a loaf pan.
Is this doable? At what temp should I bake it and how long?
Diana says
Hi Joe, yes that should work. Use the dough cycle, then shape the dough and place it in a greased loaf pan. Let it rise until it’s just above the top of the pan.
Bake on the center rack at 350°F for 15 minutes, then rotate the pan. Continue baking until it’s deep golden and the center reads 200°F, about 15 to 20 minutes more. Let it cool in the pan for 10 minutes, then turn it out onto a wire rack to cool completely. The instructions are the same as baking my sandwich bread.