Fresh, juicy berries make the most amazing Strawberry Layer Cake! Filled and iced with homemade cream cheese frosting, this scratch made strawberry cake is simple to make, impressive to look at, and completely delicious.
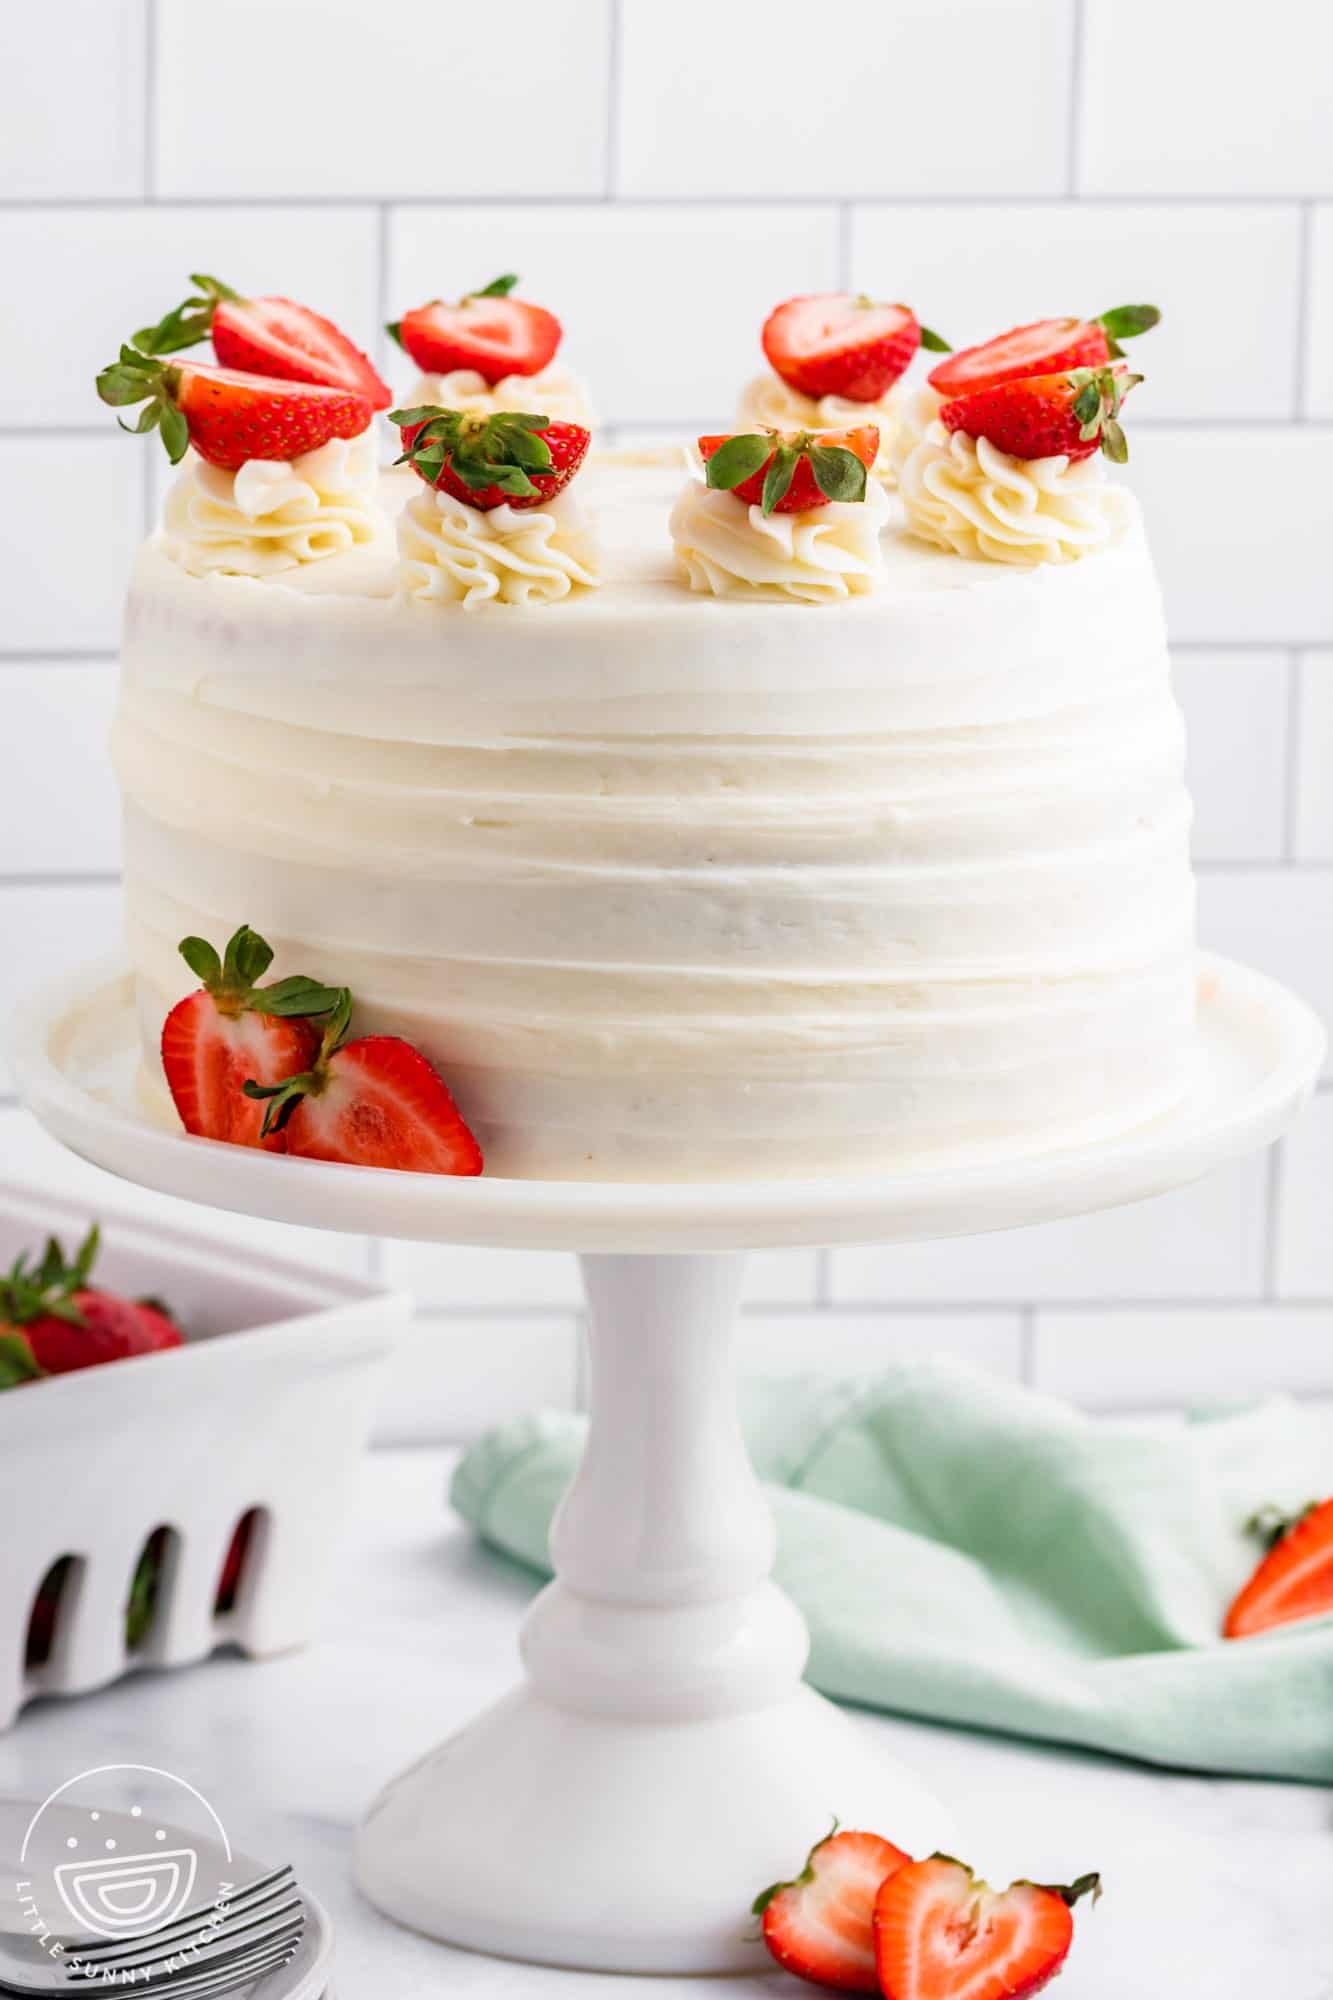
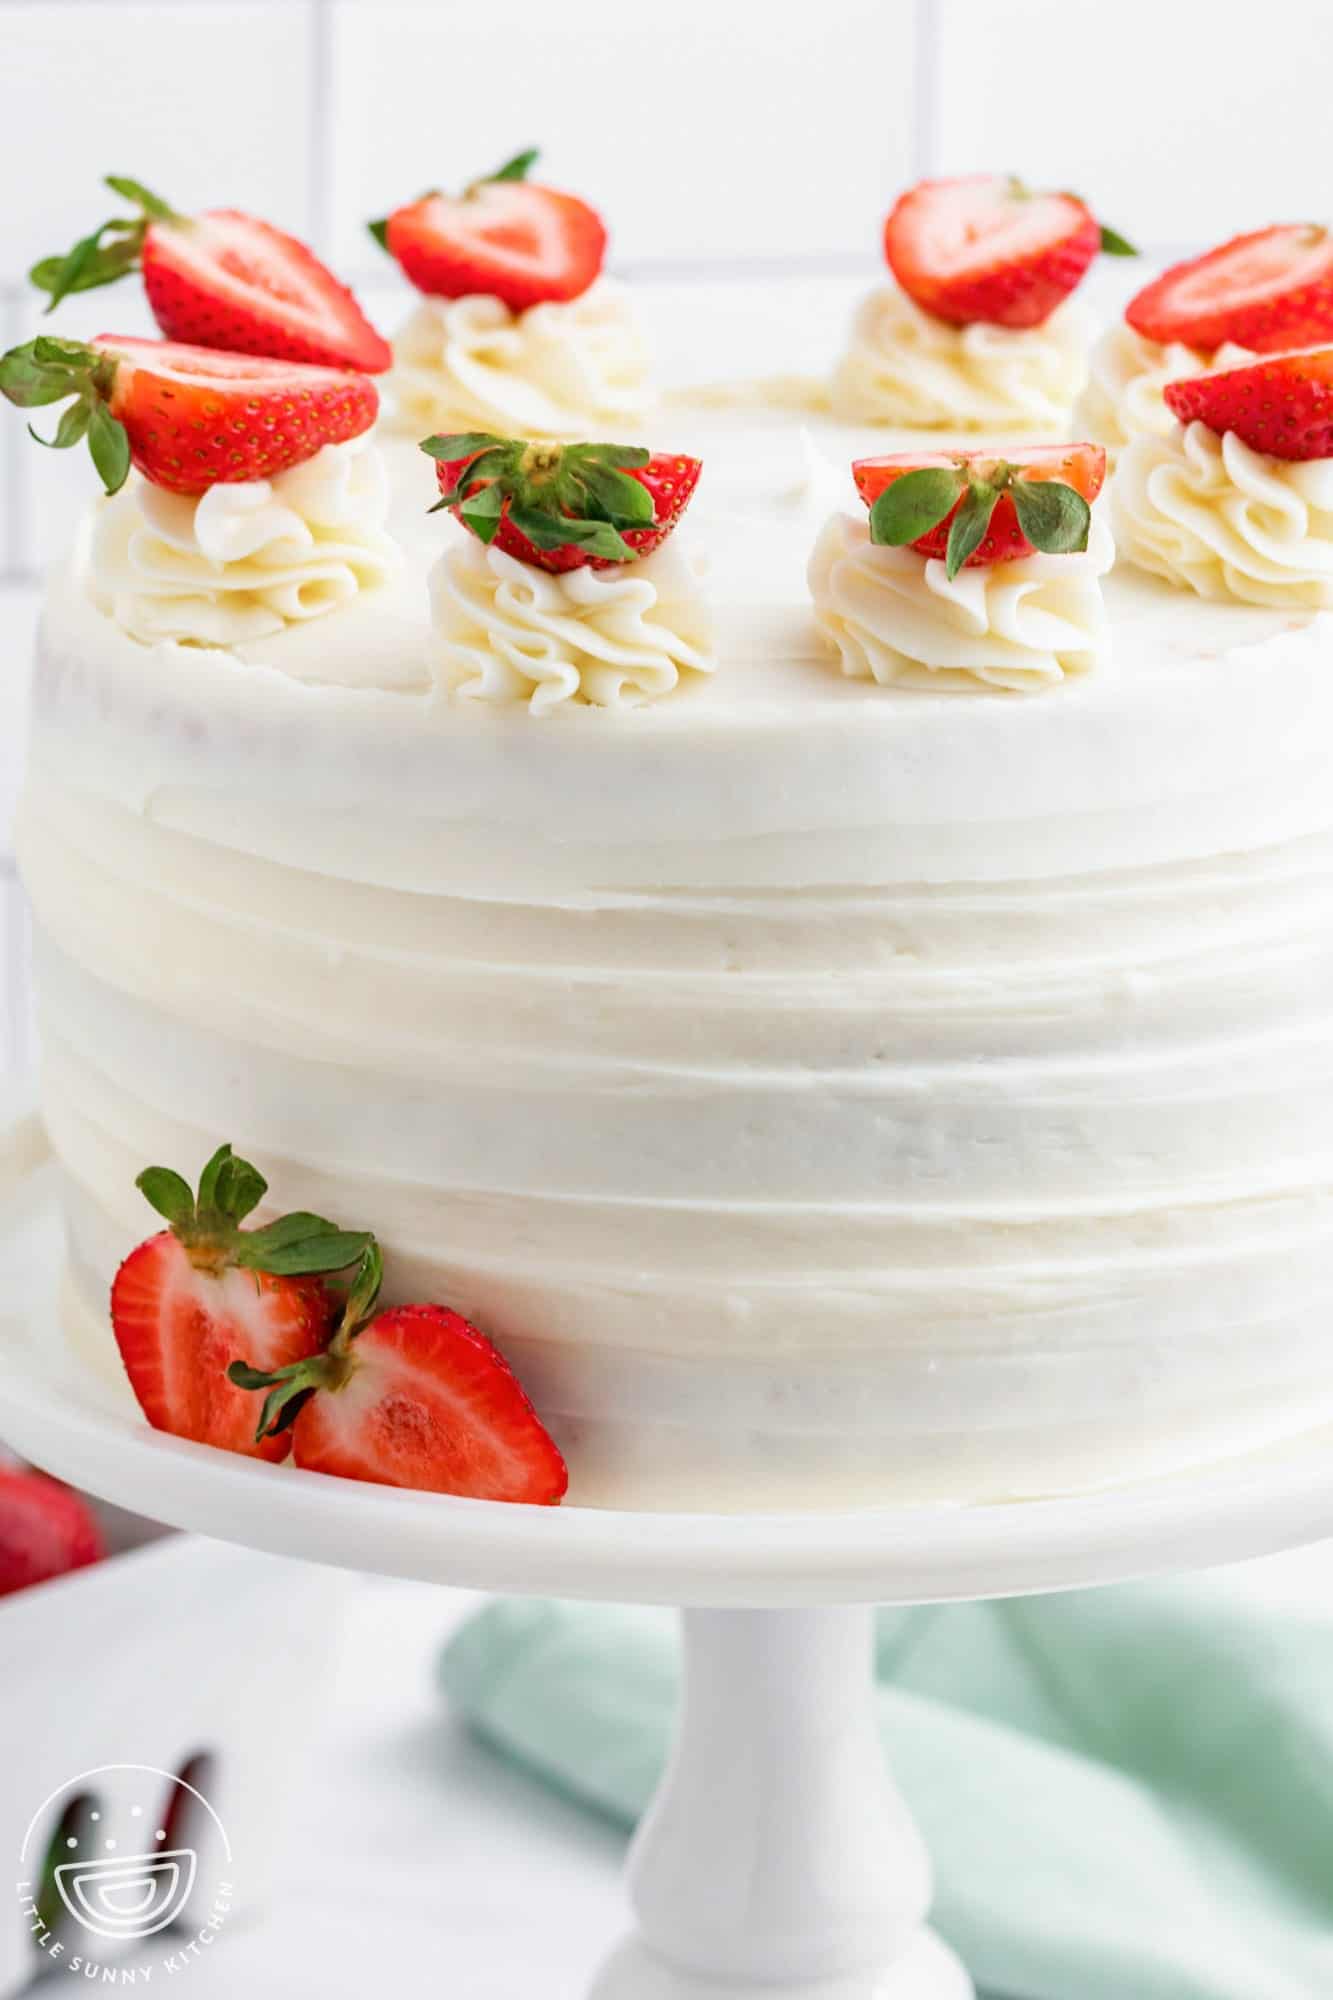
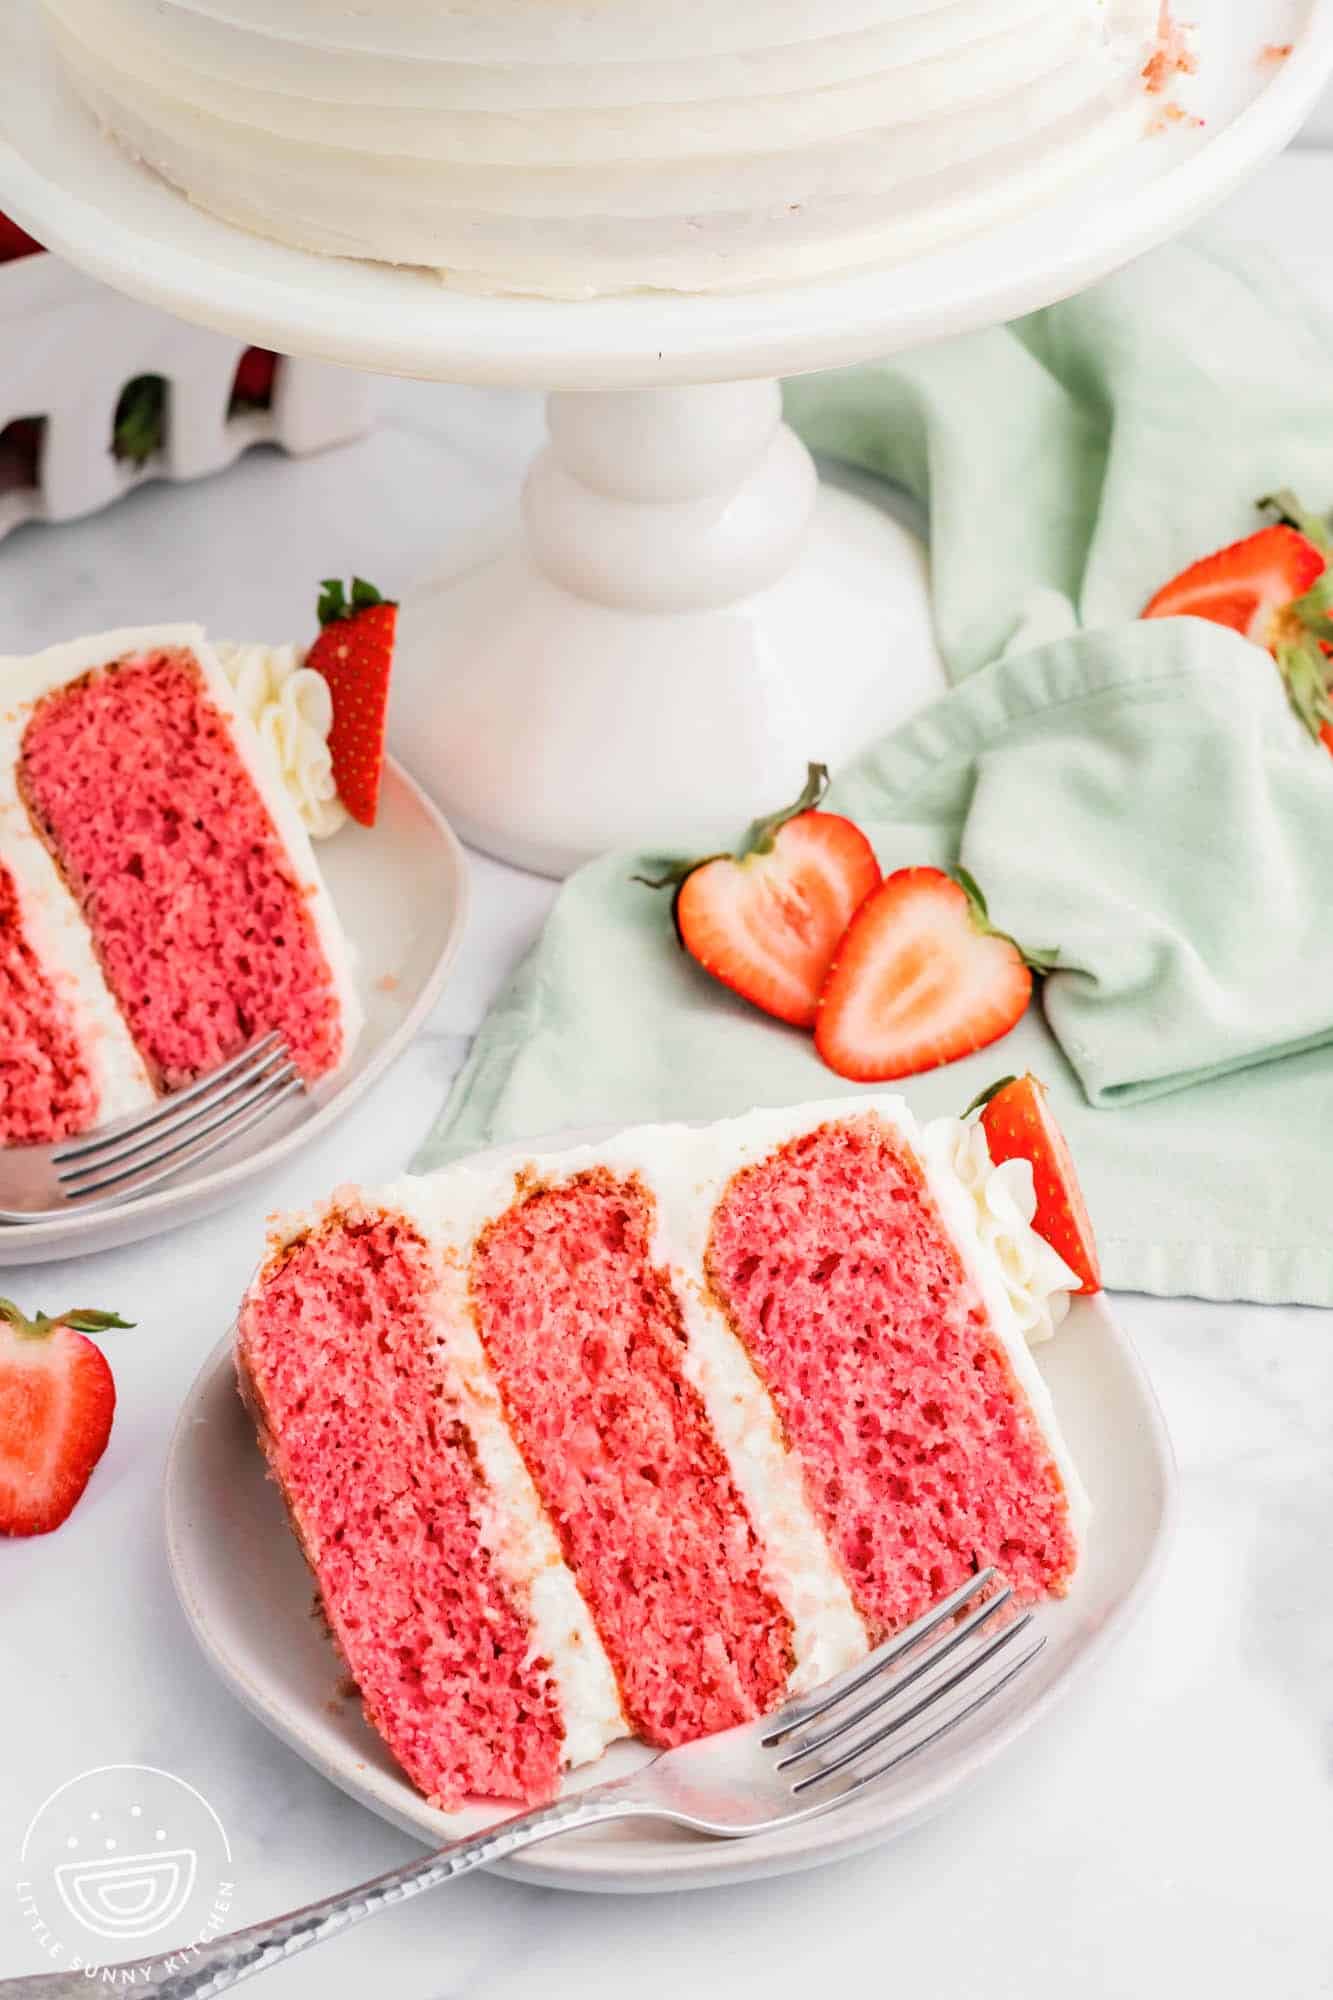
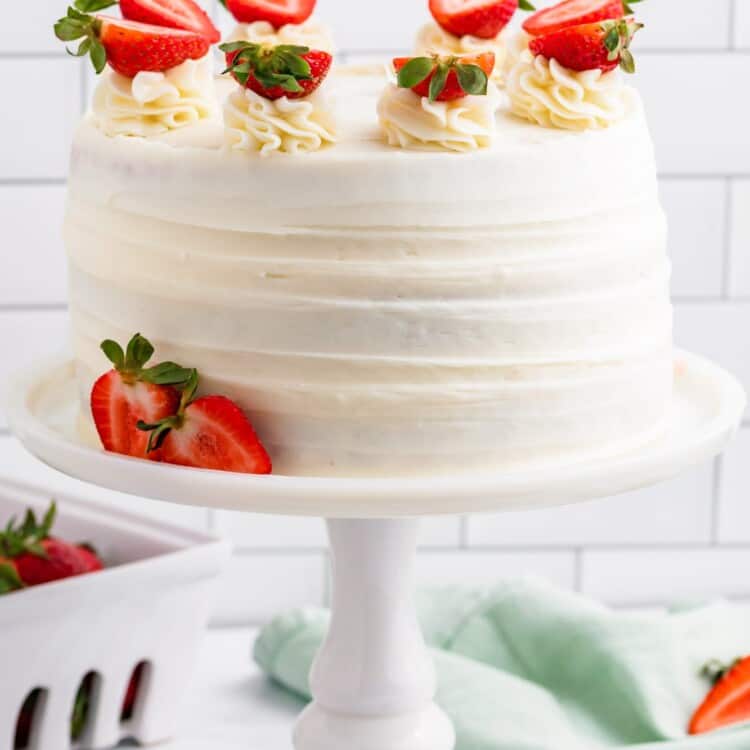
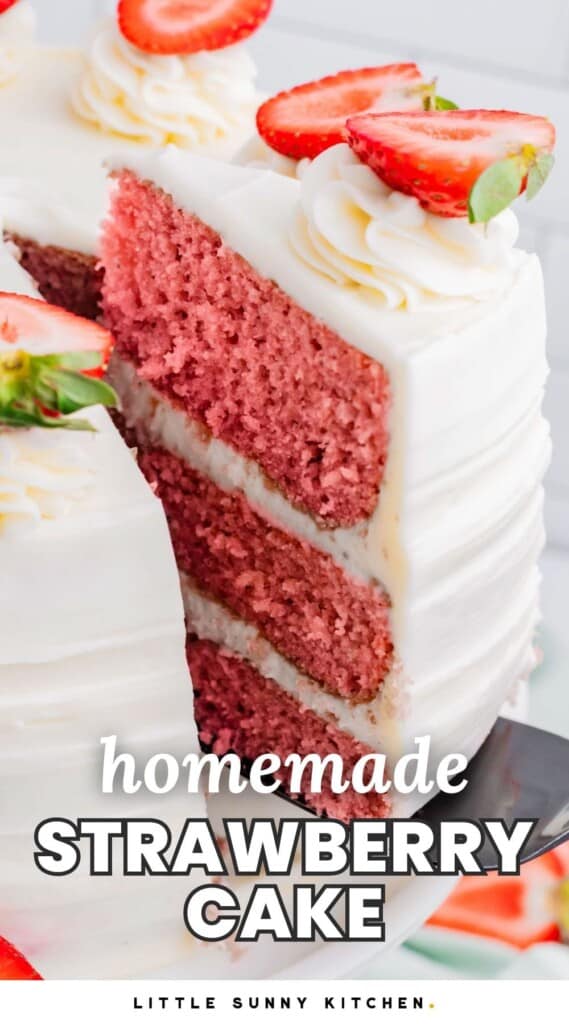
You are going to love this easy homemade layer cake! Three layers of fluffy, pink, strawberry cake are stacked high, covered in a sweet and tangy cream cheese frosting.
One bite of this cake is a sweet, creamy, and fruity flavor experience, and a whole slice is just heaven! Make it with homegrown or farmer’s market strawberries when they are in abundance in the summer. Or pick up a box from the supermarket. Either way you’ll be enjoying the ultimate strawberry layer cake in no time at all.
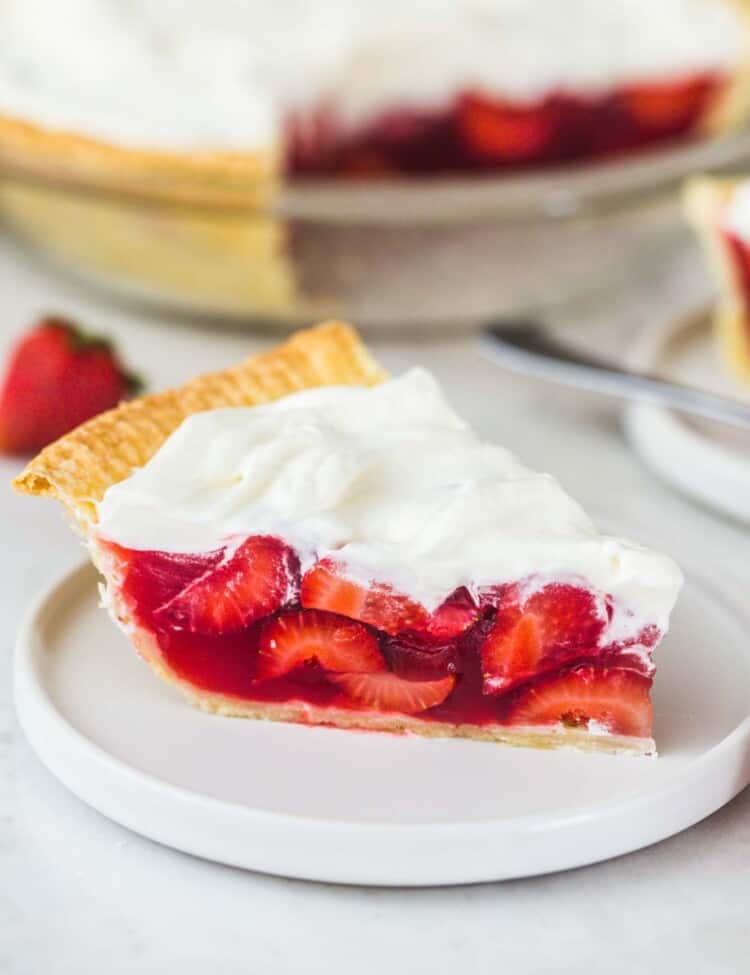
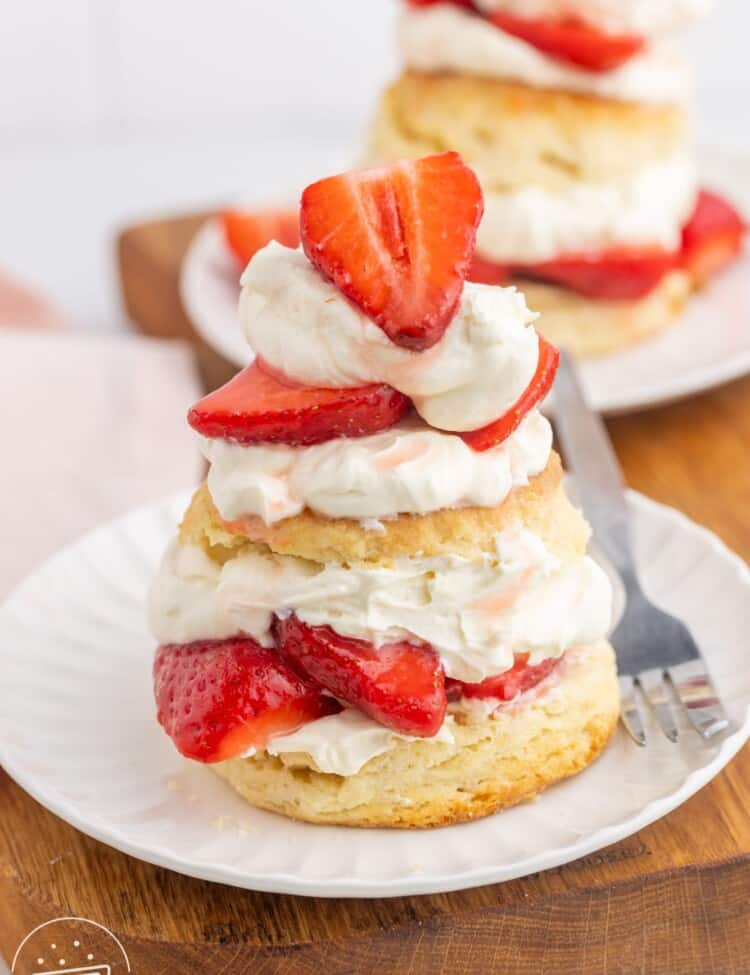
Want to make a different type of strawberry dessert? How about a rustic Strawberry Galette made with homemade pie crust? Or try my Strawberry Shortcake with fresh biscuits and whipped cream, or a classic Strawberry Rhubarb Pie!
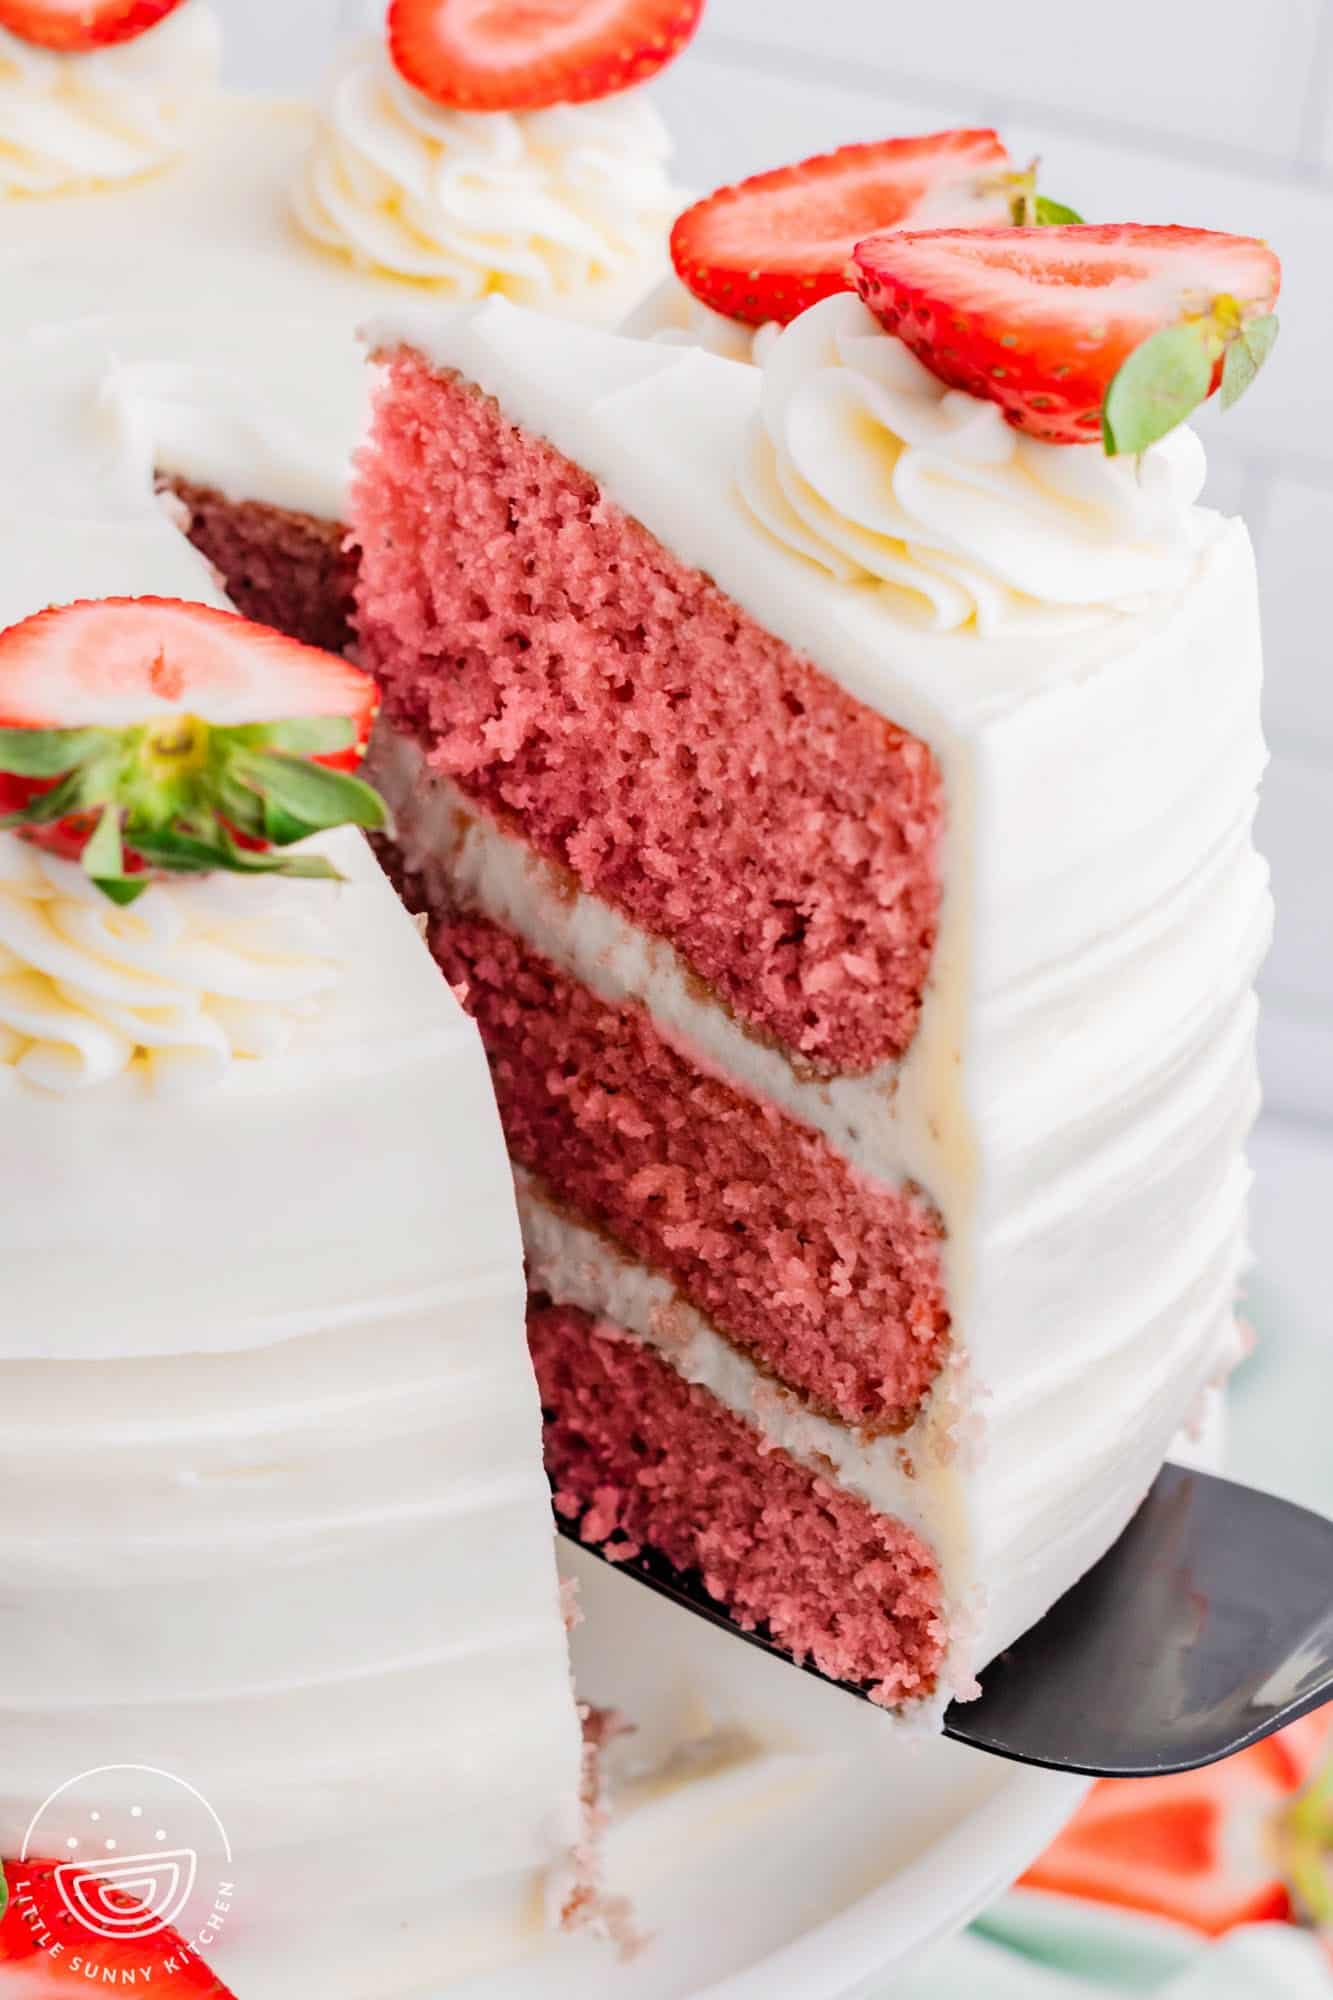
Make a Strawberry Layer Cake from Scratch
- Easy, Beautifully Decorated Cake – There’s no need to stress about the visual details on this Strawberry cake! A very simple icing, applied mostly with a spatula is perfectly accented with bright, red, fresh strawberries.
- Way Better Than Boxed – You may have had a boxed strawberry cake before, and I’m here to promise you that this homemade cake with real strawberries in it will be miles better than that. We’re adding a bit of food coloring here, but you can easily leave it out for a strawberry cake without any unnatural additives.
- Perfect for Parties – A strawberry layer cake will be the star of the day for any birthday, brunch party, wedding shower, baby shower, Valentine’s day, or any other event you can dream up!
Key Ingredients
Here’s what you need to make this Strawberry Cake from scratch:
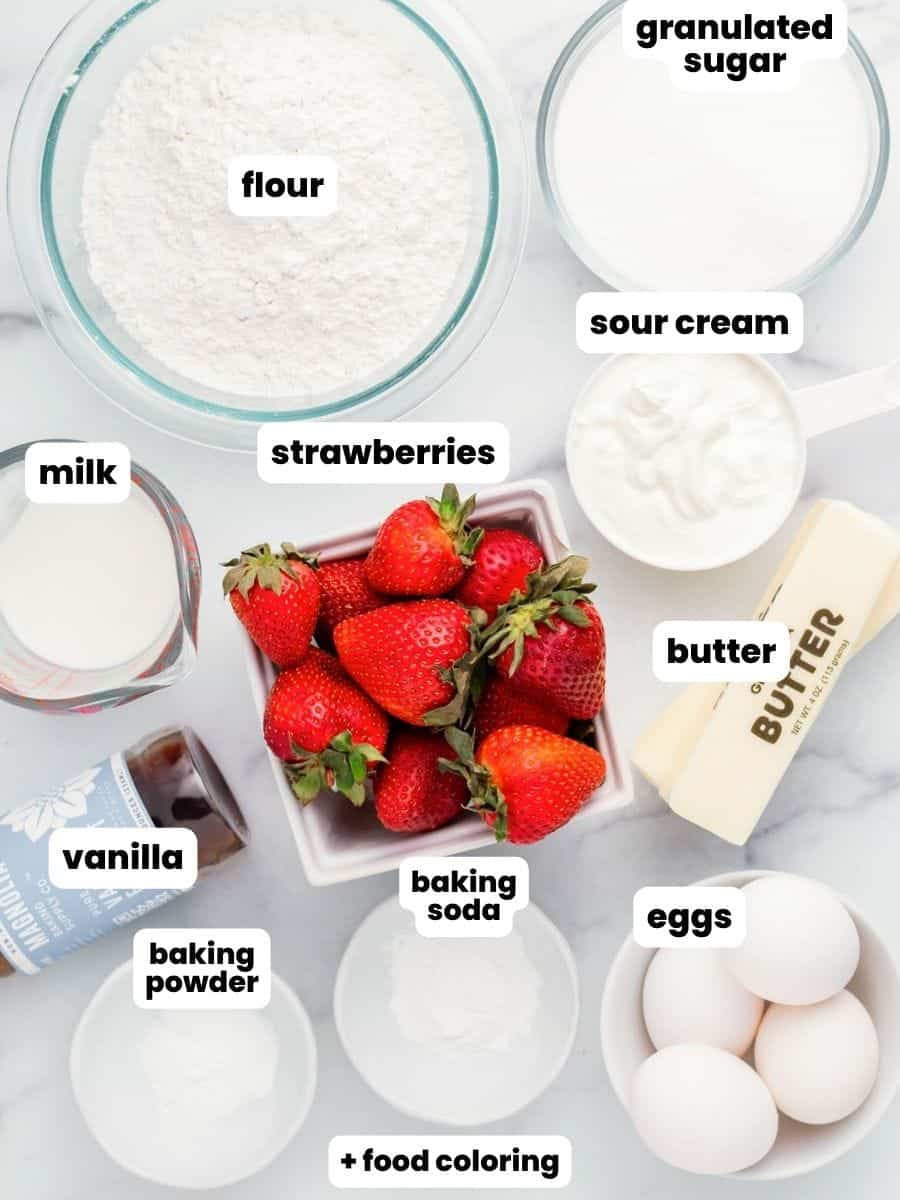
- Fresh Strawberries: To give this cake the maximum amount of fresh berry flavor, start with fresh, ripe berries. We’ll be pureeing them and cooking them down before adding them to the cake batter. You’ll need about a pound of fresh berries to make the puree.
- Flour, Baking Soda, and Baking Powder: The main dry ingredients for just about any good cake. Be sure to use both baking soda and powder to get the right amount of lift for this cake recipe
- Granulated Sugar
- Sour Cream and Whole Milk: These ingredients make this cake moist and tender. In place of sour cream you can also use plain Greek yogurt.
- Eggs: Let 4 eggs come to room temperature before mixing up the cake batter. Cold eggs are difficult to incorporate.
- Butter: I’m using salted butter in this recipe. If you’d like to use unsalted butter, add ¼ teaspoon of salt to the recipe.
- Vanilla Extract: Pure vanilla extract elevates the flavor of all of the other ingredients.
- Pink Food Coloring: A few drops of pink gel food coloring is optional if you’d like your cake to have a beautiful rosy hue.
Cream Cheese Cake Frosting Ingredients
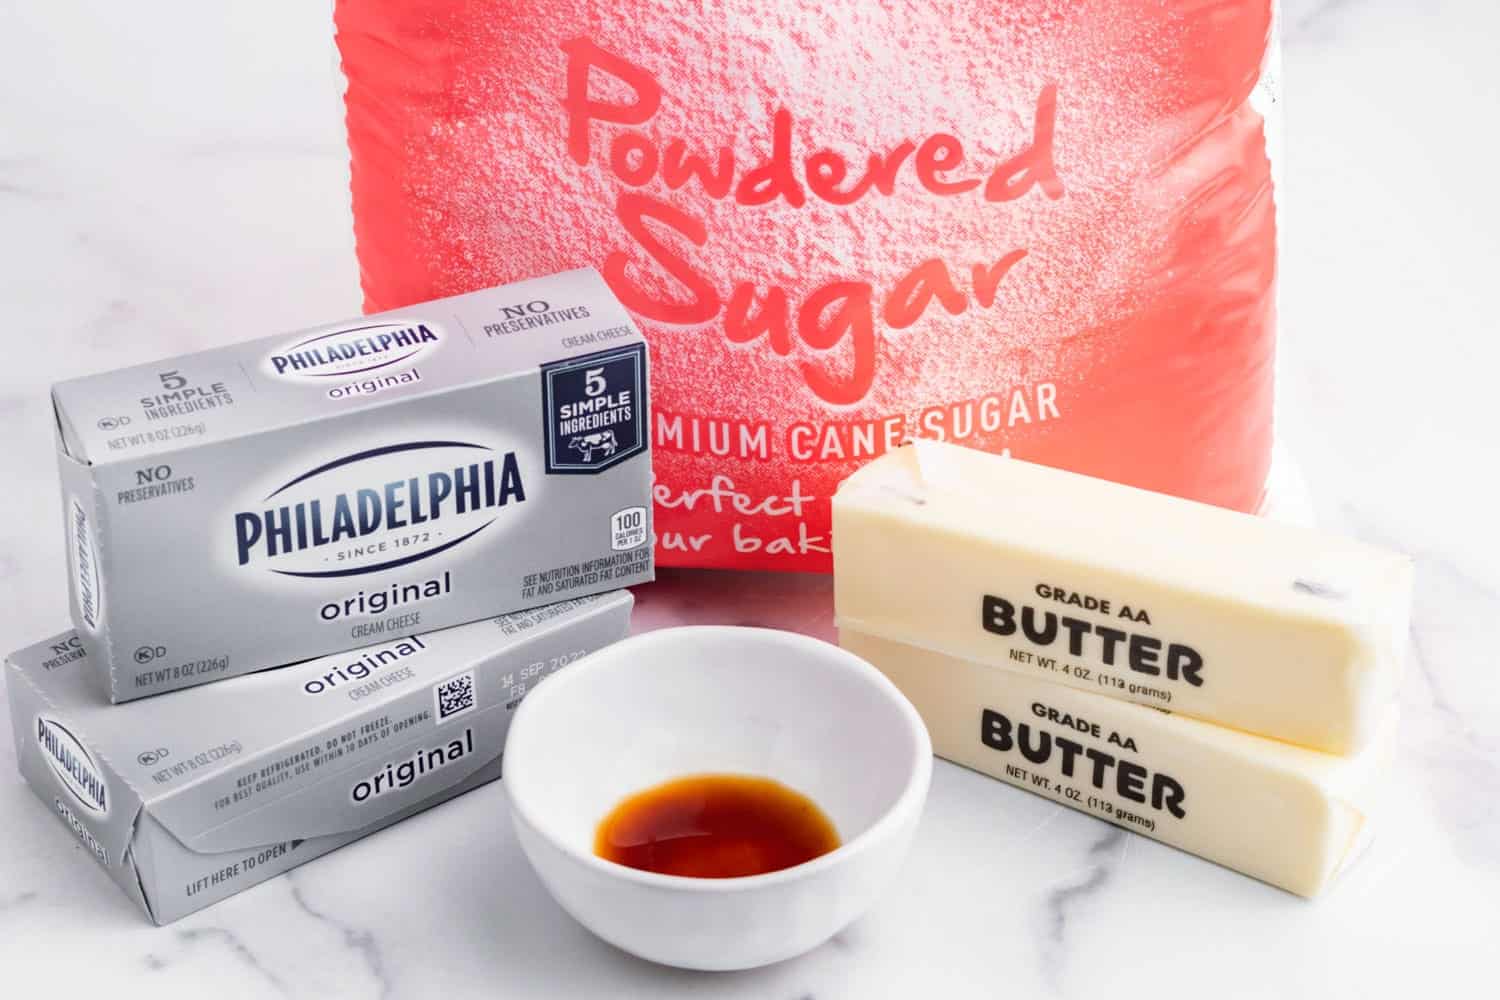
- Cream Cheese: Use full fat cream cheese that has been softened at room temperature.
- Butter: Let the butter soften too!
- Powdered Sugar and Vanilla Extract
Complete list of ingredients and amounts can be found in the recipe card below.
How To Make A Strawberry Layer Cake
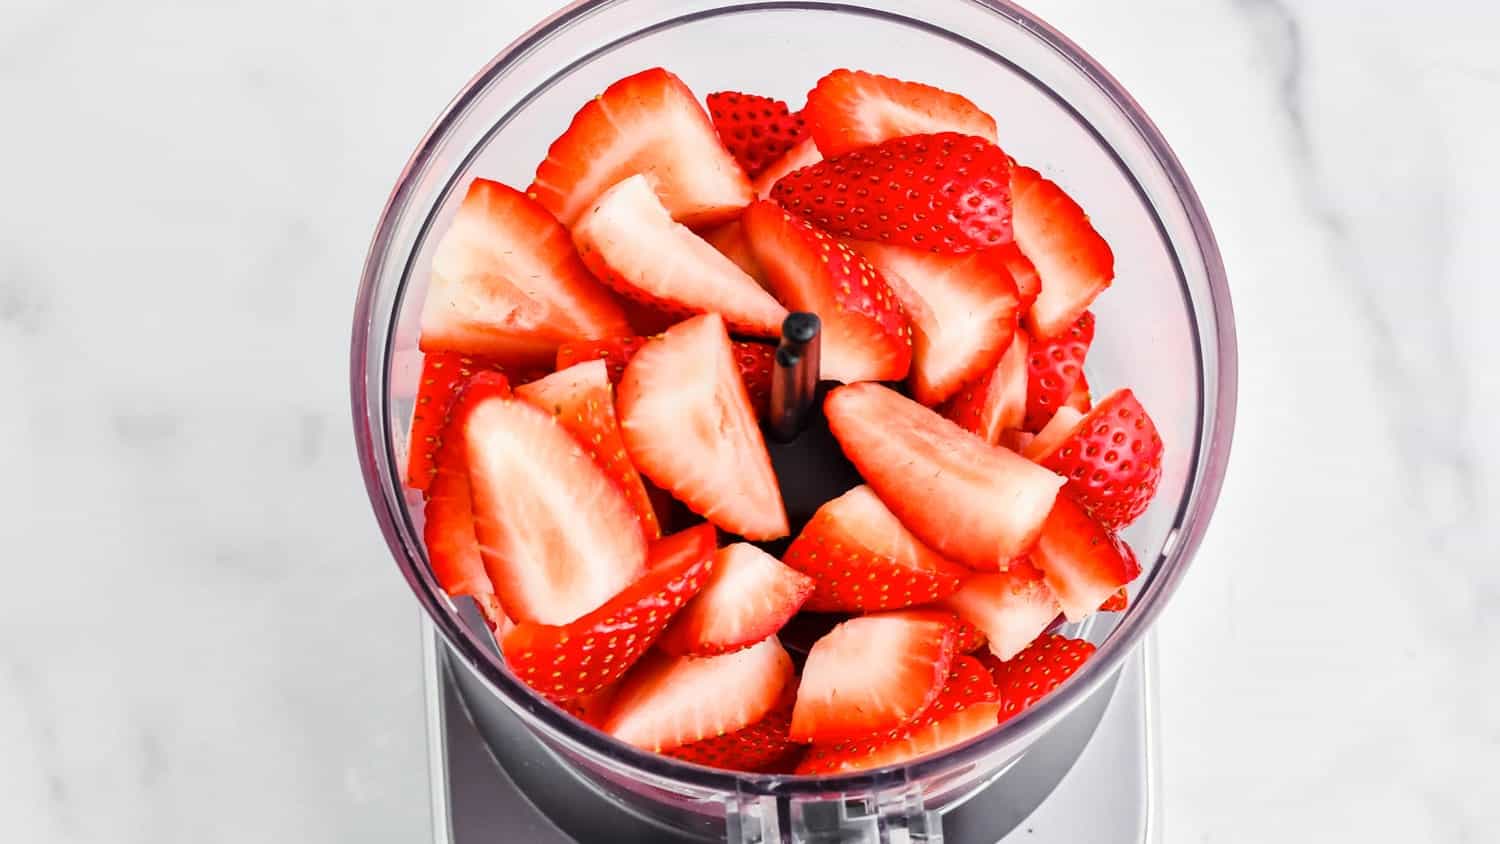
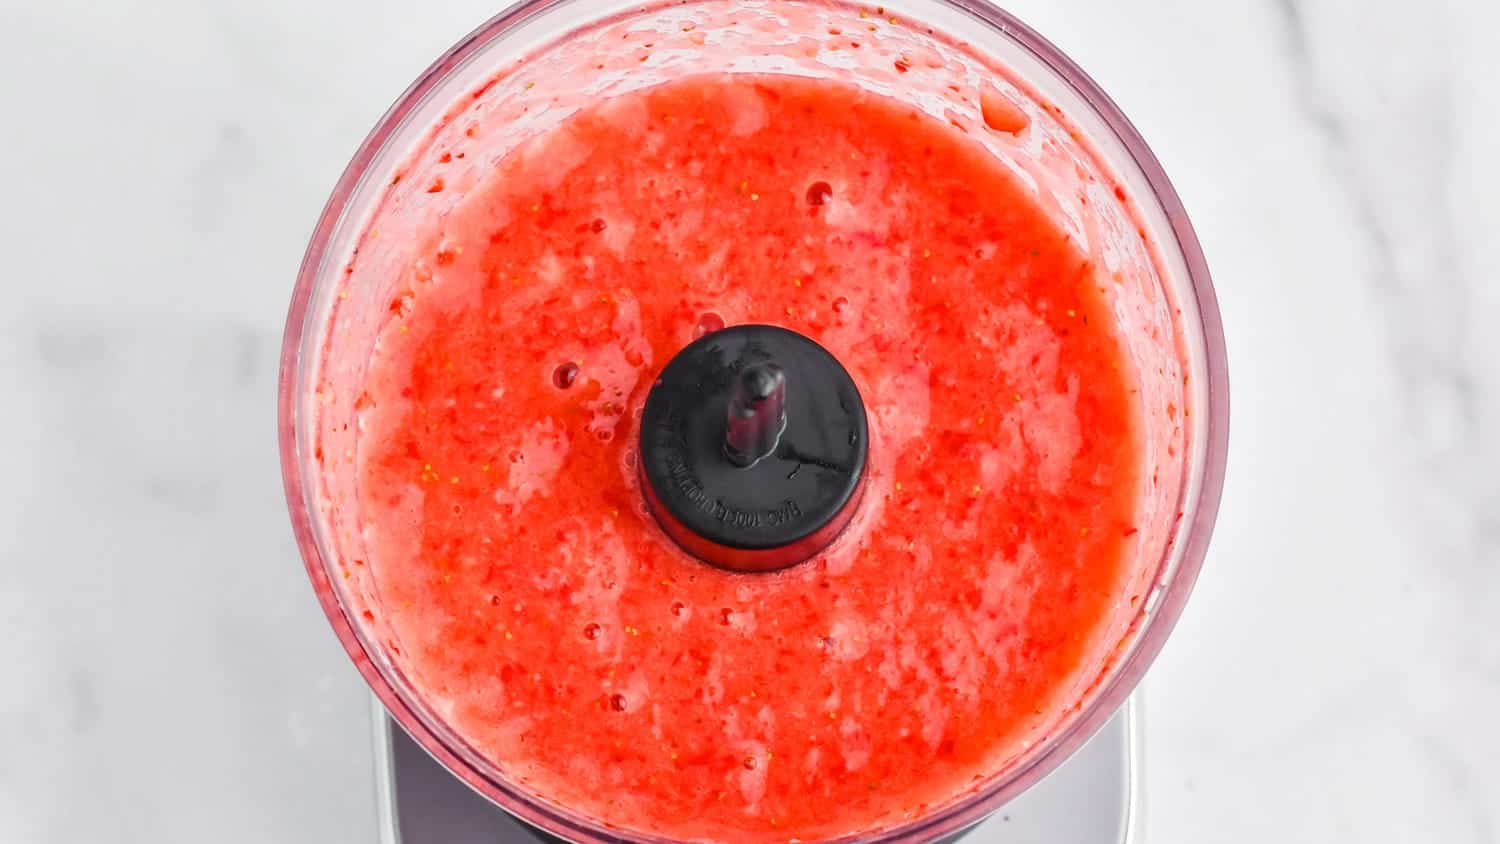
- Puree the Berries: Add the sliced strawberries to the bowl of a food processor and pulse. You should have about 1 ½ cups of puree. Add more berries or take some out if needed.
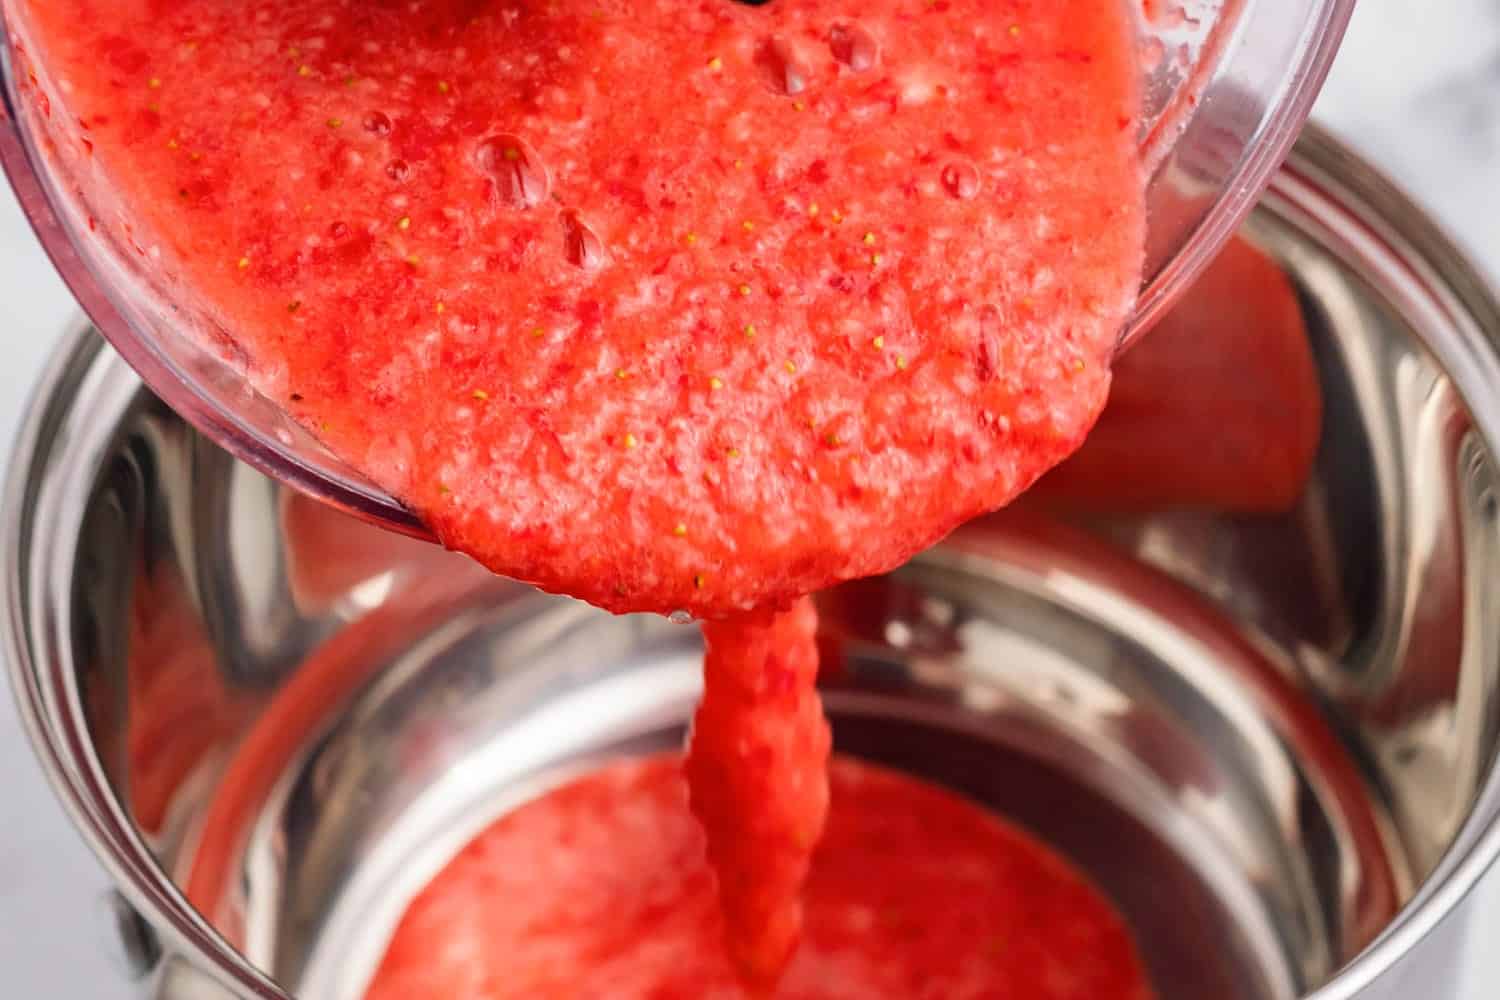
- Make a Strawberry Reduction: Add the pureed berries to a medium saucepan and heat over medium-high heat, stirring often, until thickened and reduced by half. This should take about 20 minutes. Allow the strawberry reduction to cool to room temperature.
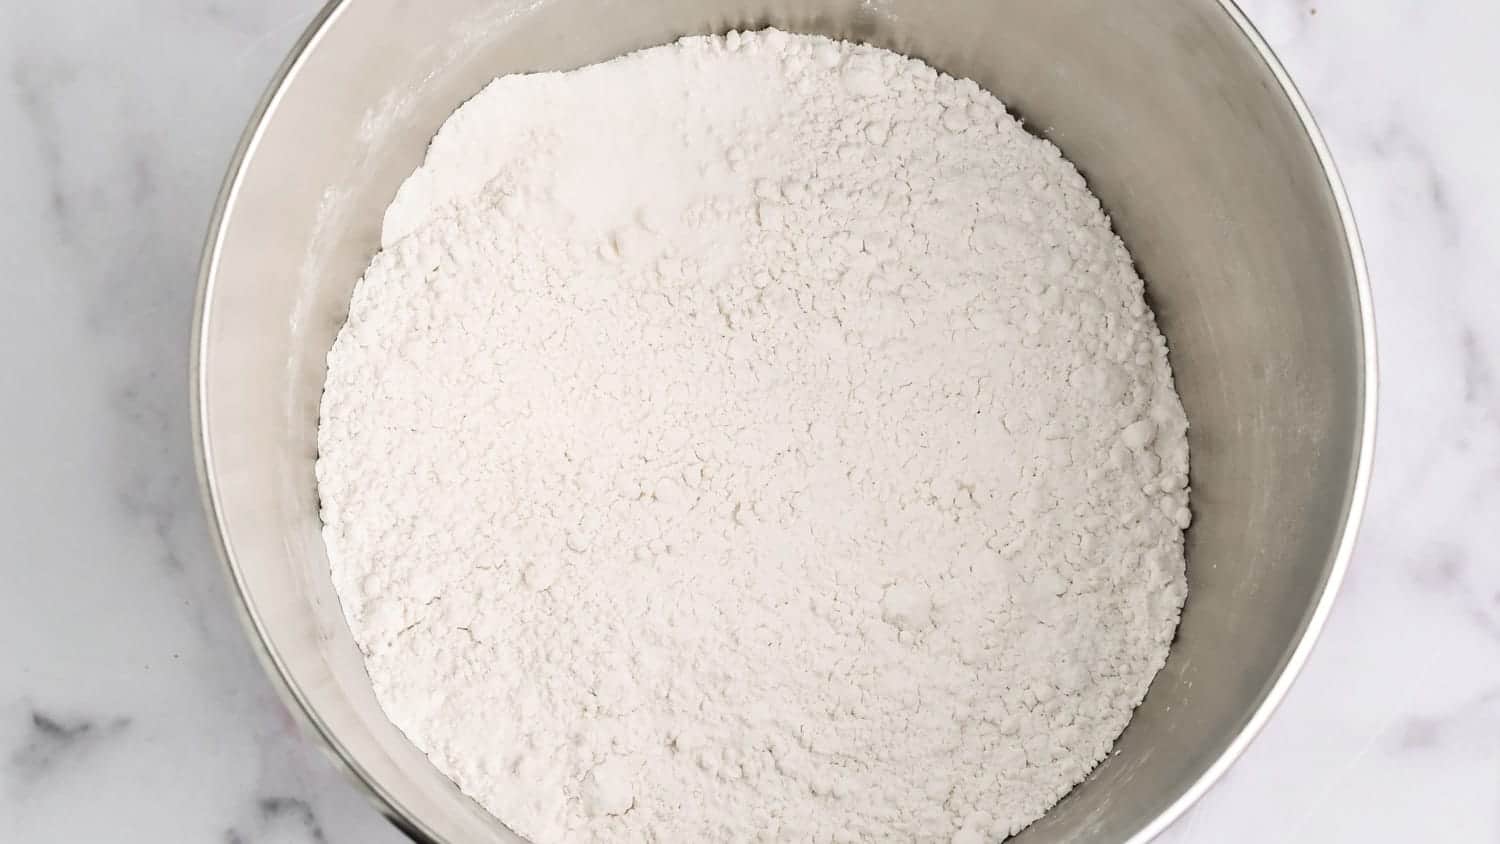
- Mix the Dry Ingredients: While the cooked strawberry puree is cooling, preheat the oven to 350°F (180°C) and line 3 8-inch round cake pans with parchment paper. In the bowl of your stand mixer, combine the flour, sugar, baking powder, and baking soda.
- Add Butter: Slowly add the softened butter to the dry ingredients, one tablespoon at a time. Once the butter is combined with the flour it should have a sand-like texture.
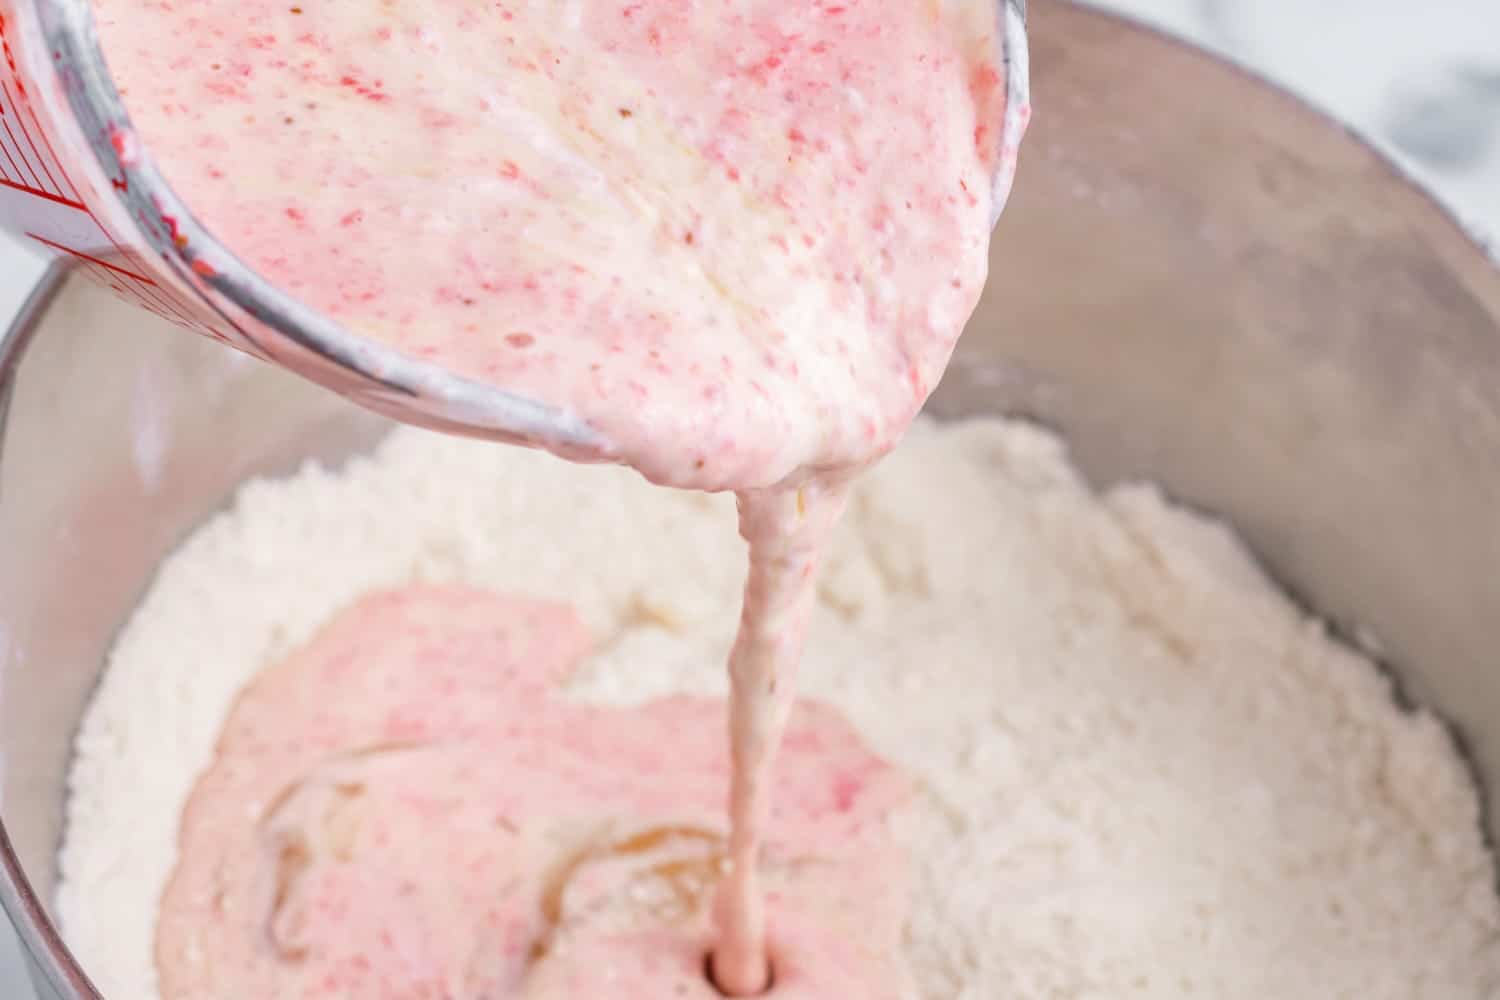
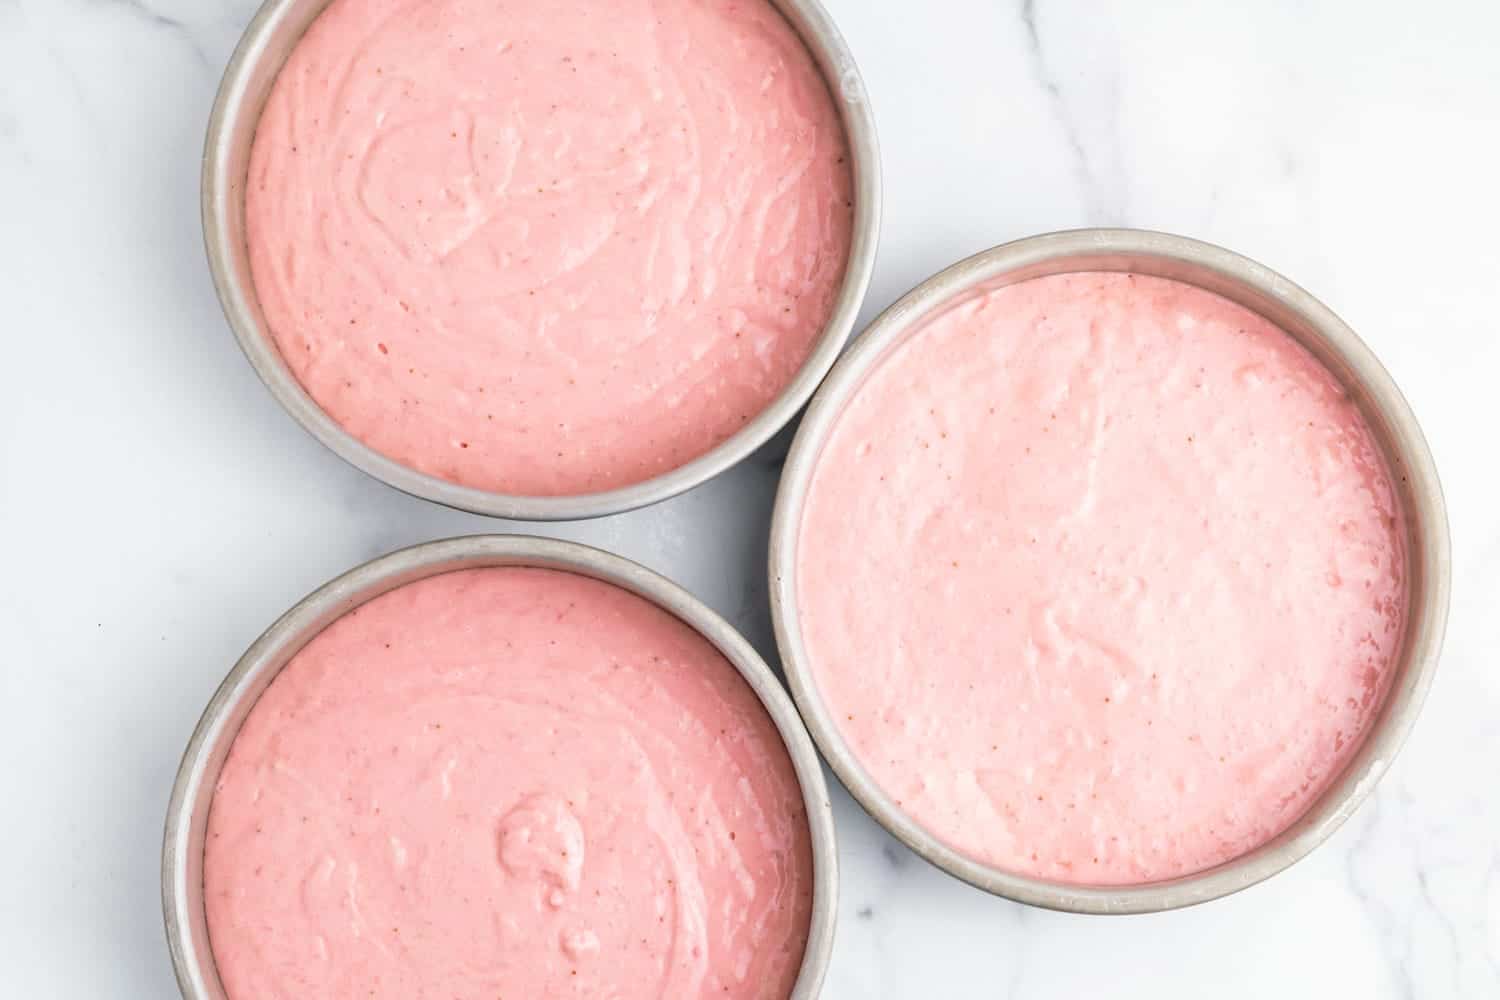
- Make the Cake Batter: In a separate mixing bowl, combine the cooled strawberry puree with sour cream, milk, eggs, and vanilla. Whisk to combine. With the mixer on low speed, slowly pour half of the wet ingredients into the flour mixture. Mix until combined. Repeat with the remaining wet ingredients, scraping down the sides of the bowl as needed.
- Bake: Divide the cake batter evenly between the 3 cake pans and gently tap them on the counter to remove any air bubbles. Bake for 25-27 minutes or until a toothpick inserted into the center of the cakes comes out clean. Cool on wire racks before frosting.
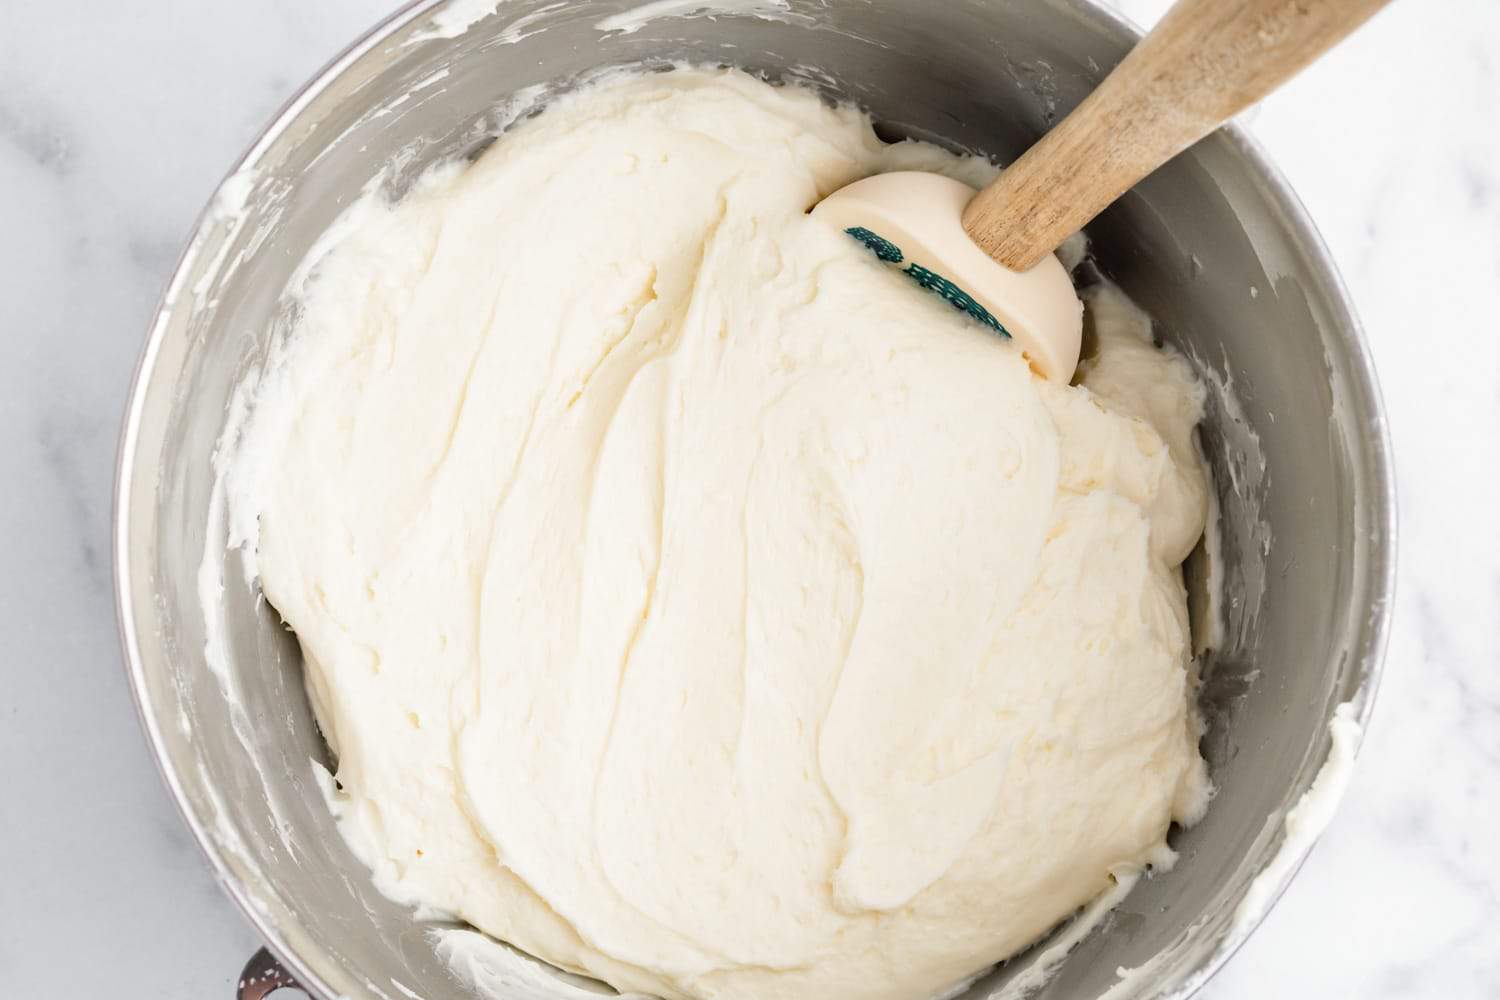
- Make the Cream Cheese Frosting: Add the cream cheese and butter to the bowl of a stand mixer equipped with the paddle attachment. Cream until soft and fluffy. Scrape down the bowl and add half of the powdered sugar. Mix until combined and smooth. Then add the remaining sugar and vanilla extract and mix again until smooth.
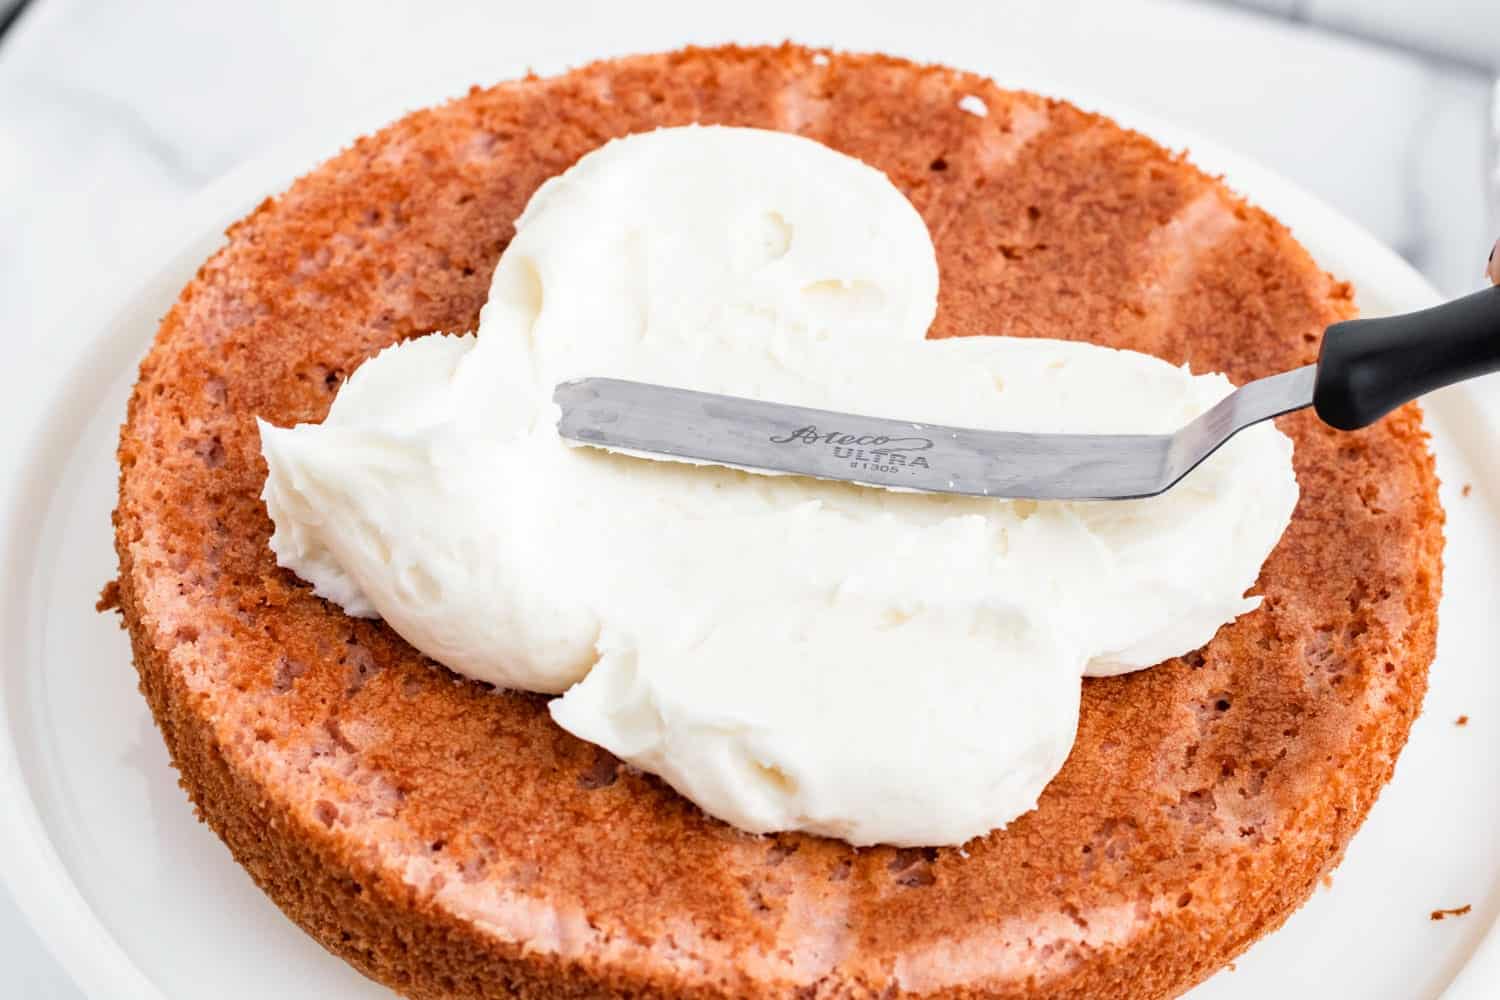
- Start Assembling the Cake! If necessary, remove the domes from the top of the cake layers using a large serrated knife. Place one layer of the cake on a serving tray and top with about 1 cup of frosting. Smooth the frosting into an even layer. Repeat the process with the other two cake layers.
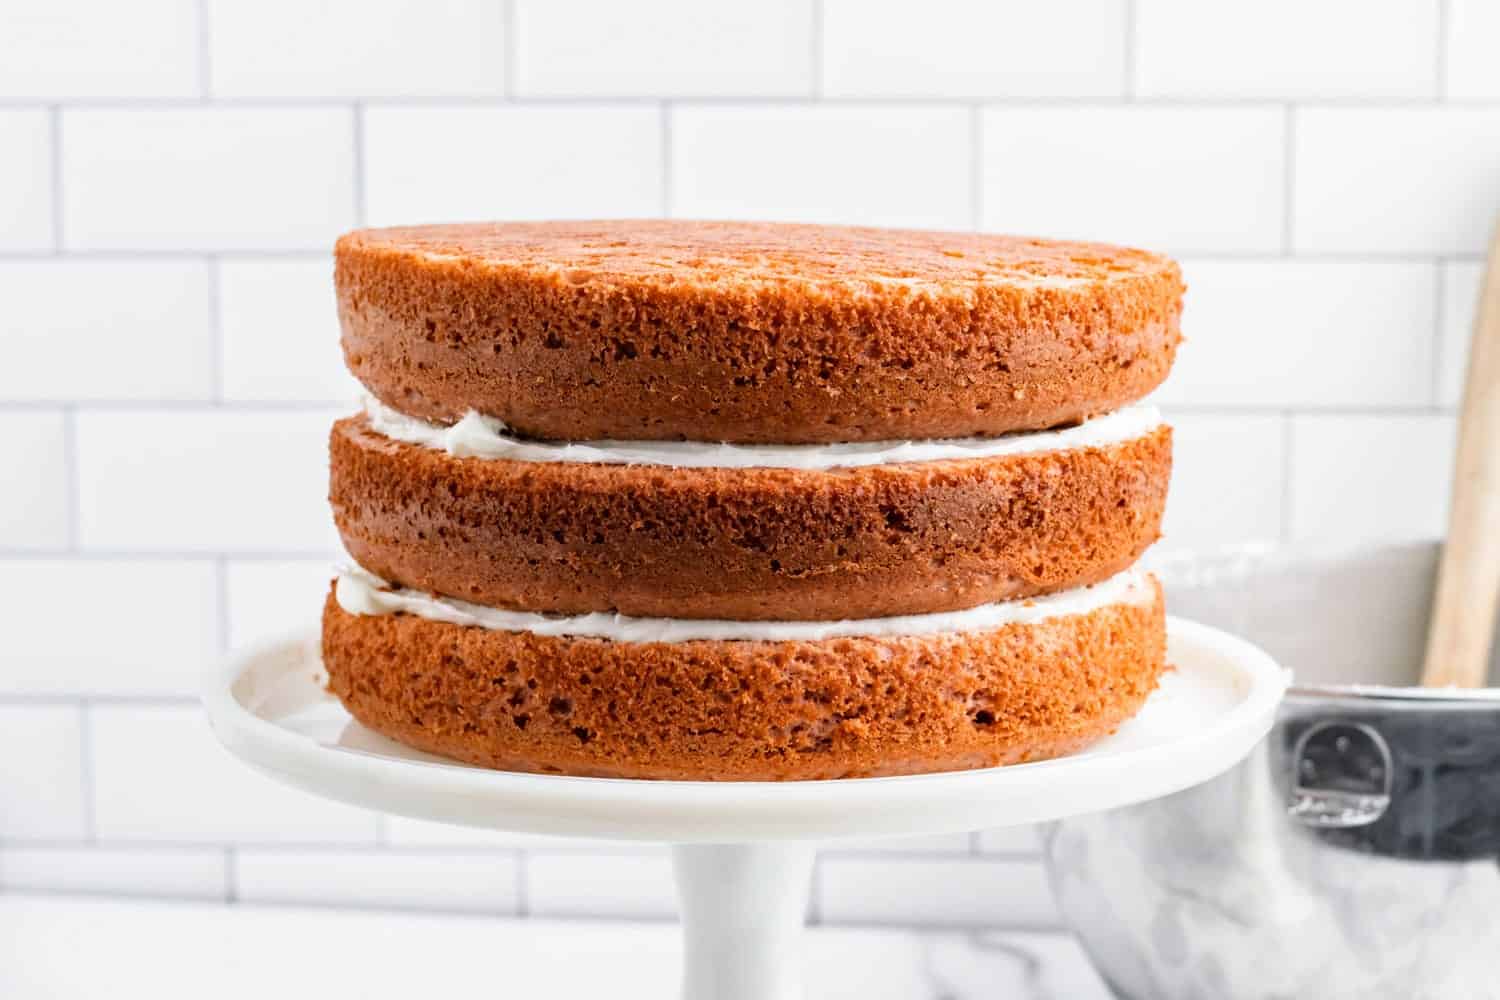
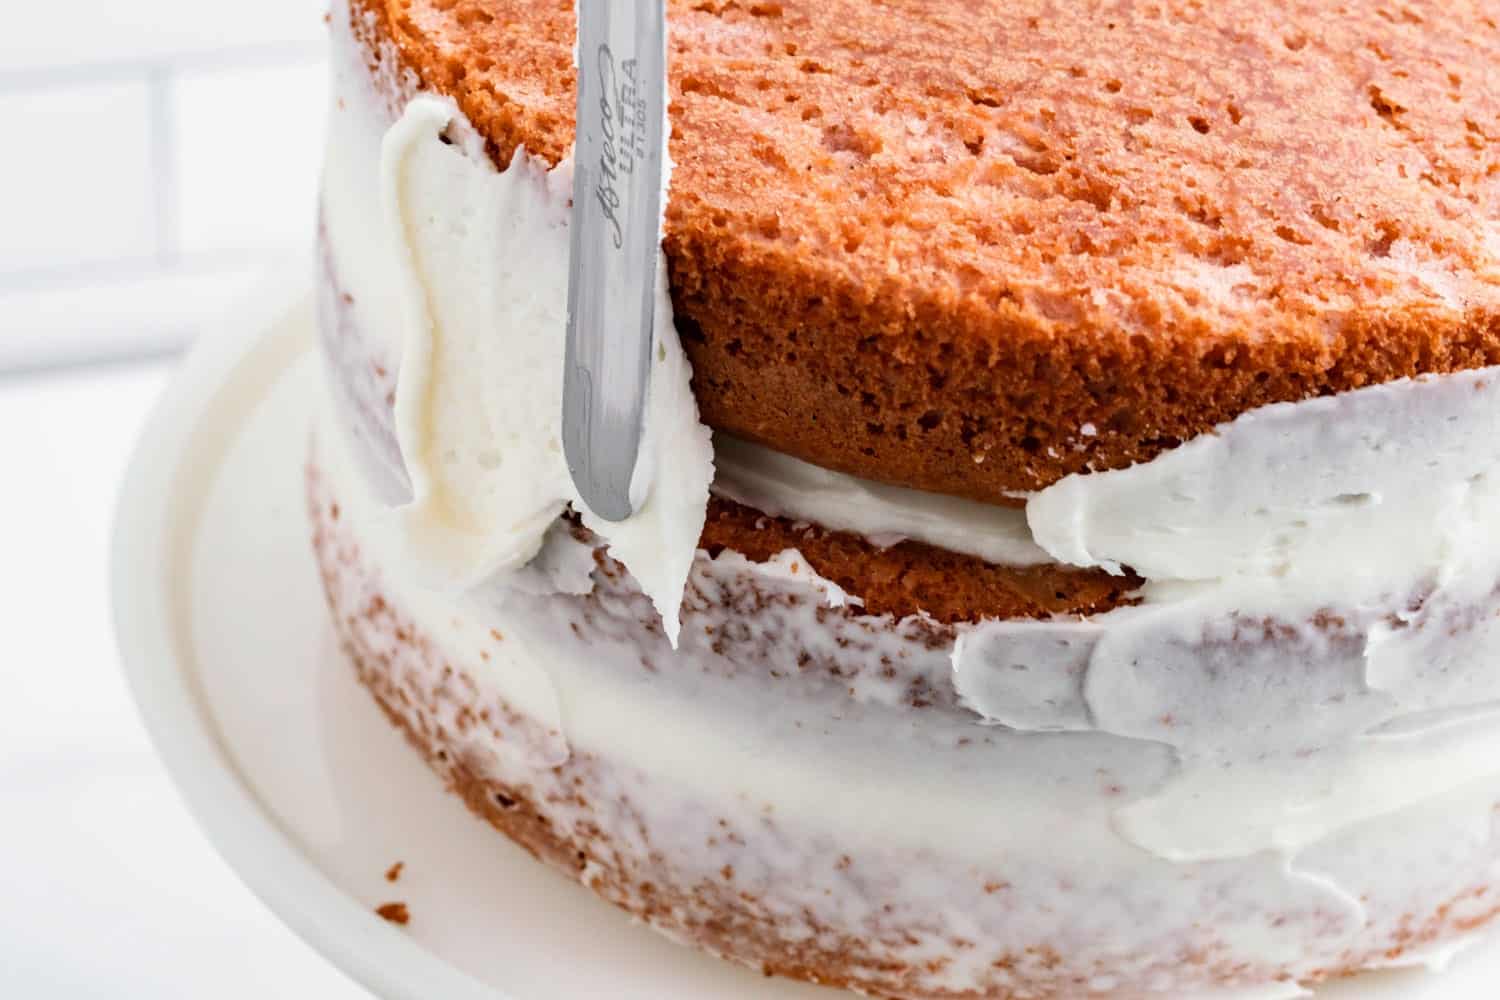
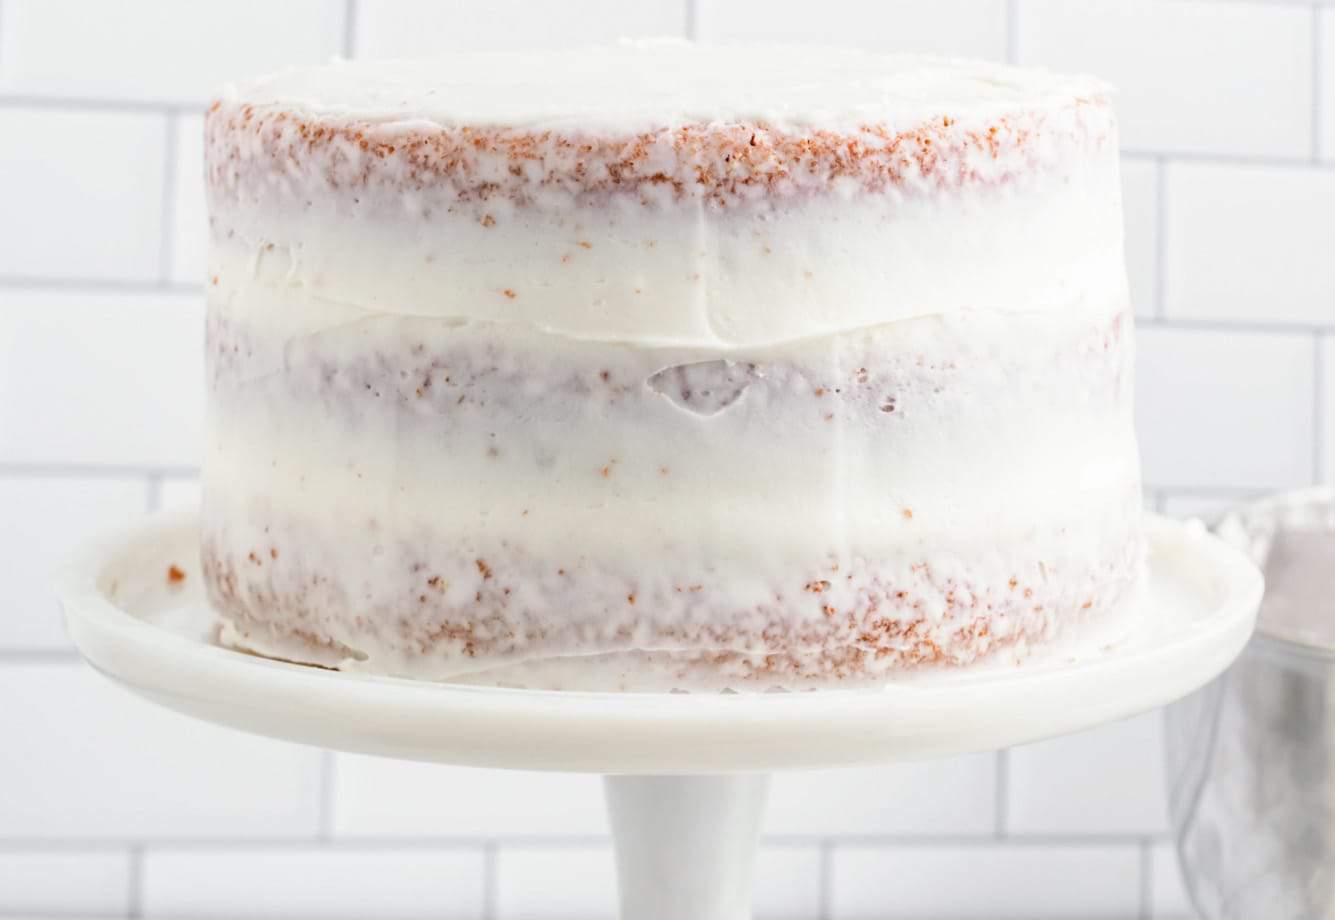
- Crumb Coat: Once the cakes are stacked, smooth a thin layer of icing over the entire cake. Place the cake into the fridge for 15-20 minutes so that the frosting can set somewhat. This will help us to cleanly add the outer layer of frosting.
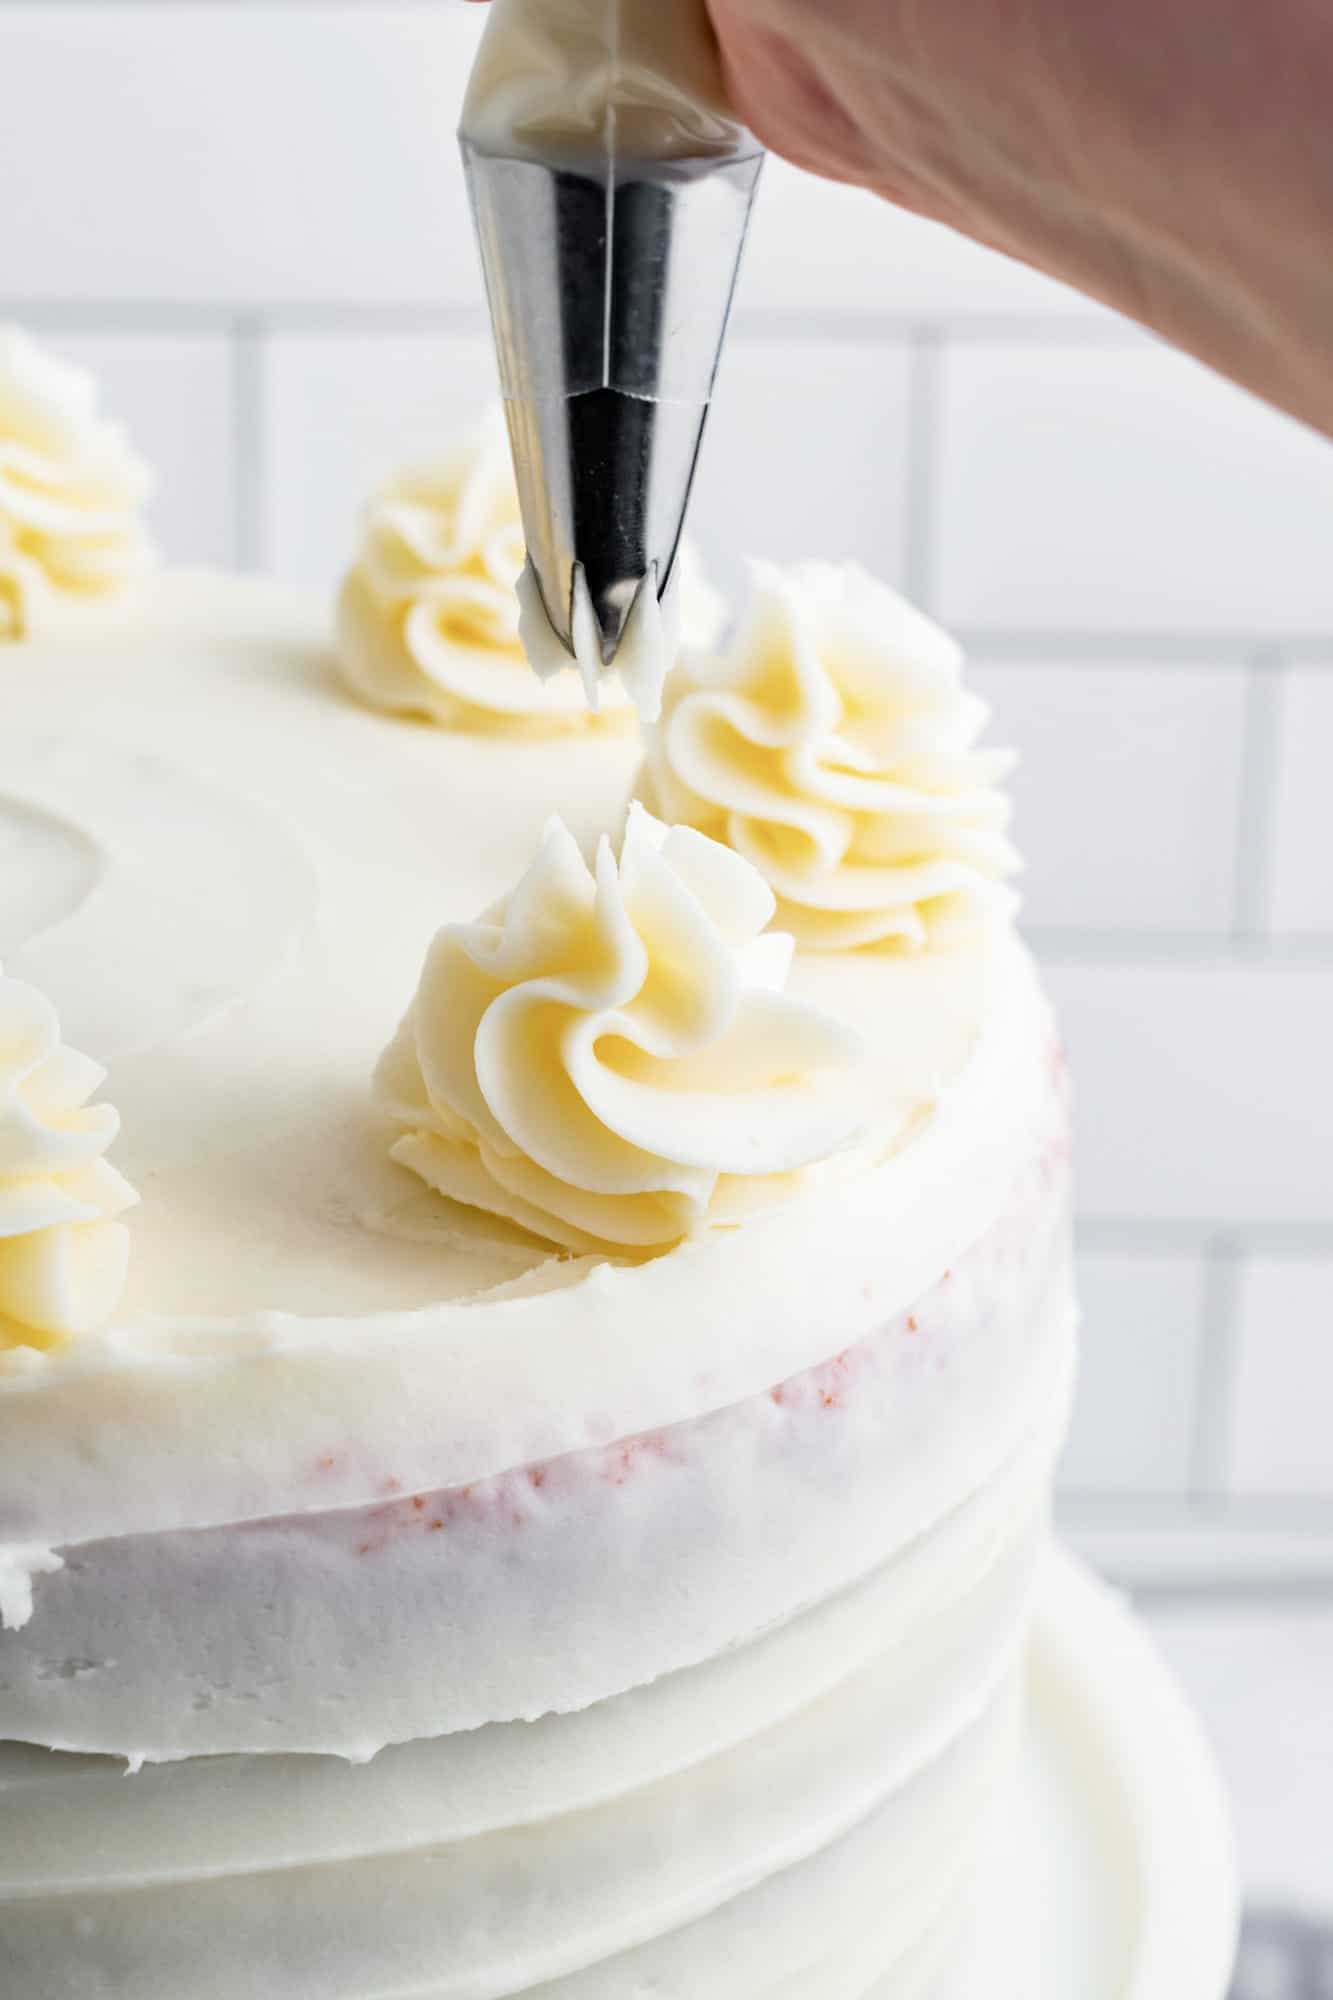
- Finish Frosting: Smooth the remaining frosting over the cake and use an offset spatula to smooth it out. If desired, pipe frosting rosettes on the top border of the cake, and top with fresh strawberries.
Tip!
You can get as fancy as you like with the frosting on this cake… or you can make things easy on yourself. It’s up to you!
Recipe Tips
- Avoid Overmixing the Cake Batter: An overmixed cake can become tough after baking. Mix ingredients until just combined.
- Measure Correctly: Learn my best tricks for measuring ingredients for baking! Often, if you’re having trouble with recipes like this one, a few changes to the way you’re measuring the ingredients will fix everything.
- Make Ahead Option: Bake the cakes, let them cool most of the way, and wrap them individually with plastic wrap. From here you can store them in the fridge for up to 3 days before stacking and decorating the cake. The cakes can also be frozen this way for up to 3 months.
- Choose the Best Pans: For the most beautiful layer cakes, straight-sided pans will give you the best results. These are the 8-inch cake pans I use.
- For Easier Frosting: Use an offset spatula to get smooth frosting on your cakes easily. It’s great for frosting cookies and cupcakes too.
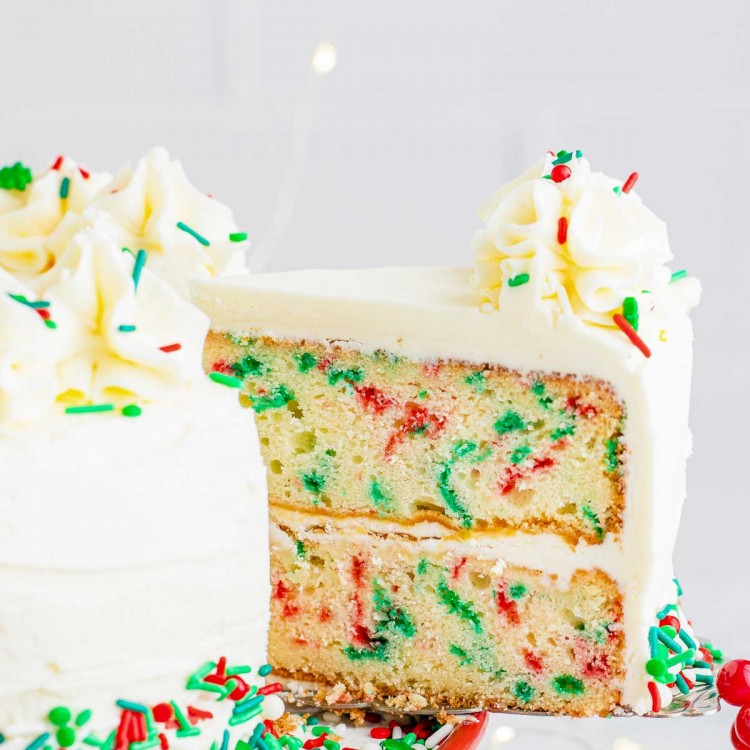
- Love Layer Cakes? I have more amazing recipes for you to bake! Try making this amazing (and gluten free!) Carrot Cake, an Easy Banana Cake, or a Funfetti Layer Cake that’s perfect for the Holidays.
Storing Tips
Keep this strawberry cake with cream cheese frosting refrigerated until you’re ready to serve it. Leftovers can be kept for up to 3 days.
Recipe FAQs
Can I make this with frozen strawberries?
While I recommend using fresh berries, frozen strawberries are the next best option, especially if you can’t find really flavorful berries at the store. Let them thaw before pureeing and cooking them down per the recipe.
Will this cake recipe work with 9-inch pans?
You can bake this cake in 9-inch rounds if you’re ok with the layers being thinner. For 10-inch pans, use just two of them .
How can I make this strawberry cake even more amazing?
You can add more strawberries! Try mixing a few tablespoons of powdered freeze dried strawberries into the frosting. You can also add a layer of strawberry preserves or fresh strawberry sauce in between the layers.
This Strawberry Layer Cake is going to impress your friends and family so much! Make this for the next special day, and enjoy the amazing flavor that fresh strawberries bring to your baked goods. Don’t forget to pin the recipe for later!
Did you make this? Be sure to leave a review below and tag me on Facebook, Instagram, or Pinterest!
Strawberry Layer Cake
Equipment
- Stand-mixer with whisk and paddle attachment
- 3 8" inch cake pans
- 3 Parchment paper circles
- Large piping bag fitted with a large tip optional
Ingredients
For the Cake
- 3 cups (500 g) fresh strawberries quartered
- ¾ cup (188 g) sour cream
- ¼ cup (60 ml) whole milk
- 4 large eggs at room temperature
- 1 teaspoon pure vanilla extract
- 2 ½ cups (300 g) all-purpose flour
- 1 ½ cups (300 g) granulated sugar
- 2 teaspoon baking powder
- 1 ½ teaspoon baking soda
- ¾ cup (170 g) salted butter at room temperature
- 9-10 drops pink food color optional
For the Frosting
- 16 ounces (450 g) cream cheese at room temperature
- ¾ cup (170 g) salted butter at room temperature
- 10 cups powdered sugar
- 1 teaspoon pure vanilla extract
Instructions
For the Cake
- Start the strawberry reduction by adding the sliced strawberries into a food processor and pulse until you have about 1 ½ cups puree.
- Add the puree into a medium saucepan and heat over medium-high heat, stirring often, until thickened and reduced by about half. This should take about 20 minutes.
- Set the reduction aside to cool.
- Preheat your oven to 350°F (180°C), or 160°C if using a fan oven. and prepare three 8-inch (20 cm) cake pans by spraying generously with non-stick spray and place a round of parchment paper in the bottom of each pan.
- In a medium bowl, add the sour cream, milk, eggs, vanilla, and cooled puree. Whisk to combine and set aside.
- In the bowl of a stand mixer equipped with a whisk attachment, add the flour, sugar, baking powder, and baking soda. Whisk to combine.
- Slowly add the room temperature butter into the dry ingredients 1 tablespoon at a time. Once all the butter is combined, the flour should have a sand-like texture.
- With the mixer on low speed, slowly pour half of the wet ingredients into the flour mixture. Mix until combined.
- Add the remaining wet ingredients and mix until just combined. Scrape the sides and bottom of the bowl and mix additionally if needed.
- Divide the batter evenly between the three prepared cake pans and gently tap on the pans on the counter to release any air bubbles.
- Bake for 25-27 minutes or until a toothpick inserted in the center of each cake comes out clean.
- Remove the cakes from the oven and allow to cool for five minutes, then flip the cakes onto a wire rack to cool completely.
For the Frosting
- Prepare the frosting by adding the cream cheese and butter into the bowl of a stand mixer equipped with a paddle attachment. Cream on medium-high speed until soft and fluffy. About 3-4 minutes.
- Scrape the sides and bottom of the bowl and add half of the powdered sugar. Mix until just combined and smooth.
- Add the remaining powdered sugar and vanilla extract. Mix until combined and smooth.
To Assemble the Cake:
- Remove the domes off the top of the cake layers if necessary, using a large, serrated knife.
- Place one layer of cake on a serving tray and top with about 1 cup of frosting. Smooth evenly. Repeat with the remaining cake layers.
- Once the cakes are stacked, smooth a thin layer of frosting over the entire cake..
- Place the cake in the refrigerator for 15-20 minutes until the frosting crumb coat slightly sets.
- Smooth the remaining frosting over the entire cake and smooth. If desired, pipe some frosting around the top border of the cake, and garnish with fresh berries.
- Keep refrigerated until ready to serve. Keep leftovers in an airtight container in the refrigerator for up to three days.
Notes:
- Avoid Over Mixing the Cake Batter: An overmixed cake can become tough after baking. Mix ingredients until just combined.
- Make Ahead Option: Bake the cakes, let them cool most of the way, and wrap them individually with plastic wrap. From here you can store them in the fridge for up to 3 days before stacking and decorating the cake. The cakes can also be frozen this way for up to 3 months.
- 8-inch cake pans: For the most beautiful layer cakes, straight-sided pans will give you the best results.
Nutrition Information
This website provides approximate nutrition information for convenience and as a courtesy only. Nutrition data is gathered primarily from the USDA Food Composition Database, whenever available, or otherwise other online calculators.
© Little Sunny Kitchen
Stacy Merrill says
Made this cake. Strawberry and it came out brownish in color and almost like banana bread. What did I do wrong??
Little Sunny Kitchen says
Hi Stacy! Without any food coloring the cake will be a brownish color, as the berries lose their red color during baking. I used a bit of pink gel food coloring to get the color you see in the photos.
Pam says
Can you adjust for either 2 nine inch pans or 3 six inch pans?
Little Sunny Kitchen says
Hi Pam, I’m sorry, but I don’t have those calculations to adjust the recipe properly for different sized pans. But, you could bake this recipe in 3 9-inch pans, the resulting cake would just be a bit less tall. If you want to use 6-inch pans, fill them no more than 2/3 of the way. You may have some extra cake batter doing it this way. Adjust the bake time by a few minutes if needed.