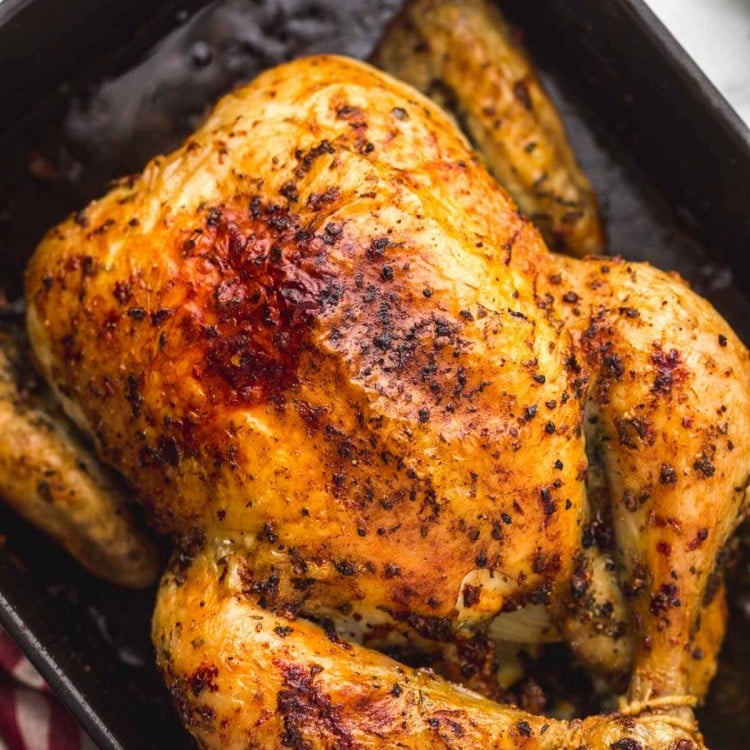
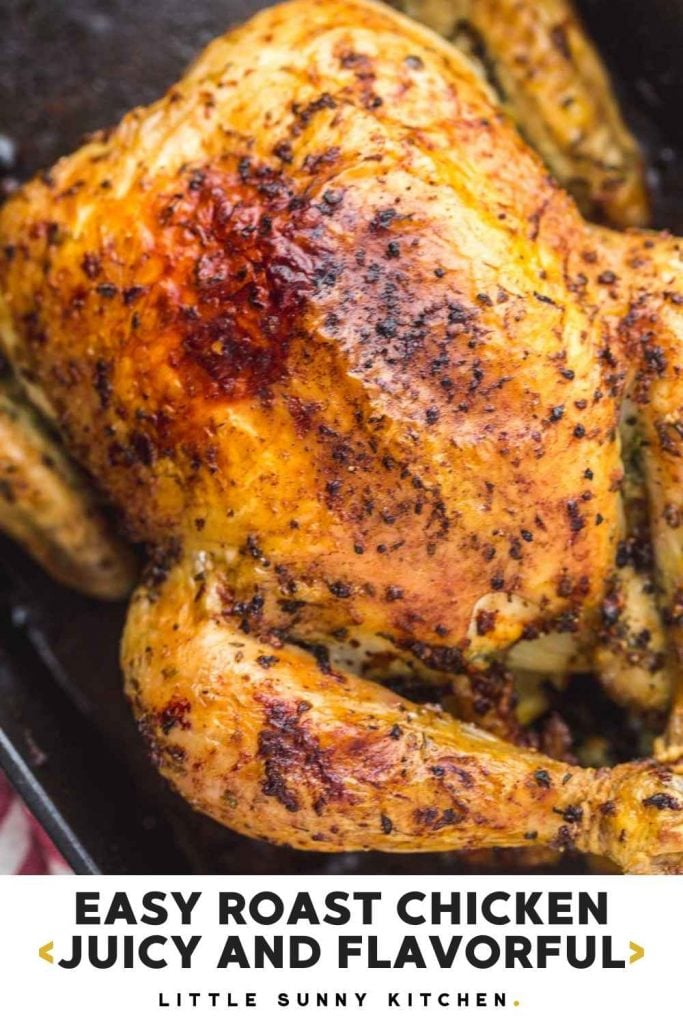
Perfectly golden roast chicken slathered with a delicious herb garlic butter for an unbelievable flavor!
This is the easiest roast chicken recipe that you will find. It turns out so juicy, flavorful, with beautiful crispy and golden skin! Perfect for weekends, or weeknight dinners and definitely better than any rotisserie chicken that you can buy.
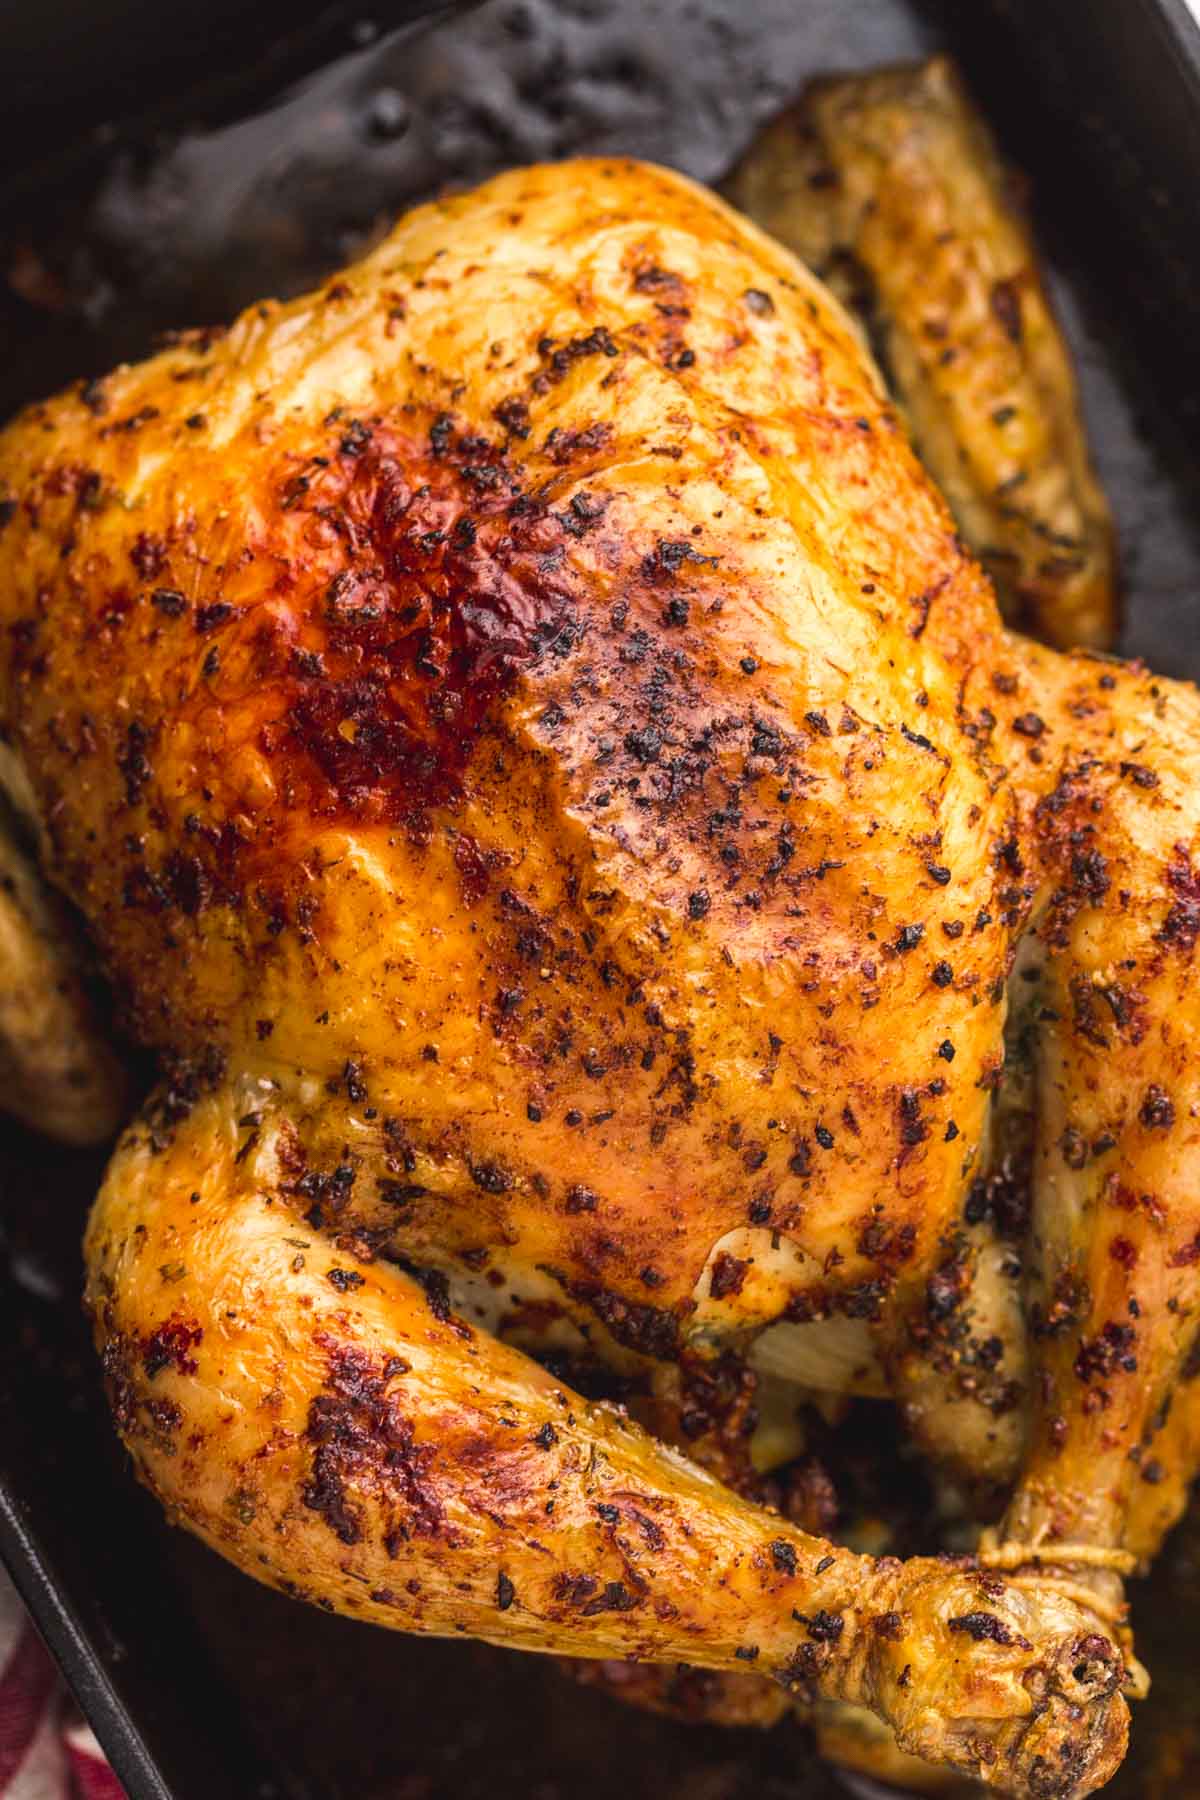
Roasting a whole chicken at home can be intimidating, but it doesn’t have to be! I know it might sound like a big project to roast a whole chicken, but trust me, it is SO easy. With my recipe here, you will get succulent flavorful chicken with minimal prep every single time.
When it comes to cooking anything, all you need is a tried and true recipe and clear instructions, and that’s exactly what I’m providing you with here with my whole roasted chicken recipe.
Ingredients for Oven Roasted Chicken
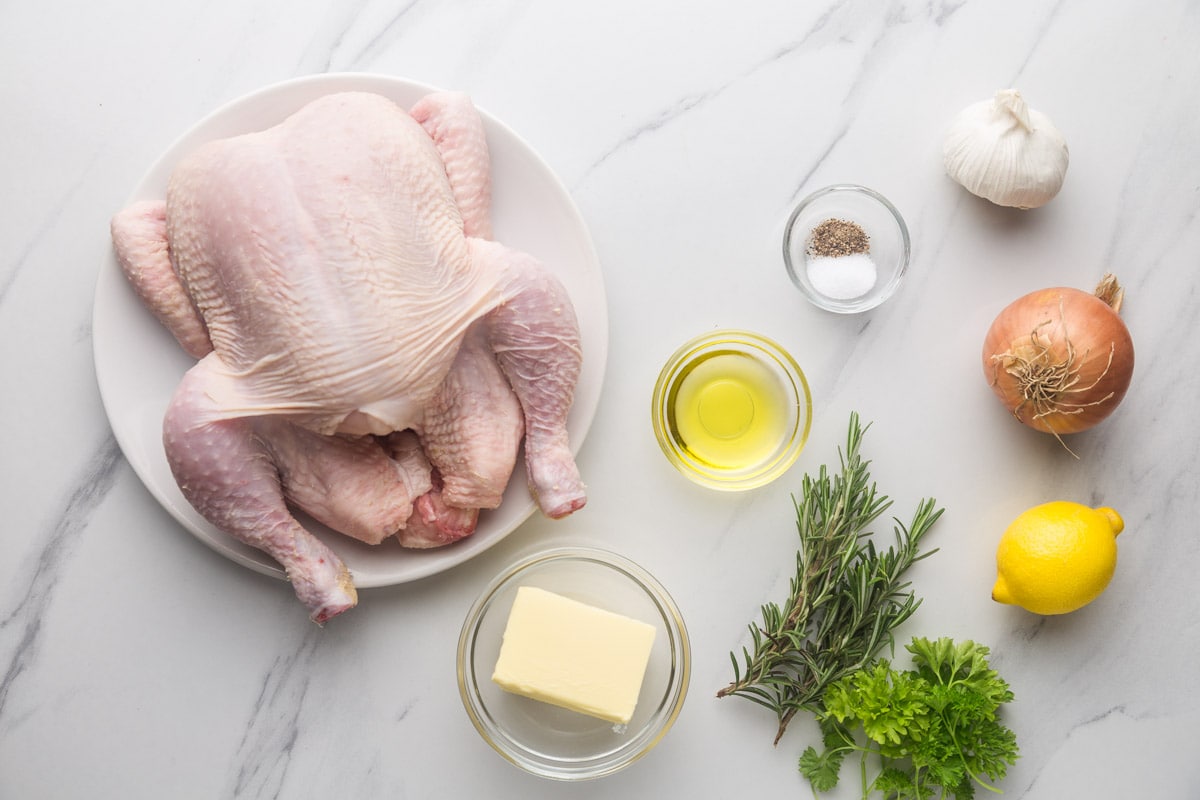
You only need a few simple ingredients to roast a delicious chicken!
- Whole chicken – I used a 4 lb chicken (which serves 3-4 people), but you can use any size you want. The amounts of the seasonings/herb butter are fine to use on a smaller or larger chicken.
- Butter, olive oil, garlic, and herbs – I used unsalted butter, virgin olive oil, minced garlic, fresh parsley, fresh rosemary, salt, and pepper. If you don’t have any fresh herbs available, you can use poultry seasoning.
- Onion and lemon – to stuff the cavity, I only used half an onion (quartered), and half a lemon cut into wedges.
How to Roast a Whole Chicken
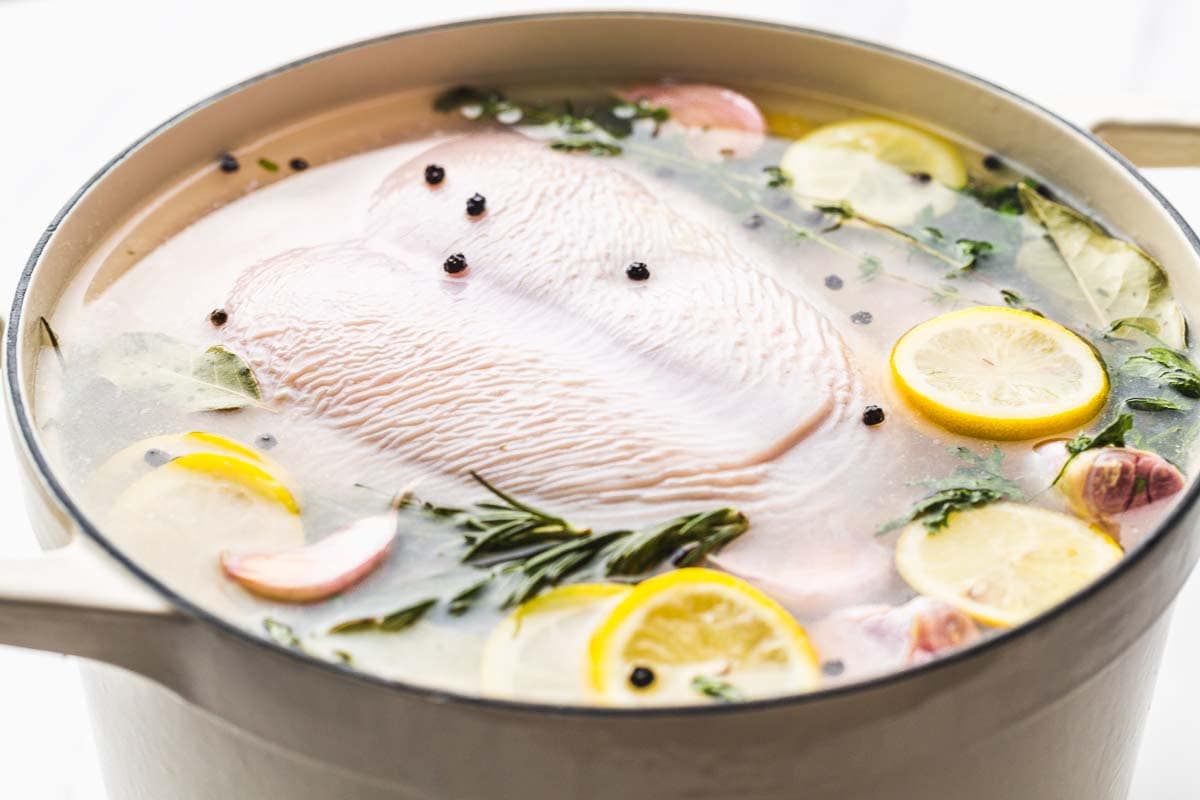
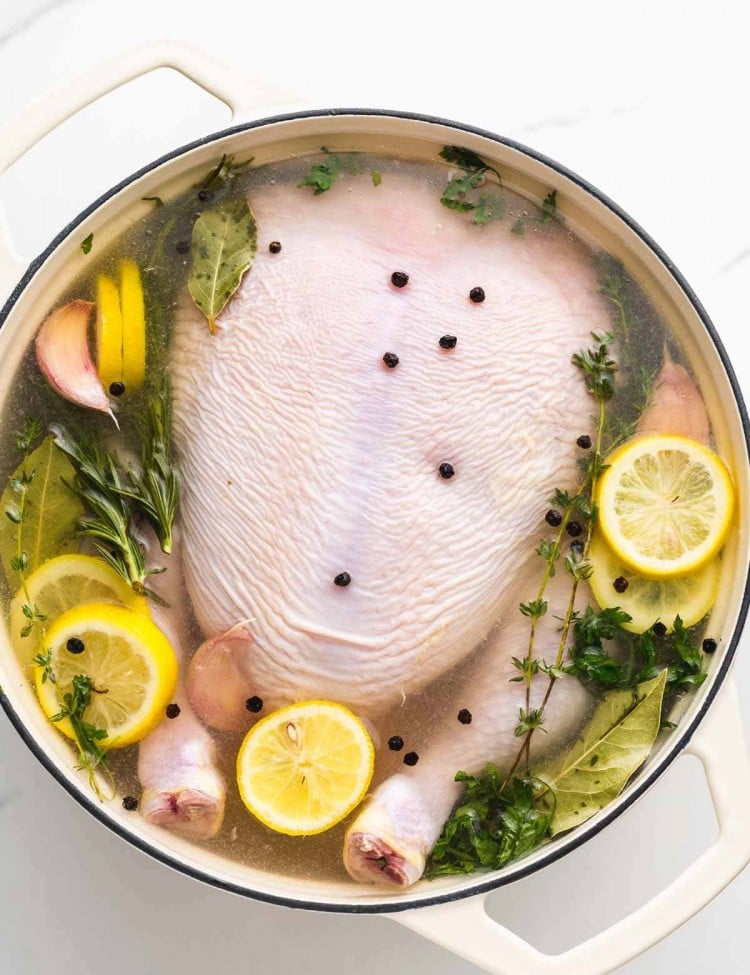
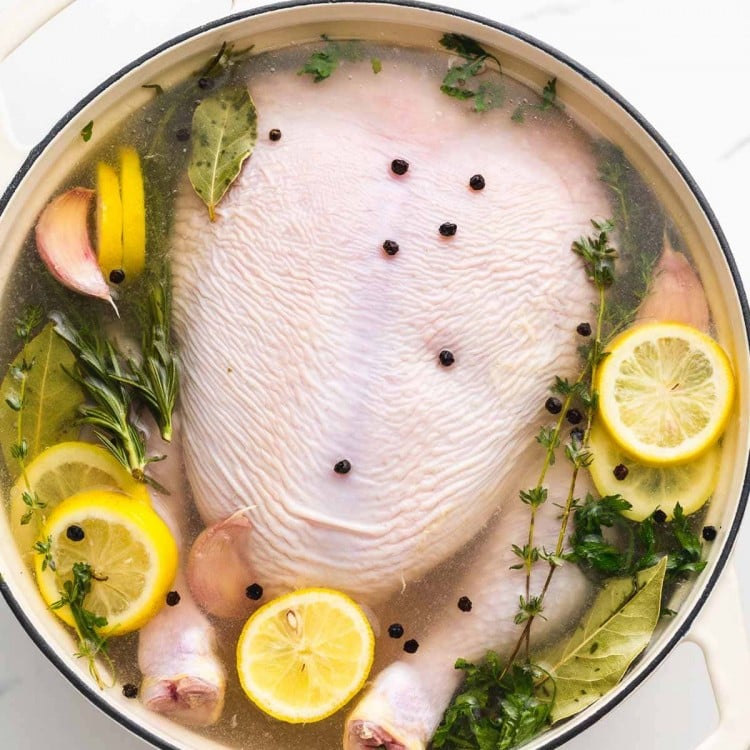
- If you have time, I strongly recommend that you brine the chicken first. It will make your chicken juicier and will season the meat very well. I have an easy chicken brine recipe that you can use. Brining is not a must, but recommended for best results.
- Take the chicken out of the fridge 30 minutes prior to cooking to come to room temperature. Or take it out of the brine if you decided to brine the chicken, and allow it to come to room temperature (I just let it chill out on my kitchen counter for half an hour)
- Preheat the oven to 450°F (230°C) standard oven, or 430°F (220°C) convection/fan oven.
To make the herb butter
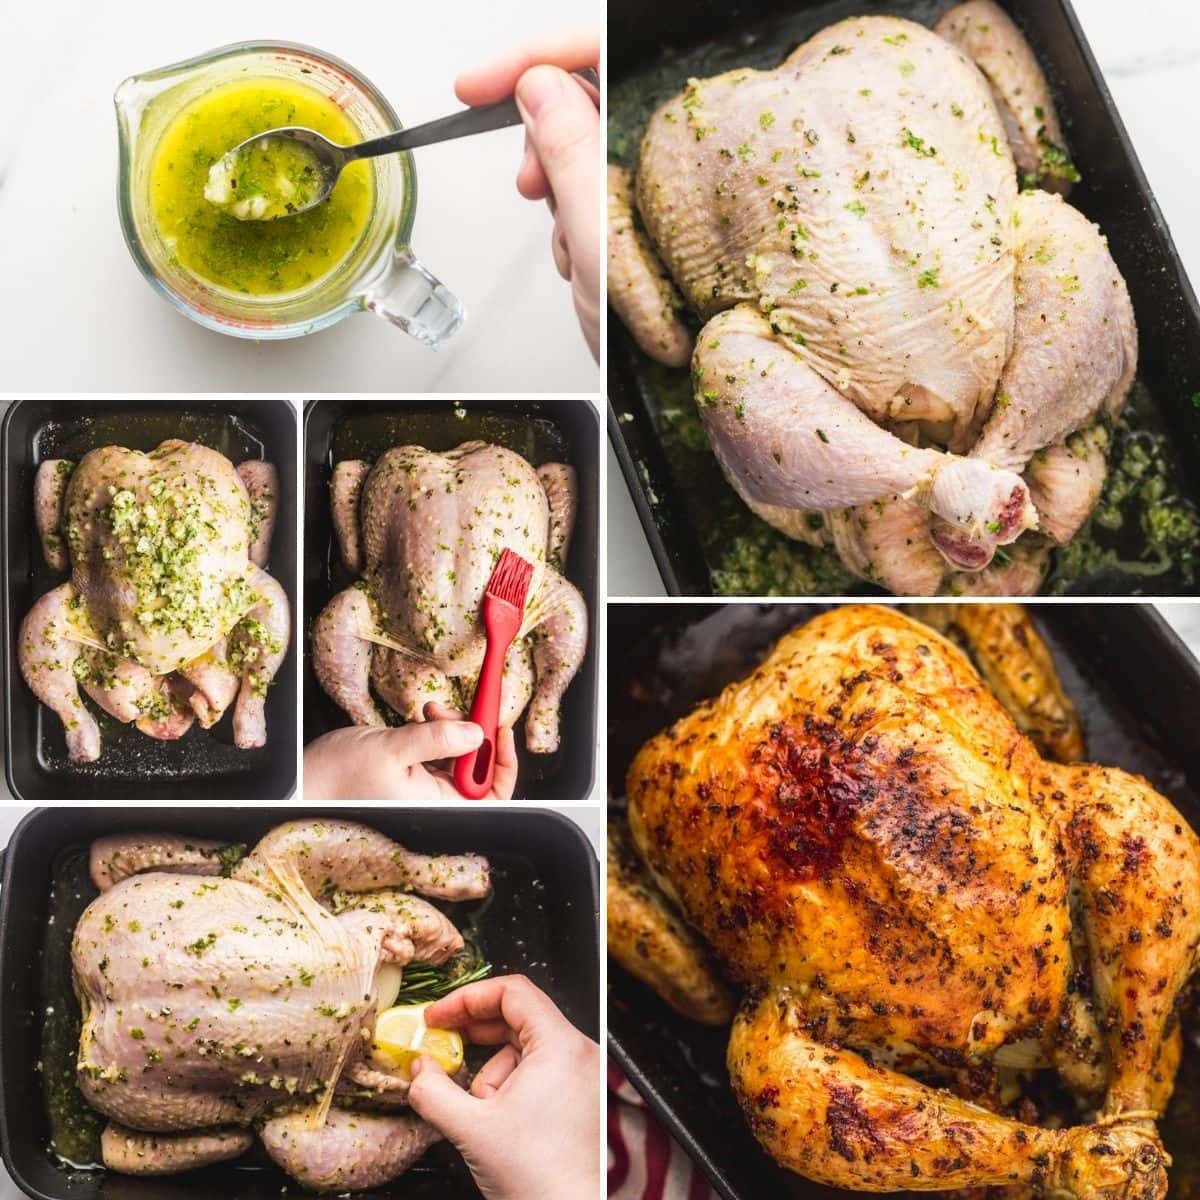
- In a small bowl or a jug, melt the butter. Mix in olive oil, garlic, parsley, rosemary, salt, and pepper. Set aside.
Prep and roast the chicken
- Pat the chicken dry with paper towels. I don’t recommend rinsing the chicken before roasting, as that may result in spreading bacteria to the sink and your equipment, plus you want the chicken to be as dry as possible to achieve a crispy skin.
- Place the chicken in a roasting pan or a sheet pan, and very generously season with salt and pepper from all sides including the cavity. Pour the herb butter all over the chicken, and with a brush spread it evenly all over the chicken.
- Stuff the cavity with the quartered onion, rosemary sprigs, and lemon wedges. You can also use other fresh herbs if you like, or even poultry seasoning. NOTE: You don’t need to stuff the chicken if it was brined.
- Truss the chicken legs with kitchen/butcher twine, season with salt and pepper again, and transfer to the preheated oven. Trussing the chicken legs will help the drumsticks stay moist and avoid burning, as the breast cooks through. In short, the chicken will cook more evenly when the legs are trussed.
- Roast for 15 minutes at intense heat 450°F (230°C) standard oven, or 430°F (220°C) convection/fan oven.
- Lower the heat to 400°F (200°C) standard oven, or 380°F (190°C) convection/fan oven. And roast for 45 minutes (this changes depending on the size of your chicken). Baste twice starting at 30 or 40 minutes by spooning some pan juices over the chicken.
- Check the internal temperature of the chicken with an instant-read thermometer, when it reaches 165°F (74°C) at the thickest part of the thigh, the chicken is ready.
- Allow the chicken to rest for 15-20 minutes uncovered before carving (covering the chicken will make the skin soggy), this will help the juices redistribute and the chicken to cool down enough to carve. Check out my tutorial on how to carve a chicken!
Basting the Roasted Chicken
Basting is optional, but here’s what I like to do:
I usually baste the chicken with a spoon twice as it’s being roasted (starting after 30 or 40 minutes after it goes in the oven), so that the minced garlic does not burn, and basting also adds flavor since the pan juices are very flavorful.
However, if you baste the chicken too much, it might slow down the cooking process as you’ll be opening the oven door over and over again and the oven temperature might drop. It’s also important to note that a long slow roast can dry the chicken out and you don’t want that.
How Long to Roast The Chicken
I check the internal temperature of the chicken for the first time after one hour. A smaller chicken (about 3-4 lb) can be ready in one hour, but larger ones will take a bit longer. In total, it should take from 1 to 1.5 hours to cook.
The general rule is 15 minutes per pound of chicken, but that’s not always the case so keep checking the internal temperature of the chicken (it should reach 165°F when the chicken is done!).
The best way to check if the chicken is done is by using an instant-read thermometer. It will ensure that your chicken is cooked properly, and never undercooked or overcooked. Just insert the kitchen thermometer in the thickest part of the thigh and it should register 165°F (74°C). That’s how you know that the chicken is ready.
If you don’t have an instant read thermometer, pierce the chicken between the drumstick and the body with a knife, and the juices should run clear.
Top Tips
- If you forgot to take the chicken out of the fridge 30 minutes prior to cooking, just add 10 minutes to the total cooking time.
- Remove the bag of giblets from the cavity of the chicken, if you can’t find them then it’s worth checking the neck cavity. If your chicken comes with giblets, you can use them to make stock or gravy, or discard them.
- When you pat the chicken dry with paper towels, do it inside the cavity as well. The idea is to get the chicken as dry as possible for the best results.
- Before stuffing the cavity, I like to season it generously with salt and pepper, and even pour some herb butter inside it for maximum flavor.
- For a complete meal, prep some root vegetables (rutabaga, turnips, carrots, onion, leeks, etc), season them, drizzle with oil, and place them in the pan. Let the chicken rest on top of the vegetables as it’s being roasted.
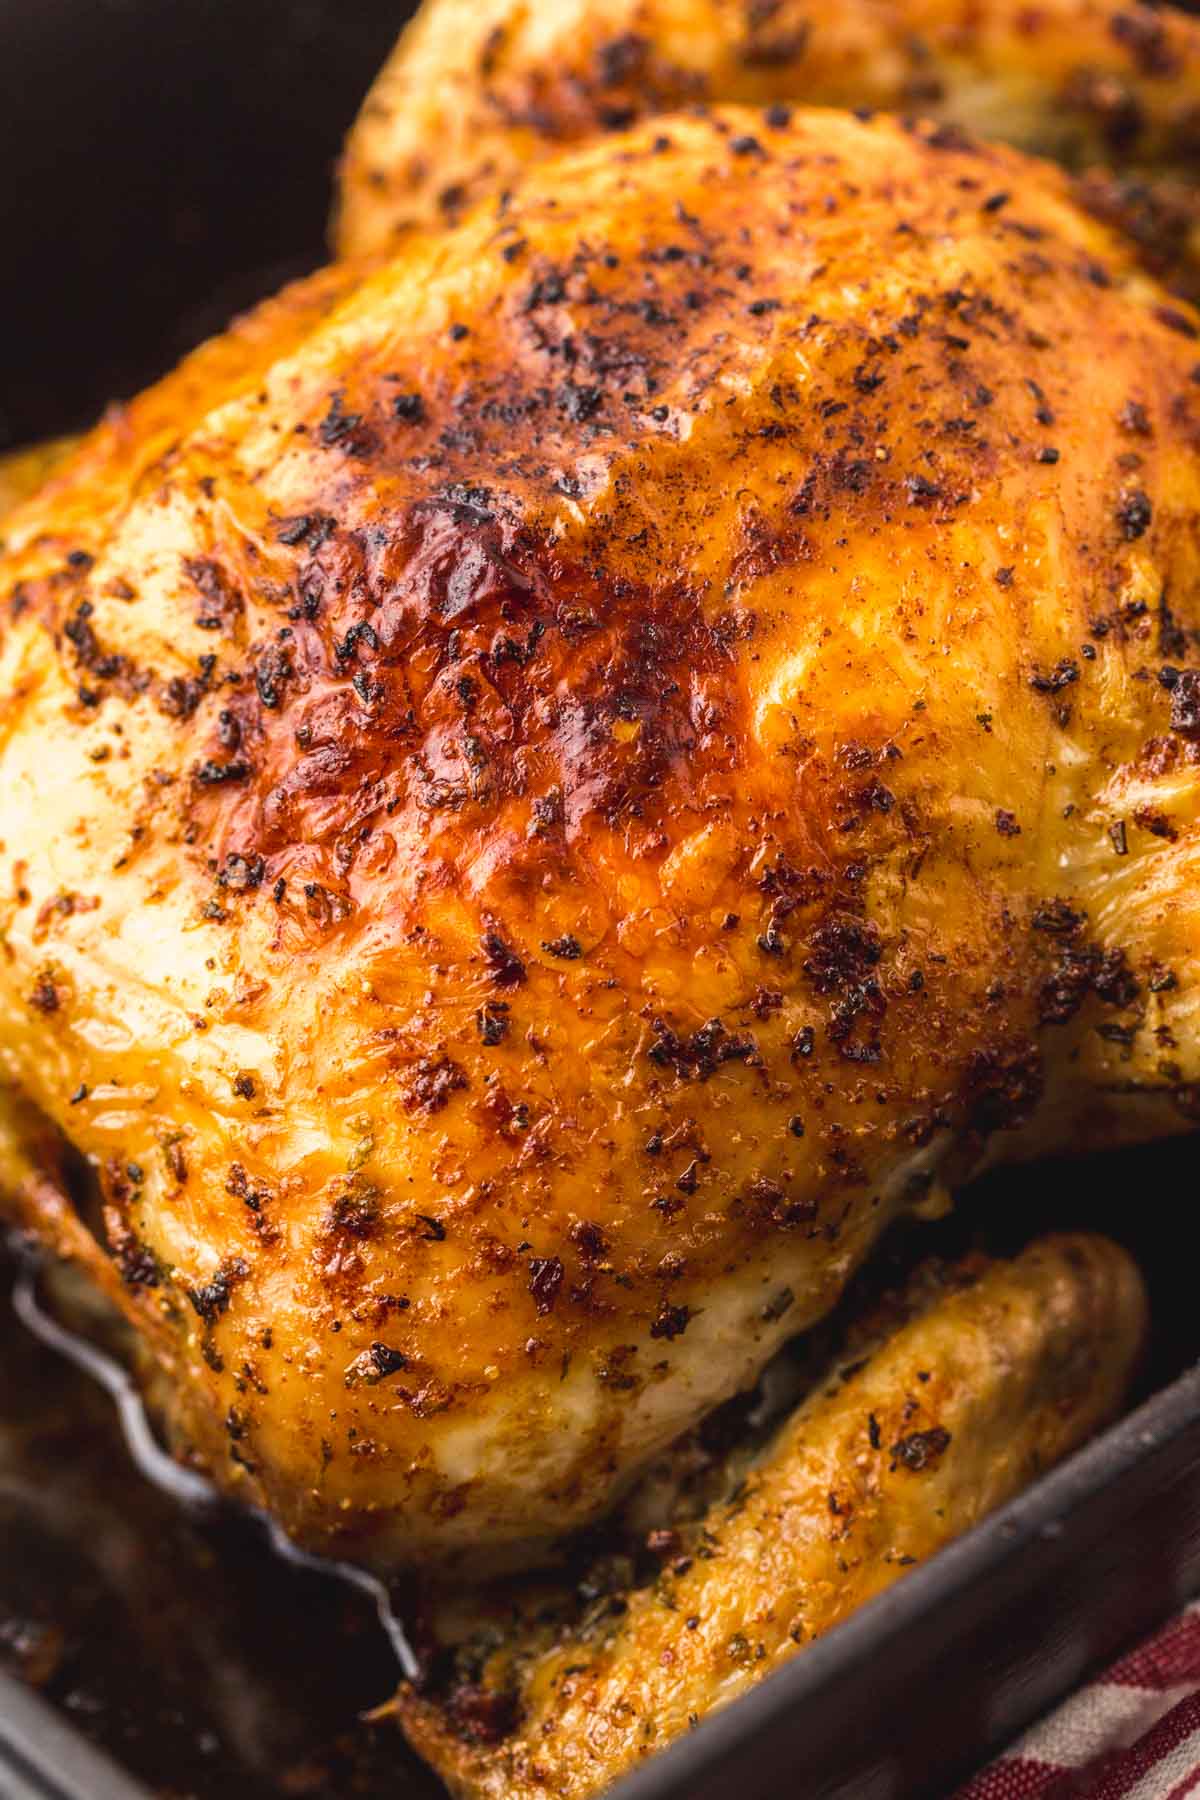
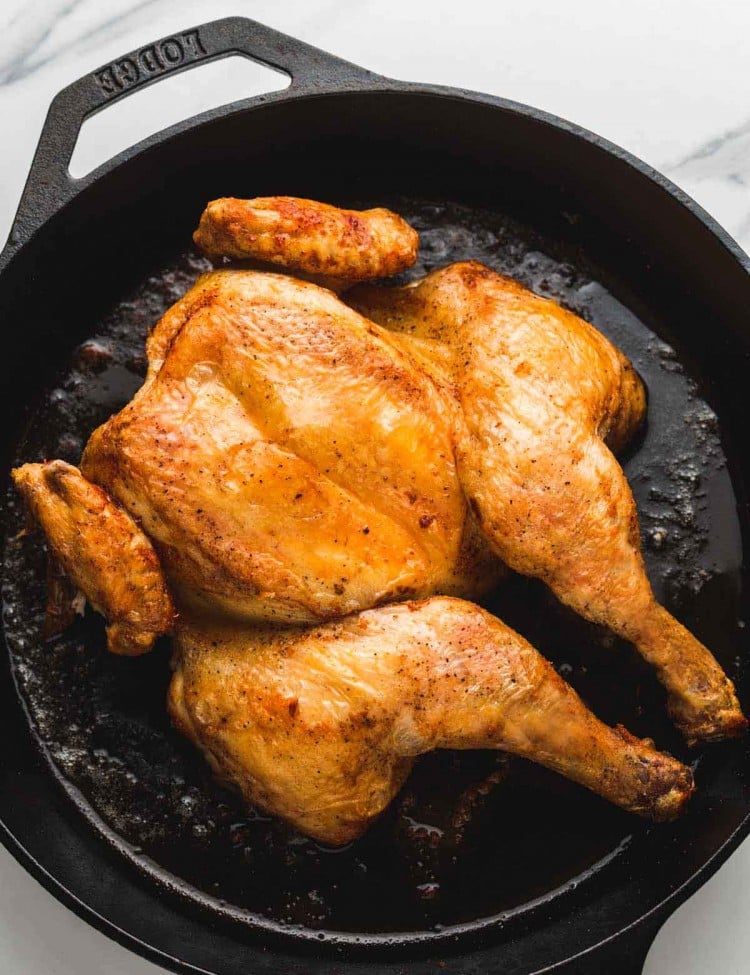
- Roast the chicken in a roasting pan breast side up. I like to use this cast iron pan (that you see in my pictures) as it cooks the chicken very evenly.
- By the time the chicken is cooked, it should be golden and crispy. If needed, place under the broiler for a few minutes to crisp the skin up even more. But watch it carefully like a hawk, so it does not burn!
Storing Tips
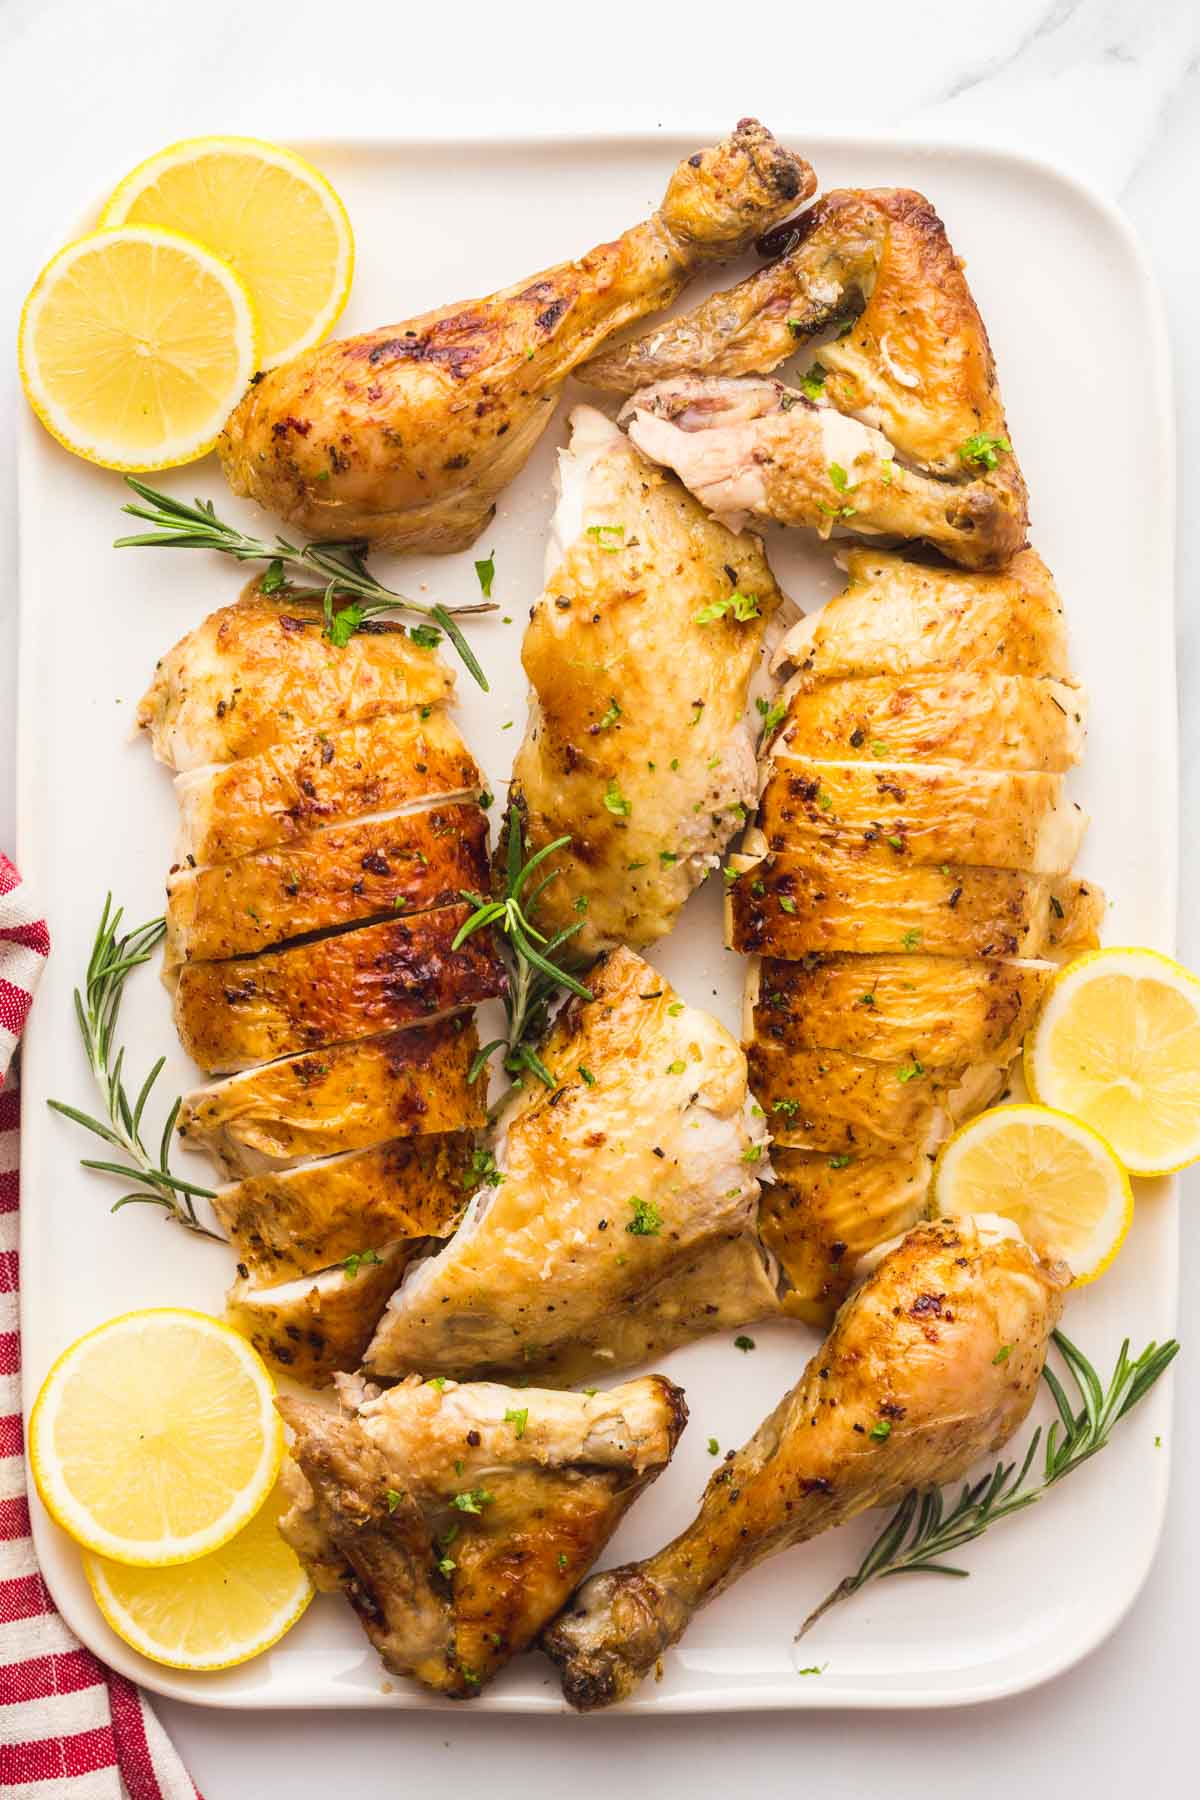
Carve the chicken and slice it into pieces, and pick any remaining meat off the bones to use in other recipes like this chicken Caesar wrap, or baked chicken tacos.
The leftovers can be stored in the fridge for up to 5 days in an airtight container. Or frozen in a freezer-safe container for up to 3 months.
Use the carcass to make a delicious chicken broth and use it to make my hearty chicken noodle soup!
Serving Ideas
Serve this roast chicken with:
- Creamy mashed potatoes
- Colcannon creamy potatoes with kale or cabbage
- Smashed potatoes
- Glazed carrots
- Homemade caesar salad
- Roasted swede/rutabaga
- Roasted frozen brussels sprouts
- Kale salad with lemon vinaigrette
More Whole Chicken Recipes
- Air Fryer whole chicken
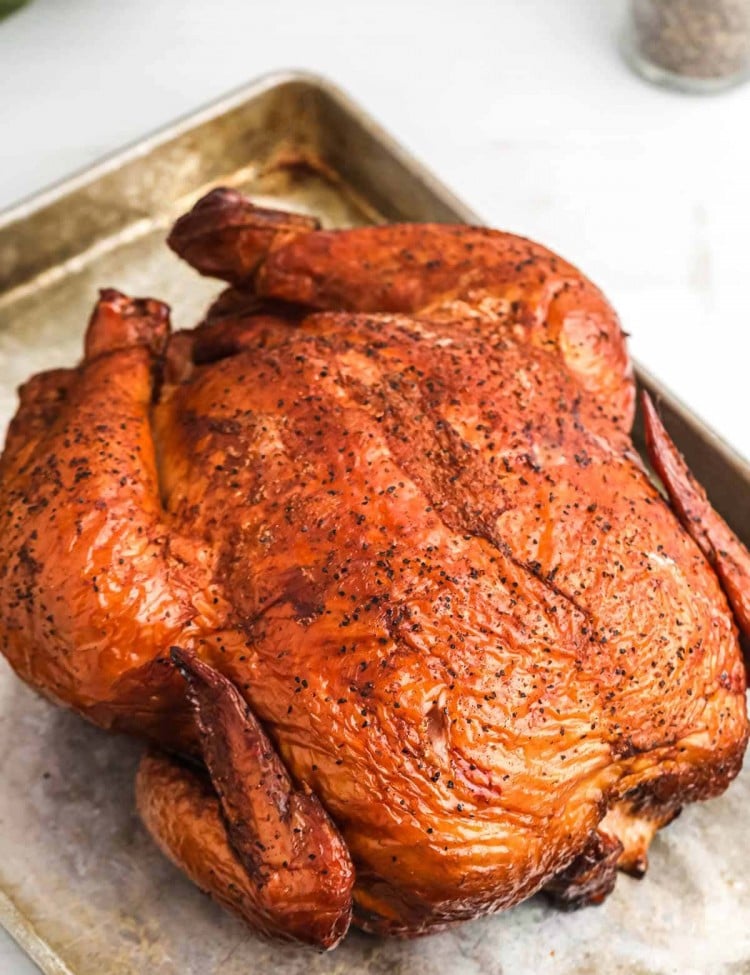
- Smoked Whole Chicken
- Instant Pot whole chicken
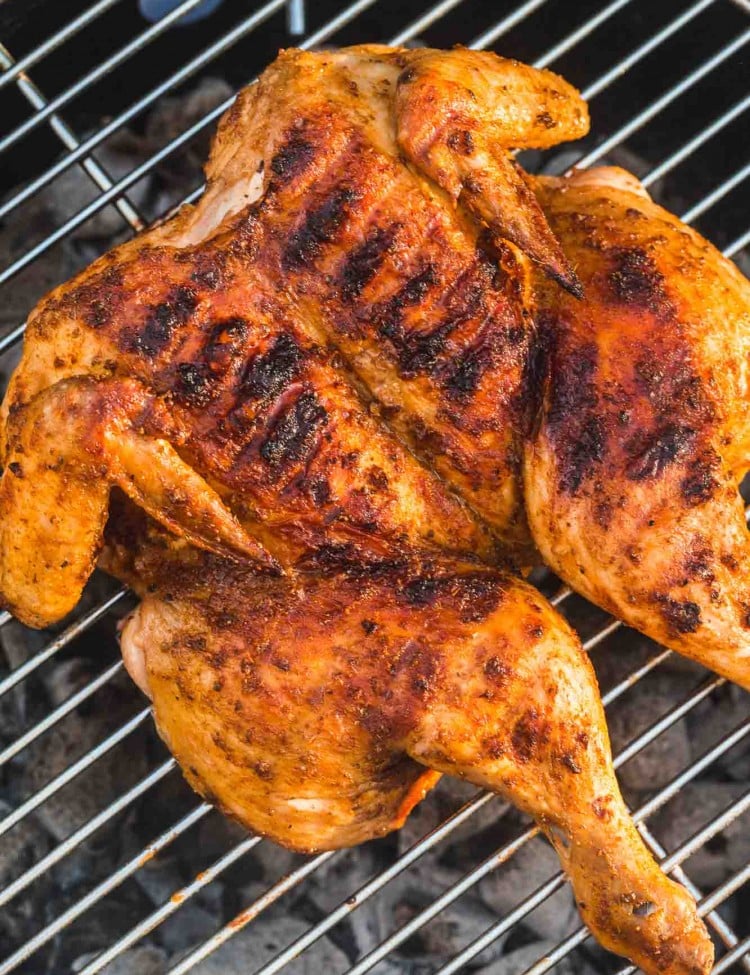
- Spatchcock roast chicken
- Easy chicken brine
- Poultry seasoning
Did you make this? Be sure to leave a review below and tag me on Facebook, Instagram, or Pinterest!
Roast Chicken Recipe
Recipe Video
Equipment
- Kitchen twine
- Instant-read thermometer
Ingredients
- 3-4 lb (1.5-2kg) whole chicken
- salt and pepper
- 2 sprigs rosemary
- ½ yellow onion quartered
- ½ lemon cut into wedges
For the herb butter
- ½ cup (100g) unsalted butter
- 2 teaspoons olive oil
- 1 clove garlic minced
- 1 teaspoon parsley chopped
- 1 sprig rosemary chopped
- salt and pepper
Instructions
- Take the chicken out of the fridge 30 minutes prior to cooking.
- Preheat the oven to 450°F (230°C) standard oven, or 430°F (220°C) convection/fan oven.
To make the herb butter
- In a small bowl or jug, melt the butter. Mix in olive oil, garlic, parsley, rosemary, salt, and pepper. Set aside.
For the chicken
- Pat the chicken dry with paper towels.
- Place the chicken in a roasting pan and season with salt and pepper from all sides. Pour the herb butter all over the chicken, and with a brush spread it evenly all over the chicken.
- Stuff the cavity with the quartered onion, rosemary sprigs, and lemon wedges.
- Truss the chicken legs with kitchen twine, season with salt and pepper again, and transfer to the oven.
- Roast for 15 minutes at 450°F (230°C) standard oven, or 430°F (220°C) convection/fan oven.
- Lower the heat to 400°F (200°C) standard oven, or 380°F (190°C) convection/fan oven. And roast for 45 minutes (this changes depending on the size of your chicken). Baste twice starting at 30-40 minutes by spooning some pan juices over the chicken.
- Check the internal temperature of the chicken, when it reaches 165°F (74°C) at the thickest part of the thigh, the chicken is ready. Remove from the oven.
- Allow the chicken to rest for 15-20 minutes uncovered before carving and serving.
Notes:
- A 3-4 pound whole chicken will serve 3-4 people.
- If you have time, I recommend that you brine the chicken first. It will make your chicken juicier and will season the meat very well. I have an easy chicken brine recipe that you can use! Brining is not a must, but recommended for best results.
- If you forgot to take the chicken out of the fridge 30 minutes prior to cooking, just add 10 minutes to the total cooking time.
- Remove the bag of giblets from the cavity of the chicken, if you can’t find them then it’s worth checking the neck cavity. If your chicken comes with giblets, you can use them to make stock or gravy, or discard them.
- When you pat the chicken dry with paper towels, do it inside the cavity as well. The idea is to get the chicken as dry as possible for the best results.
- Before stuffing the cavity, I like to season it generously with salt and pepper, and even pour some herb butter inside it for maximum flavor.
- For a complete meal, prep some root vegetables (rutabaga, turnips, carrots, onion, leeks, etc), season them, drizzle with oil, and place them in the pan. Let the chicken rest on top of the vegetables as it’s being roasted.
- Roast the chicken in a roasting pan breast side up. I like to use this cast iron pan (that you see in my pictures) as it cooks the chicken very evenly.
- I usually baste the chicken twice as it’s being roasted (starting after 40 minutes), this ensures that the garlic does not burn, and it also adds flavor since the butter and pan juices are very flavorful.
- By the time the chicken is cooked, it should be golden and crispy. If needed, place until the broiler for a few minutes to crisp the skin up even more. But watch it carefully like a hawk.
- Carve the chicken and slice into pieces, check out my guide for the carving technique. And pick any remaining meat off the bones to use in other recipes.
- Storing: the leftovers can be stored in the fridge for up to 5 days in an airtight container. Or frozen in a freezer-safe container for up to 3 months.
- Use the carcass to make a delicious chicken broth and use it to make chicken noodle soup!
Nutrition Information
This website provides approximate nutrition information for convenience and as a courtesy only. Nutrition data is gathered primarily from the USDA Food Composition Database, whenever available, or otherwise other online calculators.
© Little Sunny Kitchen
Grace says
Oh my word!!! This chicken was divine! I brined it as suggested and then followed the recipe…seriously I could have eaten the entire bird myself! Toss is the only way I’ll make a chicken going forward! Thank you!!!
Diana says
So glad to hear you decided to try my chicken brine recipe before roasting it! Thank you for the awesome feedback!
Bella says
Juicy, tasty, easy, and browned to picture perfection. Thank you:)
Tina says
Have you ever tried your butter and seasonings under the skin?