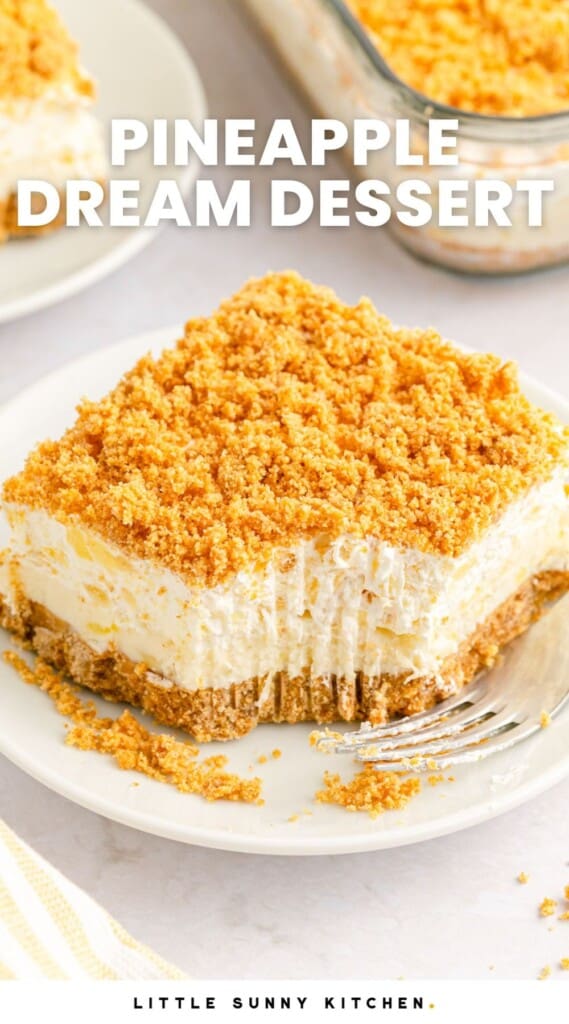
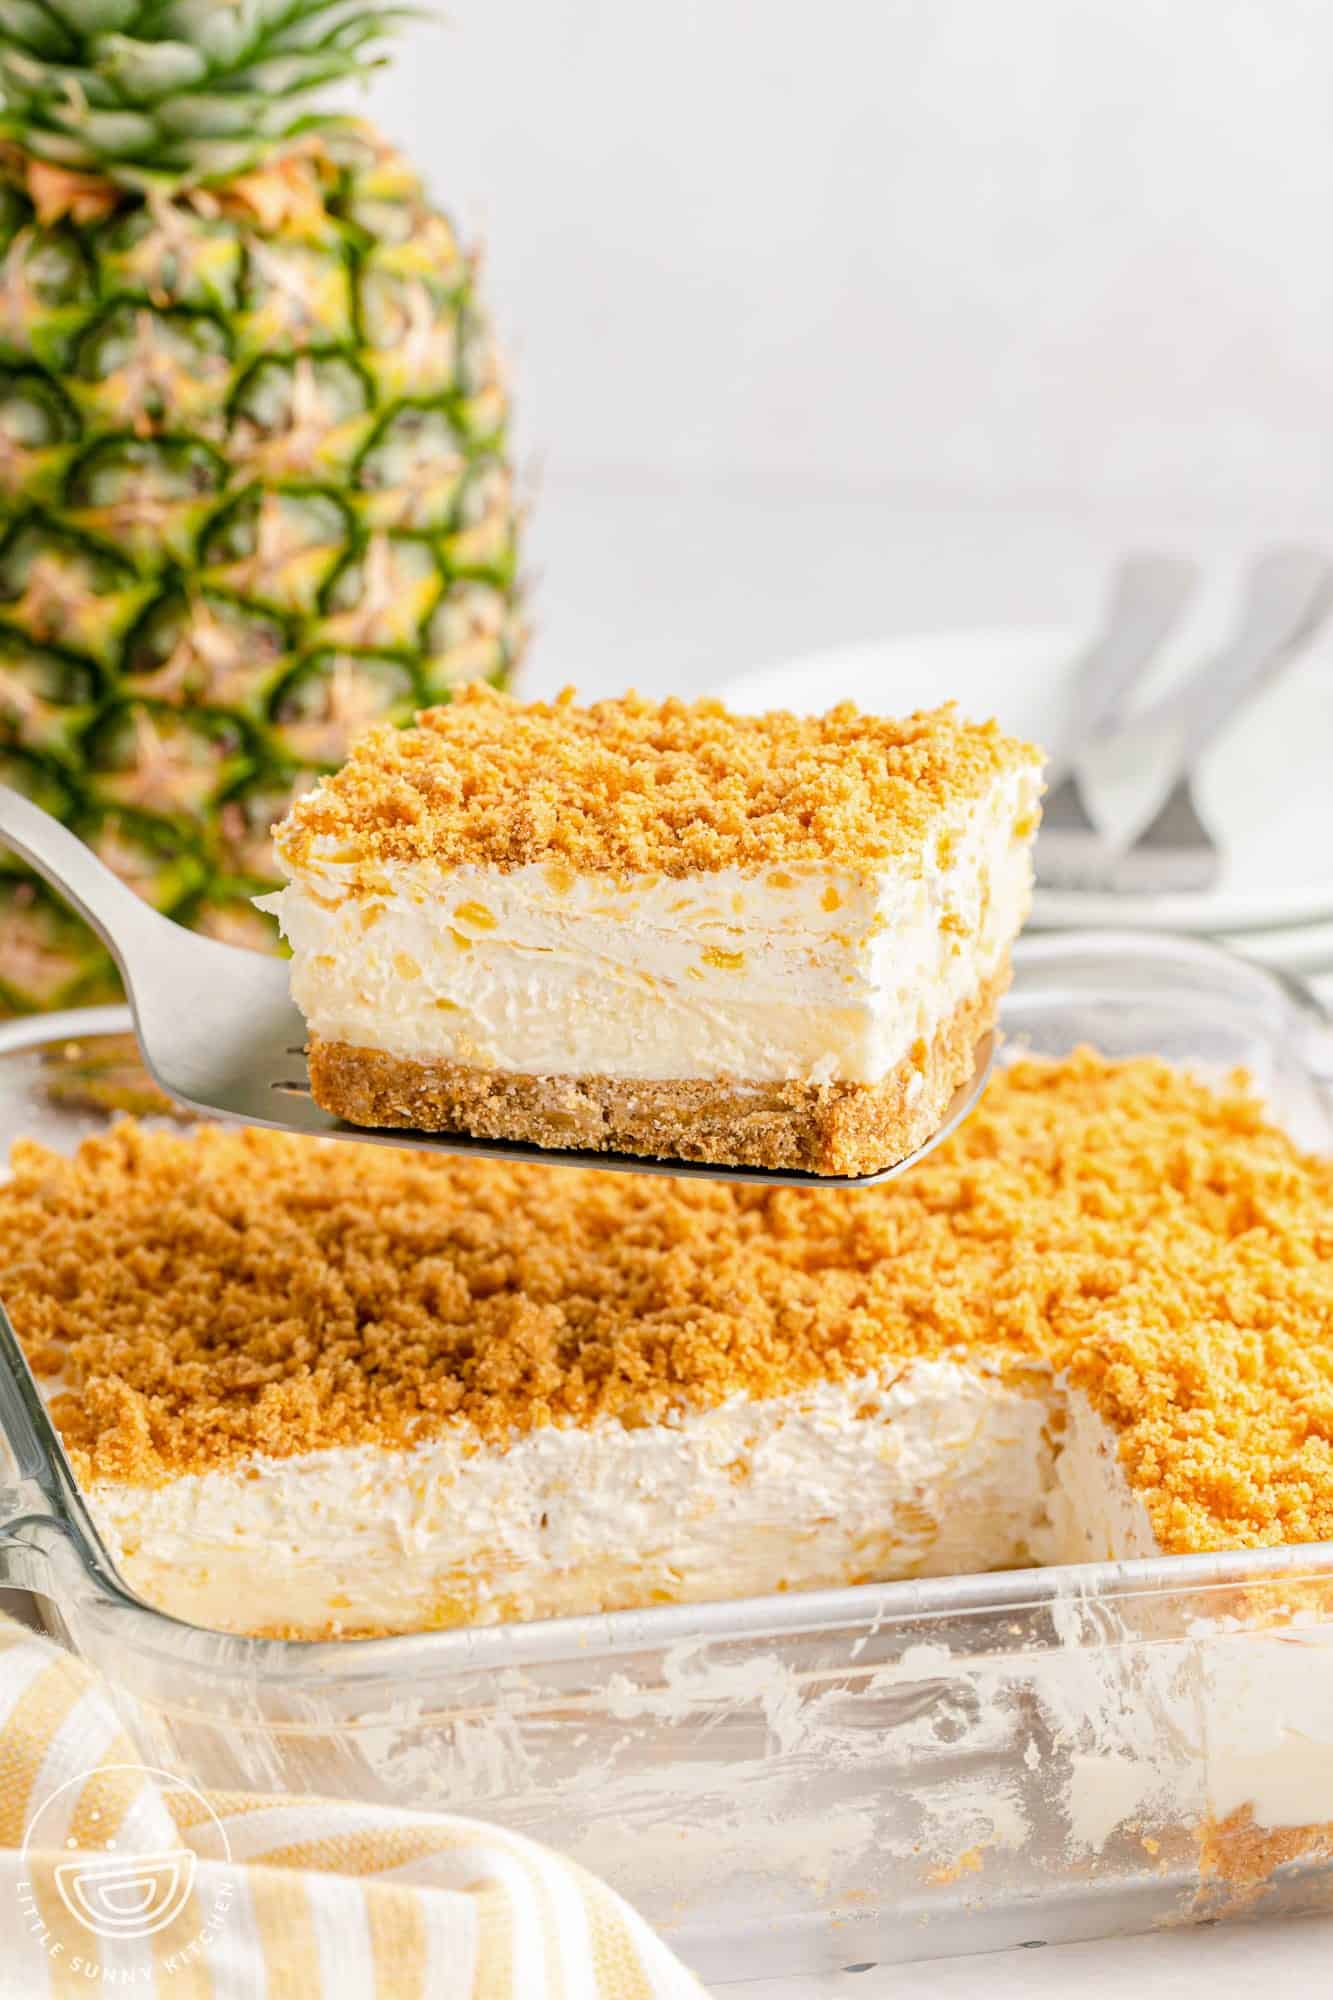
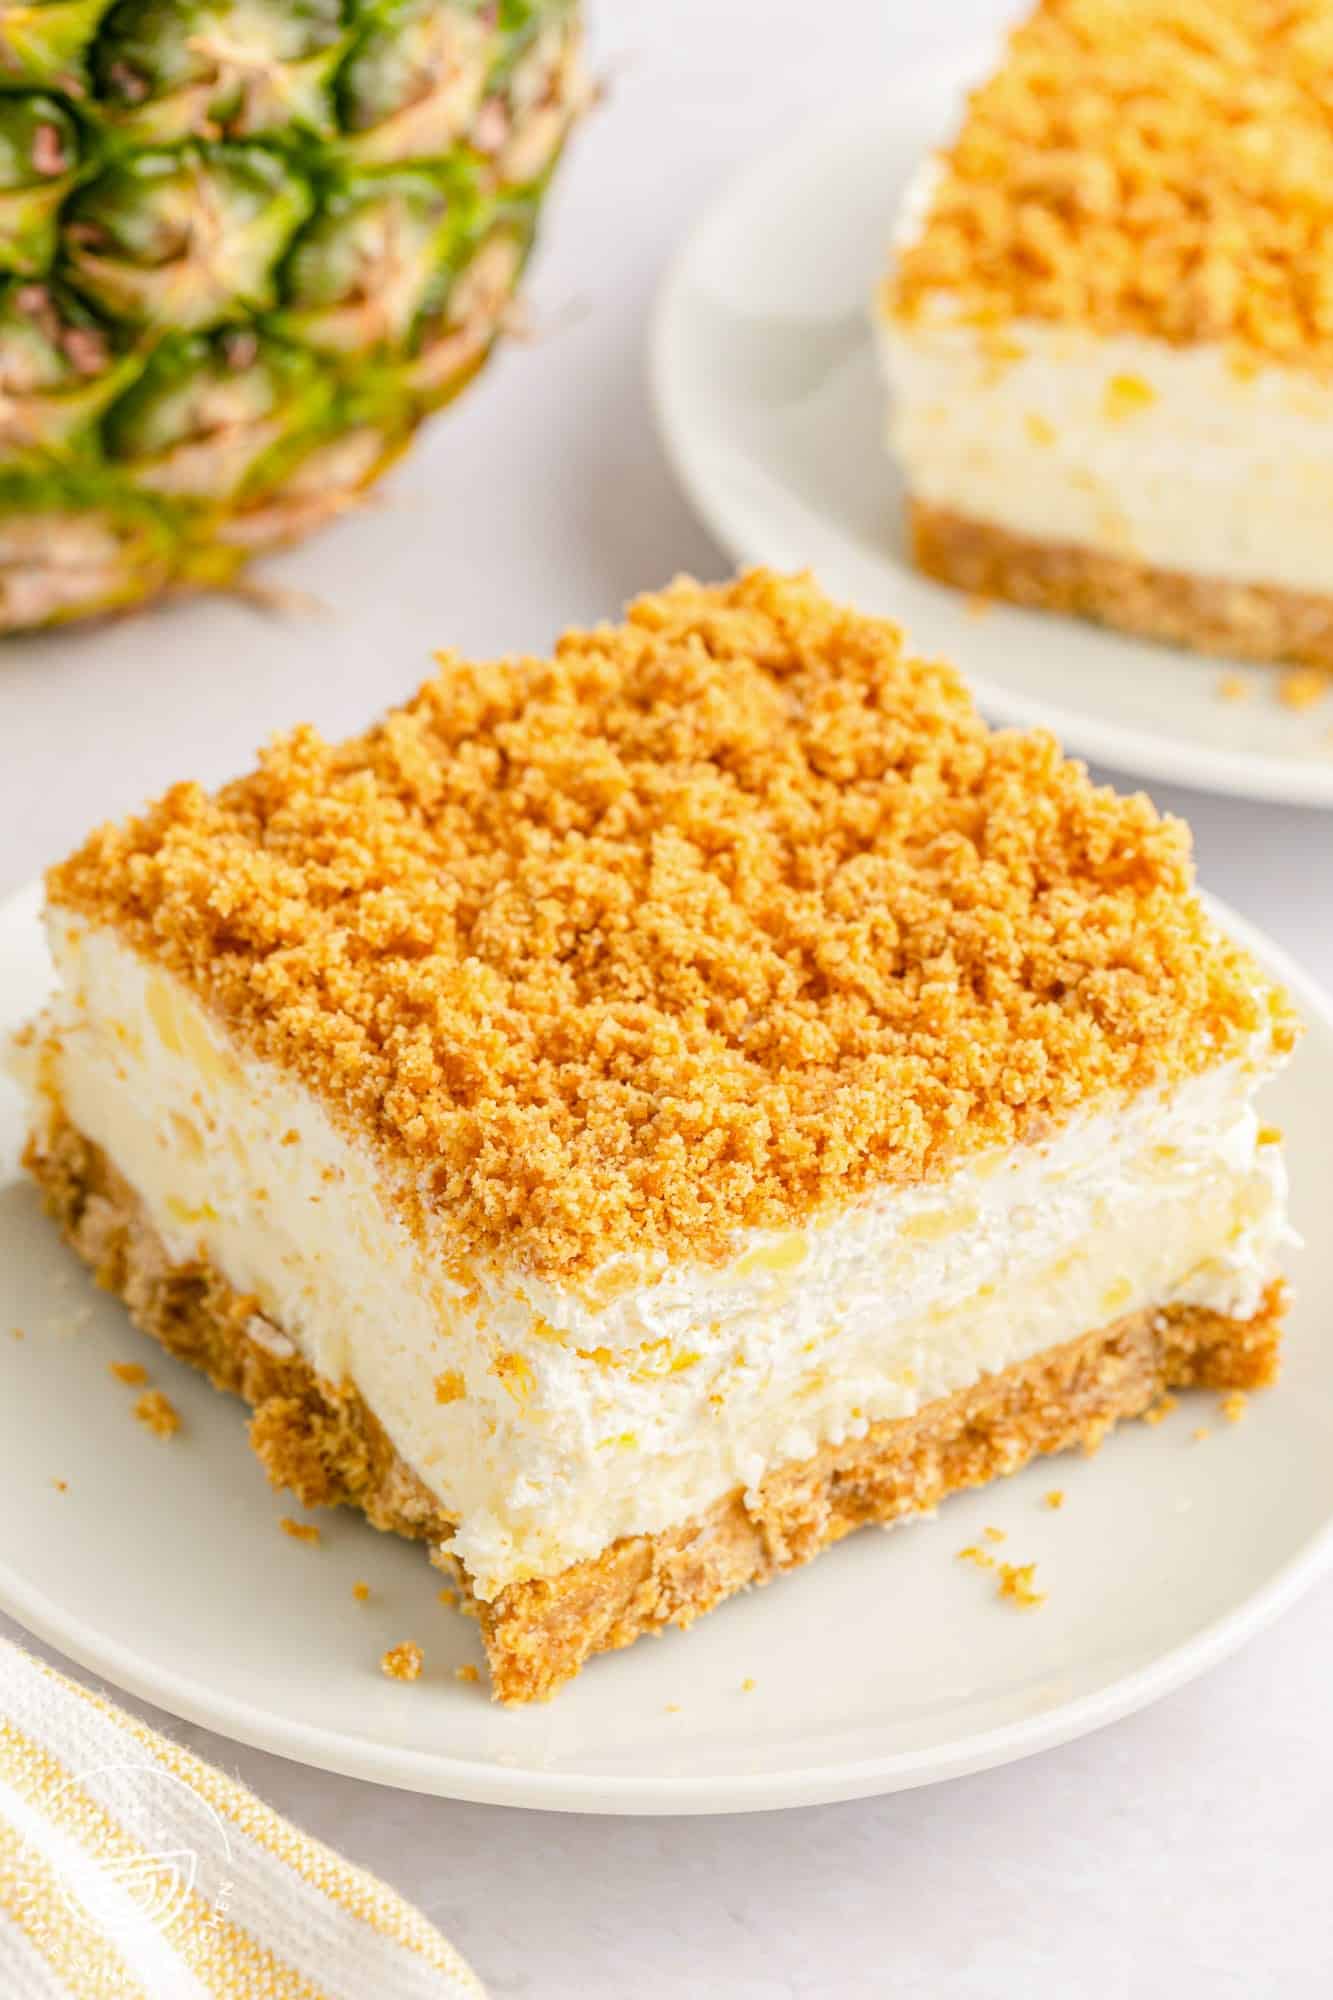
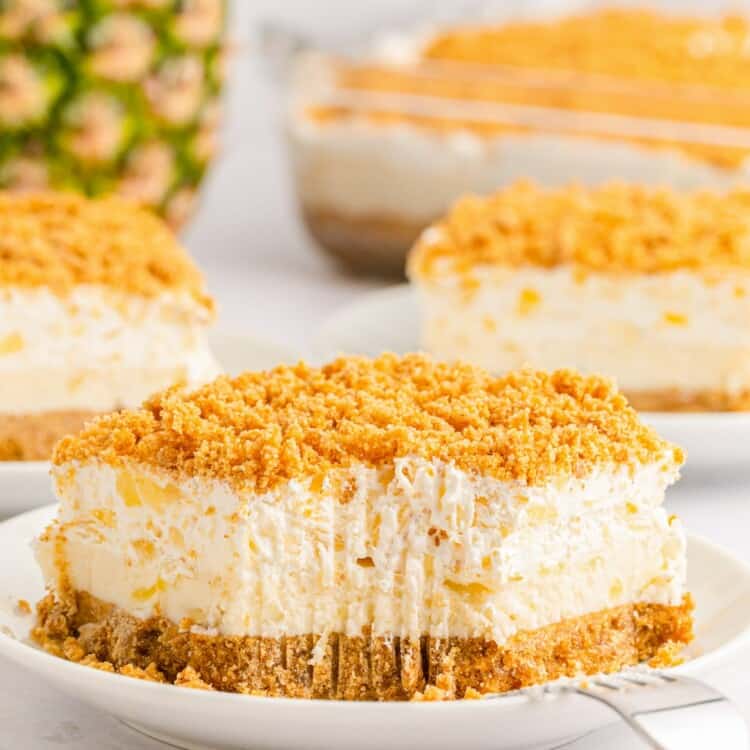
This (Almost) No Bake Pineapple Dream Dessert or Pineapple Delight is creamy, smooth, refreshing and sweet with a buttery graham cracker crust and a delicious cream cheese pineapple filling. Perfect for potlucks, family gatherings, parties, picnics, and the holidays.
This old fashioned pineapple dessert became popular in the 70’s, it’s so simple to make and almost requires no baking. Cream cheese is mixed with pineapple and whipped topping to create a creamy dessert that’s not heavy at all.
This dessert goes by many names: Pineapple lush, pineapple lasagna, pineapple delight, pineapple dream dessert, and pineapple graham cracker dessert.
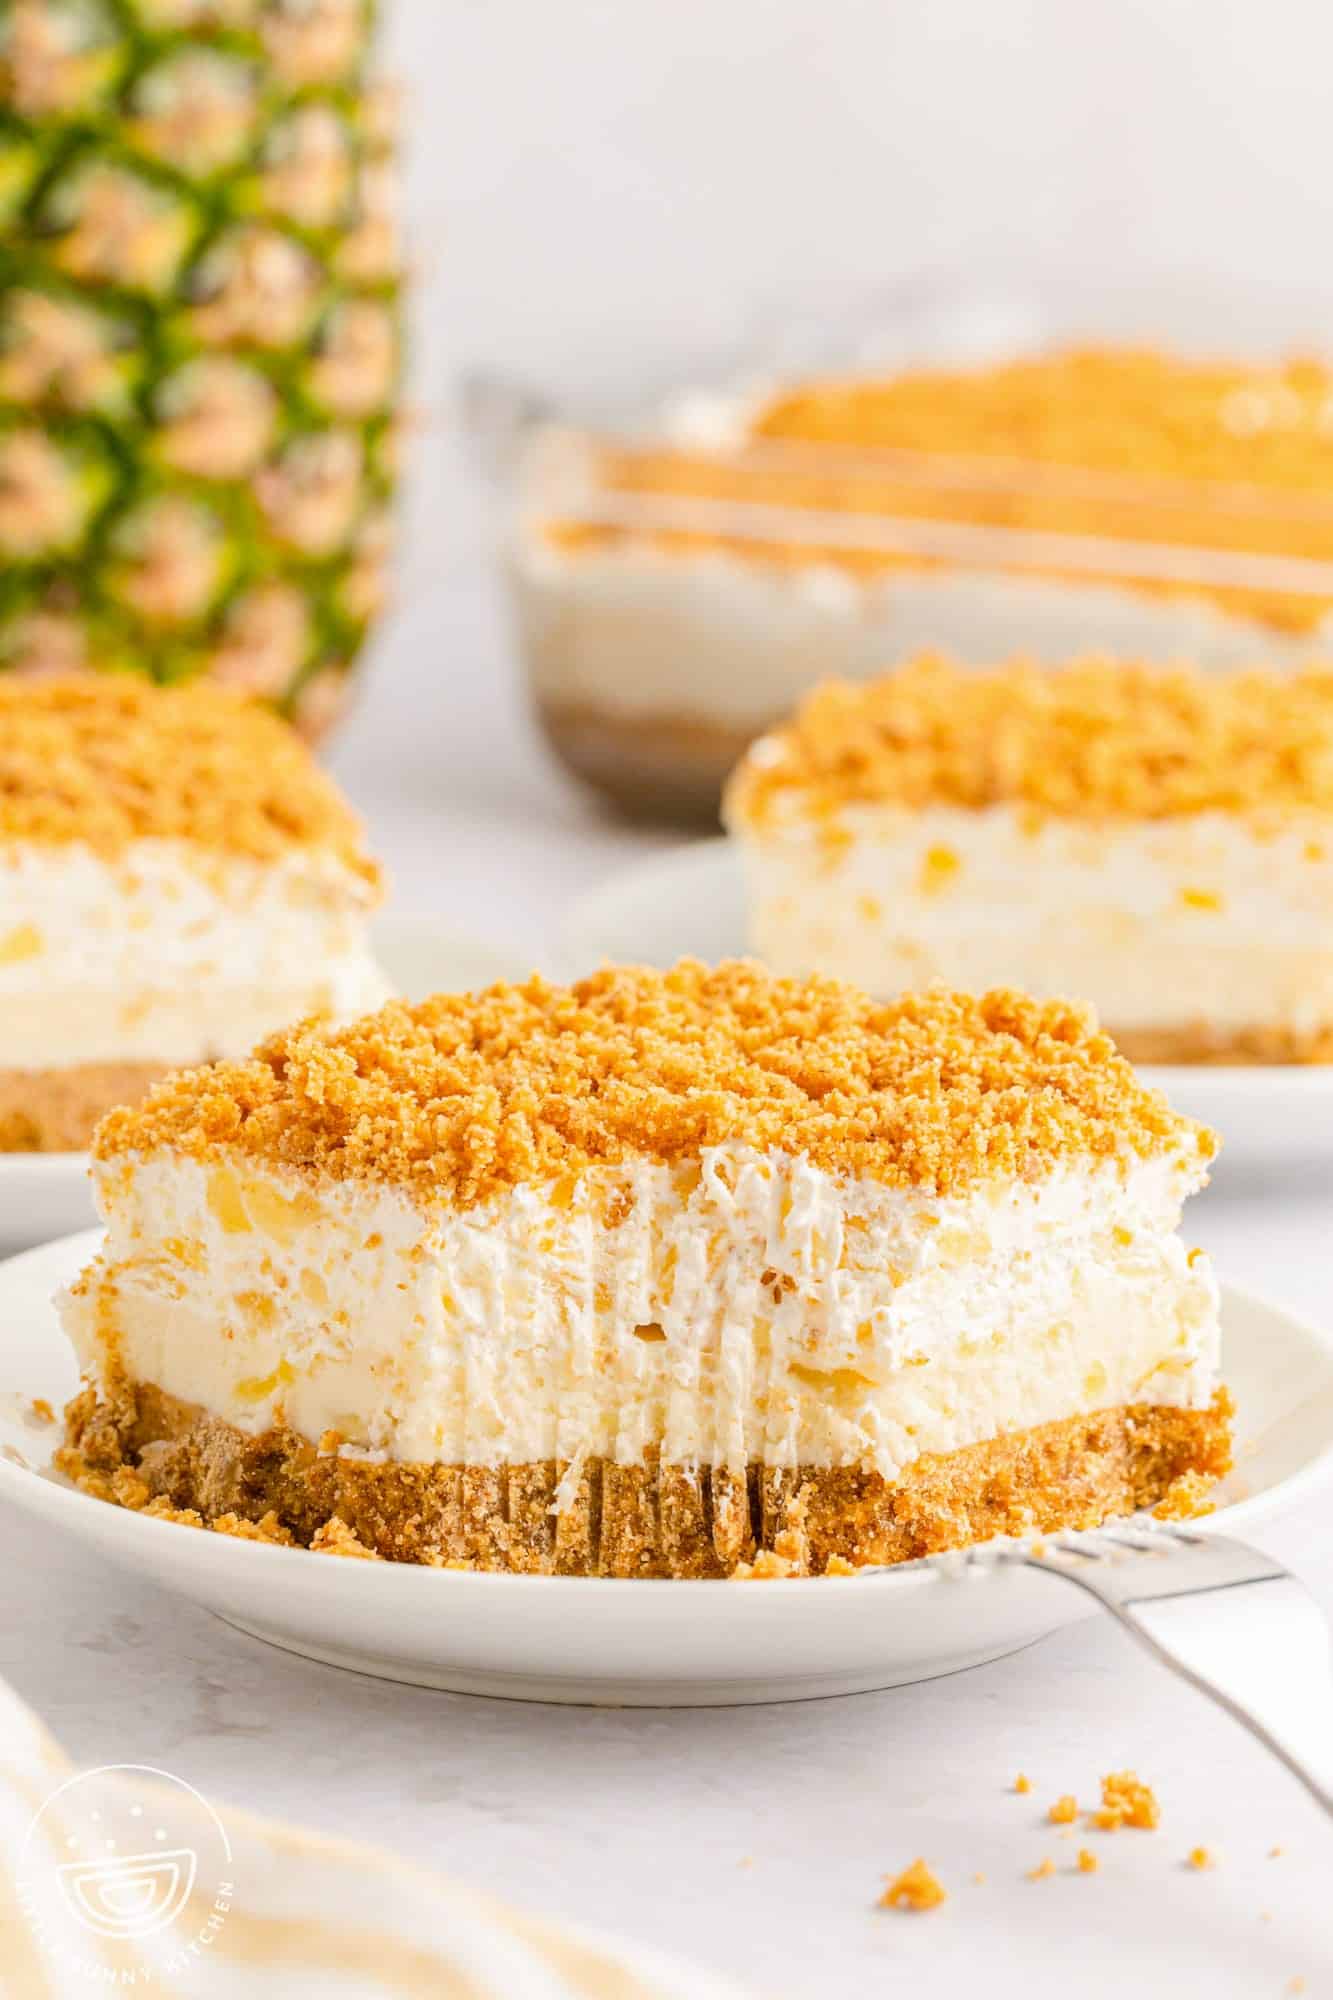
There are 3 layers in this pineapple delight, and they’re all completely delicious! For more delicious no-bake desserts, try my Heaven on Earth Cake, Lemon Icebox Cake, No Bake Eclair Cake, and my favorite No Bake Strawberry Pie.
Why You’ll Love Pineapple Dream Dessert
- No Bake – This dessert is almost no bake! Baking the graham crust is totally optional which makes it perfect to make on hot summer days.
- Light and Creamy – I love the texture of this dessert, it is so creamy and delightful but not heavy at all.
- Simple Ingredients – This recipe uses very simple ingredients that you can find at any super market. No specialty ingredients are needed here!
key ingredients
Here’s what you need to make this easy pineapple dessert:
Complete list of ingredients and amounts can be found in the recipe card below.
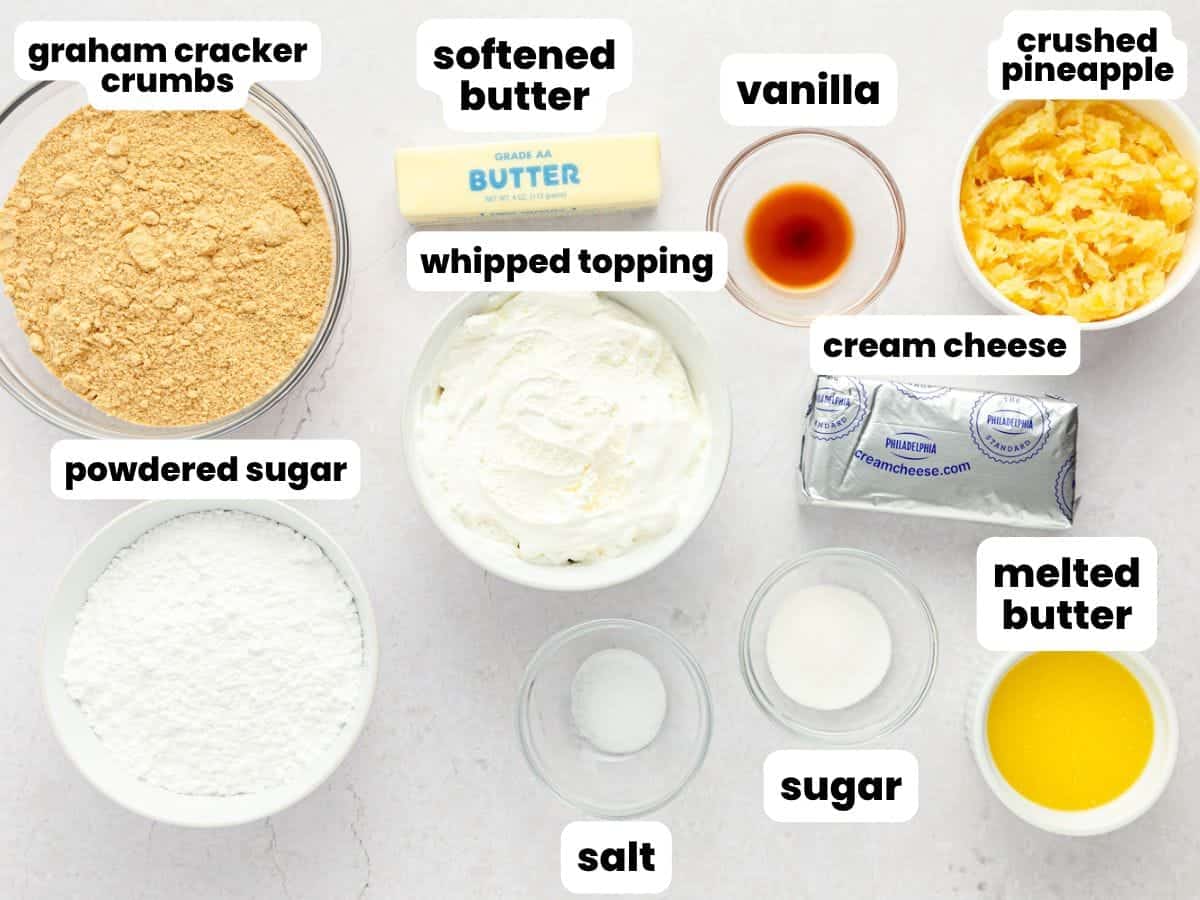
- Graham Cracker Crumbs, Butter, Sugar, and Salt. These 4 ingredients make the crust layer. You will need either graham crackers that you can crush yourself, or graham cracker crumbs, melted butter, granulated sugar, and sea salt.
- Cream Cheese and Butter. Make sure that you’re using softened cream cheese and butter so they mix in nicely with the rest of the ingredients. Take them out of the fridge at least 30 minutes before you start. I also recommend full-fat Philadelphia cream cheese and unsalted butter for the best results.
- Crushed Pineapple. Use canned crushed pineapple, and be sure to drain it well. I like to use a cheesecloth to squeeze out as much liquid as possible.
- Whipped Topping. Thawed Cool Whip or your favorite store brand variety of whipped topping is what we need here.
How To Make Pineapple Dream Dessert
Before you start, preheat the oven to 300°F/150°C.
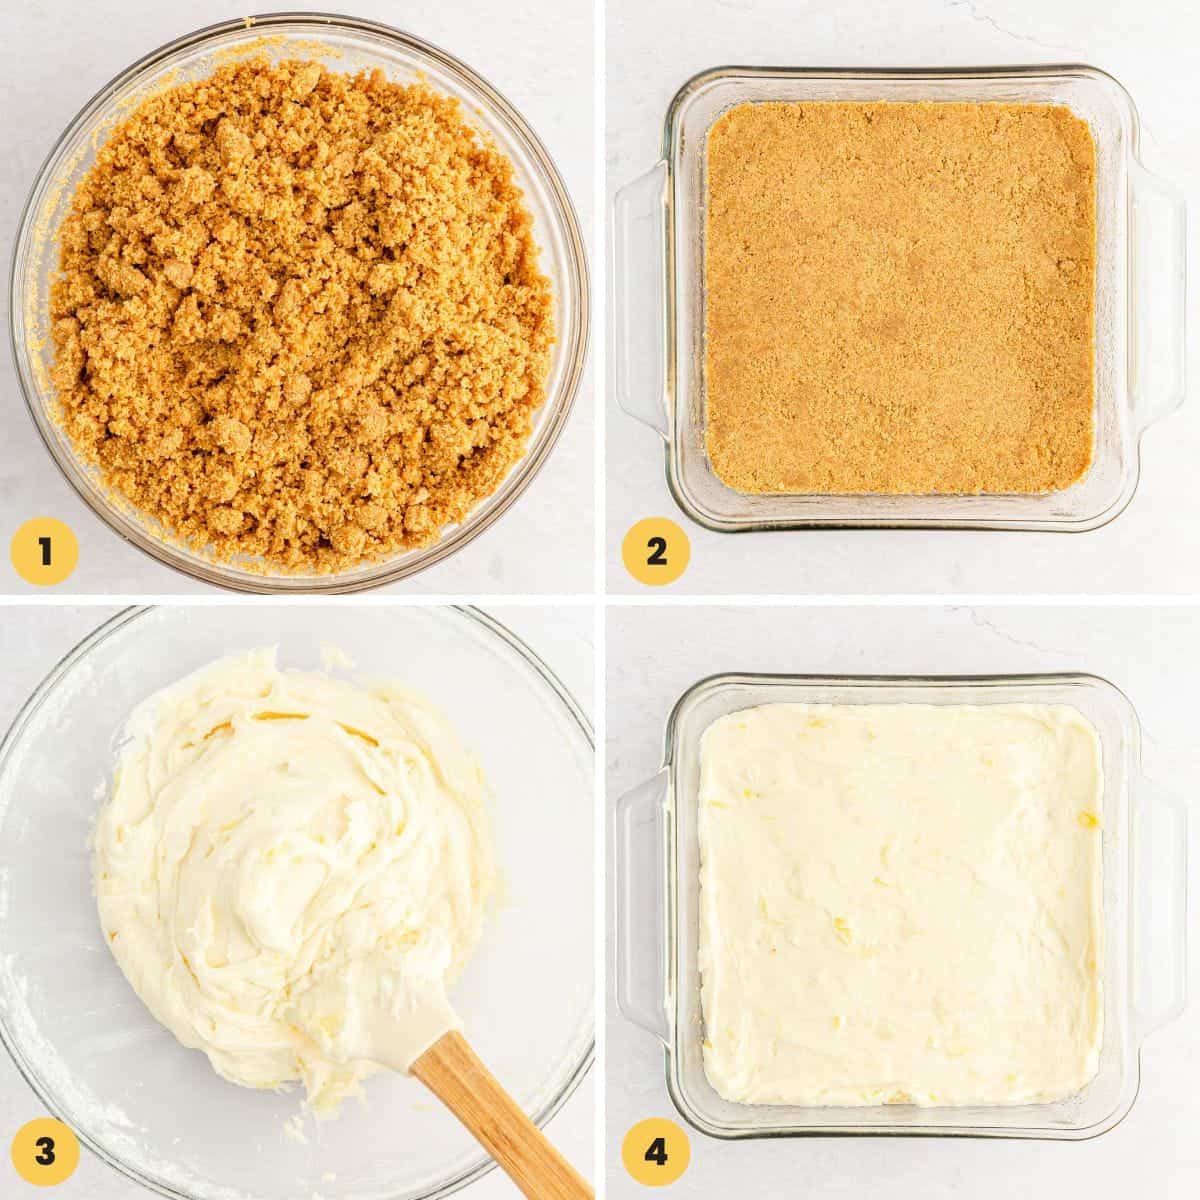
- In a bowl, combine graham cracker crumbs with melted butter, sugar and salt.
- Press only 2 cups (NOT ALL) of the mixture into a 9×9 inch pan. And bake for 10 minutes. Remove from the oven, and allow to cool completely.
- In a mixing bowl, combine cream cheese with softened butter, and with a hand mixer beat until smooth and creamy. Add the vanilla extract and powdered sugar, and mix on LOW speed to avoid a sugar storm, until the sugar is well incorporated.
- Fold in 2 tablespoons of the drained crushed pineapples, and spread the mixture over the cooled crust in an even layer. Smooth the top with a spatula.
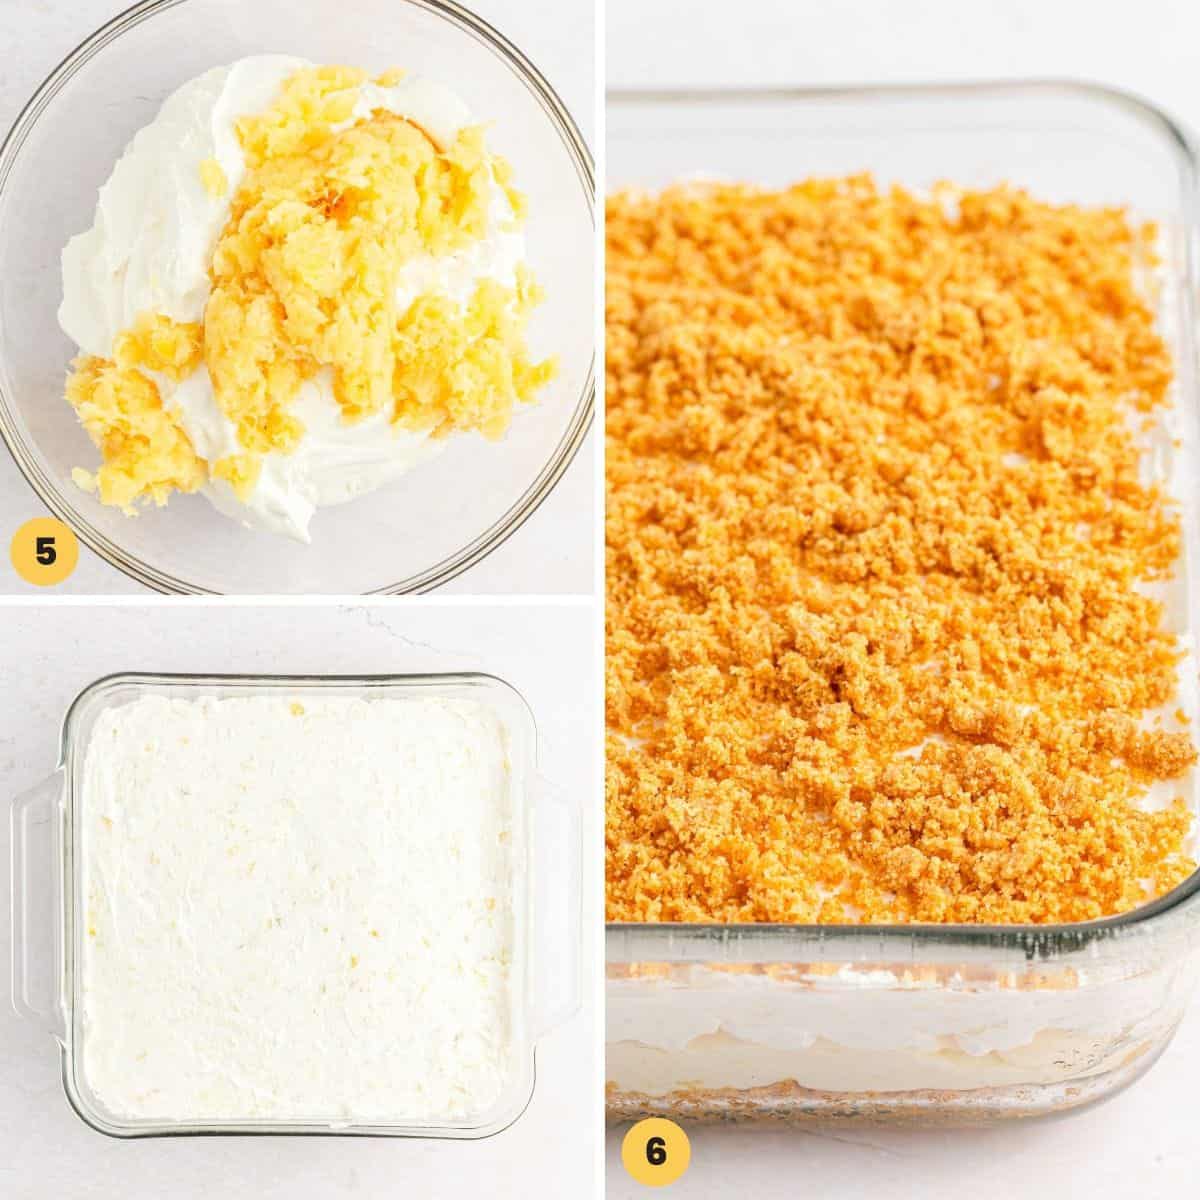
- Fold the remaining crushed pineapple in the whipped topping, and spread the mixture over the cream cheese layer. Smooth out with a spatula.
- Sprinkle with the remaining graham cracker mixture, chill in the fridge for at least 4 hours and preferably overnight before serving.
Tip!
Baking the graham cracker crust is not totally required! If it’s really hot in your kitchen, chill the crust in the fridge for a couple of hours instead. Baking the crust gives it a nice toasty flavor though.
Recipe Tips
- On a hot day, freeze this dessert for 30 minutes before slicing and dishing up. This will help it hold its structure well.
- Make this dessert at least one day before serving, this will give it time to thicken and sit before you slice it up and serve.
Storing Tips
Store this pineapple dessert in the fridge at all times. Remove it from the fridge right before serving. If it’s kept at room temperature for too long, it will become too soft.
This dessert is perfect for making ahead! You can prepare it and store it in the fridge covered for 3-4 days.
Freezing: You can freeze this dessert in an airtight container for up to 6 months.
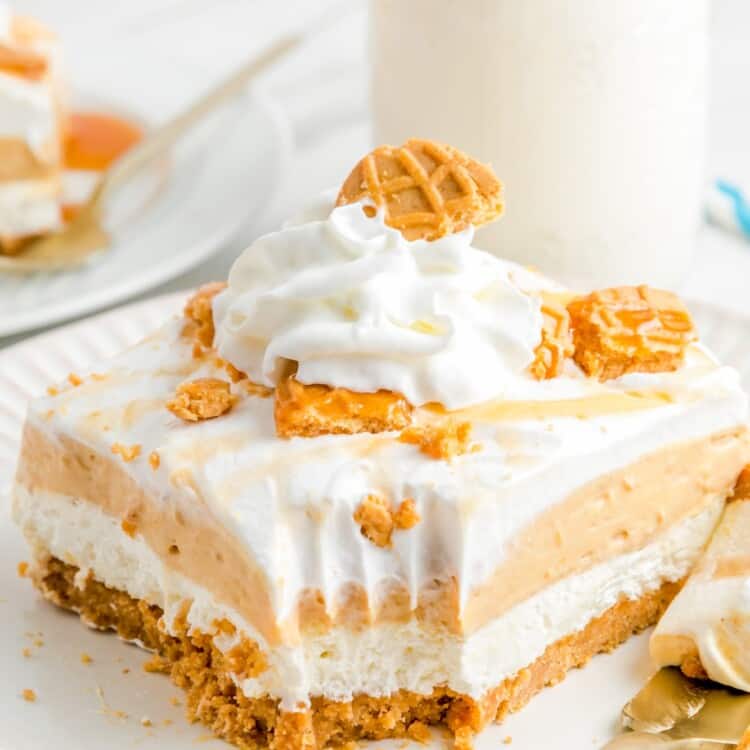
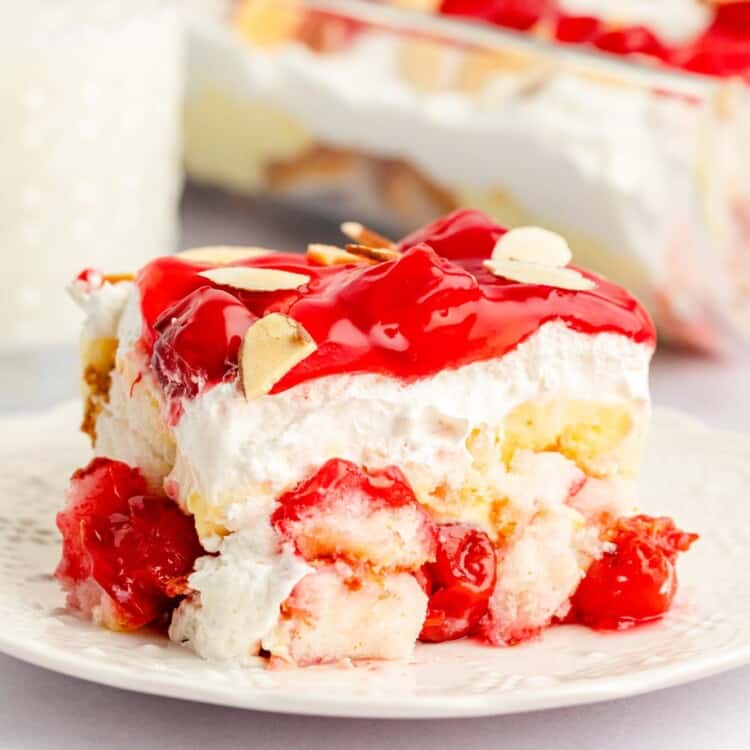
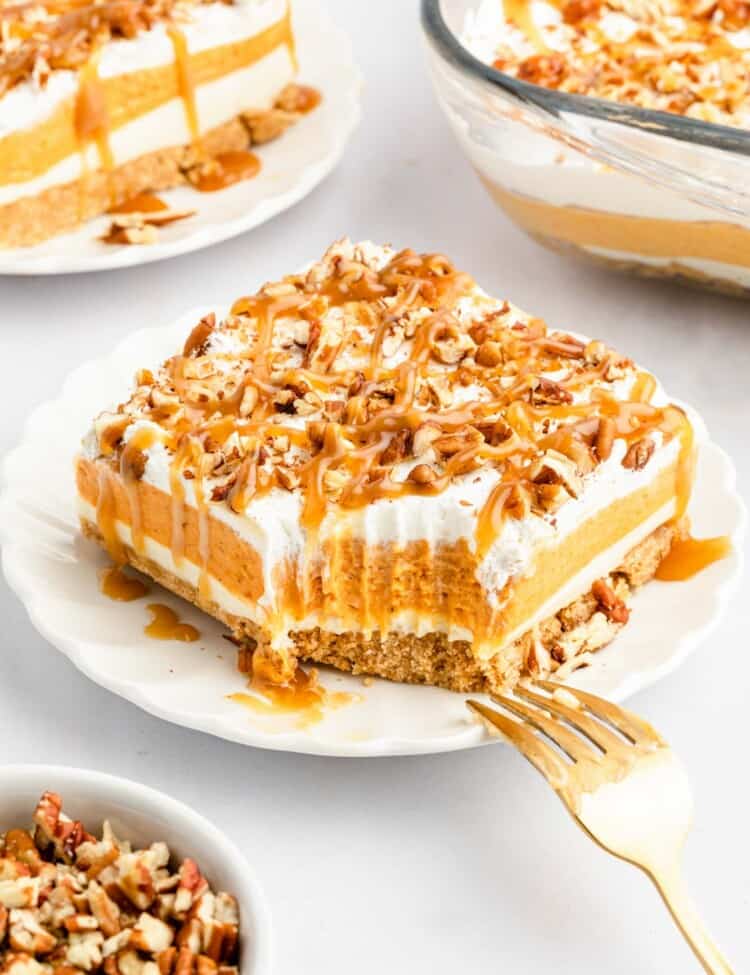
More Easy Desserts to Try

FAQs
If you don’t have whipped topping, you can whip together some heavy whipping cream and powdered sugar.
The biggest tip I have about cutting clean slices from no-bake desserts is to clean your knife between every cut. Keep some warm water and paper towels nearby to make this simple. Freezing the dessert 30 minutes before slicing also helps!
Pineapple Lush is so easy to make! Save this recipe for the next time you want to make a delicious dessert without a lot of fuss. Pin it for more people to enjoy too!
Did you make this? Be sure to leave a review below and tag me on Facebook, Instagram, or Pinterest!
Pineapple Dream Dessert
Equipment
- 9 inch square pan 23 cm
Ingredients
For the crust:
- 2 ½ cups graham cracker crumbs that’s 2 sleeves
- 1 stick (113 g) unsalted butter melted
- 1 tablespoon granulated sugar
- ½ teaspoon salt
For the filling:
- 4 oz (113 g) cream cheese softened (½ a package)
- 1 stick (113 g) unsalted butter at room temperature
- 1 teaspoon pure vanilla extract
- 1 ¾ cups powdered sugar
- 20 oz can (566 g) crushed pineapple drained well
- 8 oz container (225 g) whipped topping thawed
Instructions
- Preheat the oven to 300°F (150°C).
- In a bowl, combine graham cracker crumbs with melted butter, sugar and salt.
- Press only 2 cups (NOT ALL) of the mixture into a 9×9 inch pan. And bake for 10 minutes. Remove from the oven, and allow to cool completely.
- In a mixing bowl, combine cream cheese with softened butter and with a hand mixer beat until smooth and creamy. Add the vanilla extract and powdered sugar, and mix on LOW speed to avoid a sugar storm, until the sugar is well incorporated.
- Fold in 2 tablespoons of the drained crushed pineapples, and spread the mixture over the cooled crust in an even layer. Smooth the top with a spatula.
- Fold the remaining crushed pineapple in the whipped topping, and spread the mixture over the cream cheese layer. Smooth out with a spatula.
- Sprinkle with the remaining graham cracker mixture, chill in the fridge for at least 4 hours and preferably overnight before serving.
Notes:
- Baking the graham cracker crust is not totally required! If it’s really hot in your kitchen, chill the crust in the fridge for a couple of hours instead. Baking the crust gives it a nice toasty flavor though.
- On a hot day, freeze this dessert for 30 minutes before slicing and dishing up. This will help it hold its structure well.
- Make this dessert at least one day before serving, this will give it time to thicken and sit before you slice it up and serve.
- Store this pineapple dessert in the fridge at all times for 3-4 days. Remove it from the fridge right before serving. If it’s kept at room temperature for too long, it will become too soft.
- Freezing: You can freeze this dessert in an airtight container for up to 6 months.
Nutrition Information
This website provides approximate nutrition information for convenience and as a courtesy only. Nutrition data is gathered primarily from the USDA Food Composition Database, whenever available, or otherwise other online calculators.
© Little Sunny Kitchen
Pam Rose says
Delicious!! And so easy to make. I used pie crust already made and made into a pie 😊
Little Sunny Kitchen says
What a smart idea to make it into a pie! I’m so glad you enjoyed the recipe and were able to make it your own.
Linda says
I made this for a party and I thought there was not enough pineapple flavor. I could mostly taste the whipped cream and graham crackers. Next time I may add more pineapple and maybe more cream cheese to balance the flavors. The dessert was eaten so I may have been more critical because I made the dessert.
Little Sunny Kitchen says
Thank you for the feedback, Linda. Feel free to make adjustments if you like, this dessert is very forgiving that way. Enjoy!
Robin says
I tried to make this today but it was an epic fail. BUT I DO NOT FAULT THE RECIPE. Instead, it must have been user error. I am posting this here in case you’re tempted to do what I did. (So don’t)
As I went over the recipe in my mind, I was thinking of how it’s often difficult to get the first brownie out of the pan, and since this was a similar situation I decided to line it with parchment paper sticking out for easy removal. I think this is partly responsible for the problem. The problem is that I could not get the filling to spread over the baked and cooled graham cracker crust. It just wanted to combine with the crumbs and there would have been no crust to speak of. I’m wondering now if I’d frozen the crust rather than baking, it would have been easier to spread the filling. The filling was thick, too. Why did I have to use my vintage hand mixer? It was a mess. I threw it out.
Little Sunny Kitchen says
I’m so sorry that you had trouble with the recipe, Robin, but thank you for sharing your process. I think having the paper underneath the crust may have made it too easy to move around, which is why you had trouble spreading the filling. I hope you’ll try again!