This is the best bread recipe, and quite possibly the only one you’ll ever need! The recipe for No Knead Bread creates a rustic, artisan bread loaf using just four ingredients and a bit of patience.
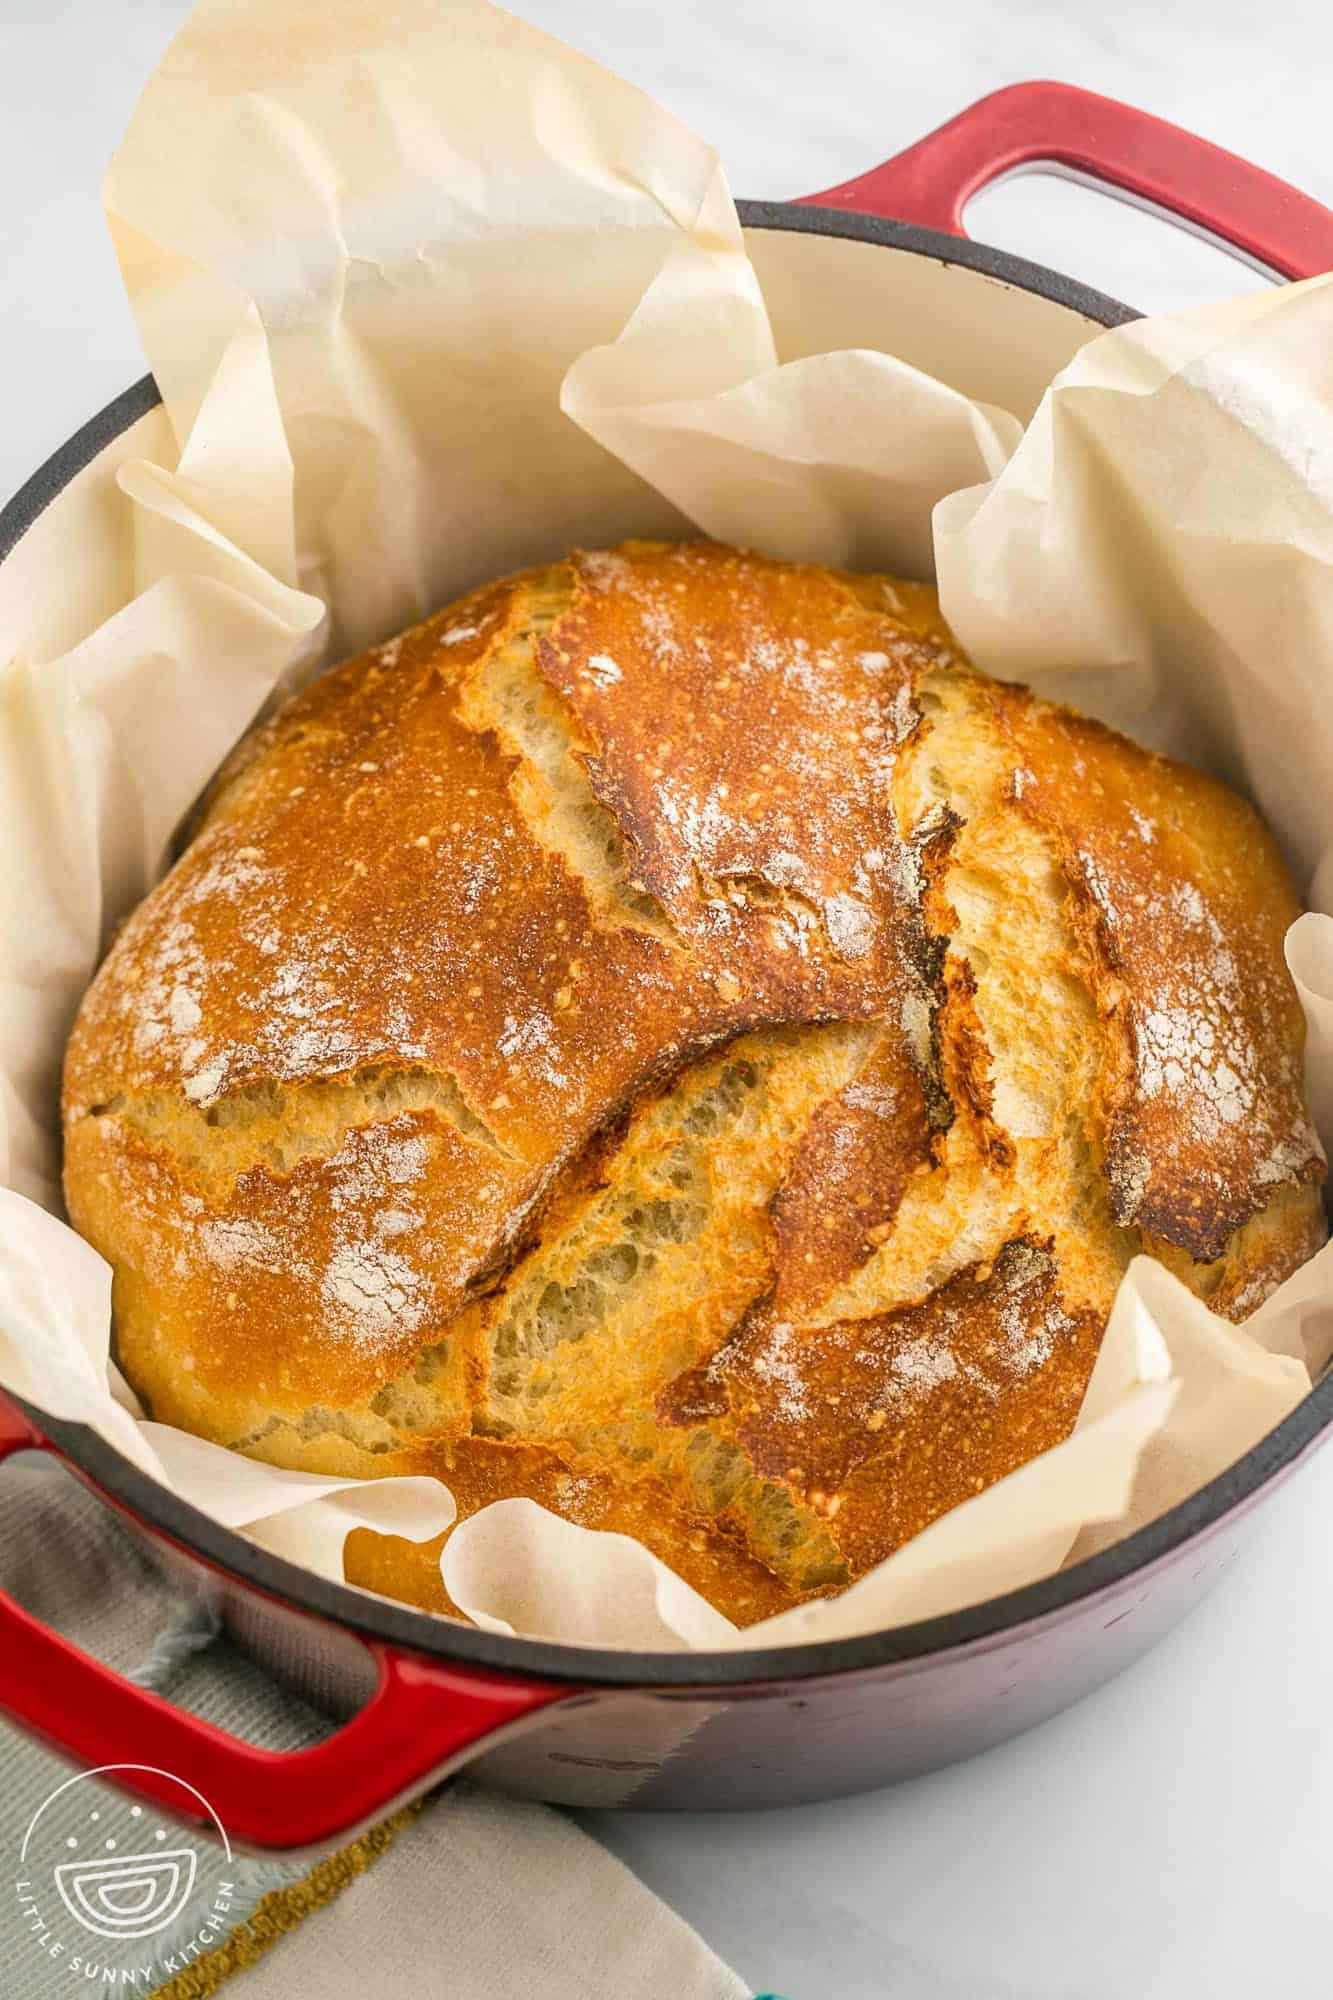
I remember the no-knead bread craze of the late aughts, do you? I’ve been making some version of this artisan bread pretty regularly since 2006 or so. I love it for toast, BLT sandwiches, or serving with a tasty bowl of hearty soup.
Did you miss that bit of food history? No worries, here’s the cliff notes version! Skip down a bit if you’re ready to get right to the recipe.
The No Knead Bread Story
At some point in the year 2006, the New York Times published a recipe for no-knead bread that went completely viral. In fact, Jim Lahey’s recipe was and still is one of the most popular recipes ever published on the Times’s website.
Since then, others have adjusted his recipe to make “faster no-knead bread”, “better no-knead bread”, and many other varieties of the easy recipe.
In reality though, bakers have been making bread that doesn’t require kneading for quite a long time.
Suzanne Dunaway wrote a book called No Need to Knead: Handmade Italian Breads in 90 Minutes in 1999, and in 1943, no-knead bread recipes were included in a cookbook by British food writer Doris Grant. There are written references to no-knead bread recipes dating back as far as 1793!
The Times’ article just made this old hands-off baking method famous again!
Why You’ll Love This Recipe
- You really don’t have to knead it – The beauty of this recipe is in the way that the ingredients come together naturally. The bread dough is wet, due to the addition of much more water than you’d normally add to a yeast dough. Couple that with a long, slow rise to create a soft bread dough that doesn’t need any manual manipulation. The glutens in the dough will be perfectly aligned, and they get that way all on their own.
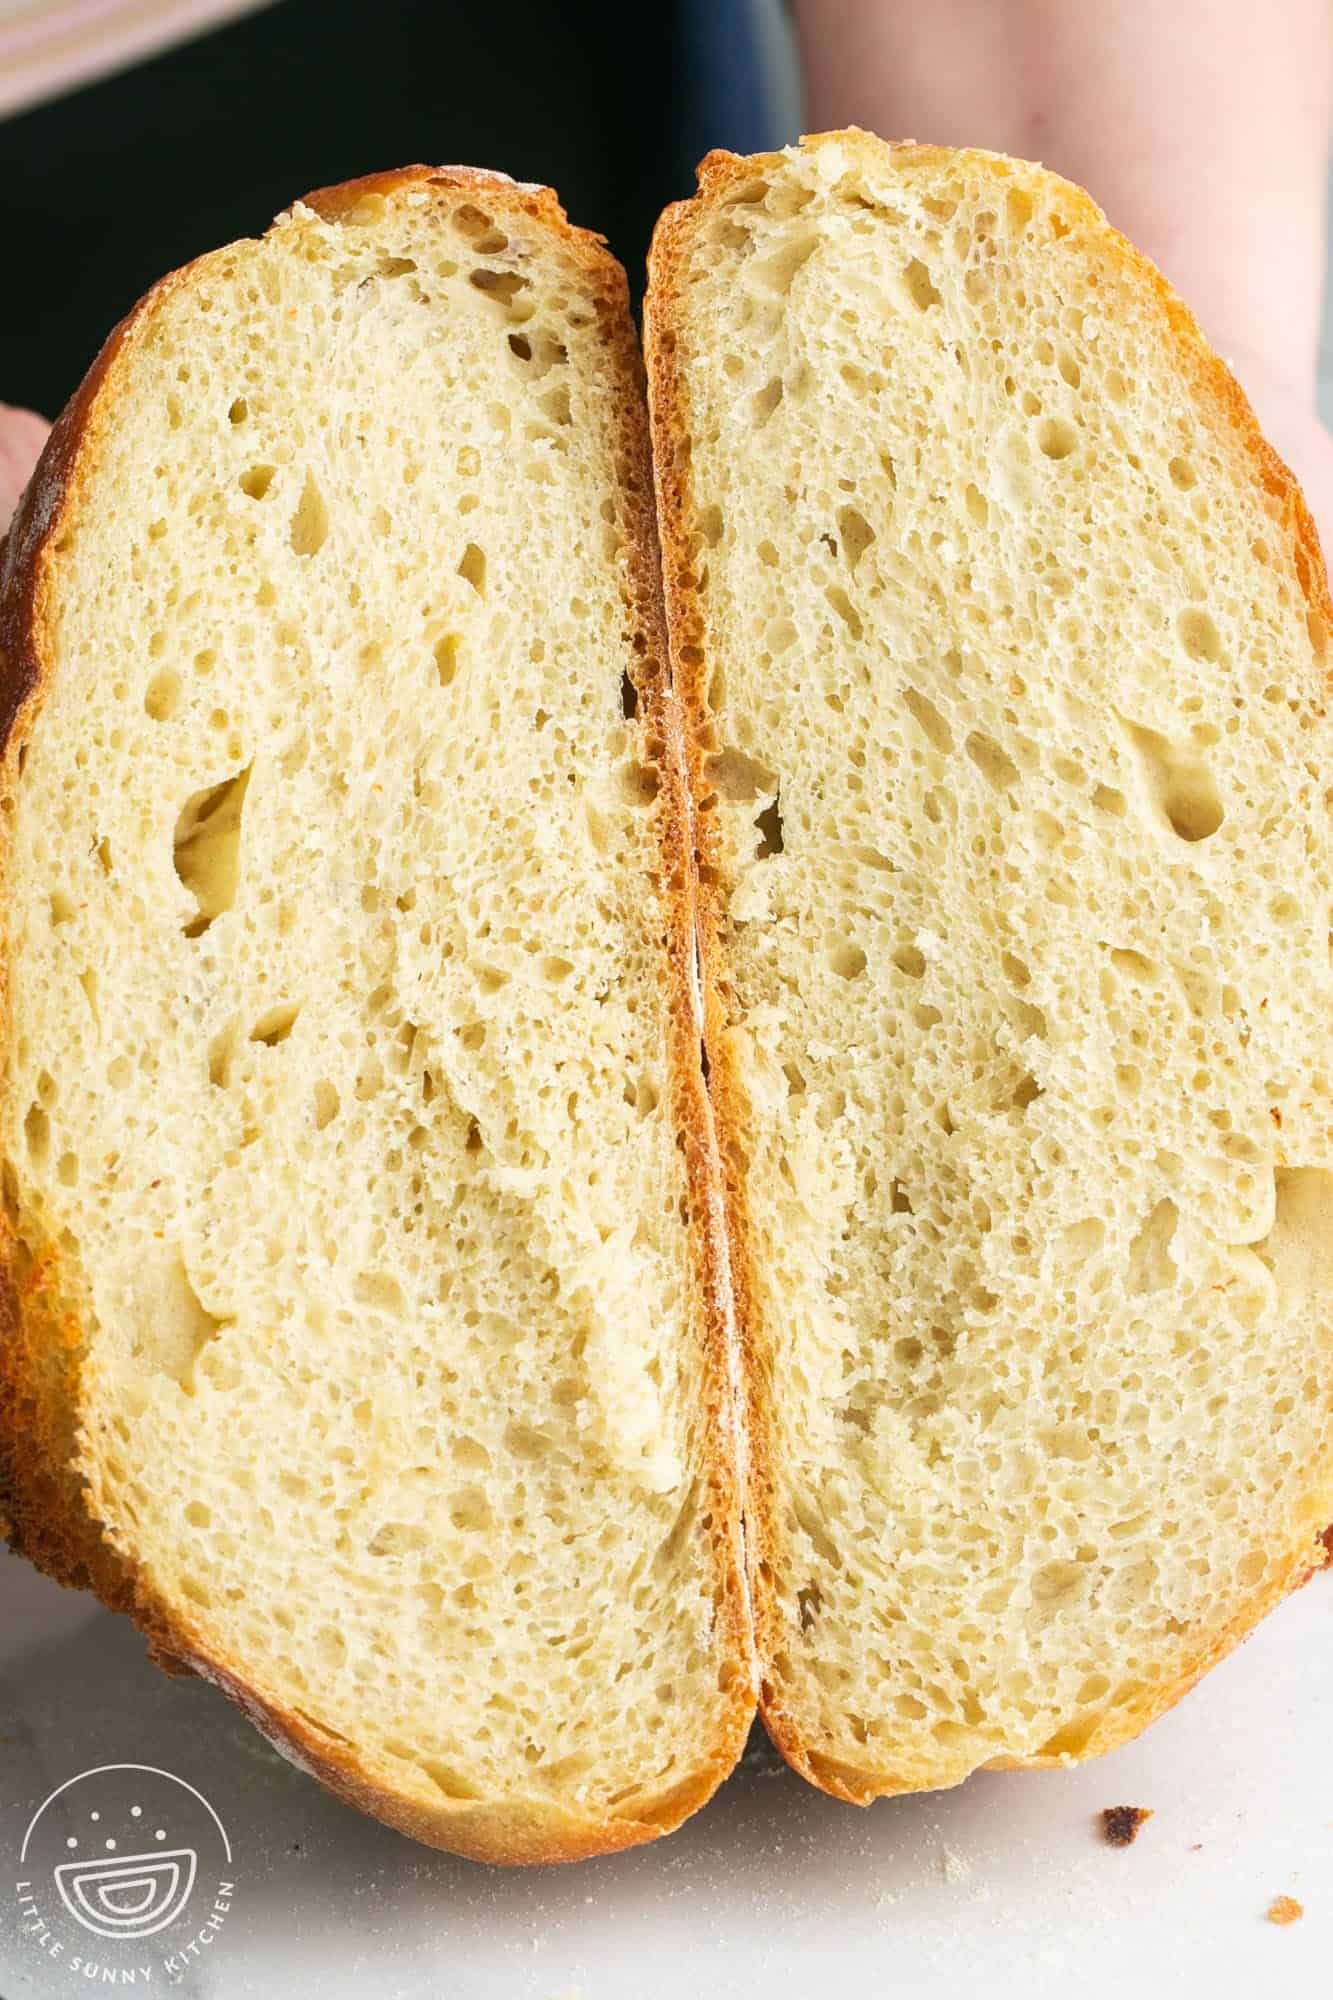
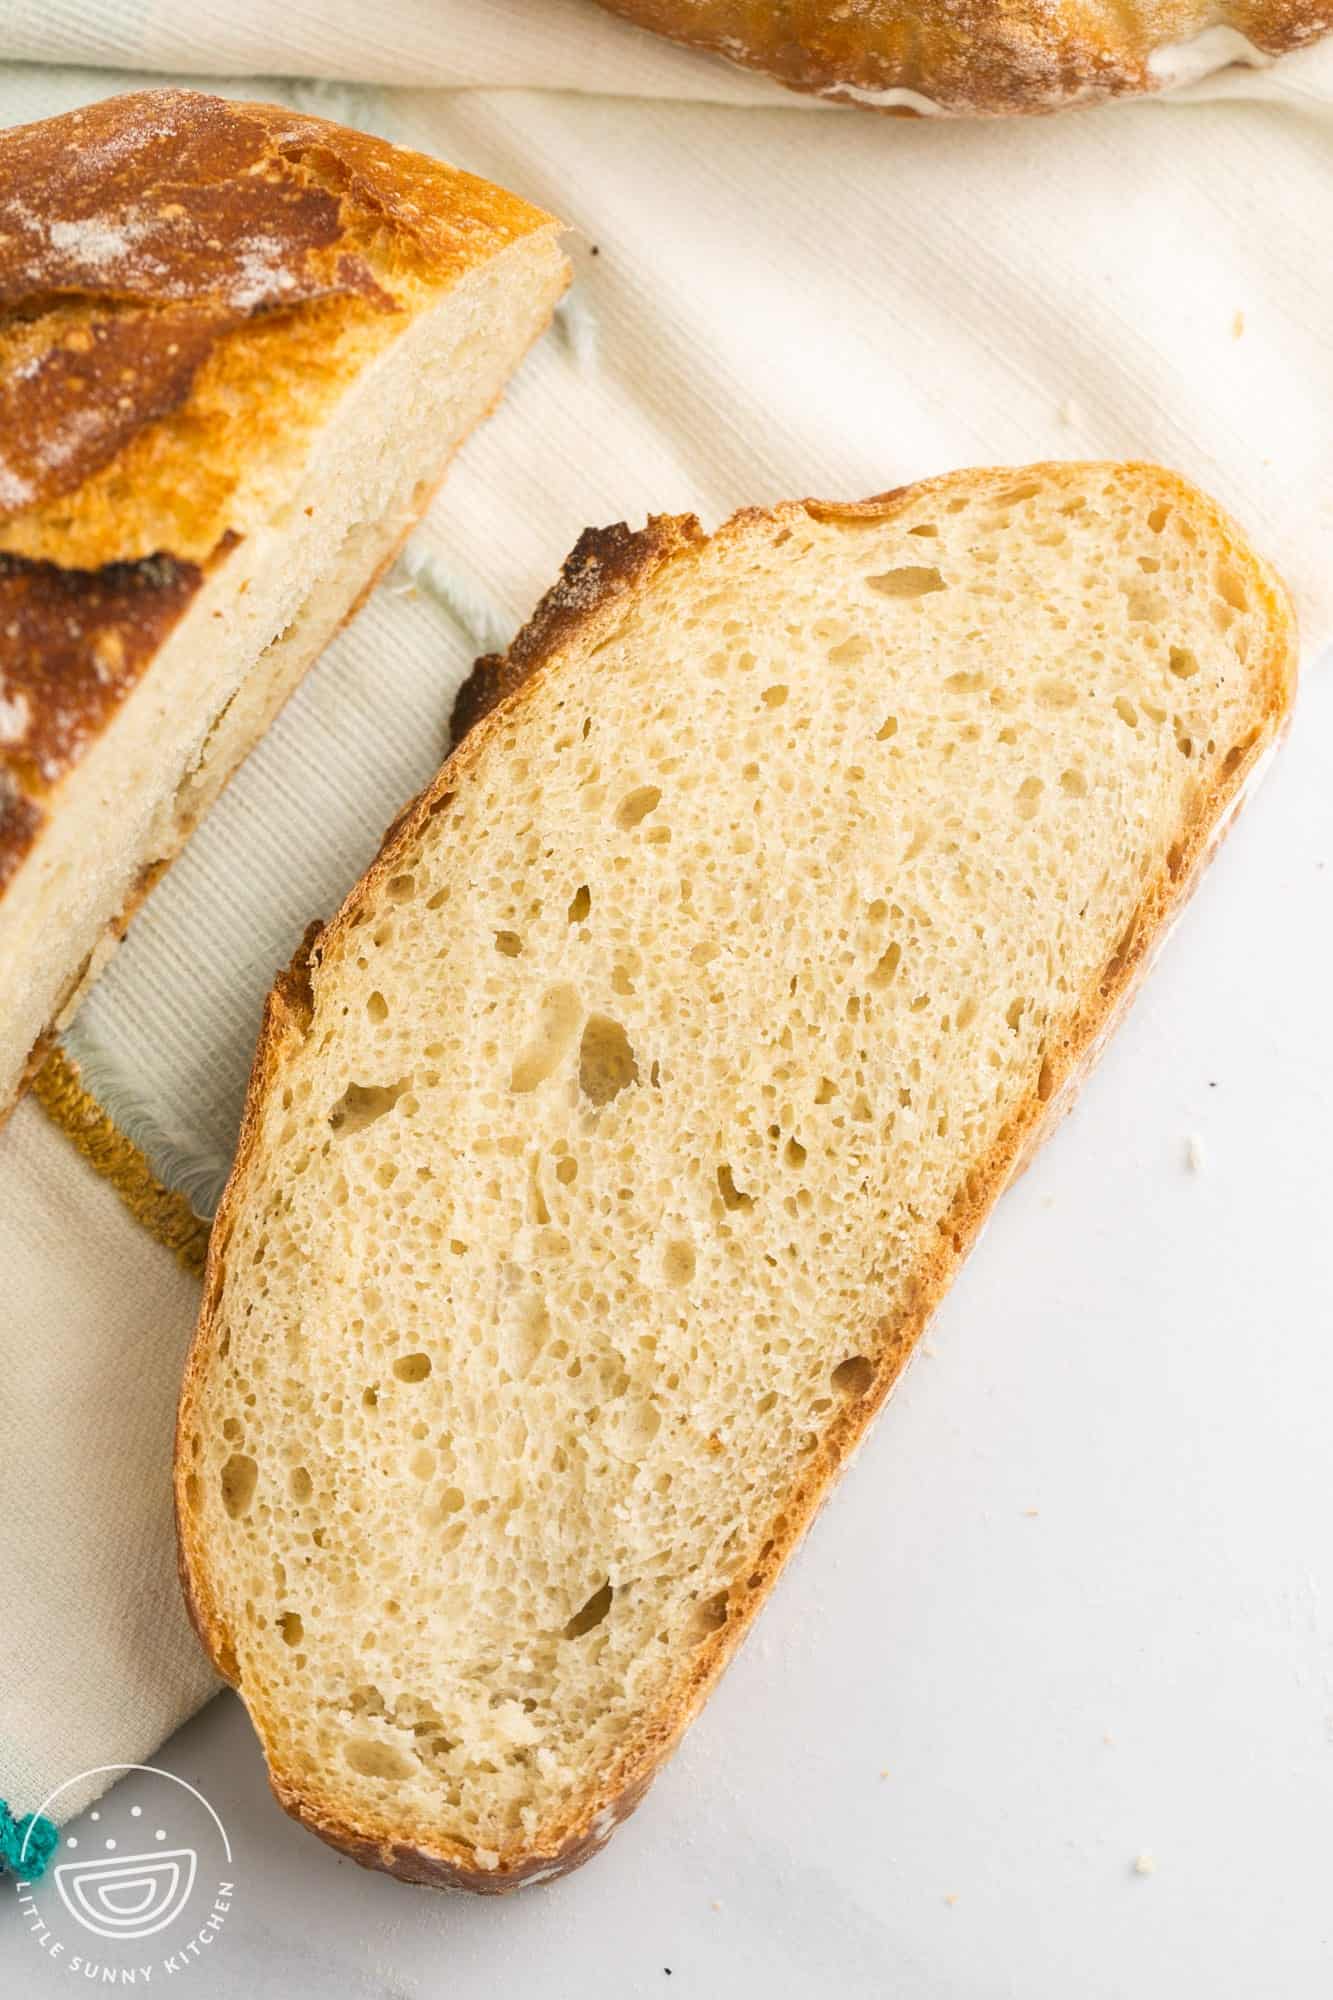
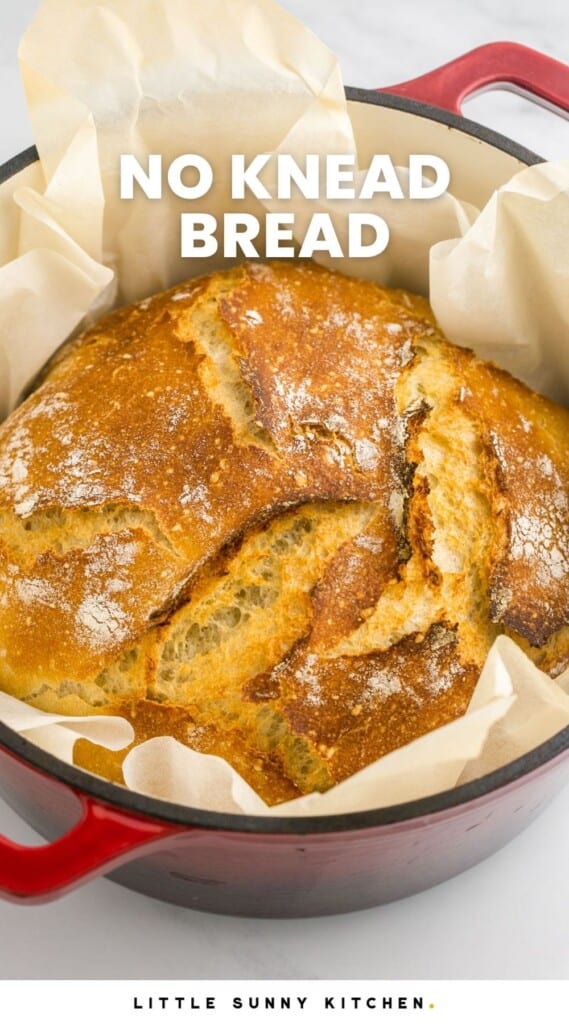
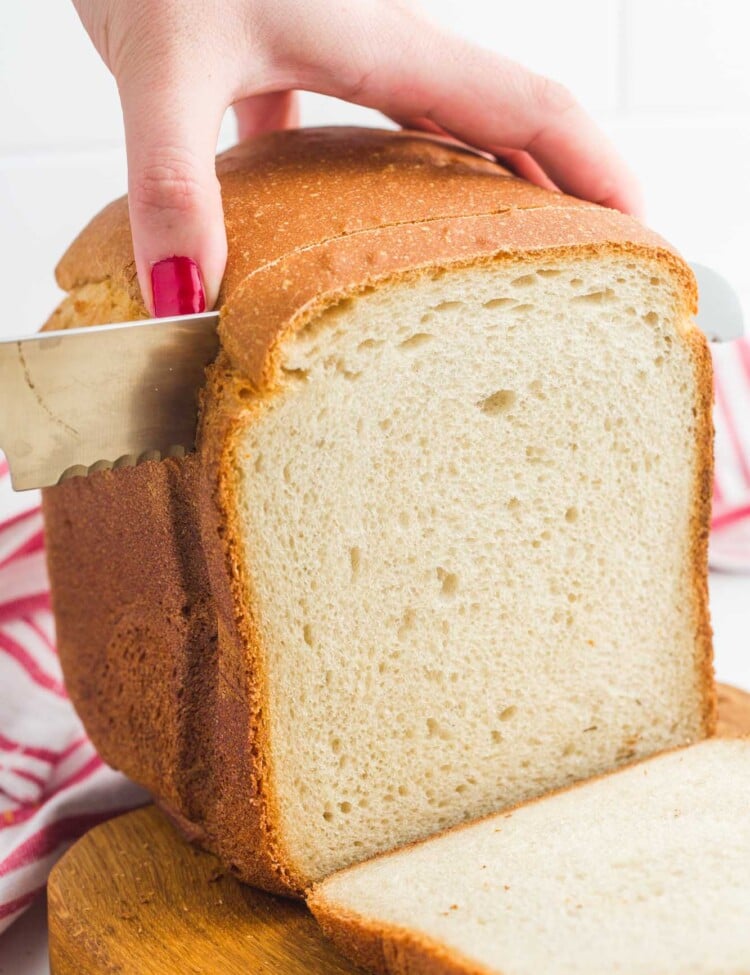
- Amazing Crumb and Texture – It’s truly remarkable that such a delicious loaf of rustic artisan bread can be made so easily! The texture of no knead bread is soft and airy with a bit of chew and a crisp crust that comes from baking the loaf in a covered dutch oven.
- Homemade Bread is just Better – You can make bread by hand using this method, or try your hand at bread maker bread. Either way, your homemade loaf will be far superior to the sandwich bread you find at the store, and cheaper too.
- Simple ingredients – Flour, salt, yeast, and water. That’s it!
Ingredients In No Knead Bread
Here’s what you need to make this artisan bread recipe at home:
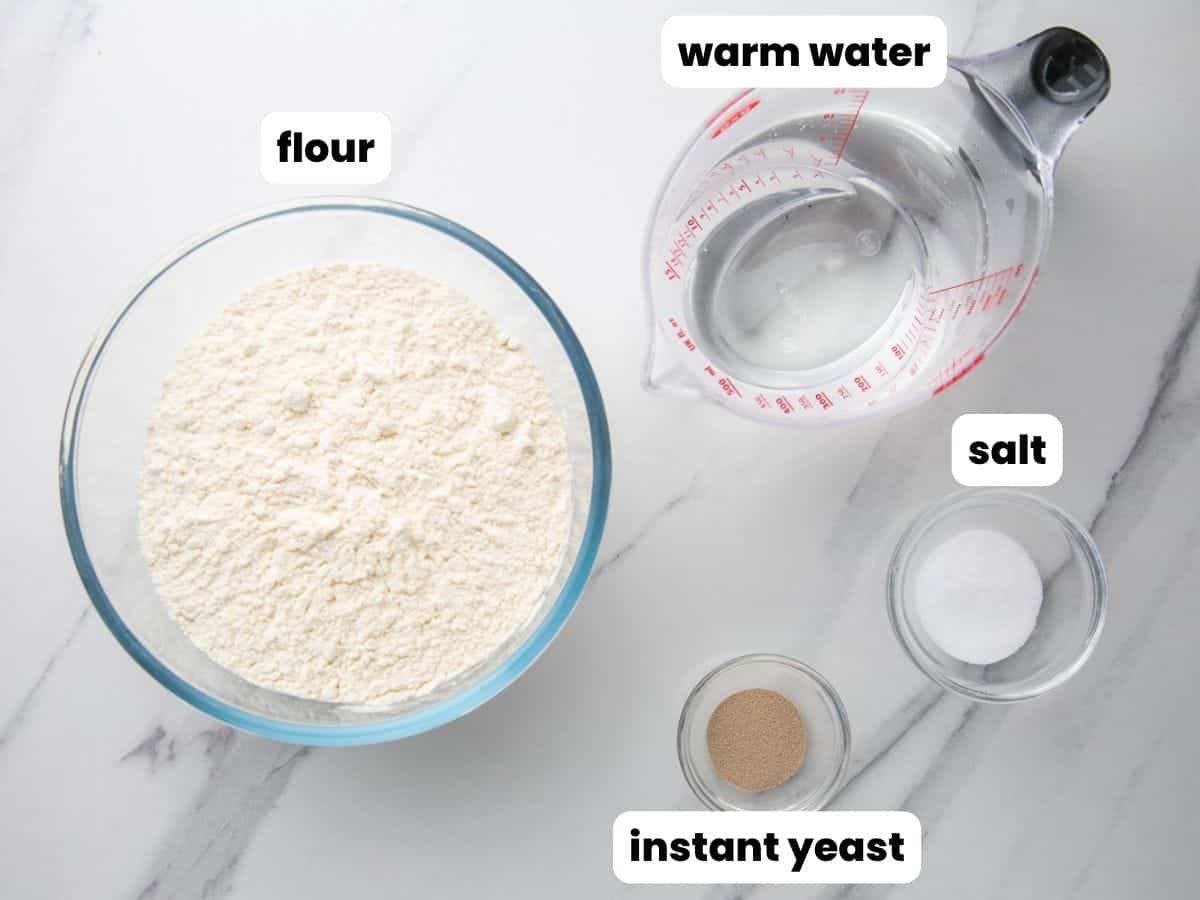
Complete list of ingredients and amounts can be found in the recipe card below.
- Flour: Don’t worry about buying any specialty bread flour. Regular all-purpose flour works perfectly.
- Yeast: Use instant yeast for no-knead bread. You may notice that the amount of yeast we’re using is less than a teaspoon – this method doesn’t need as much as others do! Be sure that your yeast is fresh so that the bread will rise.
- Salt: Flour doesn’t have much flavor on its own, so a bit of salt makes your no knead bread taste great.
- Water: The water in this recipe is important! You don’t need fancy water, but you do need to make sure that you’re using enough of it, and that it’s at the correct temperature to activate the yeast. Aim for warm water that’s slightly higher than body temperature, or between 105° and 115°F.
How To Make No Knead Bread
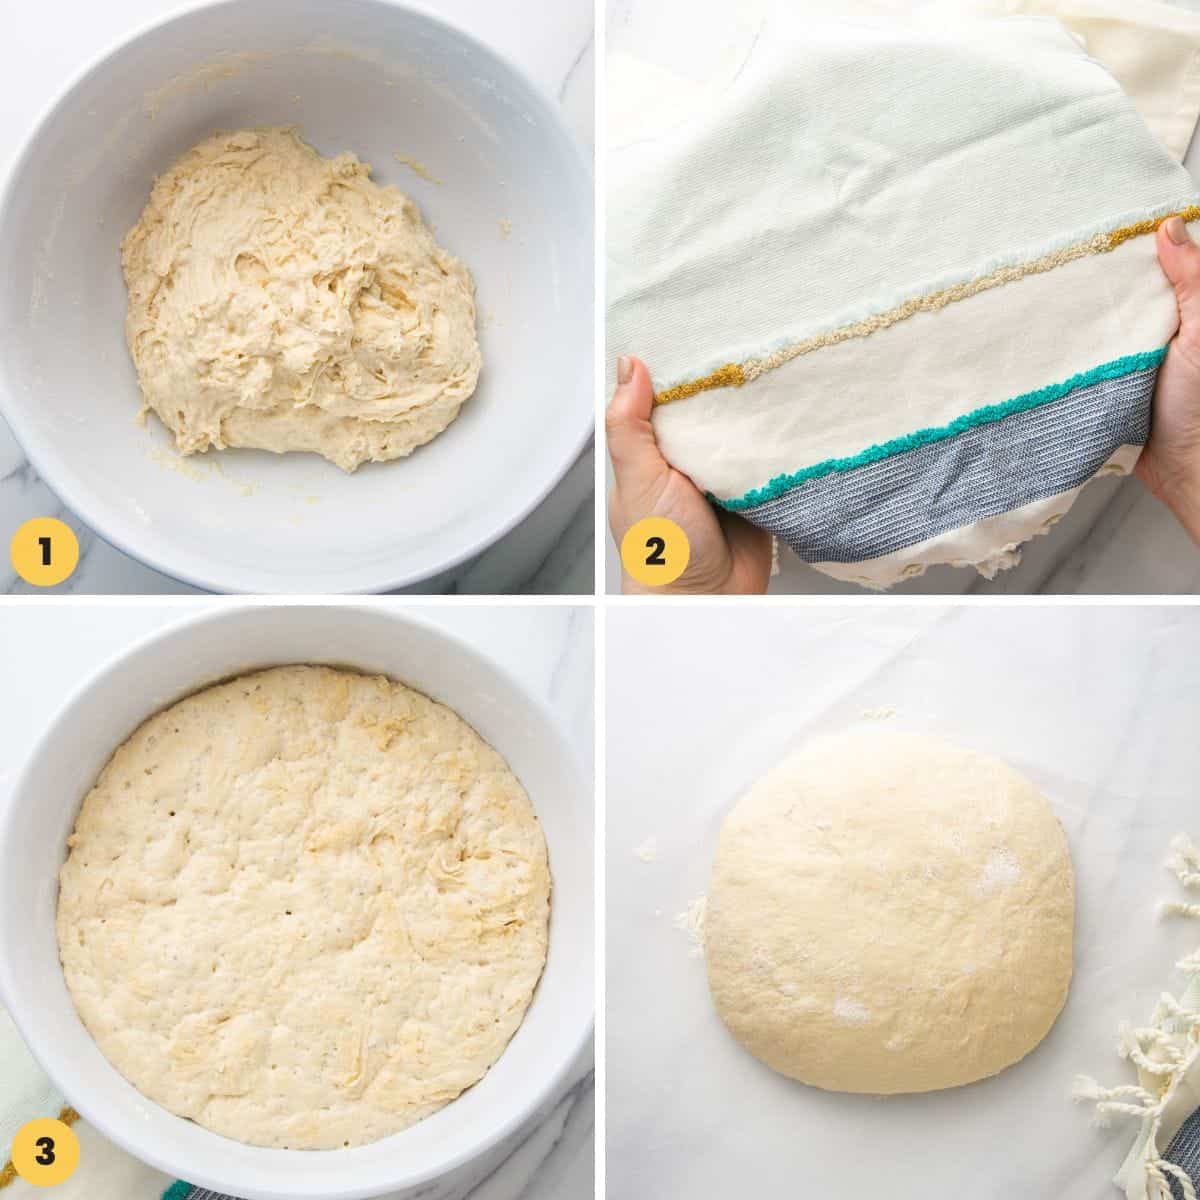
- Mix: In a large bowl, combine flour with salt, and instant yeast. Stir to combine, then add the warm water and mix with a spatula or wooden spoon. The dough will be sticky, loose, and shaggy.
- Cover: Cover the bowl with a clean towel and move it to an out-of-the-way, preferably warm spot.
- Wait: Let the dough sit, undisturbed for 8 hours, or until the dough has at increased in volume and gotten bubbly. It’s best to do this overnight.
- Shape: After the dough has risen, and about an hour before you want to bake it, turn the dough out onto a large piece of lightly floured parchment paper. Form it into a ball, then cover it with a clean towel or a bowl and allow it to rise for 1 hour.
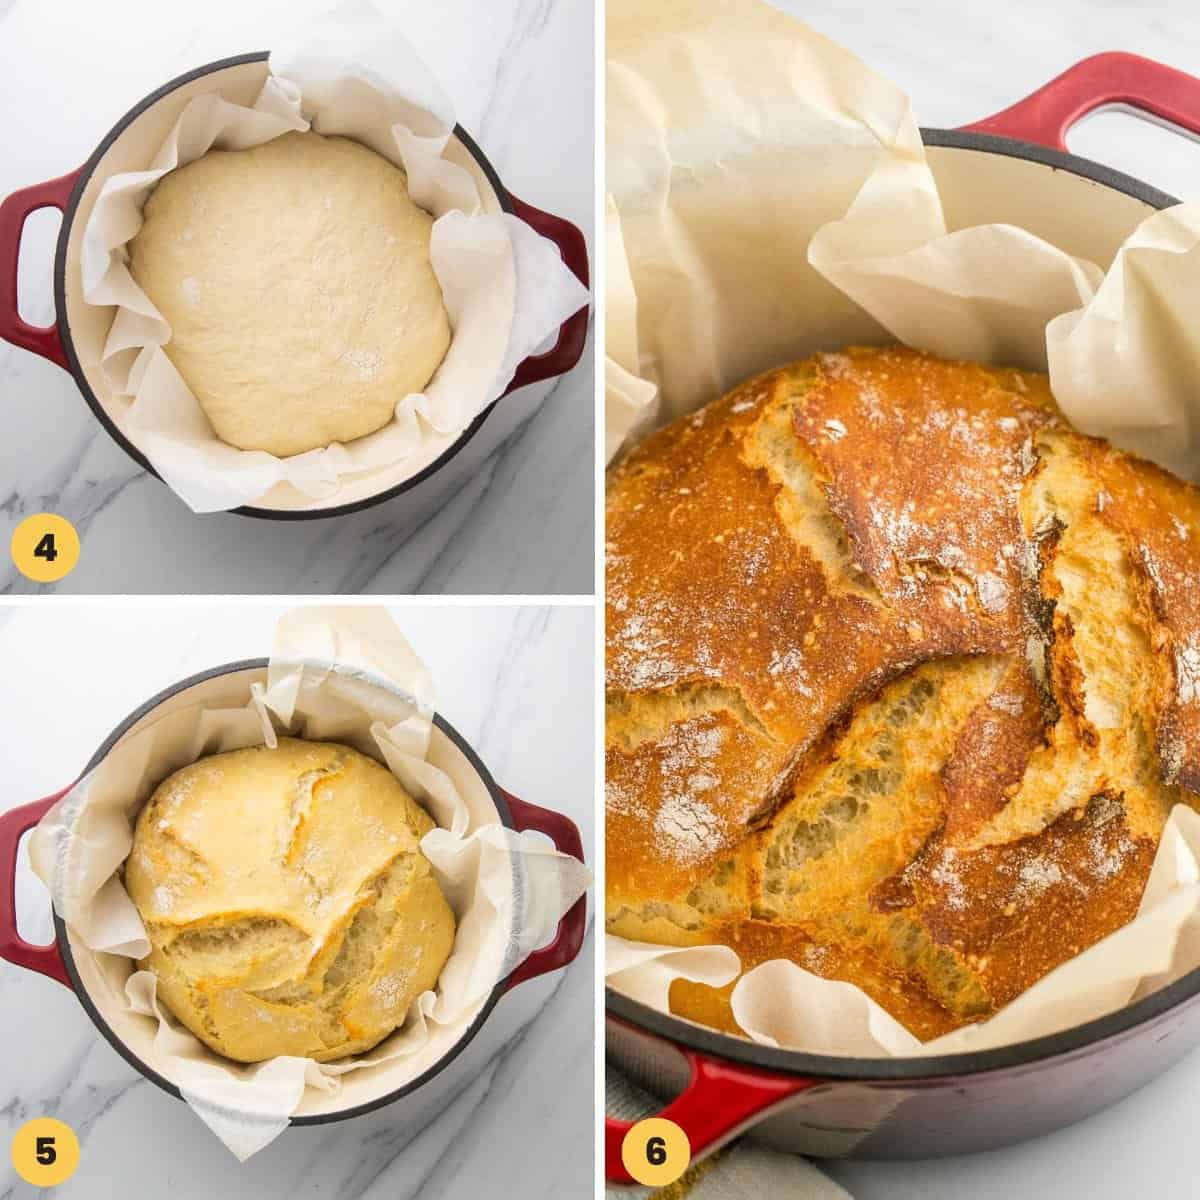
- Get Ready to Bake: Preheat the oven with a 5 or 6-quart dutch oven (not the lid) inside of it for at least 30 minutes at 430°F/220°C. You can do this while the dough is rising. Then, carefully remove the dutch oven from the oven, and place the dough with the parchment paper into it.
- Bake: Cover the dutch oven with a lid, and bake in the preheated oven for 30 minutes. Remove the lid, and continue baking for 15 minutes until the crust is golden brown.
- Cool and Slice: Allow the loaf to cool in the pot for a bit before removing it to a wire rack to cool down completely.
Tip!
Baking bread in a dutch oven creates a hot, steamy environment that creates the most wonderful crust! If you don’t have a dutch oven, you can still make this recipe. Bake the bread on a parchment-lined sheet tray instead. The crust won’t get as brown, but the bread will still be amazing.
Recipe Tips
- Use a Dutch Oven. I know I just said that you can make this recipe without one, and you can, but it’s really much better with one! The crust is thick, chewy, and amazing when you bake bread in a covered vessel like this. You can also substitute with any other oven safe pot, or glass baking dish with a lid.
- Make sure the water is at the correct temperature. I suggest that you use a kitchen thermometer to be sure. If the water is too cold, the yeast won’t activate, and if the water is too hot, you risk killing the yeast.
- Measure correctly. If you don’t have the right flour-to-water ratio, the recipe won’t turn out correctly. Check out these tips for measuring ingredients for baking.
- Add Flavor! This recipe makes a plain, unseasoned loaf of bread. It’s delicious, but there is definitely room for improvement. Try mixing in herbs, spices, or grated cheese to make a true artisan loaf that is your own creation.
- If you’re unsure if the bread is fully cooked in the center, use a kitchen thermometer to ensure that the center of the loaf is at least 200°F/ 93°C.
Storing Tips
This homemade bread is best when you eat it the same day that you bake it, but it will stay fresh for about a day if you avoid slicing it.
If you don’t plan to eat the whole loaf right away, I suggest freezing individual slices. From the freezer, pull out a piece and pop it right in the toaster!
What To Serve With Artisan Bread
Homemade No Knead Bread can be used in the same ways that you’d use any other bread!
Try making a tuna salad sandwich on fresh bread – it will be the most amazing lunch you’ve had lately!
I enjoy toasting this bread and topping it with Nutella or almond butter for a quick and super satisfying breakfast.
FAQs
Yes. My recipe calls for instant yeast, but you can replace it with active dry yeast by just doubling the amount. So instead of ¾ teaspoon instant yeast, use 1 ½ teaspoons of active dry yeast.
If you don’t have 8 hours to let the dough slowly rise and ferment, there is a workaround to get things happening in less time. The secret to a shorter rise time is sugar. Make the recipe as directed, but add 1 teaspoon of honey or granulated sugar to the dough. Rather than 8 hours for the initial rise, you should only need 1 hour now!
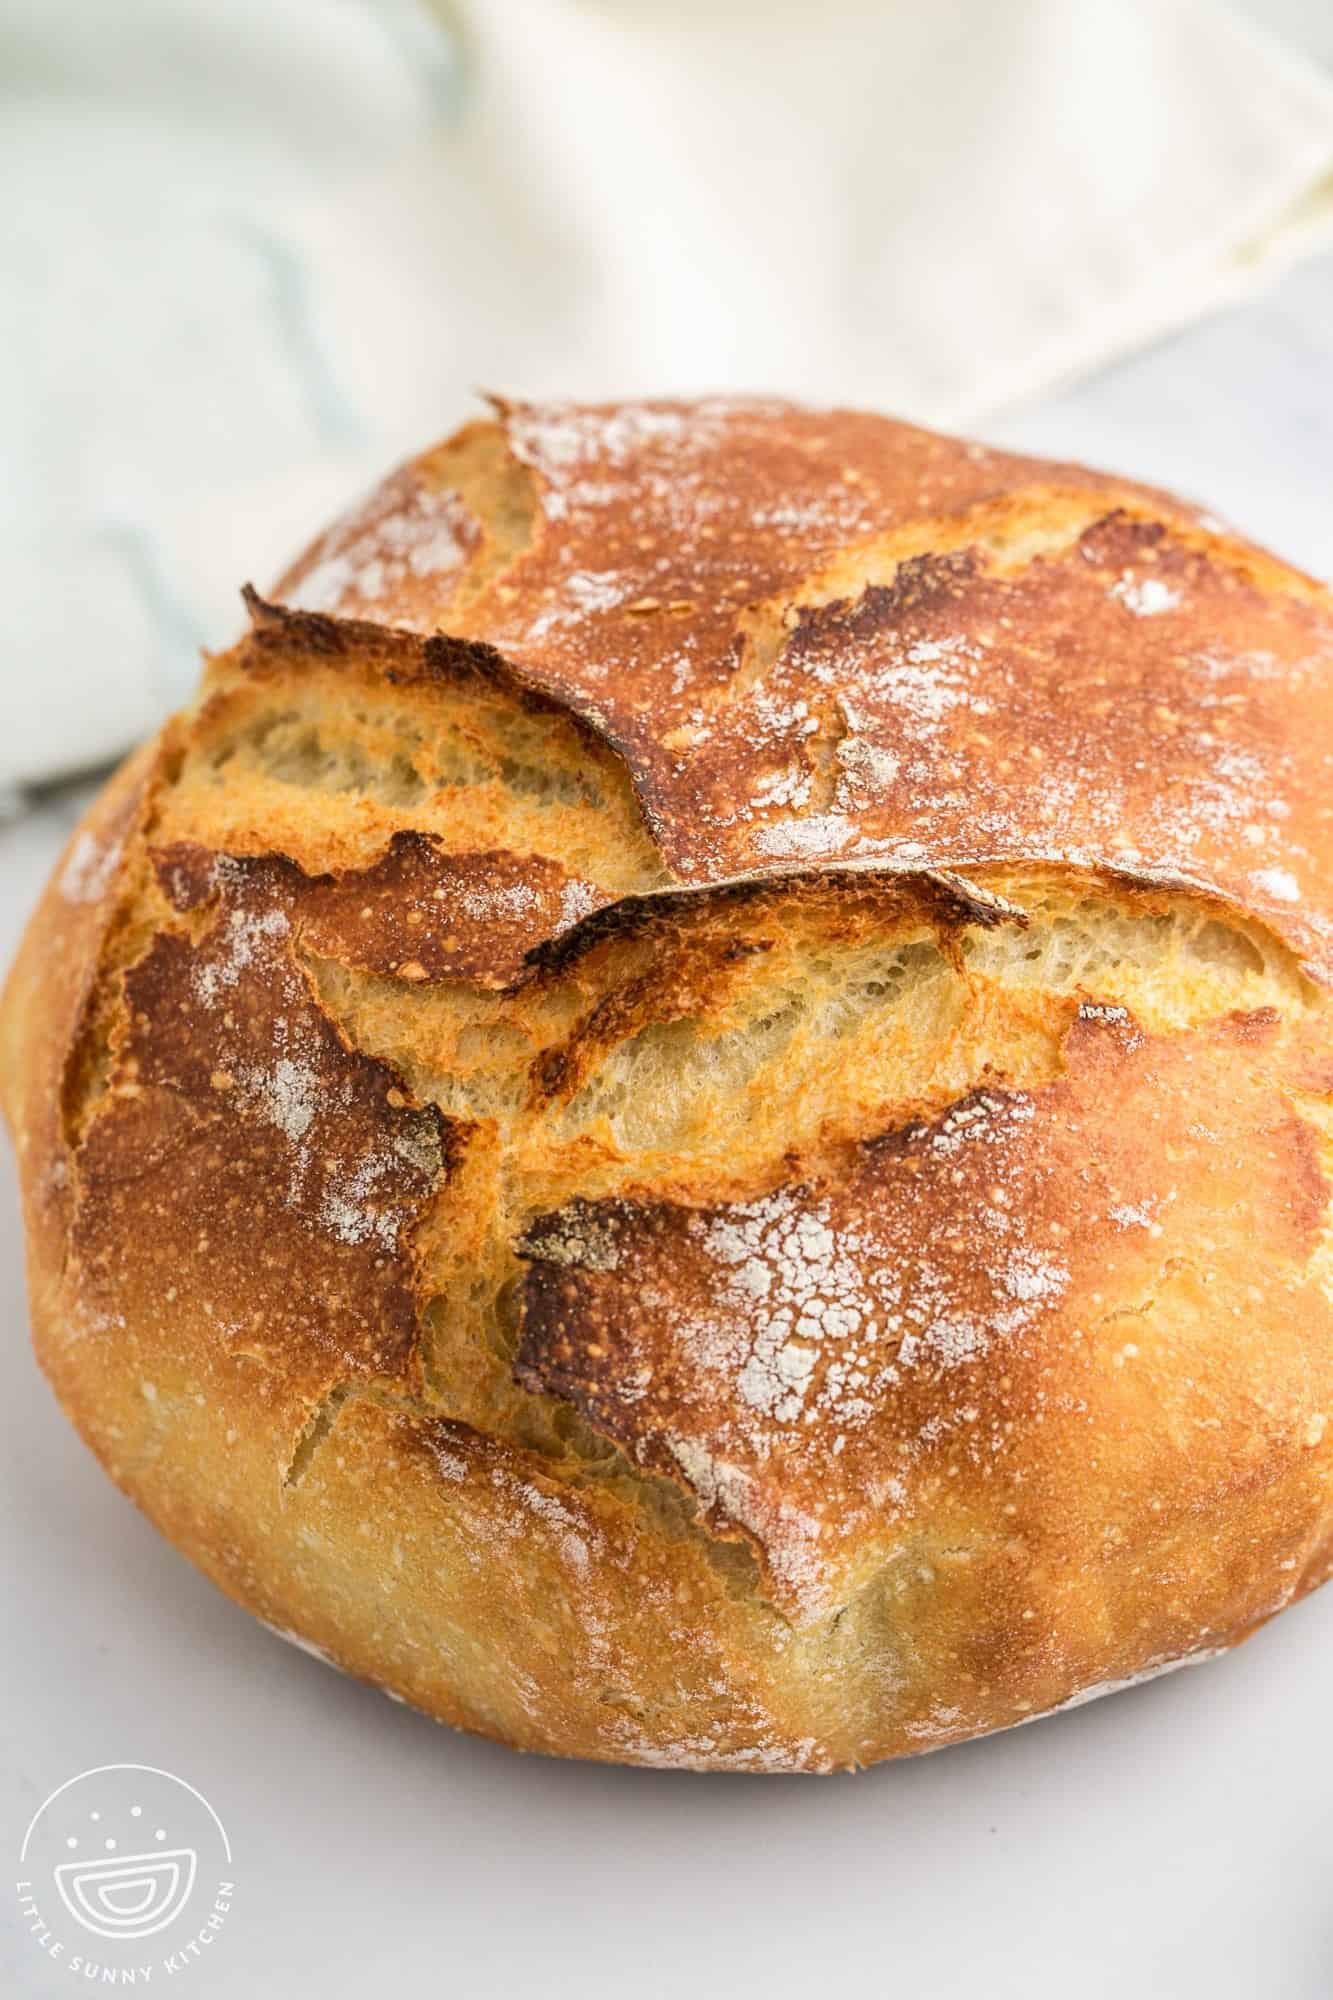
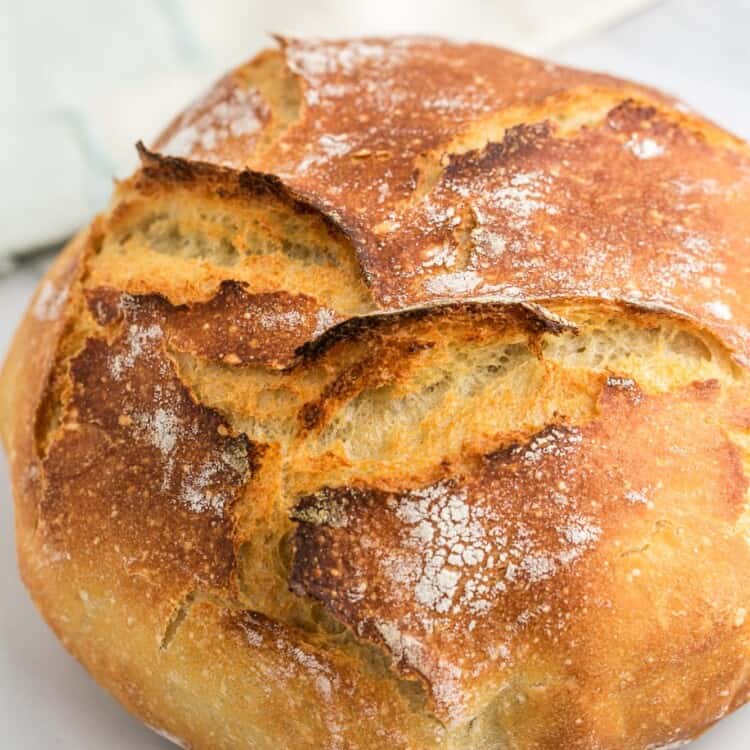
You can see in the photos that I did not score this loaf, and the result was that the top of the bread split in a really fun, rustic way! If you’d prefer a more controlled loaf of bread, use a sharp knife to score a pattern into the top before baking.
I have not tested no knead bread with whole wheat flour or any other types of flour as of right now, so I can’t say if it will work or not. If you try it, come back and tell me about it please!
This method is very forgiving and generally will be fine if left out to ferment for a little longer than overnight. You can also put the dough in the refrigerator after the initial rise time and keep it there for another 8 hours. Let the dough warm at room temperature before trying to bake it. If you’re planning ahead, mix up the dough and then put it in the fridge right away. The yeast will grow more slowly, so you can keep the dough for 24 hours that way. Many bakers say that the flavor of this bread improves with time!
Homemade Bread is just SO good, and this recipe for No Knead Bread is the easiest way to make it. Make sure you pin and share this recipe so everyone can enjoy it.
Did you make this? Be sure to leave a review below and tag me on Facebook, Instagram, or Pinterest!
No Knead Bread
Equipment
- wooden spoon
Ingredients
- 3 cups (450 grams) all purpose flour 1 pound, Plain flour in the UK
- 1 ½ teaspoons salt
- ¾ teaspoon instant yeast
- 1 ½ cups (360 ml) warm water between 105° and 115°F
Instructions
- In a large bowl, combine flour with salt, and instant yeast. Stir to combine, then add the water and mix with a spatula or wooden spoon. The dough will be sticky, loose and shaggy.
- Cover the bowl with a clean towel, and allow to rise for 8 hours preferably in a warm place.
- 8 hours later, uncover and turn the dough onto a lightly floured parchment paper. And shape into a ball/loaf, cover with a bowl or a towel and allow to rise for one hour.
- As the dough is rising, preheat the oven with a dutch oven inside (without the lid) for 30 minutes at 430°F/220°C.
- Carefully remove the dutch oven from the oven, and place the dough with the parchment paper inside it. Cover with a lid, and bake for 30 minutes.
- Remove the lid, and bake for 15 more minutes.
- Allow to cool before slicing.
Notes:
- Use active dry yeast instead: The recipe here is for instant yeast, but you can replace it with active dry yeast by just doubling the amount. So instead of ¾ teaspoon instant yeast, use 1 ½ teaspoons of active dry yeast.
- 1 hour rise variation: Don’t have 8 hours to wait for the dough to ferment? Make the recipe as directed, but add 1 teaspoon of honey or granulated sugar to the dough. Rather than 8 hours for the initial rise, you should only need 1 hour now!
- Baking bread in a dutch oven creates a hot, steamy environment that creates the most wonderful crust!
- Instead of a dutch oven, you can bake this bread on a sheet pan. The crust will not be as brown and thick, but the bread will still be delicious.
- Make sure the water is at the correct temperature. I suggest that you use a kitchen thermometer to be sure. If the water is too cold, the yeast won’t activate, and if the water is too hot, you risk killing the yeast.
- To Store: Enjoy your homemade bread as soon as possible after baking. Store it unsliced in an airtight container for up to 2 days if needed. I suggest freezing individual slices of bread if you aren’t going to eat the loaf right away. They can go from the freezer directly to the toaster.
Nutrition Information
This website provides approximate nutrition information for convenience and as a courtesy only. Nutrition data is gathered primarily from the USDA Food Composition Database, whenever available, or otherwise other online calculators.
© Little Sunny Kitchen




Peggy says
Hello, Can this bread be made with half all purpose and half whole wheat flour?
Little Sunny Kitchen says
Hi Peggy! The texture of the bread will change a bit, but I think that you’d still end up with a rustic loaf if you made that change. Try it out and let me know how it works!
Serena Peterson says
I just finished the first step of mixing the dough before sitting for 8 hours. I read the nutritional information and I am wondering if you forgot something on the recipe. 8 grams of fat per serving is strange considering there is no oil or eggs. Plain flour has no fat.
Little Sunny Kitchen says
I adjusted the nutrition facts section, it seems there was an error there. There is actually about 4 grams of fat for the entire recipe. All purpose flour does contain about 1.2 g of fat per cup.
Jenlee says
Great crust, I followed the recipe as written. So easy and family loved it!
Teresa Howard says
I tried this recipe and my bread did rise. I tried different recipes before and my bread did not rise I’m sure why. I like the easy directions that you gave for the spread.
Diana says
I’m glad to hear that the recipe worked well for you, especially after having trouble with other recipes. It’s great that the bread rose as expected and that you found the instructions easy to follow. Thanks for the positive review, Teresa!