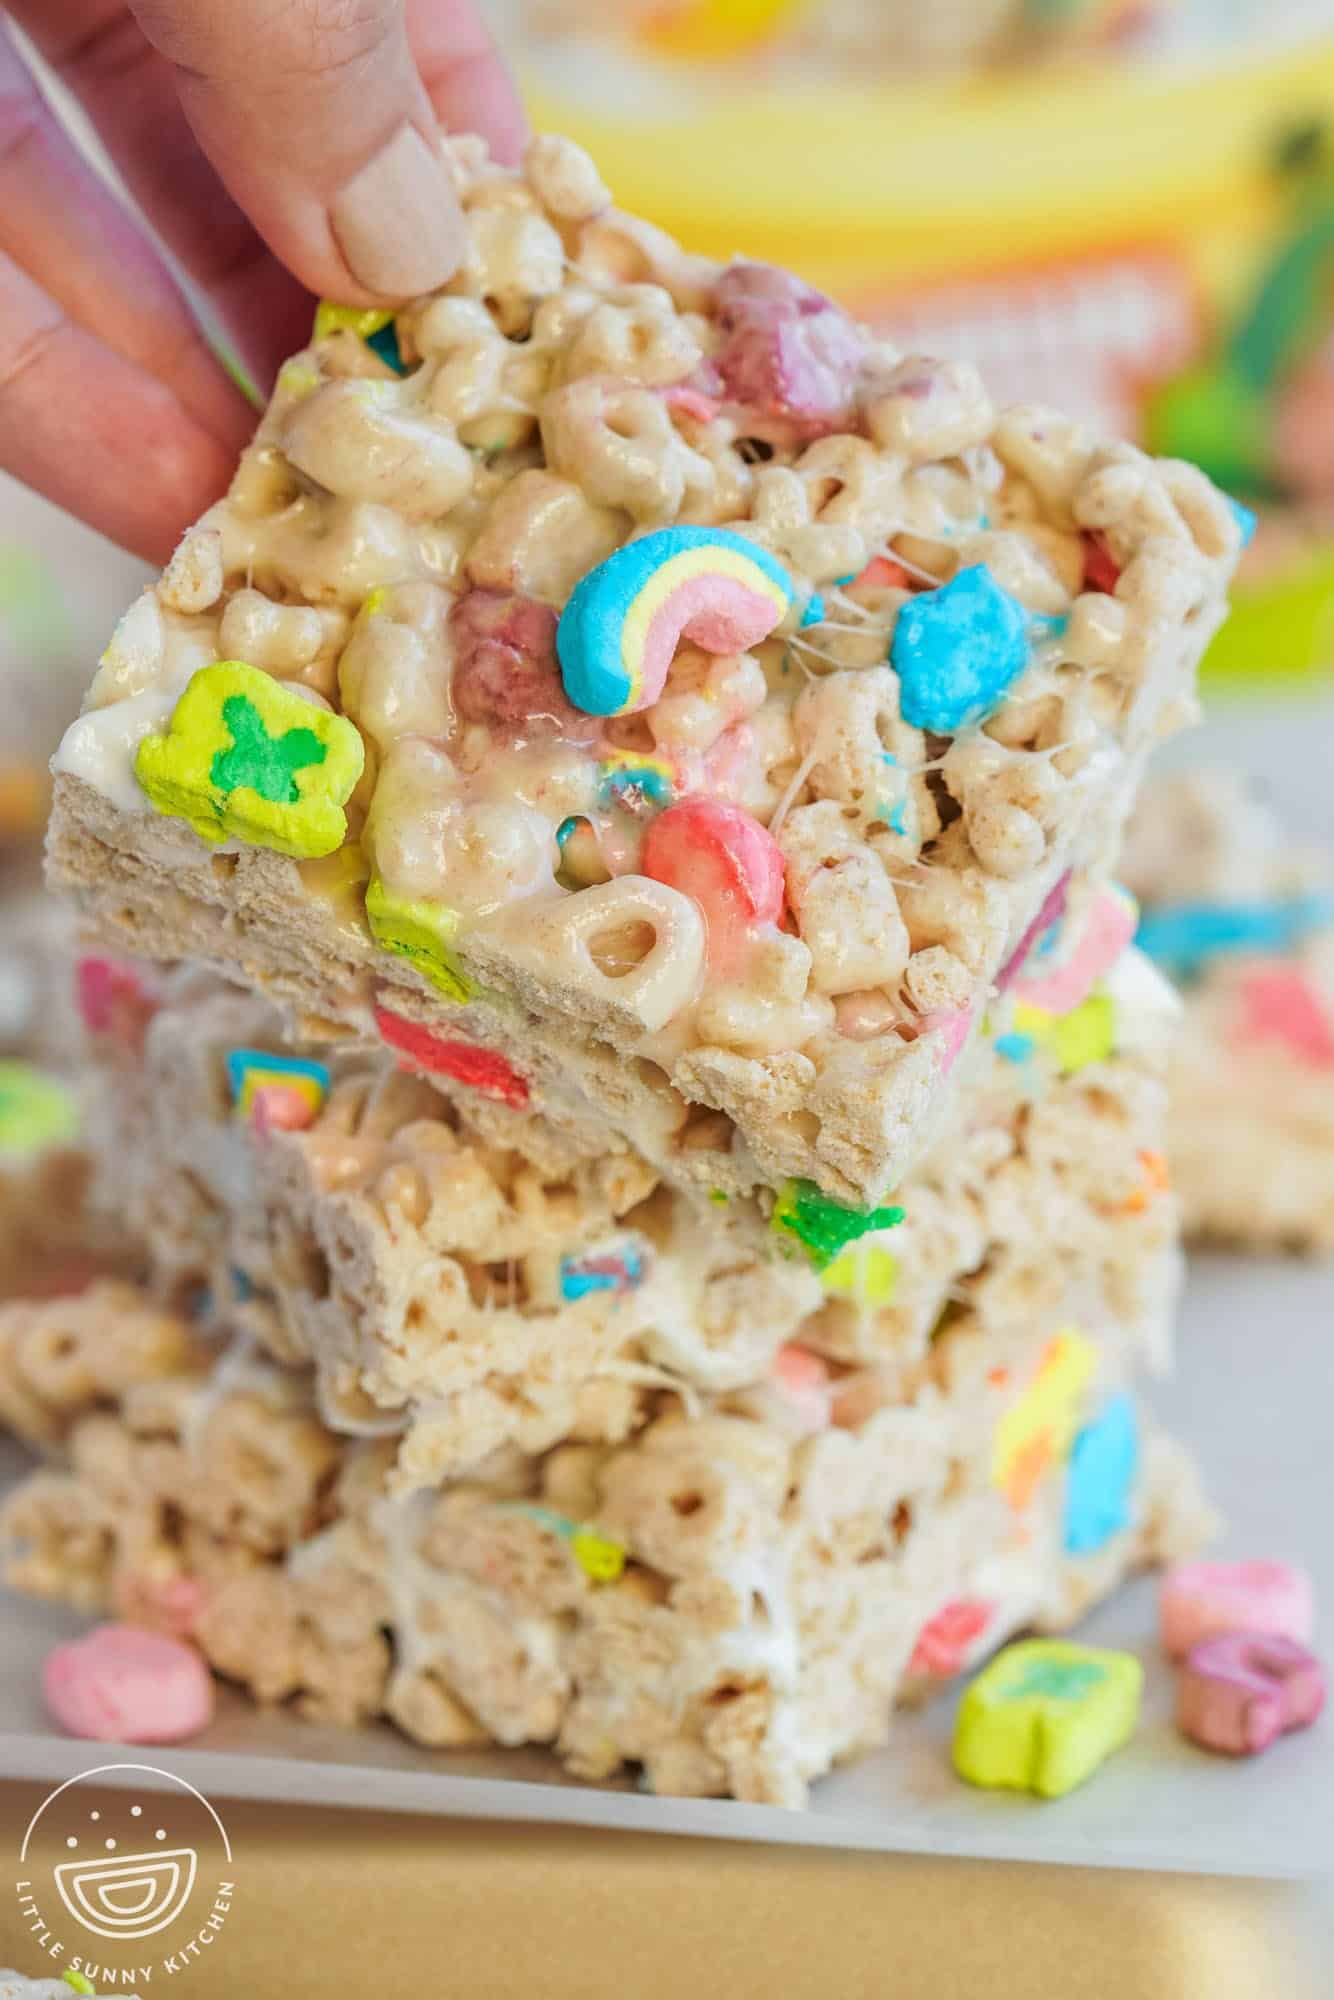
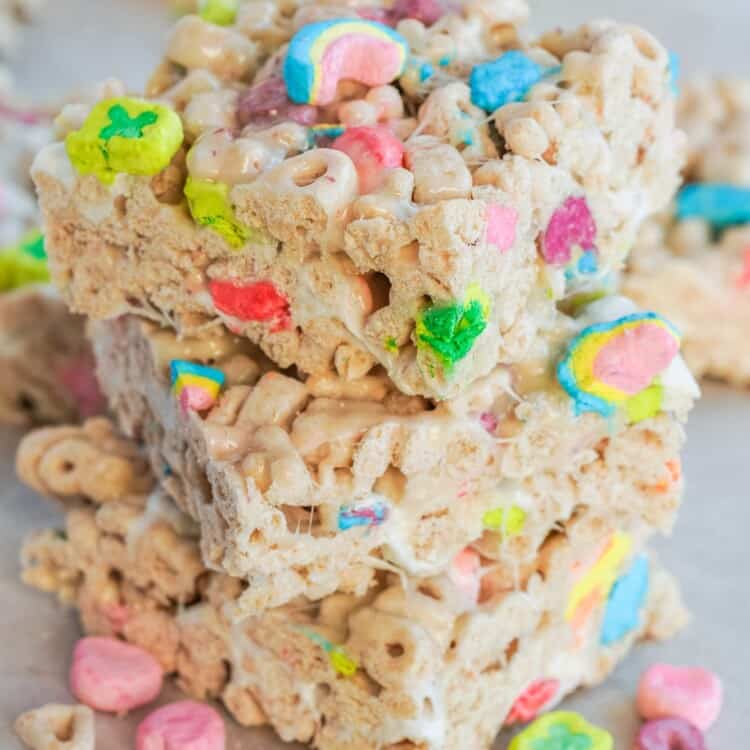
These fun Lucky Charms Treats are made with colorful Lucky Charms Cereal and marshmallows. They’re the perfect way to celebrate St Patrick’s Day with kids, a great after-school snack, and perfect for school parties.
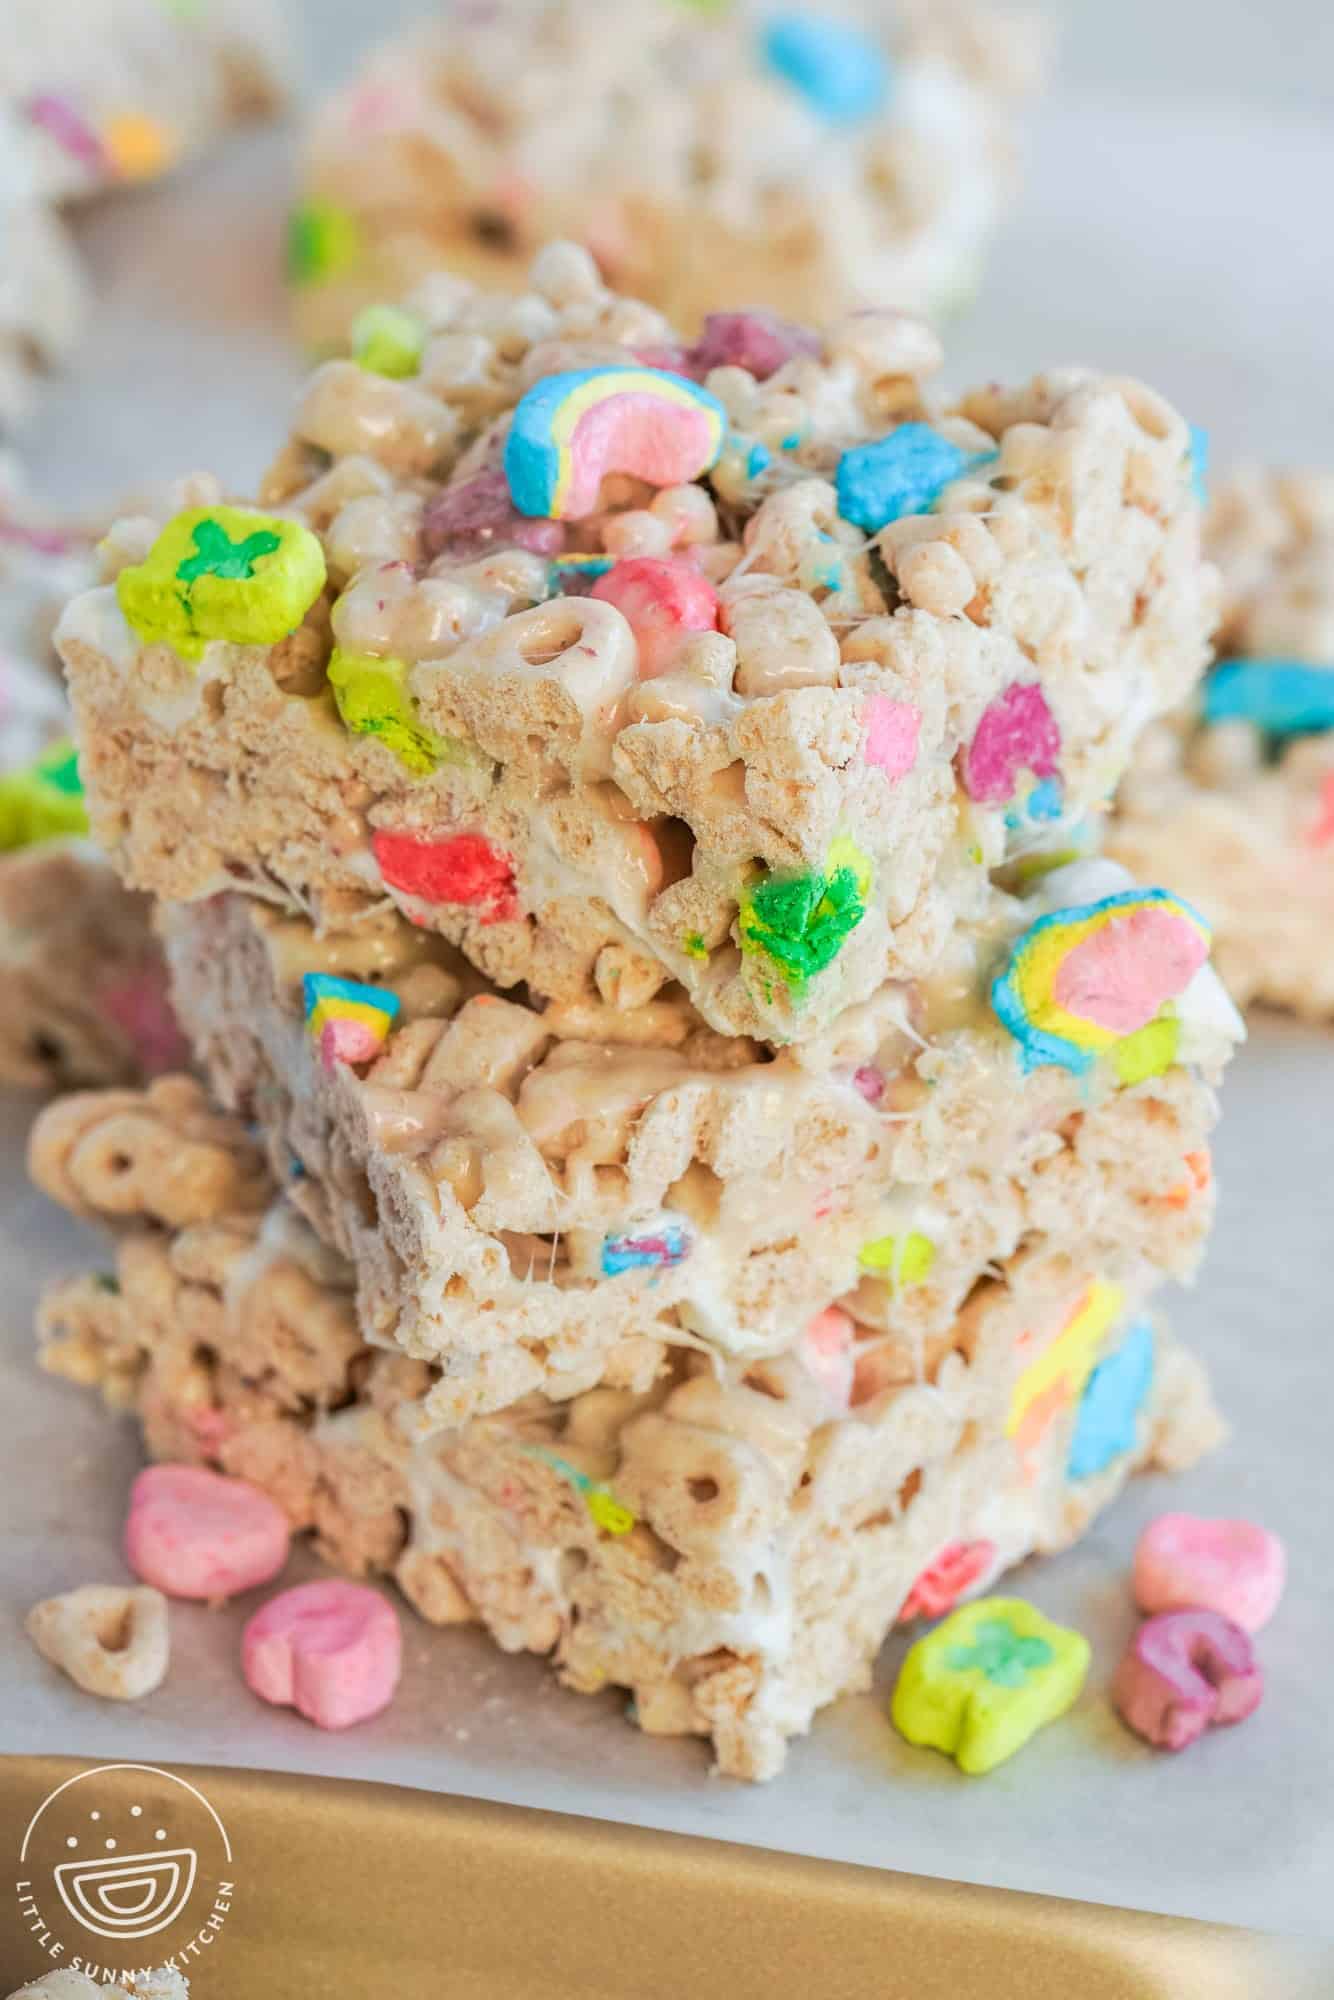
I love making no-bake snacks at home, I believe that cereal bars should be made at home because they taste so much better homemade and they’re so easy to make.
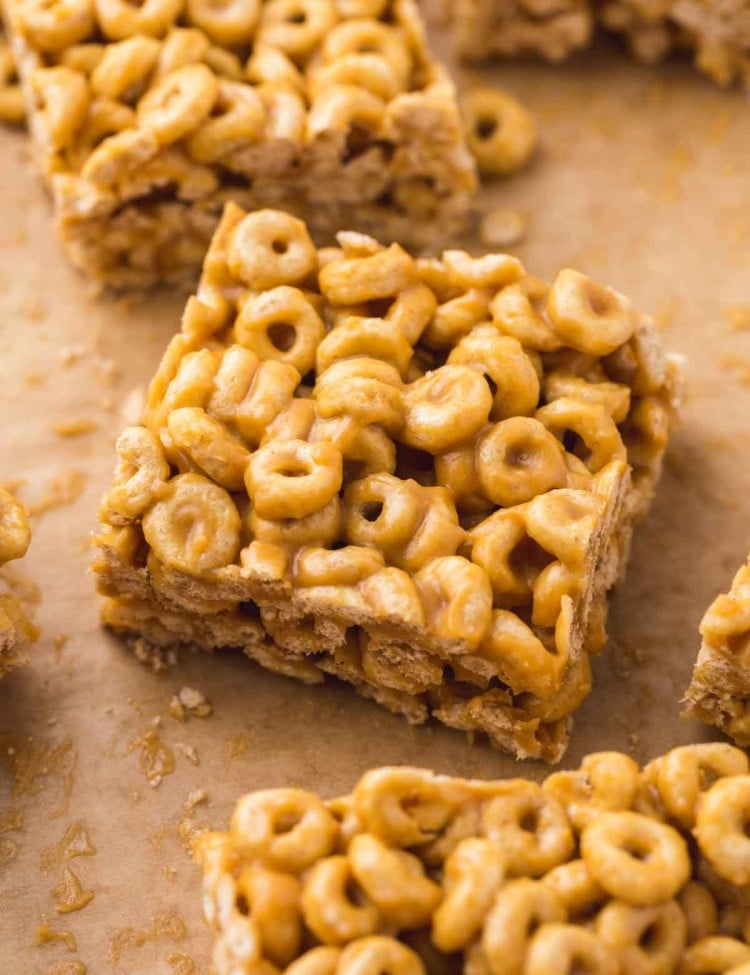
If you love Rice Krispie Treats, Star Crunch Cookies, Chex Mix Marshmallow Treats, Scotcheroos, and Cheerio Bars, then you are going to love these!
Why You’ll Love This Recipe
- No-Bake Recipe – This recipe is super simple! All you have to do is melt the marshmallows with butter, and mix everything in. You won’t need to use the oven to make these.
- Ready in 15 – These cereal Treats take just 15 minutes from start to finish.
- Grab and Go Snack – These bars are perfect for busy days. They’re not exactly healthy, but they’re delicious.
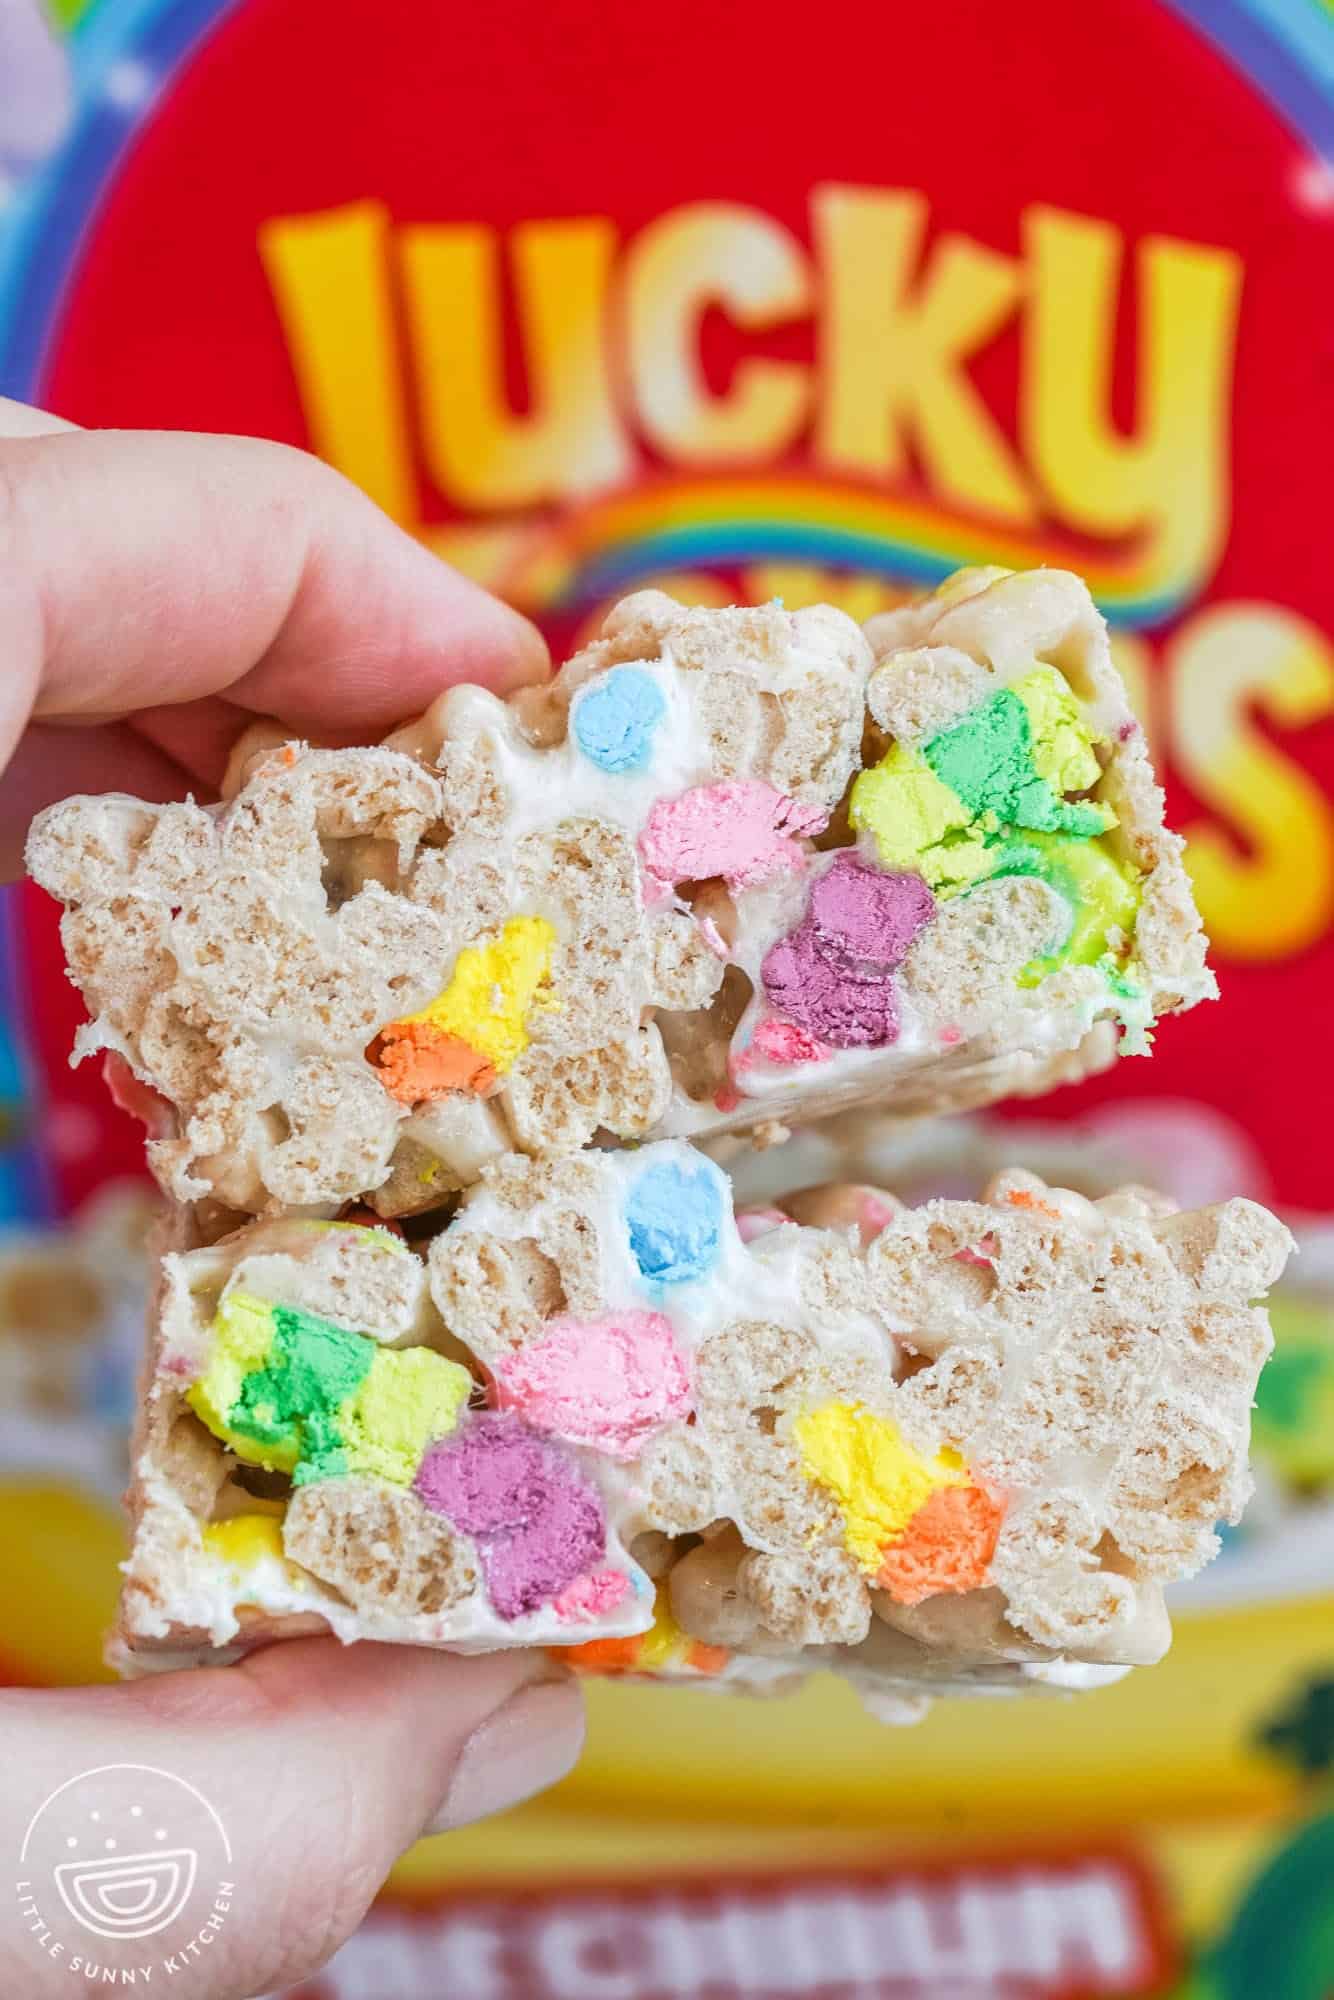
- Two Kinds of Marshmallows – I love how these cereal bars contain regular marshmallows that we will be melting, and the cutest lucky marshmallows that come with the cereal.
Ingredients In Recipe
Here’s what you need to make these Lucky Charms cereal bars:
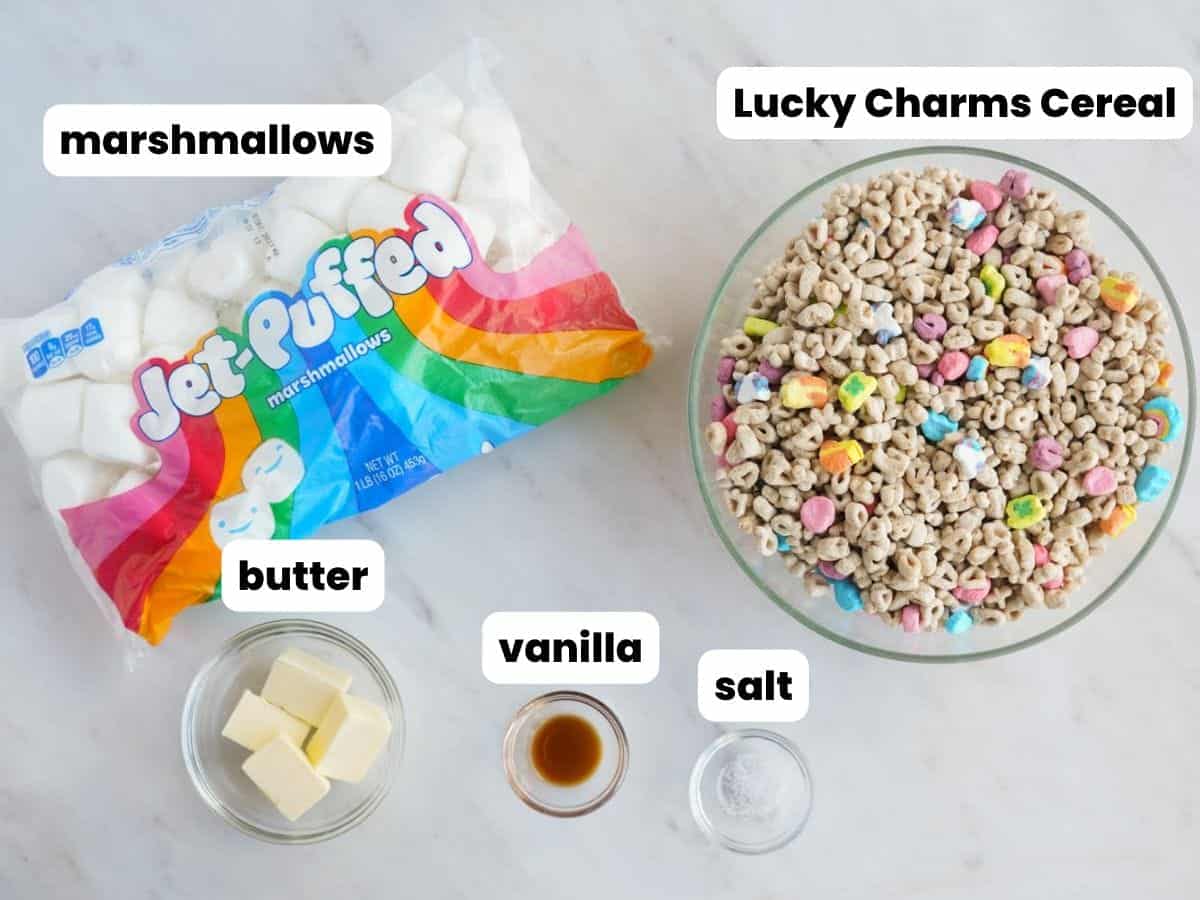
Complete list of ingredients and amounts can be found in the recipe card below.
- Cereal: You will need one 10.5oz box (8 cups) of Lucky Charms Cereal. You can also use Fruity Lucky Charms Cereal, Lucky Charms Marshmallow Clusters, or Lucky Charms Honey Clovers Cereal if you like.
- Marshmallows: I prefer to use large (regular) marshmallows rather than mini marshmallows as I think that they melt better, but mini marshmallows will also work fine.
- Butter: I recommend using unsalted butter in this recipe.
- Vanilla and Salt: These ingredients are optional, but add a great flavor.
How To Make Lucky Charms Treats
Before you start, butter a large bowl and a 9×13 inch pan. And set aside.
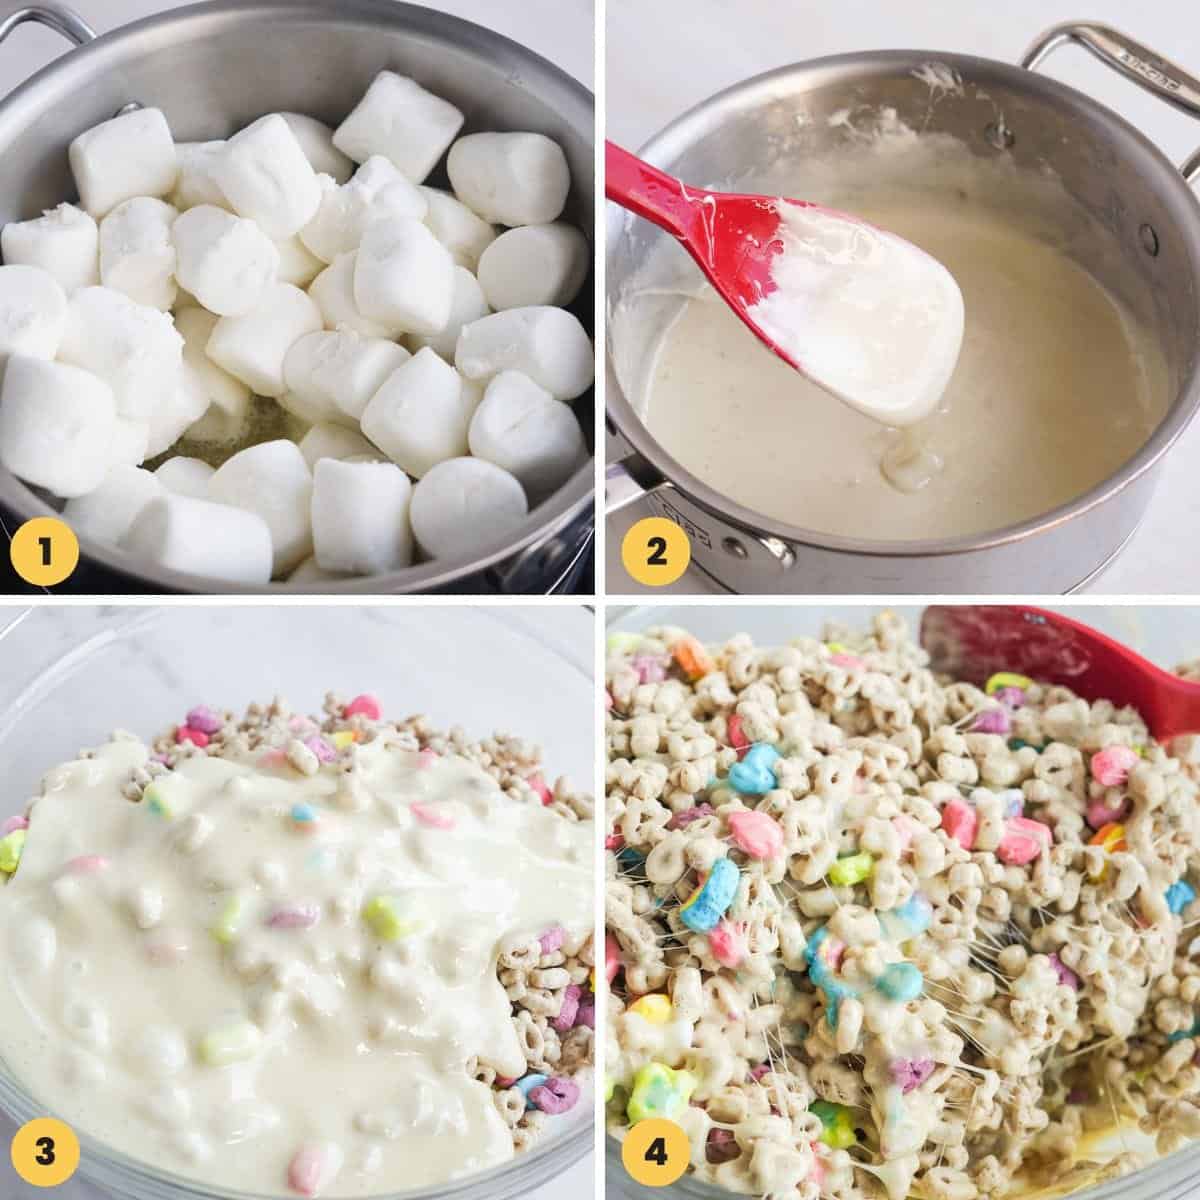
- Melt The Marshmallows. In a medium saucepan, over low-medium heat, melt the butter and then add the marshmallows.
- Keep Stirring. Keep stirring so the marshmallows melt low and slow. When fully melted, remove from heat, and quickly mix in vanilla extract and salt.
- Pour. Quickly pour the marshmallow mixture over the cereal.
- Mix with a spatula until the cereal is covered with the marshmallow mixture.
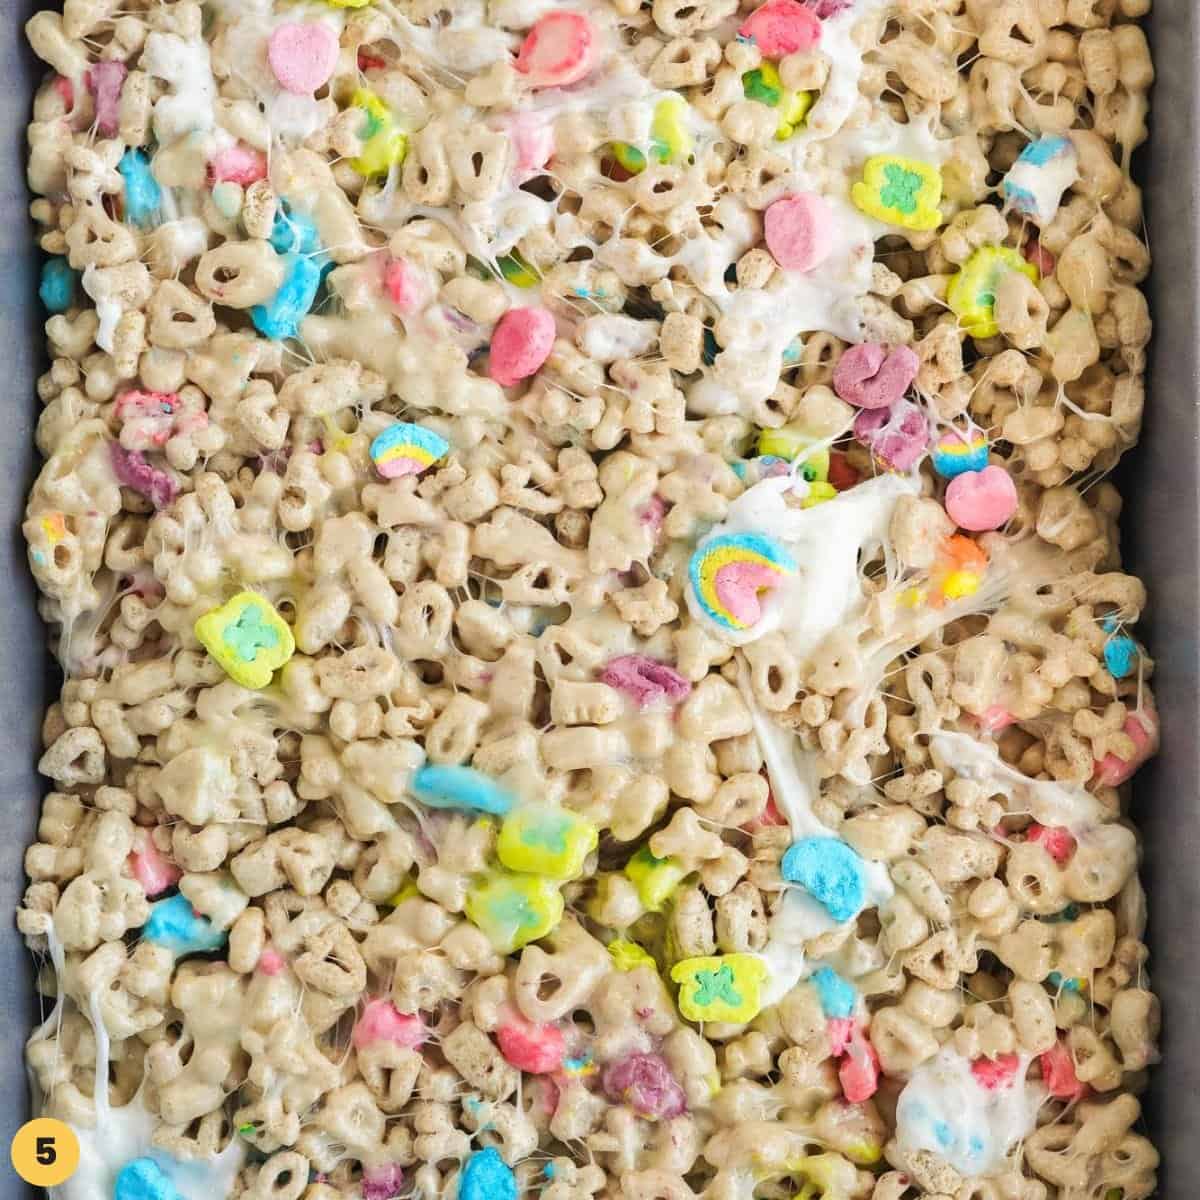
- Press Into a Pan. Pour the mixture into a buttered 9×13 pan, and lightly press with the back of a spatula (or use your hands, and grease them with softened butter or nonstick spray). Allow to cool and set, then cut into squares and serve.
Tip!
Get your kids involved! Let them butter their hands and help you press the cereal mixture into the prepared pan. They will love it!
Recipe Tips
- Use the Right Pan. To make these I used a 9×13 inch pan, but if you like your treats taller I recommend using a 9 or 8-inch square pan.
- Use Fresh Marshmallows. Old marshmallows that are dried out don’t melt well, so make sure to use fresh ones that won’t melt into a large blobb!
- Keep Stirring. When melting marshmallows with butter, make sure that the saucepan is on low-medium heat (not high!), and do not leave the stove, keep stirring until the mixture is fully melted and smooth. Alternatively, you can use the microwave.
- Work Quickly. It is very important that you work quickly as the marshmallow mixture will set very quickly, and will be difficult to work with once it sets.
- When pressing the cereal mixture into the pan, LIGHTLY press it into the pan. Pressing too hard will result in very hard treats.
- Cut these bars into 12 large squares, or 24 smaller bars.
Storing Tips
Store these cereal bars at room temperature for up to 5 days. If you want them to last longer, store them in the fridge for up to 10 days.
These lucky charms bars can also be frozen. Wrap them tightly in plastic wrap, place in Ziploc bags and freeze for up to a month.
FAQs
Lucky Charms cereal is made with crunchy oats, and marshmallows that look like hearts, stars, horseshoes, clovers, blue moons, unicorns, rainbows, and red balloons.
Almost any type of cereal works here. Go for Rice Krispies, Fruity Pebbles, Froot Loops, Cheerios, or Apple Jacks.
Yes! You can use the microwave instead of the stove to melt the butter and the marshmallows.
Yes! The cereal is gluten free, and most (not all) brands of marshmallows are gluten free so you should always double check the label.
Make these cereal bars to celebrate St Patrick’s Day with your kids! If you try the recipe, please share your experience in the comments box below. Enjoy!
Did you make this? Be sure to leave a review below and tag me on Facebook, Instagram, or Pinterest!
Lucky Charms Treats
Ingredients
- 10.5 ounce (7 cups) Lucky Charms cereal
- 12 ounces (340g) marshmallows
- 3 tablespoons unsalted butter
- 1 teaspoon pure vanilla extract
- ¼ teaspoon salt
Instructions
- Butter/grease a large bowl and a 9×13 inch pan, and set aside.
- In a medium saucepan, over low-medium heat, melt the butter and then add the marshmallows and keep stirring until they melt.
- When fully melted, remove from heat, and quickly mix in vanilla extract and salt.
- Quickly pour the marshmallow mixture over the cereal, and mix it with a spatula until the cereal is covered with the marshmallow mixture.
- Pour the mixture into the prepared pan, and lightly press with the back of a spatula (or use your hands, and grease them with softened butter or nonstick spray).
- Allow to cool and set, then cut into squares and serve.
Notes:
- Use the Right Pan. To make these I used a 9×13 inch pan, but if you like your treats taller I recommend using a 9 or 8 inch square pan.
- Use Fresh Marshmallows. Old marshmallows that are dried out don’t melt well, so make sure to use fresh ones that won’t melt into a large blobb!
- Keep Stirring. When melting marshmallows with butter, make sure that the saucepan is on low-medium heat (not high!), and do not leave the stove, keep stirring until the mixture is fully melted and smooth.
- Work Quickly. It is very important that you work quickly as the marshmallow mixture will set very quickly, and will be difficult to work with once it sets.
- When pressing the cereal mixture into the pan, LIGHTLY press it into the pan. Pressing too hard will result in very hard treats.
- Storing: Store at room temperature for up to 5 days. If you want them to last longer, store them in the fridge for up to 10 days. These bars can also be frozen. Wrap them tightly in plastic wrap, place in Ziploc bags and freeze for up to a month.
Nutrition Information
This website provides approximate nutrition information for convenience and as a courtesy only. Nutrition data is gathered primarily from the USDA Food Composition Database, whenever available, or otherwise other online calculators.
© Little Sunny Kitchen

Leave a Review!