
These Instant Pot pinto beans are tender, flavorful, and made from dried beans with no soaking required. They cook with onion, garlic, jalapeño, cumin, chili powder, and paprika, so they are good enough to serve as a side dish but simple enough to use in tacos, burrito bowls, soups, or refried beans.
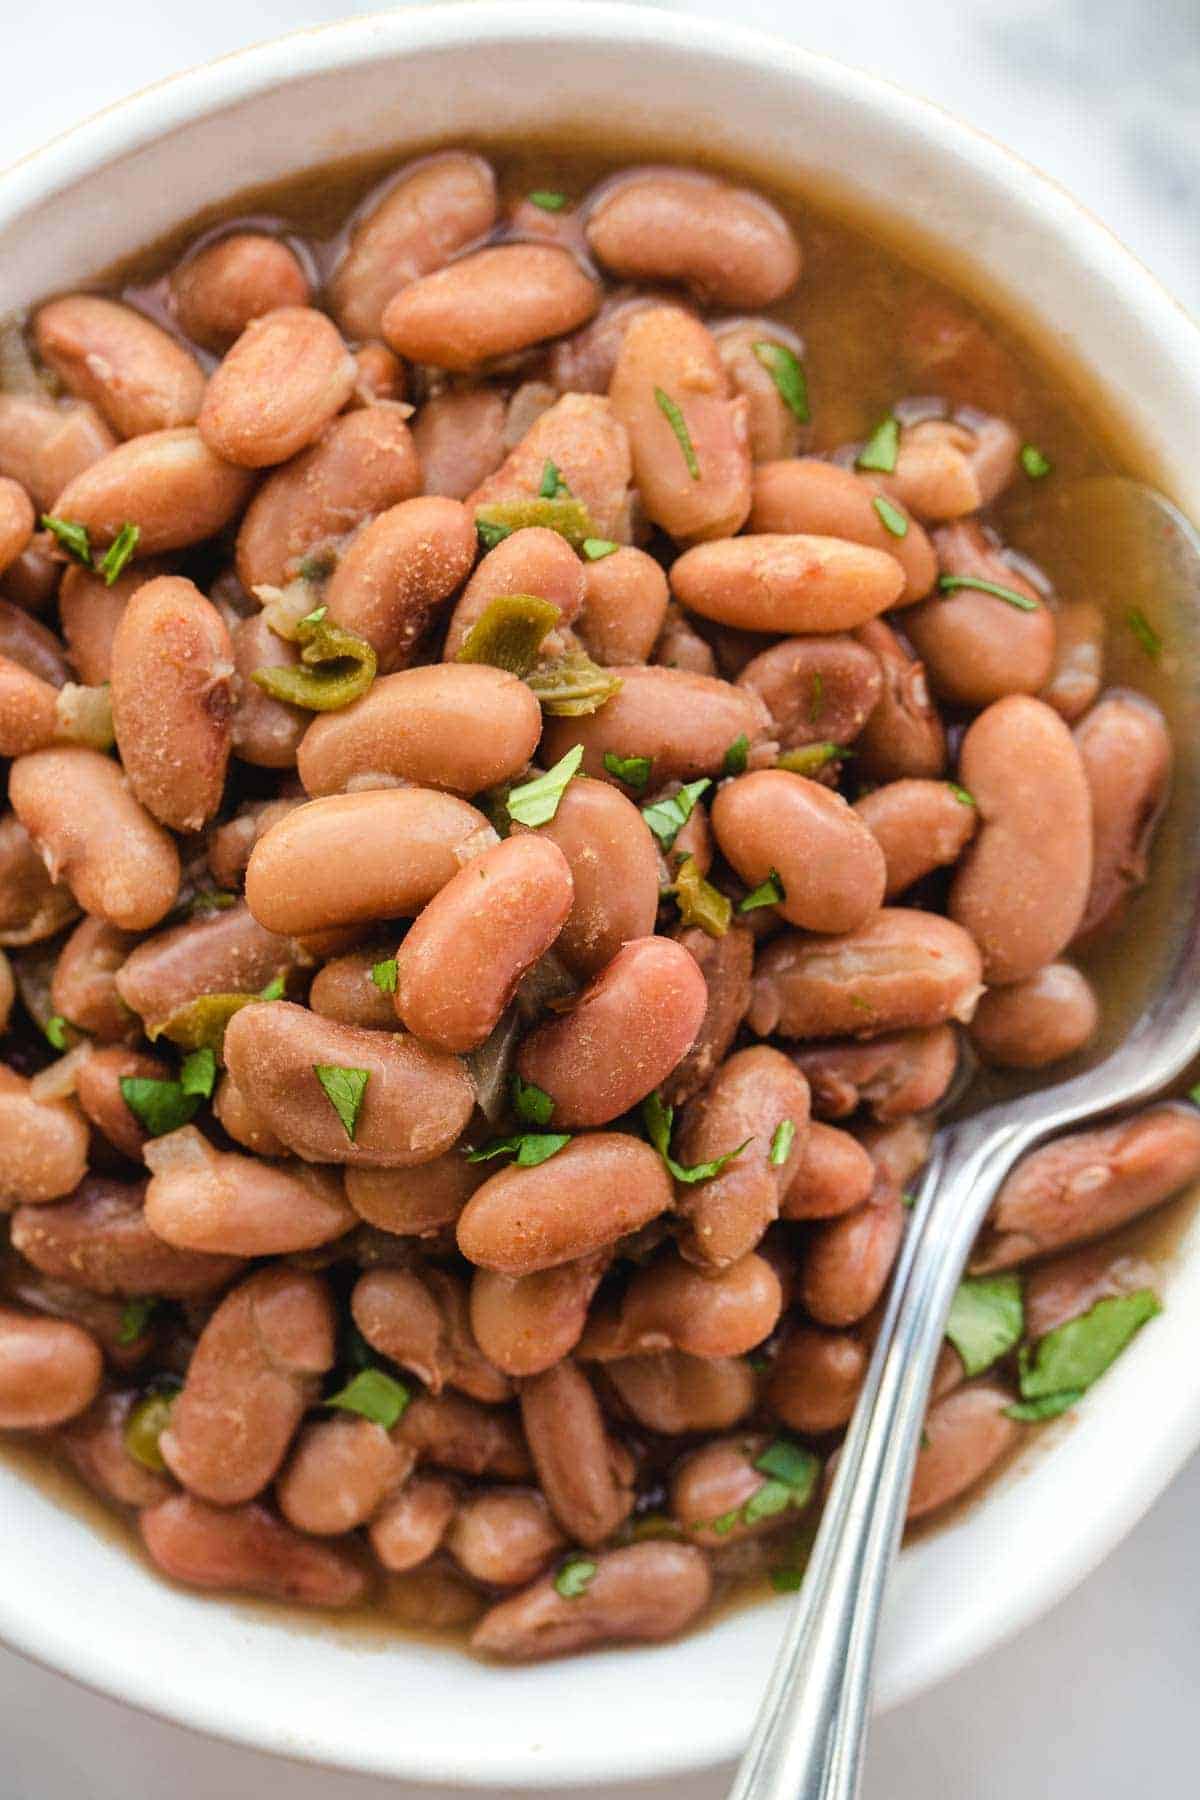
I’ve also included the soaked-bean timing below. Use the no-soak method when you want the easiest option, or the soaked method when you already planned ahead and want a shorter cook time.
How Long to Cook Pinto Beans in the Instant Pot
| Beans | Pressure Cook Time | Release | Best For |
|---|---|---|---|
| Unsoaked dried pinto beans | 30 minutes | 15 minutes natural release, then quick release | Everyday no-soak beans |
| Soaked pinto beans | 15 minutes | 10–15 minutes natural release | Faster cooking, softer texture |
| Older beans or high elevation | Add 5–15 minutes | Natural release | Beans that tend to stay firm |
At 30 minutes, the beans should be tender but still hold their shape. For softer, creamier beans, add 5–10 minutes.

Why you’ll love this recipe
These Instant Pot pinto beans are simple, budget-friendly, and much more flavorful than plain canned beans. Because the dried beans cook with onion, garlic, jalapeño, broth, and spices, the beans absorb flavor as they soften.
They are also flexible. Serve them as a side dish, spoon them into tacos or bowls, or mash them with some of the cooking liquid to make easy refried beans.
Do You Need to Soak Beans Before Pressure Cooking?
No, you do not need to soak pinto beans before cooking them in the Instant Pot. Unsoaked dried pinto beans cook well under pressure and are the easiest option when you did not plan ahead.
Soaking is still fine if you already did it. Soaked beans cook faster and may have a slightly softer texture. Use 15 minutes for soaked beans or 30 minutes for unsoaked dried beans, then allow a natural pressure release before opening the pot.
Ingredients You’ll Need
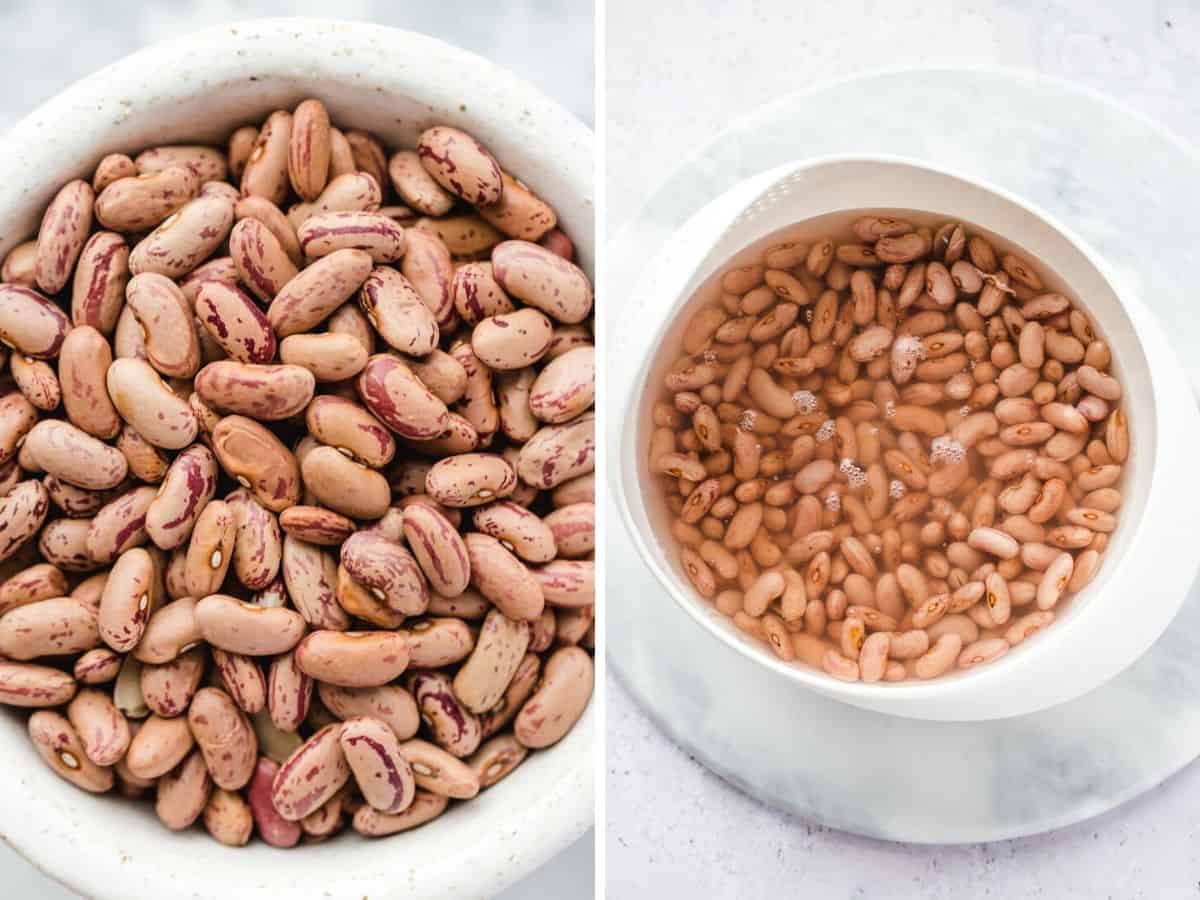
You only need dried pinto beans, liquid, aromatics, and spices for this recipe.
Use dried pinto beans that have been rinsed and sorted. Vegetable stock adds more flavor than water, but either one works. Onion, garlic, and jalapeño season the beans as they cook, while cumin, chili powder, paprika, and coriander give them a warm, savory flavor.
Add the salt after pressure cooking. Salting at the end gives you more control over the final flavor, especially if your vegetable stock is already salty.
For this recipe, use 2 cups dried pinto beans with 3 cups vegetable stock or water. The beans should be fully covered with liquid before cooking. If doubling the recipe, do not fill the Instant Pot past the halfway mark because beans expand as they cook.
How to Cook Instant Pot Pinto Beans
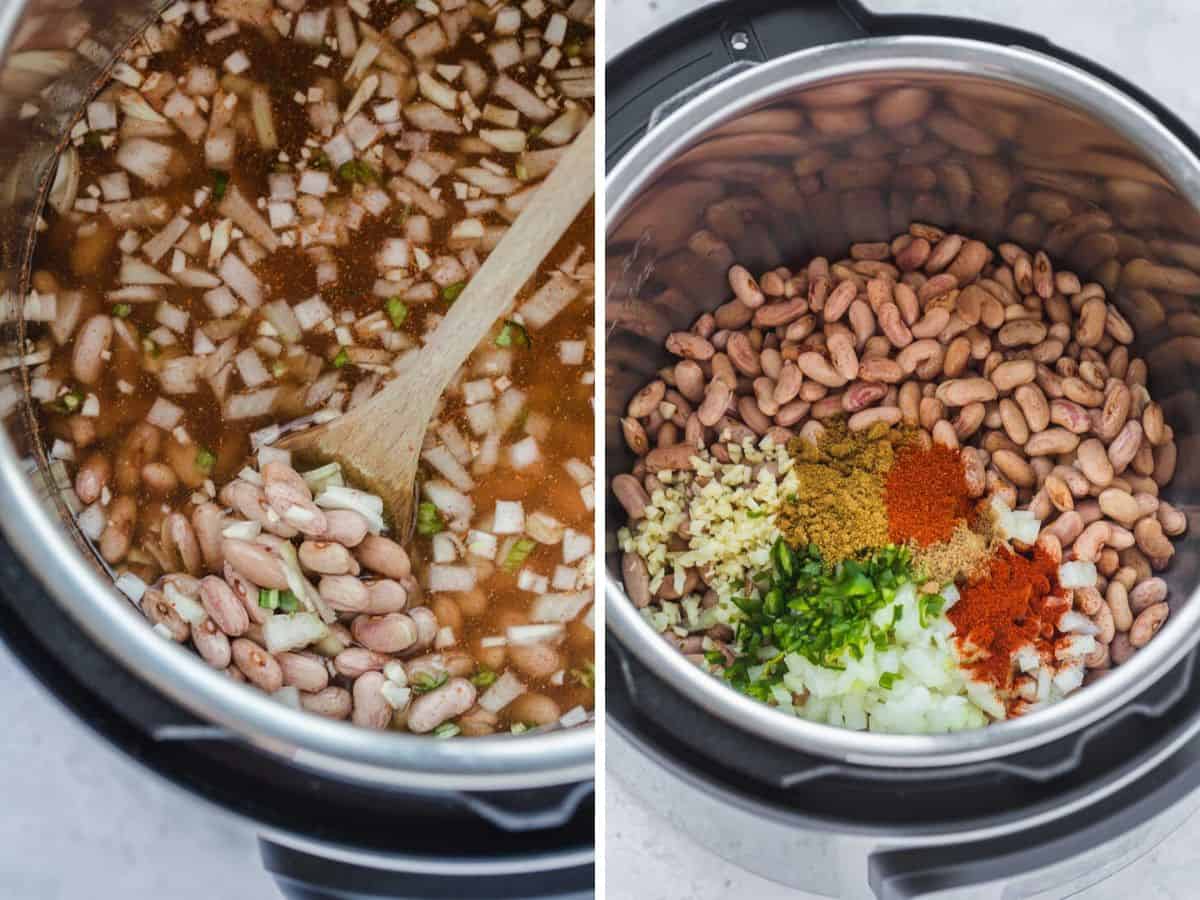
- Sort and rinse the beans. Check the dried beans for any small stones or broken pieces, then rinse them well under cool water.
- Add everything to the Instant Pot. Add the pinto beans, onion, garlic, jalapeño, spices, and vegetable stock or water. Stir to combine.
- Pressure cook. Secure the lid and set the valve to sealing. Cook on high pressure for 30 minutes for unsoaked beans, or 15 minutes for soaked beans.
- Let the pressure release naturally. Allow the Instant Pot to naturally release for 15 minutes, then carefully quick release any remaining pressure.
- Season and adjust. Stir in the salt after cooking. Taste and add more salt, spices, or a splash of cooking liquid as needed.
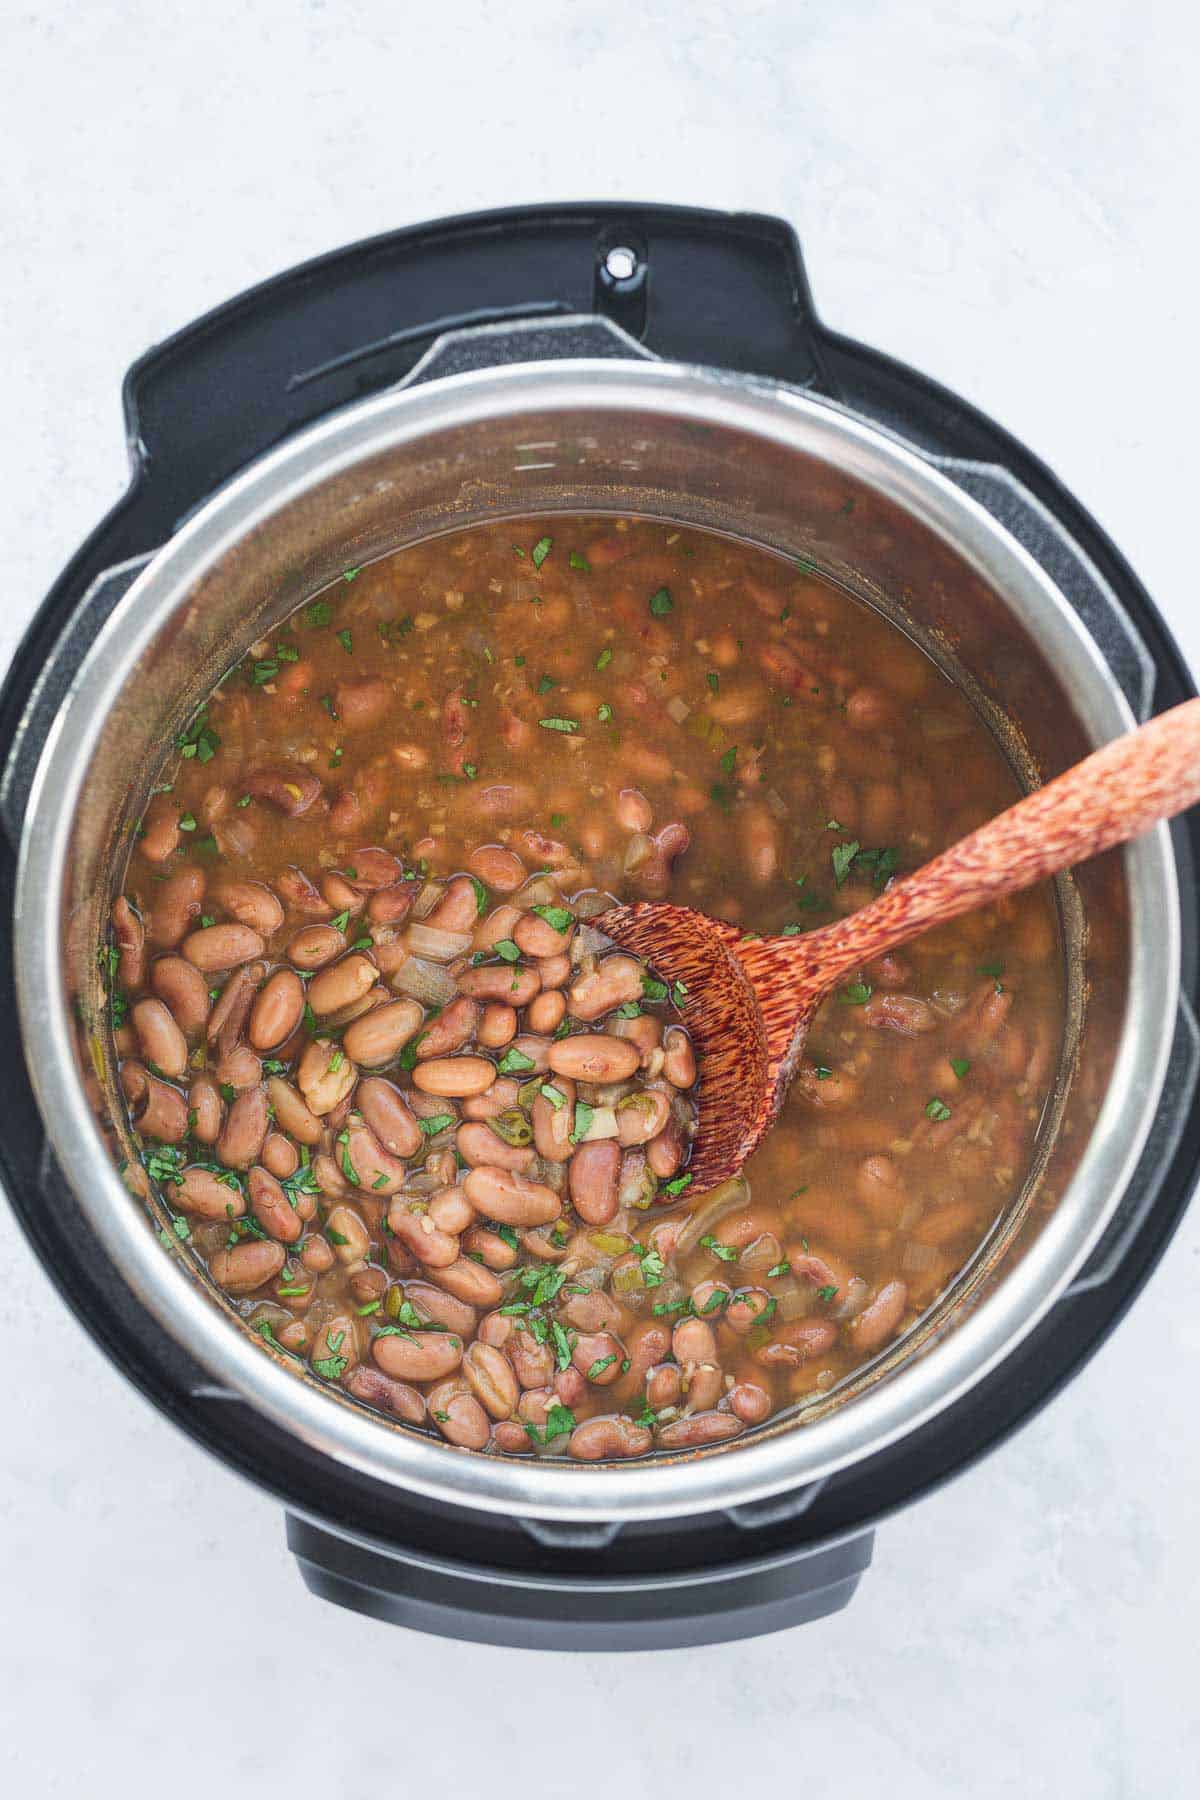
How to Make Refried Beans from Instant Pot Pinto Beans
These beans are already seasoned, so turning them into refried beans is easy. Mash the cooked beans with a potato masher, adding a little of the cooking liquid until they reach the texture you like.
For thicker refried beans, use the Sauté function for a few minutes after mashing, stirring often so they do not stick to the bottom of the pot. Taste before serving and add more salt, lime juice, or a little extra chili powder if needed.
Troubleshooting – Why Are My Pinto Beans Still Firm?
If your beans are still firm after cooking, they probably need more time. Older dried beans often take longer to soften, even in the Instant Pot.
Lock the lid back on and pressure cook for 5 more minutes, then let the pressure release naturally for another 10 minutes. If the beans are very old or you are cooking at high elevation, they may need an extra 10–15 minutes total.
Also make sure the beans are fully covered with liquid before cooking. They need enough liquid to soften properly under pressure.
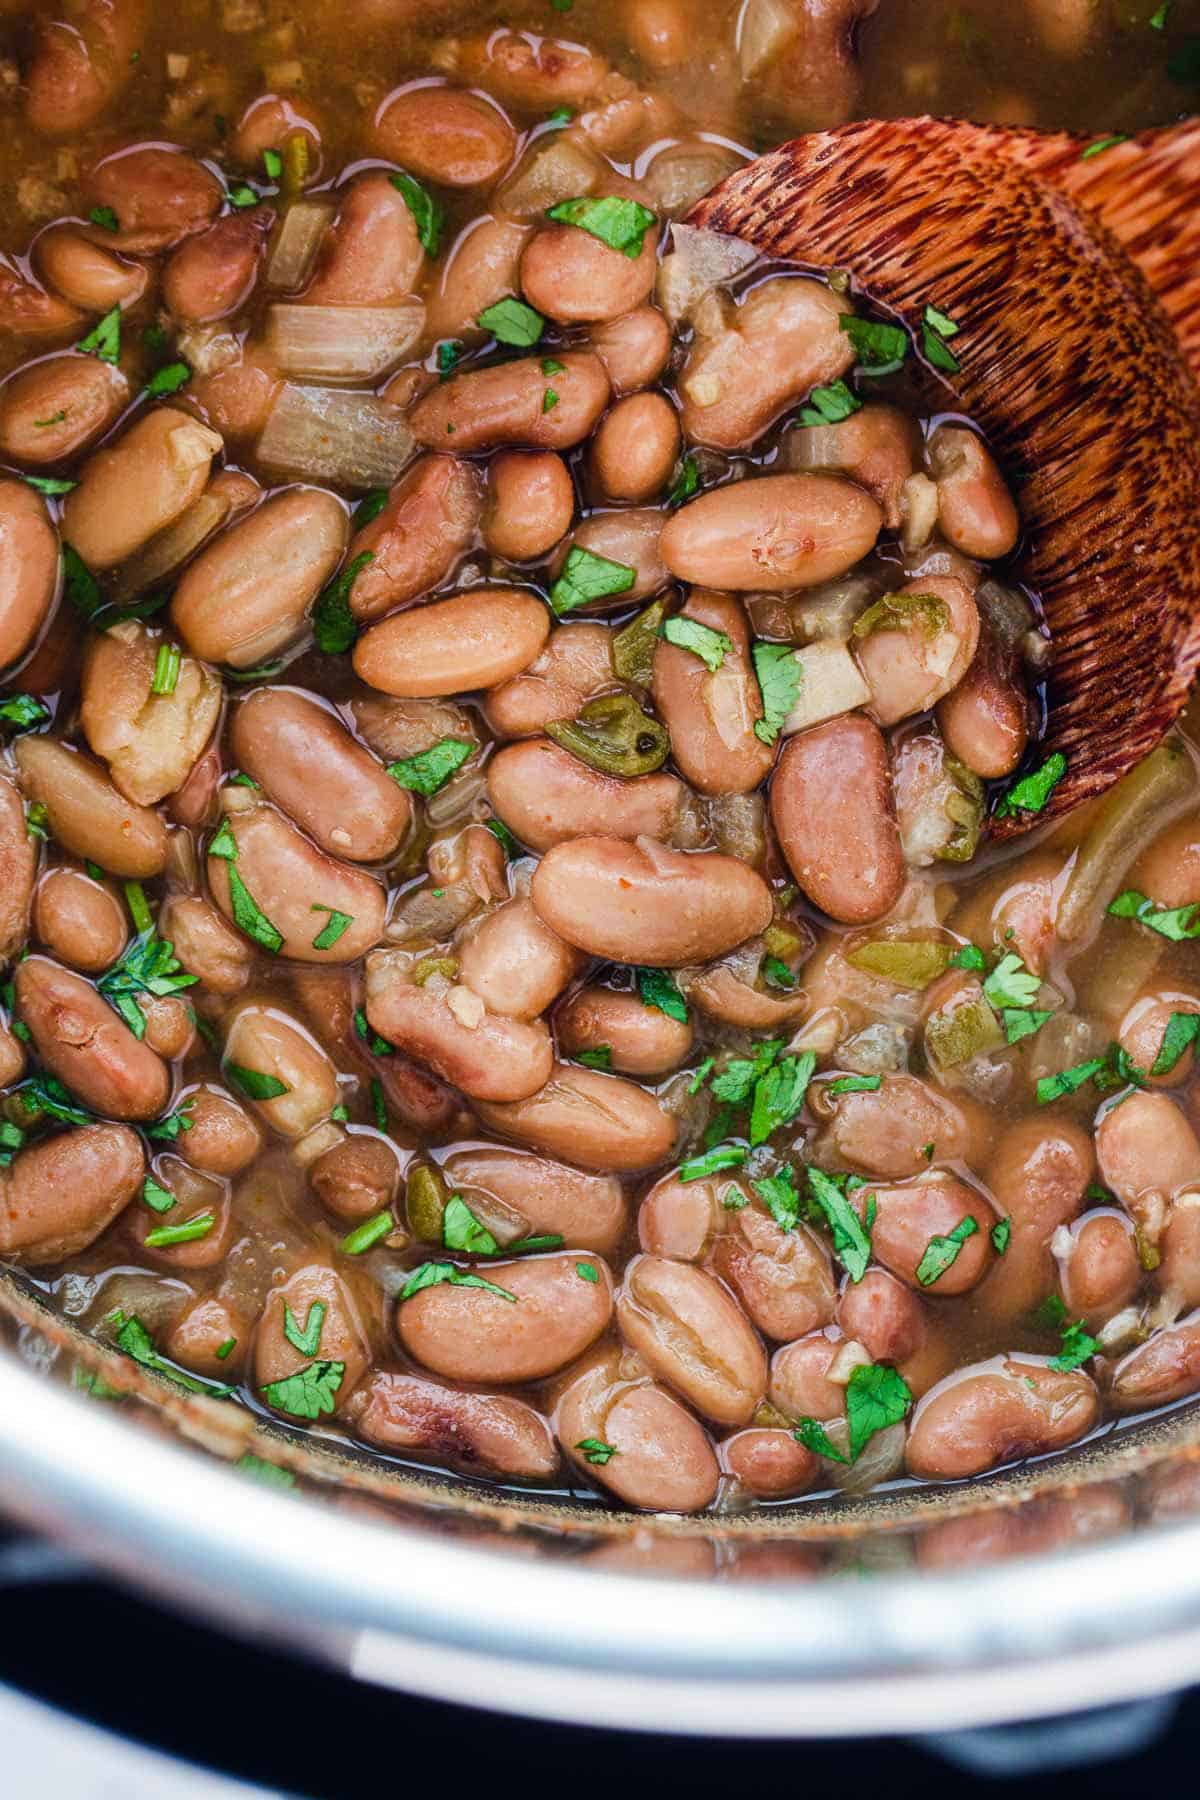
Storing Tips
- Fridge: Let the beans cool completely, then store them in an airtight container in the refrigerator for up to 3 days.
- Freezer: Freeze cooled beans in freezer bags or containers for up to 3 months. I like freezing them in smaller portions so they are easy to use for quick meals.
- Reheat: Thaw frozen beans overnight in the refrigerator. Reheat on the stovetop or in the microwave, adding a splash of water or broth if they have thickened.
What to Serve With Pinto Beans
Serve these Instant Pot pinto beans whole as a side dish, or mash them into refried beans.
They are great in beef or chicken tacos, burrito bowls, ground beef nachos, baked potatoes, or alongside fajitas. Try them with rice, tortillas, salsa, avocado, shredded cheese, sour cream, or a squeeze of fresh lime.
Did you make this? Be sure to leave a review below and tag me on Facebook, Instagram, or Pinterest!
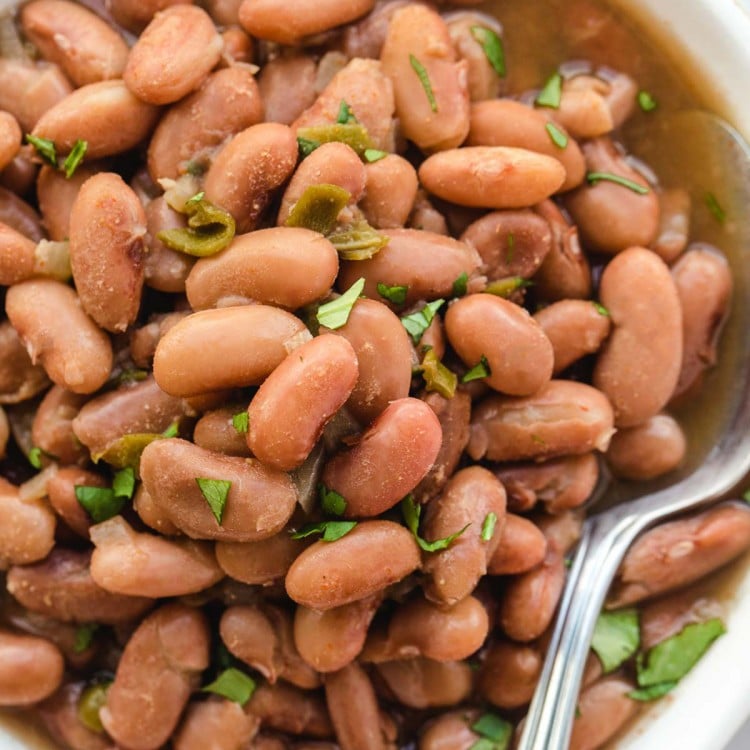
Instant Pot Pinto Beans
Recipe Video
Equipment
Ingredients
- 2 cups dried pinto beans
- 3 cups vegetable stock or water
- ½ medium yellow onion diced
- 4 cloves garlic minced
- 1 jalapeño diced
- 2 teaspoons ground cumin
- 1 teaspoon ground coriander
- 1 teaspoon chili powder
- 1 teaspoon paprika
- 1 teaspoon kosher salt
Instructions
- Sort through the pinto beans and remove any small stones or broken beans. Rinse well under cool water.
- Add the beans, vegetable stock or water, onion, garlic, jalapeño, cumin, coriander, chili powder, and paprika to the Instant Pot. Stir to combine.
- Secure the lid and set the valve to Sealing. Cook on High Pressure for 30 minutes for unsoaked beans, or 15 minutes for soaked beans.
- When the cooking time ends, allow the pressure to release naturally for 15 minutes. Carefully quick release any remaining pressure.
- Open the lid, stir in the salt, and taste. Add more salt or seasoning if needed. Serve warm, or mash with some of the cooking liquid to make refried beans.
Notes:
- For soaked pinto beans, pressure cook for 15 minutes instead of 30 minutes, then allow a 10–15 minute natural release. Older beans may need an extra 5–10 minutes of pressure cooking.
- The Instant Pot will take about 10 minutes to come to pressure before the cook time begins.
Nutrition Information
This website provides approximate nutrition information for convenience and as a courtesy only. Nutrition data is gathered primarily from the USDA Food Composition Database, whenever available, or otherwise other online calculators.
© Little Sunny Kitchen

RB says
Hello!
I made the Pinto Beans tonight and even my hubby that doesn’t like beans had a second helping. Oh i was so pleased!
I went by your recipe only i didn’t have coriander, so I used curry. I used beef broth, and a dash of Liquid Smoke. Also I had some left over ham from a hambone i had in the freezer and added a bit of the ham.
I had to cook it for 45 minutes and it was very delightful when finished!
The amount of water and beans were perfect, didn’t change much, only added a few different things.
LUANN says
Hi, I wanted to mention that cooking pinto beans and 1 pound (2 cups) needs at least 6 cups liquid. I love your seasoning suggestions and will try this.
LUANN says
Hi again, I didn’t finish.
Your comment is awaiting moderation.
Hi, I wanted to mention that cooking pinto beans and 1 pound (2 cups) needs at least 6 cups liquid. There needs to be enough liqid as the beans swell and get soft.I love your seasoning suggestions and will try this. When using dry beans, it takes more than 30 minutes, but 35-40 and a natural release of 10 or more minutes.
Laura Harrison says
Made this tonight, I am from the south and we use plain water. But I decided to try the broth, this is great! I always put a jalapeno in my beans. Ty for sharing this!
Renee Boyle says
I cannot eat jalapeño’s is the a substitute or can I just leave it out?
Diana says
You can just leave it out. Enjoy!
Kate says
These were delicious – meaty, as pinto beans should be! My beans weren’t soaked before cooking and weren’t done after the initial 30 minutes, even with an additional 10 minute natural release. Not all the beans were covered with liquid, either, at the end, so they weren’t all the same degree of doneness. I added about another cup of vegetable stock and 10 more minutes under pressure — still not enough. Added another 15 minutes under pressure with 10 more minutes of natural release. They were done by then. Great recipe, but I’d add a bit more liquid to begin with and cook the beans for a little longer to begin with, too. Thanks so much for this recipe! I’ll make it again!
Kate says
Oops! Let me add that I doubled the recipe — all of it, including the liquid and seasonings. Maybe that had something to do with why it needed more time? Again, though, thanks so much!