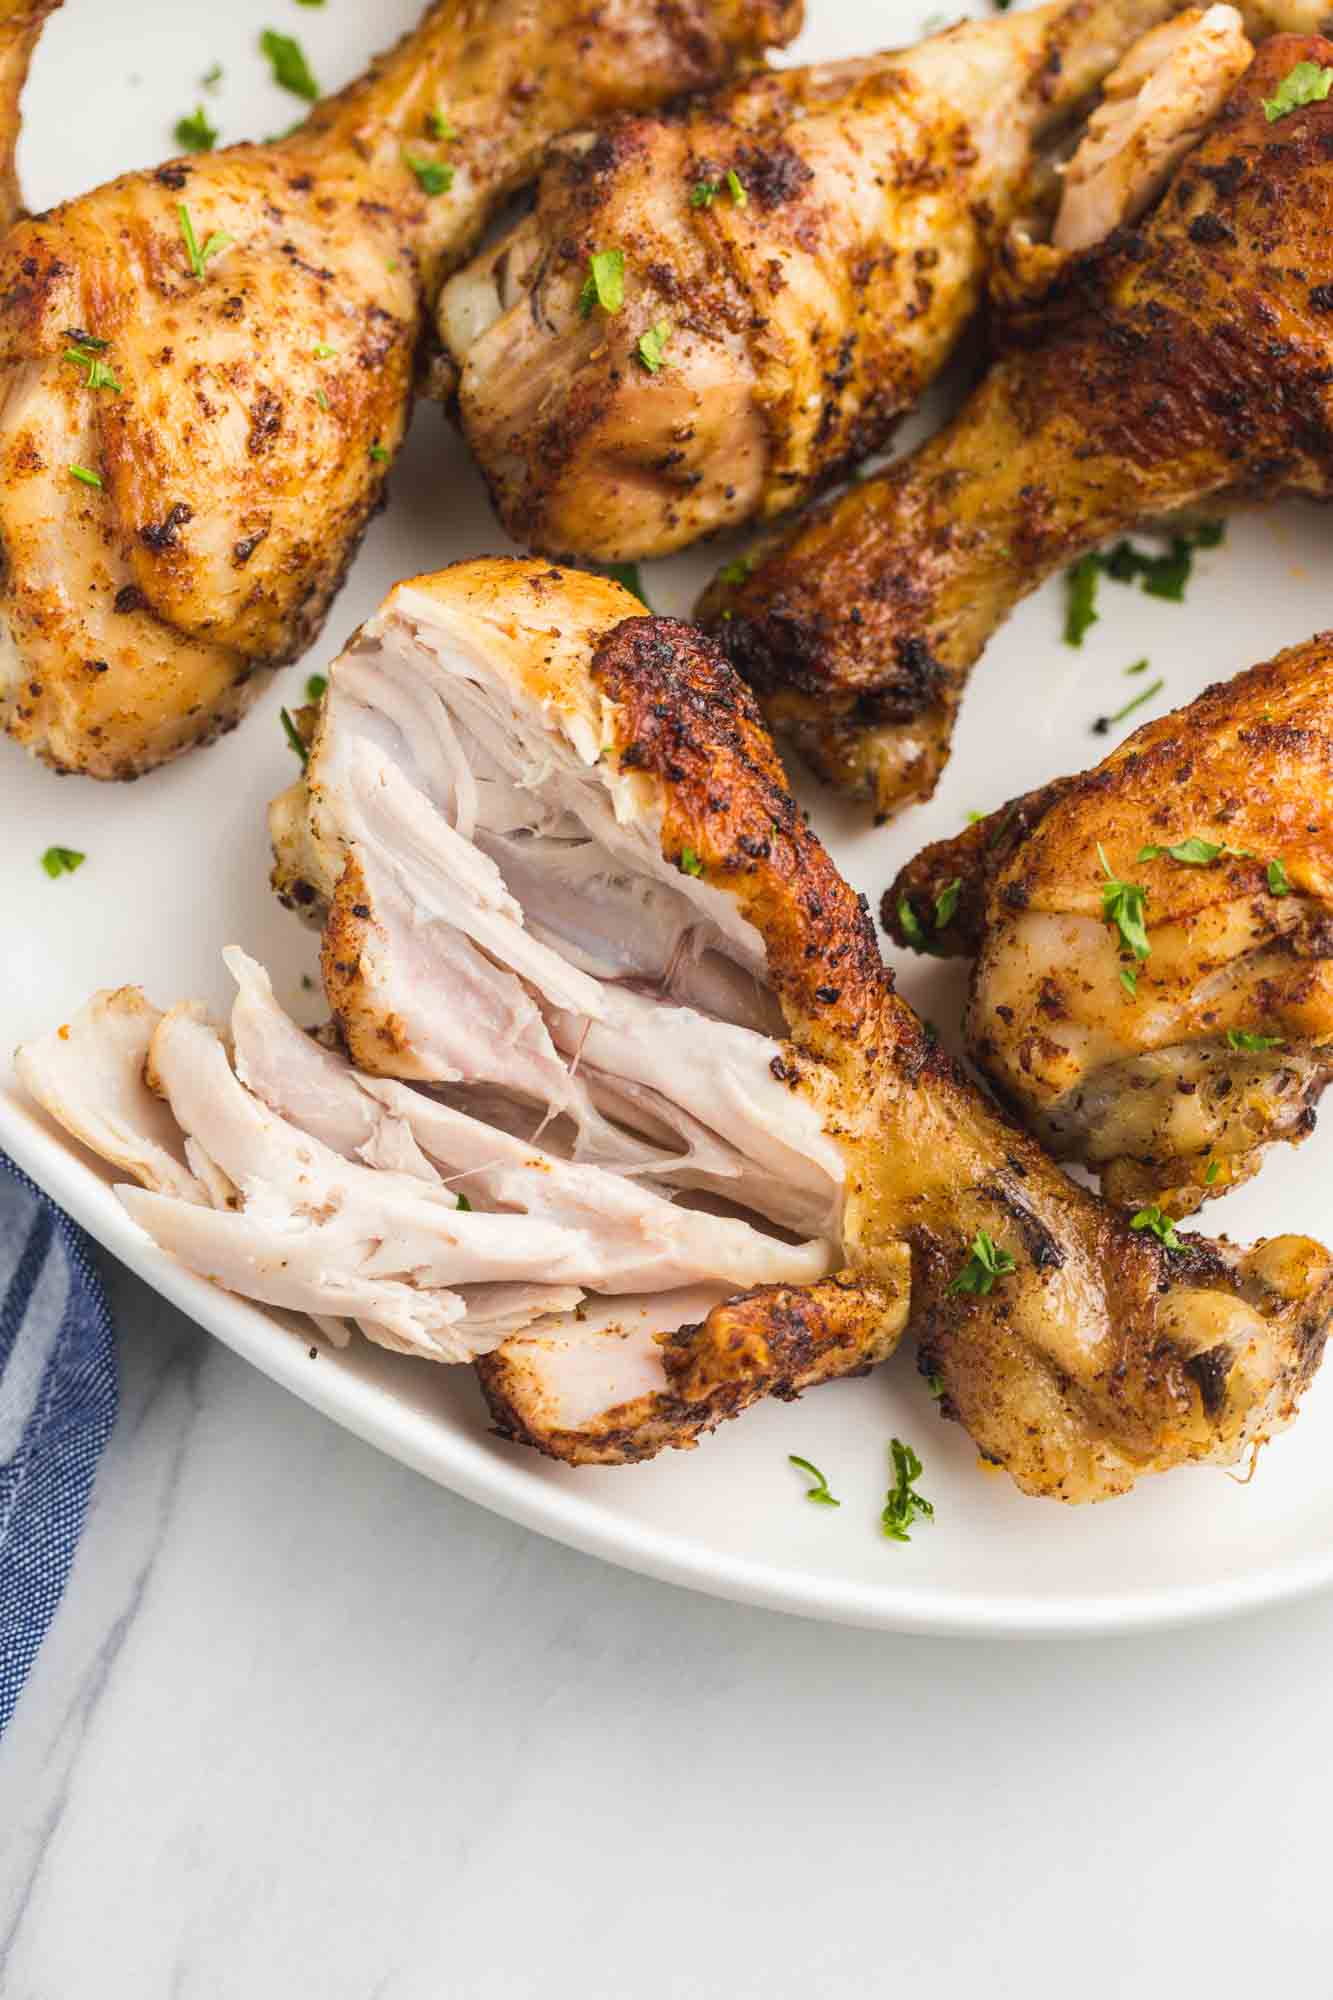
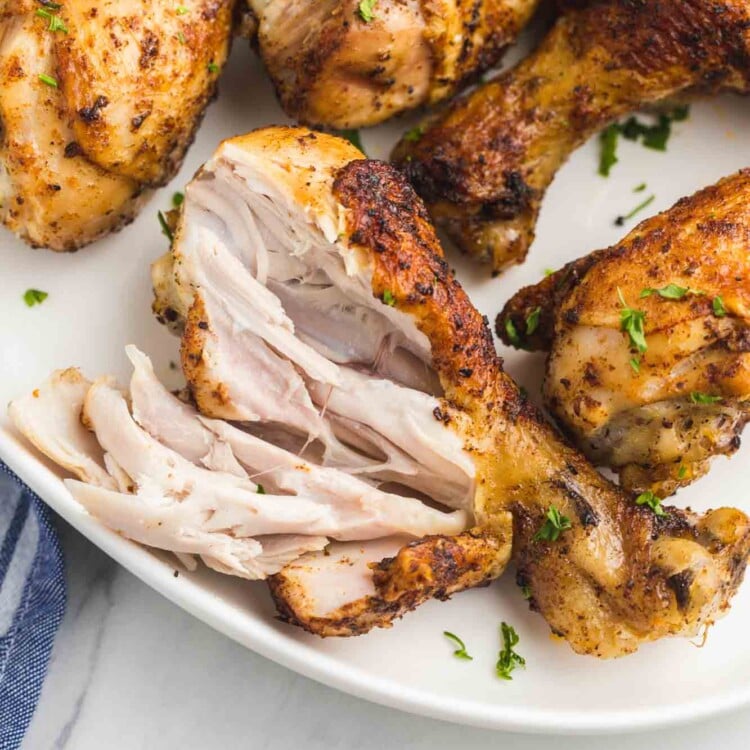
This is hands down the BEST Instant Pot chicken drumsticks recipe! The results are juicy, fall-off-the-bone chicken that is so moist and packed with flavor, thanks in large part to the magic of the Instant Pot. With minimal effort and flexible seasoning options, you can have a deliciously moist chicken dinner ready in 30 minutes!
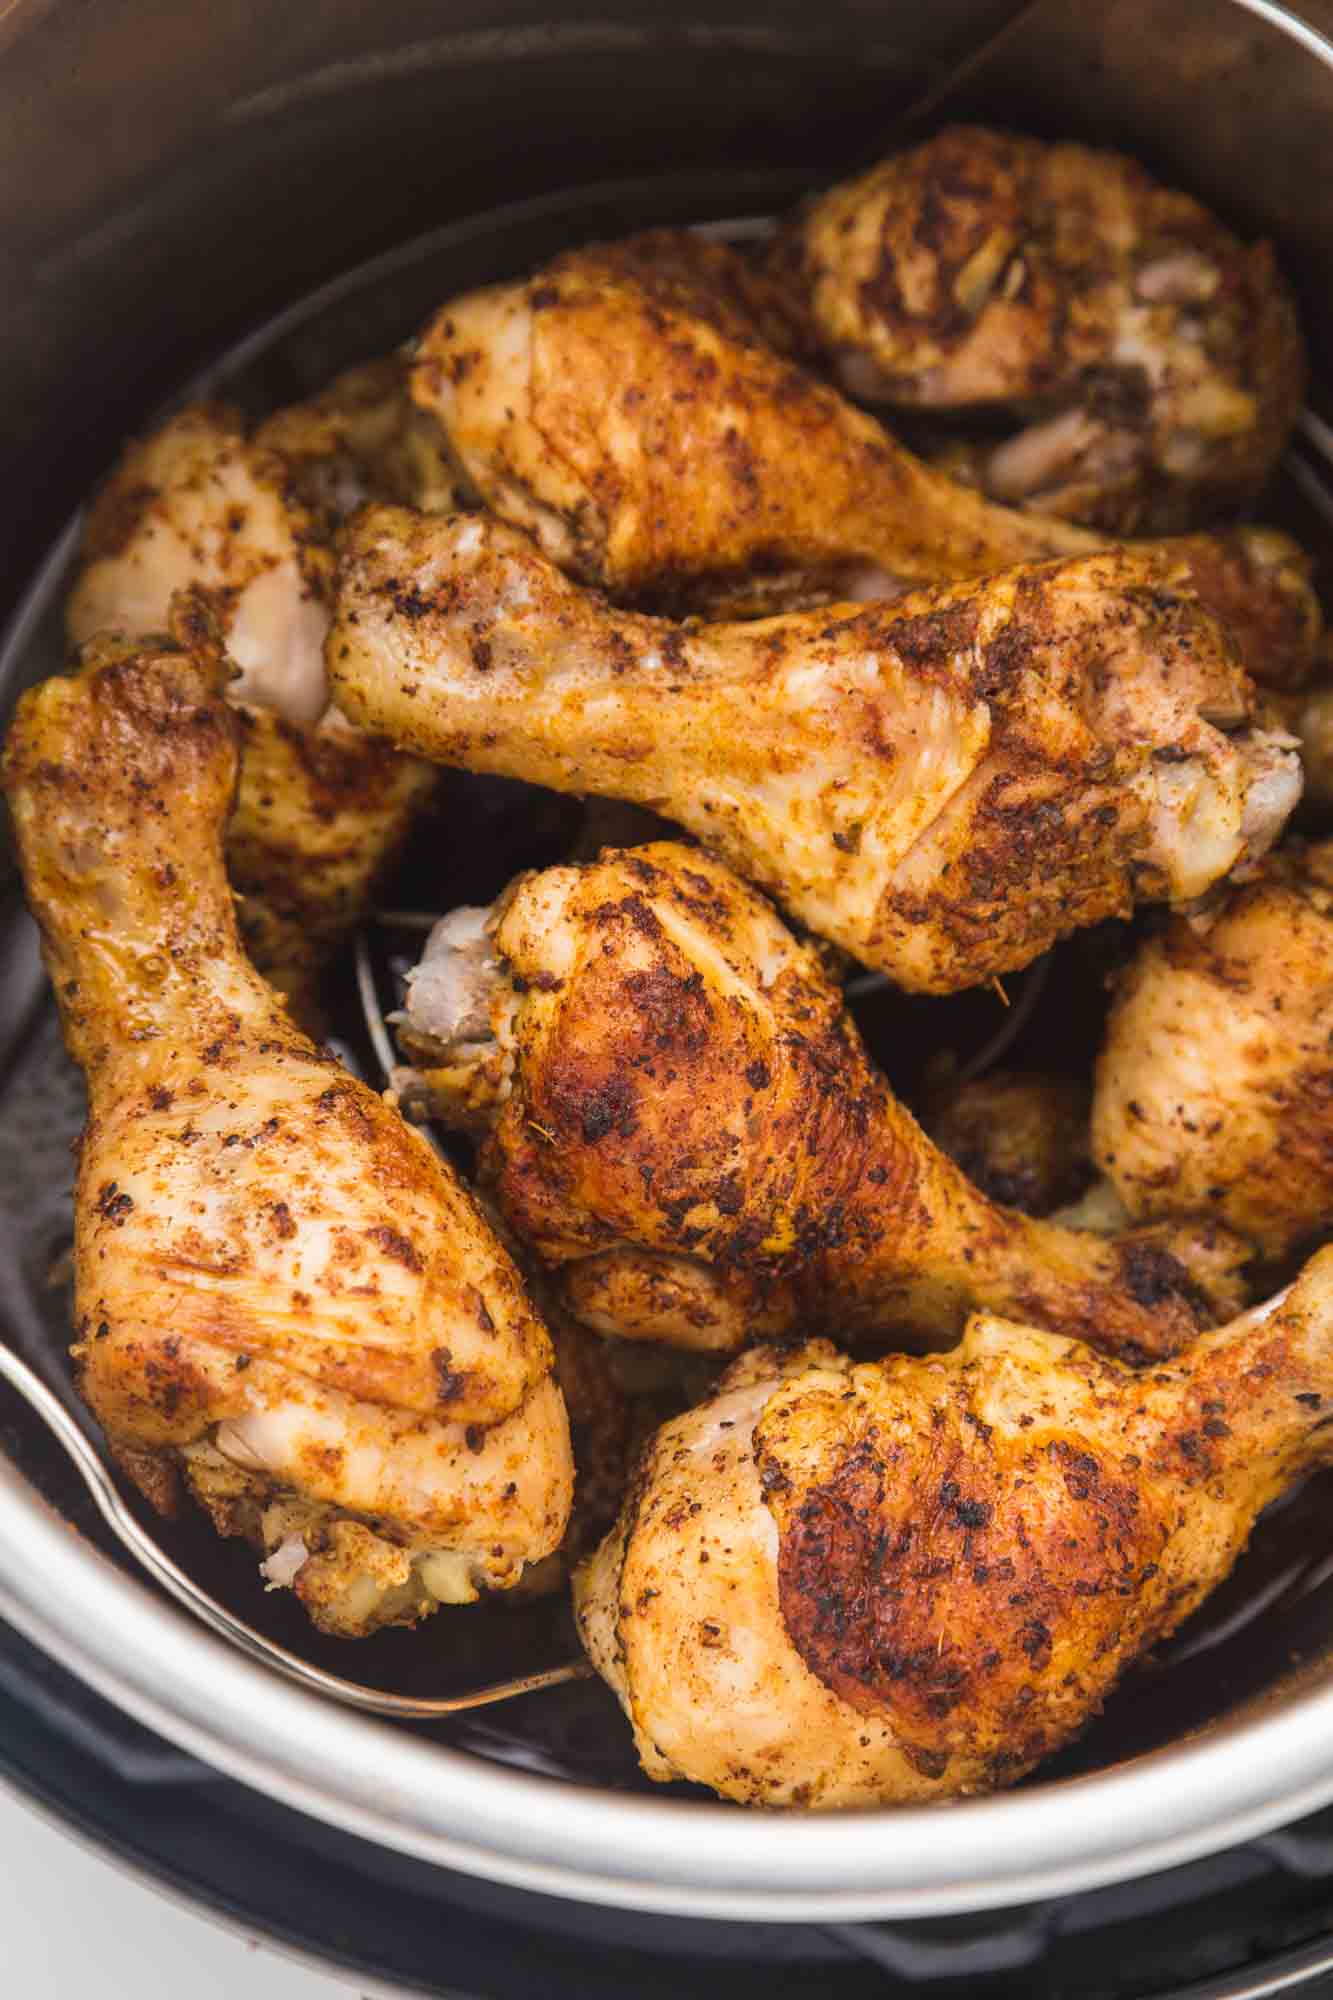
Just enough time to make a couple of quick sides and you’ve got an entire tasty meal for everyone to enjoy!
This Instant Pot chicken drumsticks recipe has been a lifesaver on many occasions. Once the chicken is done browning it’s a hands-off recipe which means succulent and tender pieces of chicken can be enjoyed without much effort at all!
It’s the best on days when I’ve got lots going on and I need to get dinner on the table quickly but also on days where I’ve forgotten to defrost the chicken! Yes, you can use frozen chicken for this recipe.
Game. Changer.
Looking for something different? Try my Instant Pot Bruschetta Chicken Pasta, or Instant Pot Chicken Pad Thai.
Join our Facebook Group
We have a new Facebook Instant Pot Group where we share new recipes, tips and tricks on how to use the Instant Pot. Make sure to join us! Click here to join.
Why You’ll Love Making Instant Pot Chicken Legs
- Quick and easy. Getting dinner on the table quickly is a parenting win no matter what day of the week it is!
- The perfect bite. An effortless way of getting moist and juicy chicken that everyone will devour.
- Flexible flavor. The seasoning I use is just a jumping-off point. You can switch it up as you like, or even use a sauce afterward.
- Versatile. Enjoy these drumsticks as the main part of a meal or take the meat off the bone and use it for baked chicken tacos, Instant Pot chicken noodle soup, or add it to the top of a simple tossed green salad for protein.
- Leftovers. They can be stored in the fridge for a few days which makes it a great quick lunch or dinner again the next day!
Ingredients Used
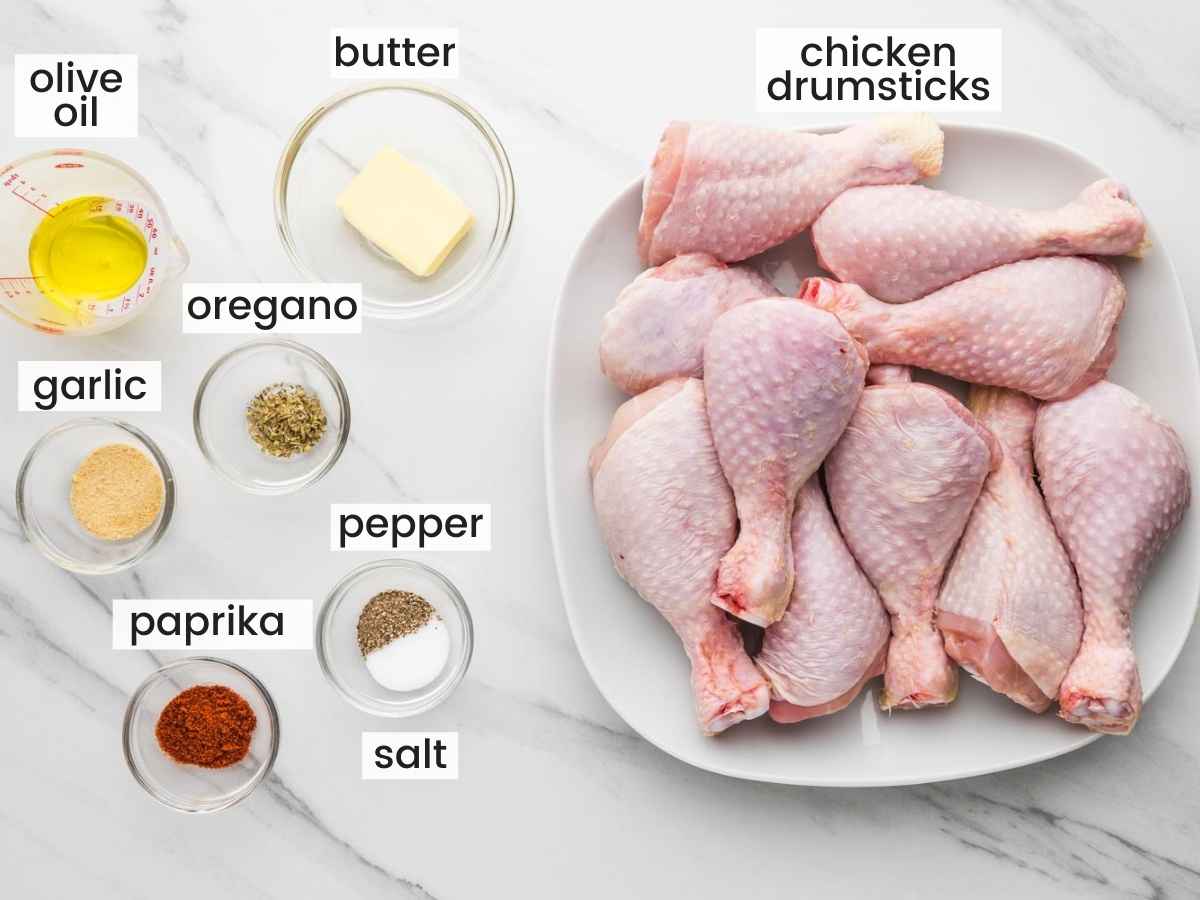
Complete list of ingredients and amounts can be found in the recipe card below.
- For the dry rub: Paprika, oregano, garlic powder, salt, and pepper.
- Chicken drumsticks – You’ll need about 10 pieces for this Instant Pot chicken recipe. I typically account for 2 pieces per adult.
- Olive oil & butter – These two fats work together for the initial browning of the outside of the chicken legs. You get a ton of flavor from the butter and less saturated fat from the oil. It also allows a good sear without burning.
- Chicken stock or water – This will be used to create steam while pressure cooking. Although it never really makes direct contact with the chicken, it helps to give it moisture and flavor. You can strain and thicken this liquid later to make a delicious gravy.
How to Make this Recipe
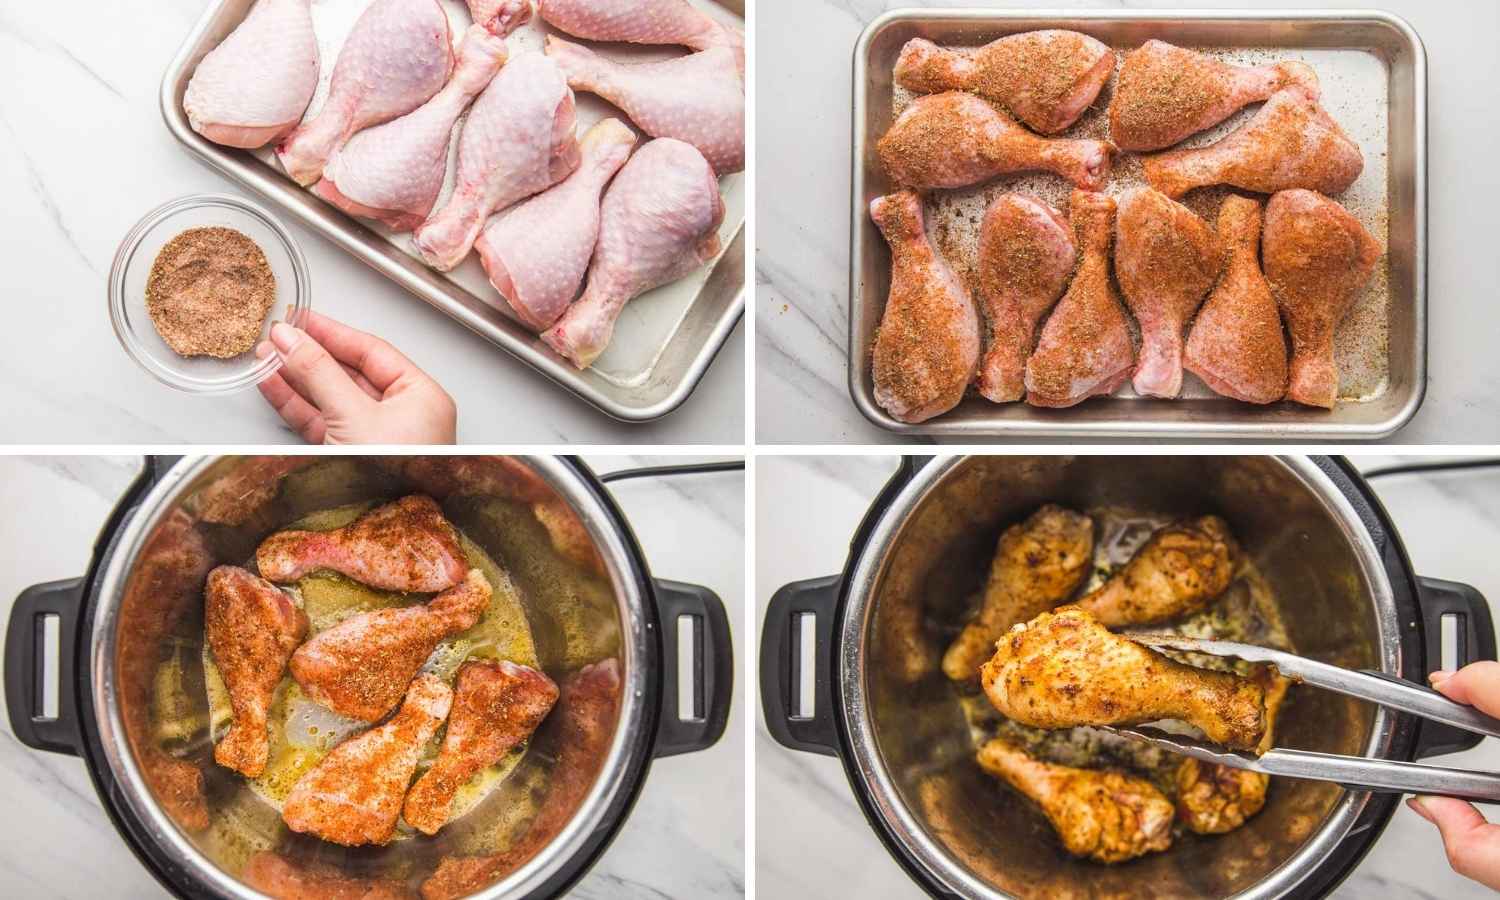
- Mix dry rub. In a small bowl, combine paprika with oregano, garlic powder, salt, and pepper.
- Prepare the drumsticks. Rub the seasoning onto all sides of the pieces of chicken.
- Brown the outside. On your 6 quart or 8 quart Instant Pot, press on SAUTE, add the oil and melt the butter. Brown the chicken skin side down (2-3 minutes), flip, and brown it from the other side (2 minutes). When the chicken is golden brown, use a pair of tongs to remove it from the pot and set it aside. Work in 2 batches.
Tip!
The Instant Pot is not known for an excellent sear. Yes, it will brown the chicken, but there won’t be that super char or very crispy skin. Don’t spend too much time getting it as brown as a skillet would, it’s still going to be just as delicious!
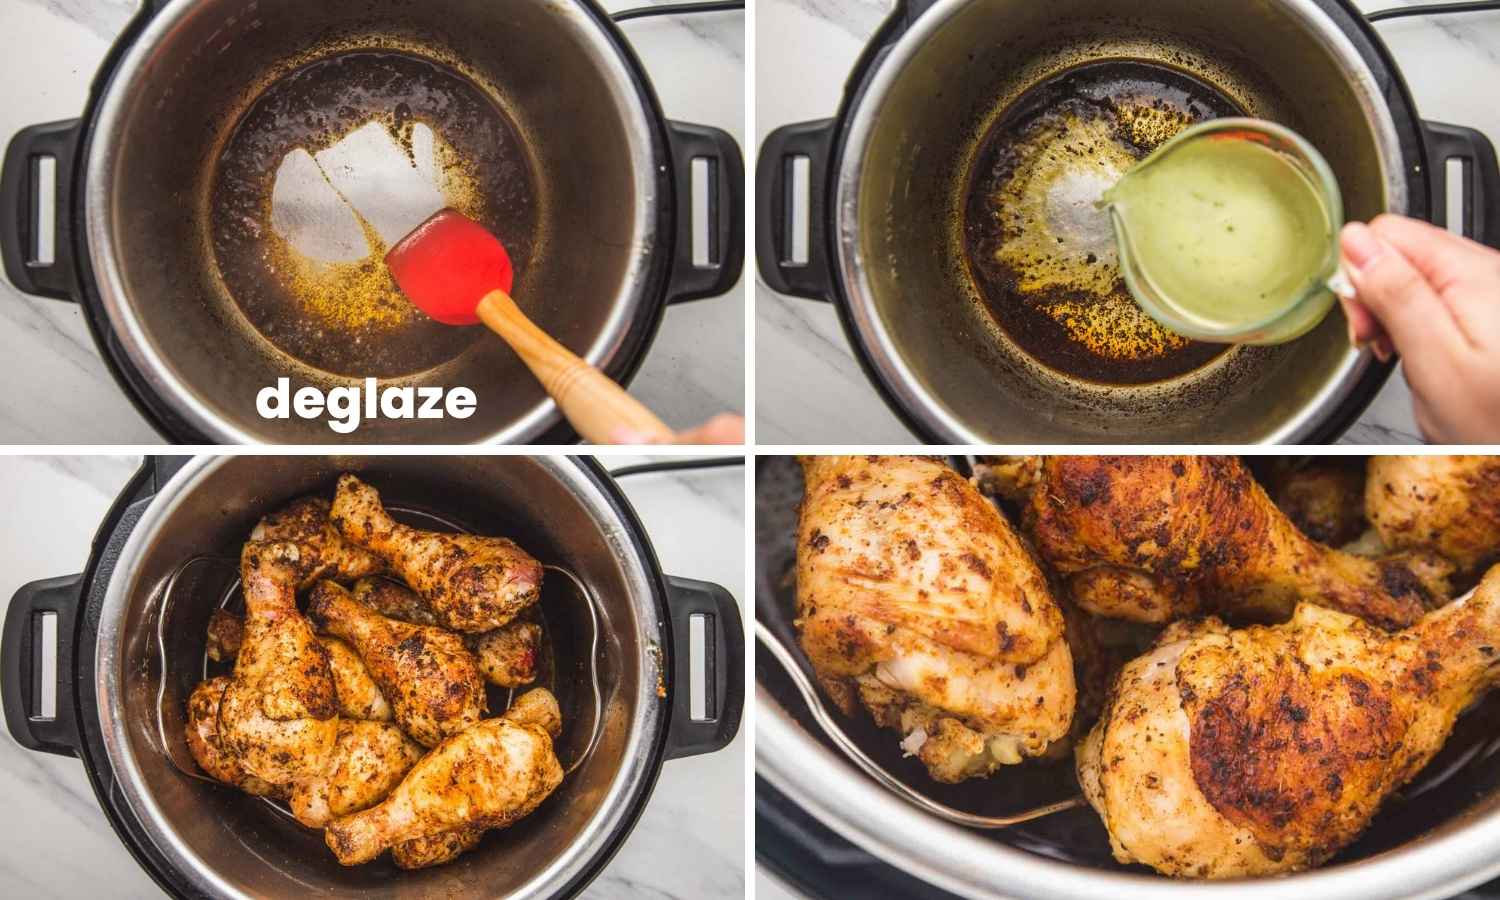
- Deglaze the pot. Add the chicken broth or water, and scrape off any stuck brown bits to the bottom of the pot. If you don’t deglaze, you will likely get a burn message so don’t skip this step!
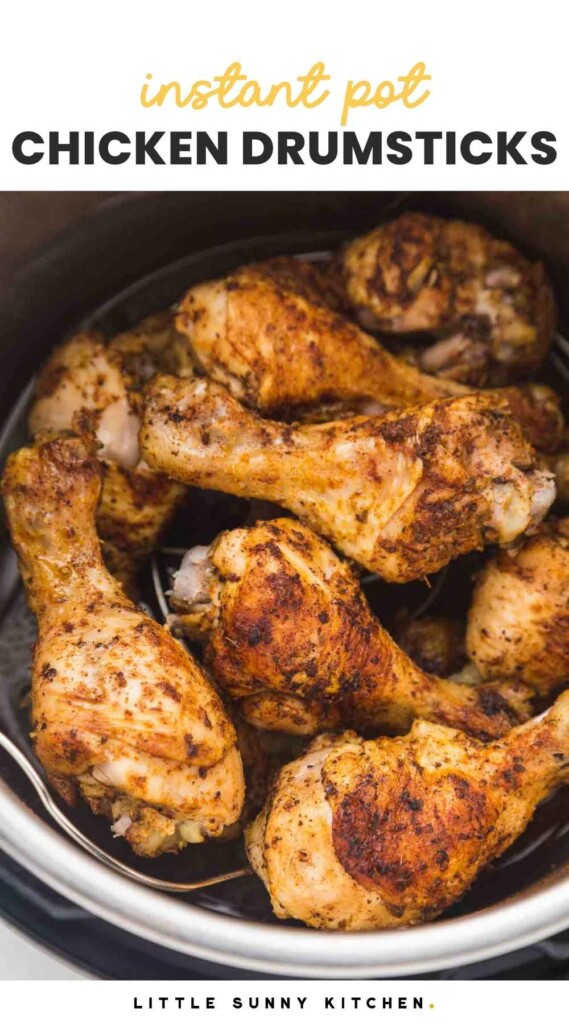
- Insert the trivet. Place all of the drumsticks on the trivet overlapping if necessary. They’ll still cook evenly.
- Pressure cook. Secure the lid and set the vent to SEALING. Select the PRESSURE COOK/MANUAL setting and set the cooking time for 10 minutes at high pressure. The Instant Pot will take around 6-7 minutes to come to pressure before the time to cook chicken drumsticks starts to count.
Tip!
When reading an Instant Pot recipe, you will probably always see “pressure cook” or “manual.” This is because there are many models of Instant Pots on the market, some that have a manual button and some that have a pressure cook button. Just know, whatever yours says, it means the exact same thing!
- Release the pressure. When the cooking program ends, give it time for a natural pressure release for fall of the bone chicken, or quickly release the steam, if you’re not looking for those results necessarily.
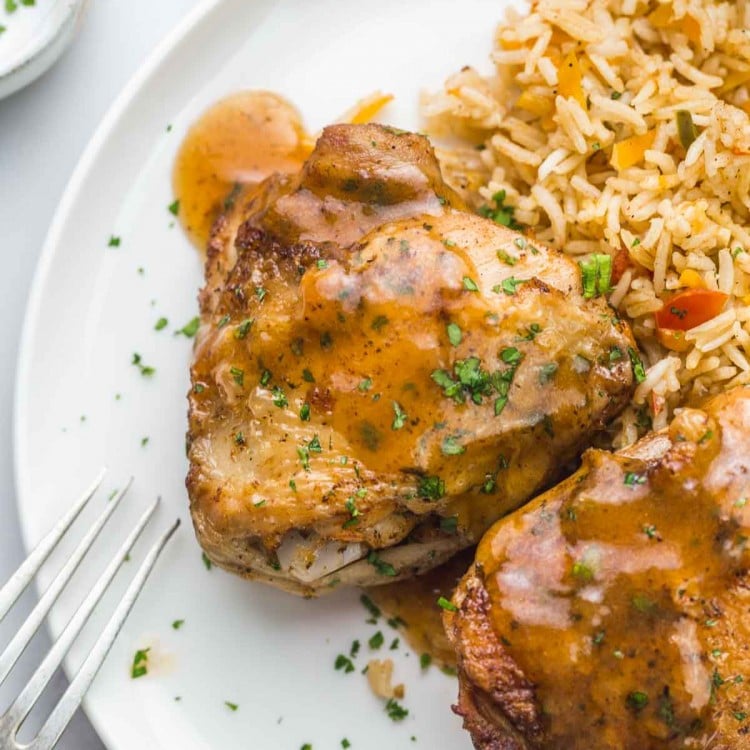
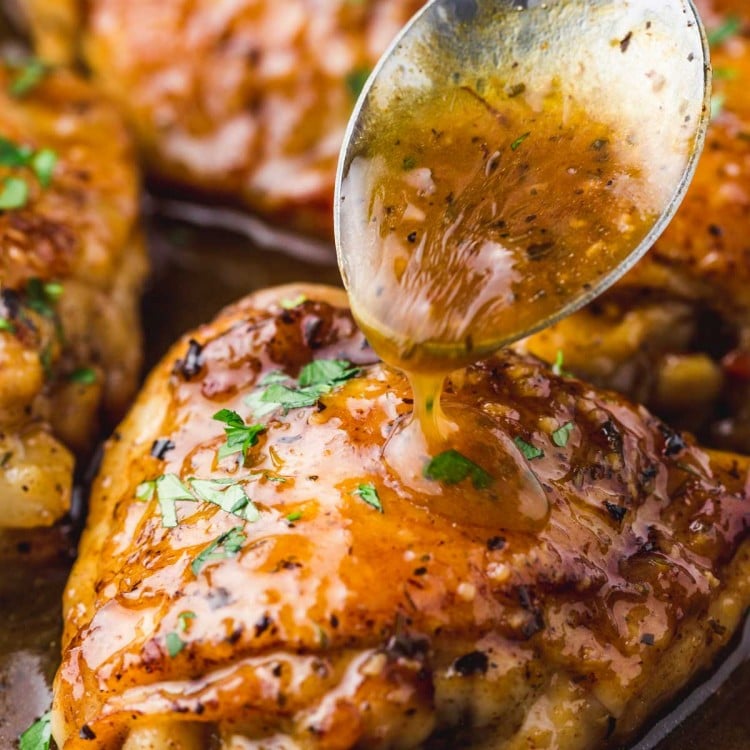
- Make a gravy (optional). Transfer chicken drumsticks to a serving plate, and to thicken the sauce to make gravy (optional), set the Instant Pot to SAUTE mode, and add 1 tablespoon of cornstarch mixed with 1 tablespoon of water. Add that to the sauce, and whisk until the sauce thickens. Have a taste and add more salt if needed.
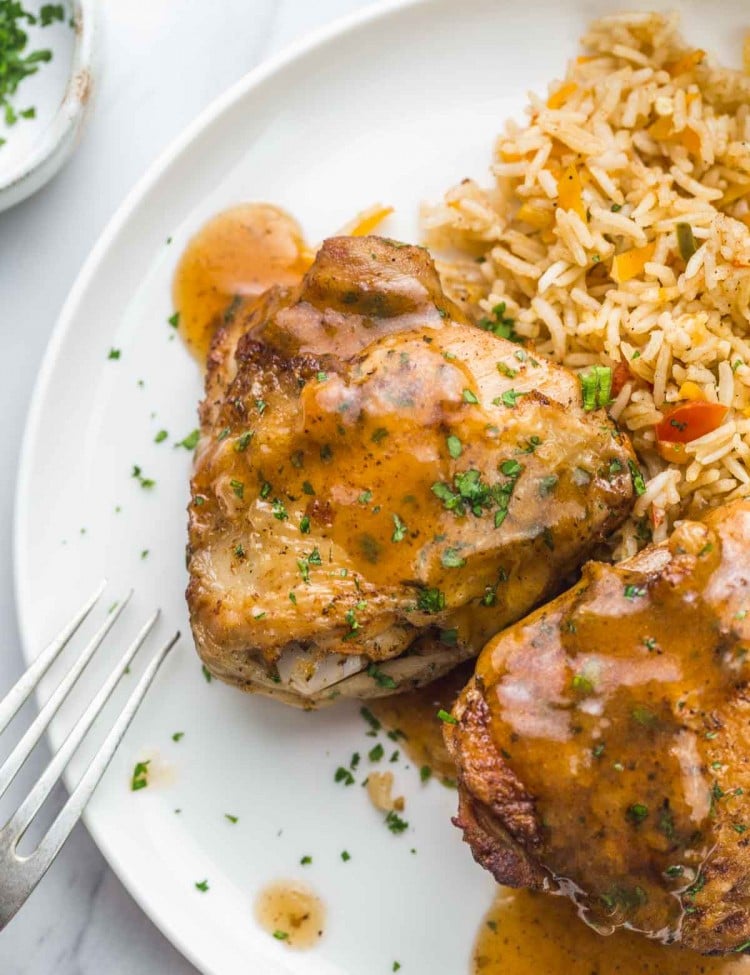
- Serve. Pour the sauce over the chicken, and garnish with chopped parsley leaves.
Tips & Tricks
- Nicely browned. Don’t skimp on using both butter and oil for the initial browning. The butter, as you can imagine, gives it a ton of extra flavor, but if you were to use it on its own, it may burn. The oil allows it to cook a little longer.
- For crispy skin. Transfer chicken to a baking sheet and place under the broiler for a few minutes at the end. Or use your Air Fryer instead.
- Brown sugar. Adding a little sweetness to your dry rub is an excellent added touch. The balance of flavors between sweet and savory or even sweet and spicy is always special!
- Different pieces. This recipe is based on my Instant Pot chicken thighs recipe, so if you’d rather use a different piece of chicken, feel free! Chicken thighs, drumsticks, and even bone-in skin-on chicken breasts will work. Breasts are bigger and meatier so you’ll need to adjust the cooking time to a few extra minutes.
- Pressure cooker size. The recipe works for either a 6 quart or an 8 quart Instant Pot.
- The number of drumsticks. For fewer drumsticks, you can cut the recipe in half. You can also make more and the cooking time remains the same.
Seasoning Variations
Switch up the dry rub each time you make this delicious recipe. It’s like an entirely different dish every time! Below is some inspiration.
- Stone house seasnoning, simple but delicious!
- Homemade fajita seasoning
- Italian seasoning
- Homemade taco seasoning
Or skip the dry rub. Season with a bit of salt and pepper to begin and then brush with BBQ sauce before broiling in the oven at the end just as I did in this baked bbq chicken drumsticks recipe. Delicious bbq chicken in no time!
FAQs
The Instant Pot is great for those days when we’ve forgotten to defrost anything (we’ve all been there!). You’ll need to tack on a bit of cook time to 14 minutes and then allow it to naturally release for 5 minutes.
While anything is possible, it is relatively difficult to do so. This is because a pressure cooker uses steam to cook what’s inside. Steam is what creates a moist environment keeping the chicken nice and juicy and helps to avoid any overcooking and drying out.
Once completely cooled, store them in an airtight container in the fridge for up to 2 days. Transfer to a freezer-friendly Ziploc to keep frozen for up to 1 month. Thaw in the fridge overnight before reheating.
Ways to Serve Instant Pot Chicken Drumsticks
Drumsticks are naturally kid-friendly even just because they’re fun to pick up and eat with your hands. They’ll love having a variety of different sauces to dip their chicken into, so think about serving them with a side of buffalo sauce, sweet and sour sauce, or yum yum sauce!
Complete your meal with side dishes like twice baked potatoes, saucy and smoky baked beans, creamy lemon pasta, or these air fryer roasted potatoes.
Keep it light with a side caesar salad or a carrot raisin salad. If you decide to use brown sugar as part of your dry rub, the latter would pair nicely with it!
This easy Instant Pot recipe for chicken drumsticks is going to become a fast favorite. Don’t forget to share it so other people can also get dinner on the table quickly and easily!
Did you make this? Be sure to leave a review below and tag me on Facebook, Instagram, or Pinterest!
Instant Pot Chicken Drumsticks
Recipe Video
Equipment
Ingredients
Dry rub
- 1 teaspoon paprika
- 1 teaspoon dried oregano
- 1 teaspoon garlic powder
- 1 ½ teaspoons salt
- ¾ teaspoon ground black pepper
For the chicken
- 2 ½ pounds (1.2kg) chicken drumsticks about 10 pieces
- 1 tablespoon olive oil
- 1 tablespoon butter
- 1 cup chicken stock or water
Instructions
- In a small bowl, combine paprika with oregano, garlic powder, salt and pepper. That’s your dry rub.
- Season the drumsticks with the seasoning from all sides.
- On the Instant Pot, press on SAUTE, add the oil, and melt the butter. Brown the chicken skin side down (2-3 minutes), flip and brown it from the other side (2 minutes). When the chicken is golden brown, remove from the pot and set aside. Work in 2 batches.
- Add the chicken stock or water, and deglaze scraping off any stuck brown bits to the bottom of the pot.
- Insert a trivet, and put the chicken drumsticks on the trivet. Overlapping is ok.
- Secure the lid and set the vent to SEALING. Select the PRESSURE COOK/MANUAL setting and set the cooking time for 10 minutes at high pressure. The Instant Pot will take around 6-7 minutes to come to pressure and start cooking. When the cooking program ends, allow to naturally release the steam for fall of the bone chicken, or quickly release the steam.
- Transfer chicken drumsticks to a serving plate, and to thicken the sauce to make gravy (optional), set the Instant Pot to SAUTE mode, and add 1 tablespoon of cornstarch mixed with 1 tablespoon of water. Add that to the sauce, and whisk until the sauce thickens. Have a taste and add more salt if needed.
- Pour the sauce over the chicken, and garnish with chopped parsley leaves.
Notes:
- Cook chicken drumsticks from frozen. You’ll need to tack on a bit of cook time to 14 minutes and then allow it to naturally release for 5 minutes.
- Storing. Once completely cooled, store them in an airtight container in the fridge for up to 2 days. Transfer to a freezer-friendly Ziploc to keep frozen for up to 1 month. Thaw in the fridge overnight before reheating.
Nutrition Information
This website provides approximate nutrition information for convenience and as a courtesy only. Nutrition data is gathered primarily from the USDA Food Composition Database, whenever available, or otherwise other online calculators.
© Little Sunny Kitchen
Vane says
The directions were easy to follow and my family all said it was very tasty. I also appreciated that it was flavorful but not super salty.
Little Sunny Kitchen says
Thanks, Vane! Happy to hear that the chicken was a hit with your family.
Jane says
Super easy, quick and tasty. Made exactly as listed.
Little Sunny Kitchen says
Glad you enjoyed the recipe, Jane!
Kris Rono says
I made this last night (minus oregano, plus brown sugar). The other change I made was to pile it on potatoes instead of a trivet. It worked perfectly! The potatoes were tender and excellently flavored from the broth and seasonings.
Little Sunny Kitchen says
That was an excellent idea with the potatoes underneath! Sounds delish!
Mom of 3 says
This chicken is AMAZING! I was really surprise at how yummy it was…I browned the chicken without the seasoning/rub and added it after the browning was done and it STILL came out fabulous. My pickey eaters gobbled it up in bowls with broccoli and the sauce/gravy over brown Rice. It was a true hit!
Little Sunny Kitchen says
I’m always happy to hear that my recipes are picky kids approved! Thanks so much for the great feedback.
Judy says
delicious 😋 I enjoyed how quick dinner was on the plate. thanks
Diana says
So glad to hear you found the recipe quick and delicious! Thanks for the feedback!