These spooky Halloween Peanut Butter Ghost Cookies are so fun to make!
Delicious, soft-baked peanut butter ghost cookies are coated with powdered sugar and decorated with candy eyes and black icing. They’re the perfect Halloween party food!
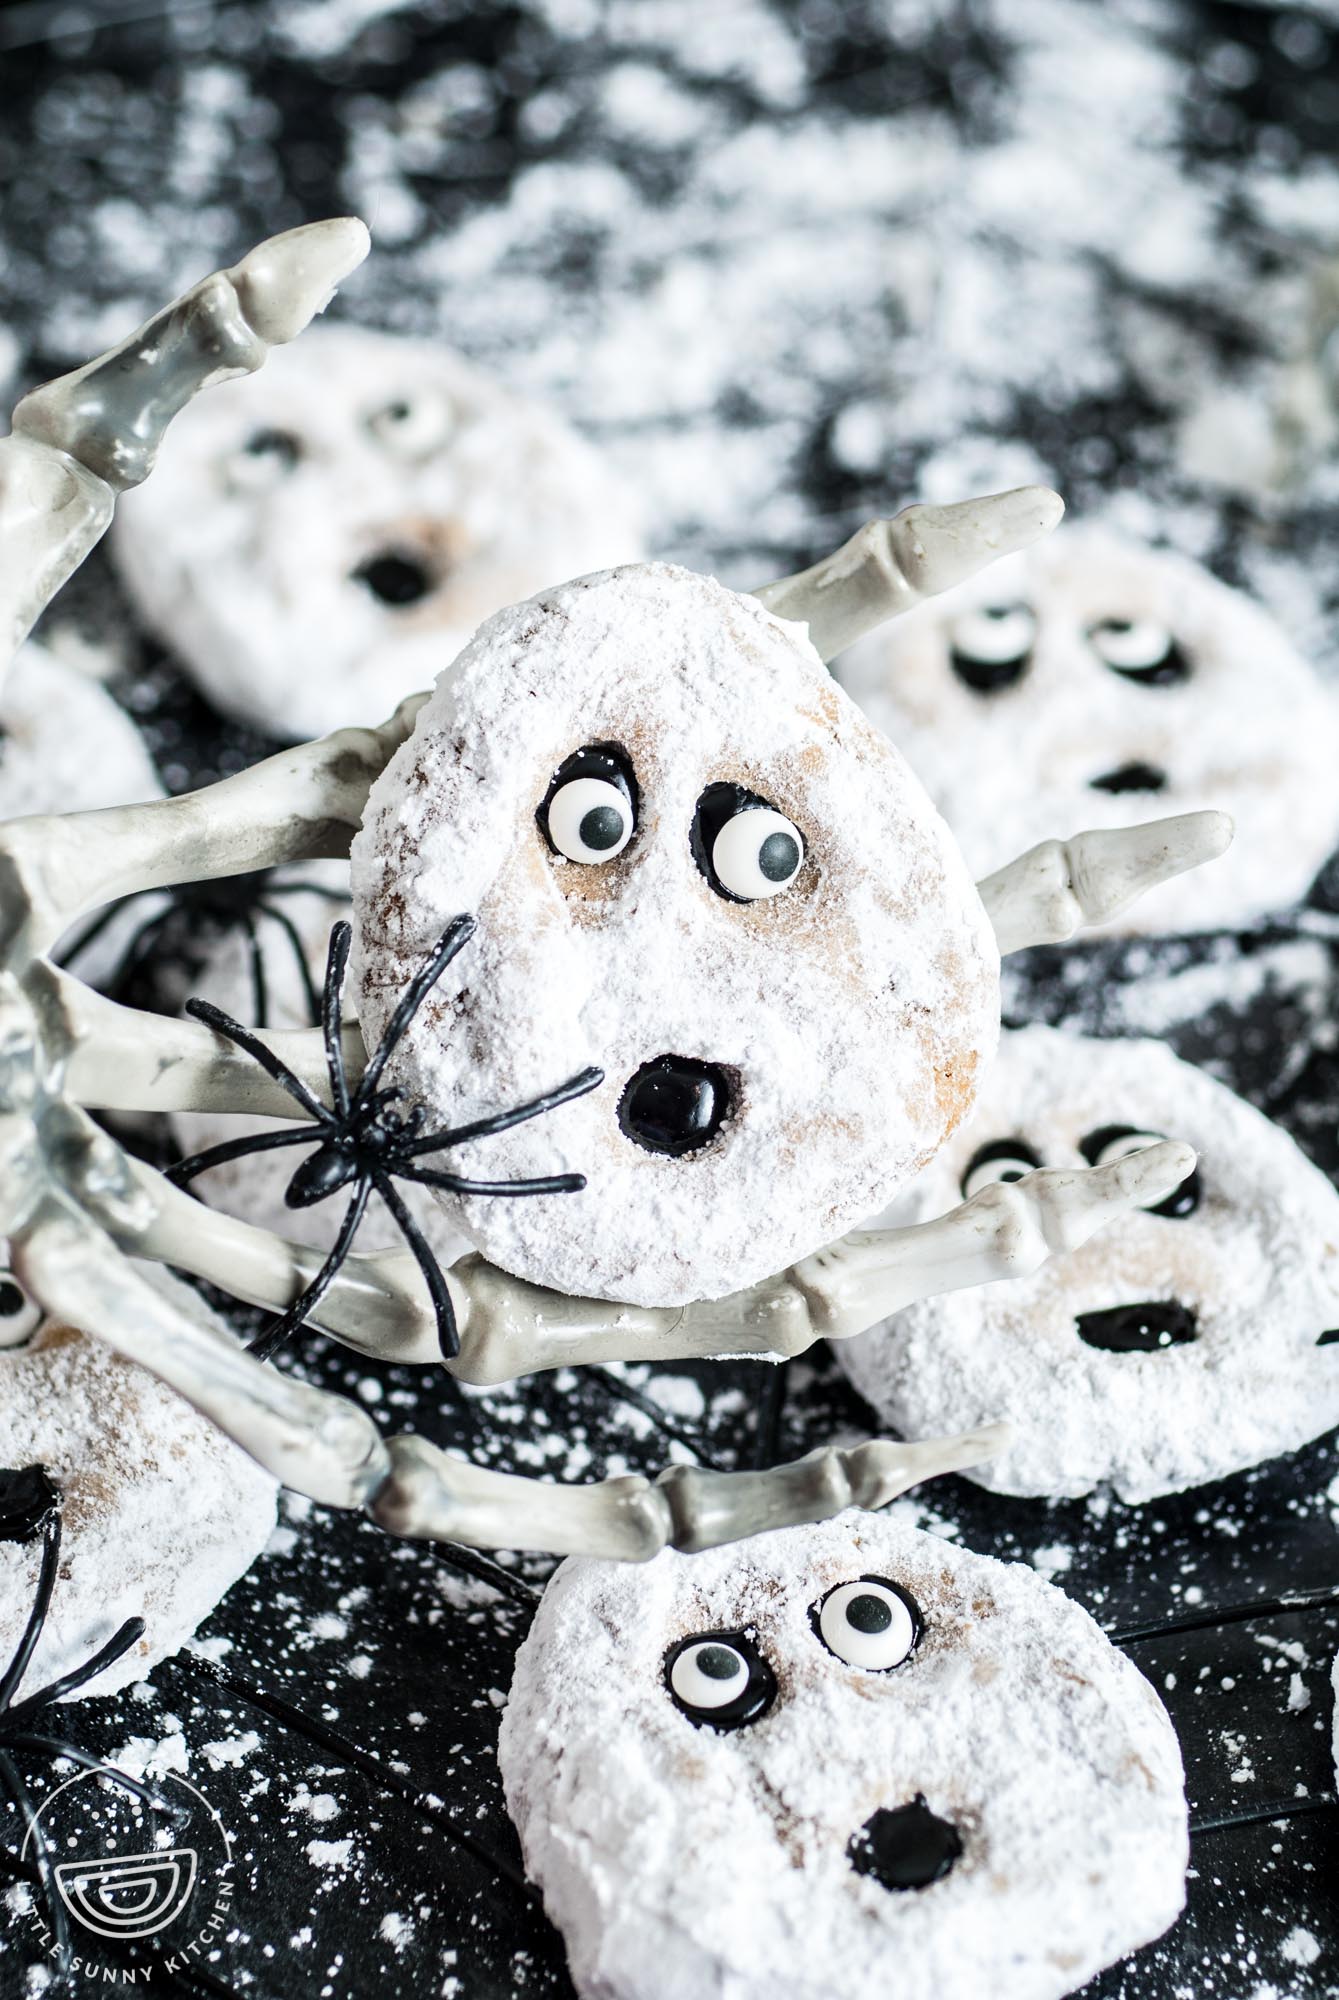
I have been having so much fun making and decorating Halloween cookies and treats this year!
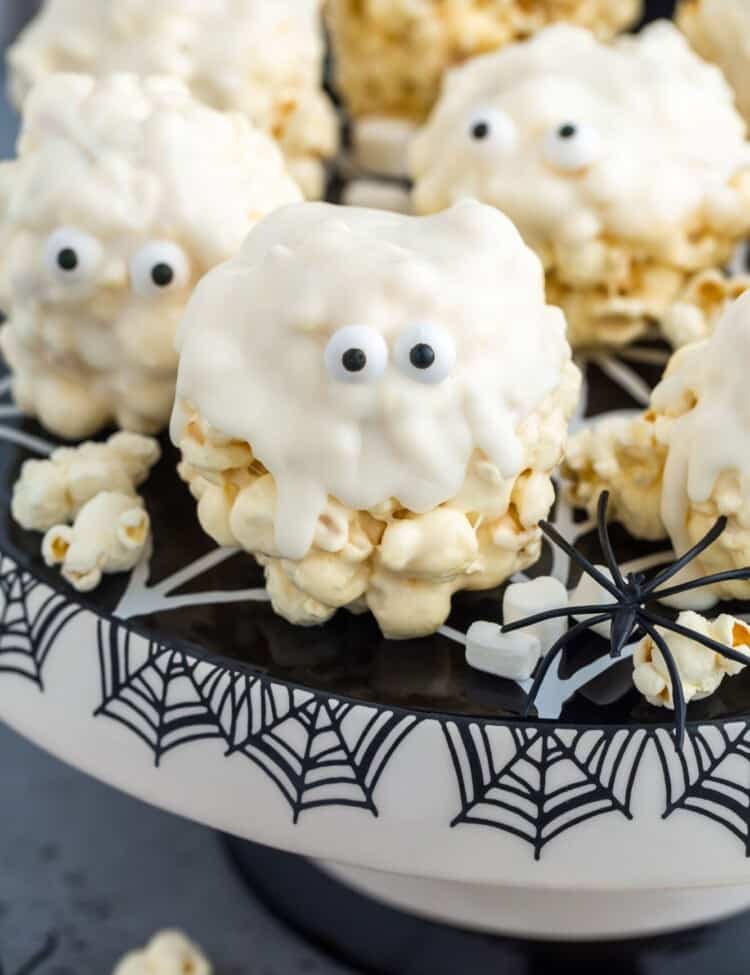
Of course, there are the well-loved classics: Halloween Witch Finger Cookies with almond fingernails and Popcorn Balls decorated to look like ghosts.
But I’m thinking outside of the Halloween party box with these Peanut Butter Ghost Cookies! This unique Halloween cookie recipe is sure to impress your friends and family.
These are made completely from scratch, and so simple. Delicious soft peanut butter cookies are made even more fun with cute and easy Halloween decorations.
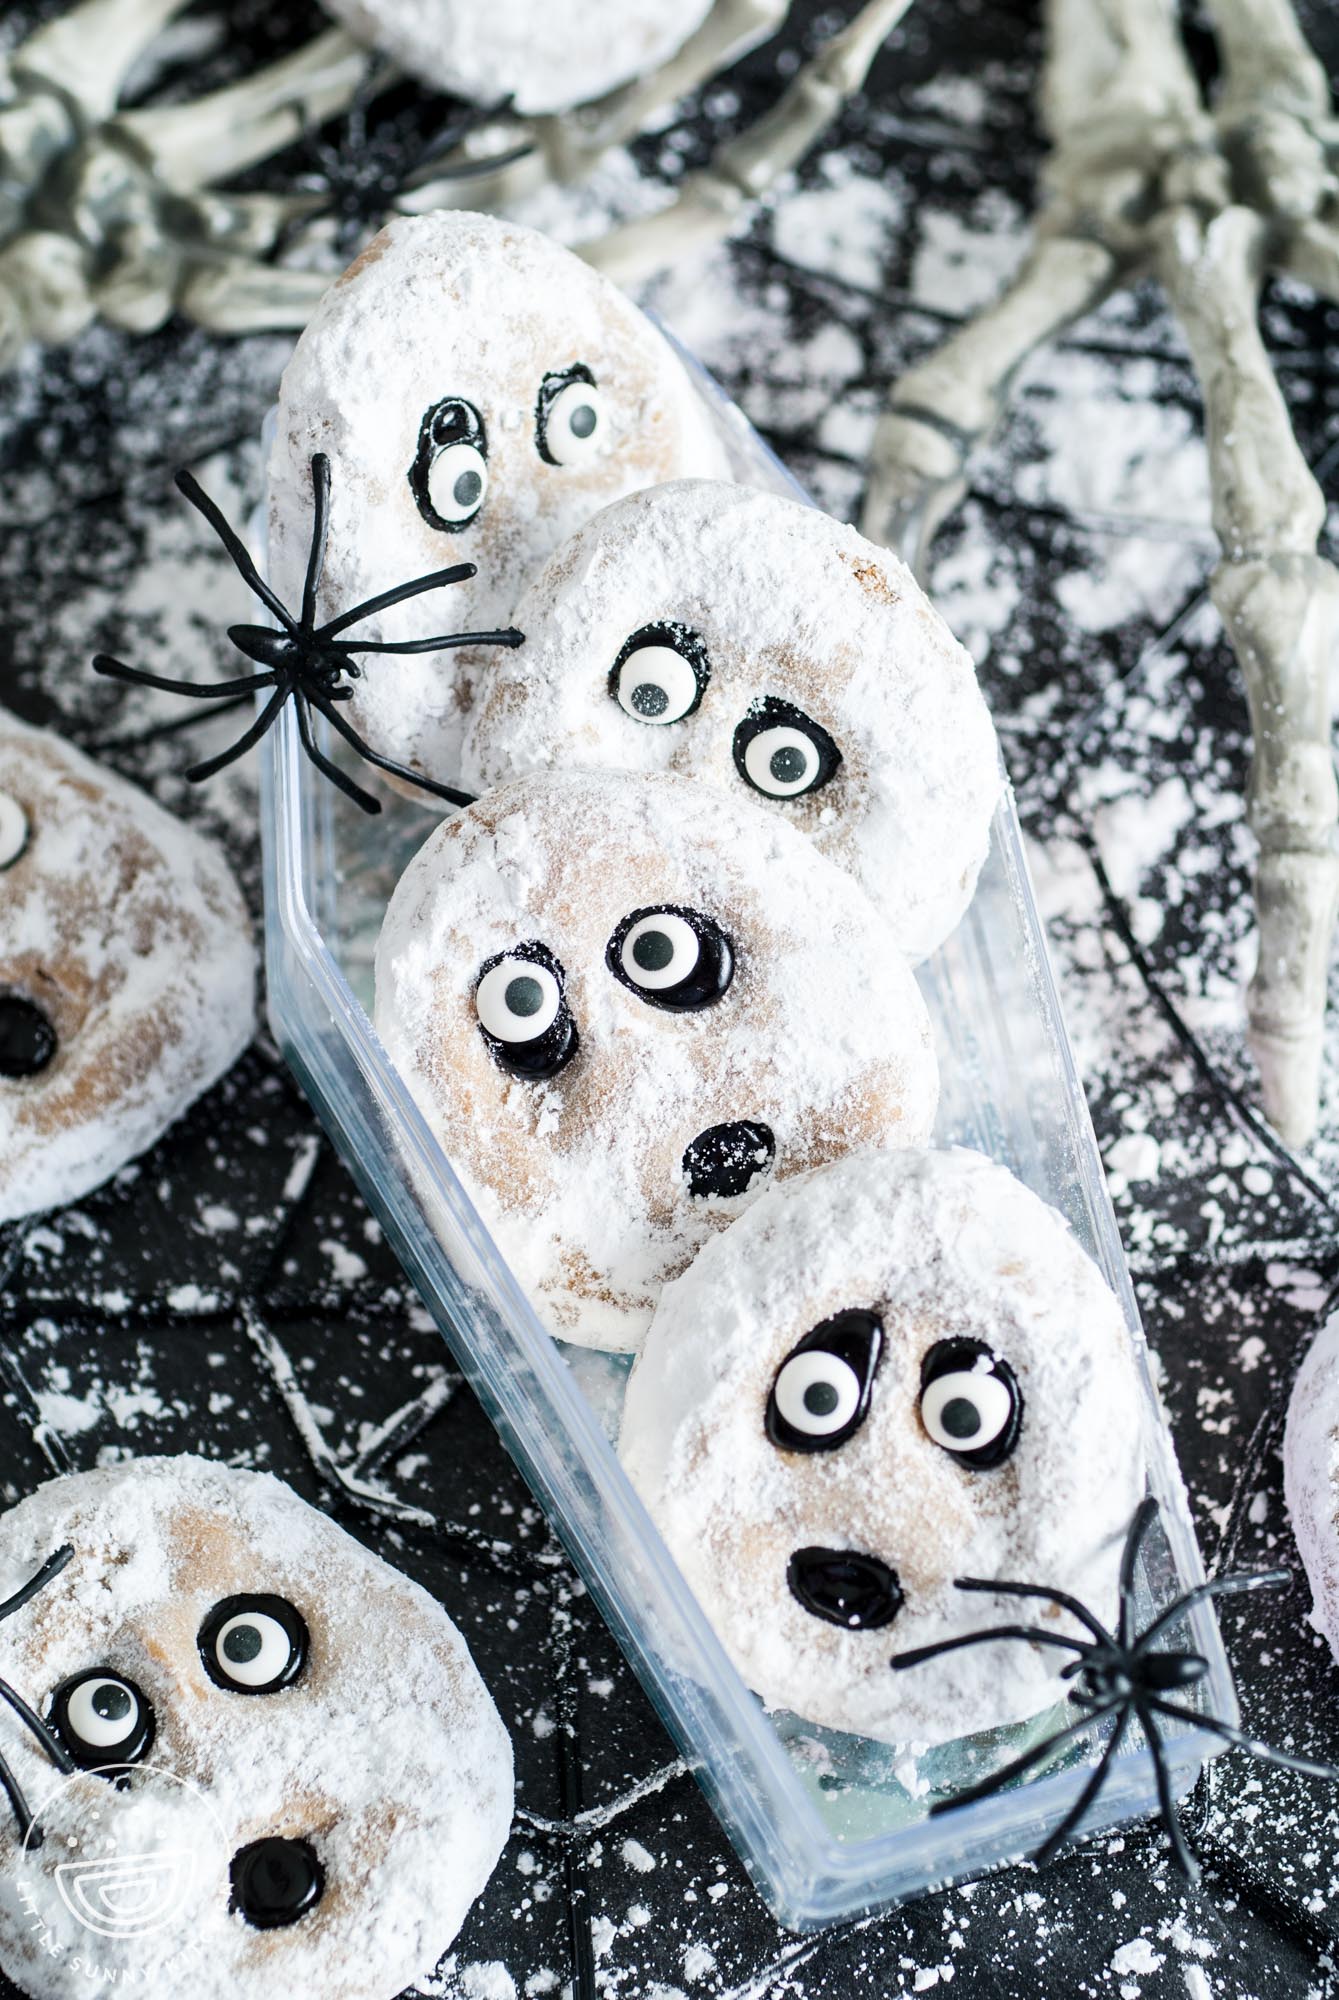
Peanut Butter Ghost Cookies Recipe
- Made from Scratch – You’ve seen the Halloween peanut butter ghost cookies that are made from Nutter Butter cookies, coated in white chocolate? These are so much better! Homemade peanut butter cookies coated in powdered sugar make even tastier ghosts.
- Easy Halloween Cookies – You need just a few standard simple ingredients to mix up this cookie dough, and it’s made using only one single bowl.
- Spooky Cute Decorations – These cookies are obviously Halloween themed, but they aren’t bloody or super scary, so they’re perfect for kids’ parties!
Key Ingredients
Here’s what you need to make this Halloween Peanut Butter Cookie Recipe:

Complete list of ingredients and amounts can be found in the recipe card below.
- Flour and Cornstarch: Cornstarch is my secret ingredient for making soft, chewy cookies.
- Brown Sugar: To add sweetness, and richness, and to keep the cookies moist and tender.
- Butter: It’s important that your butter is soft before you start. I like to let it naturally come to room temperature.
- Egg: One large egg binds the ingredients together. Be sure to let your egg come to room temperature before mixing it into the dough.
- Peanut Butter: For best results in this cookie recipe, use creamy peanut butter. Avoid using “all natural” peanut butter, as it tends to be too oily for baking.
- Powdered Sugar: To make these little ghosts perfectly white and spooky.
- Black Icing: Pick up a tube of black writing icing or black cookie frosting to create the eye and mouth details.
- Candy Eyes: I love these, and put them on lots of my Halloween recipes! Check out my Frankenstein Peanut Butter Cookies, and Monster Halloween Snack Mix!
How To Make Easy Ghost Cookies


Tip!
Before adding the icing, use a small brush to lightly remove the powdered sugar from the eyes and mouth areas. Otherwise, the icing might not stick to the cookies.
Recipe Tips
- When mixing cookie dough, try not to mix too much. Stir in the dry ingredients just until you can no longer see them. Overmixing can cause the cookies to be dense and hard.
- Chill the dough. In order for these cookies to keep their ghostly shapes, it’s important that the dough is chilled so that the butter can harden again. Chilling the dough already portioned makes the process quicker.
- Try varying the shapes. Make some of the ghosts more rounded and others long and thin. Get creative and have fun with this recipe!
- Avoid overbaking. You want these peanut butter cookies to be soft. Remove them from the oven when they are set on top and lightly golden around the edges.
- To cool the cookies more quickly, move them from the pan to a platter and pop them in the freezer!
- Don’t have candy eyes? It’s fine! these cookies are super cute with just the black icing eyes. You could also use a little bit of white icing to pipe on details if you like.
Storing Tips
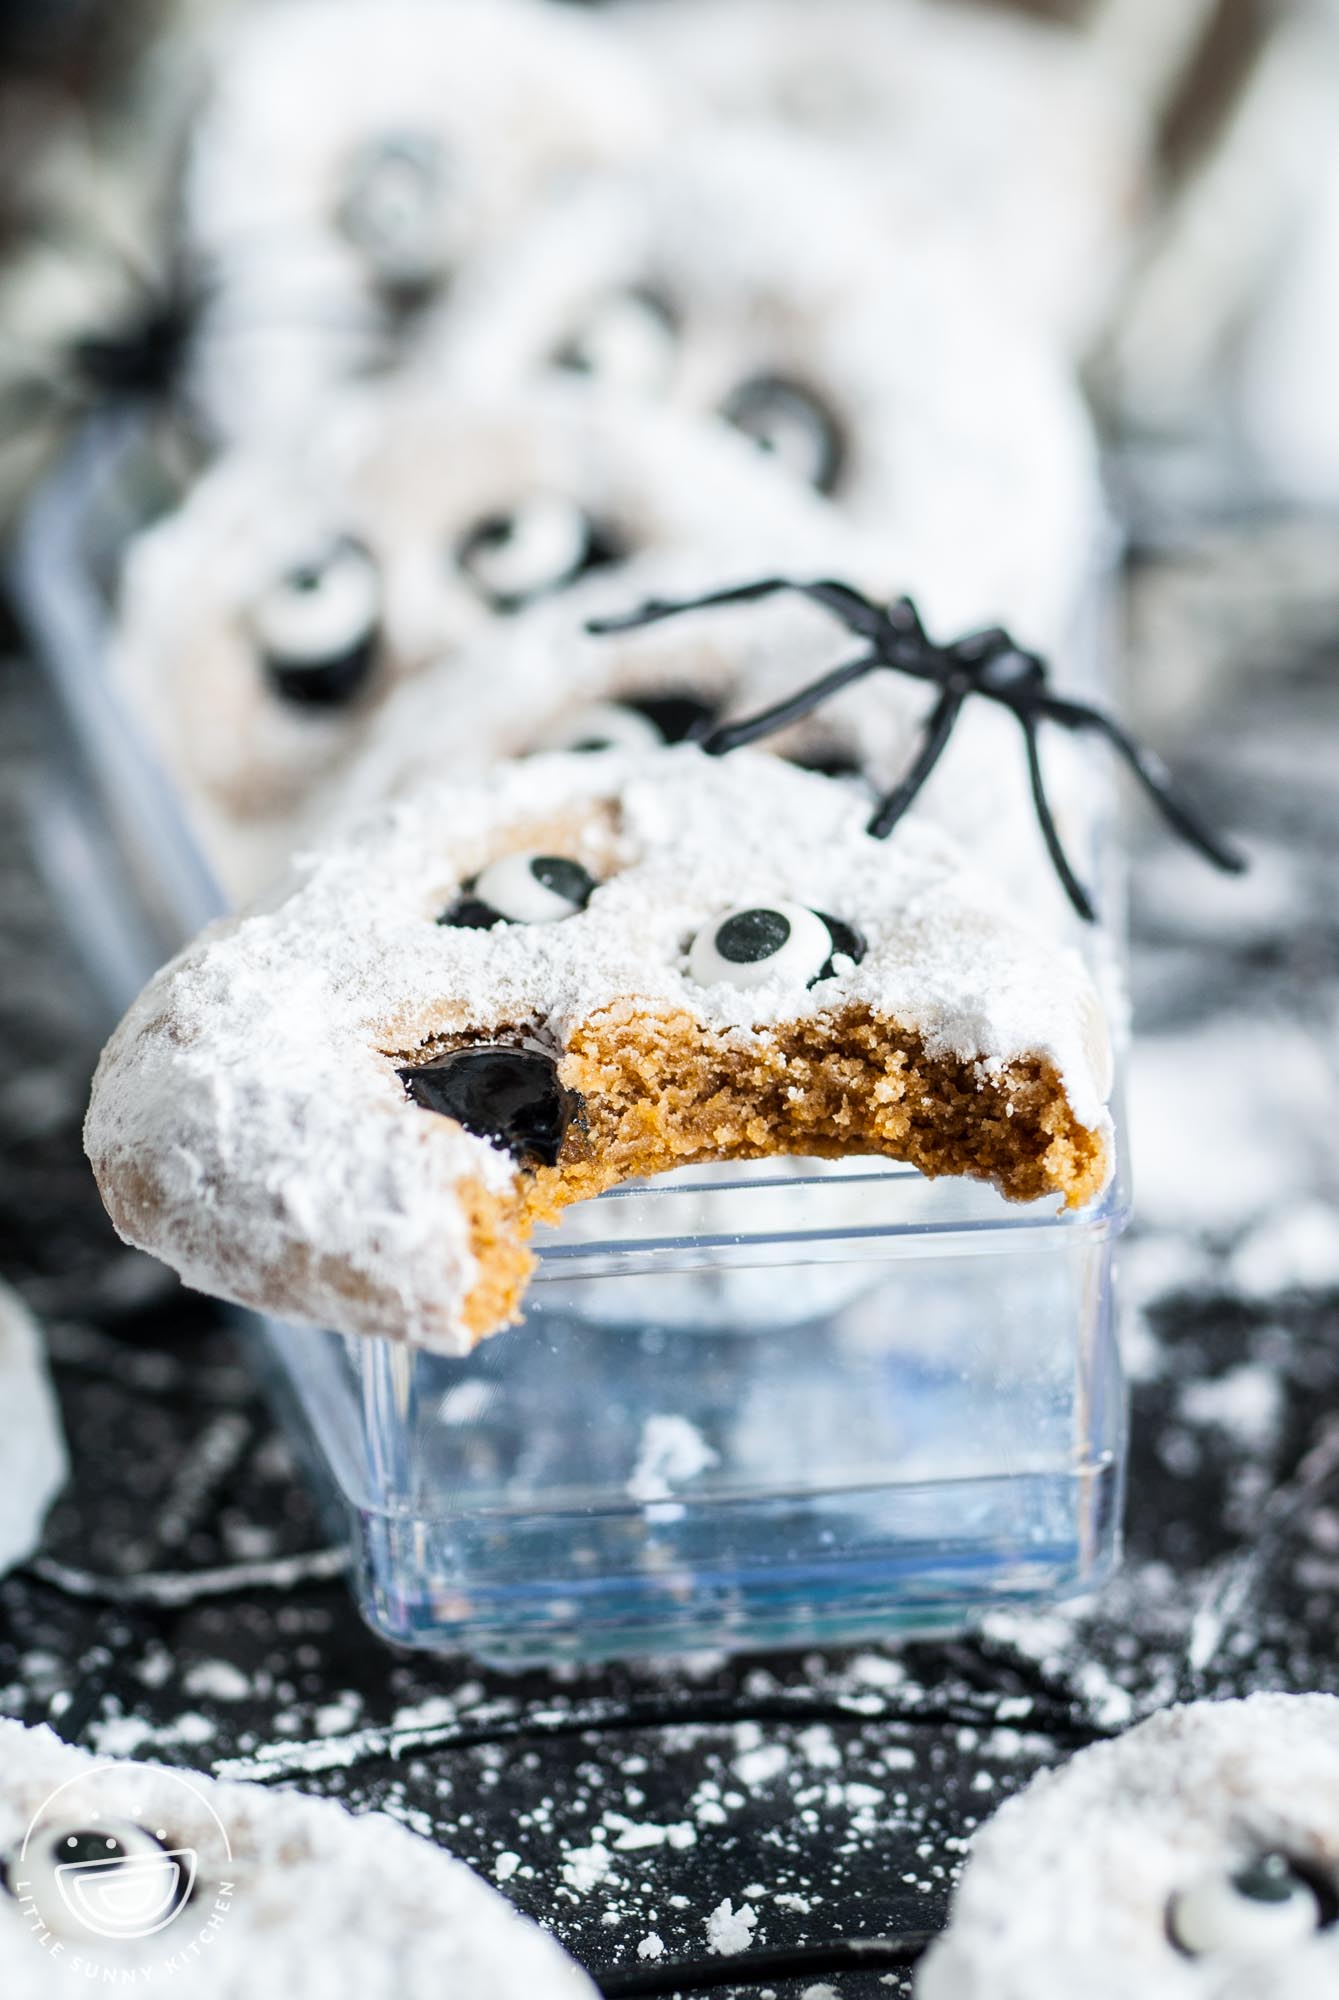
These cookies are best if enjoyed within a day or so of making them, but they can be stored for up to 3 days or so.
Keep them in an airtight container in a single layer. If you need to stack them, be sure to put parchment paper between the layers.
After a day or two, the powdered sugar will absorb into the cookies and not be so visible. You can sprinkle them with some extra sugar right before serving!

Recipe FAQs
Can I make these nut free?
I haven’t tested this recipe using a nut-free spread, but I will let you in on a little secret – you can make ghost cookies with just about any soft cookie recipe!
Just bake your nut-free cookie dough (or gluten-free, or vegan cookie dough) into ghost shapes, and add the powdered sugar and faces once they’re baked.
What can I use instead of black icing?
Try using black candy melts or melted chocolate to make the ghost eyes and mouth! Semi-sweet or dark chocolate chips would work best.
Where can I find candy eyeballs?
These are usually readily available in big stores like Target and Walmart during the Halloween season. You can also just order candy eyes online and make your life a bit easier!
These adorably spooky Halloween Peanut Butter Ghost Cookies will be so much fun this fall! Make these for a Halloween party, or as a treat for your family, and don’t forget to Pin the recipe!
Did you make this? Be sure to leave a review below and tag me on Facebook, Instagram, or Pinterest!
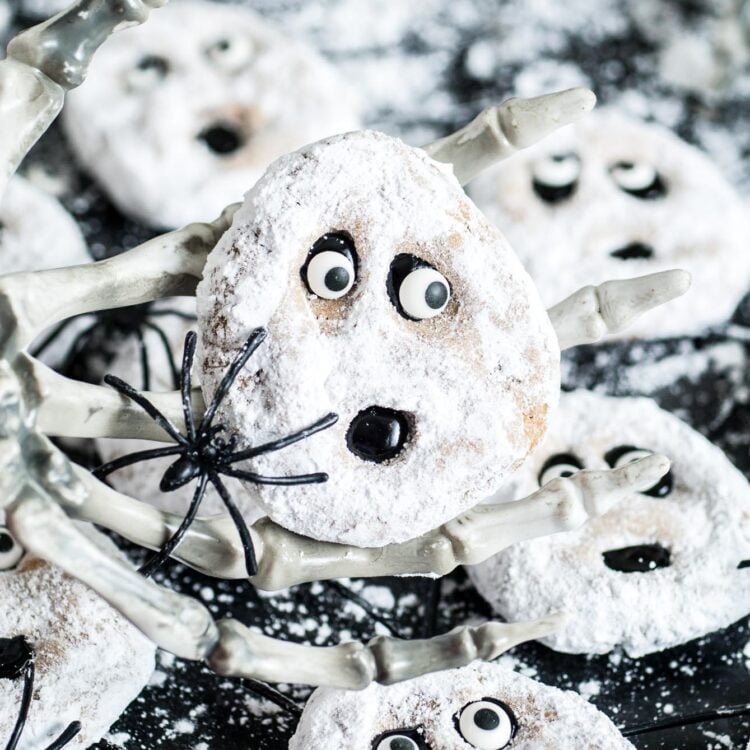
Halloween Peanut Butter Ghost Cookies
Equipment
- Parchment paper or silicone baking mat
- Cookie Sheets
Ingredients
- 10 tablespoons (130 g) salted butter
- 1 cup (200 g) dark brown sugar
- ½ cup (120 g) creamy peanut butter
- 1 large egg at room temperature
- 2 teaspoons (10 ml) pure vanilla extract
- 1 ½ cups (180 g) all-purpose flour
- 2 tablespoons cornstarch cornflour in the UK
- 1 teaspoon baking soda
- 1 teaspoon table salt
- 1 tube black writing icing
- Candy eyeballs approx 48
Instructions
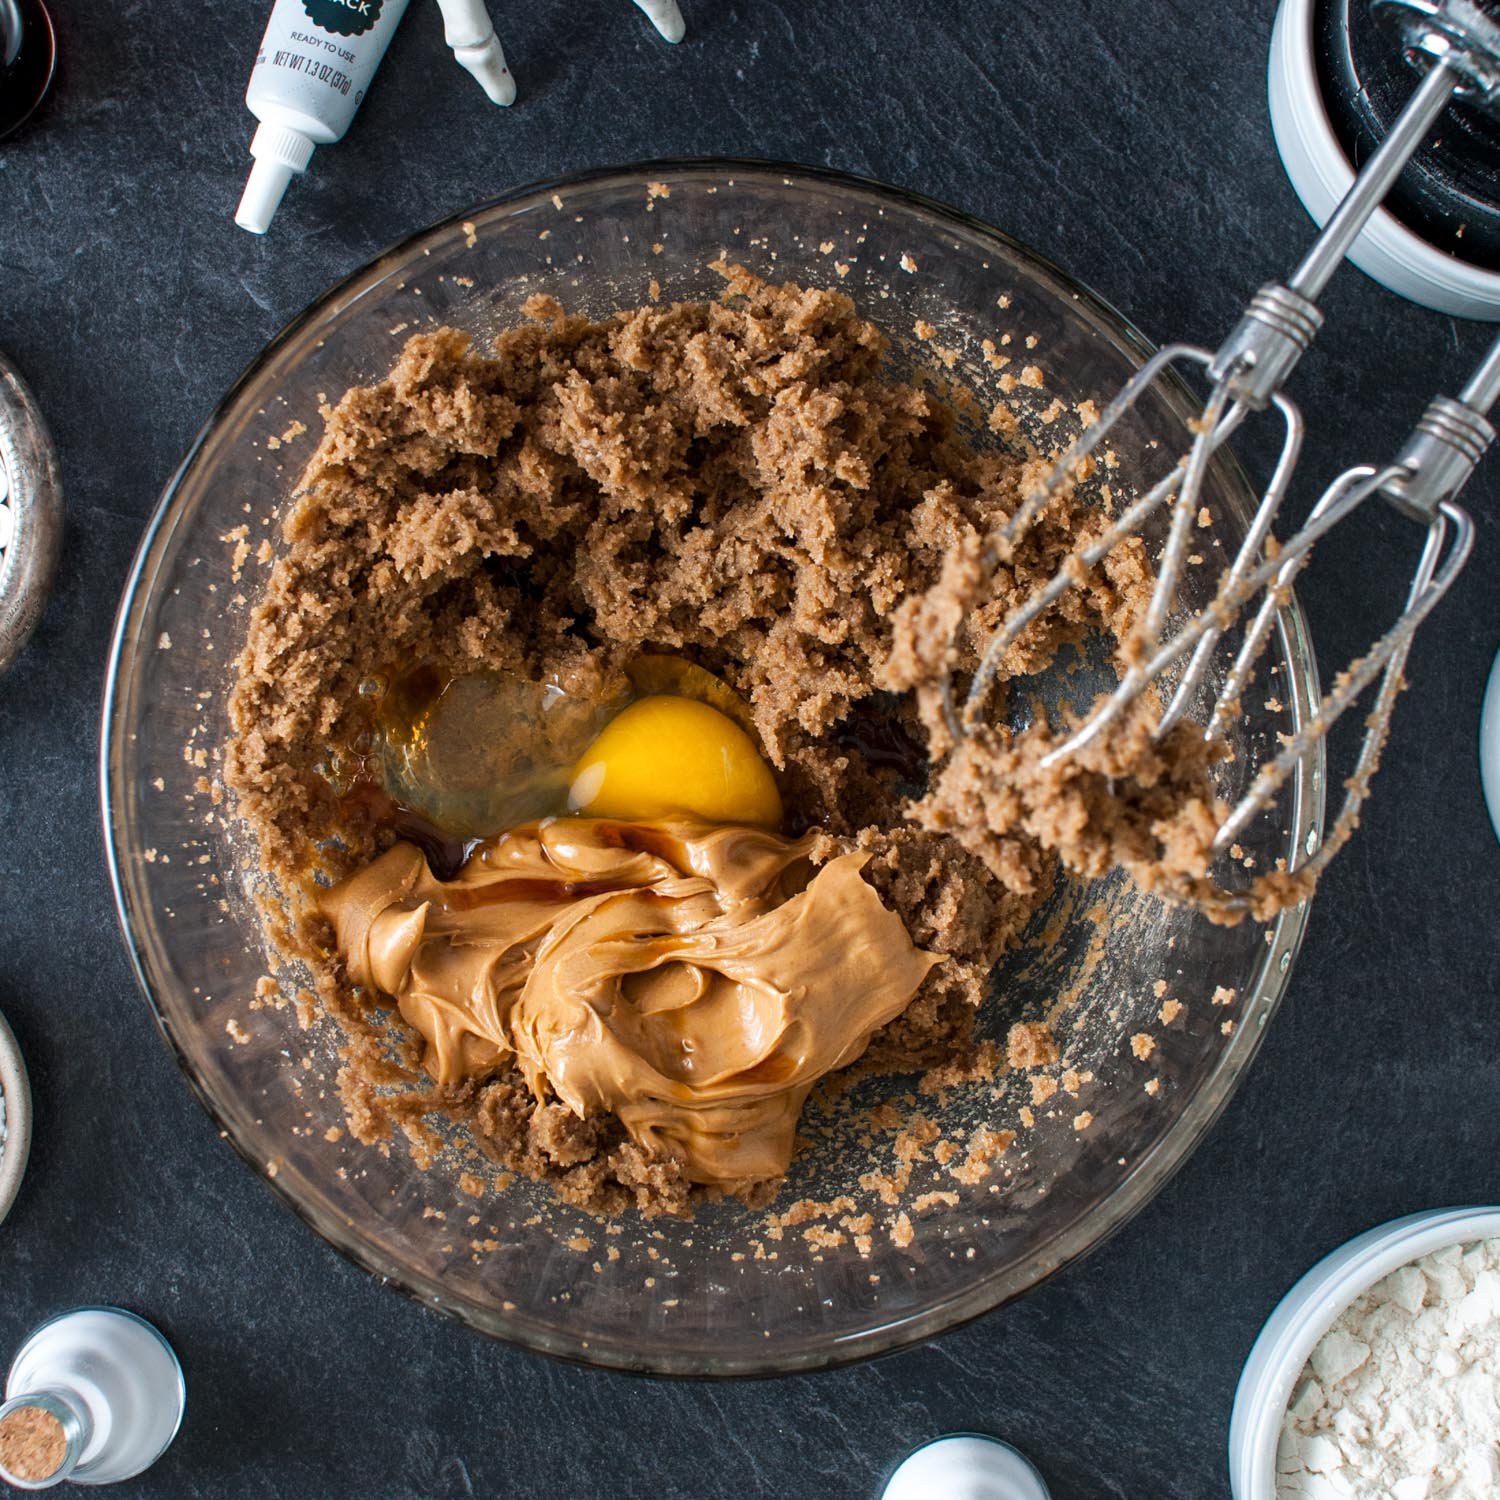
- In a large bowl, cream the butter and brown sugar together until smooth and creamy (2-3 minutes).
- Add the peanut butter, egg, and vanilla. Beat until smooth and lighter in color.
- Sift in the remaining dry ingredients. Mix until the flour is combined and a dough has formed.
- Using a 2 tablespoon cookie scoop, scoop out balls of dough. Place the balls of dough onto a large plate or cutting board, something that will fit into your refrigerator.
- Once all the dough has been scooped, cover the plate with plastic wrap and refrigerate for 30-45 minutes.
- Preheat your oven to 350°F (180°C), or 160°C if using a fan oven. Line a baking sheet with parchment or a silicone baking mat.
- After the dough has chilled, remove it from the fridge.
- Add the dough balls to the prepared baking sheet, leaving 2 to 3 inches between each. Using clean fingers, gently and quickly shape each dough ball into a triangular ghost shape, about 1” tall. Try not to overhandle the dough so that it won’t warm up too much.
- Bake in the preheated oven for 8 to 10 minutes. The cookies are done when the bottom edges are very slightly golden, and the tops are all one lighter color (no raw color left).
- Remove the cookies from the oven and let cool for a few minutes. While the cookies are still warm use a clean pinky finger or the rounded end of a small wooden spoon to poke holes for the eyes and mouth, see pictures. When poking the holes poke about halfway through the cookies.
- Remove the cookies from the pan and let cool completely on a solid surface.
- Once completely cooled, gently roll each cookie in the powdered sugar coating it completely.
- Use a clean paintbrush or cotton swab to gently remove the powdered sugar from the eyes and mouth areas.
- Squeeze the black writing icing into the eye spaces in the mouth. Then place one eyeball candy in each eye space.
- Store in an airtight container in a single layer or double layer separated by parchment paper.
Notes:
- Chill the dough. In order for these cookies to keep their ghostly shapes, it’s important that the dough is chilled so that the butter can harden again. Chilling the dough already portioned makes the process quicker.
- Try varying the shapes. Make some of the ghosts more rounded and others long and thin. Get creative and have fun with this recipe!
- Avoid overbaking. You want these peanut butter cookies to be soft. Remove them from the oven when they are set on top and lightly golden around the edges.
- To cool the cookies more quickly, move them from the pan to a platter and pop them in the freezer!
Nutrition Information
This website provides approximate nutrition information for convenience and as a courtesy only. Nutrition data is gathered primarily from the USDA Food Composition Database, whenever available, or otherwise other online calculators.
© Little Sunny Kitchen





Leave a Review!