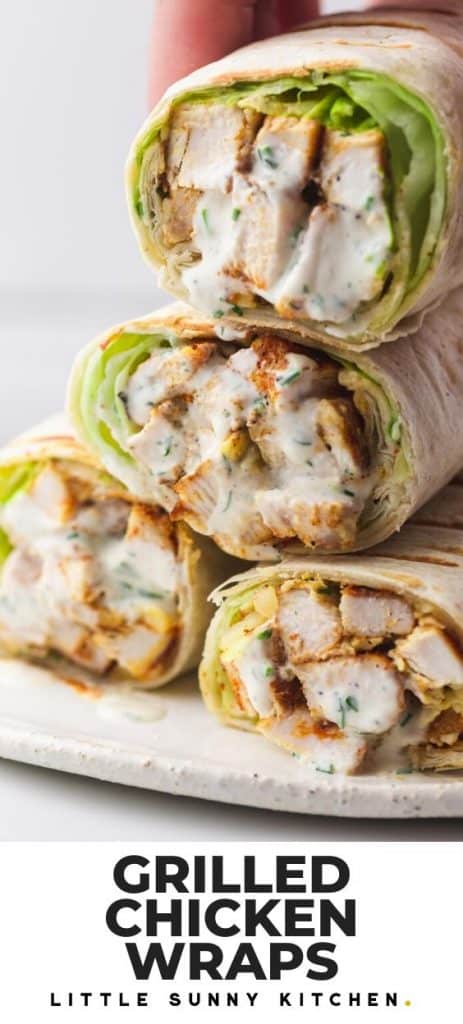
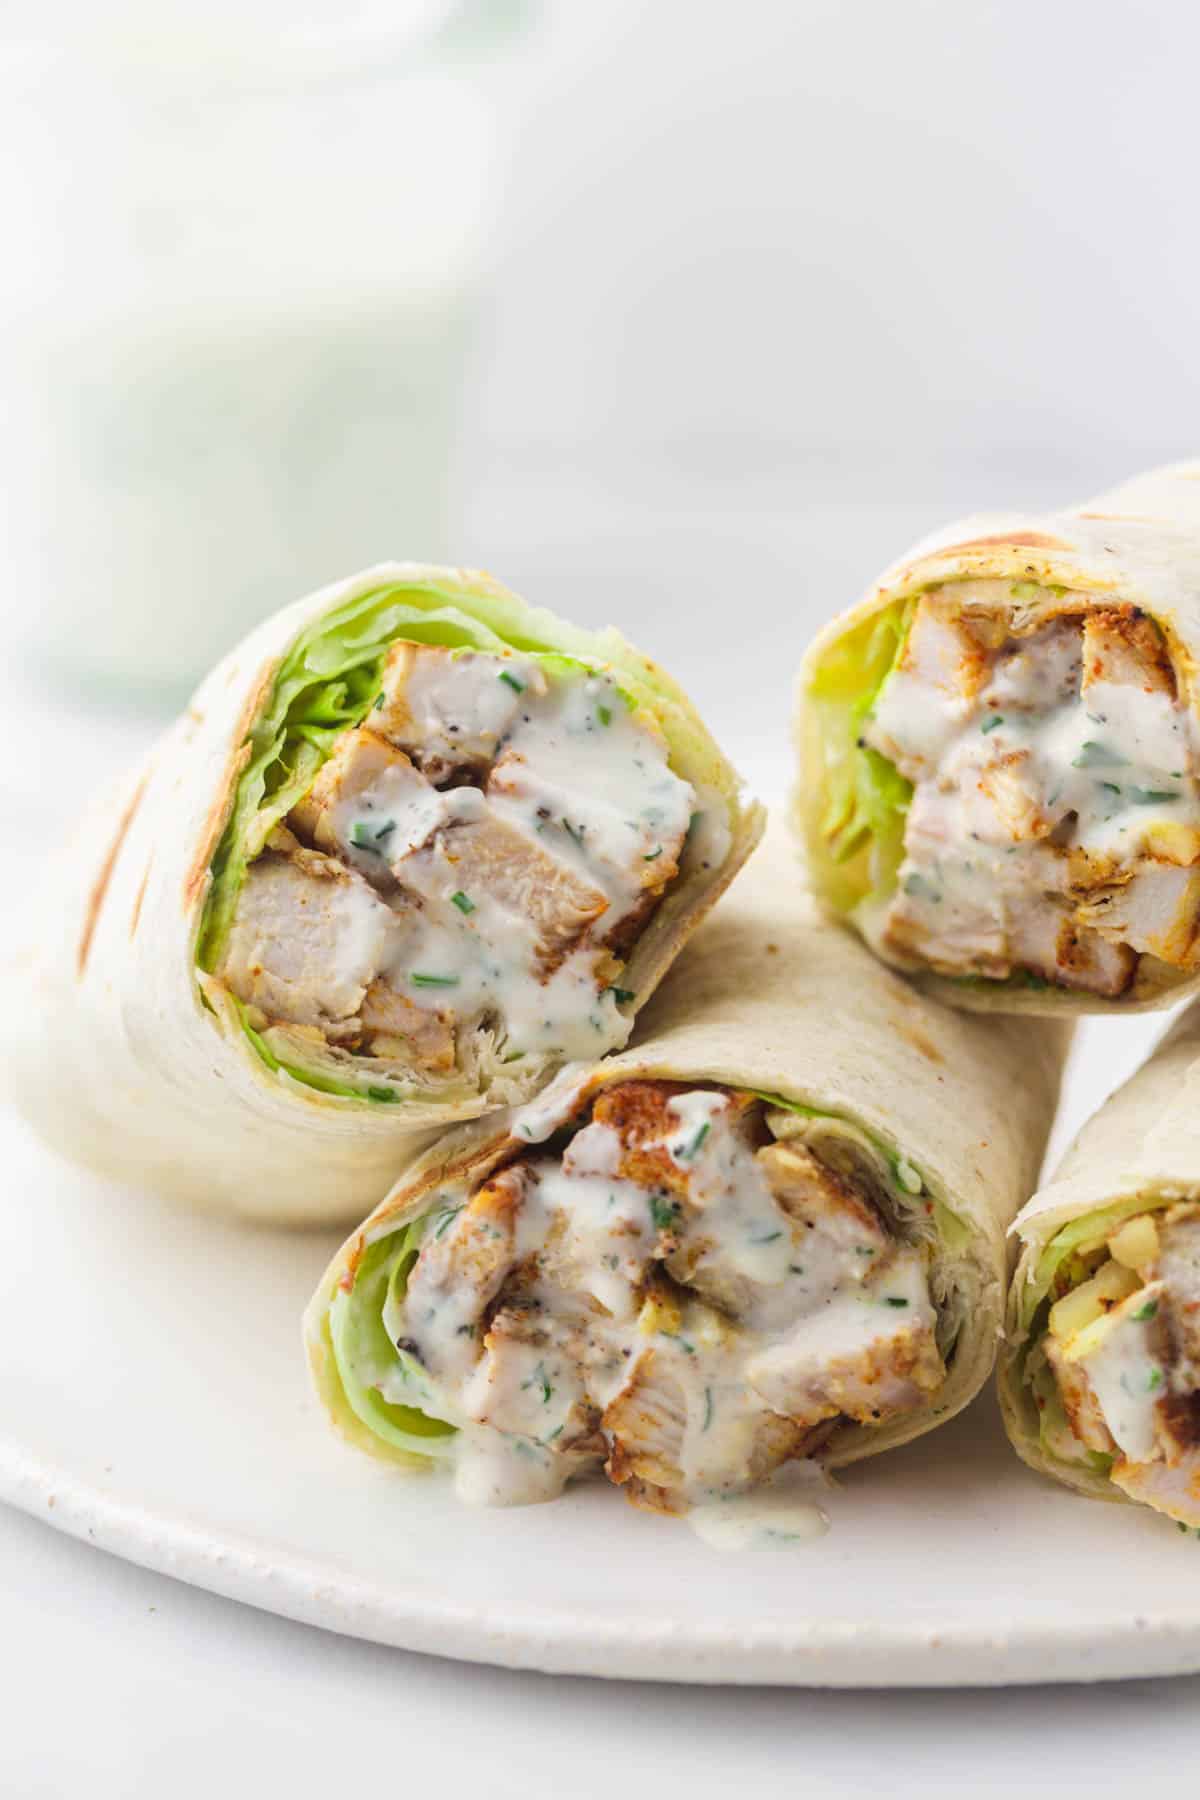
These grilled chicken wraps are perfect for a quick summer lunch! They’re packed with flavor, easy and quick to make, and perfect for packed lunches and picnics.
In the summer, we eat lots of salads, sandwiches, and wraps. Basically all things that don’t require hours in the kitchen, and that are easy to pack for picnics and outings. And these wraps are a family favorite! I usually grill some chicken using my grill pan, and make enough to last us for a couple of days.
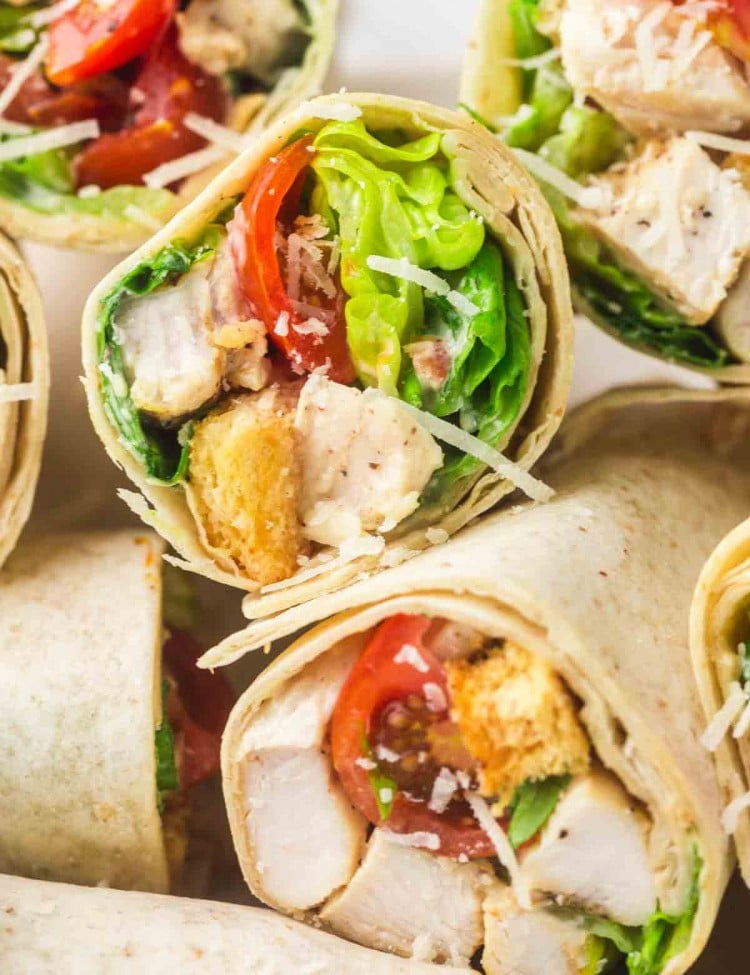
For the vegetarians and vegans in the family, I’ve been making these hummus veggie wraps. But for the ones that love chicken, these grilled chicken wraps have been requested weekly in the past 2 months! The chicken Caesar wraps are also a hit in my family!
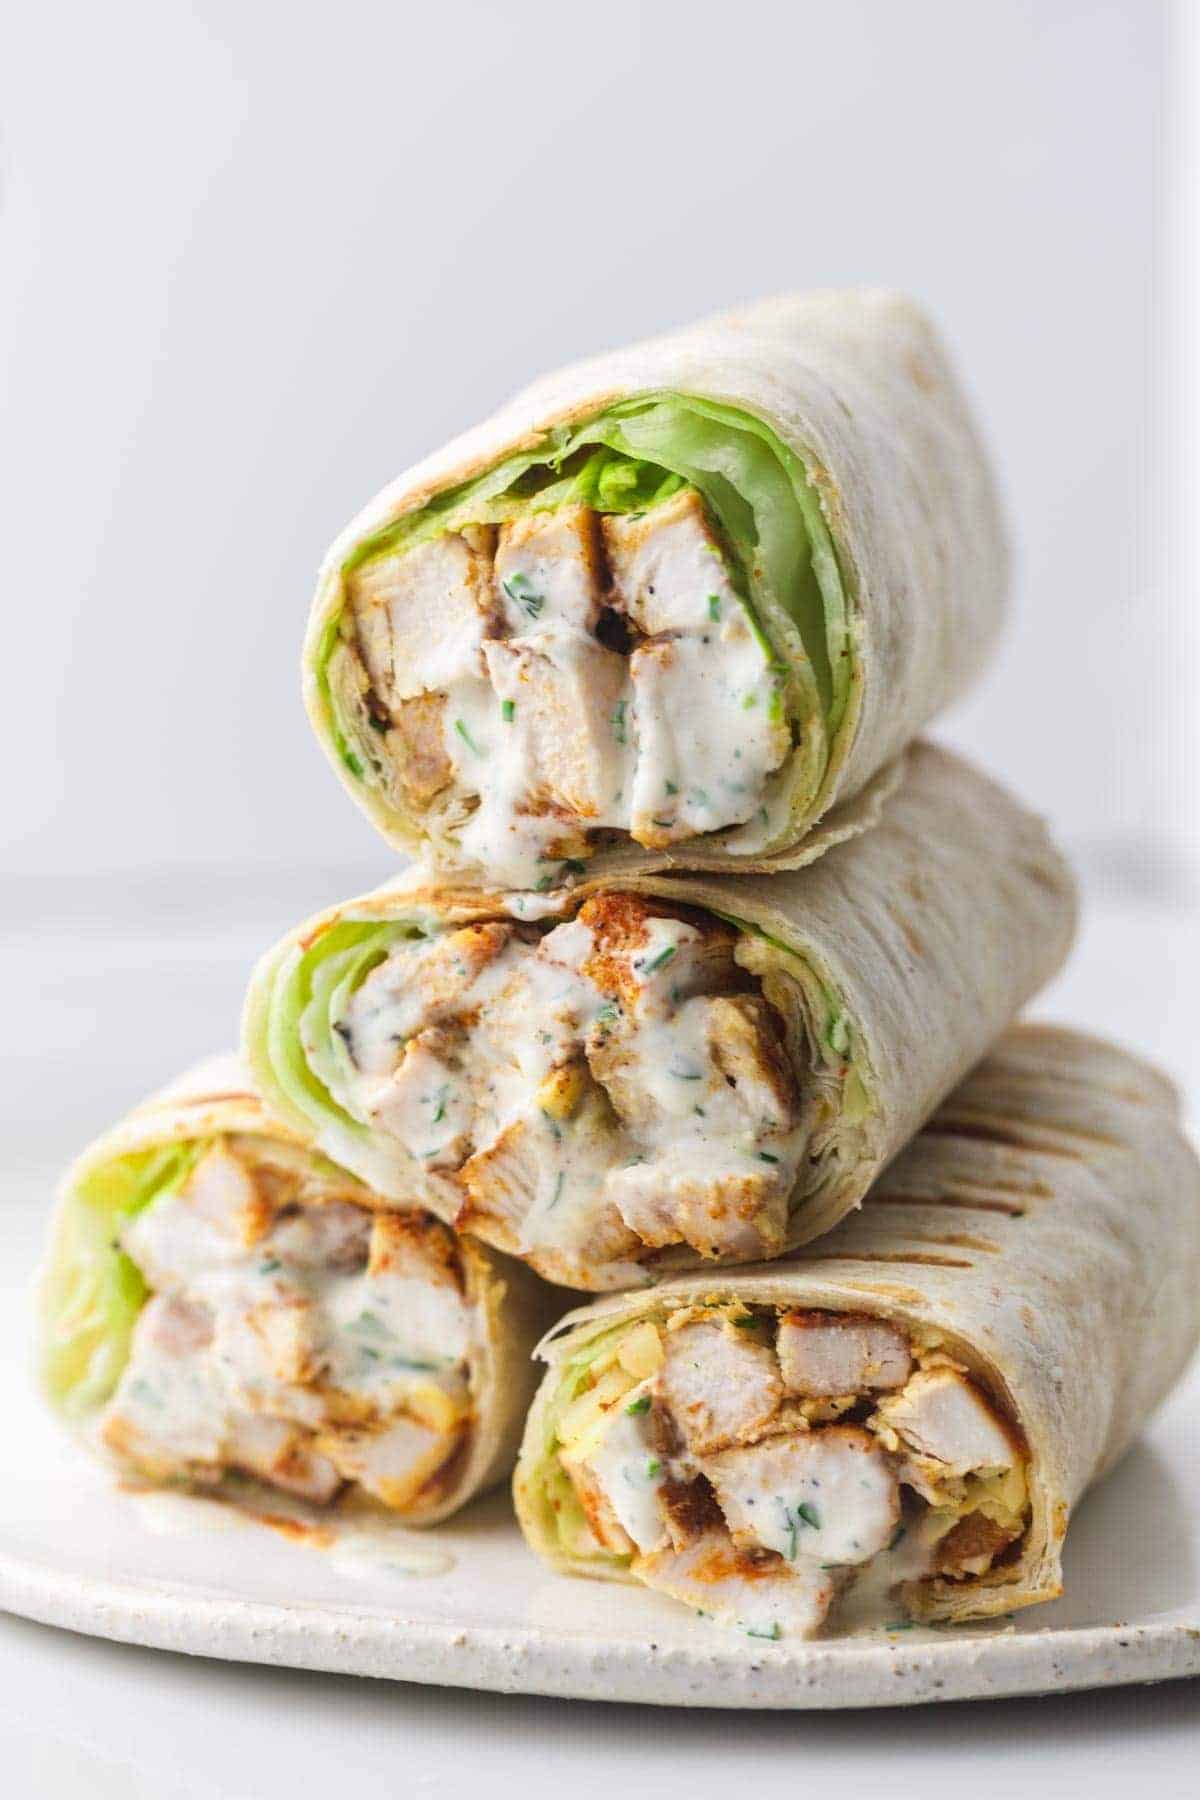
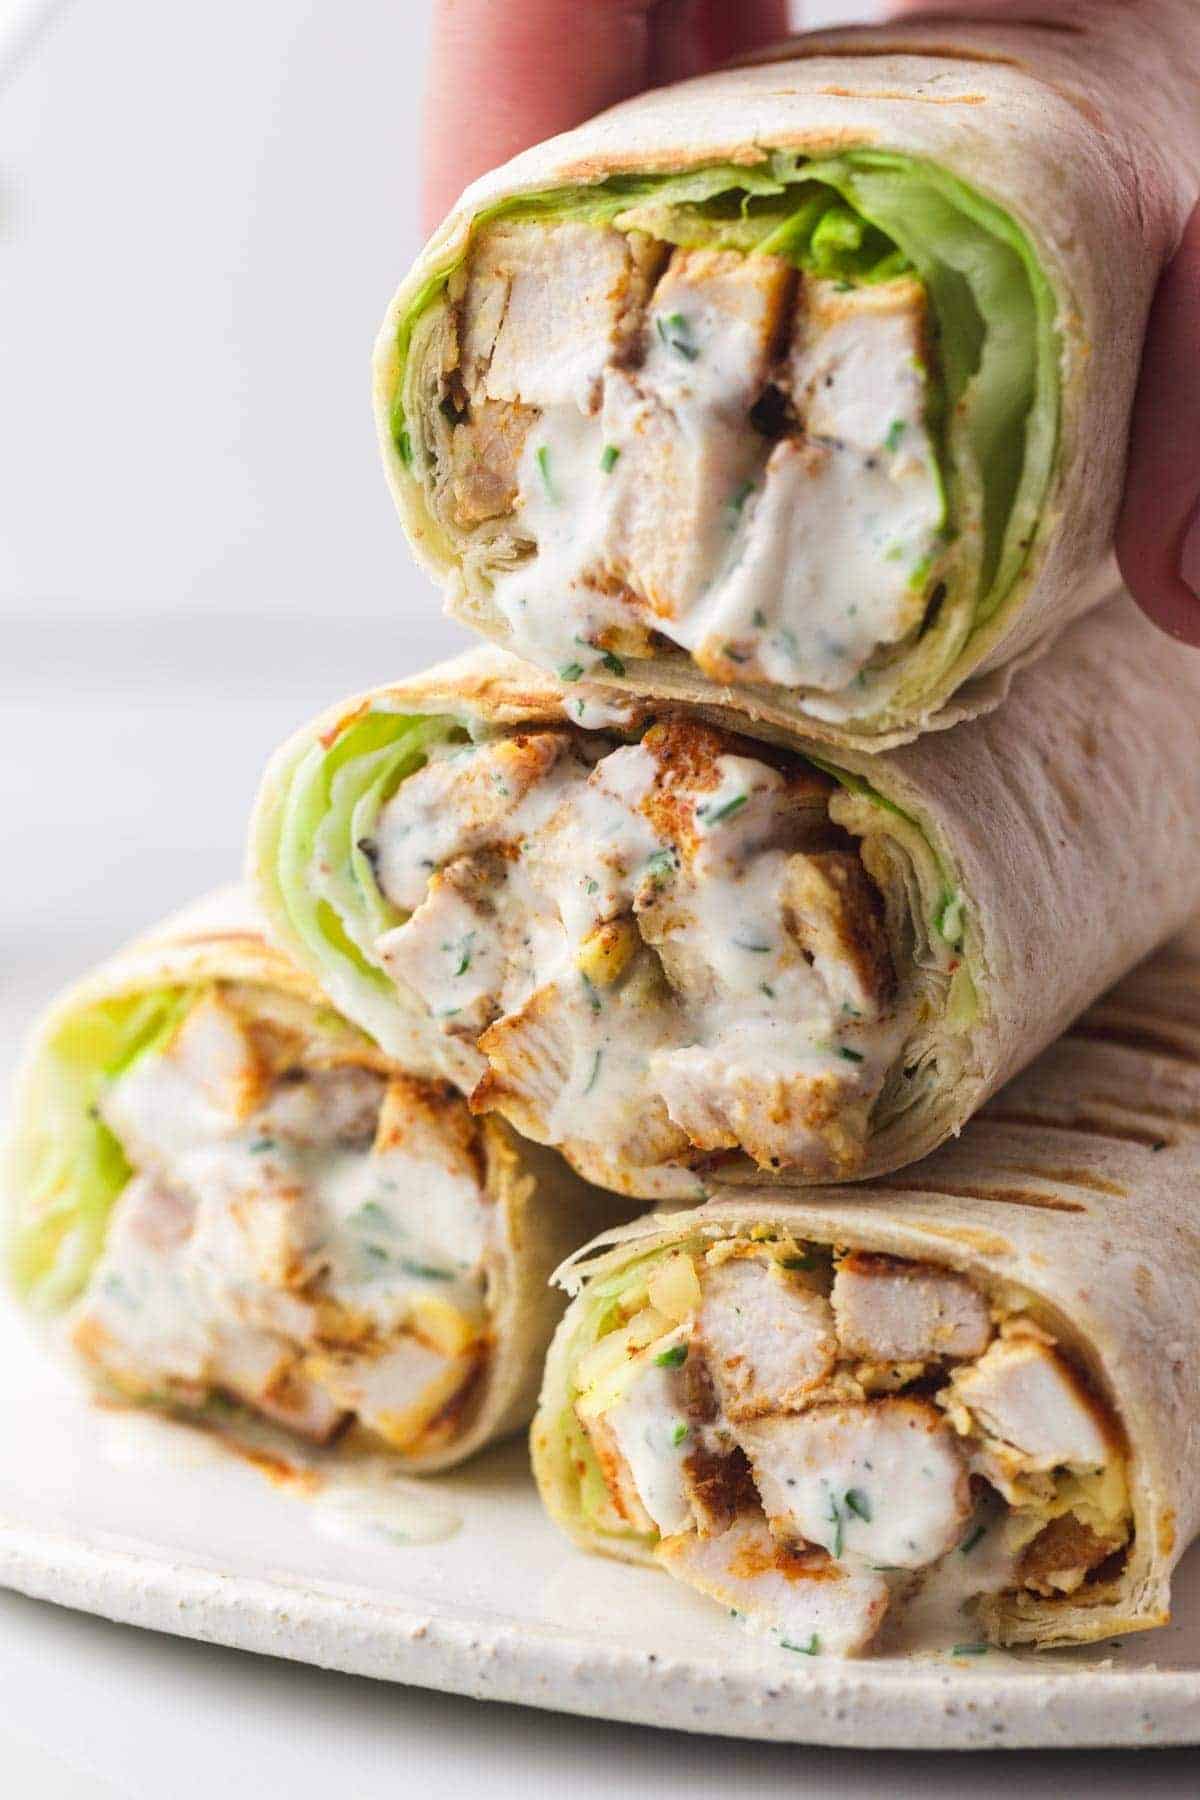
So stop spending money on store-bought chicken wraps and make these tender grilled chicken wraps instead! They’re so easy and inexpensive to make, and the flavors are incredible! Plus, who doesn’t love the ranch chicken combination? I’m obsessed!

I first made the wraps, and we loved them. Now I make a larger batch of the seasoning to keep on hand for grilled anytime. I’ve also made grilled chicken for sandwiches on the Blackstone grill when we go camping. Thank you for a solid recipe!
Amy
How to Make Grilled Chicken Wraps
In short, grill the chicken on a grill pan or a proper grill, and assemble the grilled chicken wraps. It’s that simple! But now let’s talk about the recipe in detail:
The Ingredients
Complete list of ingredients and amounts can be found in the recipe card below.
- Chicken breasts – boneless and skinless chicken breasts sliced into cutlets.
- Seasonings – smoked paprika, chili powder, garlic granules, salt, and pepper. And a little bit of high smoke point oil for frying on the grill pan.
- Tortillas – Flour tortillas, corn tortillas, whole wheat tortillas, large soft flatbreads, or even lavash bread.
- Cheese – cheddar or mozzarella cheese shredded.
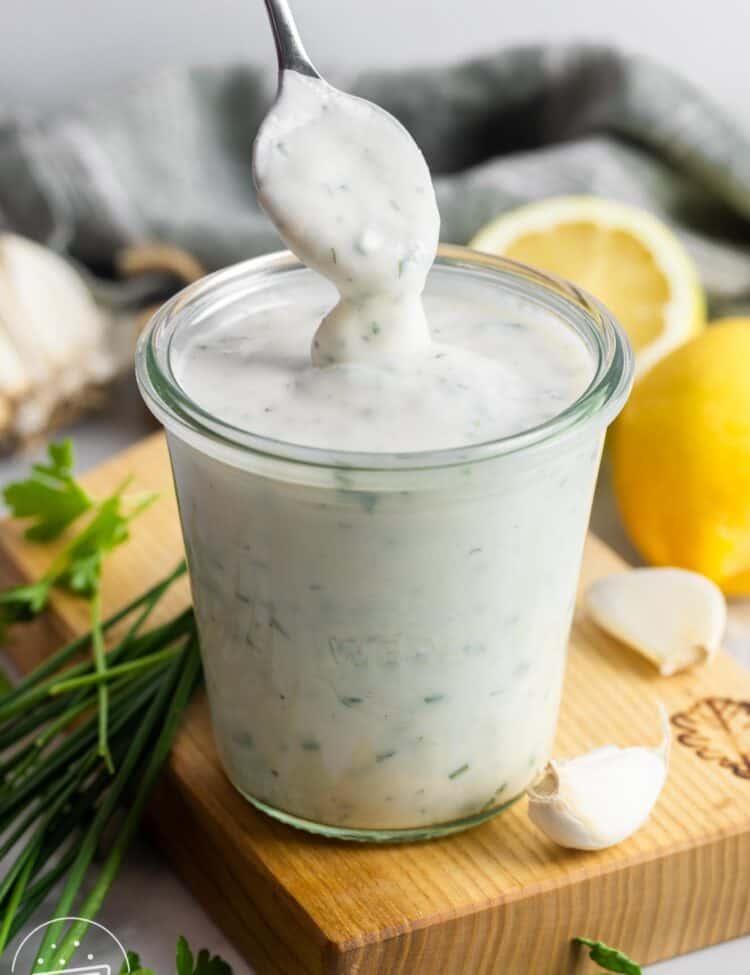
- Ranch dressing – I like to make my own homemade ranch dressing it’s the best ranch dressing that I have ever tasted! But you can use store-bought if you like. If you don’t have ranch, you can do sour cream, it won’t be as flavorful but it will still be good.
- Iceberg lettuce – you can use other types of lettuce or greens, like romaine or arugula, but iceberg lettuce is my favorite for this grilled chicken wrap recipe.
The Directions
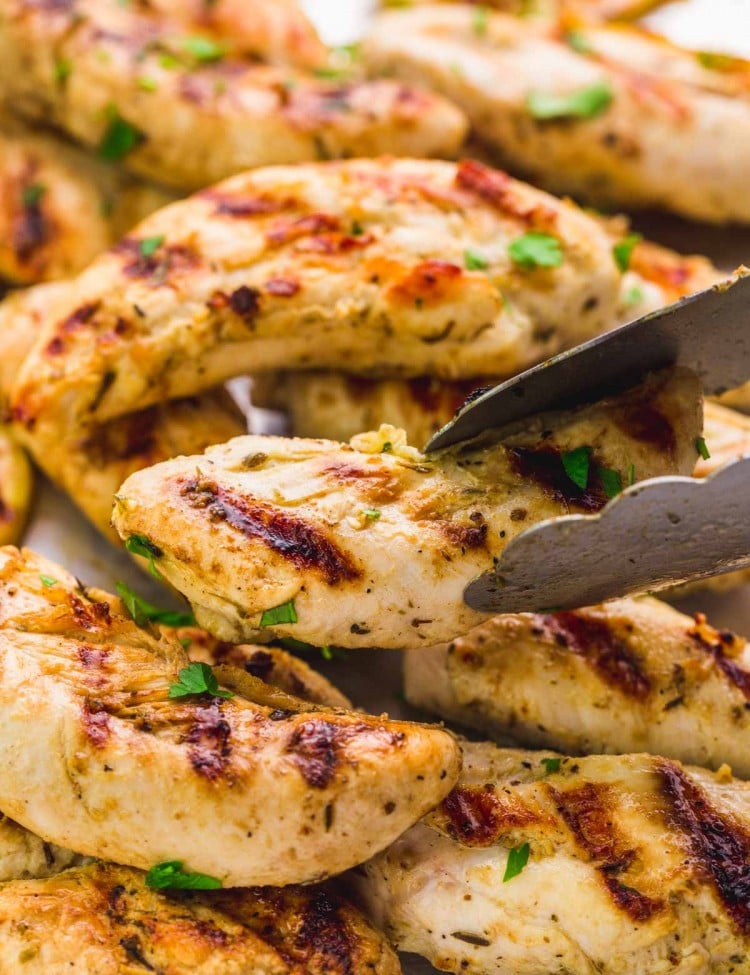
- Season the chicken cutlets with smoked paprika, chili powder, garlic granules, salt, and pepper. Or, use your favorite seasoning.
- Heat oil in a pan or grill pan, or preheat your outdoor grill.
- Place the seasoned chicken cutlets on the grill or pan, and cook on both sides until the chicken is cooked through. The internal temperature of the center of the chicken must be at least 165°F (74°C). A kitchen thermometer must be used to check.
- Remove the chicken from the grill, and allow it to rest on a plate for 5 minutes.
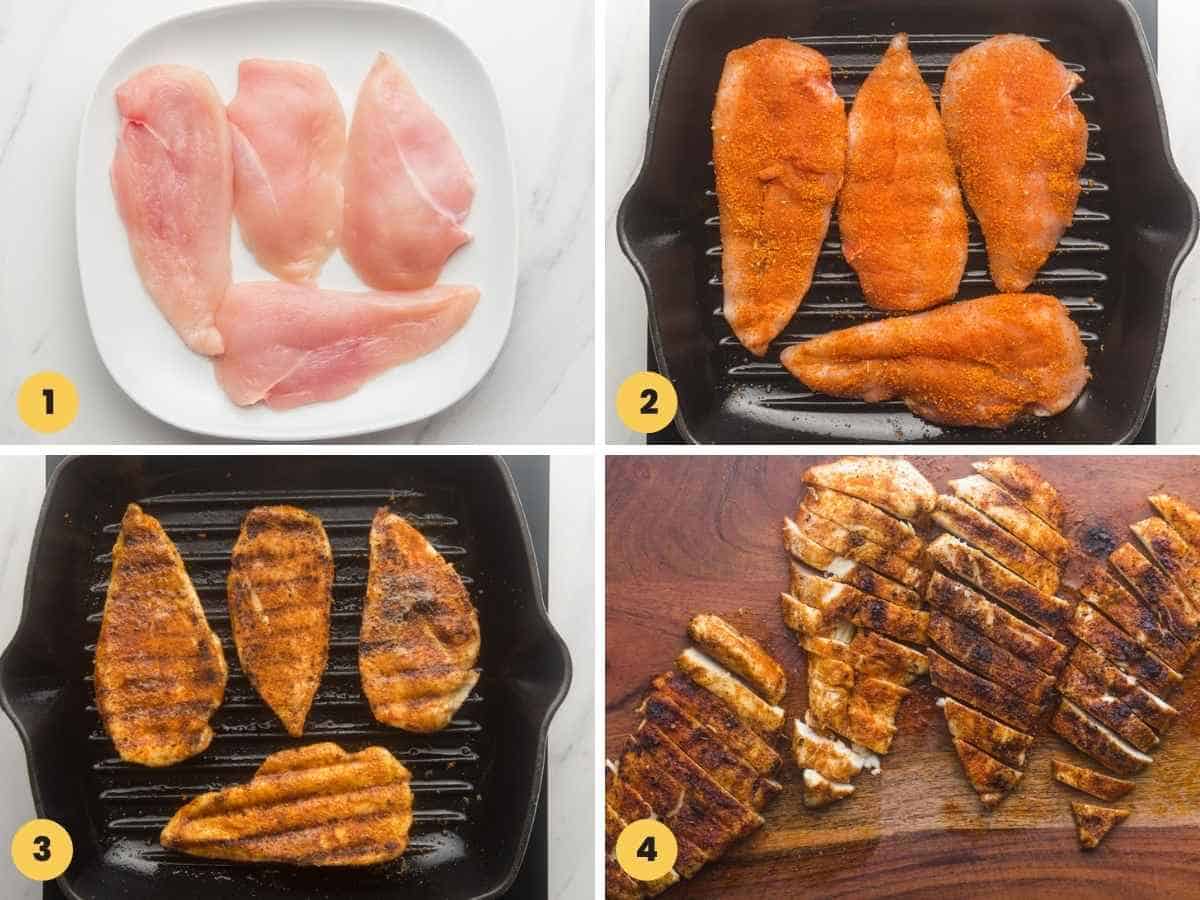
- Cut the chicken up, and assemble the wrap.
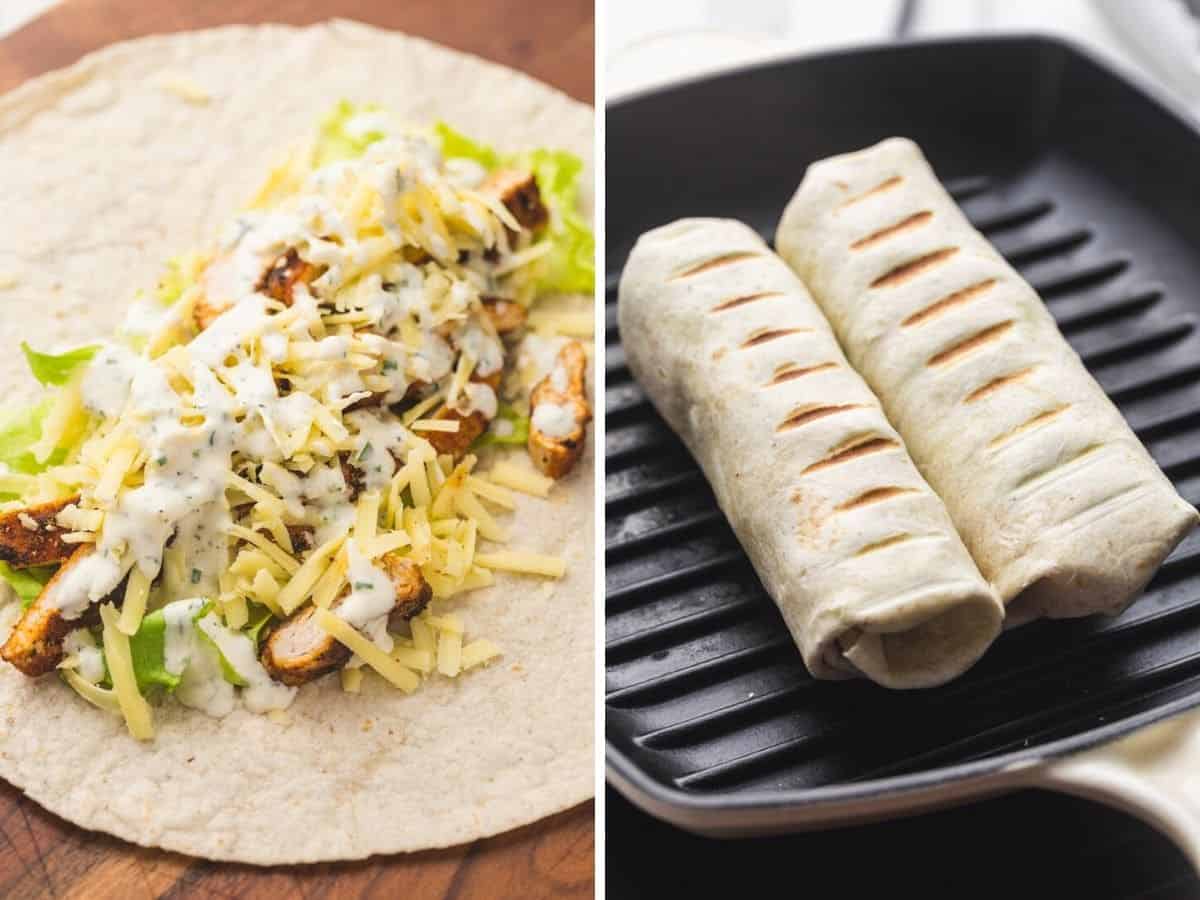
- To assemble, layer lettuce leaves on tortilla bread, followed by the chicken, shredded cheese, and a drizzle of ranch dressing (extra ranch for me, please!).
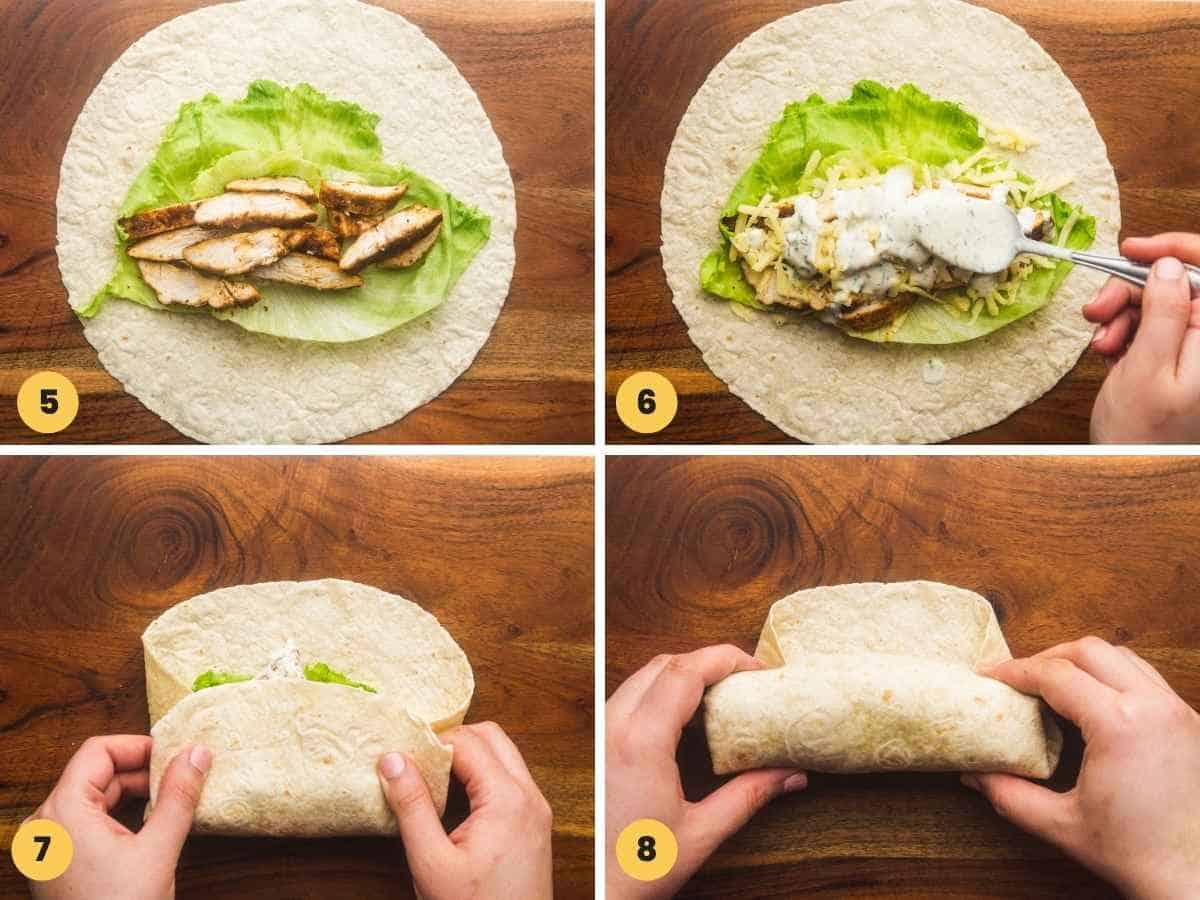
- Seal the tortilla and place the wrap on the grill (or lightly oiled grill pan). Cook for a minute or 2 on both sides until it’s slightly warmed through but the grill marks are visible. Remove and slice the wraps in half, then serve.
Storing, Packing Lunch, and Making Ahead Tips.
If you’re packing these chicken ranch wraps to go, wrap them individually in foil tightly. I recommend you take a small ice pack with you and place it in the bag next to the wraps to keep them nice and fresh.
If storing in the fridge, place in a sealed container, or wrap individually in foil and store for up to 3 days.
Recommended Tools for This Recipe
- Chef’s knife. I use this knife all the time. A sharp knife is so important, and if you want to invest in a new knife, then I recommend a high-quality chef knife.
- Cast Iron Grill pan. This is the Staub grill pan that you can see in my pictures. I also love my Lodge grill pan, which is cheaper but of great quality!
So get your grill pan out, quickly grill some seasoned chicken breasts, and assemble the grilled chicken wraps. Your whole family will love you for it!
For more sandwiches and wraps, check out my healthy hummus veggie wraps, lentil wraps, and eggplant sandwiches. If you have a sweet tooth, try my peanut butter and jelly sandwiches.
Did you make this? Be sure to leave a review below and tag me on Facebook, Instagram, or Pinterest!

Grilled Chicken Wrap
Equipment
- Grill pan
Ingredients
- 2 chicken breasts boneless and skinless, sliced into cutlets, 650g in total
- 1 teaspoon smoked paprika
- ¼ teaspoon chili powder
- ½ teaspoon garlic granules
- ½ teaspoon salt
- ⅛ teaspoon ground black pepper
- 1 tablespoon olive oil if frying
- 4 flour tortilla wraps
- 4 large iceberg lettuce leaves
- 1 cup cheddar or mozzarella cheese shredded
- ½ cup ranch dressing
Instructions
- Season the chicken cutlets with smoked paprika, chili powder, garlic granules, salt, and pepper.
- Heat oil in a pan, or a grill pan, or preheat your outdoor grill.
- Place the seasoned chicken cutlets on the grill or pan, and cook on both sides until the chicken is cooked through. The internal temperature of the center of the chicken must be at least 165°F (75°C).
- Remove the chicken from the grill, and allow it to rest on a plate for 5 minutes.
- Cut the chicken up, and assemble the wrap.
- To assemble, on a tortilla bread, layer lettuce leaves, followed by chicken, shredded cheese, and a drizzle of ranch dressing. Seal the tortilla and place the wrap on the grill (or lightly oiled grill pan). Cook for a minute or 2 on both sides, then remove and slice the wraps in halves and serve.
Notes:
- Feel free to add more grilled or fresh vegetables to the wraps.
- If you’re packing these chicken wraps to go, wrap them individually in foil tightly. I recommend that you take a small ice pack with you and place it in the bag next to the wraps to keep them nice and fresh.
- If storing in the fridge, place in a sealed container, or wrap individually in foil and store for up to 3 days.
- To assemble the wrap: Fold the sides of the tortilla inward over the fillings. You want to tuck these in so nothing falls out. Then, fold the bottom of the tortilla up and over the fillings and the folded-in sides. Keep rolling the wrap away from you, making sure to tuck in the sides as you go. Finish by pressing down a bit on the seam, where the tortilla edges meet, so it stays closed.
Nutrition Information
This website provides approximate nutrition information for convenience and as a courtesy only. Nutrition data is gathered primarily from the USDA Food Composition Database, whenever available, or otherwise other online calculators.
© Little Sunny Kitchen
Sylvia says
Good recipe! Tasty and easy!
marie says
This wrap seems delicious ! I would like to know whether we could eat this wrap without grilling it and store in the fridge. Thanks.
Diana says
Hi Marie, I recommend grilling the wrap right before serving and yes you can definitely serve it with grilling just like I did in my Caesar Chicken Wrap Recipe. Enjoy!
Dimples says
So yummy thanks ! My son who’s a picky teenager love it ! Definitely on our dinner menu
Little Sunny Kitchen says
That’s so great! It sounds like you have a new favorite!
Lucy De Finis says
Great meal quick and easy!
J. Johnson says
Very delicious! My family loved the wraps, and we will definitely be cooking them again.
Teagan Green says
This seems like such a nice quick lunch or dinner. Just wandering if I’m packing it away for lunch the next day would I grill it, wait for it to cool down then wrap in foil and place in the fridge or do I let the chicken cool down, make the wrap and then wrap it in foil and leave the last of the grilling out completely? I want to do these for a packed lunch but I don’t want to do the grilling of the wrap and save it for the next day and it doesn’t taste that great.
Diana says
Hi Teagan, you’ll have to cook the chicken and make the wrap (grill it and all) and then let it cool completely before you chill it in the fridge. Enjoy!