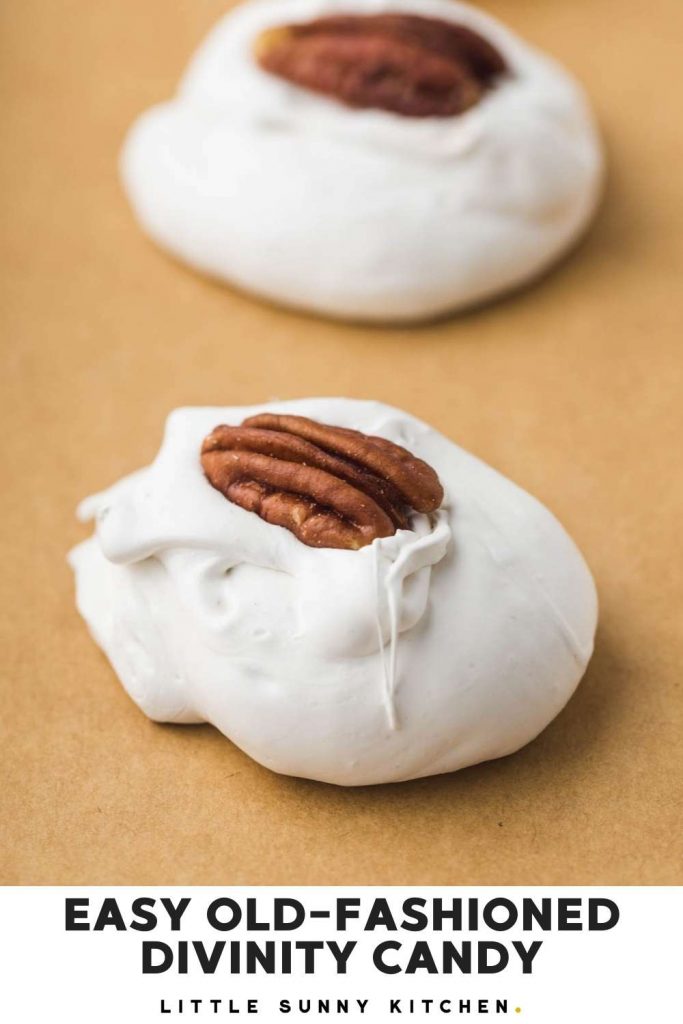
Divinity Candy aka Southern candy is a true old-fashioned classic that can be made all year round, but also make elegant Christmas candy! Topped with pecans, these pillowy soft but chewy and sweet candies will melt in your mouth!
What is Divinity Candy
Divinity is an old fashioned Southern confection made with egg whites, corn syrup, and sugar. In the same family as meringue and fudge, the texture should be soft and fluffy, but also a bit chewy at the same time. It reminds me of marshmallows and white nougat.
The most popular divinity flavor is plain vanilla, but pecans are often added (either crushed and mixed in the mixture, or kept whole to top each candy). Other variations that I came across are chocolate, cherry, strawberry JELLO, and pistachio.
This recipe ticks all of the boxes, with detailed instructions this recipe becomes so easy, and the result is just like what grandma used to make!
If you’re looking for a homemade sweet gift to give to your loved ones this Christmas, divinity candy can be beautifully packed and gifted. So whip up a big batch, and pack in cellophane bags or an airtight jar or tin.
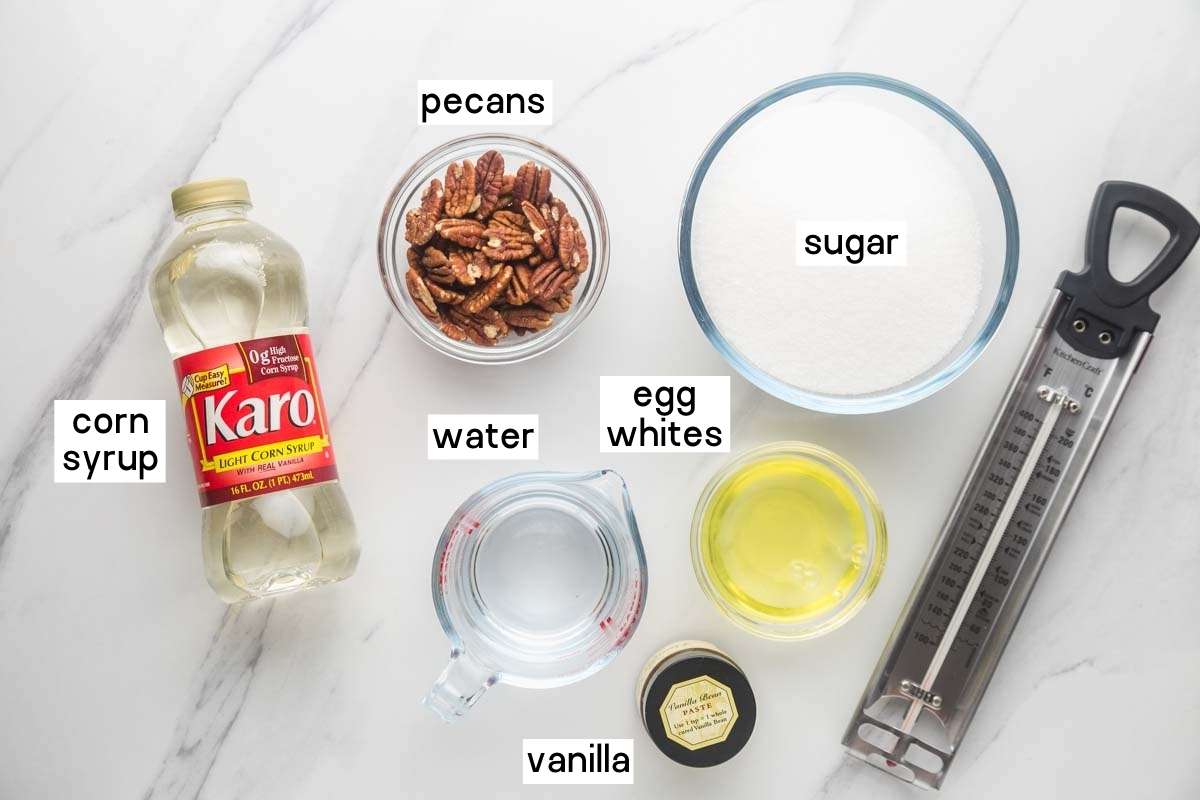
The Ingredients
This is a very simple recipe, and you need just a few inexpensive ingredients.
Here’s what you’ll need:
Tools Required
You will need a stand mixer, a heavy-bottomed saucepan, heat-resistant spatula, clip-on candy thermometer (costs $5!), and a small cookie scoop or 2 spoons.
How to Make Divinity Candy
The most important tip in this recipe is, WORK QUICKLY!
So I recommend that you gather all of the ingredients and tools needed before you start working.
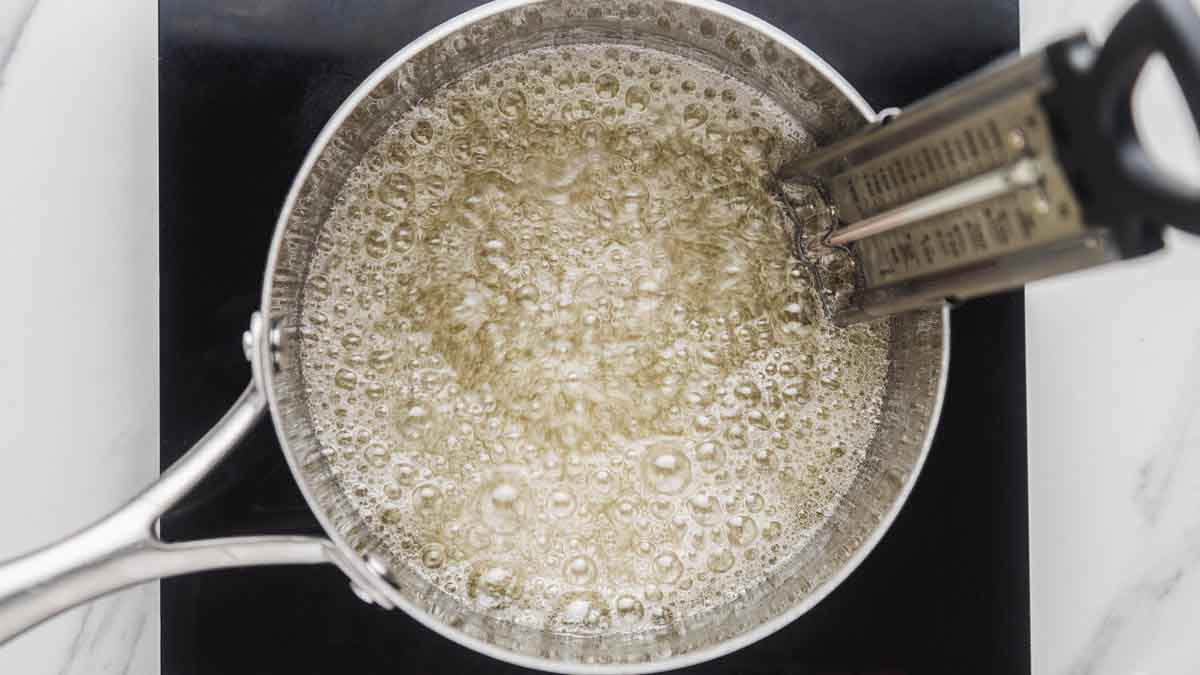
In a heavy-bottomed saucepan over high heat, combine granulated sugar, light corn syrup, and water. Stir constantly as the sugar melts and the mixture starts boiling (meanwhile start beating the egg whites, more on this in step 2), and wait until the temperature reaches 260°F (126°C) which is the hard-ball stage. Remove from heat immediately.
A few minutes before the sugar mixture reaches the desired temperature, beat egg whites in a stand-mixer stiff peaks form. So both the whipped eggs, and the sugar mixture are ready at the same time.
Pour in the sugar mixture in the egg whites as the stand-mixer is on high speed, in a steady slow stream until all of the sugar mixture is mixed in with the egg whites.
Add vanilla extract, and scrape the sides of the bowl with a spatula.
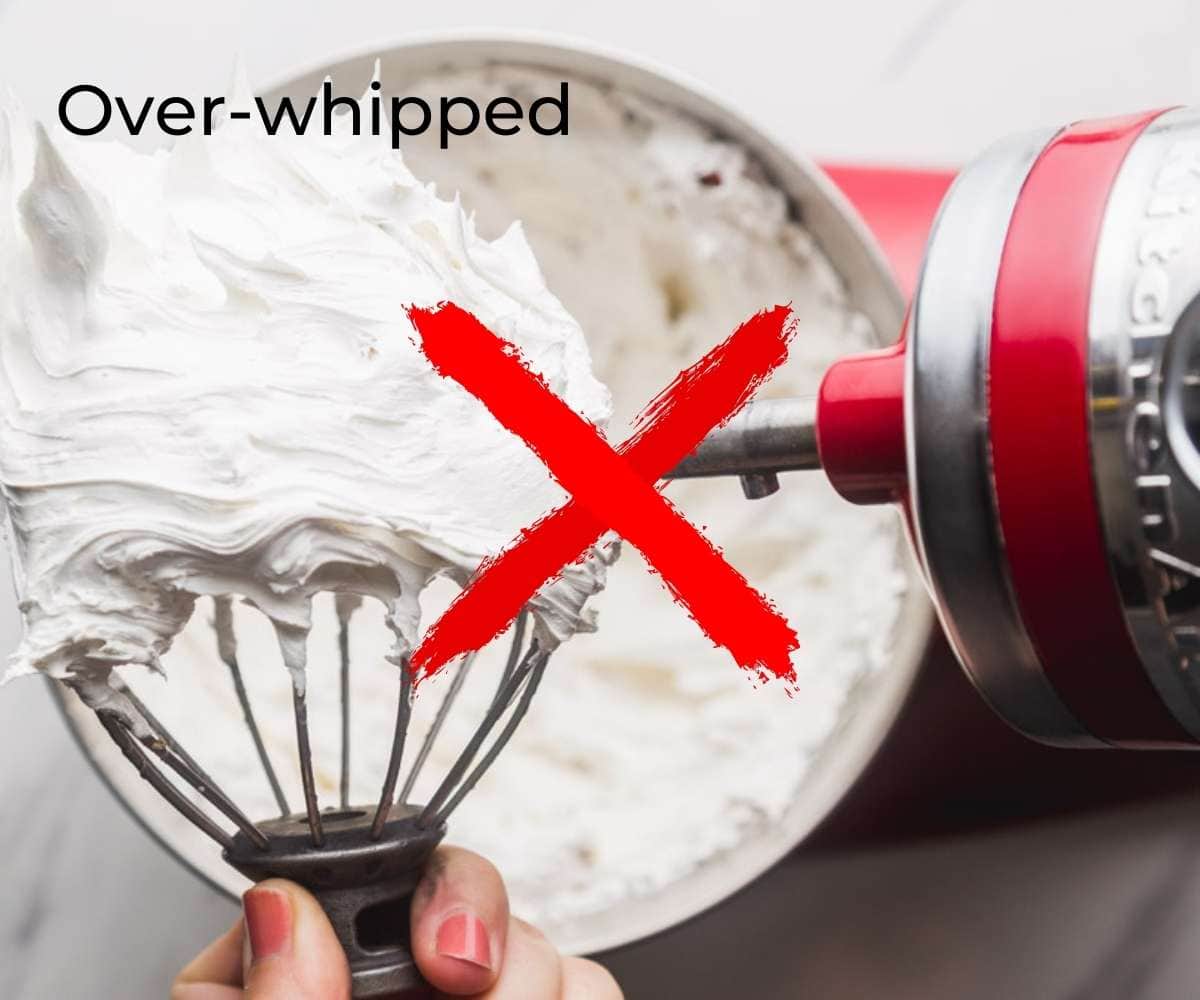
Continue beating for 6-8 minutes as the mixture thickens, and starts losing its glossy finish. Make sure NOT to overbeat it (this happened to me as I tested the recipe, and the result wasn’t very good!).
To test if the mixture is ready, take a spoon and drop a little bit of the mixture onto parchment paper. If it flattens, then beat for an extra minute and check again.
The mixture must be able to hold its shape, but shouldn’t be too thick like in the image below (it was my first time making it, and I had a big fail!).
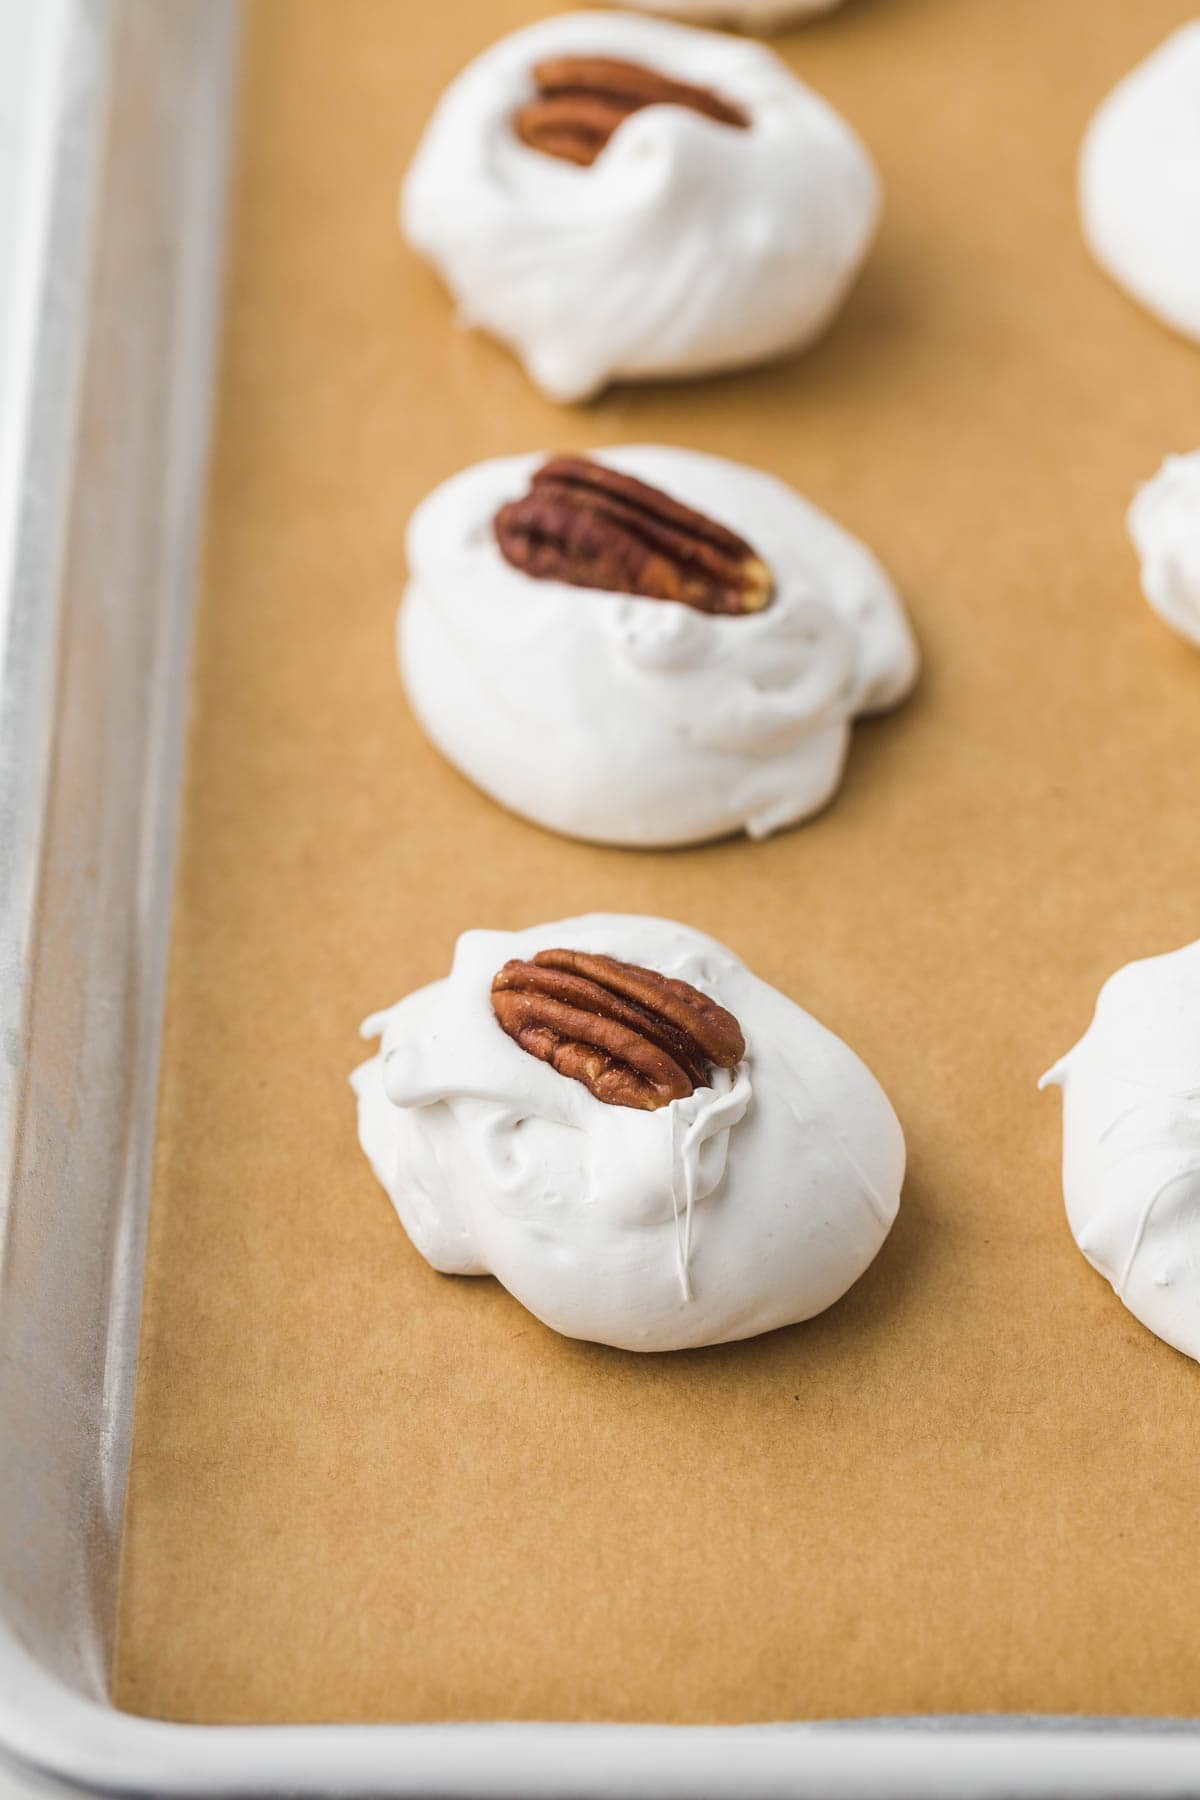
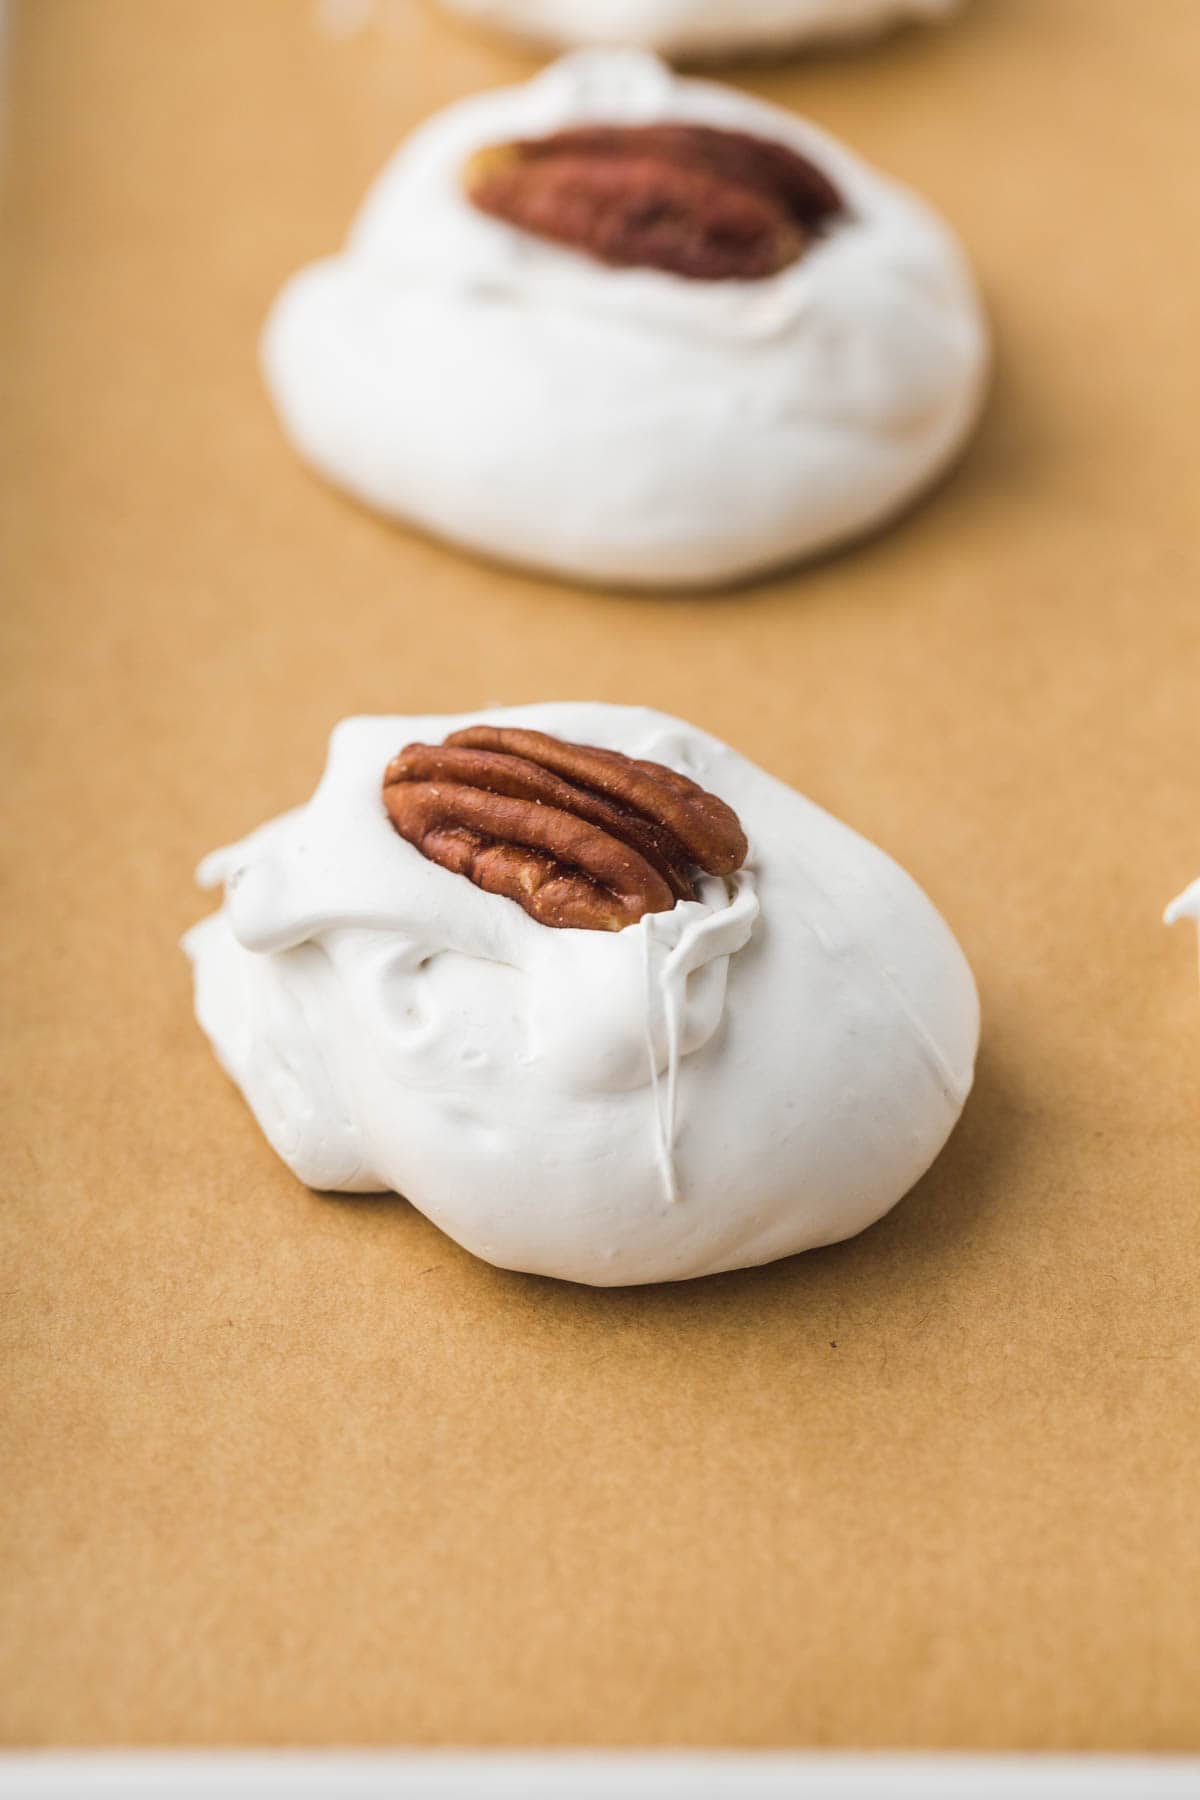
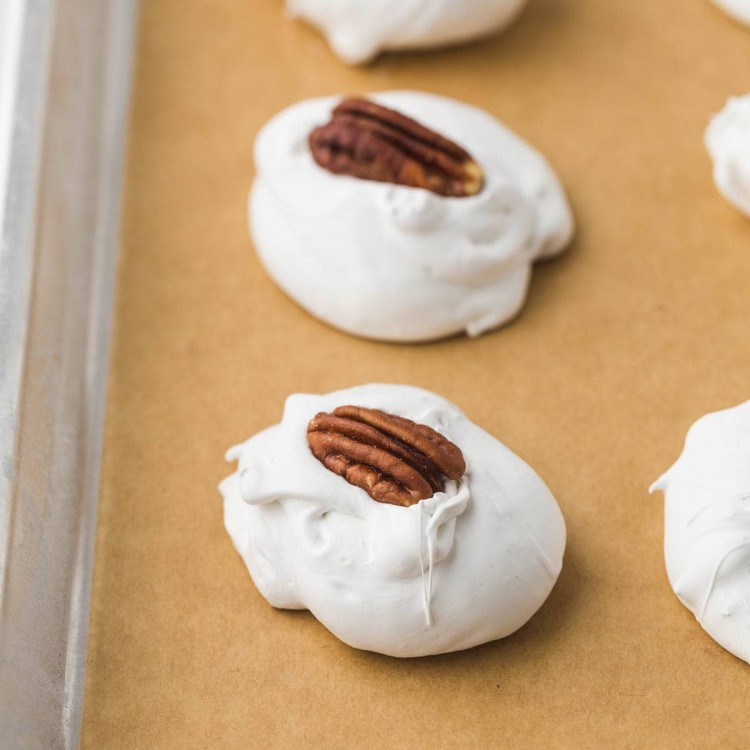
With 2 greased spoons or with a small greased cookie scoop, drop about a tablespoon of mixture onto parchment paper or a silicone mat. If using 2 spoons, then try to create a little curl like soft serve at the top when dropping the candy.
Top with pecans if desired, and allow them to completely dry and harden at room temperature. Depending on the humidity in your kitchen, they might take less or more time to dry (mine usually takes an hour or 2 to set completely).
Top Tips
- For a batch to be successful, you MUST work quickly.
- When making the sugar mixture, make sure that your candy thermometer is NOT touching the bottom of the saucepan.
- The humidity must be low for the candy to dry out completely to set.
- If you’re making this at a high altitude area (over 3,500ft), you must reduce the temperature of the sugar mixture to 250°F.
- Use PURE vanilla extract or almond extract to flavor the candy.
Storing Tips
The best way to store divinity is to line a container with wax paper, fill with divinity candy, and placing more wax paper between the layers. Make sure that it’s stored in an AIRTIGHT container, otherwise, they will soften and lose their texture. Store at room temperature for 10-14 days.
How to Clean The Equipment Used After Making Candy
Now you will end up with some hard candy stuck to your saucepan, spatula, and candy thermometer. Here’s how to clean it:
Don’t try scrubbing anything that’s candy-coated, boil instead! After I’m done with candy-making, I pour tap water into the saucepan and place it on the stovetop on high heat and bring it to a boil. Drop the spatula in the saucepan (if it’s heat resistant), and hold the candy thermometer soaking just the candy-covered part. Within a few seconds, all of the hard candy that is stuck will be gone!
Pour off the hot water, and that’s it, you’re done and there won’t be anything left to scrub.
Did you make this? Be sure to leave a review below and tag me on Facebook, Instagram, or Pinterest!
Divinity Candy
Equipment
- Stand-mixer
Ingredients
- 2 and ½ cups granulated sugar
- ½ cup light corn syrup
- ½ cup water
- 2 egg whites
- 1 teaspoon pure vanilla extract
- ½ cup pecans chopped
Instructions
- In a heavy-bottomed saucepan over high heat, combine granulated sugar, light corn syrup, and water. Stir constantly as the sugar melts and the mixture starts boiling (meanwhile start beating the egg whites, more on this in step 2), and wait until the temperature reaches 260°F (126°C) which is the hard-ball stage. Remove from heat immediately.
- A few minutes before the sugar mixture reaches the desired temperature, beat egg whites in a stand-mixer stiff peaks form. So both the whipped eggs, and the sugar mixture are ready at the same time.
- Pour the sugar mixture in the egg whites as the stand-mixer is on high speed, in a steady slow stream until all of the sugar mixture is mixed in with the egg whites.
- Add vanilla extract, and scrape the sides of the bowl with a spatula.
- Continue beating for 6-8 minutes as the mixture thickens, and starts losing its glossy finish. Make sure NOT to overbeat it (this happened to me as I tested the recipe, and the result wasn’t very good!).
- To test if the mixture is ready, take a spoon and drop a little bit of the mixture onto parchment paper. If it flattens, then beat for an extra minute and check again.
- The mixture must be able to hold its shape, but shouldn’t be too thick.
- With 2 greased spoons or with a small greased cookie scoop, drop about a tablespoon of mixture onto parchment paper or a silicone mat. If using 2 spoons, then try to create a little curl like soft serve at the top when dropping the candy.
- Top with pecans if desired, and allow them to completely dry and harden at room temperature. Depending on the humidity in your kitchen, they might take less or more time to dry (mine usually takes an hour or 2 to set completely).
Notes:
- For a batch to be successful, you MUST work quickly.
- When making the sugar mixture, make sure that your candy thermometer is NOT touching the bottom of the saucepan.
- The humidity must be low for the candy to dry out completely to set.
- If you’re making this at a high altitude area (over 3,500ft), you must reduce the temperature of the sugar mixture to 250°F.
- Use PURE vanilla extract or almond extract to flavor the candy.
Nutrition Information
This website provides approximate nutrition information for convenience and as a courtesy only. Nutrition data is gathered primarily from the USDA Food Composition Database, whenever available, or otherwise other online calculators.
© Little Sunny Kitchen


Rose says
I just love this fudge. I am going to make another batch.
Little Sunny Kitchen says
It’s one of my favorites for the holiday! Enjoy!