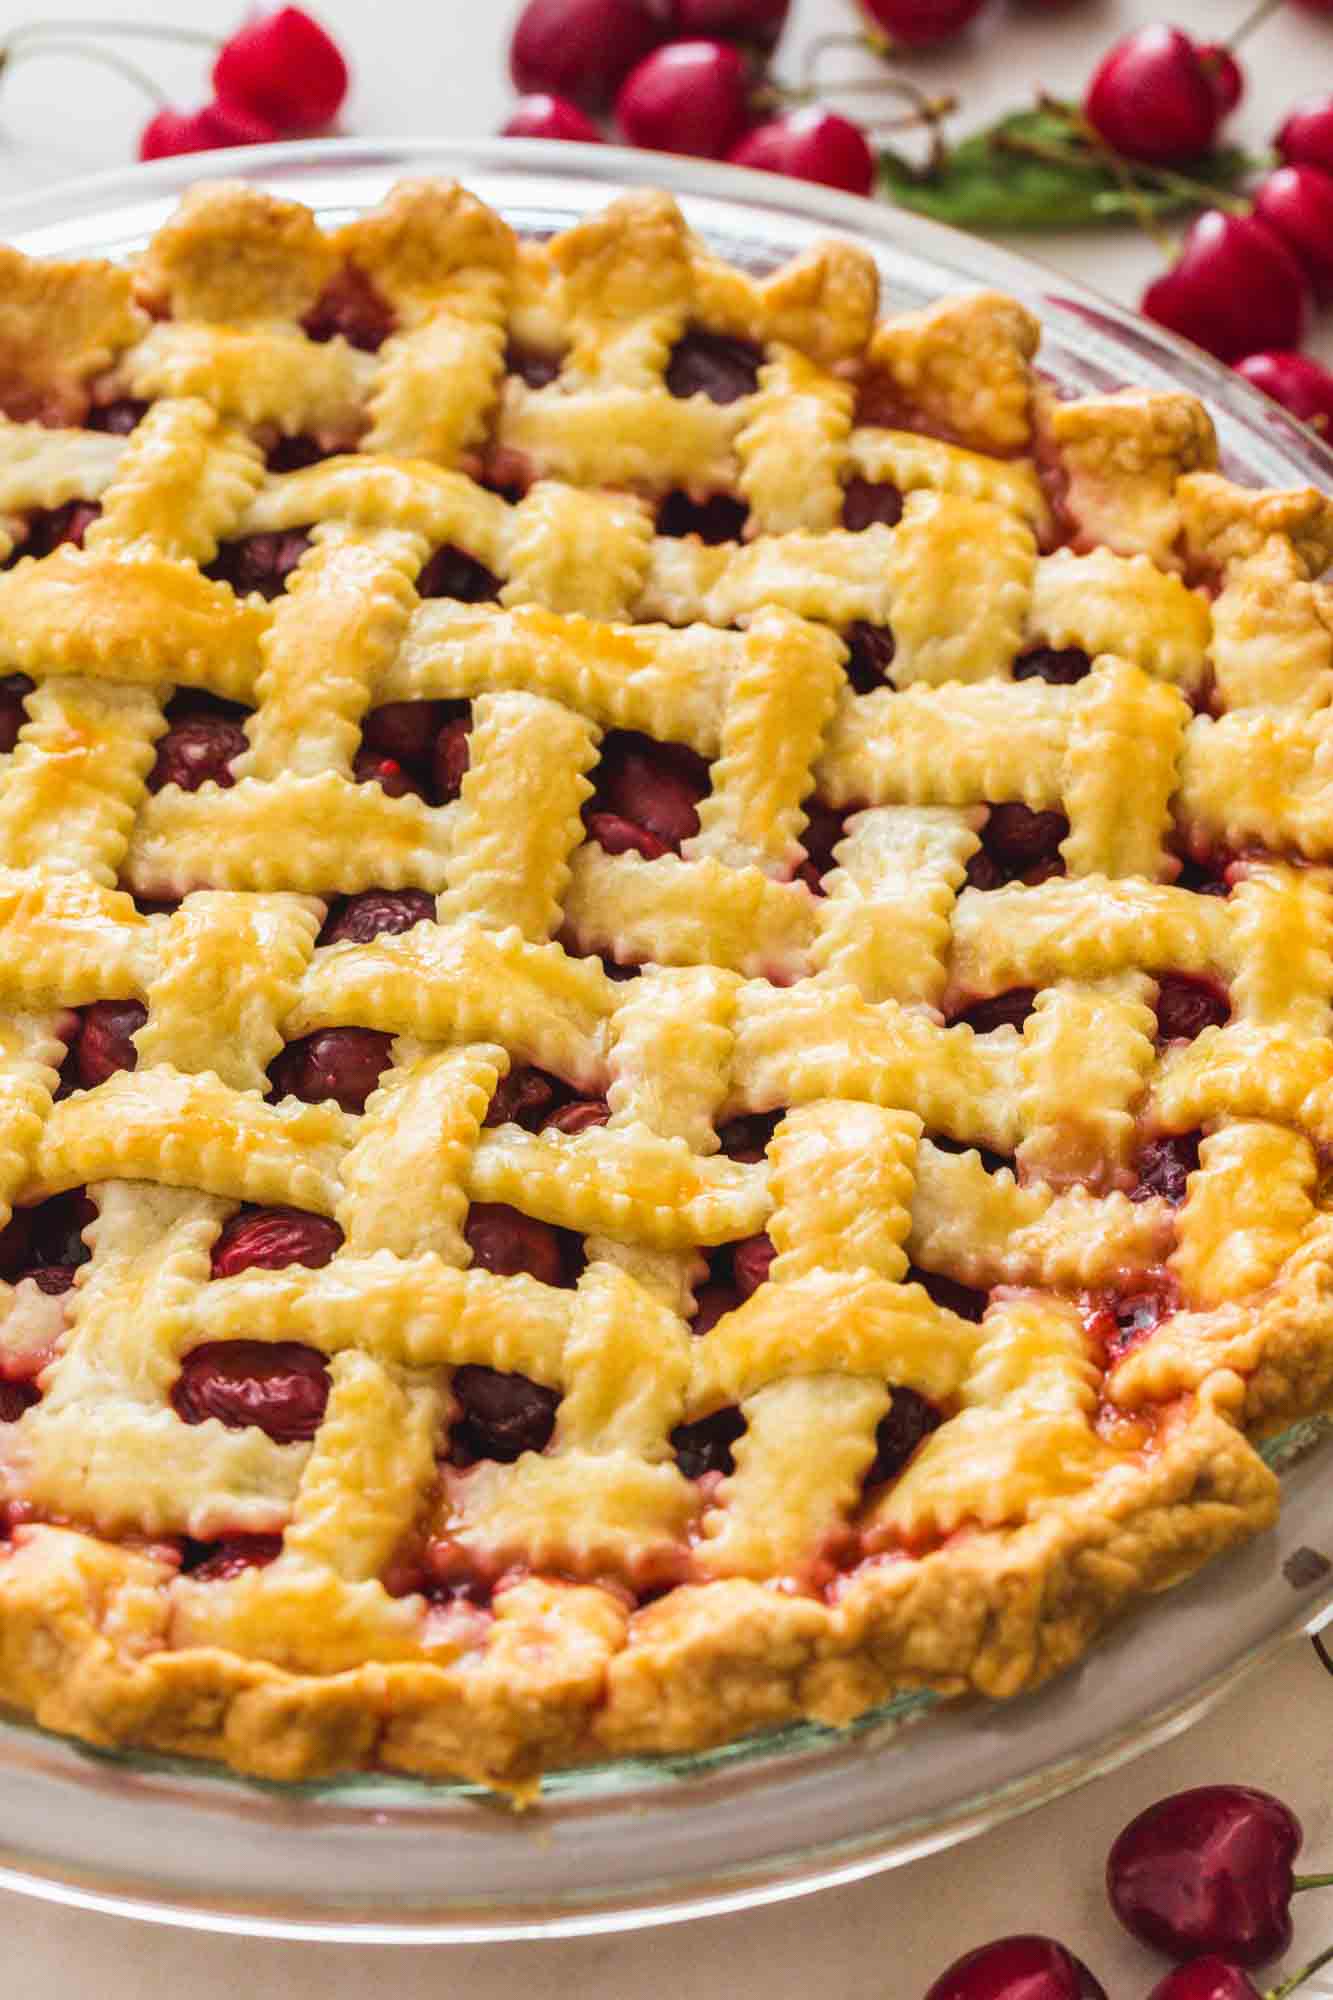
Fresh, Homemade Cherry Pie is a sweet, delicious, and beautiful dessert. When cherries are in season, you must make this – it’s the best cherry pie recipe I’ve had.
I love it when fresh cherries show up in my grocery store or farmer’s market. There’s just something about a warm summer day and a bowl of cherries that reminds me of simple times. The flavor of cherries is sweet, slightly tart, and so juicy.
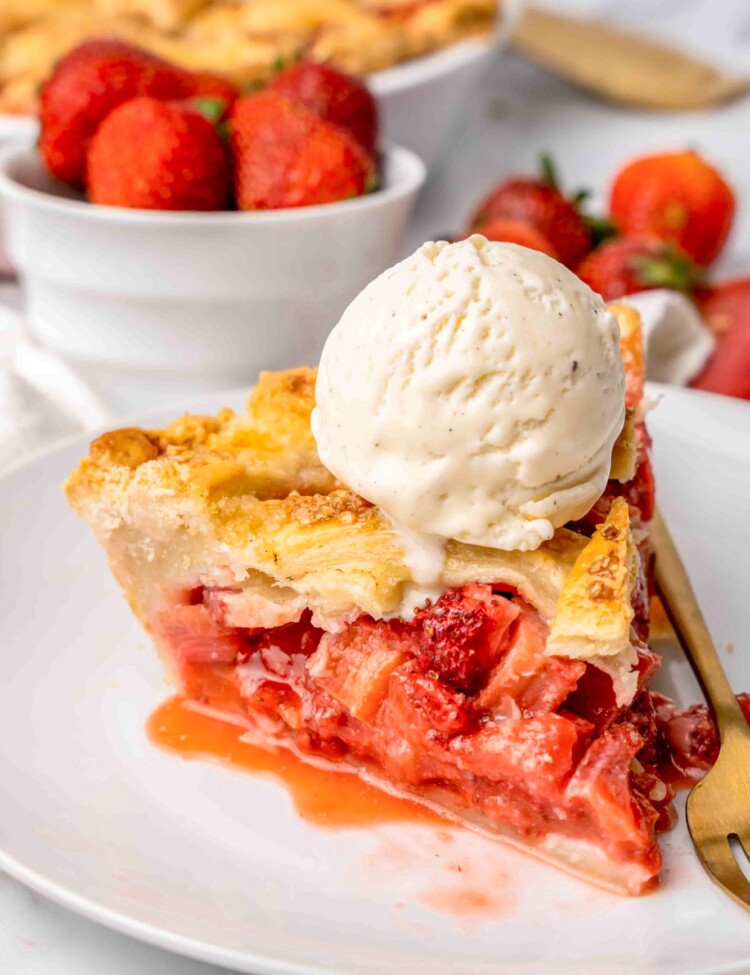
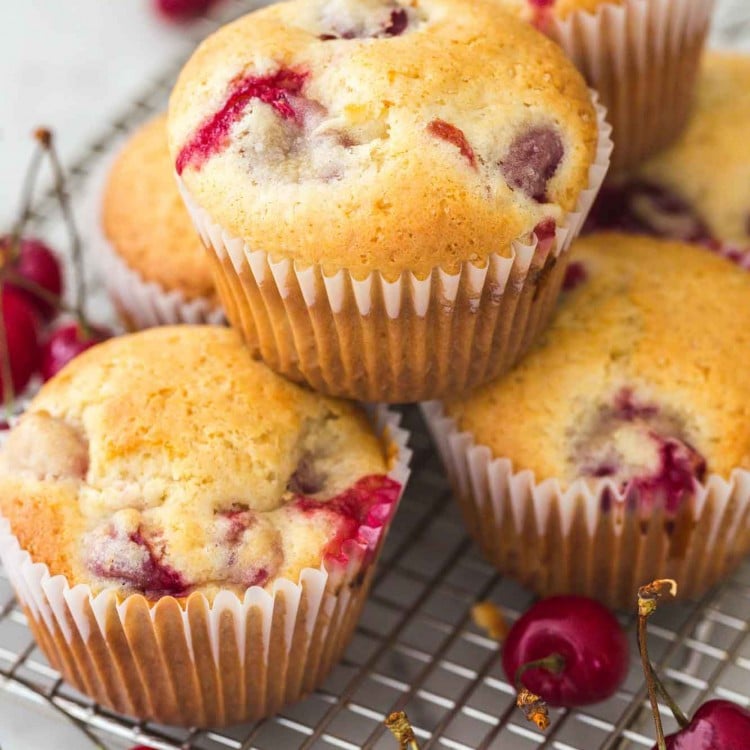
I like to eat cherries raw, by the handful, but I also really like to bake with them. Baking cherries changes the flavor and makes them richer and sweeter. The color of cherry pie filling can’t be mimicked by anything else, it’s such a gorgeous deep red. If you like baking with cherries too, try this cherry muffin recipe next. It makes an amazing breakfast or brunch treat.
This fresh cherry pie recipe will become your go-to recipe whenever you get your hands on cherries. It uses simple ingredients to create an impressive dessert that everyone will ask you to make again.
Looking for more fruit pie recipes? Try my blueberry pie recipe, I also have a delicious peach pie, homemade apple pie, strawberry rhubarb pie, and a fresh strawberry pie that you’re gonna love!
Why You’ll Love This Cherry Pie Recipe
- No canned pie filling. If you’ve never made a fresh cherry pie before, you are in for a real experience here. Fresh cherries are brightly flavored and perfectly sweetened in this pie.
- It’s delicious. The addition of either vanilla or almond extract takes the flavor of cherry pie to the next level. I like the flavor of almond extract better when baking with cherries, but vanilla extract is also great!
- We’re scratch baking. Making a pie from scratch will leave you with a sense of pride, and have everyone who eats it in awe of your fabulous baking skills.
Sweet Cherries Vs. Tart Cherries for Cherry Pie
There are many different varieties of cherries grown, and all of them fit into one of two categories: Sweet or Tart.
Tart cherries are bright red and often used in health foods, juices, and sold frozen. If you live in a place where cherries grow, you may see them for sale fresh in the summer months.
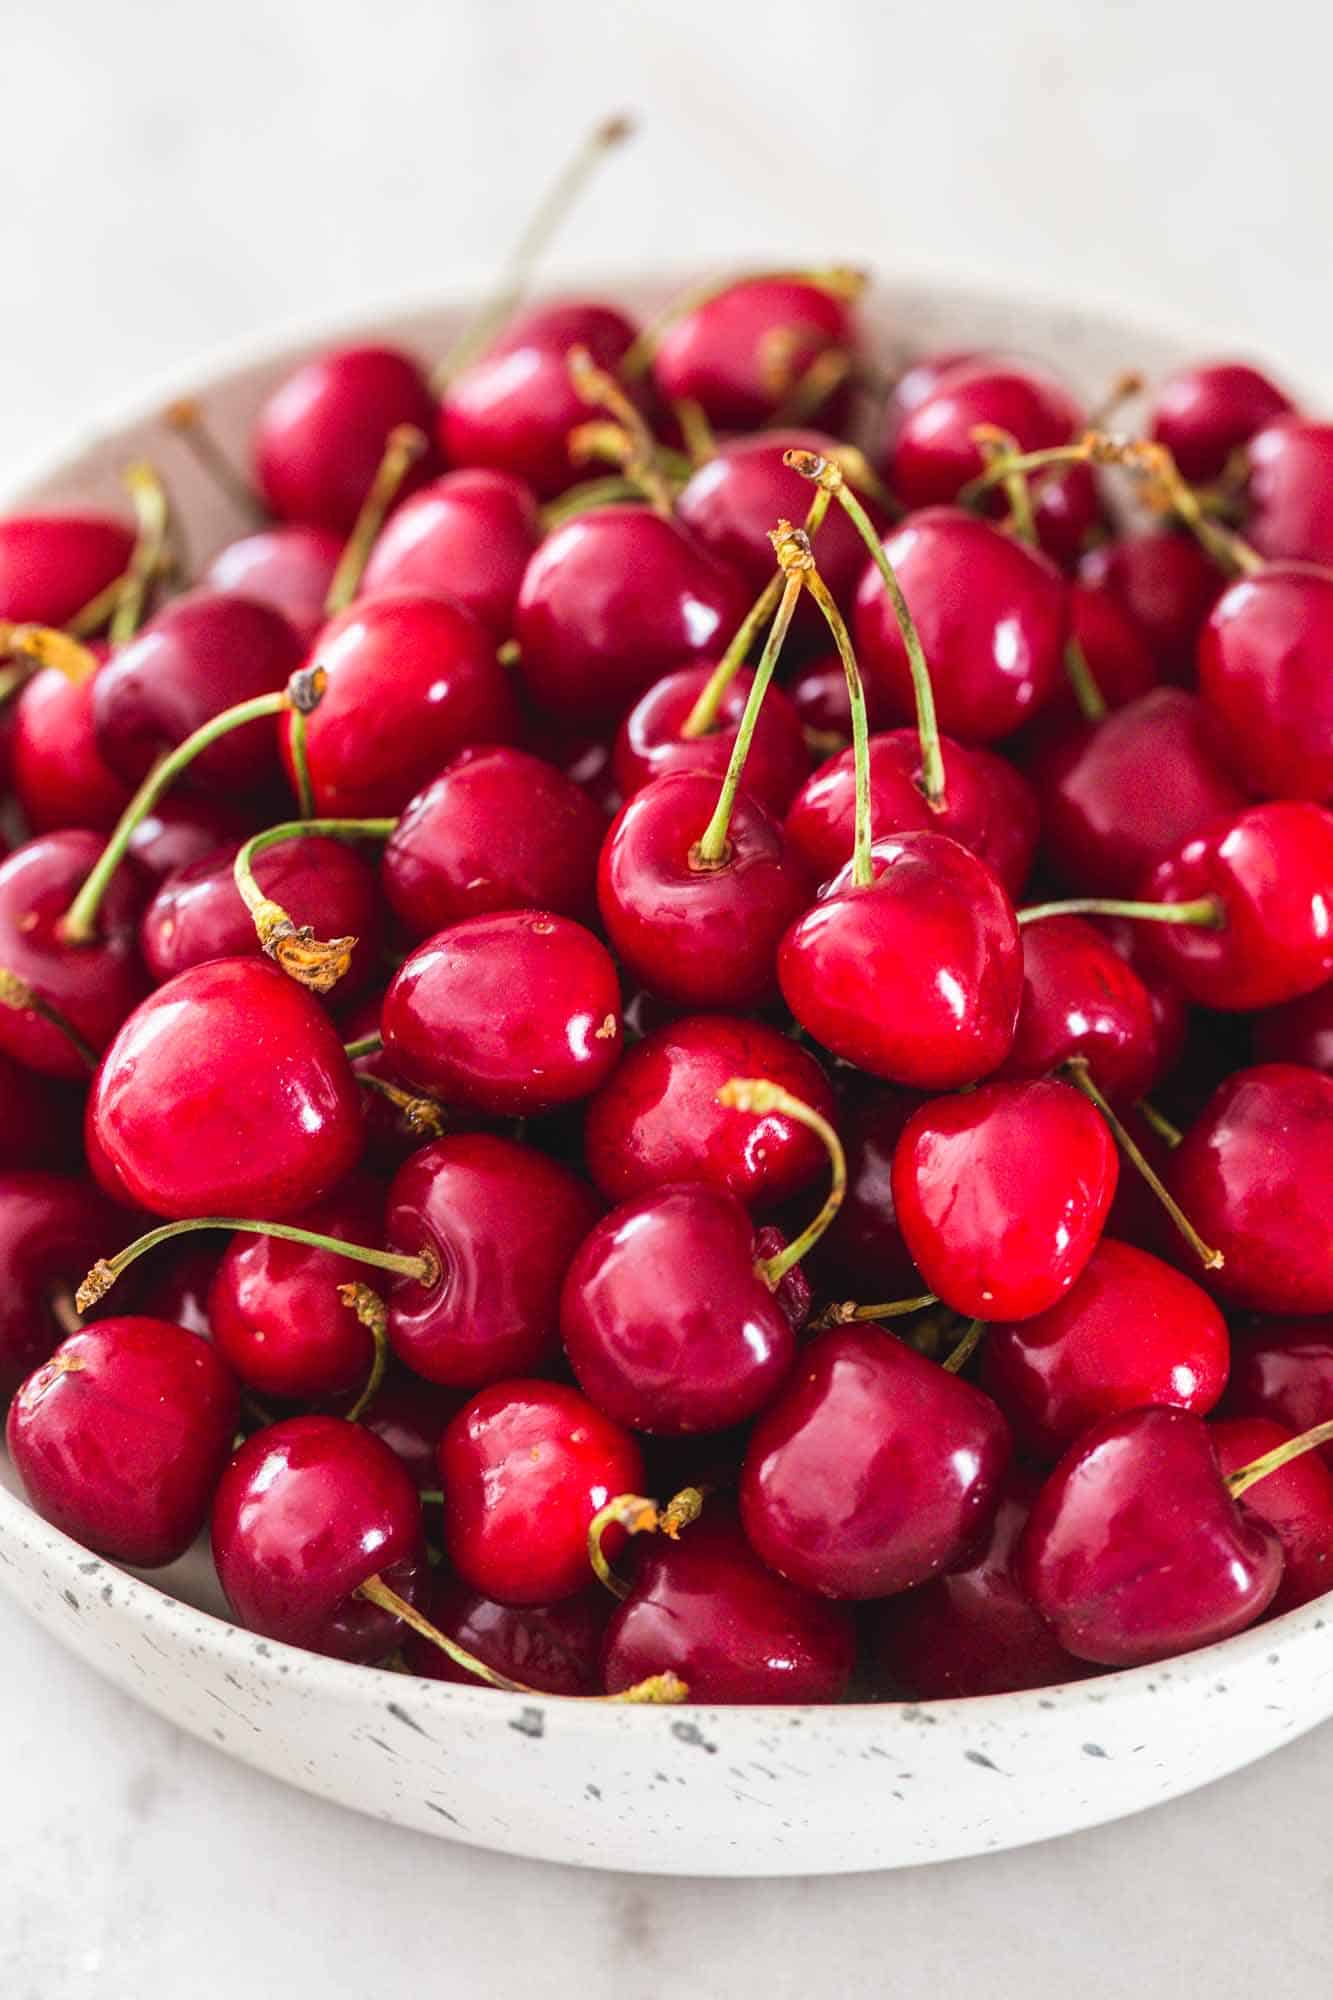
Sweet cherries are usually found in the grocery store and tend to be a dark red, purplish color. They have more natural sugar and are preferred for fresh eating and baking.
When buying cherries for pie, look for sweet ones. If you happen to find tart cherries instead, just add more sugar to the pie filling to counteract the sourness.
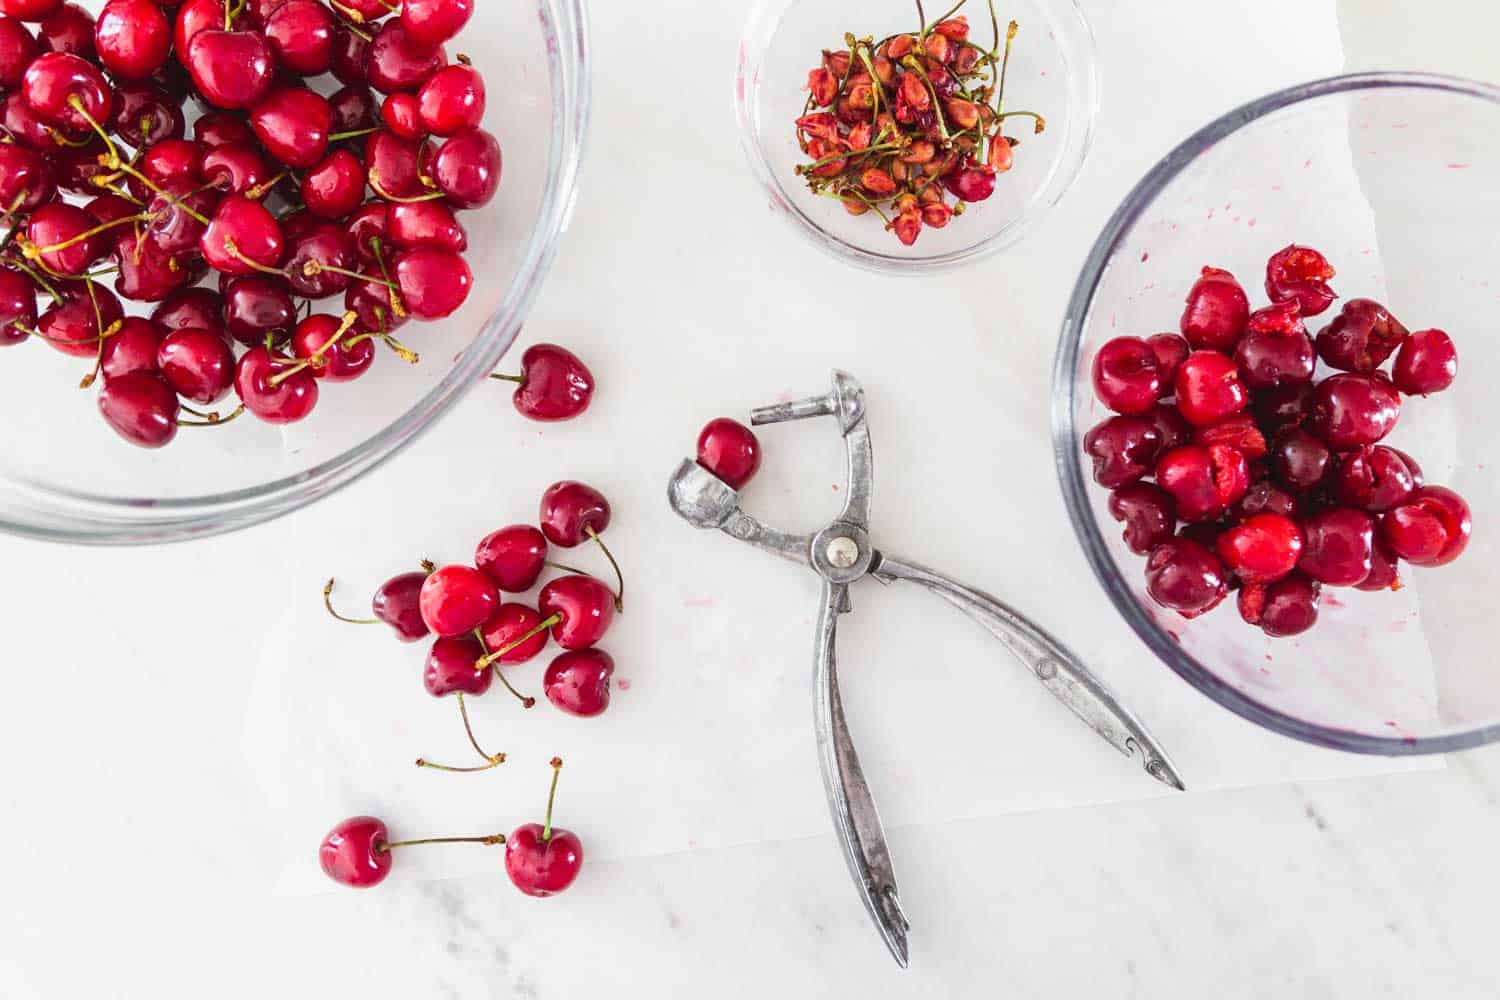
How to Pit Cherries?
Pitting cherries is easily accomplished using a cherry pitter. I got this one from amazon and I really like how easy it is to use (it saves a lot of time!). I recommend buying one, but only if you plan to cook/bake with cherries often, otherwise you can probably get on just fine without it.
To pit cherries without a cherry pitter, cut them in half and then remove the pits with your fingers. It might take a couple of minutes, but it’s worth it once you bite into your delicious, homemade cherry pie.
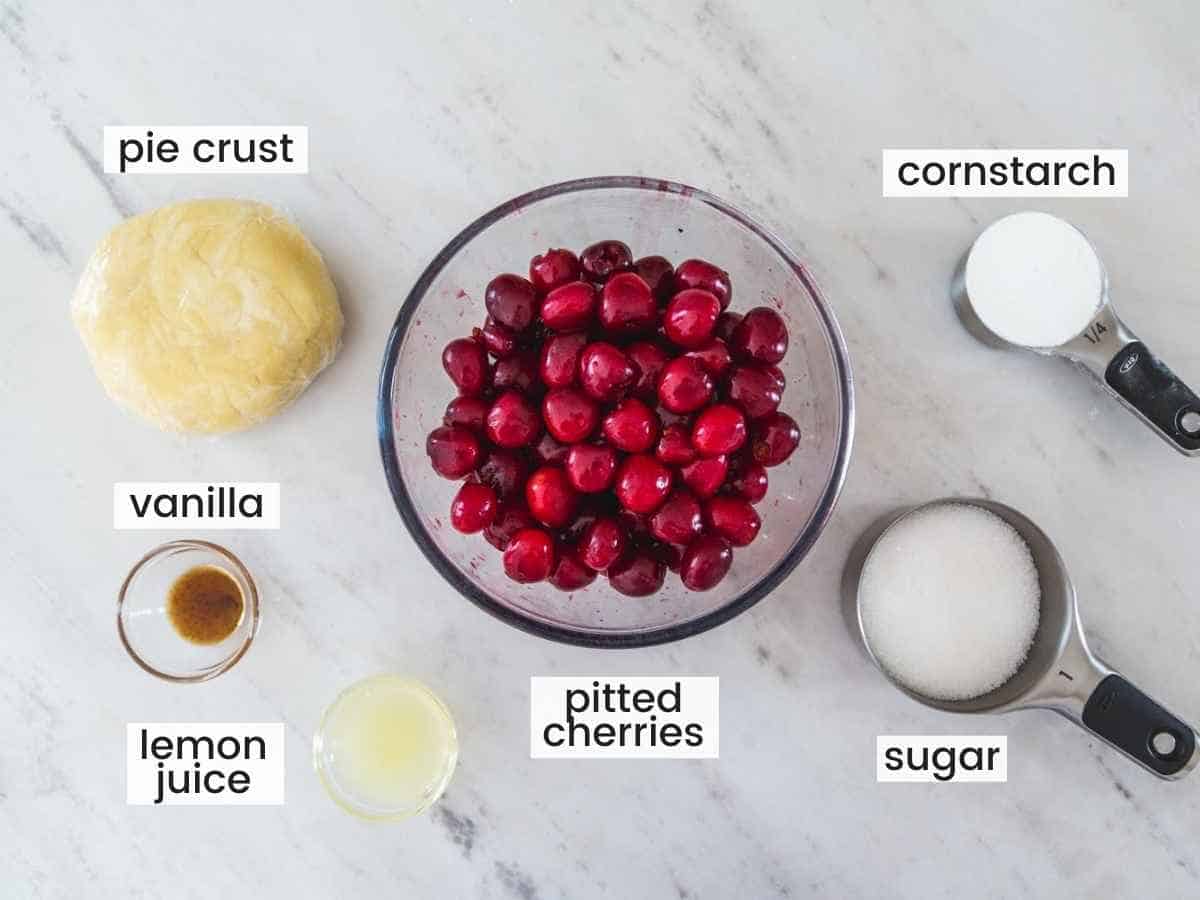
Ingredients in Cherry Pie Filling
We’ll talk more about the crust a bit later, but the star of this dish is the fresh cherry pie filling. Here’s what you’ll need:
Complete list of ingredients and amounts can be found in the recipe card below.
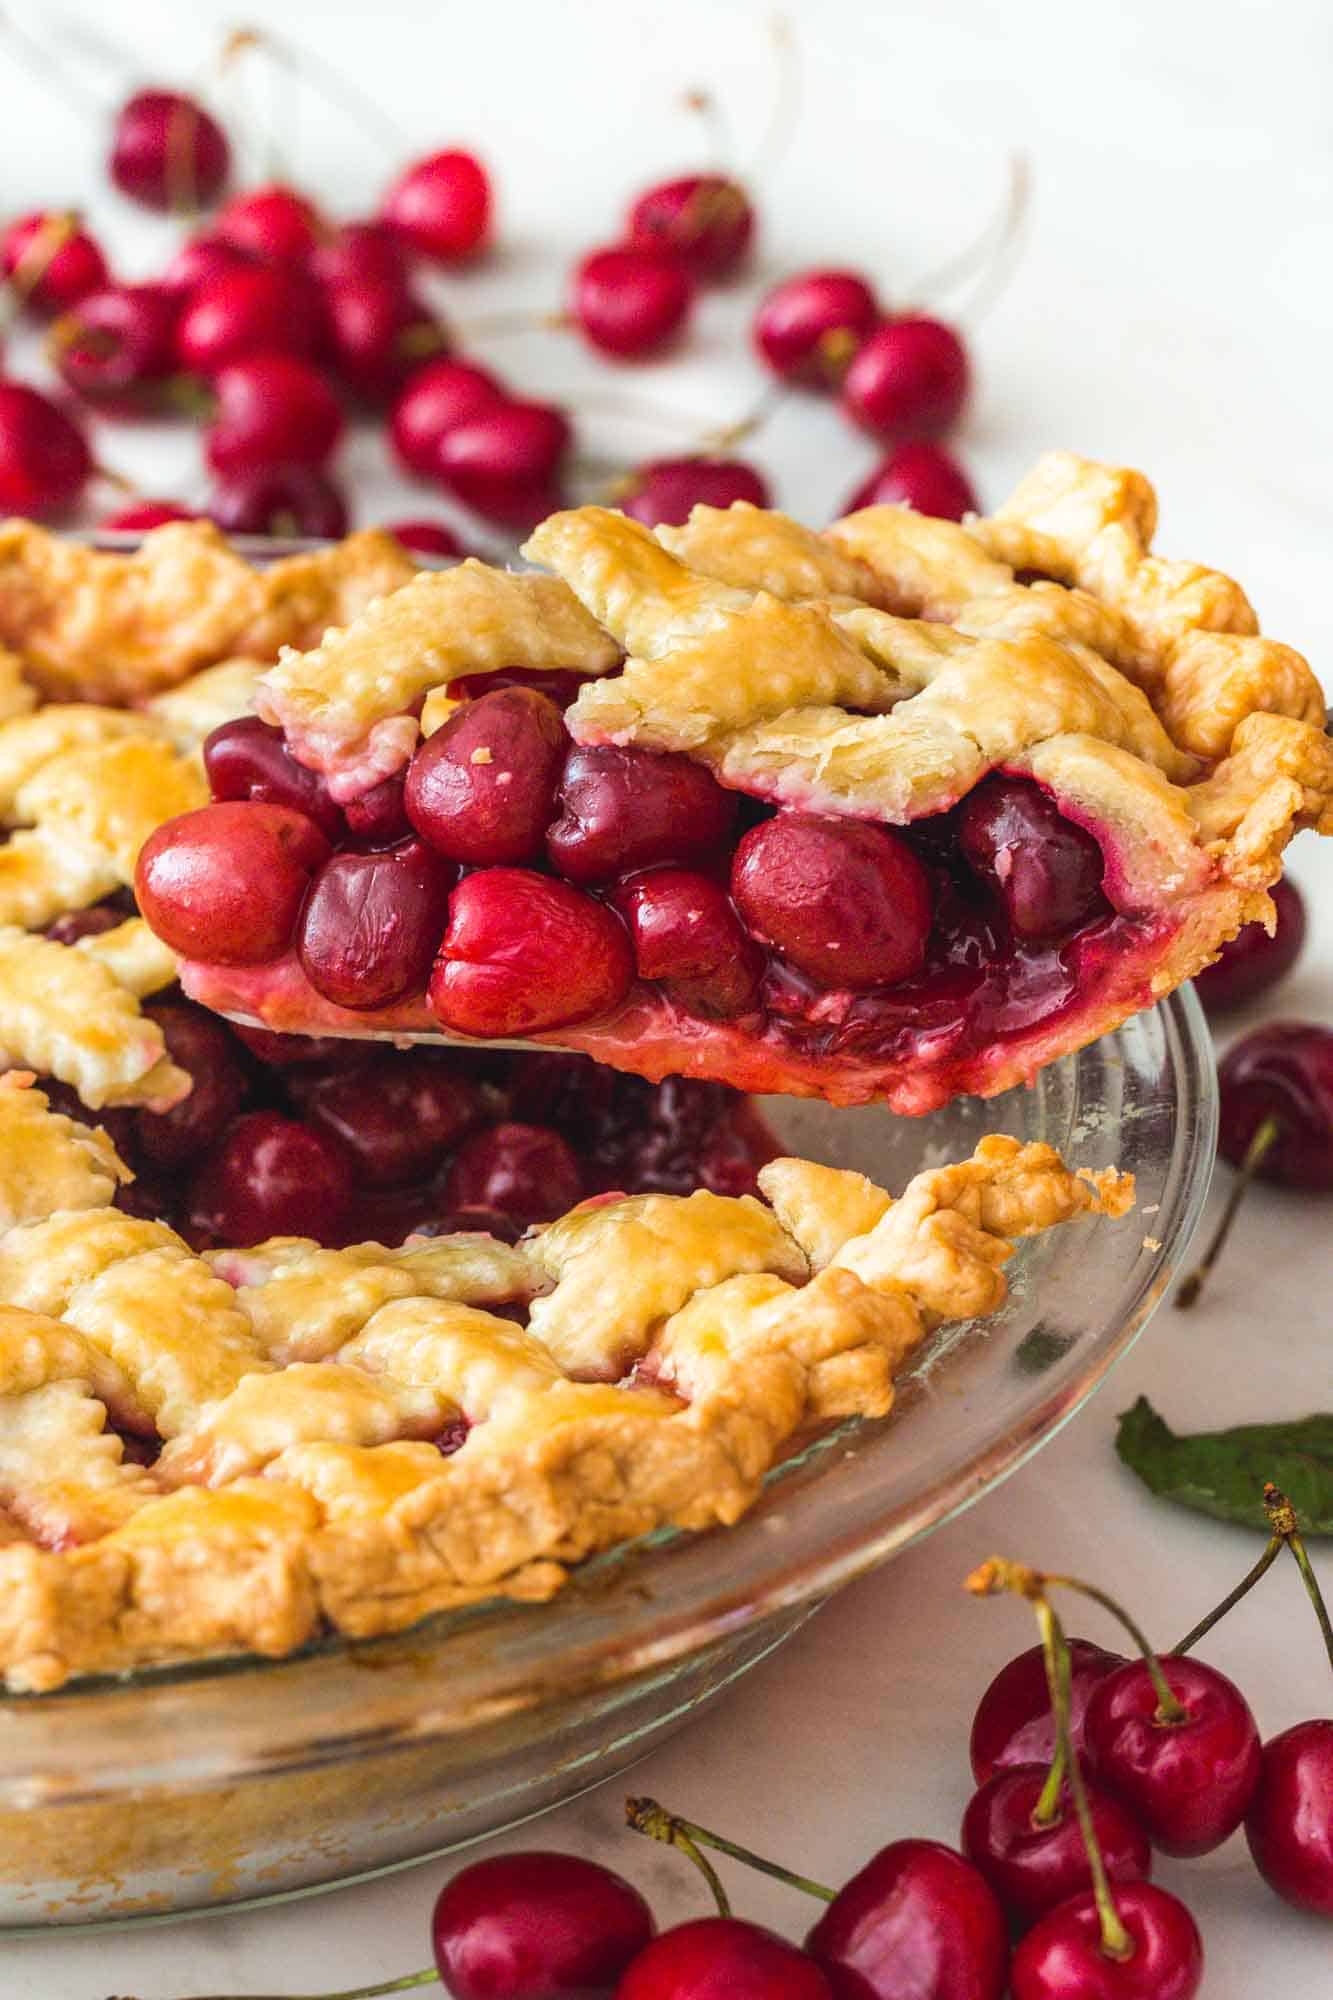
- Cherries – 5 cups of fresh, sweet cherries, pitted. I like to leave them whole so that each one bursts in your mouth when you eat it.
- Sugar – Granulated sugar adds sweetness and creates a syrupy filling consistency. If you have sour cherries rather than sweet ones, You will want to add more sugar.
- Corn Starch – This is a thickener that helps the cherry juice to gel up slightly, holding all of the fruit in the pie.
- Almond or Vanilla Extract – Cherry pie is equally amazing with either pure vanilla extract or almond extract. Choose your favorite.
- Lemon Juice – This gives a fresh, tart flavor.
How to Make Crust for Cherry Pie
You have options when it comes to pie crust. For this and other fruit pies, like my Blueberry Pie or Peach Pie, you need a double crust recipe. Half of the crust makes the bottom of the pie, and the other half makes the top.
- Buy a pre-made crust dough. You can generally find pie crust dough in the refrigerated section, near the other refrigerated doughs like biscuit and cookie dough. I find these doughs to be generally tasty and super convenient.
- Use your own trusted pie crust recipe. If you have one, use it! No need to change something that already works well.
- Try my recipe for All-Butter Pie Crust. It makes enough for a double-crust pie, it’s flaky and perfect, and works really well for creating a lattice top.
How To Make a Cherry Pie
- Preheat: Preheat the oven to 425°F/220°C.
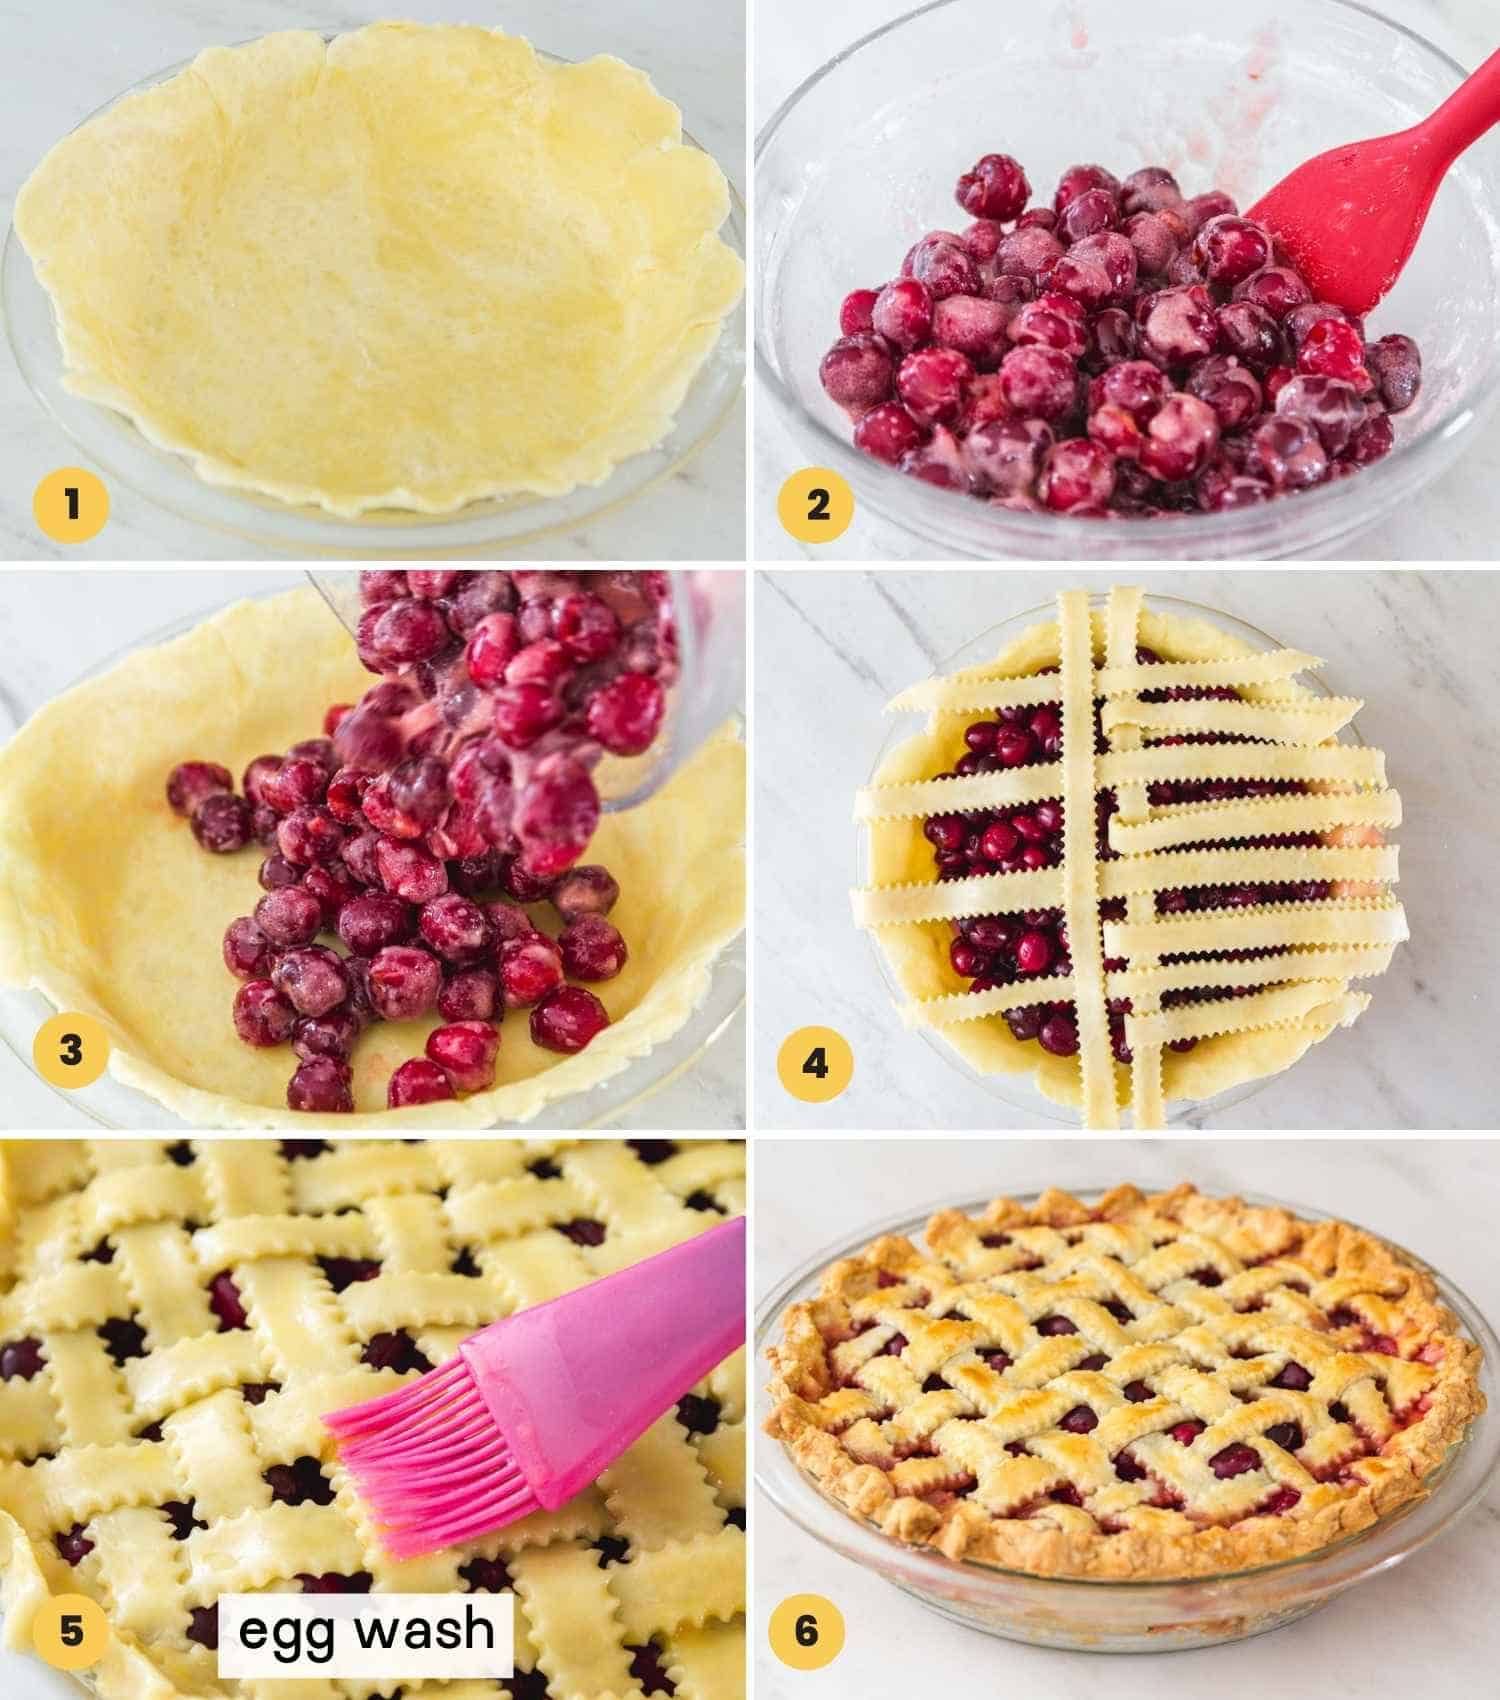
- Roll Dough: Roll out half of the pie dough into a 12-inch circle. Place in a 9-inch pie dish.
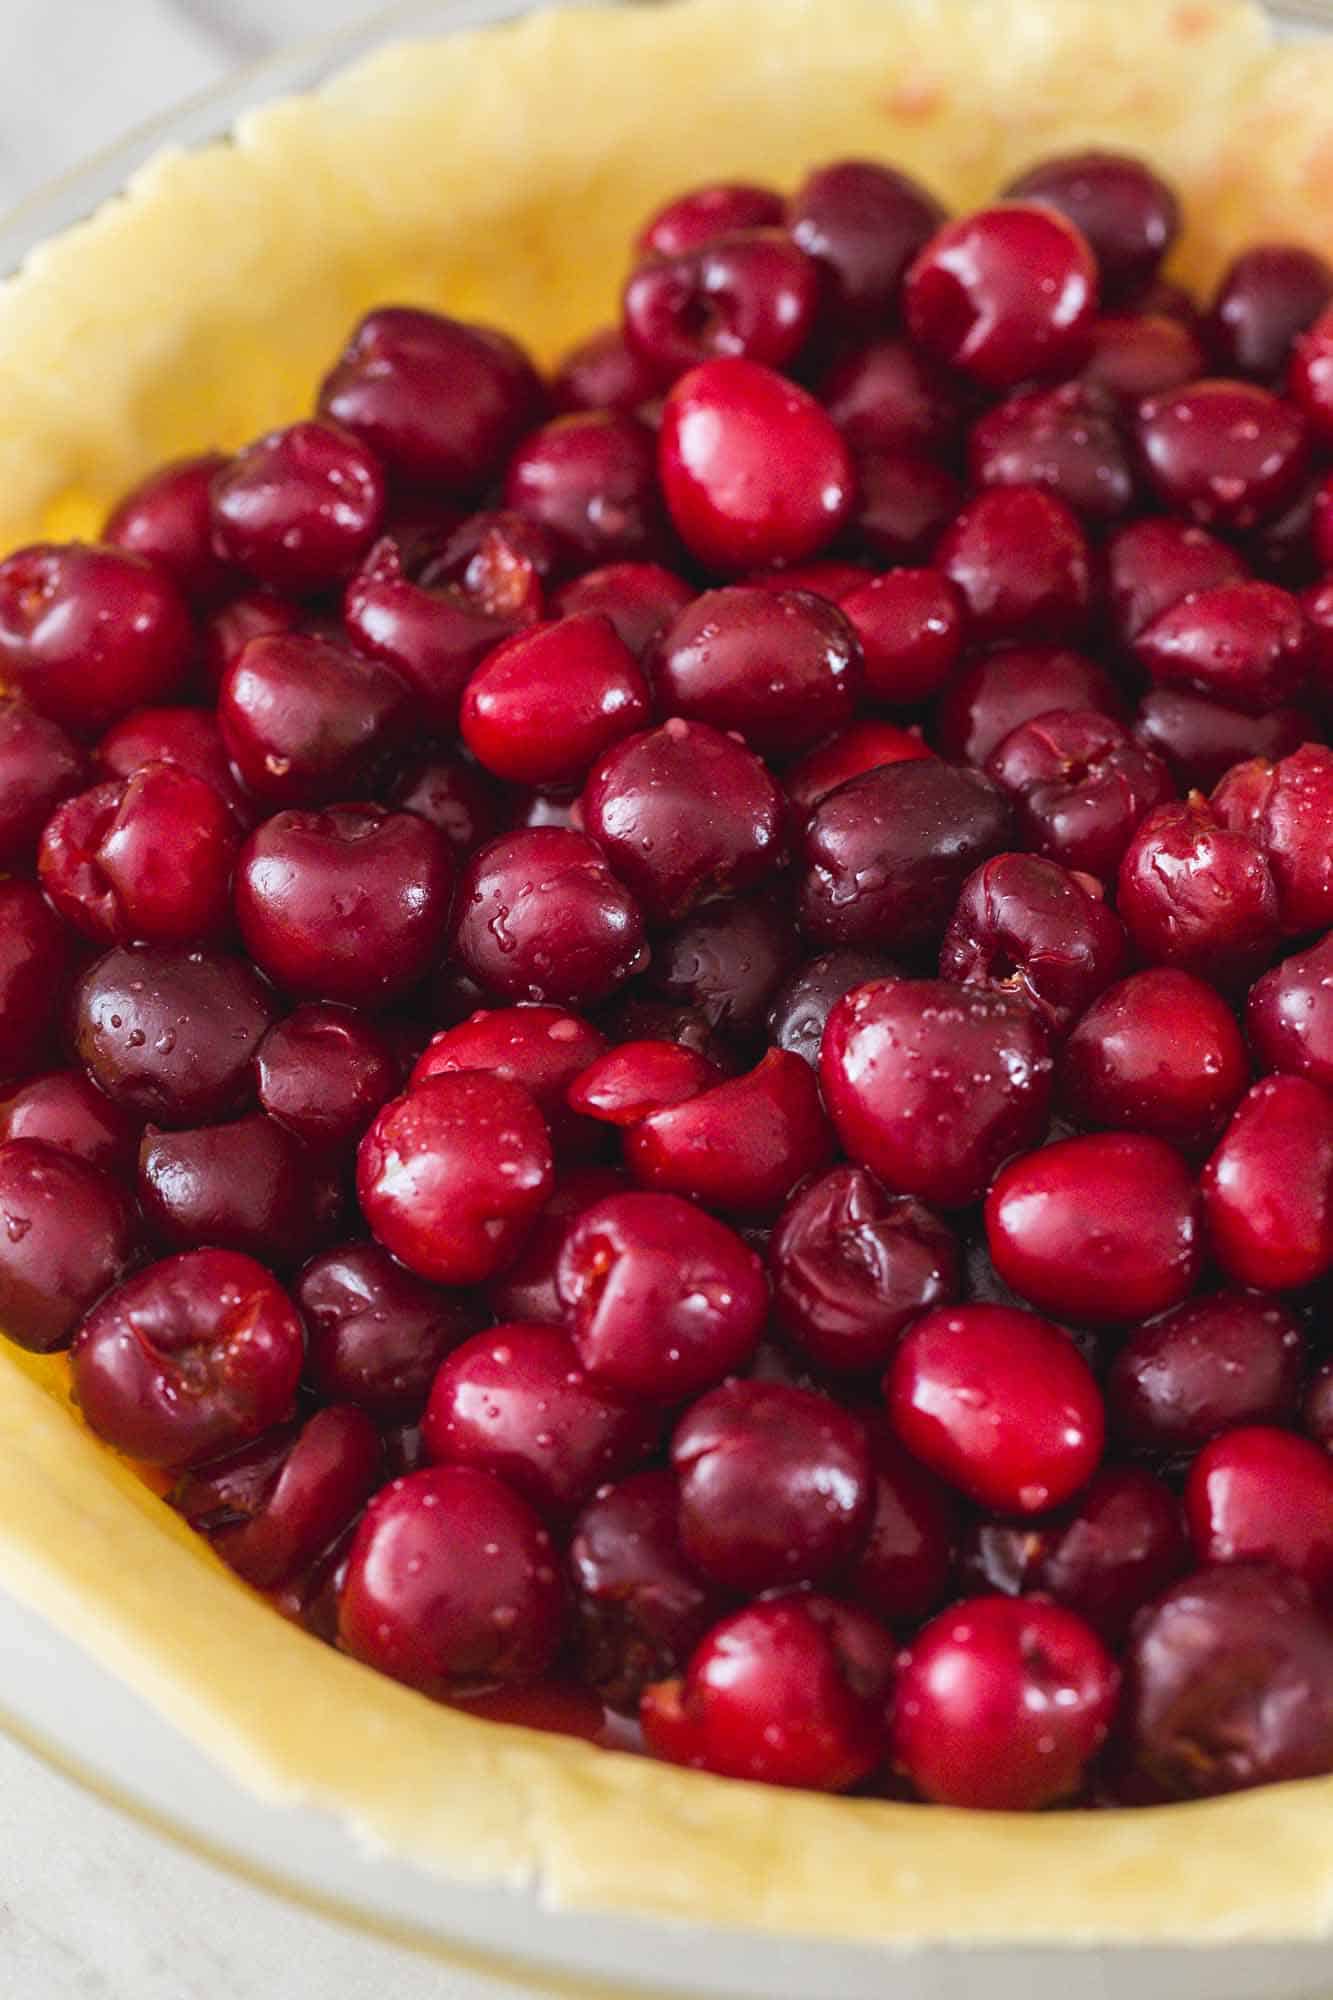
- Make the Filling: Create the filling by tossing the pitted cherries with sugar, cornstarch, almond or vanilla extract, and lemon juice.
- Add the Filling: Add the filling to the prepared pie crust using a spoon. Discard any extra juices at the bottom of the bowl.
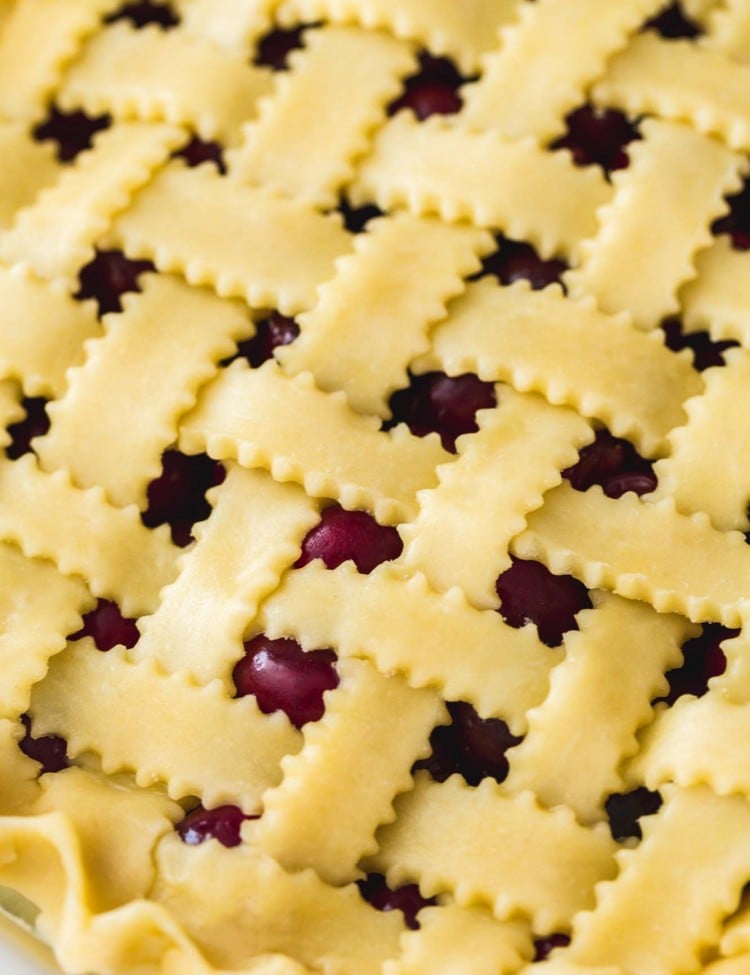
- Create the Top Crust: Roll the remaining pie dough into a 12-inch circle. Using a pastry wheel or pizza cutter, cut the dough into long strips. Make a lattice top by arranging the strips over the pie and weaving them. Check out my How to Lattice a Pie tutorial for more details. Trim any excess dough and crimp the edges.
- Egg Wash: Make an egg wash by whisking together one egg and a tablespoon of water. Brush over the top of the pie using a pastry brush.
- Bake and Cool: Bake the pie as directed in the recipe card below. After baking, allow the pie to cool down for at least three hours before serving.
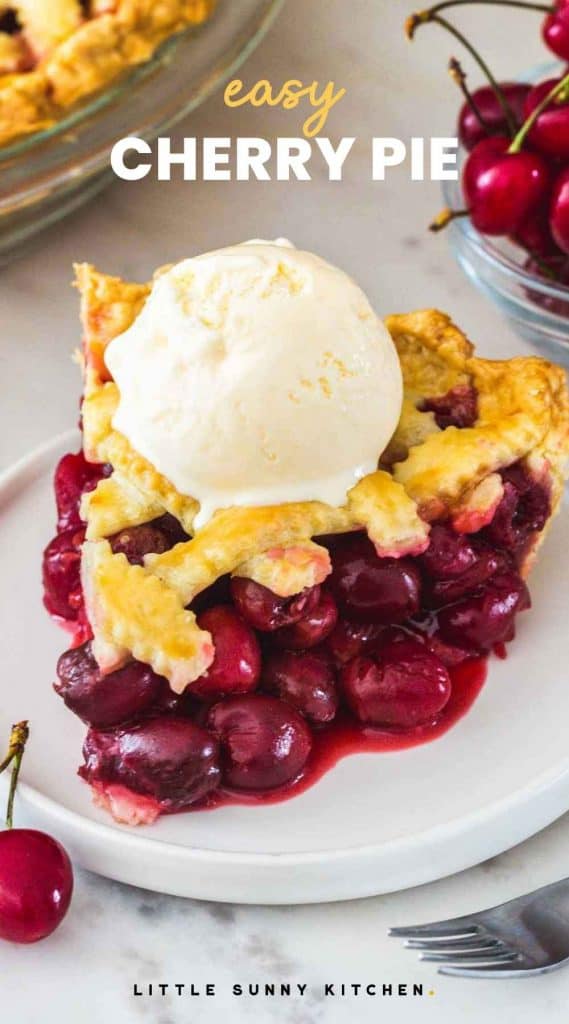
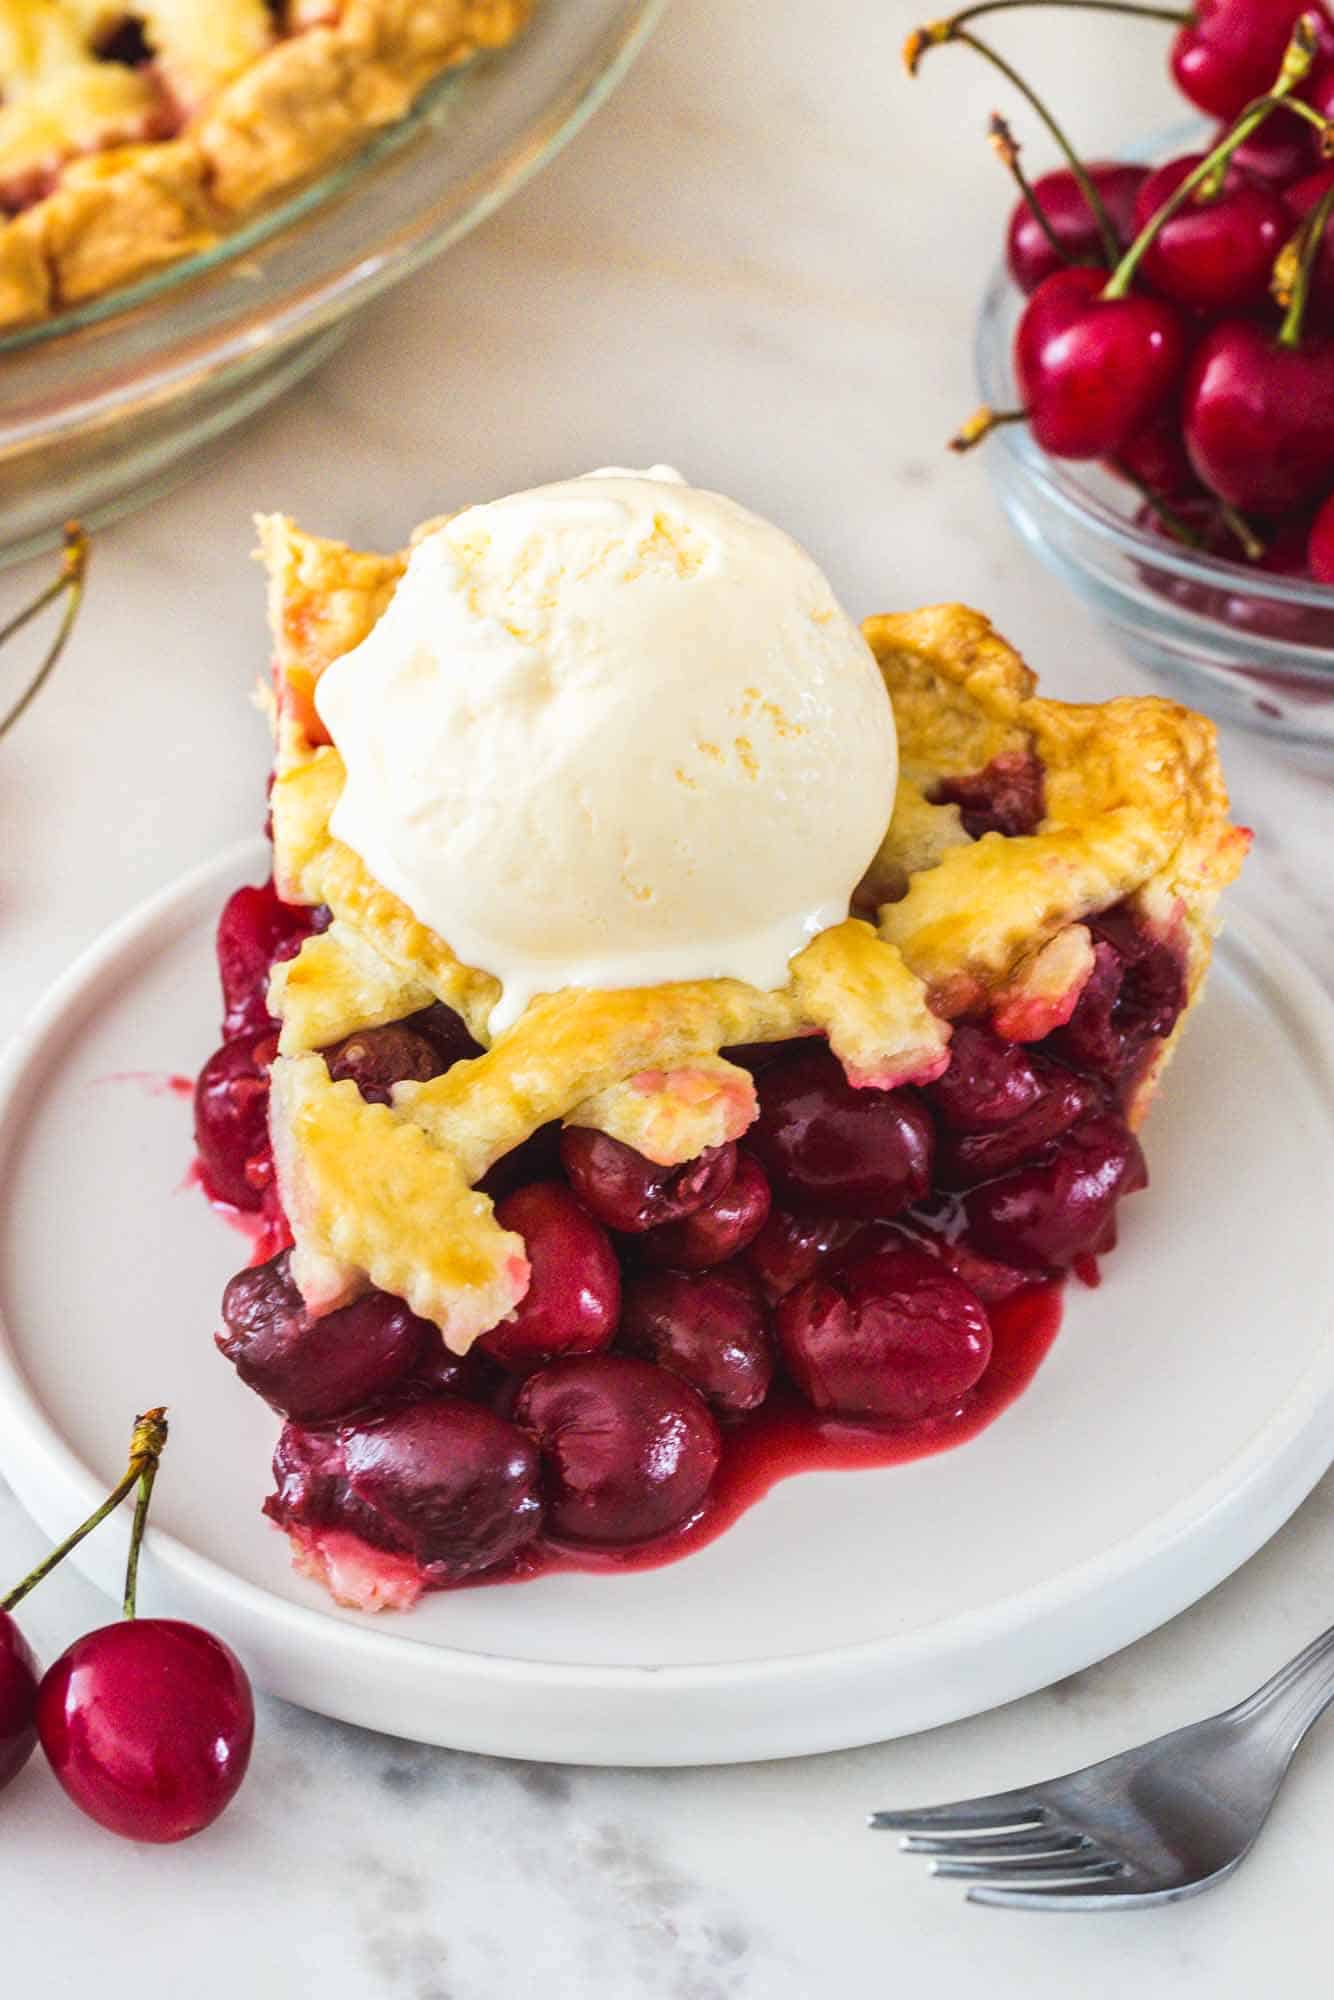
- Serve: I suggest serving with a generous scoop of vanilla ice cream on top!
FAQs
Canned cherries can be substituted for fresh cherries, the flavor will be a bit different and you have to make sure to drain or rinse any syrup before using.
The top crust will be golden brown and you’ll see the cherry filling bubbling through the vents. If you aren’t sure when the filling started bubbling, let it bubble for 5 minutes and then remove it from the oven.
Wrap well with plastic wrap and store in the fridge for up to 5 days, if it lasts that long.
Recommended Tools for Pie Making
I use these items for almost every pie I make. They are super helpful kitchen tools that will make cherry pies or any kind of pies super simple to construct.
- Pastry Cutter.
- Pastry Wheel.
- 9-Inch Pie Plate. This is the pie dish that I use, and I love how it comes with a lid that comes in so handy for storing!
- Pastry Brush. This is for brushing on an egg wash before baking your pie. I like to use a silicone pastry brush because it’s easy to wash and sanitize.
Enjoy your delicious homemade, from scratch Cherry Pie! I know you’ll love making this for family and friends whenever cherries are available. Don’t forget to pin this recipe so everyone can see and make it too.
Did you make this? Be sure to leave a review below and tag me on Facebook, Instagram, or Pinterest!

Cherry Pie
Equipment
Ingredients
- 1 double pie crust click for recipe
- 5 cups cherries pitted and left whole
- ¾ cup granulated sugar
- ¼ cup cornstarch
- 1 teaspoon pure vanilla extract or ½ teaspoon almond extract
- 1 tablespoon lemon juice
- 1 egg beaten and mixed with 1 tablespoon water for egg wash
Instructions
- Preheat the oven to 425°F/220°C
- Roll out half of the pie dough into a 12-inch circle. Place in a 9-inch pie dish.
- Create the filling by tossing the pitted cherries with sugar, cornstarch, almond or vanilla extract, and lemon juice.
- Add the filling to the prepared pie crust using a spoon. Discard any extra juices at the bottom of the bowl.
- Roll the remaining pie dough into a 12-inch circle. Using a pastry wheel or pizza cutter, cut the dough into long strips. Make a lattice top by arranging the strips over the pie and weaving them. Check out my How to Lattice a Pie tutorial for more details. Trim any excess dough and crimp the edges.
- Make an egg wash by whisking together one egg and a tablespoon of water. Brush over the top of the pie using a pastry brush.
- Bake the pie for 20 minutes at 425°F/220°C, then reduce the heat to 375°F/190°C and continue baking for 30 minutes. After baking, allow the pie to cool down for at least three hours before serving.
- I suggest serving with a generous scoop of vanilla ice cream on top!
Notes:
- The recipe is written for sweet cherries, if using sour cherries increase the sugar by ¼ cup.
- Canned cherries can be substituted for fresh cherries, the flavor will be a bit different and you have to make sure to drain or rinse any syrup before using.
- Storing: Wrap well with plastic wrap and store in the fridge for up to 5 days, if it lasts that long.
- Nutrition: Calculated per slice without ice cream. This is a rough estimate calculated using an online calculator.
Nutrition Information
This website provides approximate nutrition information for convenience and as a courtesy only. Nutrition data is gathered primarily from the USDA Food Composition Database, whenever available, or otherwise other online calculators.
© Little Sunny Kitchen

Mona says
Can you use frozen cherries?
Little Sunny Kitchen says
Yes, you can! I would thaw them first so that the pie cooks evenly and at the same rate. I hope you enjoy!