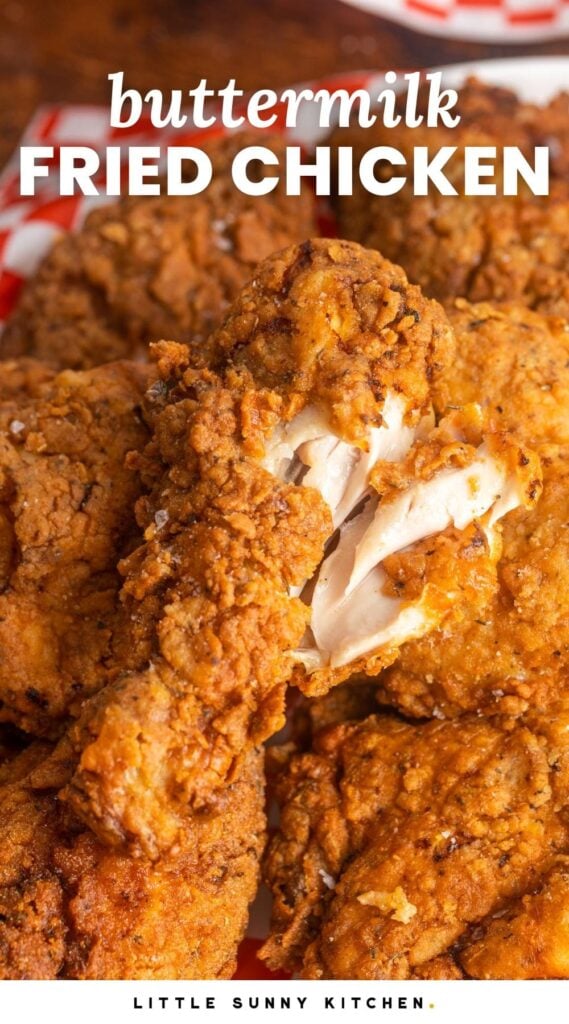
Crispy, seasoned Buttermilk Fried Chicken is real comfort food and undeniably addictive. Chicken pieces are marinated in buttermilk, dredged in seasonings, and fried to a beautiful golden brown. Forget the restaurant takeaway and make your own flavorful fried chicken right in your own kitchen!
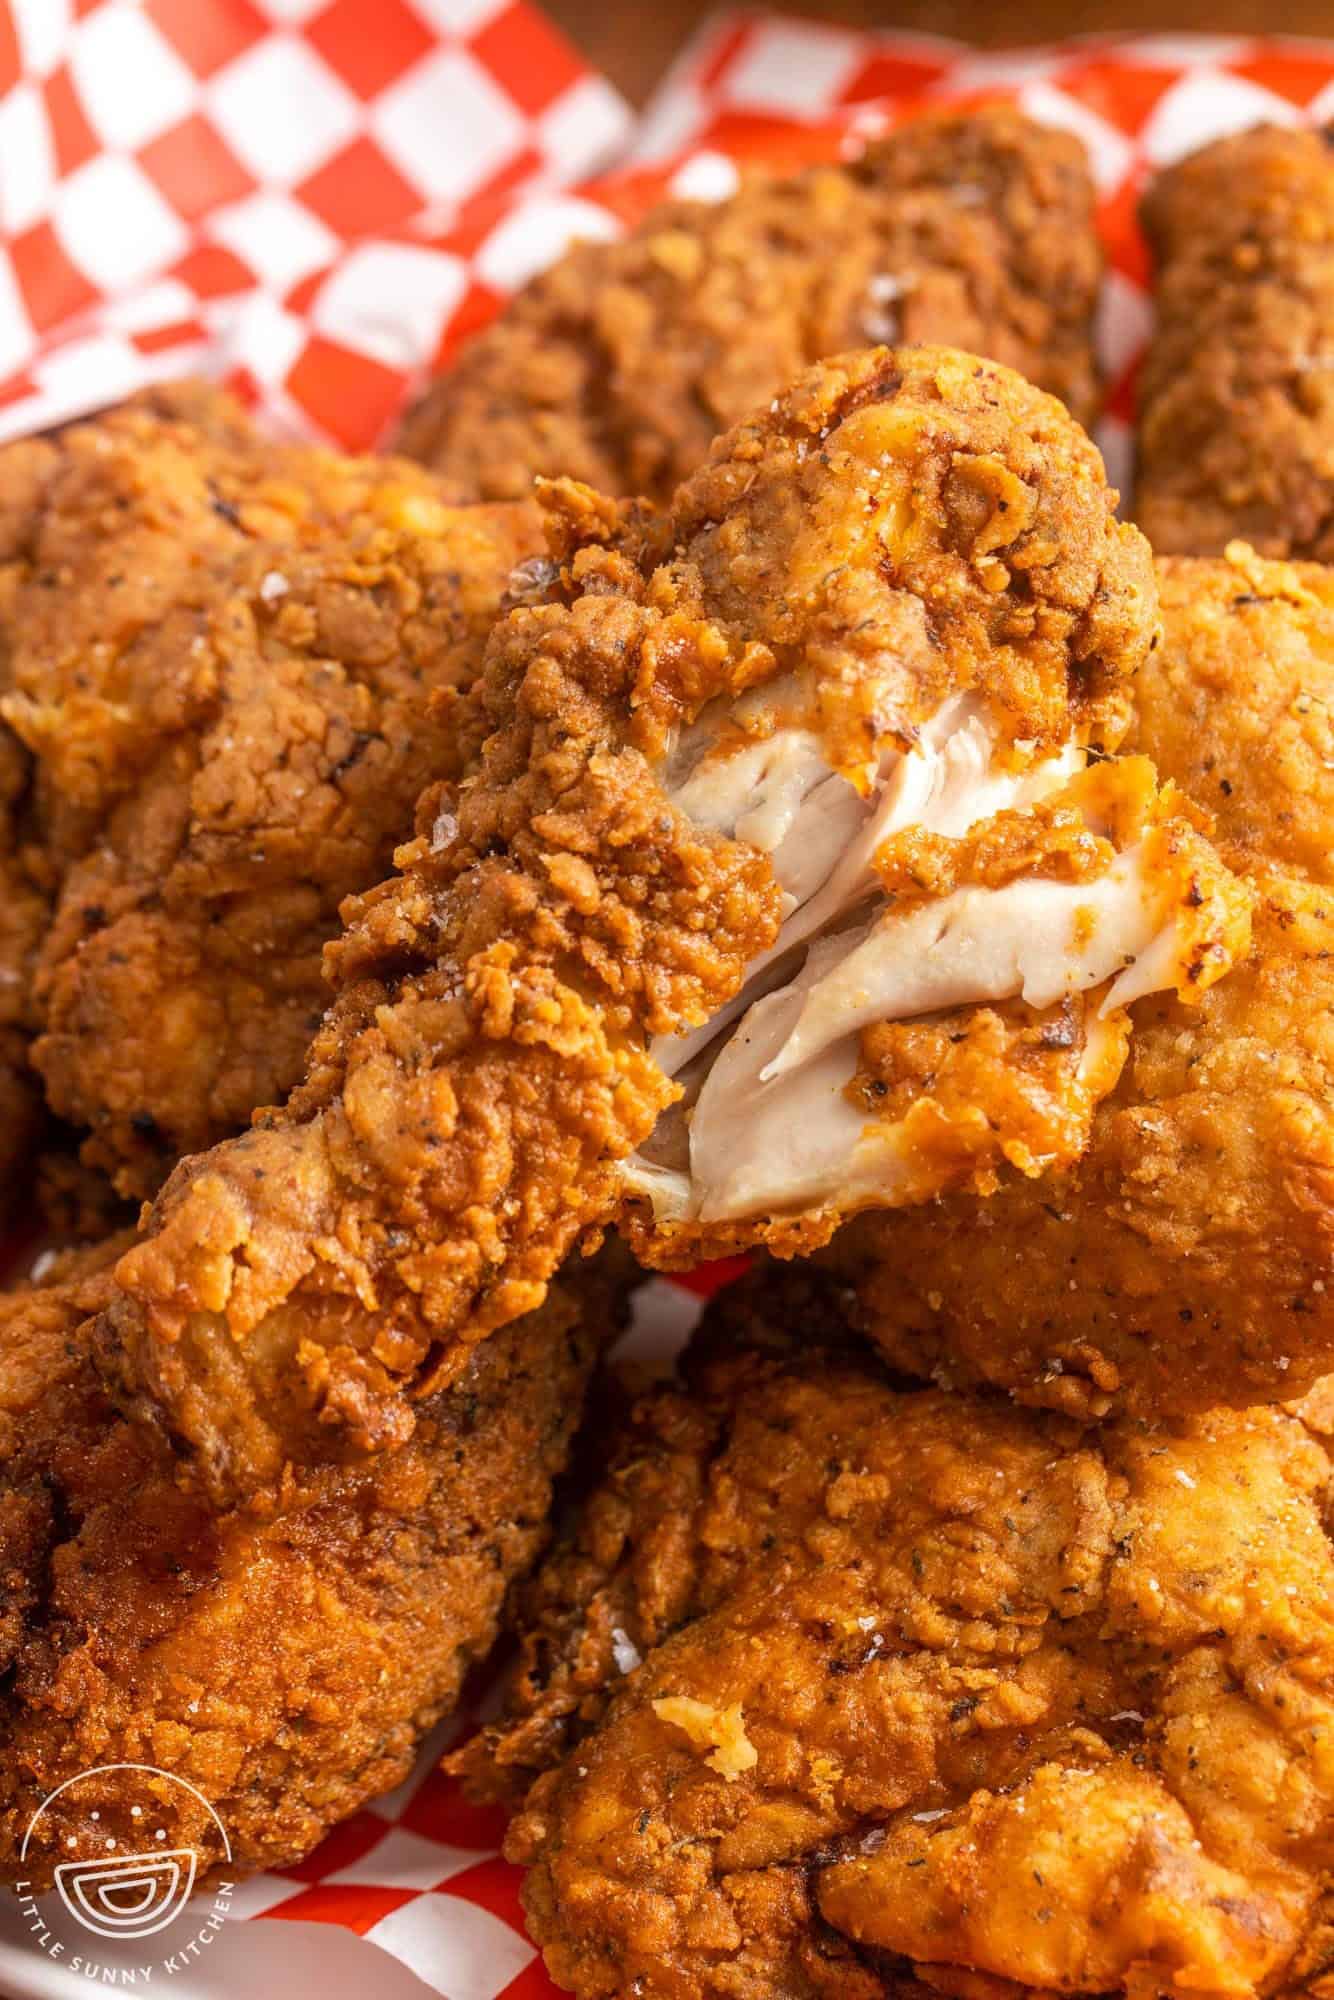
This is one of my favorite recipes for fried chicken. It relies on a buttermilk marinade which you’ll soak the chicken in for a few hours, then a quick roll in the seasoned flour mix, followed by a few minutes in a deep-fry bath. The actual hands-on time for this recipe is about 20 minutes, which is exactly the kind of thing I’m looking for when making dinner after a long day!
If you haven’t tried deep frying at home, you might be feeling a bit intimidated, but I can honestly tell you that once you try it, you’ll see that the technique is pretty simple. Frying the chicken a few pieces at a time helps to make sure it cooks evenly and comes out mouth-wateringly crisp. Nothing beats the flavor of homemade juicy fried chicken.
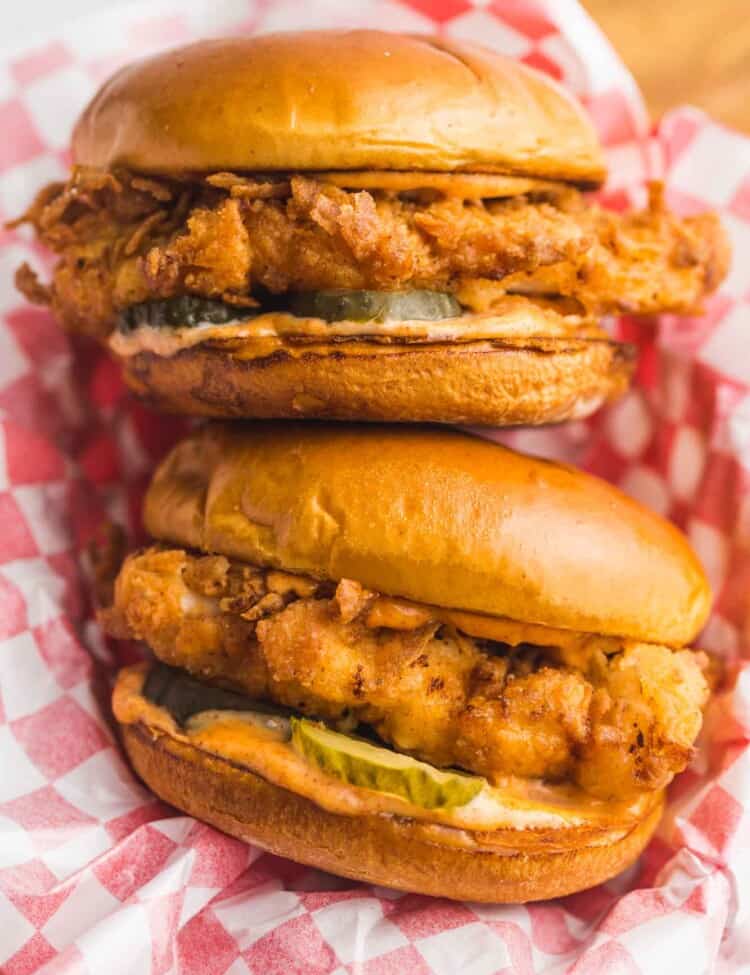
If fried chicken sandwiches are your thing, check out my recipes for Nashville Hot Chicken Sandwich, Popeye’s Chicken Sandwich, and Chick-Fil-A Chicken Sandwich Copycat.
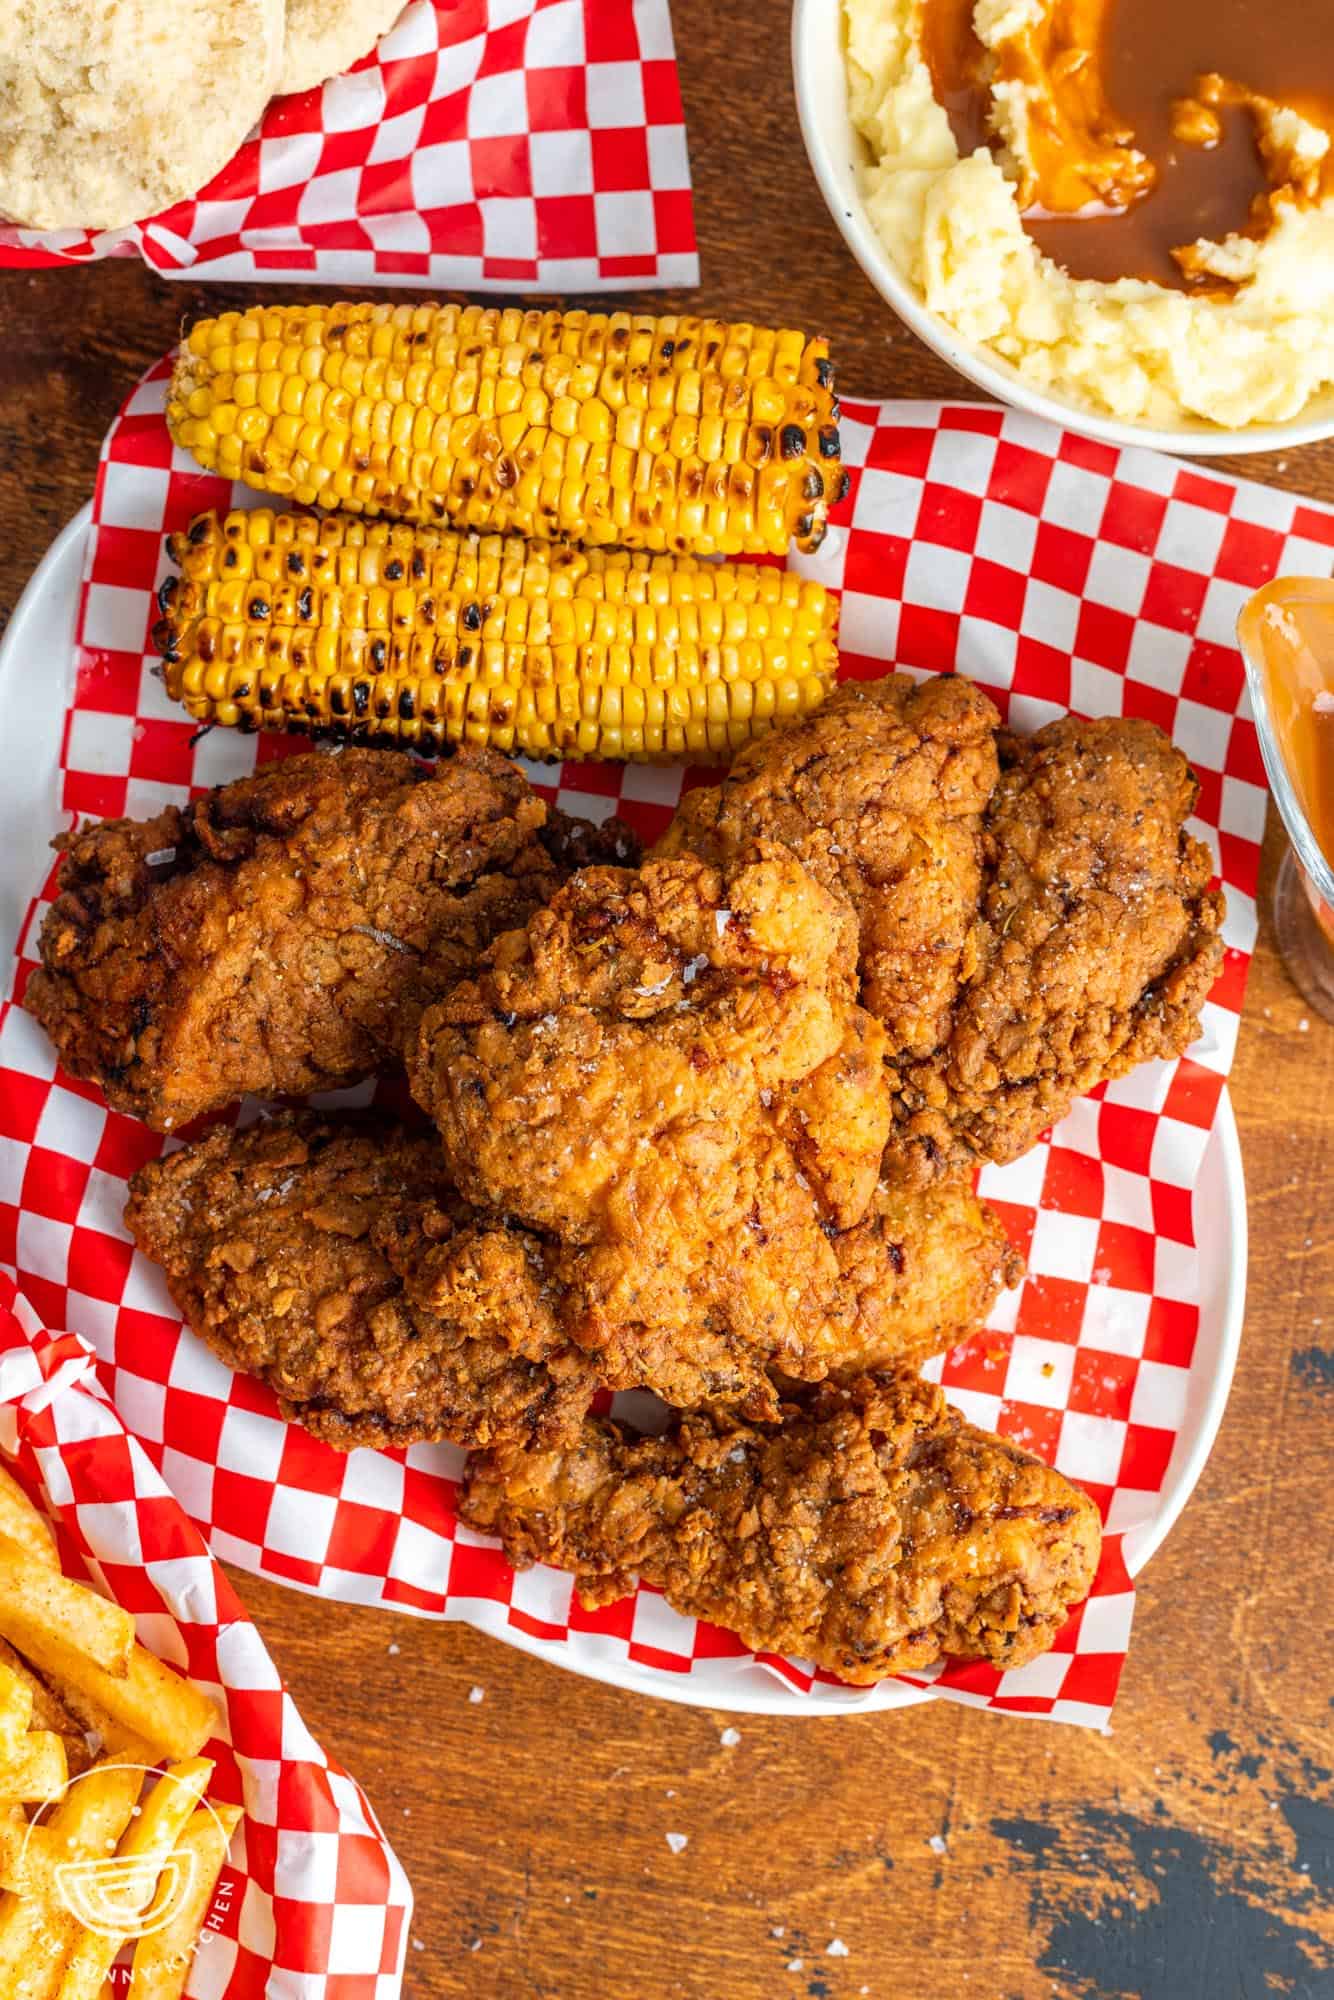
Why this recipe works
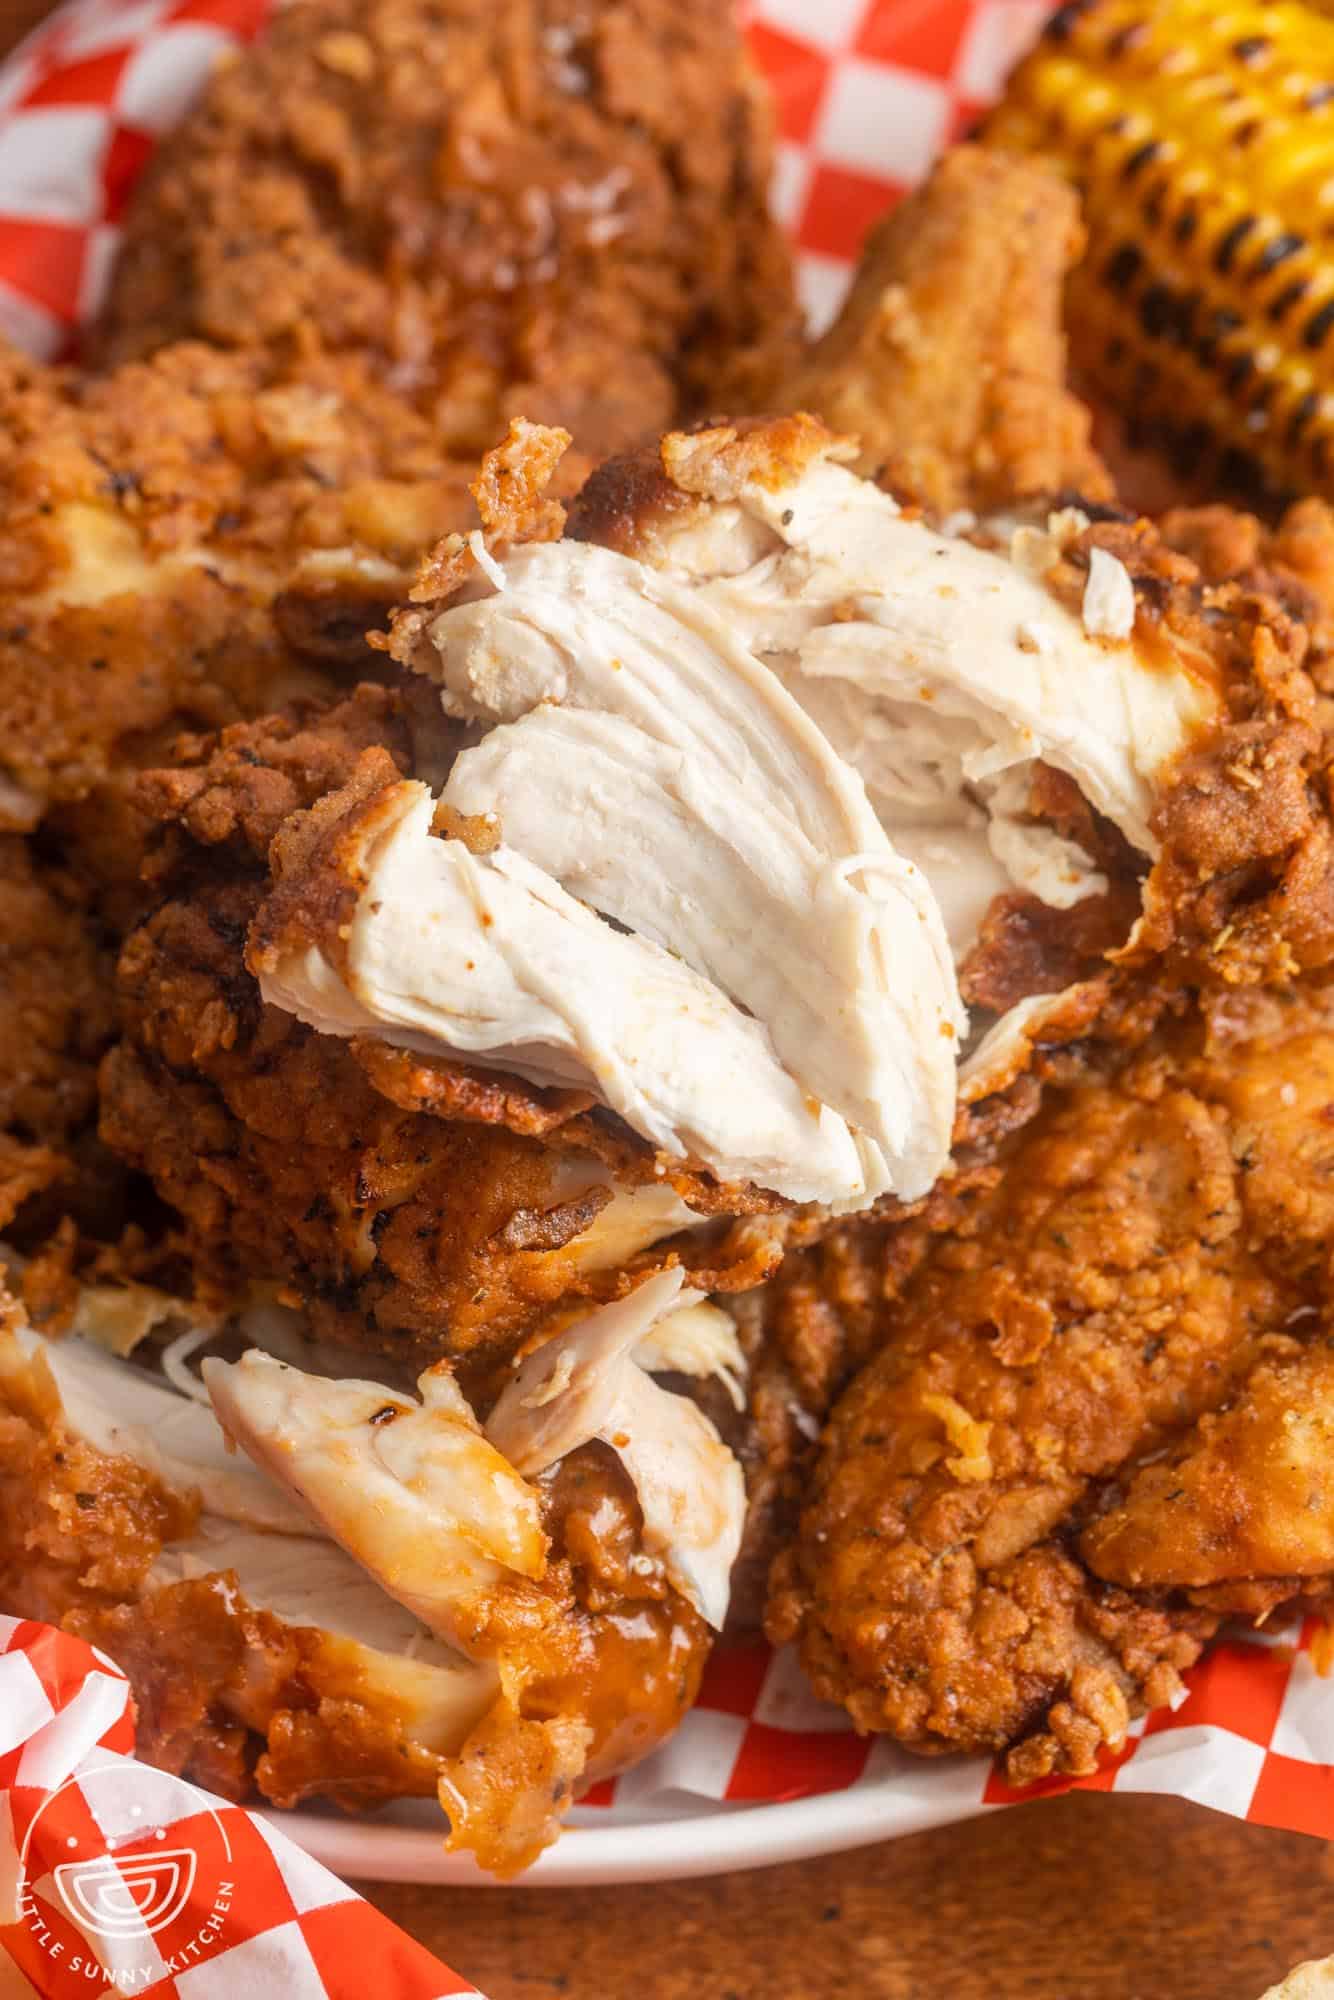
- Marinating = Juicy: We’ve all had dreaded dry chicken, right? This recipe will take care of that! We’ll soak the chicken in a buttermilk brine before we fry it, ensuring that the meat is juicy and full of flavor.
- Full of flavor: The crispy breading is bursting with spices and seasonings, enhancing the fried chicken’s flavor.
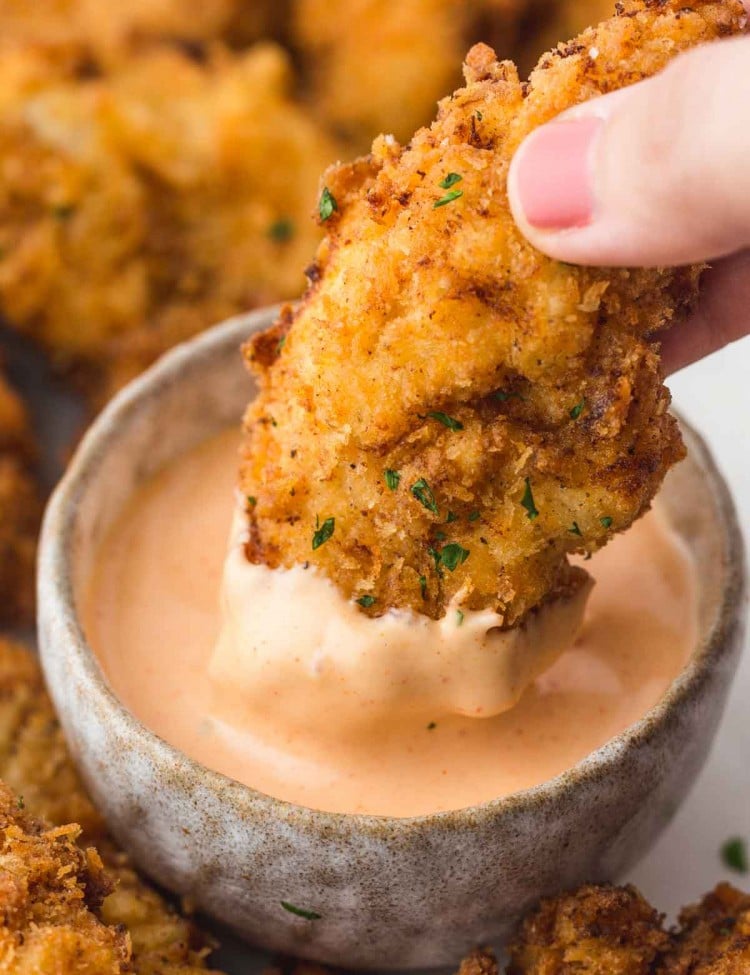
- Uses the Whole Chicken: The recipe calls for a whole chicken cut into 8 or 10 pieces. Using the whole chicken means there’s no waste, which I love! If you prefer to use chicken breasts, legs, etc., you can swap out the whole chicken for your favorite cuts. Or, if you have chicken tenders, see my recipe for Buttermilk Chicken Tenders, as the technique is a little different for such a small cut of chicken.
The Ingredients
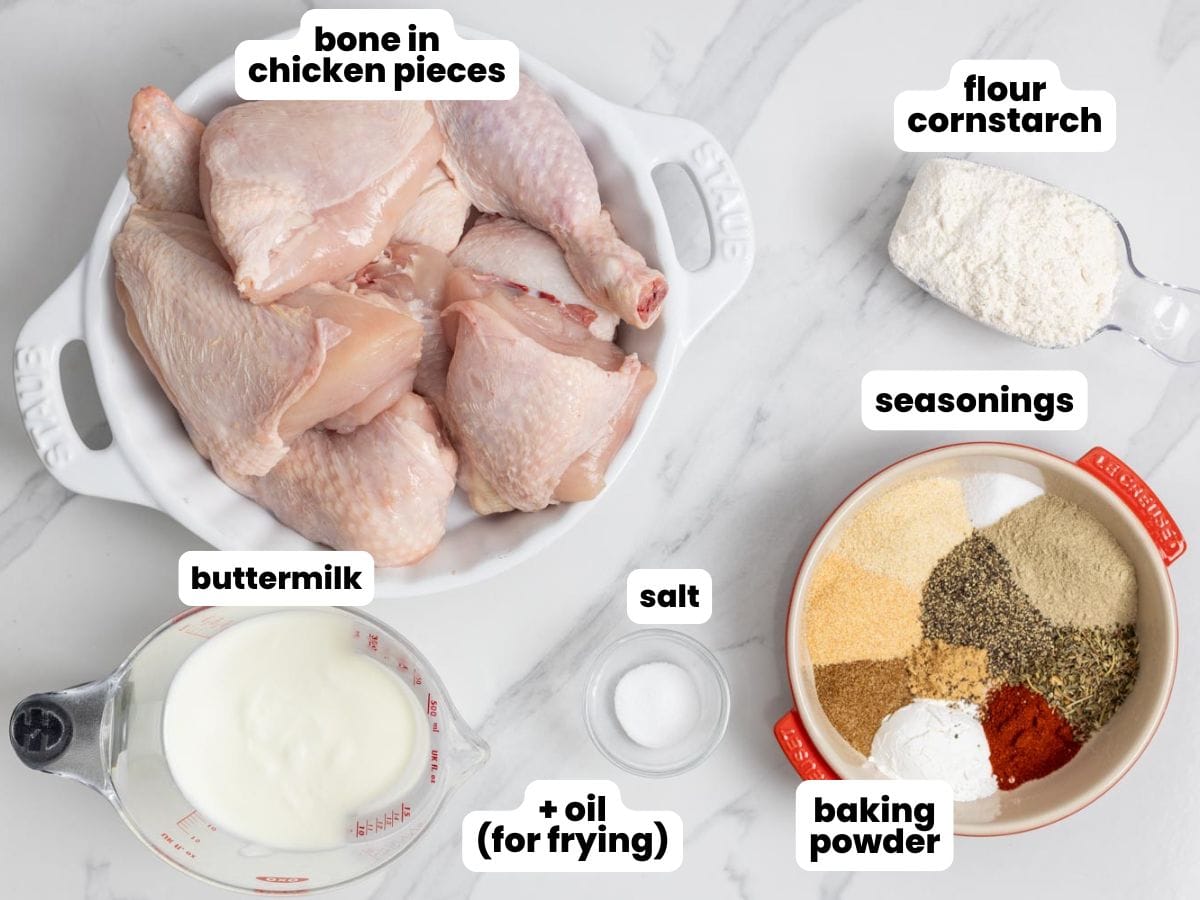
Complete list of ingredients and amounts can be found in the recipe card below.
- Whole chicken: Look for one that is 3.5 – 4 lbs. You’ll be cutting the chicken into 8 or 10 pieces, and I have a tutorial on how to cut a whole chicken if you’ve never done it before. Alternatively, use bone-in chicken pieces.
- Buttermilk: Marinating the chicken in buttermilk will make it very tender.
- Salt: Helps to season and tenderize the chicken.
- Oil for frying: Vegetable, canola, and peanut oils are good options for frying because they have a low smoke point, but any neutral-tasting oil will work.
- For the Breading: You’ll need all-purpose flour, baking powder, celery salt, garlic powder, onion powder, ground paprika, white and black pepper, ground ginger, Italian seasoning, salt, and some more buttermilk which will help to bring the breading together.
How to Make Buttermilk Fried Chicken
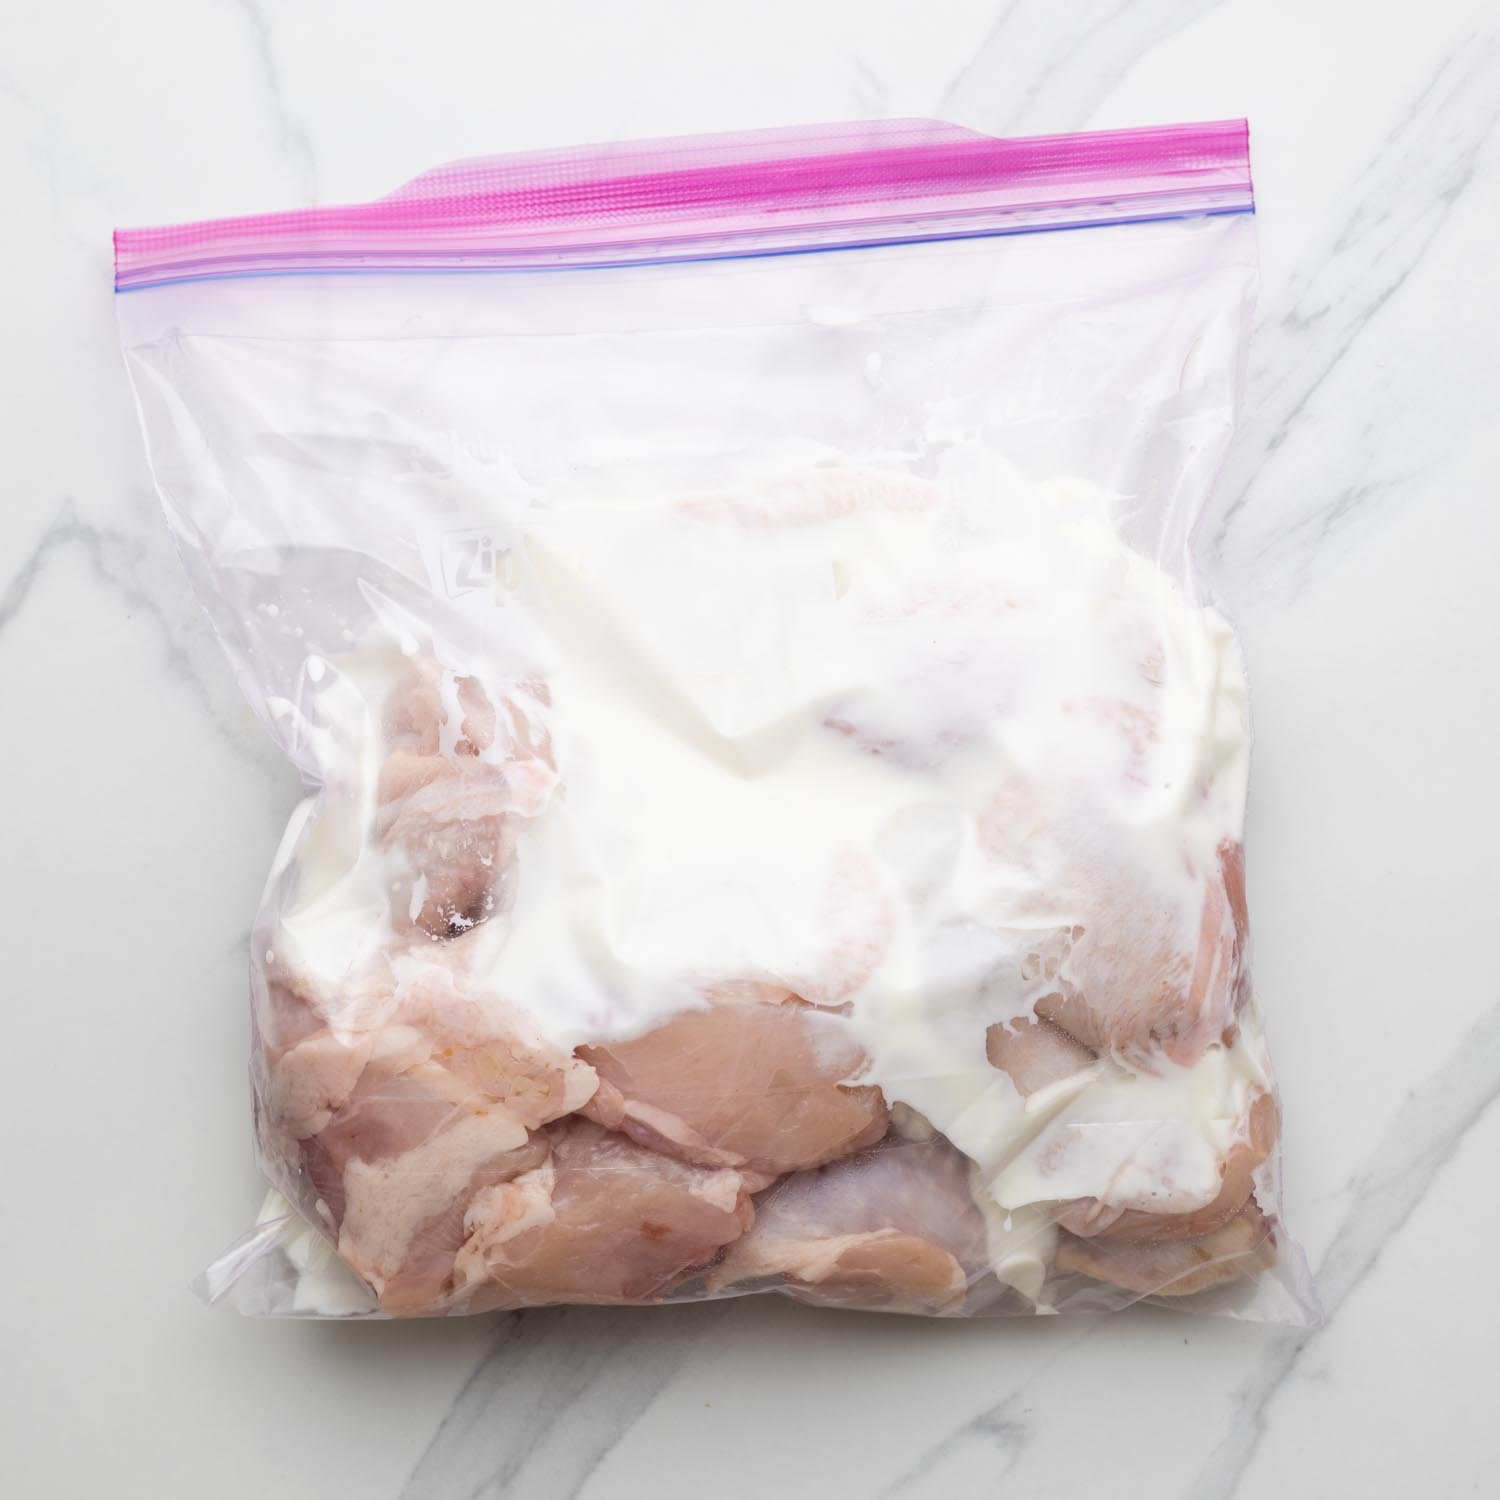
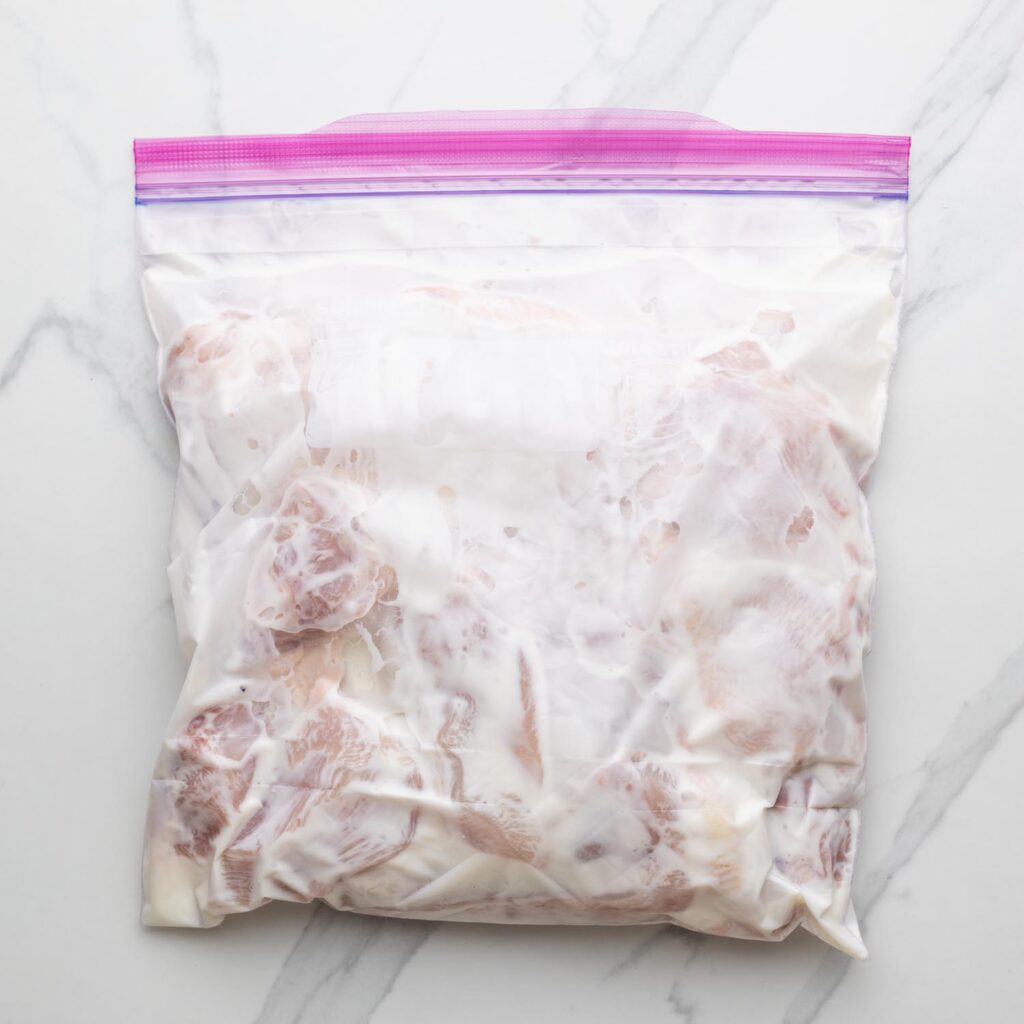
- Marinate the chicken. I always like to save on dishes where I can, so I always use a gallon-sized zip-top bag when brining my meat. Add the chicken, buttermilk, and salt to the bag and squeeze out any excess air before sealing the top. Make sure to fully coat the chicken pieces in the buttermilk to make sure every piece is covered. The chicken will marinate in the fridge for at least 1 hour and up to 24 hours.
- Heat the oven. Set your oven to warm and on the middle rack, place a half sheet with a wire rack on top. You’ll use the wire rack as a resting place for your freshly fried buttermilk chicken while you get on with frying the other pieces.
Tip!
Resting fried chicken elevated on a rack will help maintain crispness. If you place hot chicken flat onto a surface, it will create and capture steam, allowing it to become soggy.
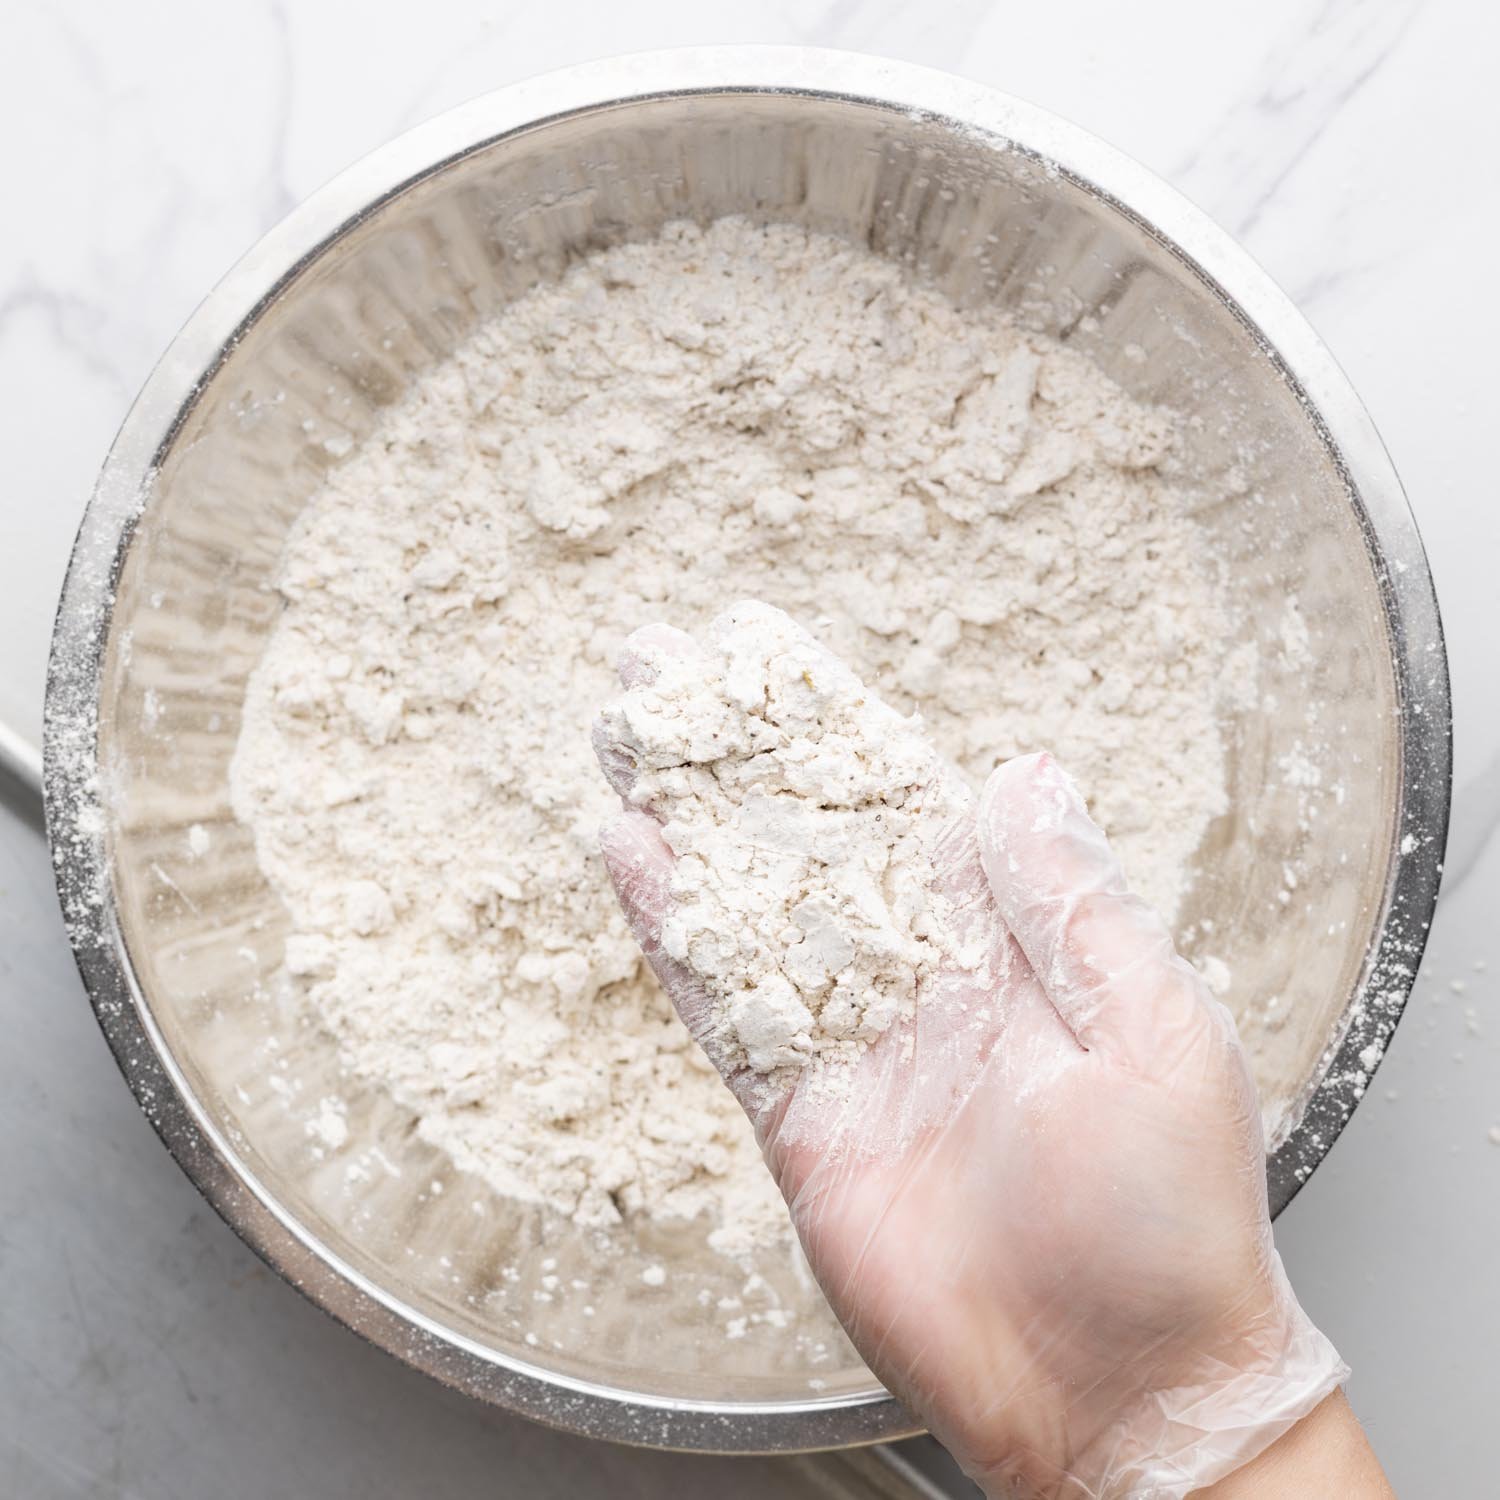
- Make the breading. When you’re ready to fry your chicken, grab a shallow bowl and combine the flour with the baking powder and whisk in the seasonings. Next, add the buttermilk, and using your fingertips, rub the buttermilk into the flour mixture, like the way you would start to make the pastry. This rubbing action will create small clumpy bits in the breading which is exactly what you want!
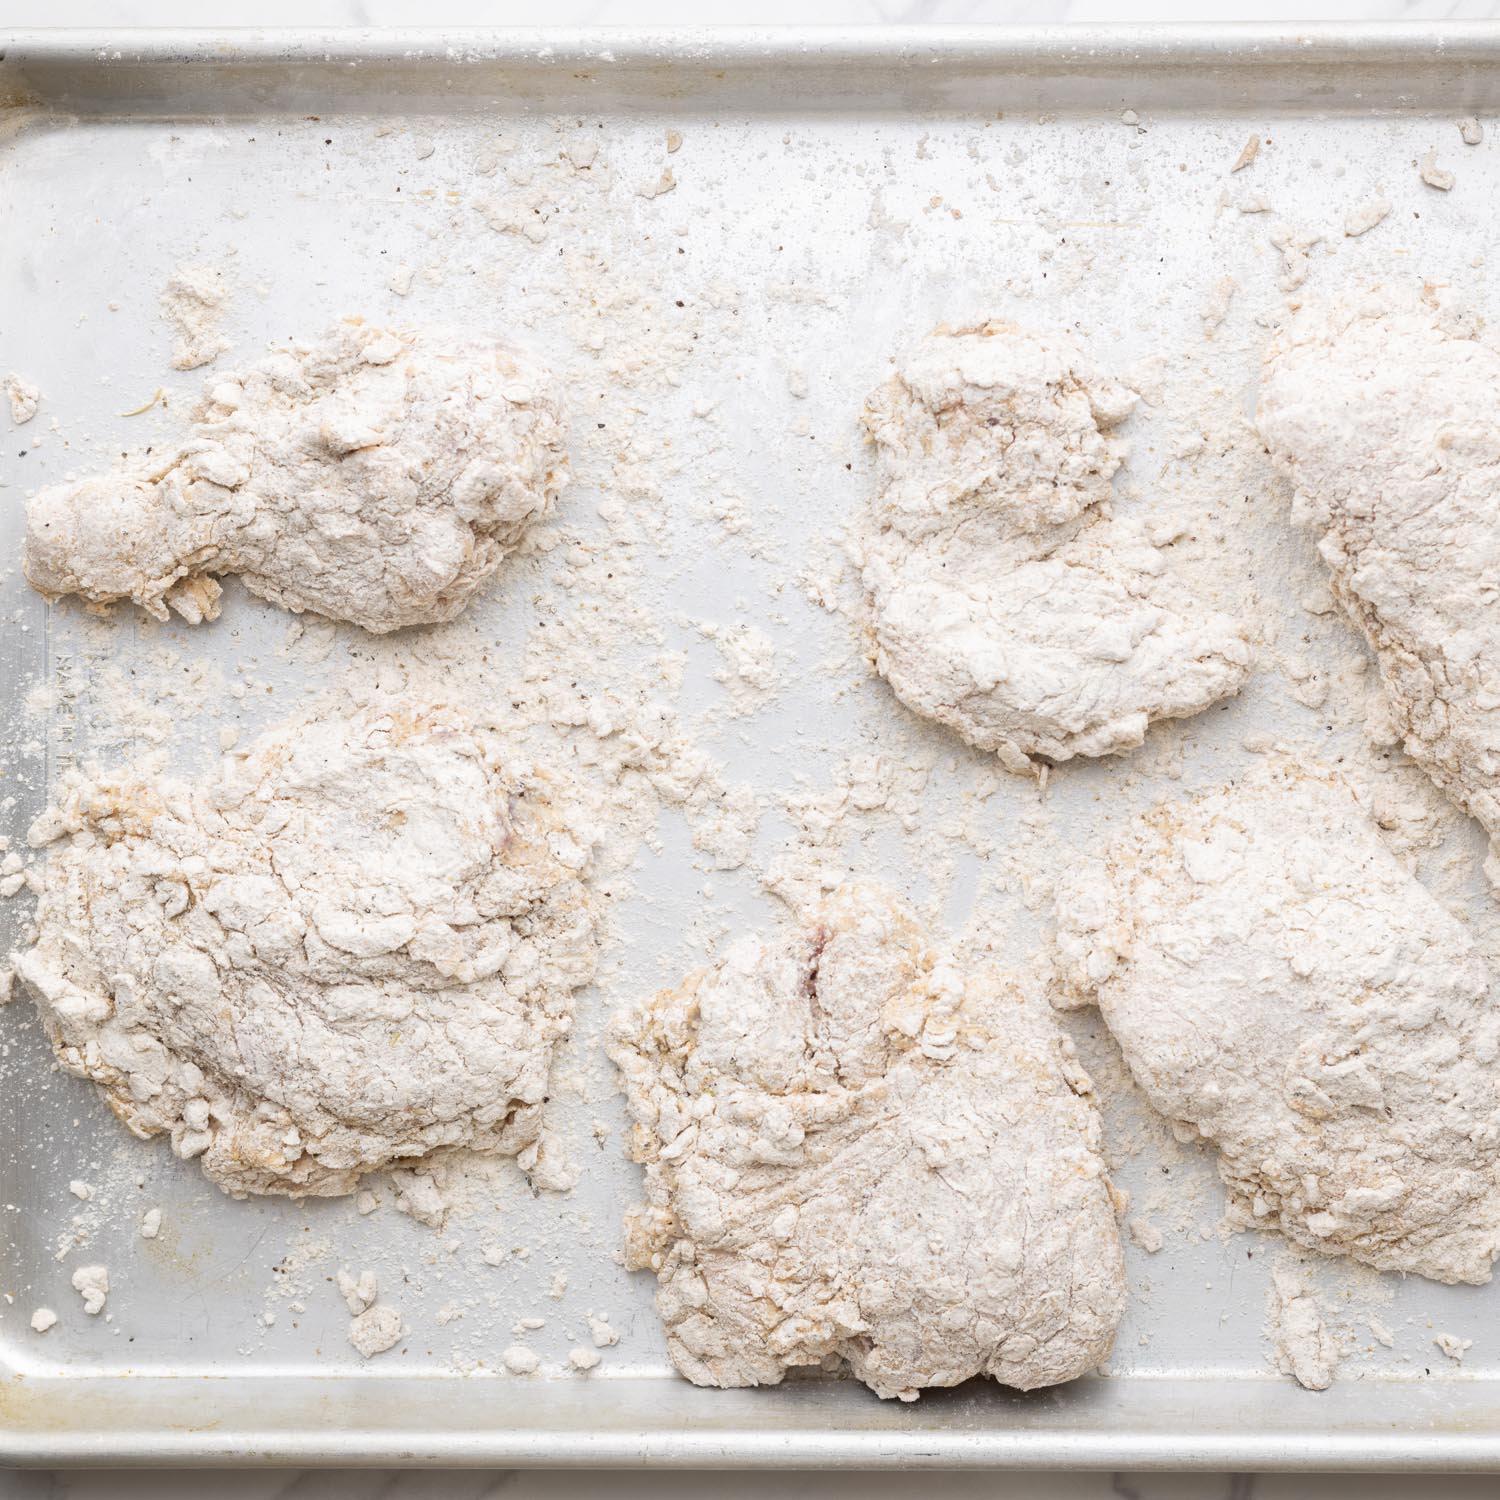
- Bread the chicken. Working with one piece at a time, add the chicken to the breading and cover it completely with the seasoned flour mixture. Then, lightly shake off any excess flour and place each piece on a wire rack.
Tip!
Make sure to press the breading onto the piece as this will really help it to cling to the chicken.
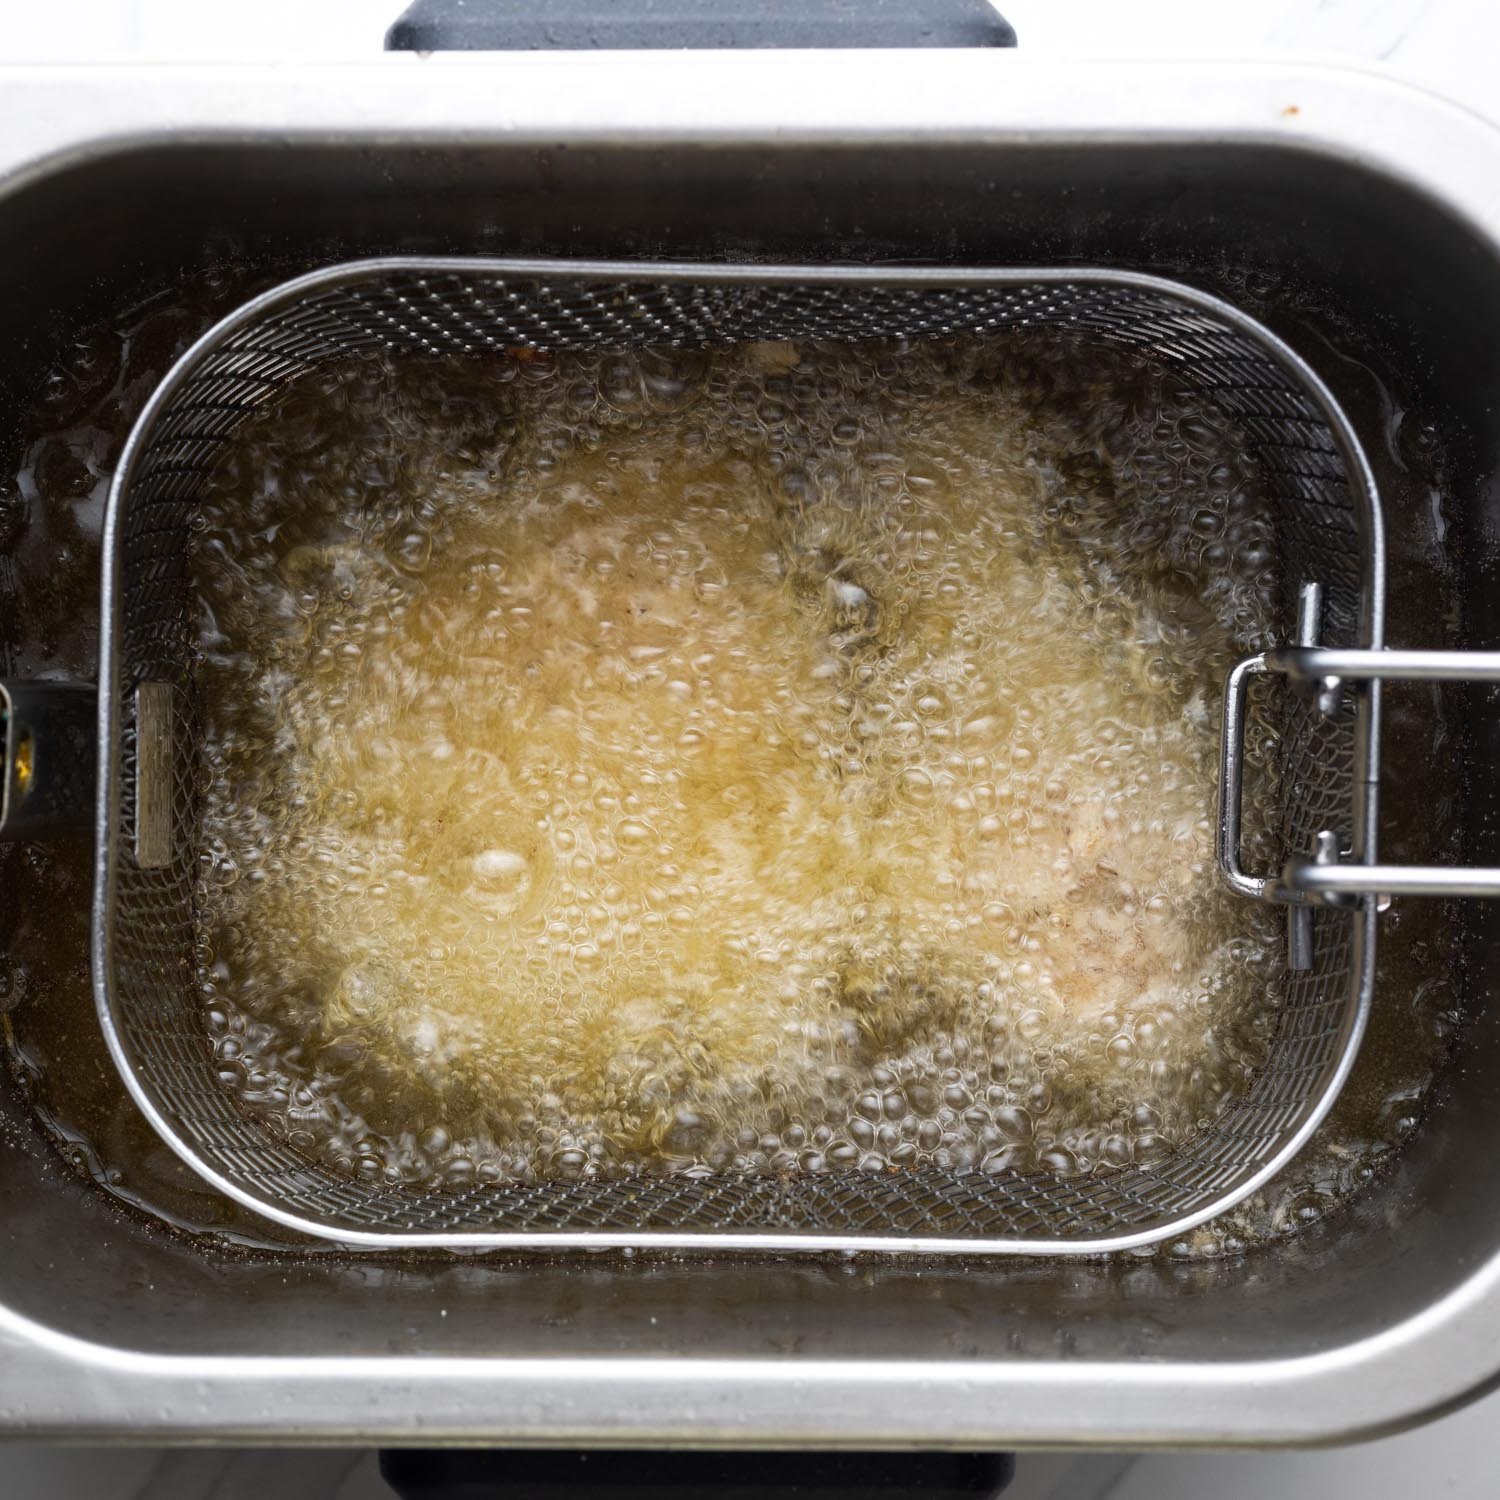
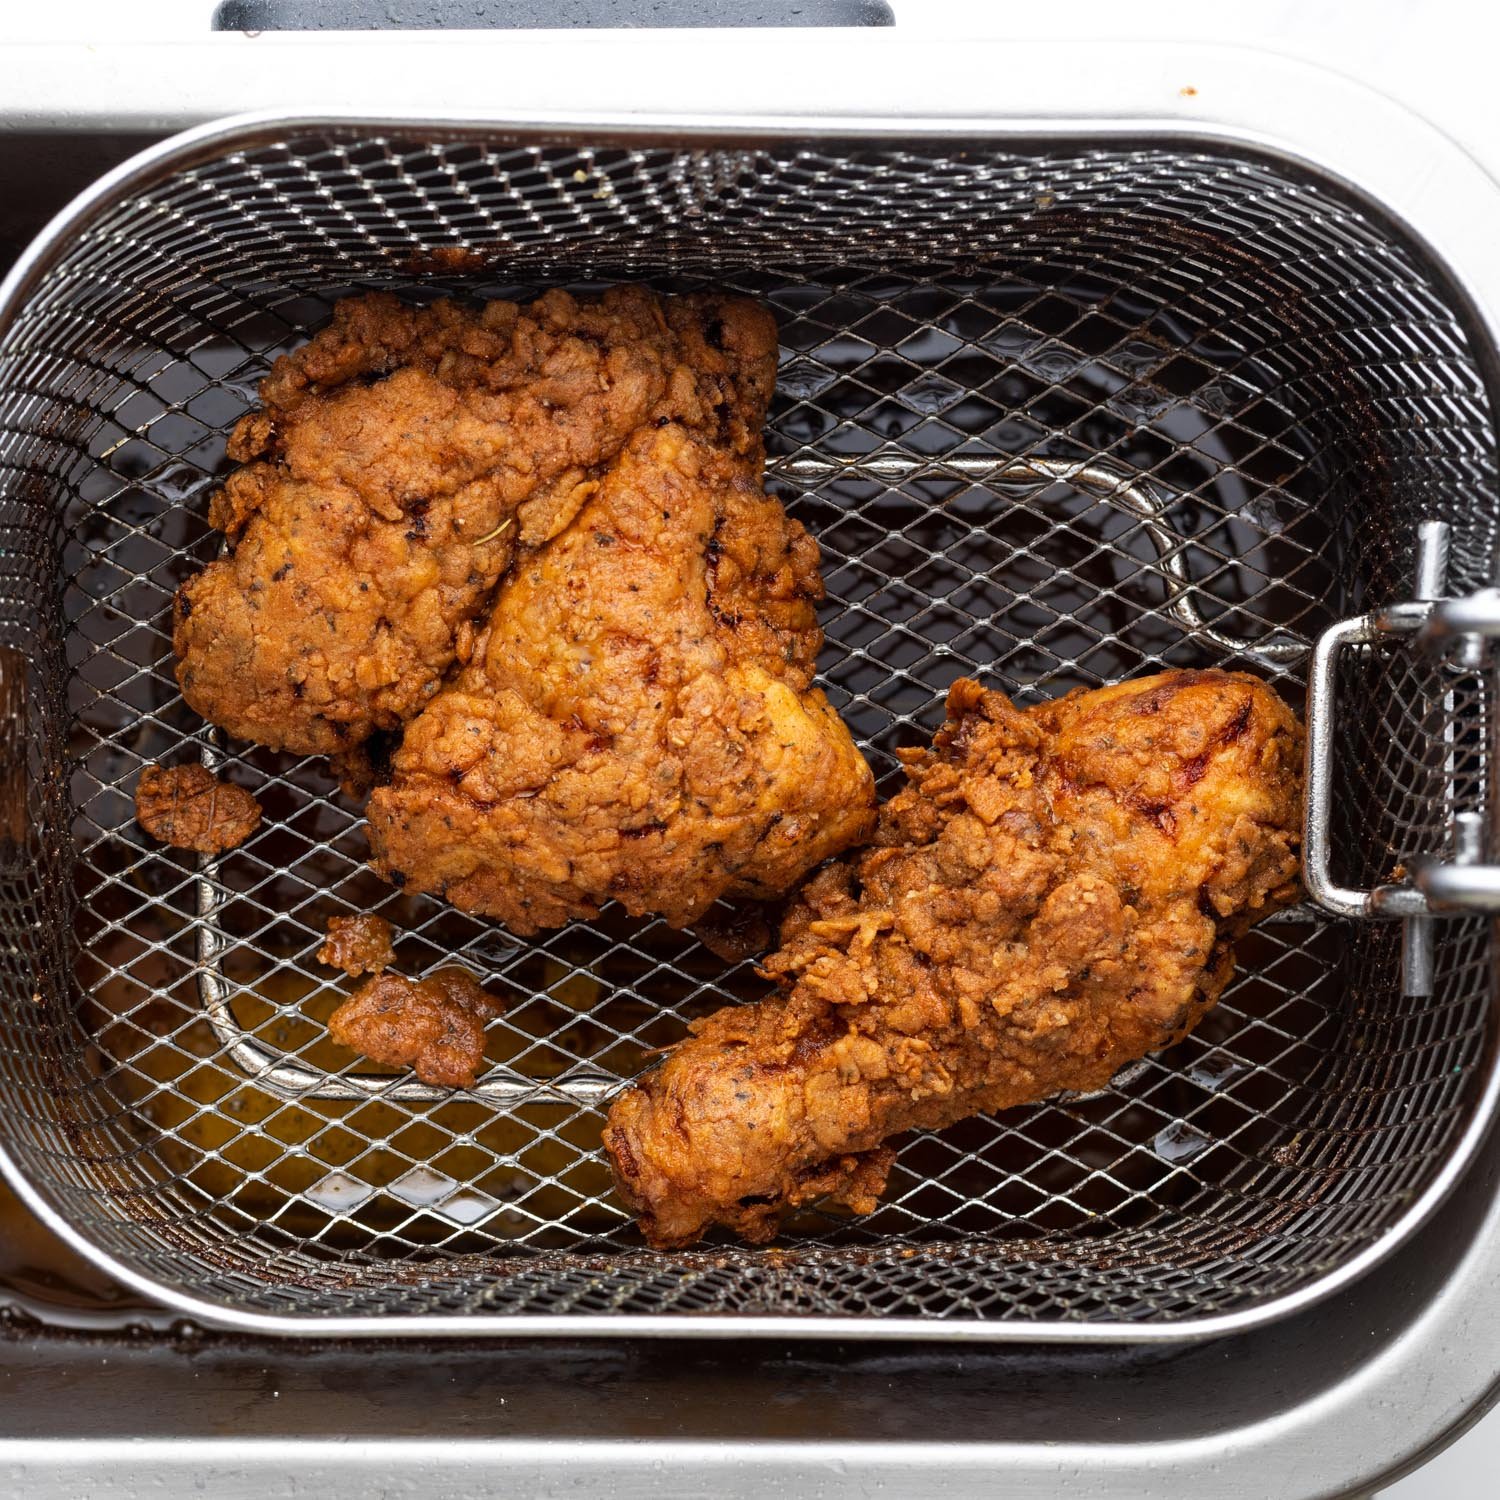
- Fry. You’re now ready for the main event! You can use a Dutch oven or heavy-bottomed pan for frying or a deep fryer like the one I use in the images. I like to use a deep fryer because I find it’s easier to maintain the temperature of the oil. The one I use has been discontinued, but this deep fryer is similar and a great model too.
Pour in about an inch of oil and heat it to 350°F/180°C. Fry 3 – 4 pieces at a time for about 10 minutes covered. The chicken will be done once the internal temperature of the chicken reaches 165°F/74°C.
It’s a good idea to have a kitchen thermometer on hand so you can test the internal temperature. If you want to learn more, check out my tutorial on how to use your kitchen thermometer.
- Serve: Remove the chicken from the oil and place it on the wire rack in the warm oven as you fry the rest of the chicken pieces. I use my spider strainer for this process and it works like a charm! This step will ensure your chicken is kept warm until you’re ready to serve it!
What to Serve with Fried Chicken
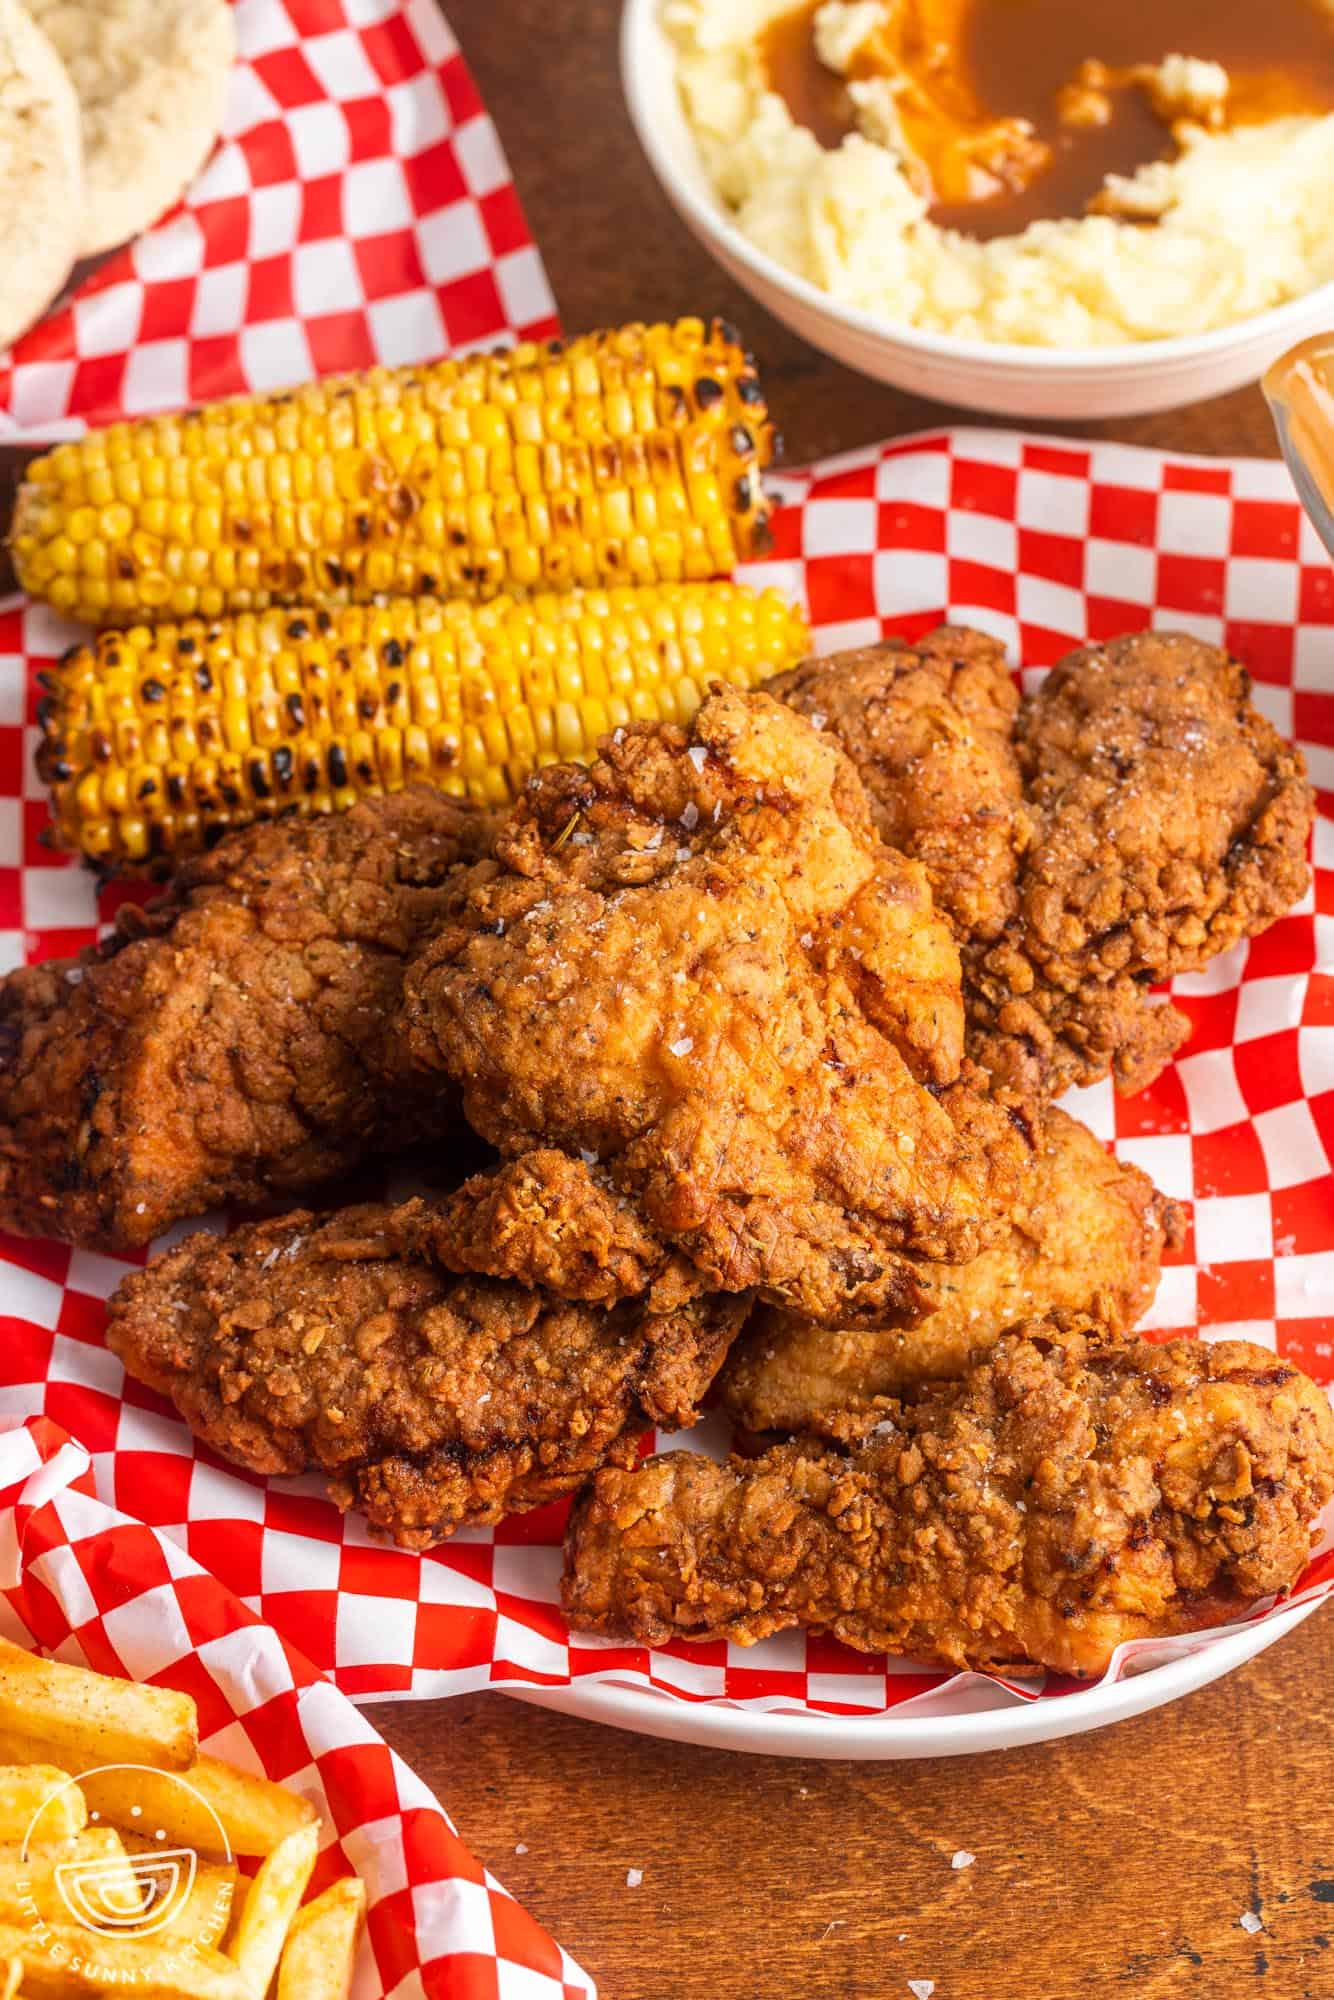
This buttermilk chicken goes well with so many side dishes such as sweet potato cornbread, mashed potatoes, buffalo smashed potatoes, coleslaw, Instant Pot potato salad, 20-minute bread rolls, creamed corn… the list is endless!
For a healthier option for making buttermilk chicken, visit my recipe for Buttermilk Roast Chicken.
Tips for Making the Most Tender Buttermilk Fried Chicken
- Make your own buttermilk. You can usually find buttermilk at most supermarkets along with other dairy products. If you can’t get your hands on some or forgot to pick some up with your last shop, (I’ve been there!), you can easily make your own substitute at home. Add 1 tbsp of lemon juice or vinegar for every 1 cup of milk and let it sit for a few minutes to allow the acid to curdle the milk. The mixture will also thicken. After about 10 minutes, it is ready to use.
- The longer you can marinate the chicken, the better! If you’re short on time, 1 hour will do the trick, but the longer you can leave the chicken in the buttermilk, the more tender the end result will be. You can safely marinate the chicken for up to 24 hours.
- The temperature of the oil is key. You want to make sure you are always frying with hot oil, so you should maintain the temperature of your oil at 300°F throughout the frying process.
Frequently Asked Questions
Marinating the chicken in buttermilk makes the meat juicy and tender, which is so important when frying with medium-high heat. The slight acidity of the buttermilk works to break down the protein in the chicken which helps the meat to become less tough and chewy. The last thing you want is dry stringy chicken!
Make sure you don’t leave any leftover chicken out at room temperature for longer than two hours. Once you’re ready to store the chicken, place it in a shallow airtight container or wrap each piece tightly in plastic wrap and store in the refrigerator for up to 3 days.
I’ve found the best way to reheat the fried chicken, to maintain its crispiness, is in the oven. Take the chicken out of the fridge and then heat your oven to 400°F/200°C. While the oven is heating, place the chicken on a wire rack placed on a baking sheet. There’s no need to cover the chicken. Once the oven has reached the temperature, pop the baking sheet onto the middle rack and let the chicken heat for about 15 minutes. Your chicken should come out crispy and heated throughout.
Even though it might be tempting to use the microwave to reheat your fried chicken, I would advise against it, as you’ll most likely end up with a soggy coating.
Ways to Use Leftover Fried Chicken
- Add shredded fried chicken to a salad.
- Make a creamy chicken salad with mayo, lemon juice, and celery to use in sandwiches.
- Use it in tacos or fajitas.
- Enjoy a Buffalo chicken wrap by saucing the chicken in some hot sauce.
Now that you’ve mastered frying buttermilk chicken, you’re ready for your next BBQ, picnic, or quick weeknight dinner! Save this recipe and pass it on for others to enjoy!
Did you make this? Be sure to leave a review below and tag me on Facebook, Instagram, or Pinterest!
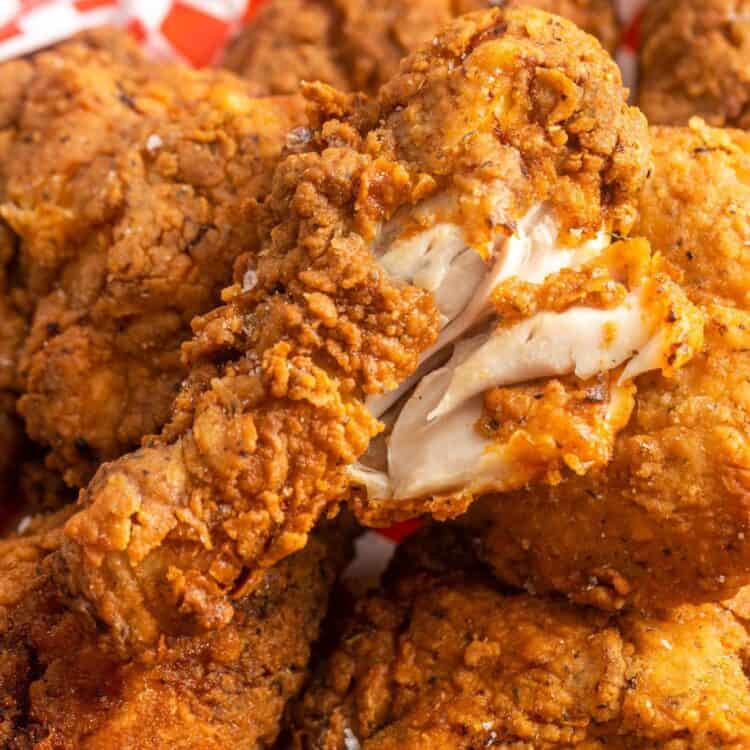
Buttermilk Fried Chicken
Equipment
Ingredients
- 1 3.5-4lb whole chicken cut into 8 pieces
- 2 cups buttermilk
- ½ teaspoon salt
- Oil for frying
Breading:
- 2 ½ cups all purpose flour
- ½ cup cornstarch cornflour in the UK
- 1 tablespoon baking powder
- 1 teaspoon celery salt
- 1 tablespoon garlic powder
- 2 teaspoons onion powder
- 1 teaspoon paprika
- 1 tablespoon ground white pepper
- 1 tablespoon ground black pepper
- 1 teaspoon ground ginger
- 1 tablespoon Italian seasoning
- ½ teaspoon salt
- 6 tablespoons buttermilk
Instructions
- Add the chicken to a gallon sized zip top bag, followed by buttermilk, and salt. Seal the bag letting any excess air out, and move the mixture around so the chicken parts are well coated.
- Marinate in the fridge for up to 24 hours (at least 1 hour).
- To make the breading, in a shallow bowl combine the flour with baking powder and seasonings. Add the buttermilk, and then using your fingers rub the buttermilk with the flour mixture to create small bits.
- Bread the chicken: Add a piece of chicken to the breading at a time, cover it with flour mixture and PRESS (this will help the breading stick). Lightly shake off any excess flour and place on a wire rack.
- To keep the fried chicken warm, preheat the oven to 180°F (80°C).
- In a dutch oven or a heavy bottomed pan (or deep fryer like i used in the images, it’s easier to maintain the temp), heat about an inch of oil to 350°F/180°C.
- Fry 3-4 pieces at a time for about 10 minutes COVERED, the temperature will drop to 300°F/150°C, or until the internal temperature of the chicken reaches 165°F/74°C. You must maintain the 300°F (150°C) temperature throughout the frying process.
- Remove onto a wire rack in a warm oven as you fry the rest of the chicken (to keep the chicken warm). Serve with mashed potatoes, coleslaw, potato salad, bread rolls, corn, etc.
Notes:
- Vegetable, canola, and peanut oils are good options for frying
Nutrition Information
This website provides approximate nutrition information for convenience and as a courtesy only. Nutrition data is gathered primarily from the USDA Food Composition Database, whenever available, or otherwise other online calculators.
© Little Sunny Kitchen

Connie Bronzovich says
Looks great and I cannot wait to try it, which will be soon. Thanks so much 👍 and keep them coming please 🙏 Connie B.
Little Sunny Kitchen says
I certainly will! Thank you so much for the feedback.
D. Smith says
I do not care for deep fried foods unless I can get REAL leaf lard and it’s not available in my area anymore and I refuse to buy that crappy Snowcap junk from the store. Everything at the meat counter is waaaaay too expensive for people like me on a fixed income.
Can I just make this in a regular frying pan or bake it in the oven instead of deep frying? Besides when I was a kid I had a “not great” experience with a deep fryer (as well as a stupid pressure cooker that went bonkers) so I avoid those kinds of “machines”…… ; – )
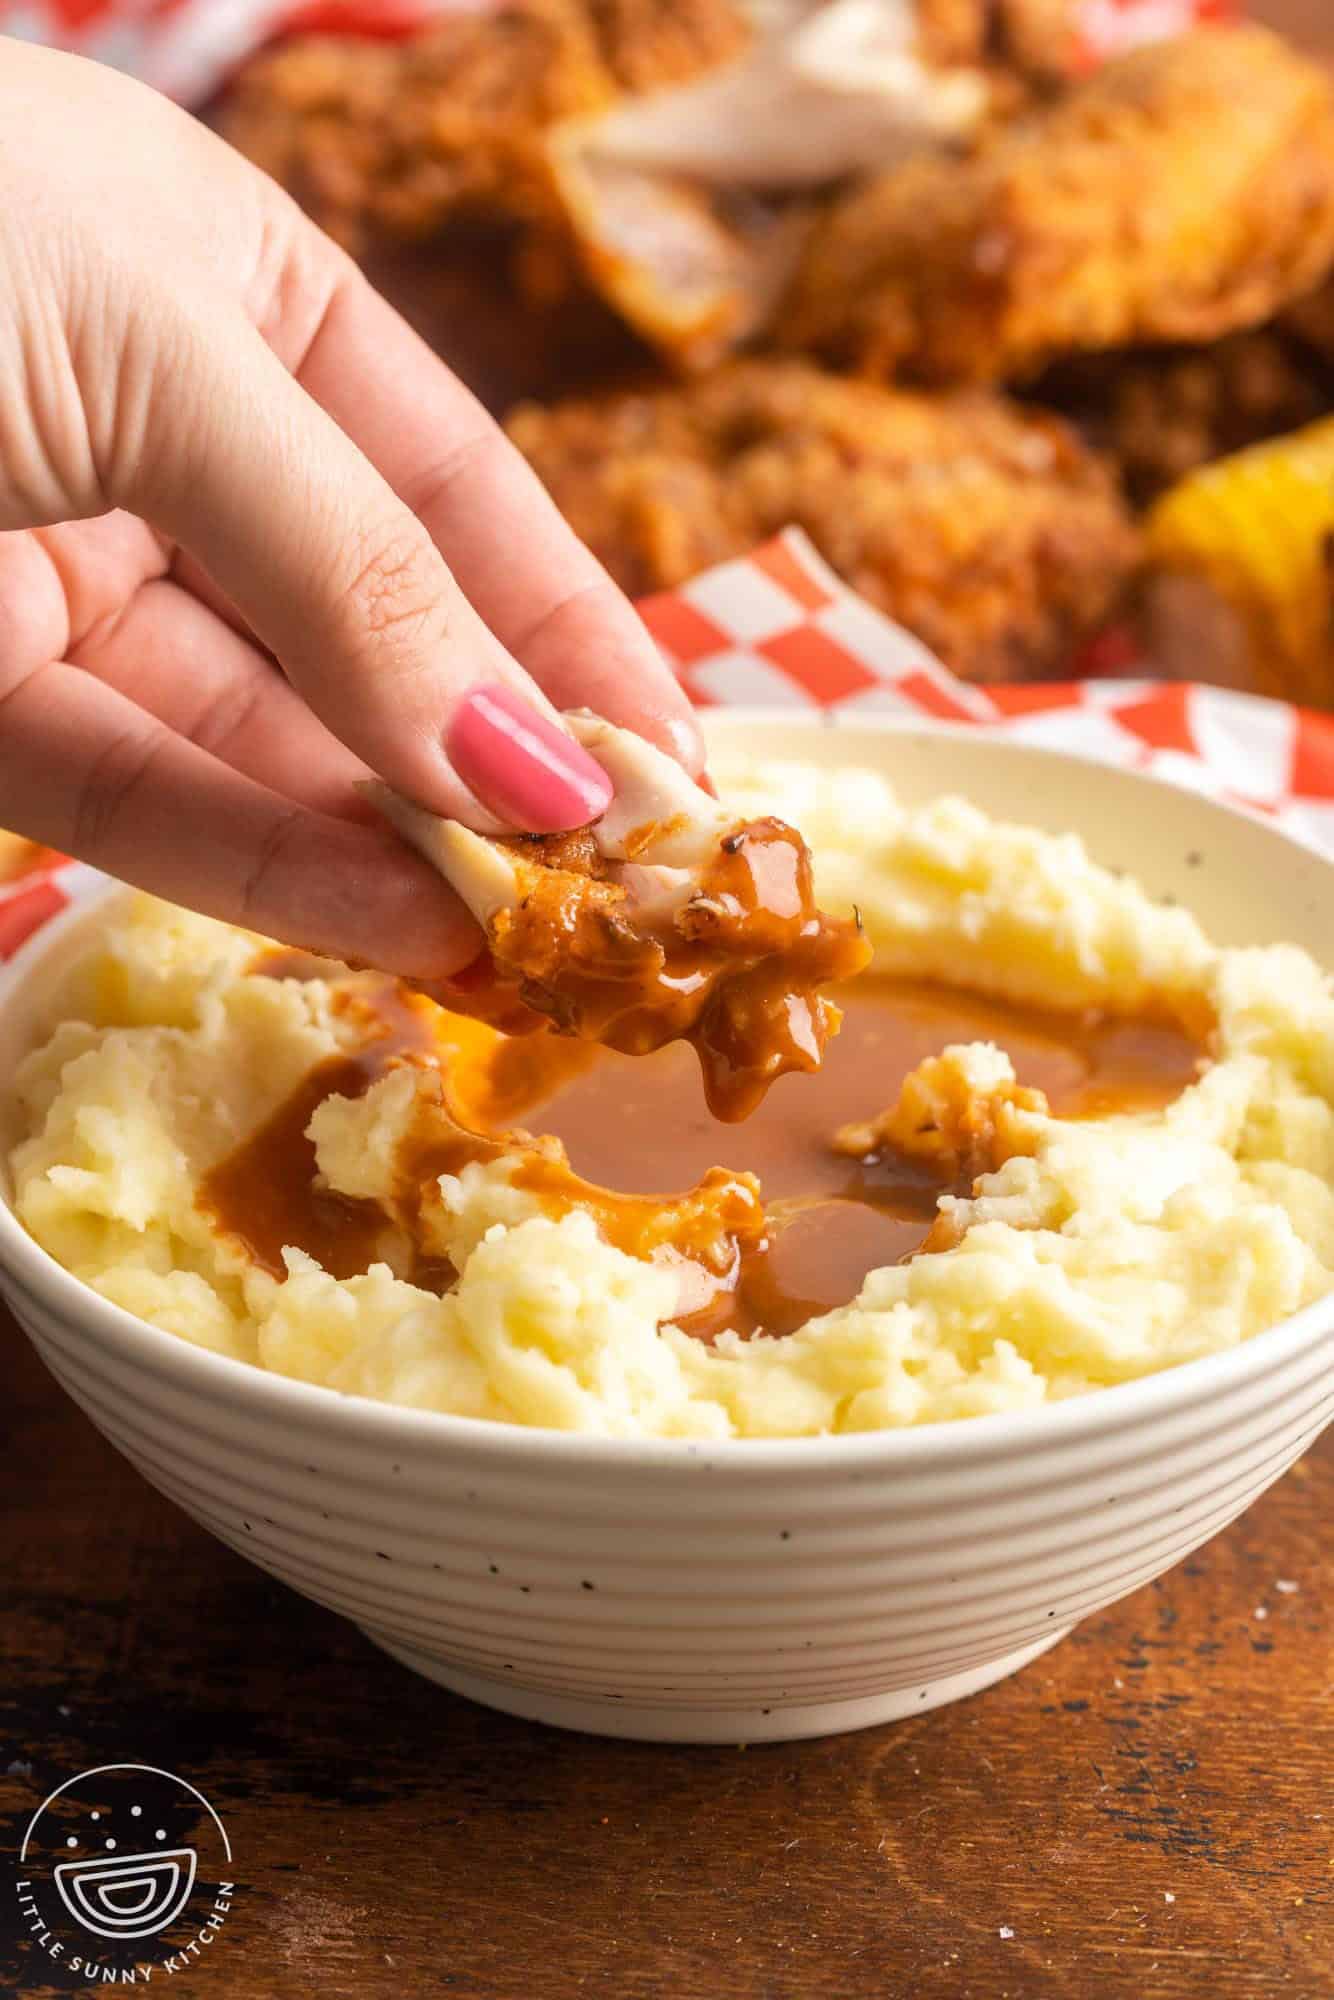
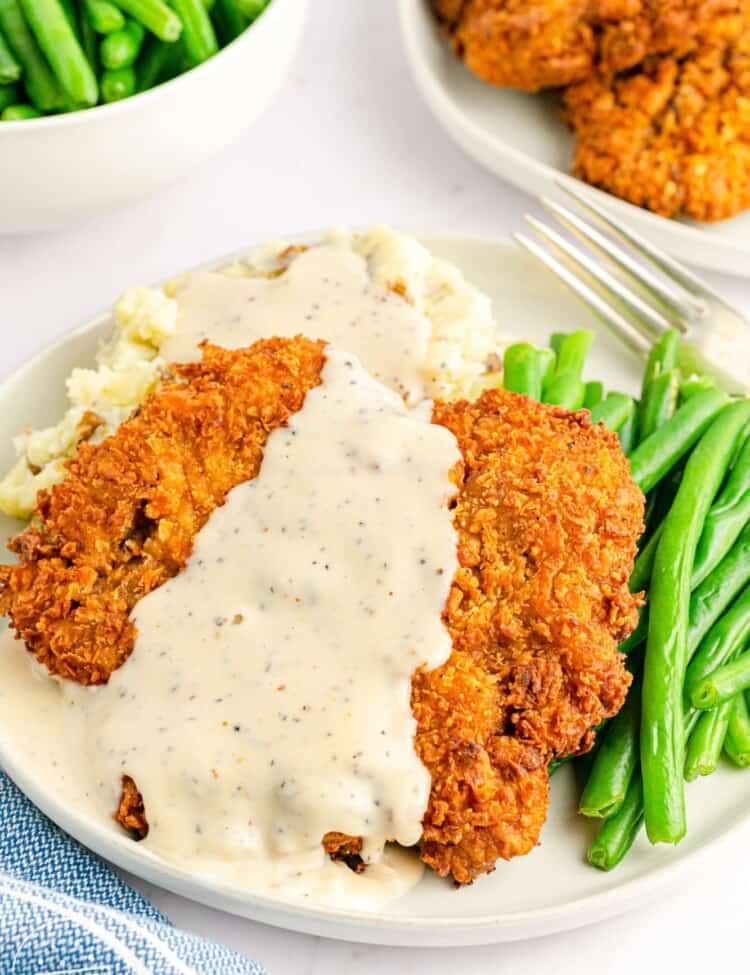
Do you know of a way to make gravy without meat drippings? I saw that photo in your article and now I’m really hungry for mashed potatoes and gravy!
Also I’m wondering if you have a recipe for poor man’s steak? You know, a hamburger pattie fried and then added to a pan of gravy? I don’t want to use a packaged gravy mix if I can make my own. Those packaged mixes have LOTS of chemicals and useless, dangerous stuff in them like MSG, etc.
Little Sunny Kitchen says
You need to cook the chicken in a few inches of oil. I often “deep fry” in my enameled dutch oven. It works great!
For gravy without drippings, try my brown gravy recipe!
And I think you’ll love my hamburger steak recipe too!