
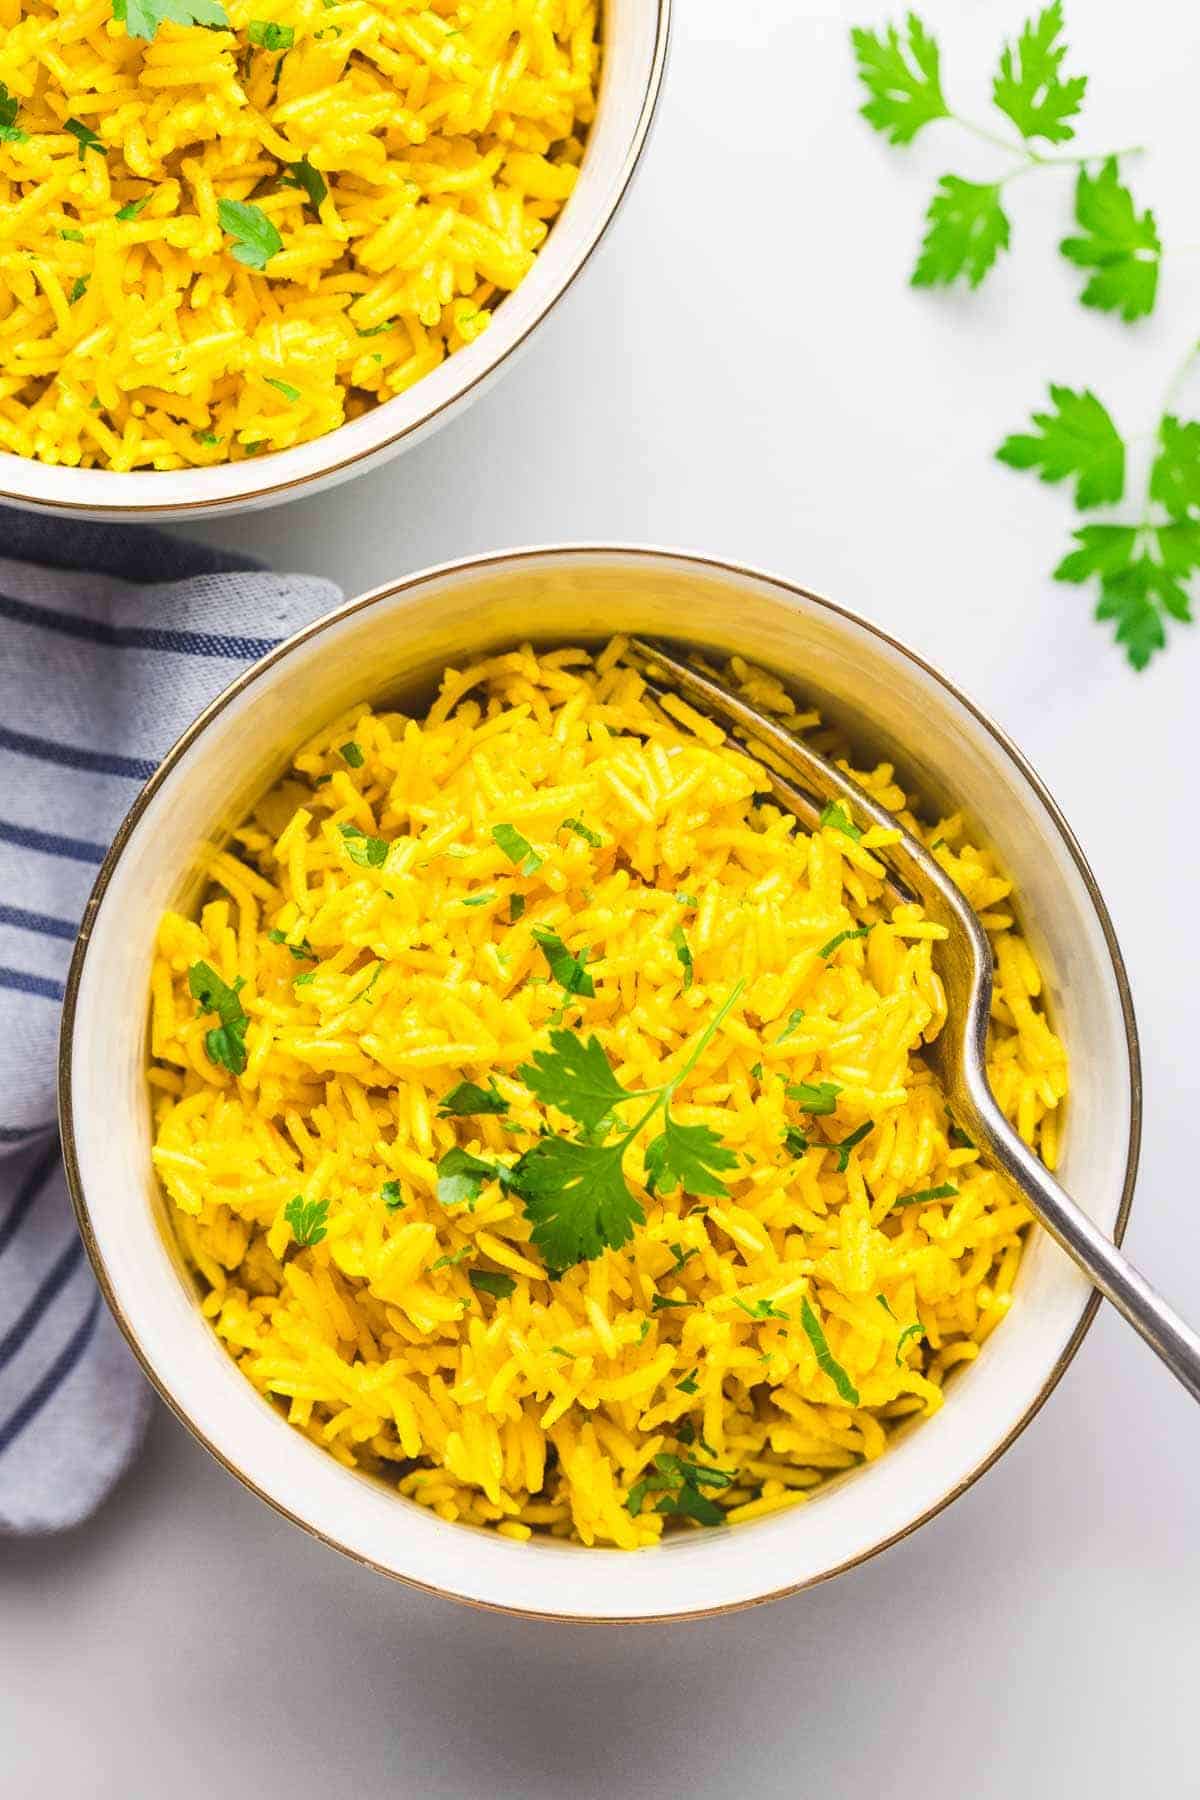
Add color to your meals with this vibrant yellow turmeric rice! It’s easy and quick to make, and goes so well with curries, grilling recipes, and chicken.
A stovetop and Instant Pot methods are included.
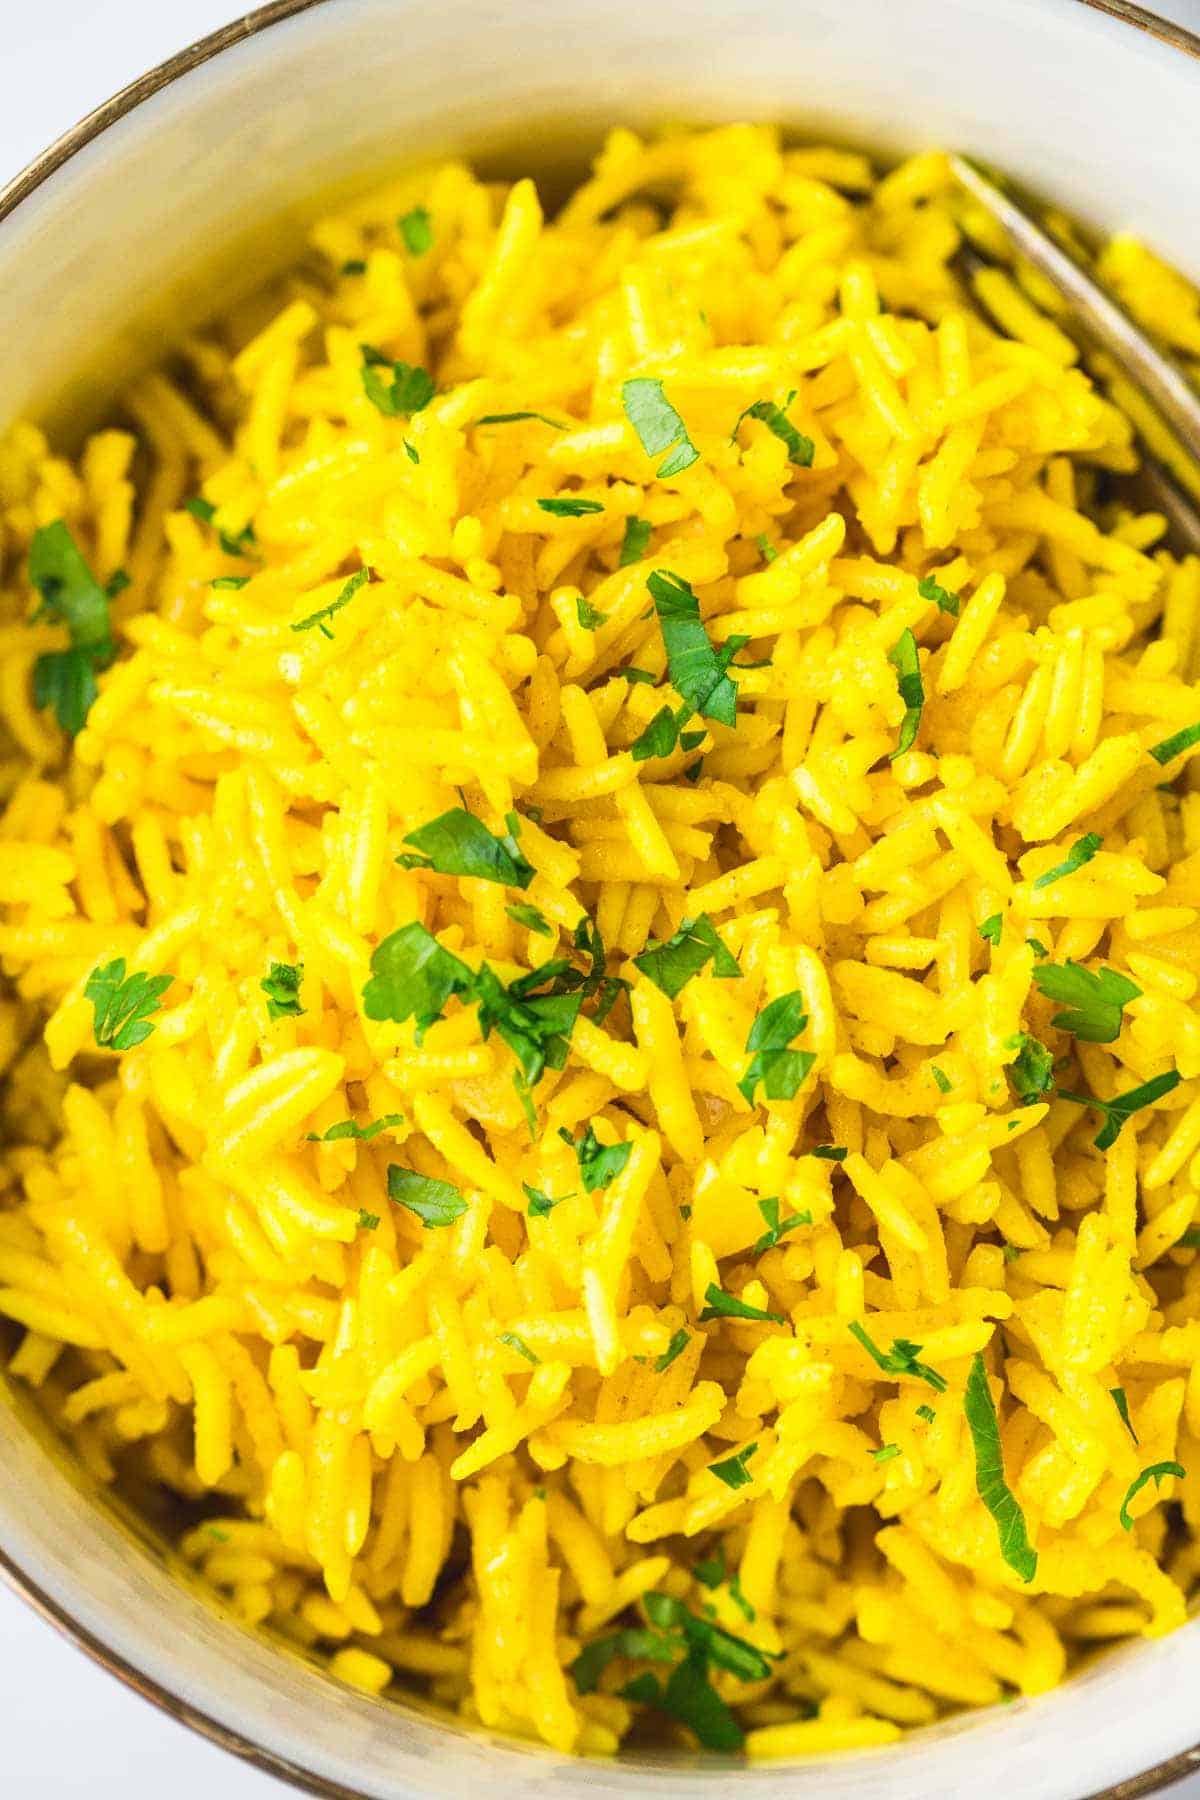
This Mediterranean rice recipe is the best way to add more color and flavor to any meal. I’m a big fan of flavored rice, and make this yellow rice often along with Lebanese vermicelli rice, mushroom rice, and fried rice.
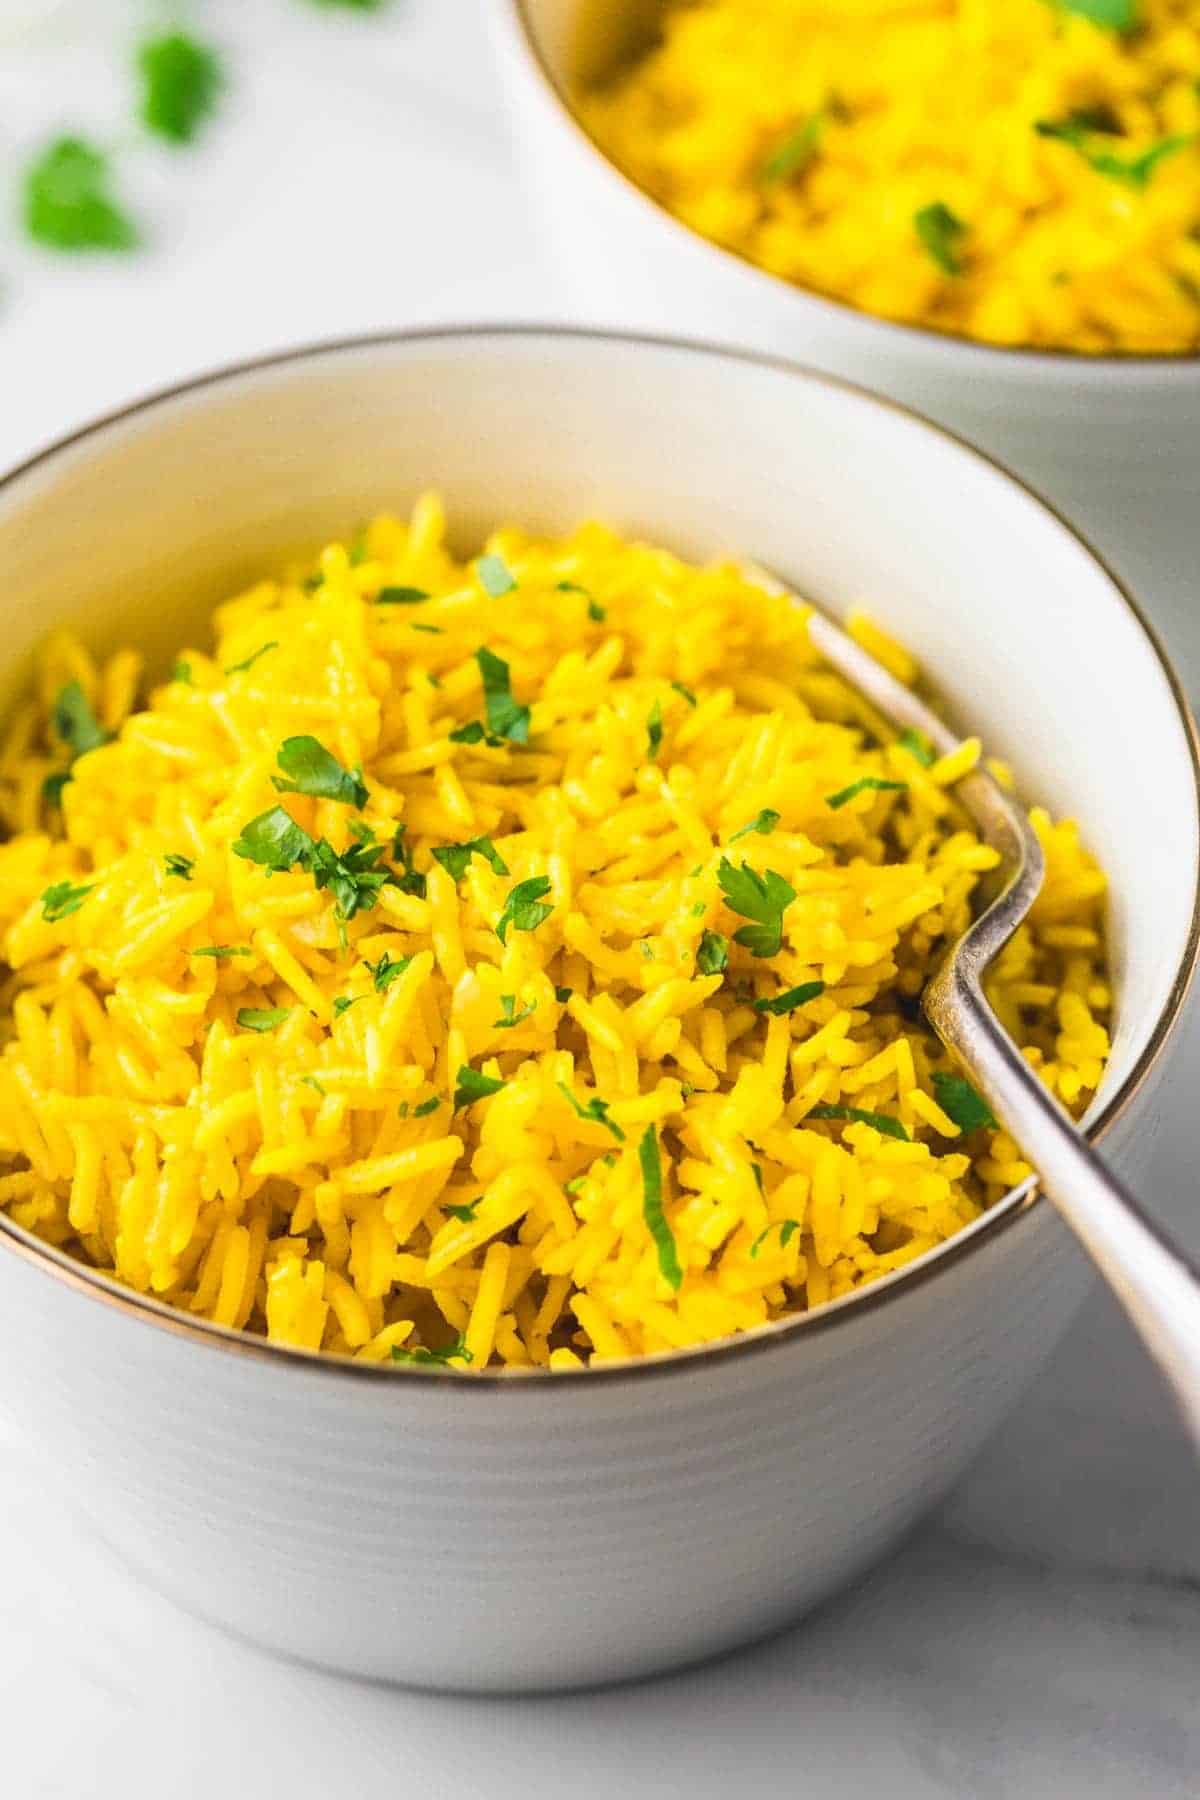
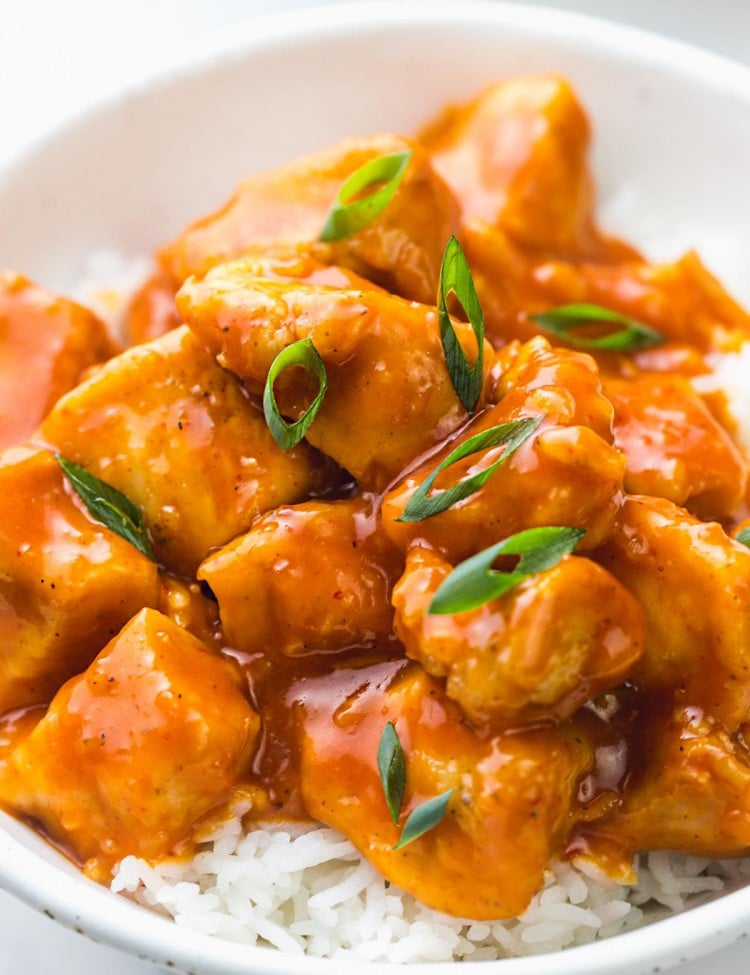
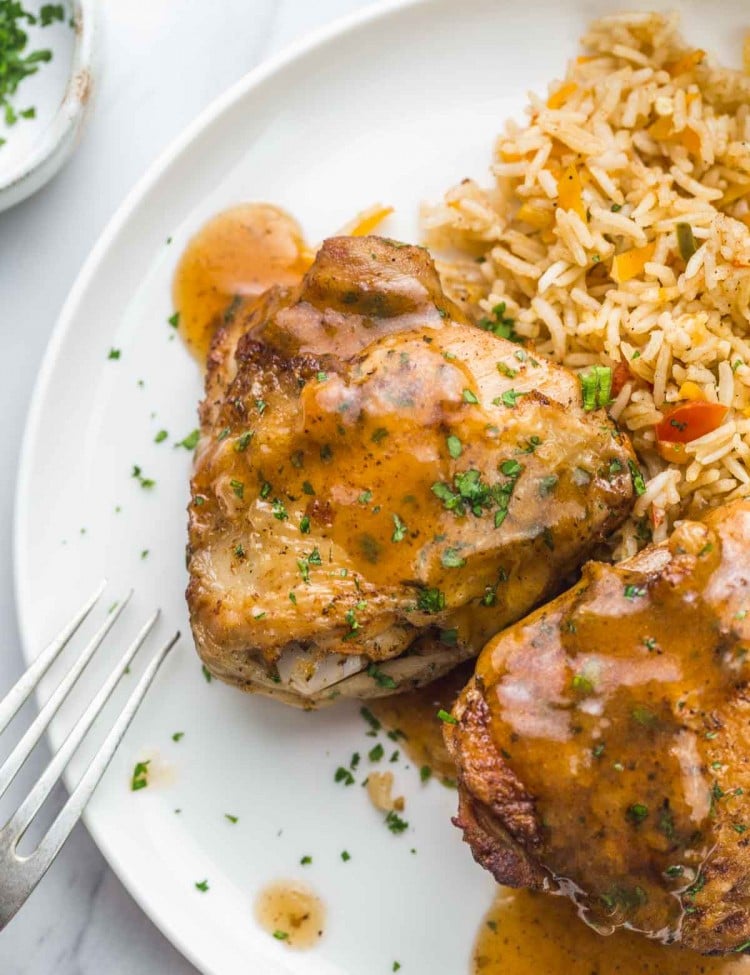
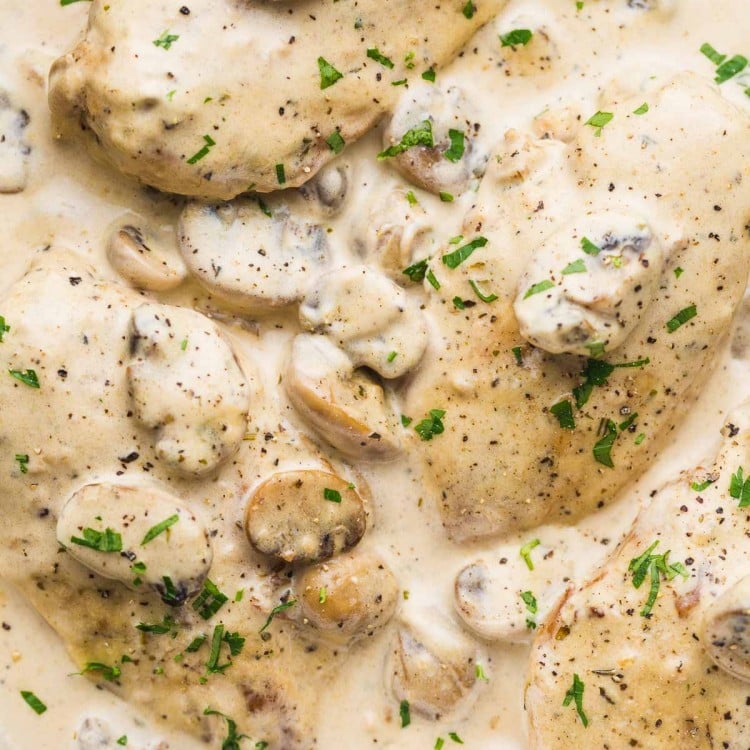
This yellow rice works great as a side that can be served with things like kidney bean curry, sheet pan chicken thighs, and roasted whole chicken.
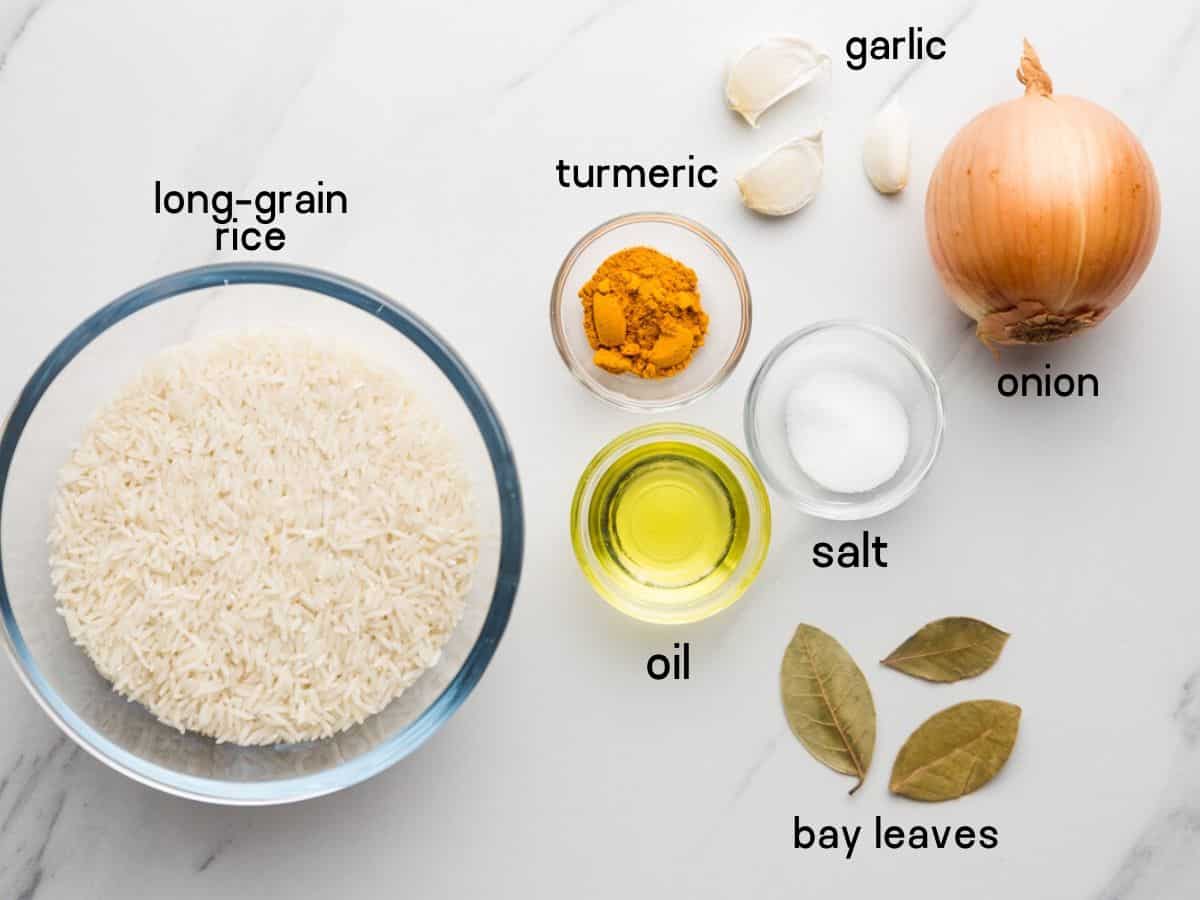
Turmeric Rice Ingredients
What you’ll need:
- Long grain rice – my favorite rice to use to make this yellow rice is basmati rice, but any long-grain rice works.
- Turmeric – I usually go for dried ground turmeric, but if you have fresh turmeric root and would like to use it, then grate it and add it to the rice.
- Onion and garlic for extra flavor (optional).
- Oil, bay leaves, and salt.
Complete list of ingredients and amounts can be found in the recipe card below.
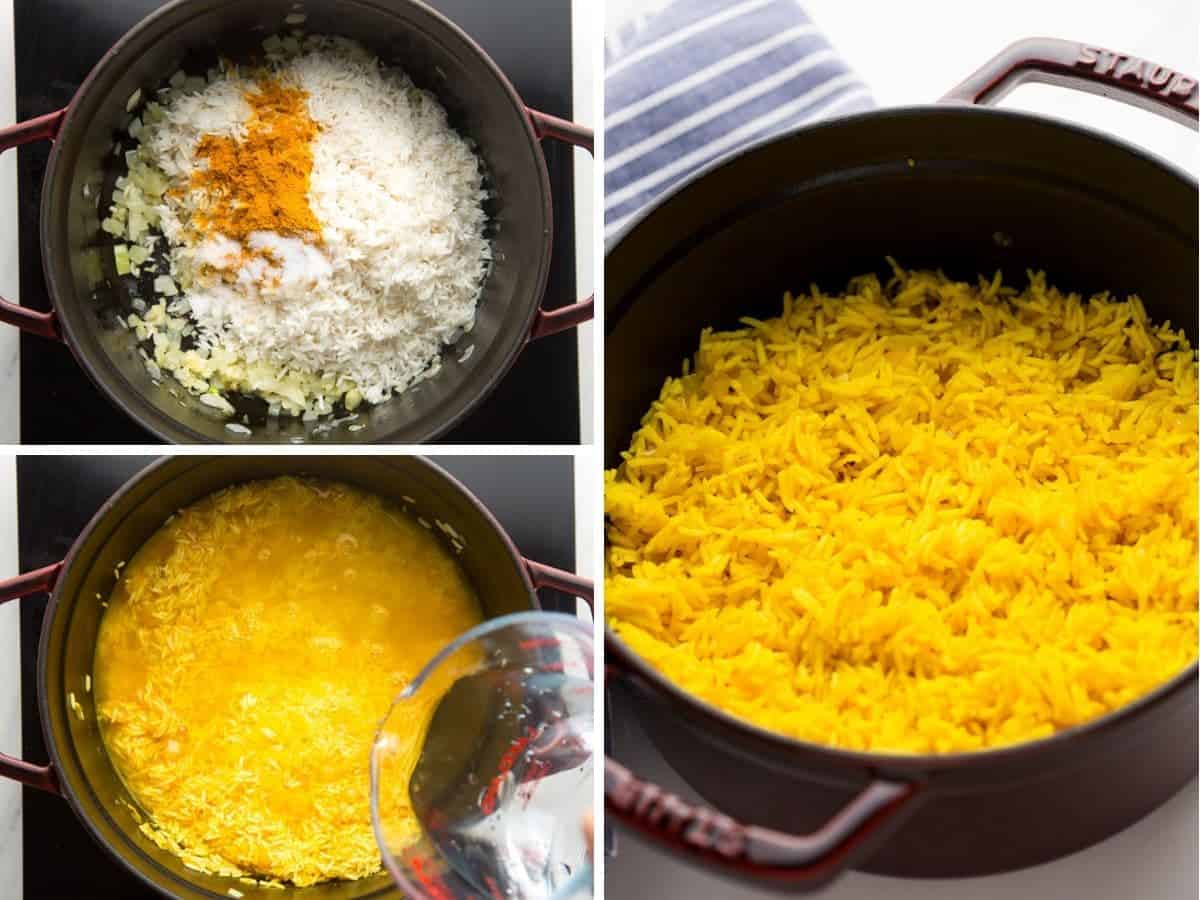
How to Make Turmeric Rice?
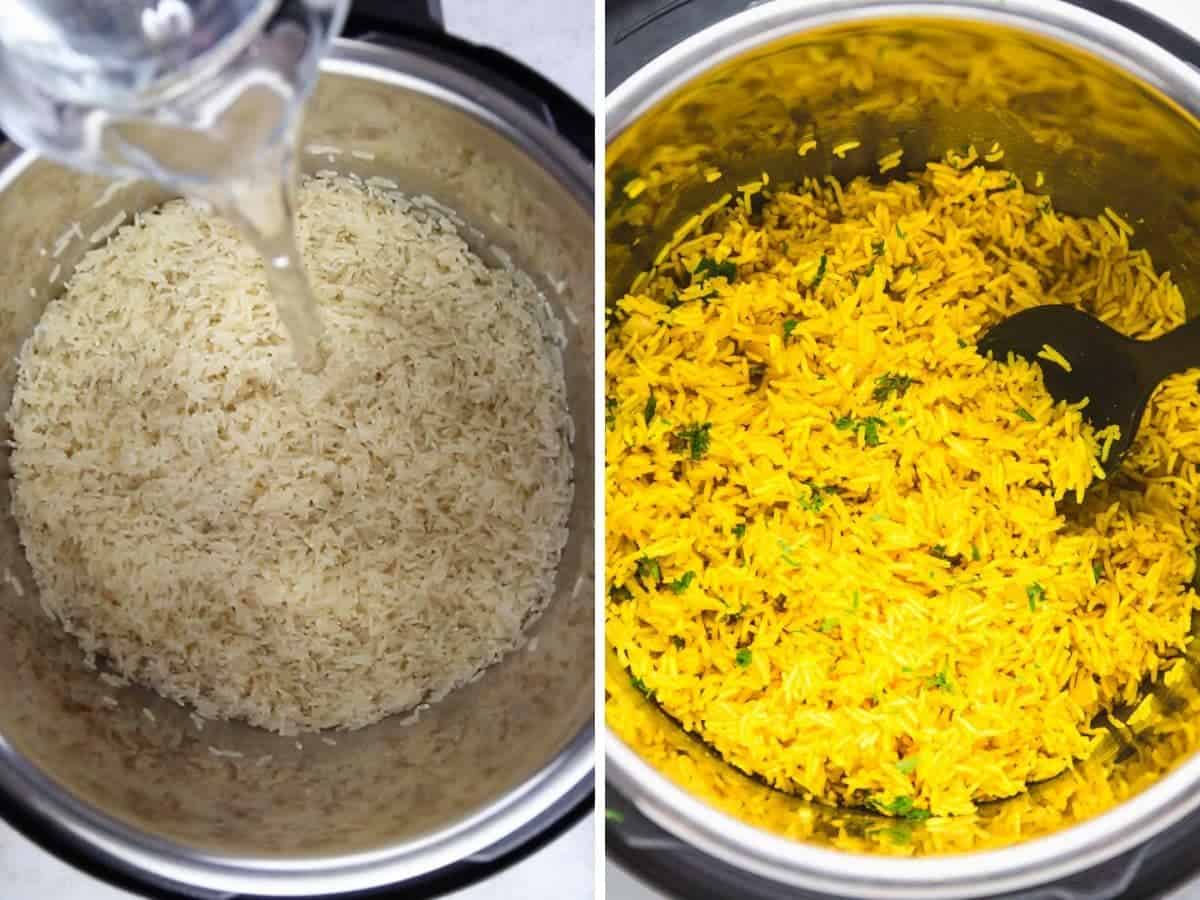
- Start by washing the rice really well until the water runs clear, then soak it for 15 minutes.
- If using onion and garlic, heat olive oil and cook the diced onion until it’s soft and translucent. Add the crushed garlic, and cook until it’s fragrant.
- Drain the rice, and add it to the pot. Add the ground turmeric, salt, and bay leaves, and cover with water or stock so it covers the rice by 1/2 inch.
- Bring to a boil, then lower the heat to the lowest setting possible. Cover, and cook for 10 minutes.
- Remove the pot from heat, and leave it undisturbed for 10 minutes.
- Remove the bay leaves, fluff with a fork, and serve.
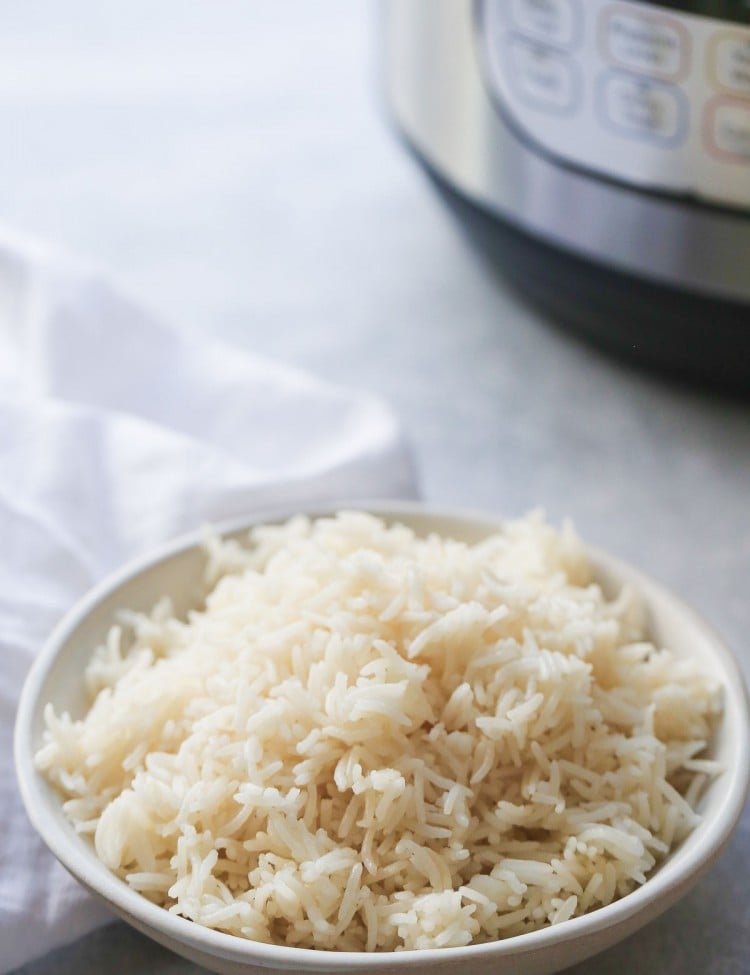
Instant Pot Yellow Rice
You can also make this in the Instant Pot if you prefer.
- Rinse the rice very well under running water until it runs clear. No need to presoak the rice here.
- Press on the SAUTE button, and add the olive oil. When the oil is hot (but not smoking!), saute the diced onion until soft and translucent. Then add the garlic and cook for a minute.
- Add the rice and turmeric, season with salt and cover with water so that it covers the rice by 1/2 inch. Add the bay leaves if using. Secure the lid and set the vent to SEALING. Select the PRESSURE COOK/MANUAL setting and set the cooking time for 4 minutes at high pressure.
- The Instant Pot will come to pressure and start cooking. When the cooking program ends, allow the steam to be naturally released for 10 minutes then release the rest of the steam.
- Remove the lid, then remove the bay leaves and fluff with a fork before serving.
Top Tips
- The key to this recipe is to wash the rice VERY well. You need to get rid of the starch as much as possible.
- Feel free to skip the onion and garlic, if you want a plain version of this yellow rice. Or to add more flavor, you can use vegetable or chicken stock, and add vegetables such as frozen or fresh diced carrots, green beans, and peas.
Storing Instructions
- Fridge: Store the yellow rice in the fridge in an airtight container for up to 4 days.
- Freezer: This rice freezes well in a freezer-safe container for up to 3 months. Reheat in the microwave.
Recommended Tools
- If making the Instant Pot version, then check out my Instant Pot. This is the one that I own and love!
- This is the cast-iron casserole pot that I use all the time.
- Garlic press. A kitchen essential.
- Sharp knife. This is the knife that I use all the time, a sharp knife is so important and if you want to invest in a new knife then a high-quality chef knife is what I recommend. This one is also currently on sale and well worth the money.
- Heat resistant spatula. This is the one that I use to scramble the eggs and fry the rice.
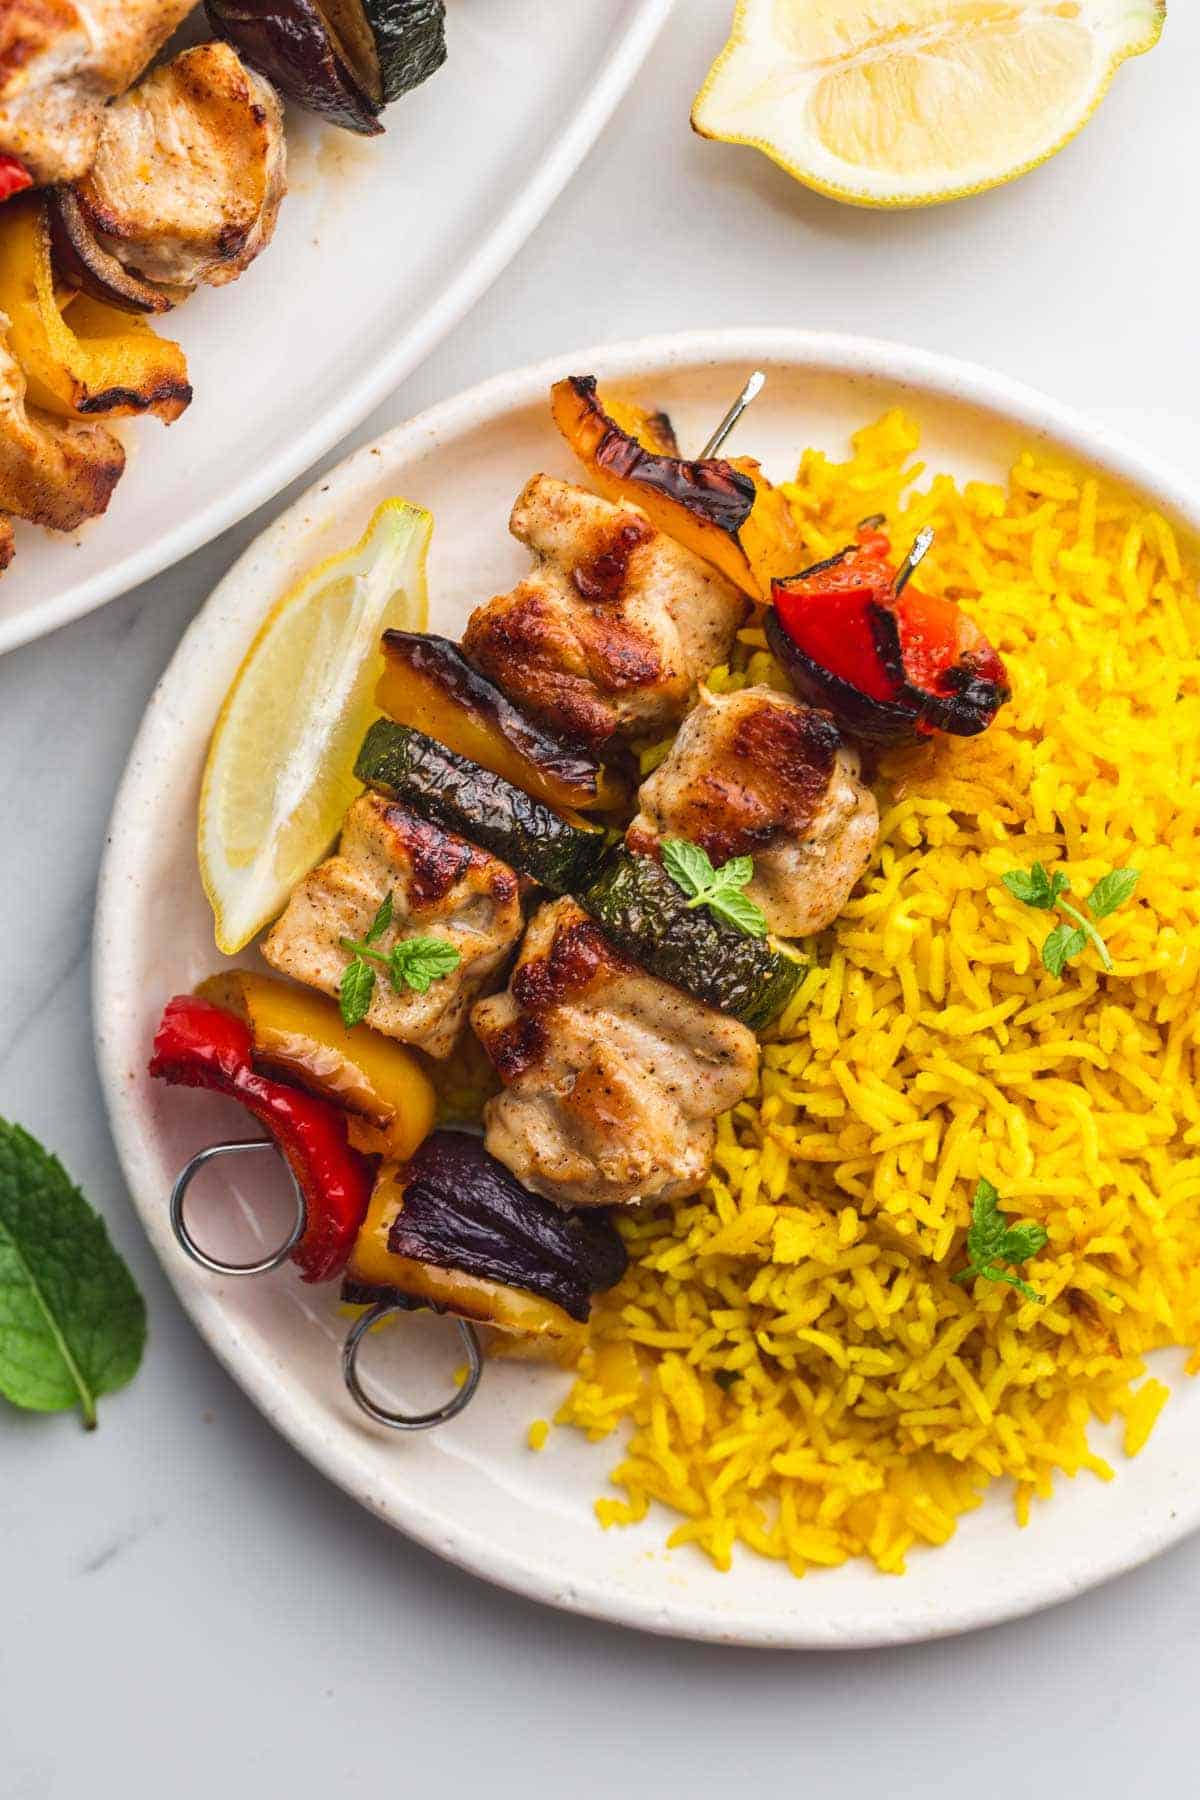
Serve this rice with grilling recipes, such as these delicious grilled chicken kabobs!
Did you make this? Be sure to leave a review below and tag me on Facebook, Instagram, or Pinterest!

Turmeric Rice
Recipe Video
Ingredients
- 1 tablespoon olive oil
- 1 onion diced
- 3 cloves garlic crushed
- 1½ cups long-grain rice I use basmati
- 1½ teaspoon ground turmeric
- 1 teaspoon salt
- water to cover the rice by ½ inch
- 2 small bay leaves optional
Instructions
Stovetop method:
- Properly wash the rice under running water until the water runs CLEAR to get rid of the starch, and then soak it in cold water for 15 minutes.
- Heat the olive oil on medium heat in a pot, when the oil is hot (but not smoking!) saute the diced onion until soft and translucent. Then add the garlic and cook for a minute.
- Add the rinsed, soaked, and drained rice, salt, and turmeric, mix and cover with water. You want the water to cover the rice by 1/2 inch or 1cm. Add the bay leaves if using.
- Bring the water to a boil, then lower the heat down to the lowest setting possible, cover with the lid and set your timer to "10 minutes".
- After 10 minutes, remove the pot from heat but don't remove the lid. Leave the pot undisturbed for 10 minutes. Remove the lid, and fluff the rice with a fork.
Instant Pot method:
- Rinse the rice very well under running water until it runs clear. No need to presoak the rice here.
- Press on the SAUTE button, and add the olive oil. When the oil is hot (but not smoking!), saute the diced onion until soft and translucent. Then add the garlic and cook for a minute.
- Add the rice and turmeric, season with salt and cover with water so that it covers the rice by 1/2 inch. Add the bay leaves if using. Secure the lid and set the vent to SEALING. Select the PRESSURE COOK/MANUAL setting and set the cooking time for 4 minutes at high pressure.
- The Instant Pot will come to pressure and start cooking. When the cooking program ends, allow the steam to be naturally released for 10 minutes then release the rest of the steam. Remove the lid and fluff with a fork before serving.
Notes:
- The key to this recipe is to wash the rice VERY well. You need to get rid of the starch as much as possible.
- Feel free to skip the onion and garlic, if you want a plain version of this yellow rice. Or to add more flavor, you can use vegetable or chicken stock, and add vegetables such as frozen or fresh diced carrots, green beans, and peas.
- Store the yellow rice in the fridge in an airtight container for up to 4 days.
- This rice freezes well in a freezer-safe container for up to 3 months. Reheat in the microwave.
- If you’re cooking turmeric rice in the Instant Pot, you don’t need to presoak it.
Nutrition Information
This website provides approximate nutrition information for convenience and as a courtesy only. Nutrition data is gathered primarily from the USDA Food Composition Database, whenever available, or otherwise other online calculators.
© Little Sunny Kitchen


Amanda says
Mine turned out mushy and wet. An exact amount of water to be placed on the rice, would be helpful!
Bec Brydon says
I’ve never cooked rice before and this recipe was easy to follow and super yummy.
Diana says
I’m so glad to hear that you found the turmeric rice recipe easy to follow and yummy, especially since it was your first time cooking rice!
jscsaj6 says
I made the pressure cooker version. The rice came out beautifully. The taste was so good and it was nice and fluffy.
Susan Yeates says
All I can say is….beautiful!
Joanne says
Loved it!