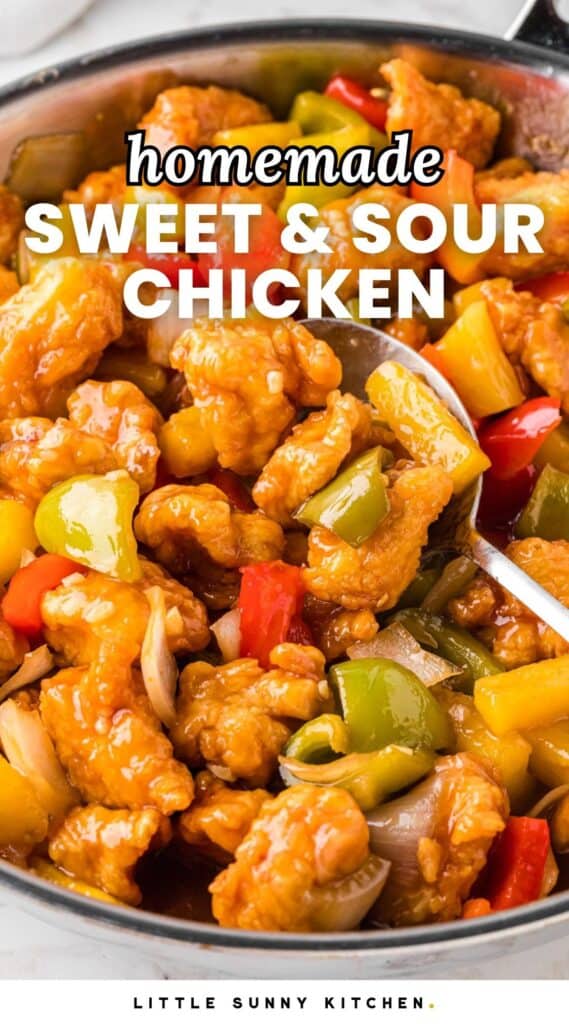
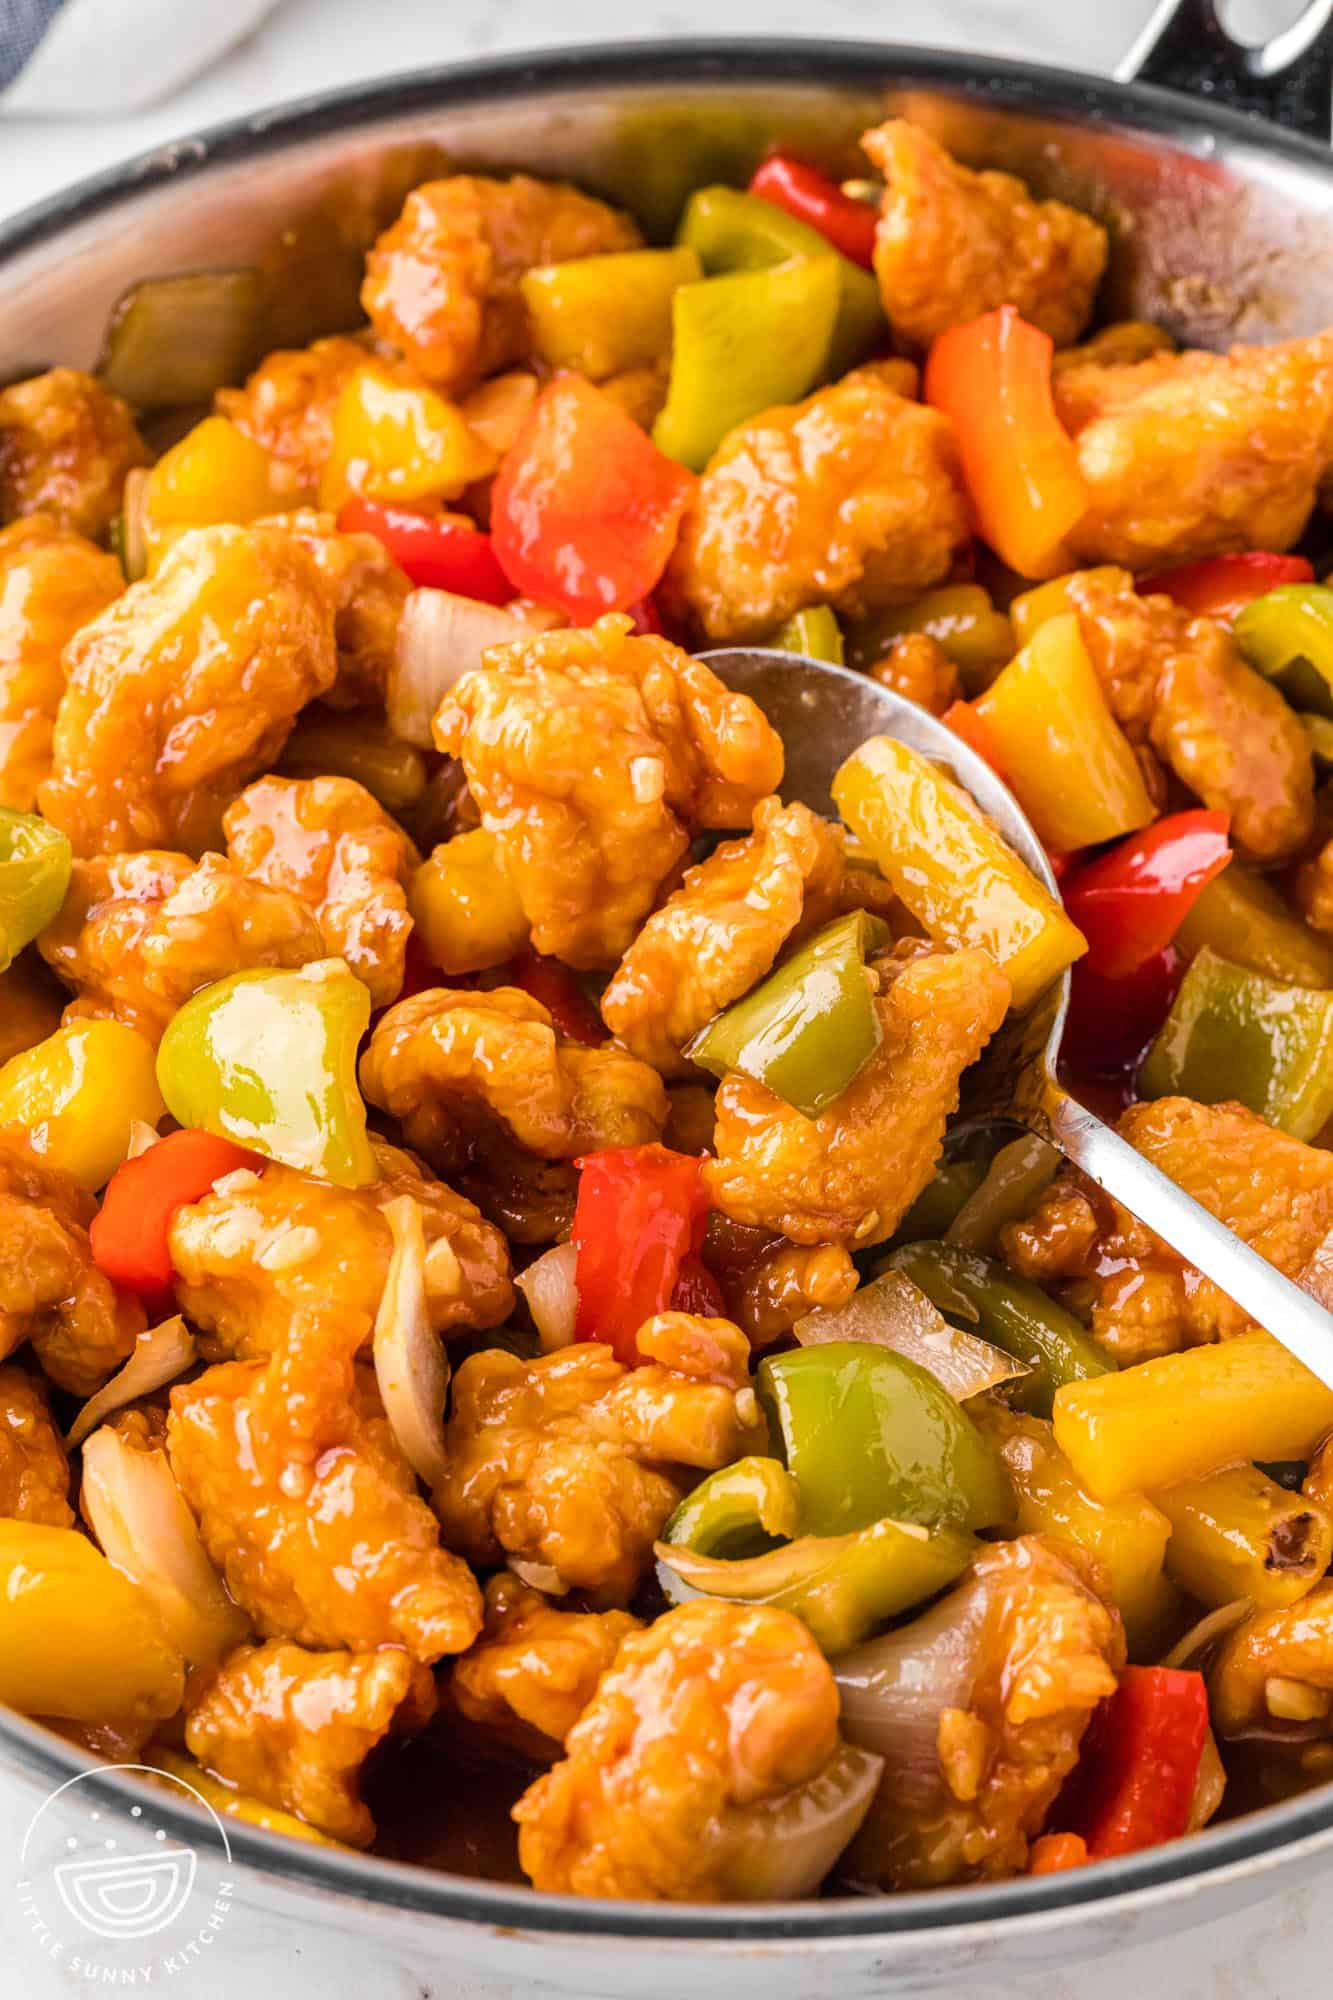
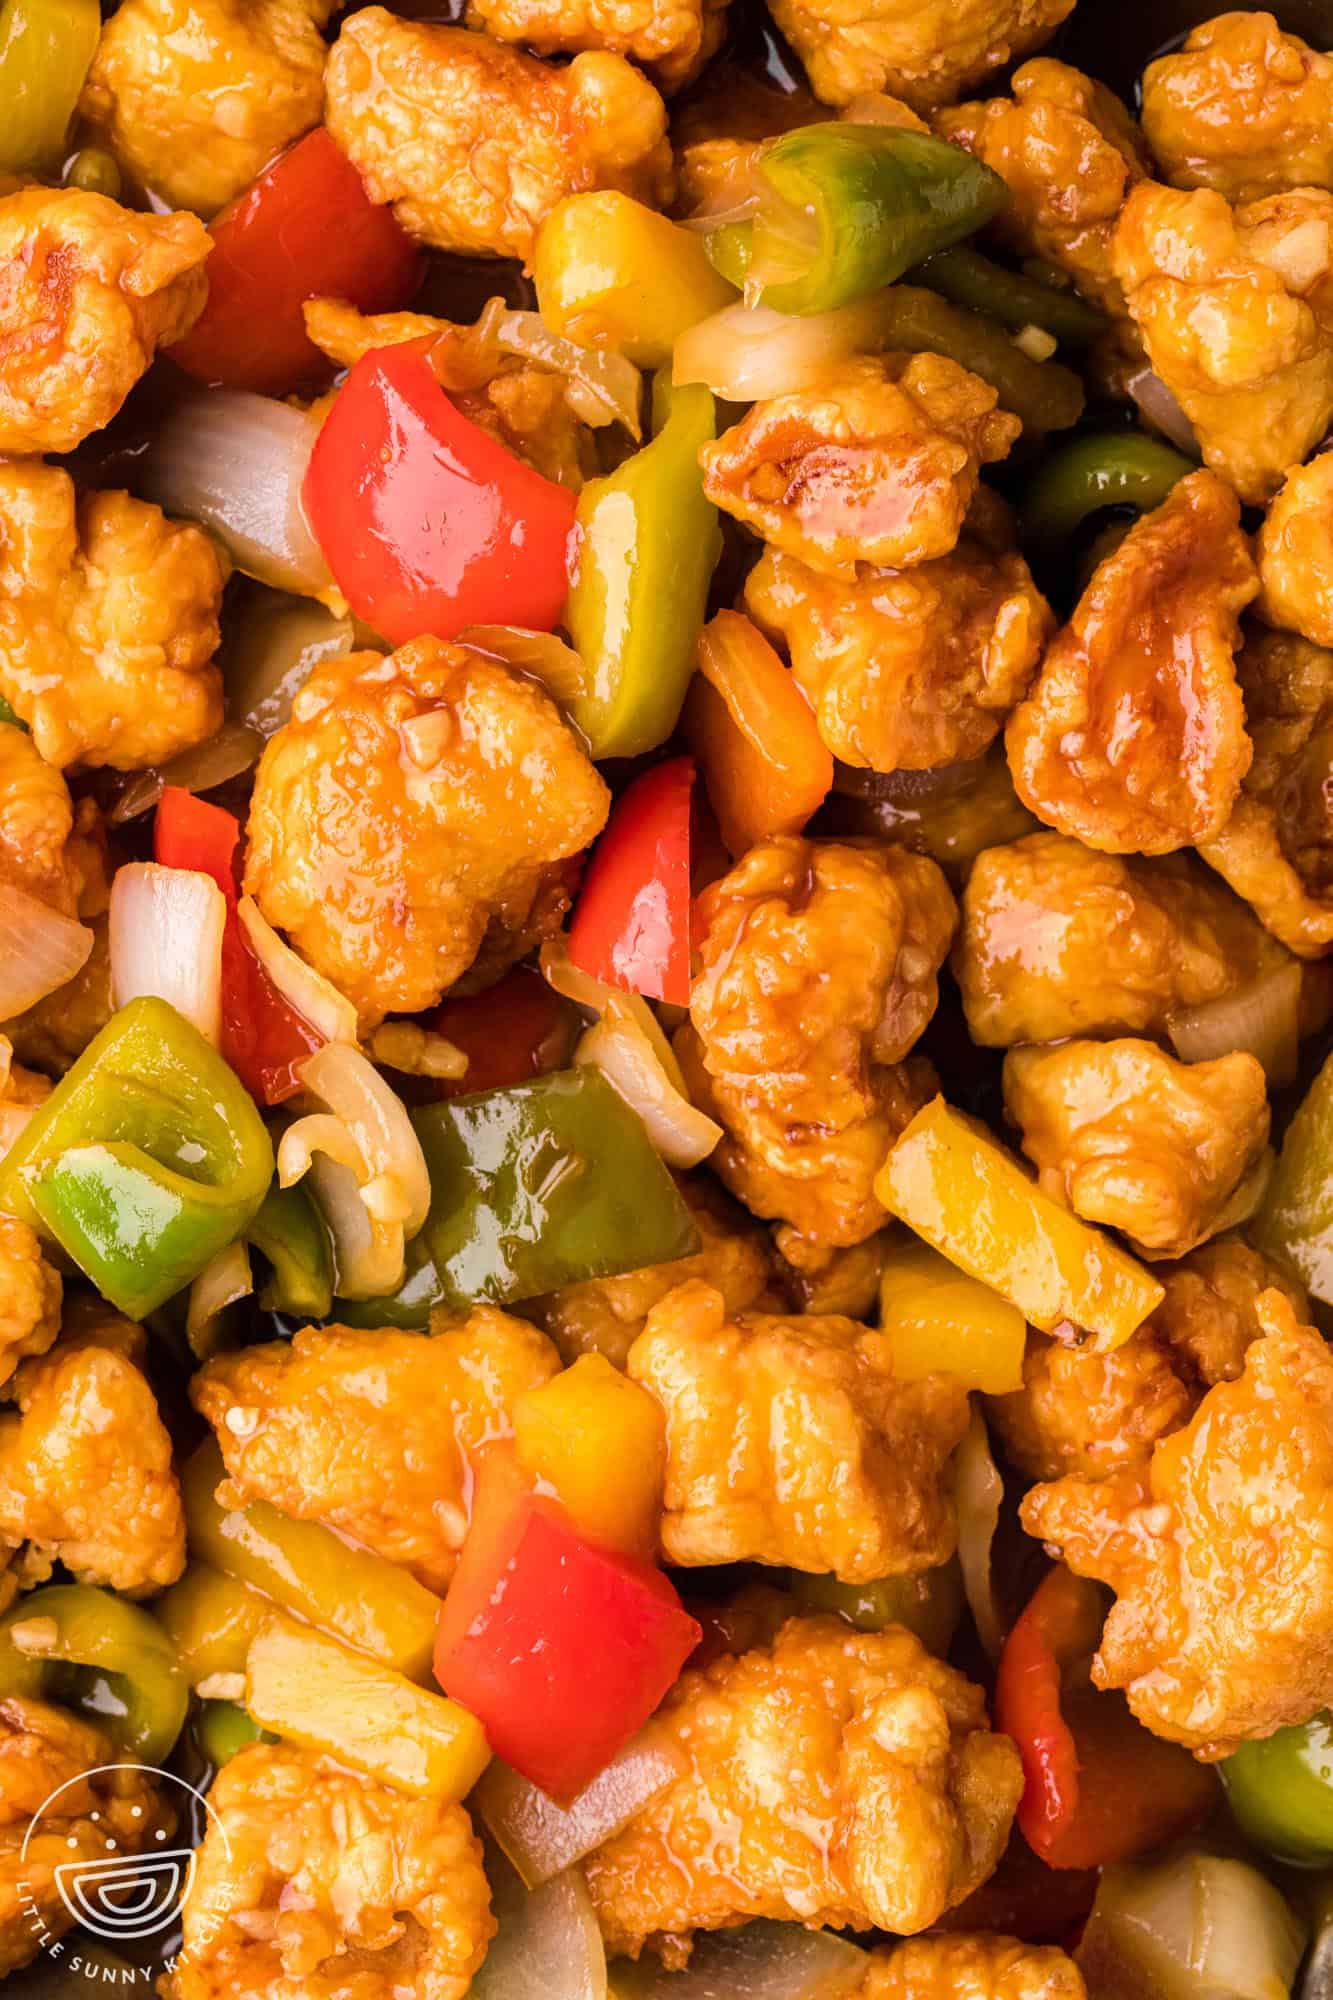
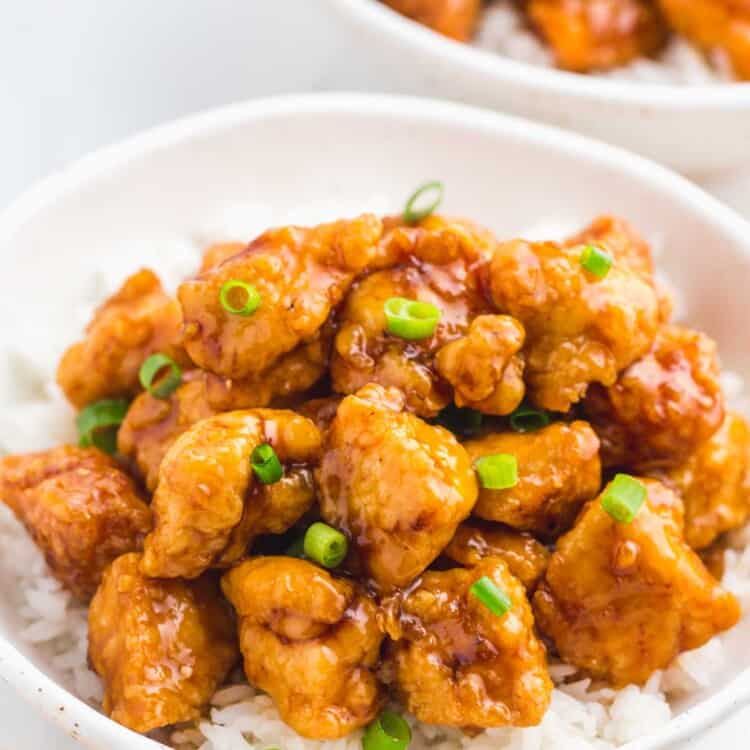
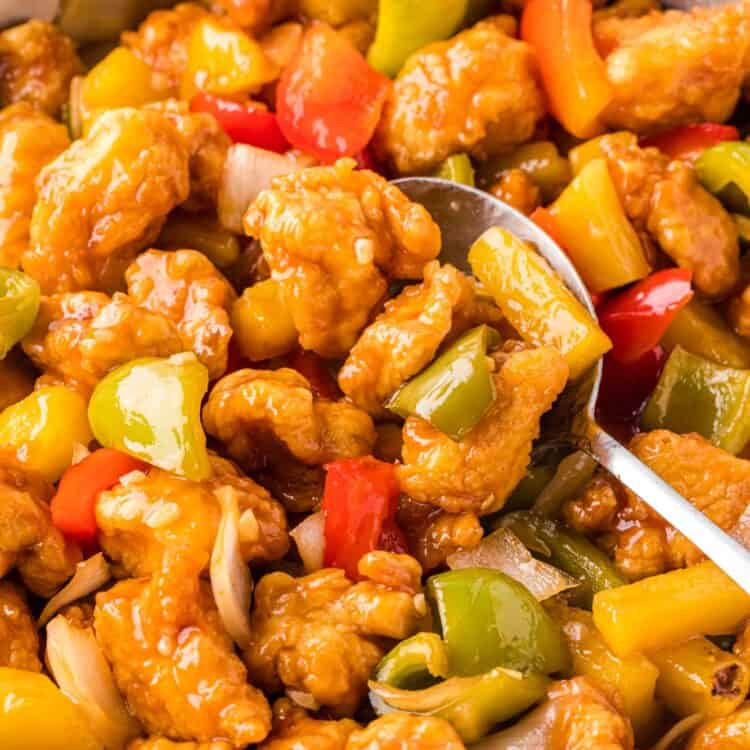
Skip the takeout and make this delicious Sweet and Sour Chicken at home! Crispy bite-sized pieces of chicken are tossed in a sticky, tangy sauce full of onion, bell peppers, and pineapple. Your family will be asking for seconds of this incredible dish!
Sweet and Sour Chicken is a staple on most Chinese takeout menus. Who doesn’t like juicy pieces of chicken coated in a delicious sauce bursting with sweet and sour flavors? Pair it with some plain jasmine rice, and you’ve got a quick and easy meal that everyone will love.
The key to this amazing dish is the sauce! Equal parts sweet and tangy, it is one of the most popular dishes when it comes to Chinese takeout. I combine both white and brown sugars for a deeper sweetness, and pineapple juice, rice wine, or apple cider vinegar bring in the sourness. It is lip-smackingly good!
And there’s no need to worry about dry chicken! It is coated in cornstarch, egg, and flour, which gives it a light, crispy coating when fried. The batter seals in all the juices, giving you tender meat every time!
For a full Chinese-inspired meal, serve with cream cheese rangoons or crab rangoons, Egg Drop Soup, and a delicious Asian salad. You might also enjoy my recipes for Orange Chicken and Hoisin Chicken, or my sauce for General Tso’s Chicken, which you could swap out when making this recipe. Enjoy takeout in your own home any night of the week!
Why Make This Recipe
- Quicker than takeout. You can have this ready and on your table in less time than it would take to order takeout. The recipe has a few steps, but each one is simple and quick!
- Customizable. You can add any veggies you want to the sauce, or turn up the heat by adding some red pepper flakes.
- Pantry friendly. You probably already have most of the sauce ingredients right there in your pantry.
key ingredients
Here’s what you need to make this crave-worthy meal!

Complete list of ingredients and amounts can be found in the recipe card below.
For the chicken:
- Chicken: I use boneless, skinless chicken breast. You can also swap it out for boneless, skinless chicken thighs or use a mixture of the two.
- Oil: I use vegetable or canola oil. You want a neutral-tasting oil that also has a high smoke point because you’ll be frying the chicken.
- Cornstarch: The key to getting light and crispy batter on the chicken is the cornstarch (this is referred to as cornflour in the UK).
- Egg: The beaten egg helps the flour cling to the chicken to create that amazing crispy exterior.
- Flour: The chicken pieces are tossed in flour just before frying. Yet another layer to add to the crispy exterior. I use all-purpose.
- Vegetables: I throw in the onion, garlic, red pepper, and green pepper. You can customize the veggies you use based on your preferences!
- Pineapple: I use chunks of either fresh or canned pineapple. If you’re using canned, save the juice to add to the sauce.
- Seasoning: Add kosher salt to taste. Add a pinch of red pepper flakes to make the sauce a bit spicier.
For the sauce:
- Sugar: I use both brown sugar and granulated sugar.
- Ketchup: This adds to the sweetness but also adds a bit of tang to the sweet and sour chicken.
- Soy Sauce: I use low sodium. If you only have the regular kind on hand, you can adjust the amount of salt you add to the chicken.
- Pineapple juice: The juice adds another layer of sweet and sour to the sauce.
- Vinegar: I use either rice wine vinegar or apple cider vinegar to add that sour flavor.
How To Make it
The secret to the deliciousness is light and crispy chicken bites. If you follow the steps below, you’ll have a real crowd-pleaser!

Tip!
Oil must be hot before adding the chicken! If it’s not, the chicken will spend too much time in the oil waiting for it to heat up which means it will absorb too much oil in the meantime. No one wants soggy chicken!
Recipe Tips
After some trial and error from making this recipe a few times, I have some tips to share that will make sure your dish turns out the absolute best every time!
- Cut the chicken pieces evenly. This helps to ensure that everything is cooking at the same rate.
- Avoid overcrowding the chicken. To ensure a good crispy exterior, fry in batches. Too many pieces in the oil at once will lower the oil temperature and affect the fry.
- Shallow fry instead. If you’d prefer to shallow pan fry the chicken, simply dip it in cornstarch and fry it in a couple of tablespoons of oil in your skillet.
Storing Tips
Leftovers should be stored in an airtight container in the fridge for 3 – 4 days. Keep in mind that the chicken will lose some of its crispiness.
You could also store it in the freezer in a freezer-safe container or zip-top bag for up to 3 months. Let it defrost in the refrigerator before reheating.
To reheat, I like to do it on the stove in a pot over medium heat. Stir the sweet and sour chicken often so it doesn’t stick to the bottom of the pot. Heat until it’s warmed through.
What To Serve With it
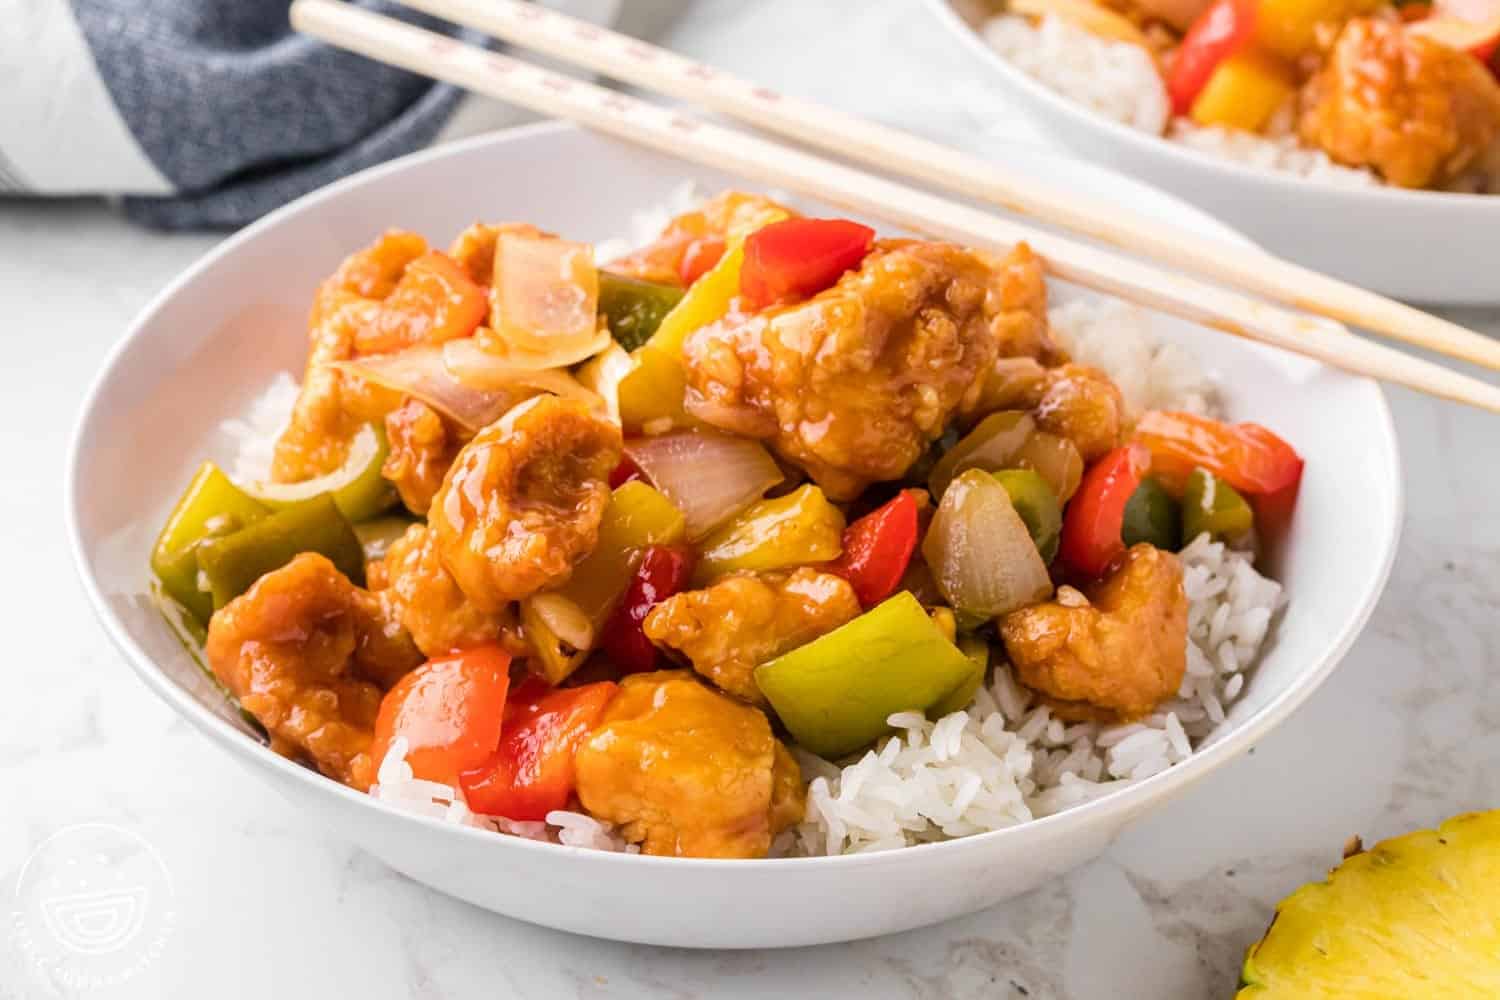
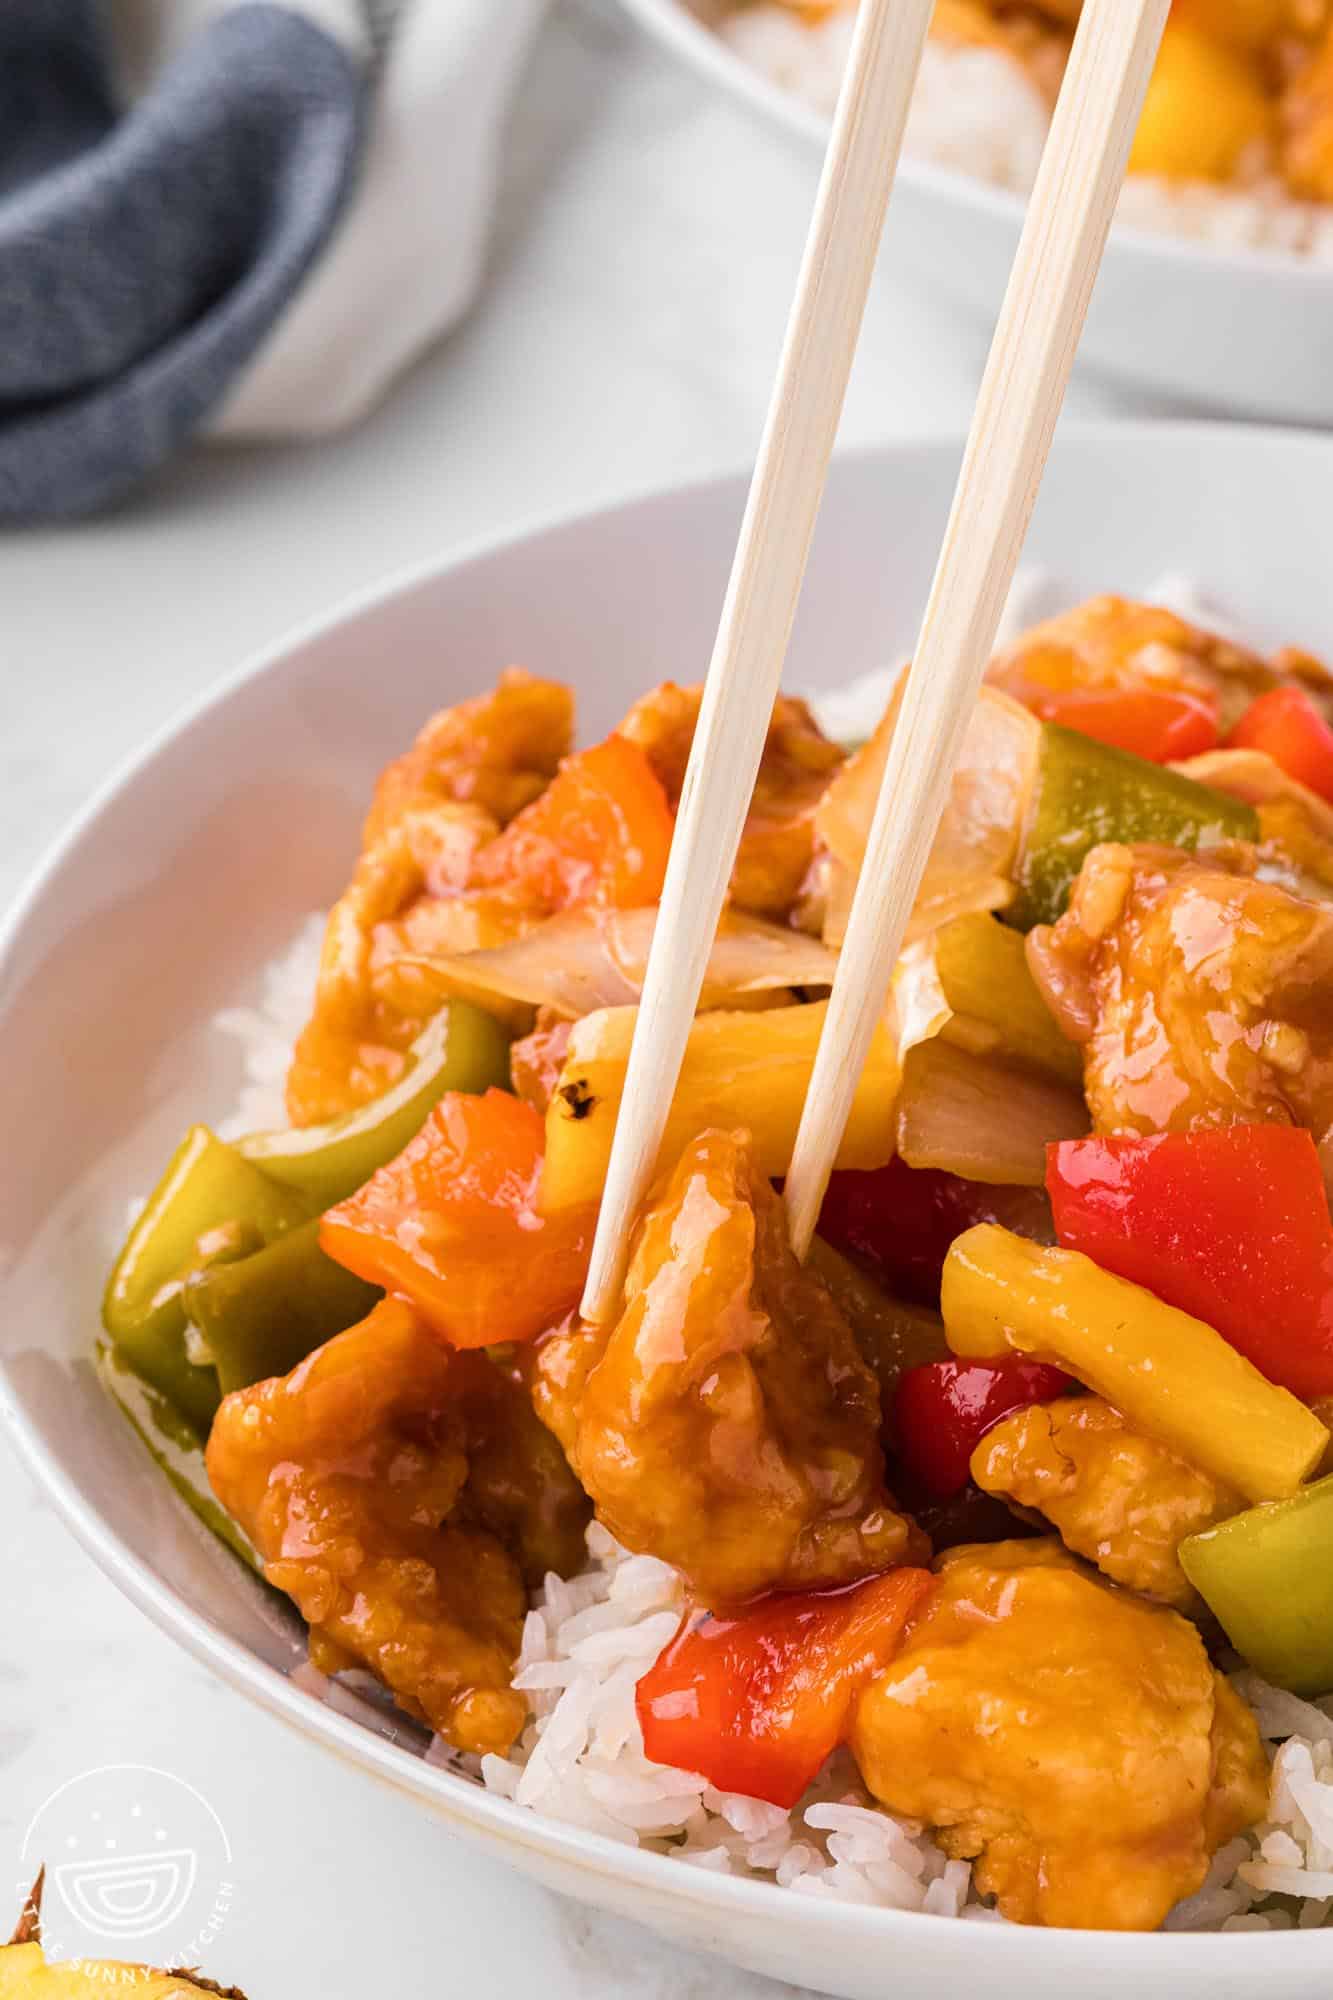
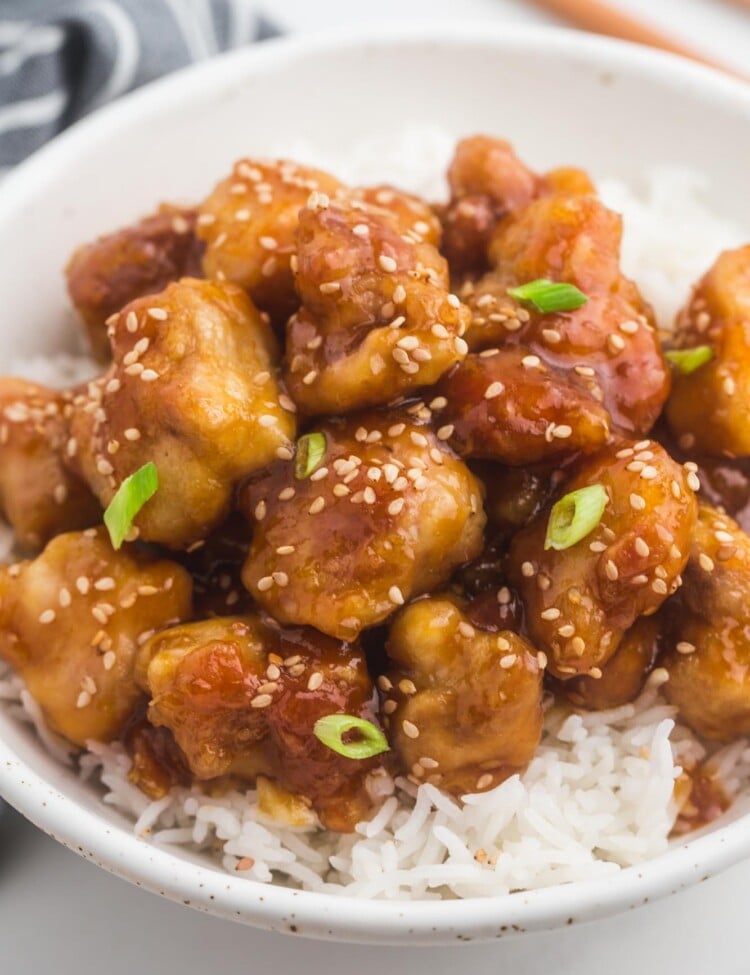
I like to serve Chinese sweet and sour chicken with jasmine rice. It soaks up all the tangy sauce and rounds out the meal.
Here are some other options you might like:
- Instant pot fried rice
- Basmati rice
- Steamed veggies
Or turn it into a feast by adding:
Recipe Frequently Asked Questions
What type of chicken should I use?
Either boneless skinless chicken breasts or boneless skinless chicken thighs work well. It all depends on your personal preference. You can even mix the two, so you get the best of both worlds.
Is sweet and sour chicken the same as orange chicken?
Both dishes have sweet and sour components to them, however, the sauce itself is a bit different in each recipe. The sweetness in sweet and sour chicken comes from sugar and pineapple juice, whereas orange chicken comes from orange juice.
Can I reduce the amount of sugar?
It’s tempting to reduce the sugar in recipes, especially if you’re watching your sugar intake, but in this case, the sauce really does need the sweetness it brings. I wouldn’t recommend reducing the sugar unless you find the sauce too sweet.
Alternatively, you could opt to use raw honey instead. It is still sweet, and is still a sugar but it’s non-refined and comes with additional benefits.
I hope you enjoy this saucy Sweet and Sour Chicken! Please let me know what you think. I’d love to hear from you in the comments! Pin it for more people to enjoy this restaurant-style dinner too!
Did you make this? Be sure to leave a review below and tag me on Facebook, Instagram, or Pinterest!
Sweet and Sour Chicken
Ingredients
- 1 pound (450 g) chicken breasts boneless and skinless, cut into ½ -inch chunks – thighs can be used also
- ½ teaspoon kosher salt
- Oil for frying I use canola or vegetable oil
- ⅓ cup cornstarch cornflour in the UK
- 2 large eggs lightly beaten
- ¼ cup (30 g) all-purpose flour
- 1 medium yellow onion diced into bite-size pieces about 1 inch
- 1 medium red bell pepper diced into bite-size pieces about 1 inch
- 1 medium green bell pepper diced into bite-size pieces about 1 inch
- 1 cup pineapple chunks fresh or canned, if using canned save the juice for the sauce
- 3 cloves garlic minced
Sauce:
- ⅓ cup light brown sugar
- 2 tablespoons granulated sugar
- 3 tablespoons ketchup
- 1 tablespoon (15 ml) low-sodium soy sauce
- ½ cup (120 ml) pineapple juice
- 3 tablespoons (45 ml) vinegar rice wine or apple cider
Instructions
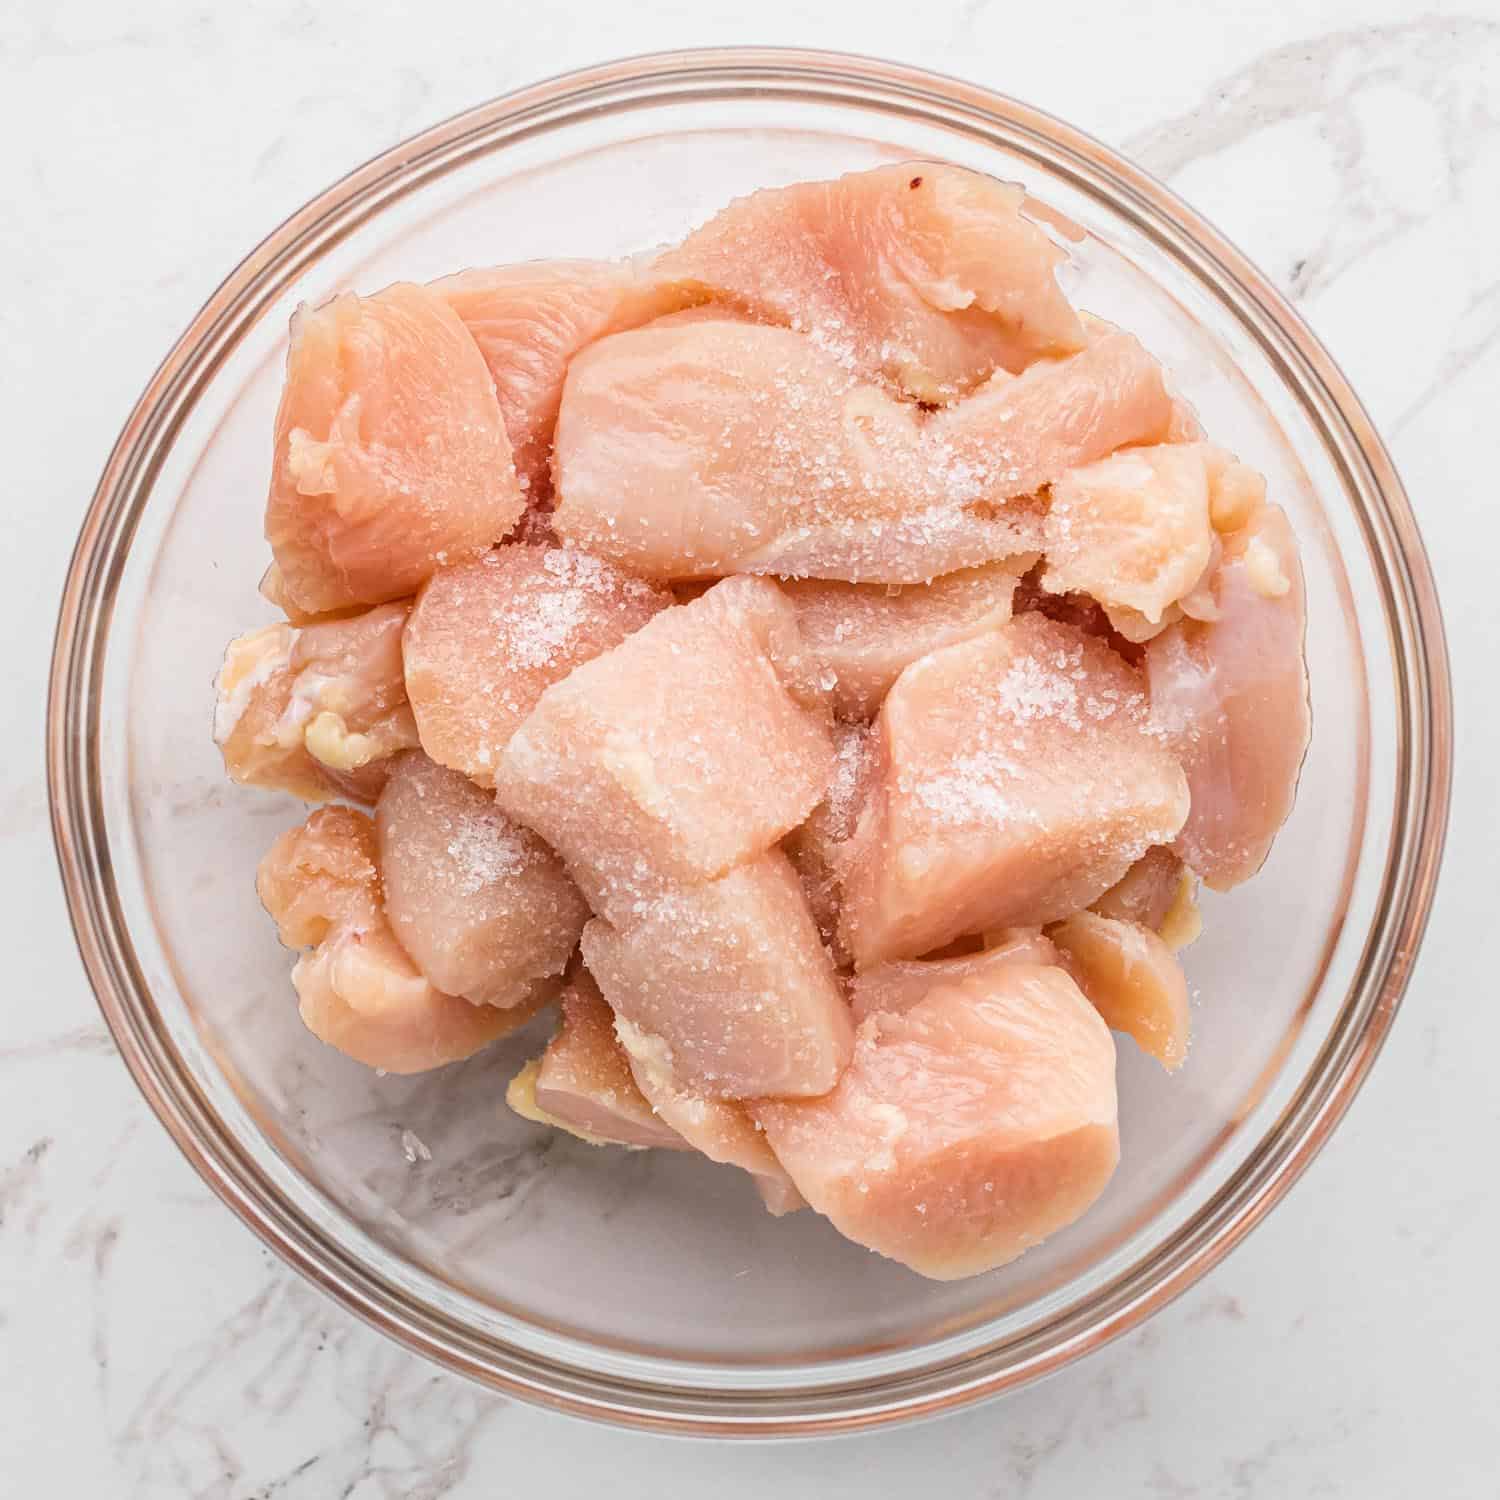
- Season the chicken with salt, and set aside.
- To make the sauce, whisk sugars with ketchup, soy sauce, pineapple juice, and vinegar in a bowl.
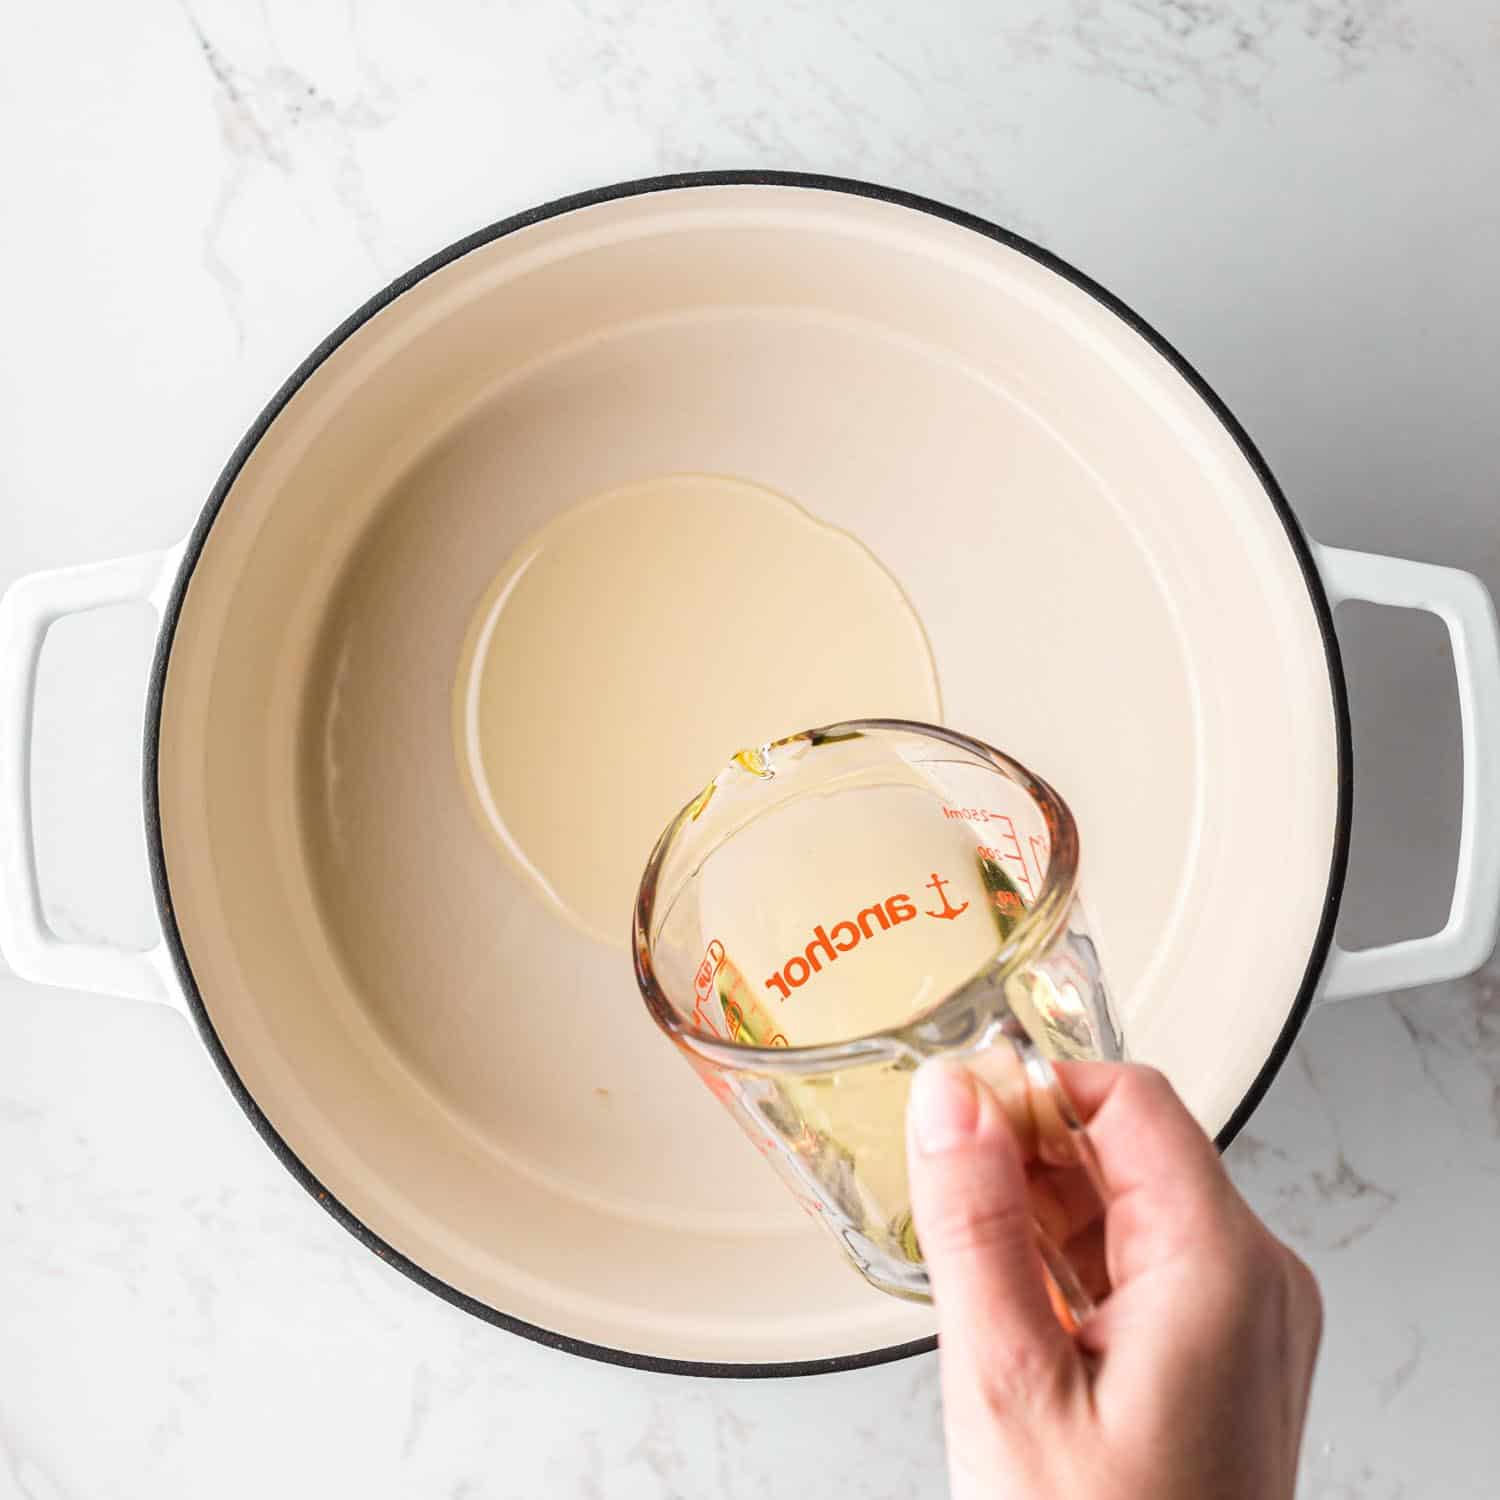
- Add about 2 inches of oil to a heavy-bottomed Dutch oven and preheat it while you prep the rest of the ingredients. The oil must reach 350°F (180°C).
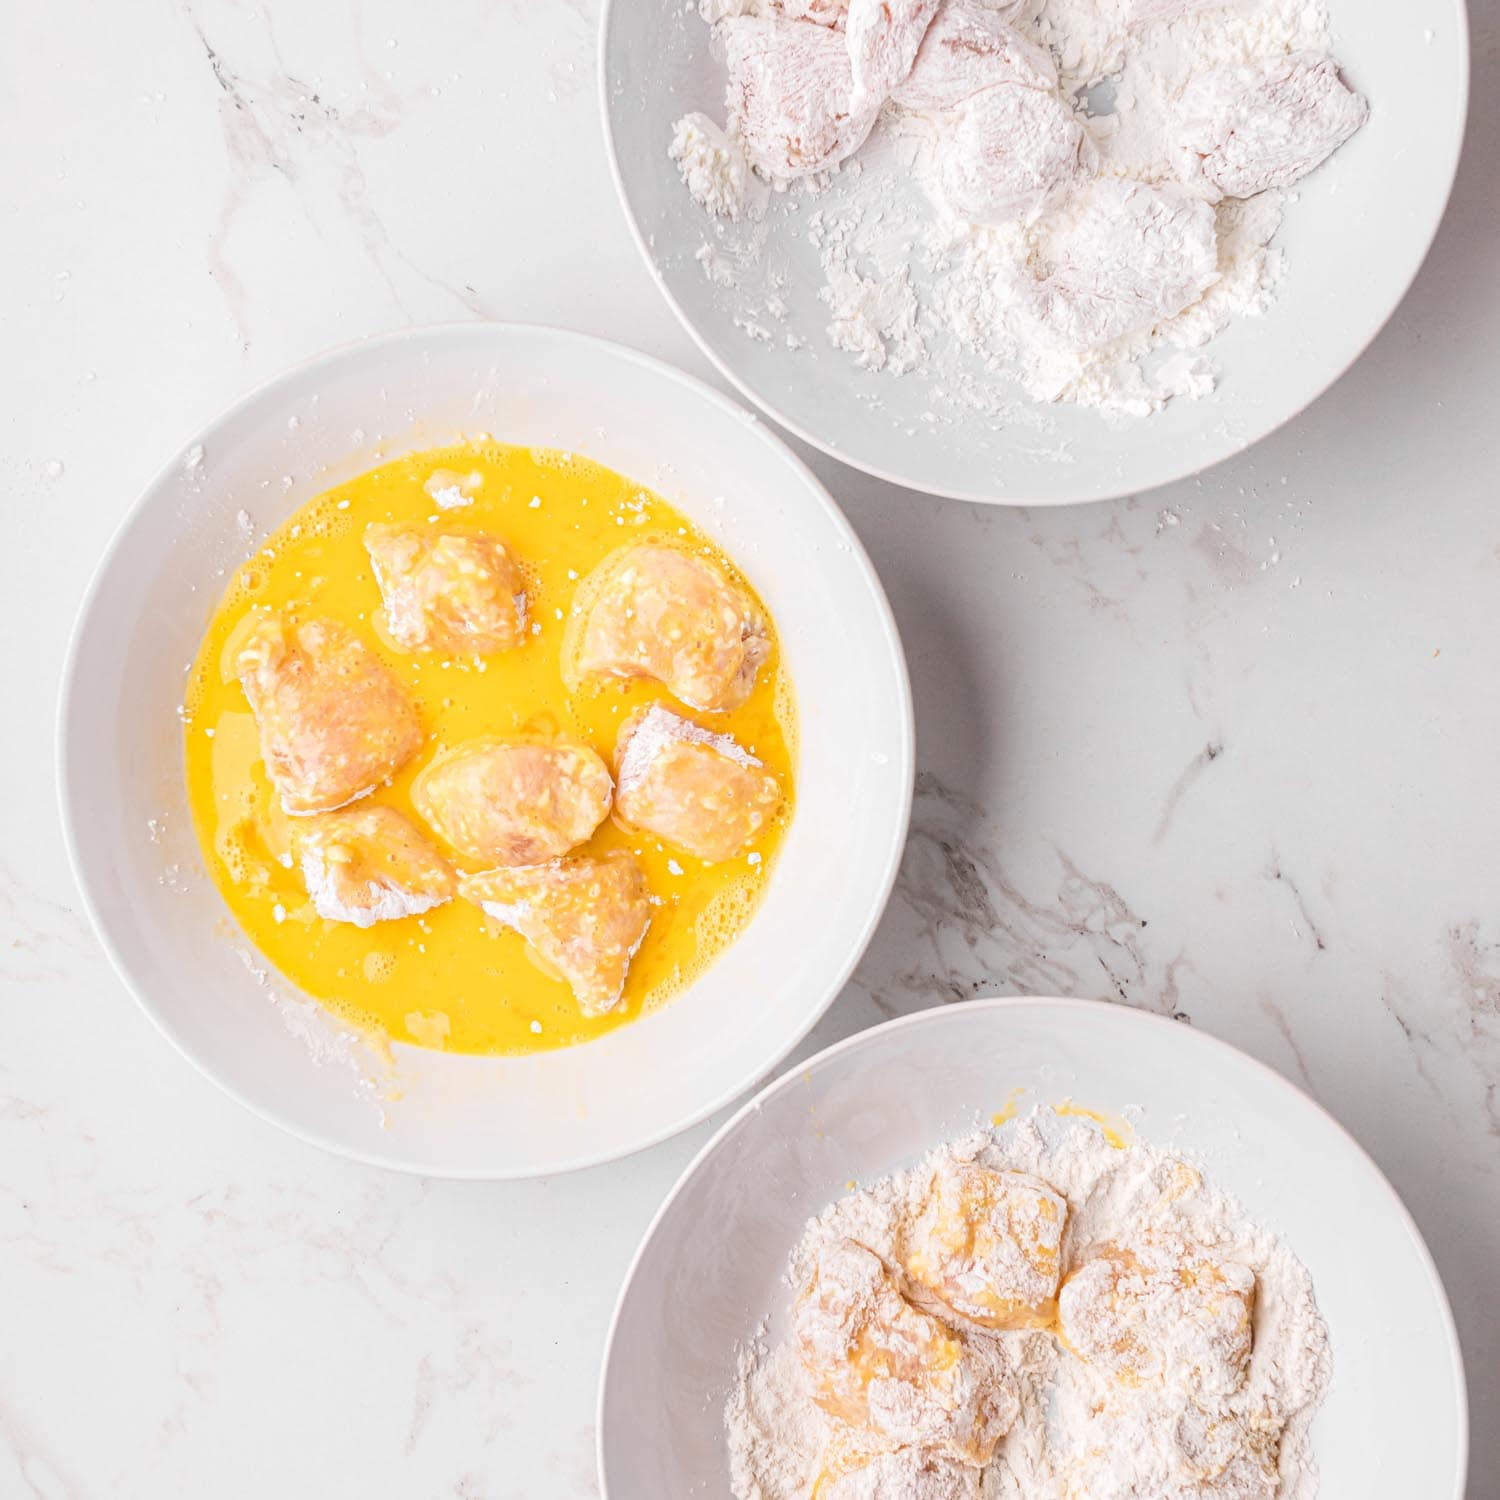
- Take three shallow bowls, add cornstarch to one, eggs to another, and flour to the third one.
- Toss the chicken in the cornstarch, dip in egg, and toss again in flour.
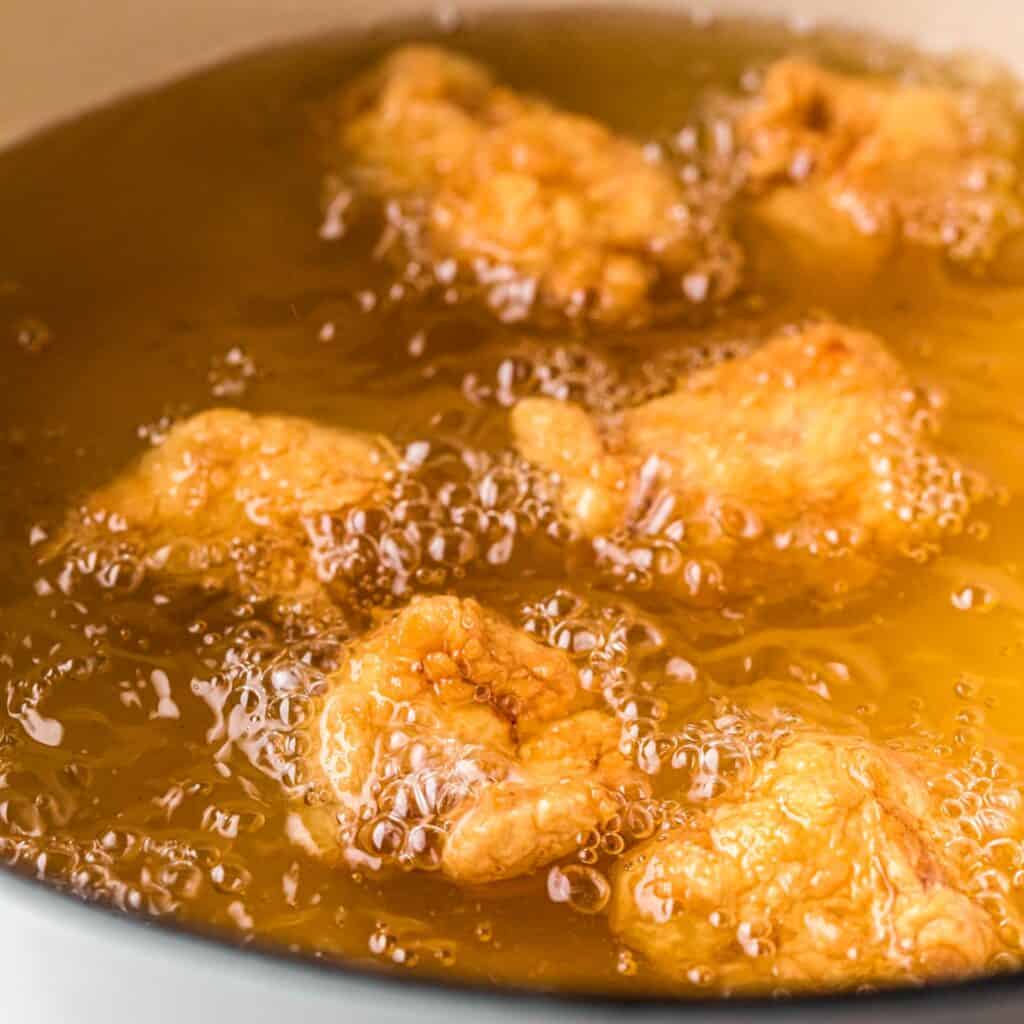
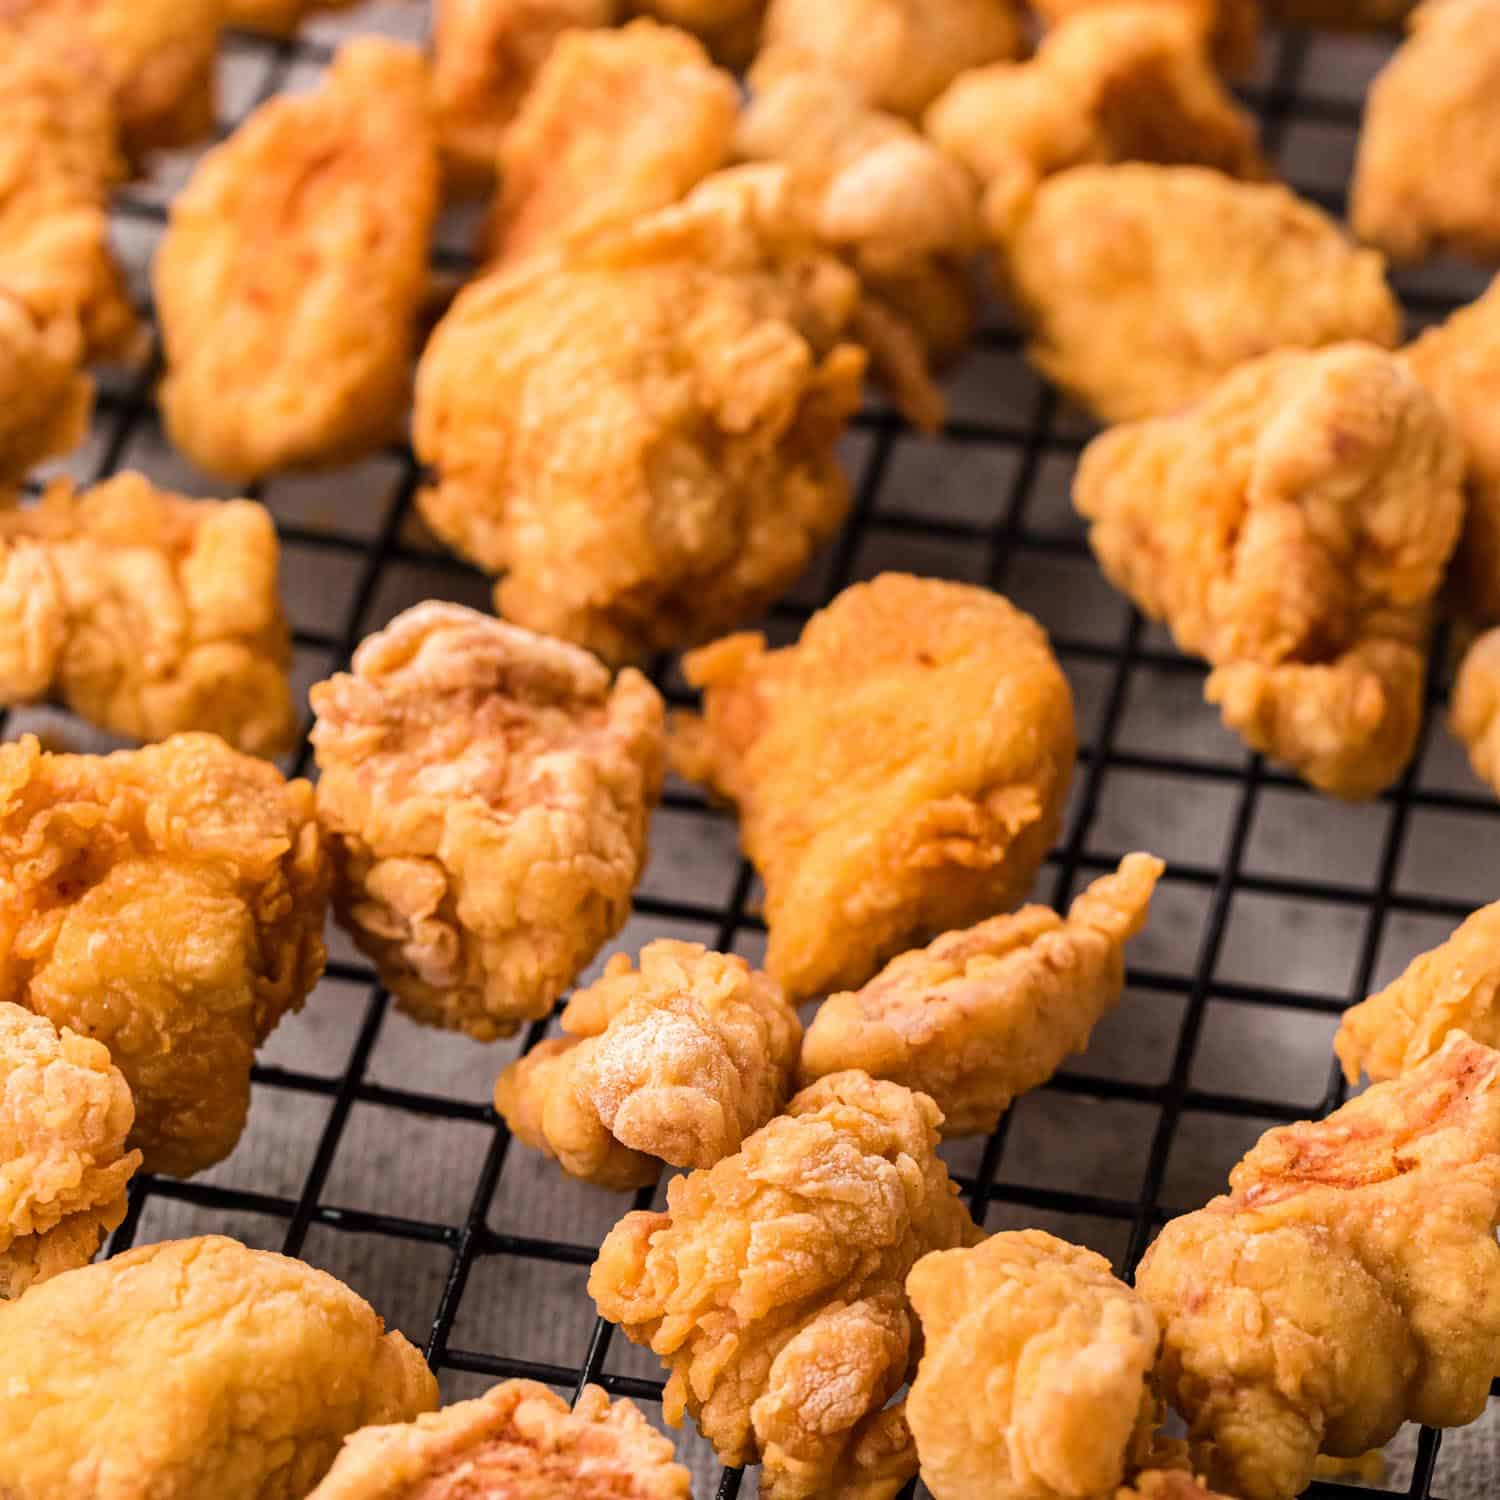
- Drop the chicken in hot oil and fry for 2-3 minutes or until lightly browed and crispy. Remove with a strainer onto a wire rack. Work in batches, and repeat with the rest of the chicken.
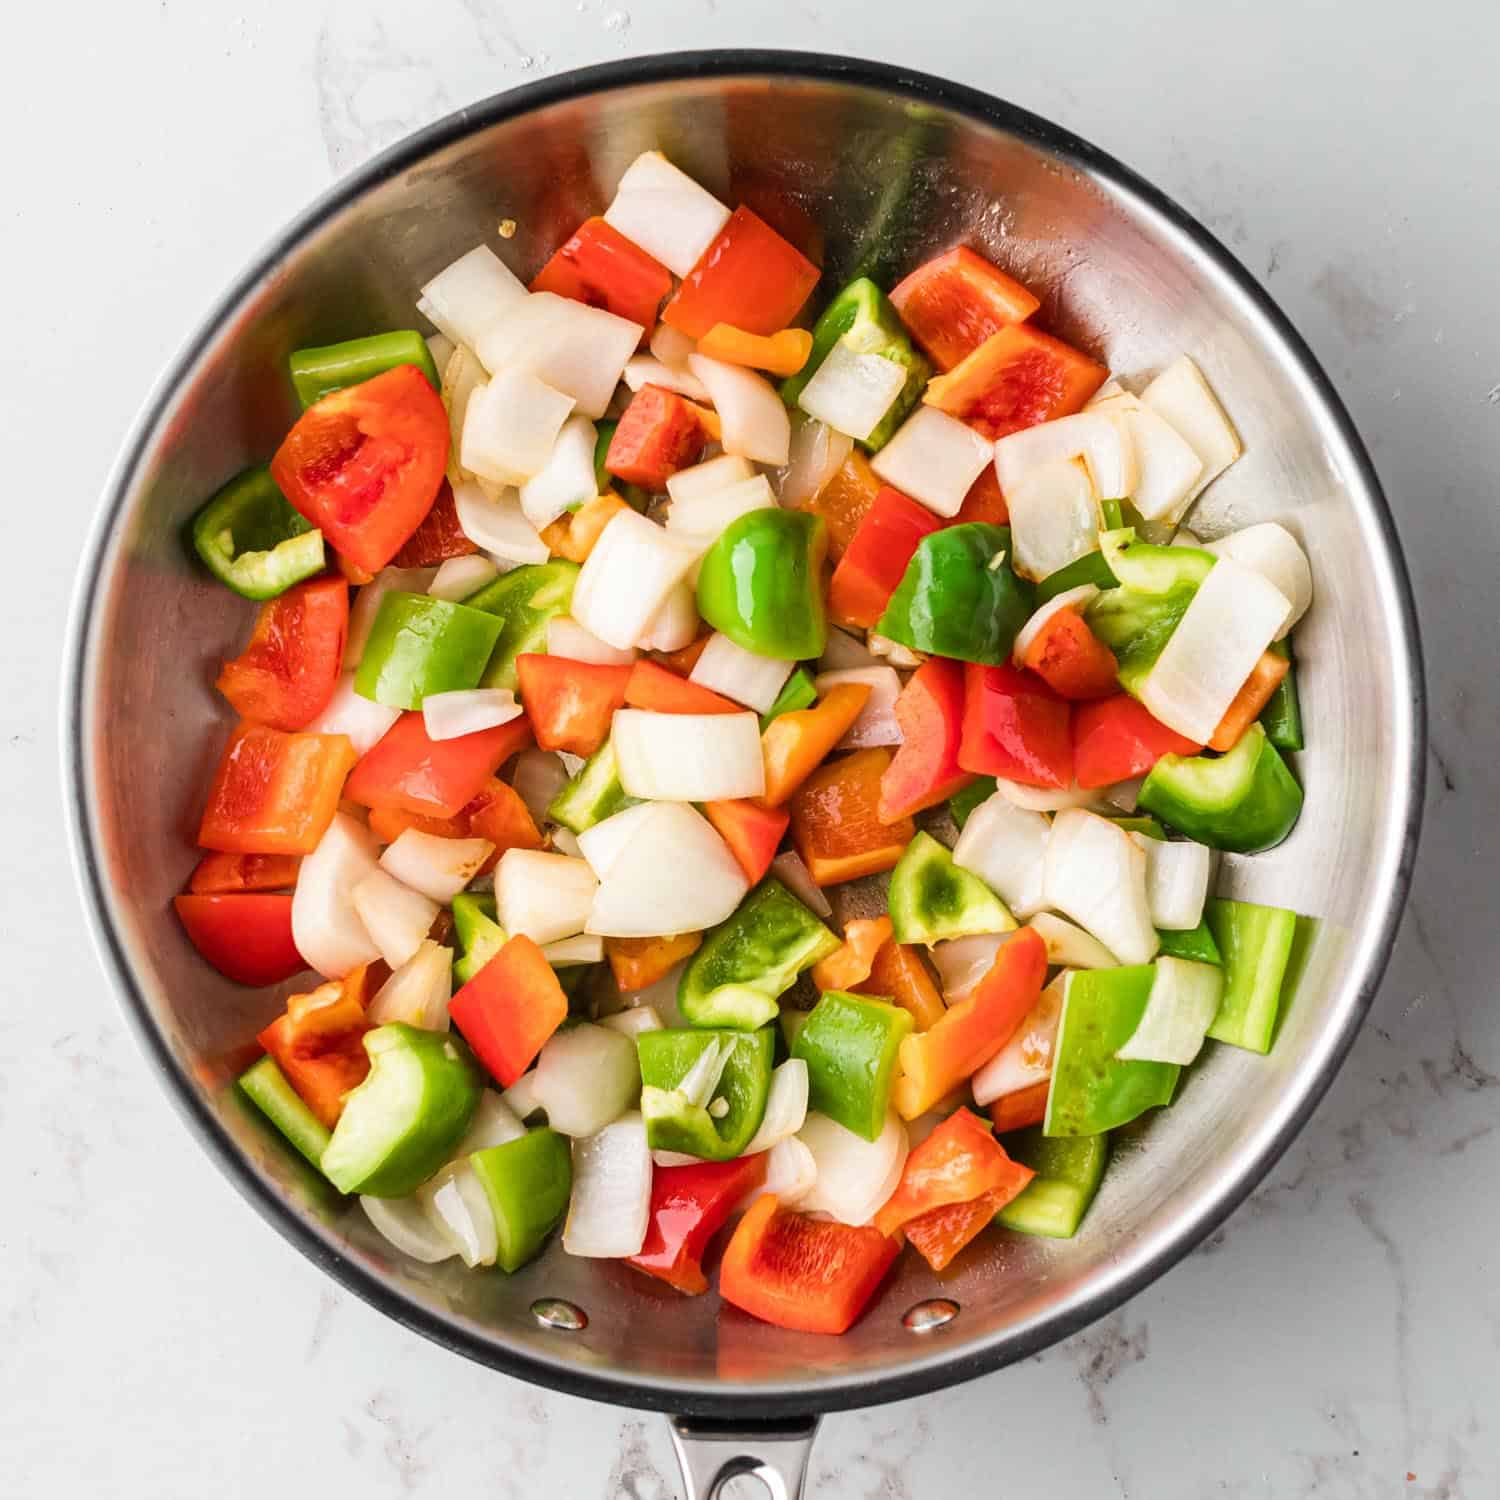
- Add 1 tablespoon of oil (take it from the frying oil) to a skillet over medium-high heat, the onions, and the bell peppers, and cook for 3 minutes until slightly softened but crisp (crisp tender).
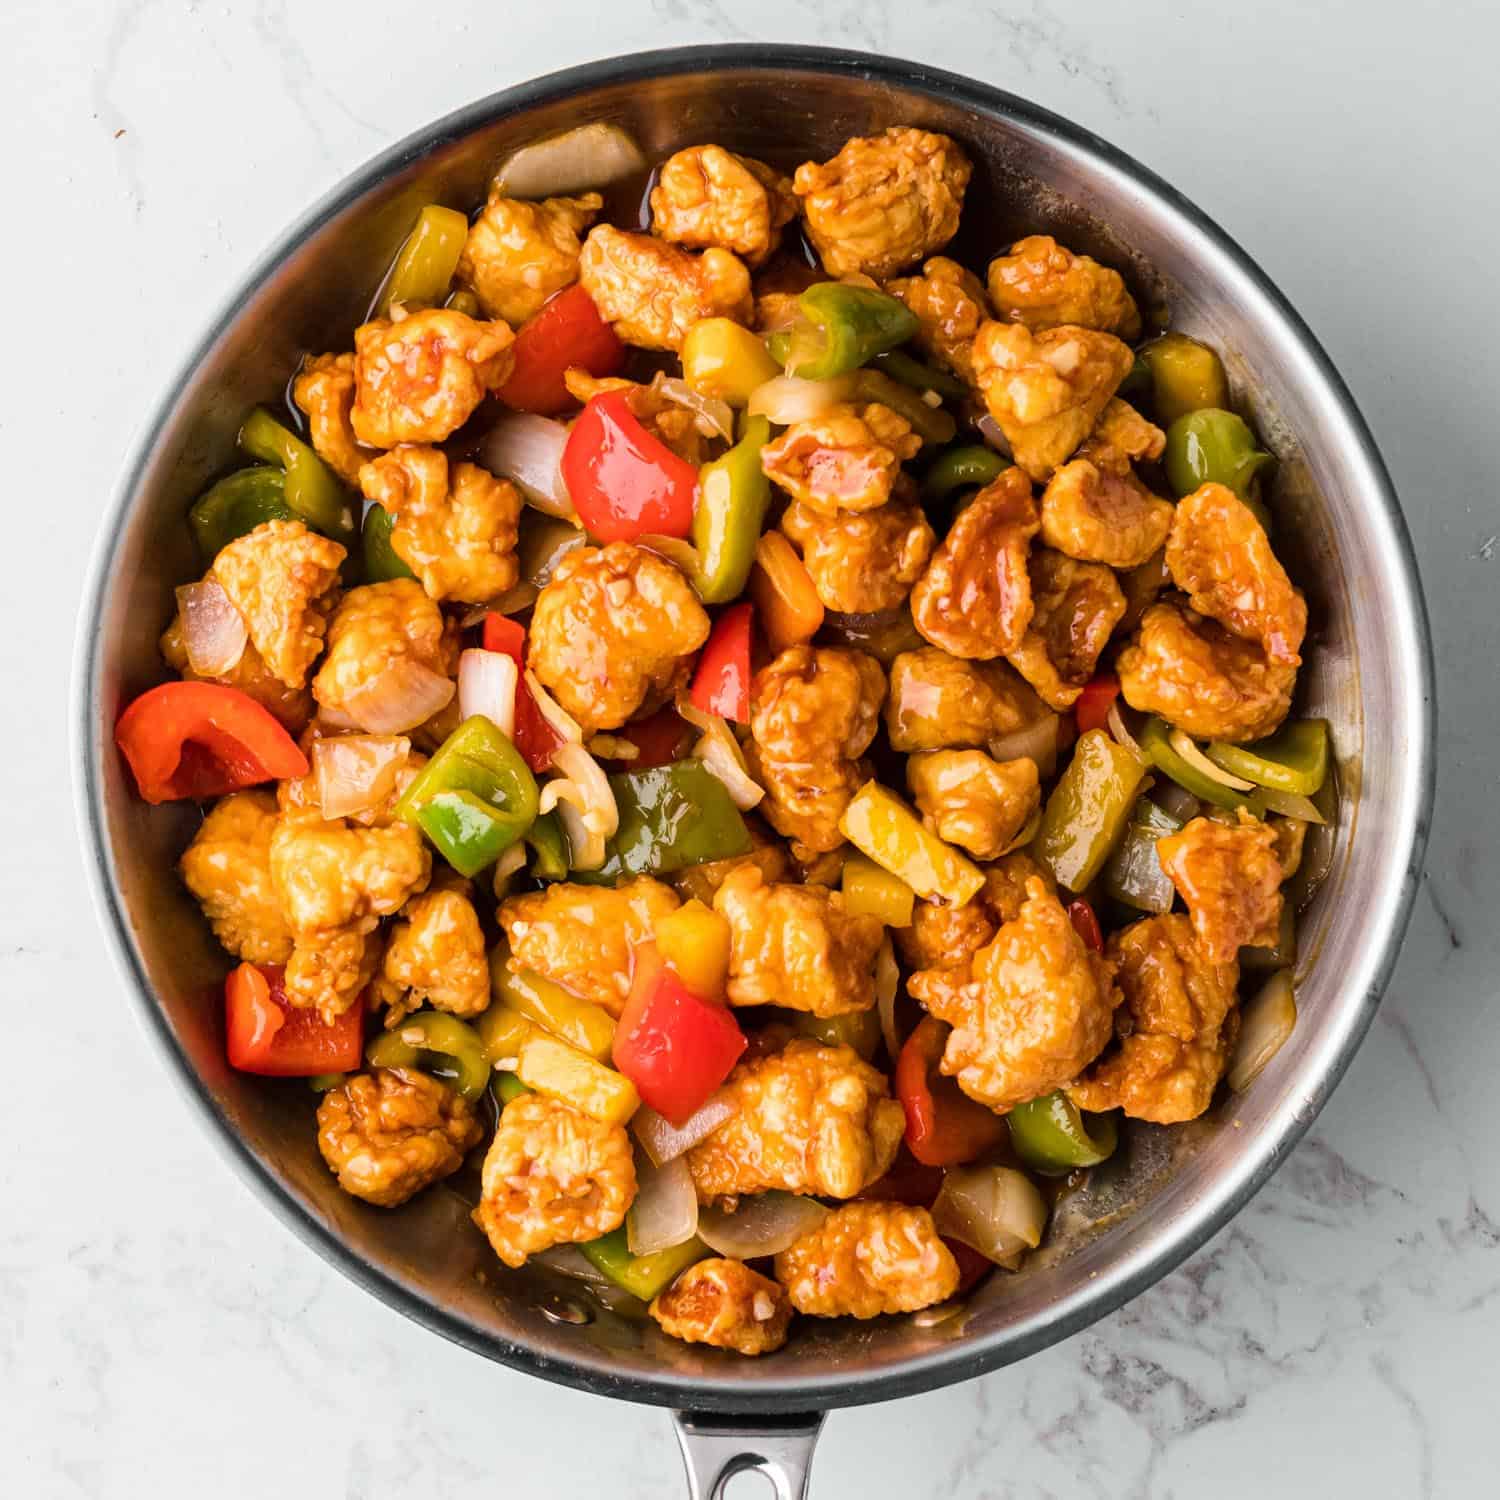
- Add the pineapple chunks, and the sauce ingredients and cook for 2 minutes or until the sauce has thickened.
- Add the crispy chicken, and coat in the sauce. Add the garlic, fold it in, and remove from heat immediately. Serve over cooked jasmine rice.
Nutrition Information
This website provides approximate nutrition information for convenience and as a courtesy only. Nutrition data is gathered primarily from the USDA Food Composition Database, whenever available, or otherwise other online calculators.
© Little Sunny Kitchen


Clare says
I have made this twice now, absolutely delicious, its worth the mess in the kitchen!
I do make double the sauce…
Liz says
Delicious absolutely, I am making this today but I di make it last week and OMG my 2 sons loved it and so did I. I prepare everything before hand even the chicken, so just before supper I put it all together. What a surprise the first time MMM , only change is I double the sauce.
Thank you do much
Little Sunny Kitchen says
Thank you for trying my recipe, Liz! I’m happy to hear that it was a hit!