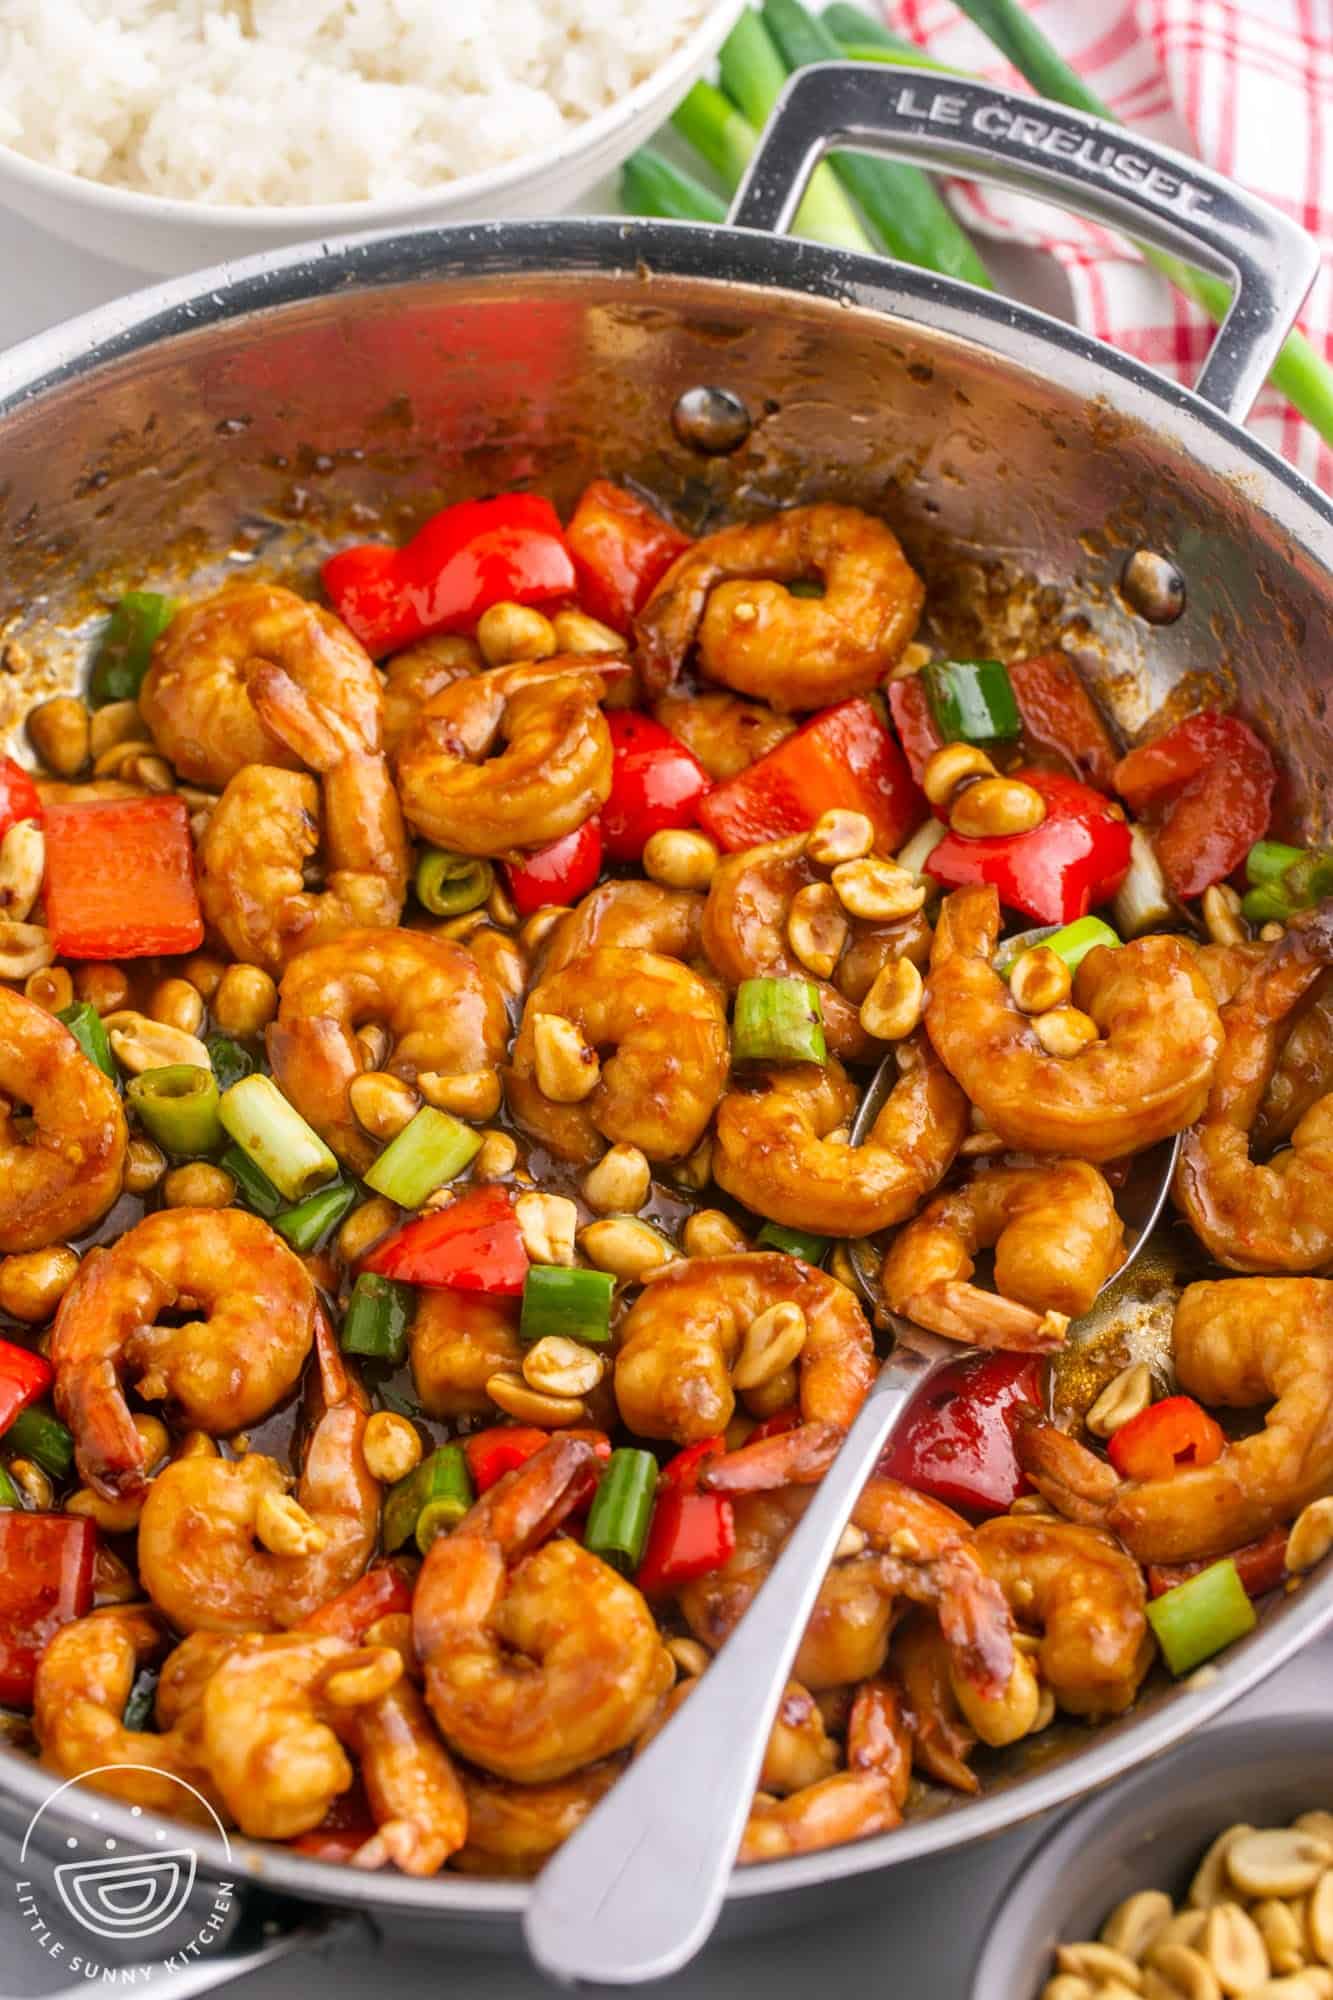
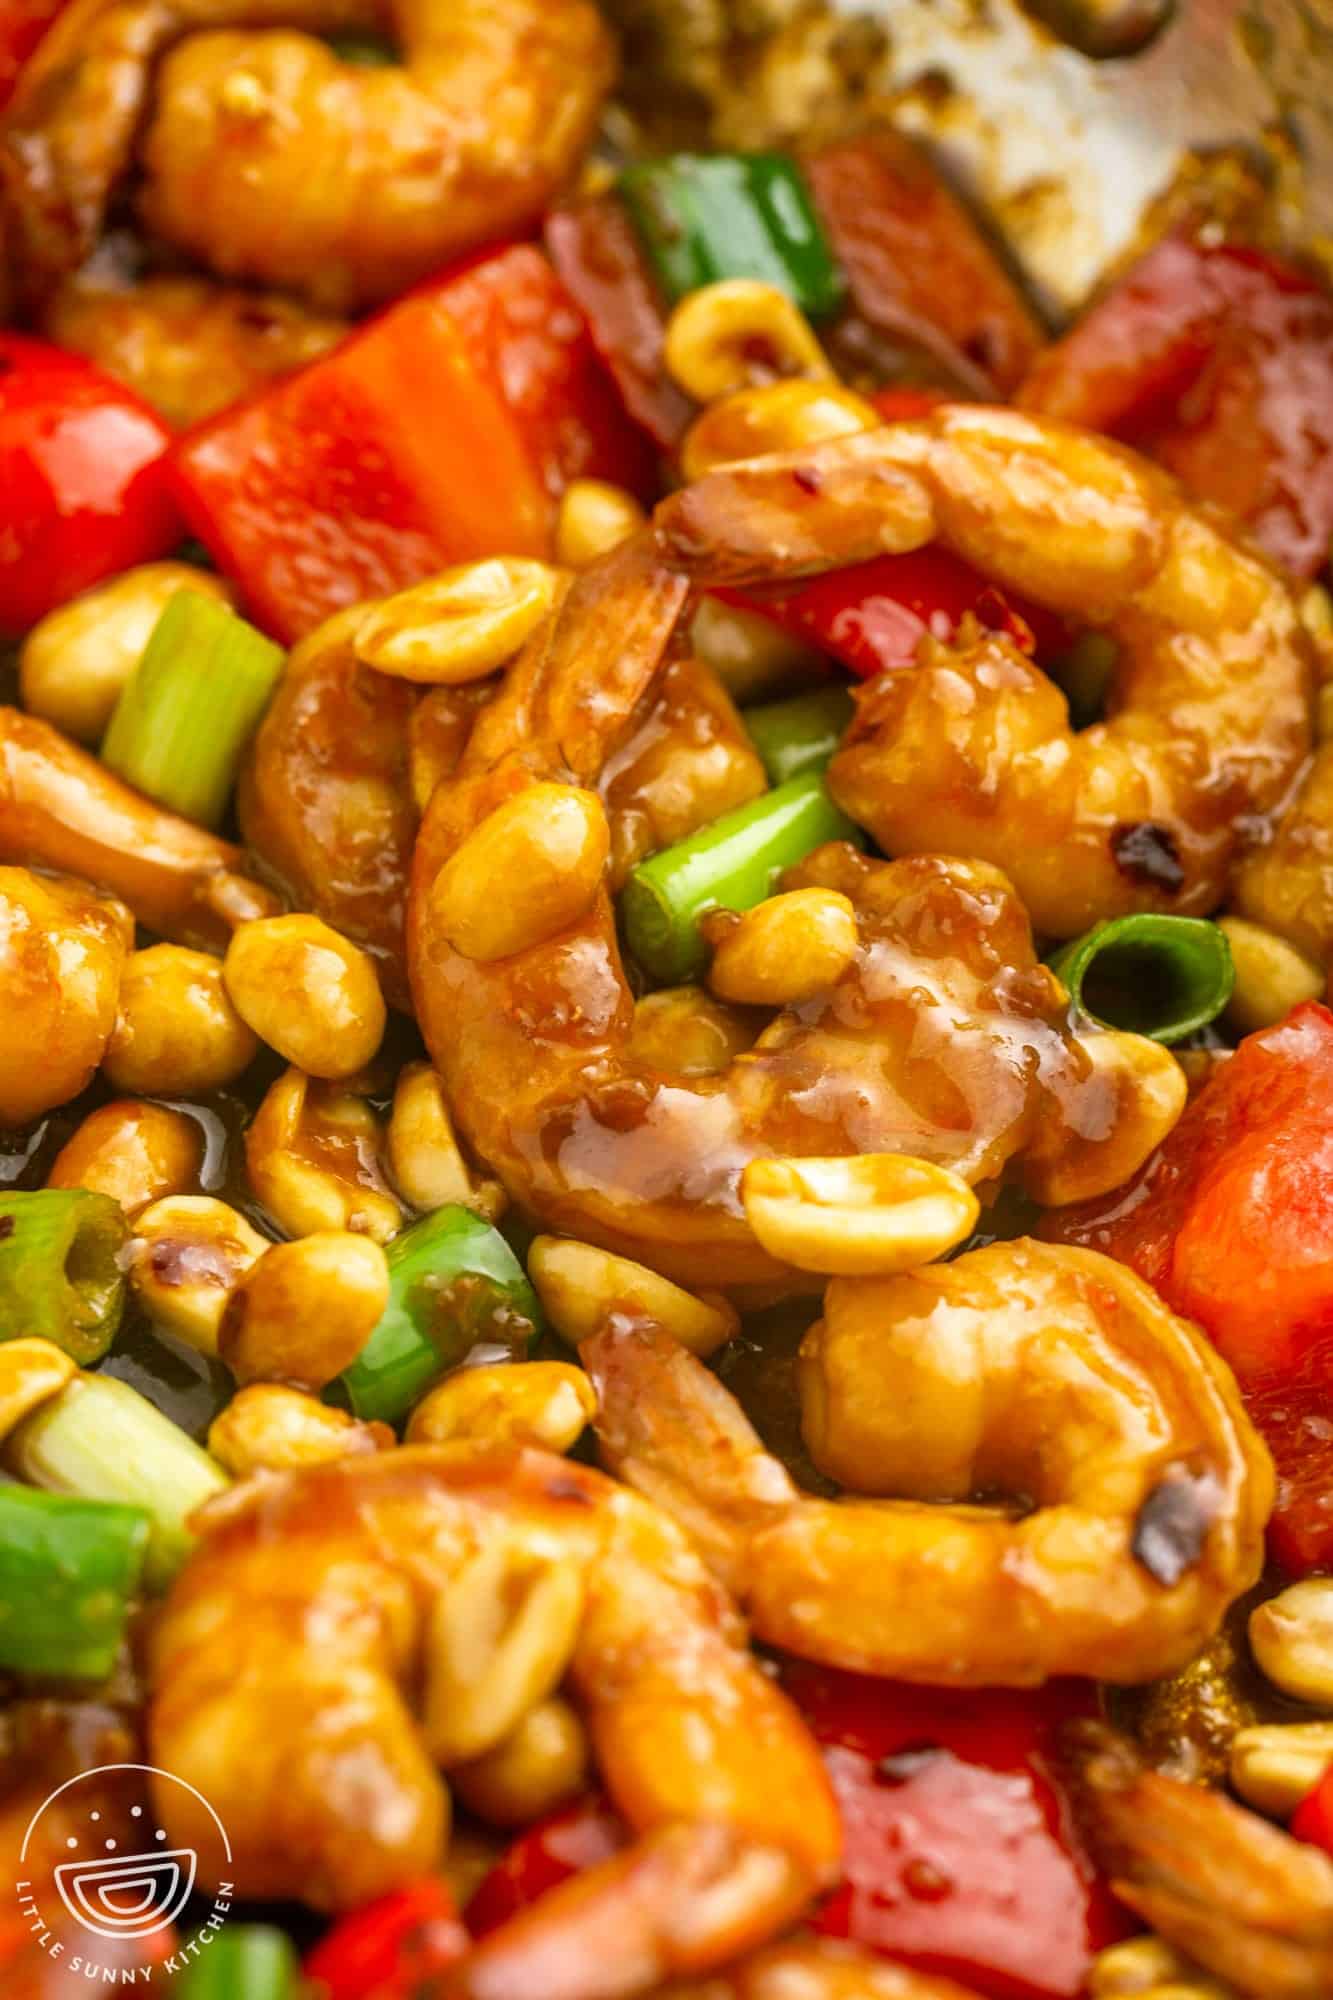
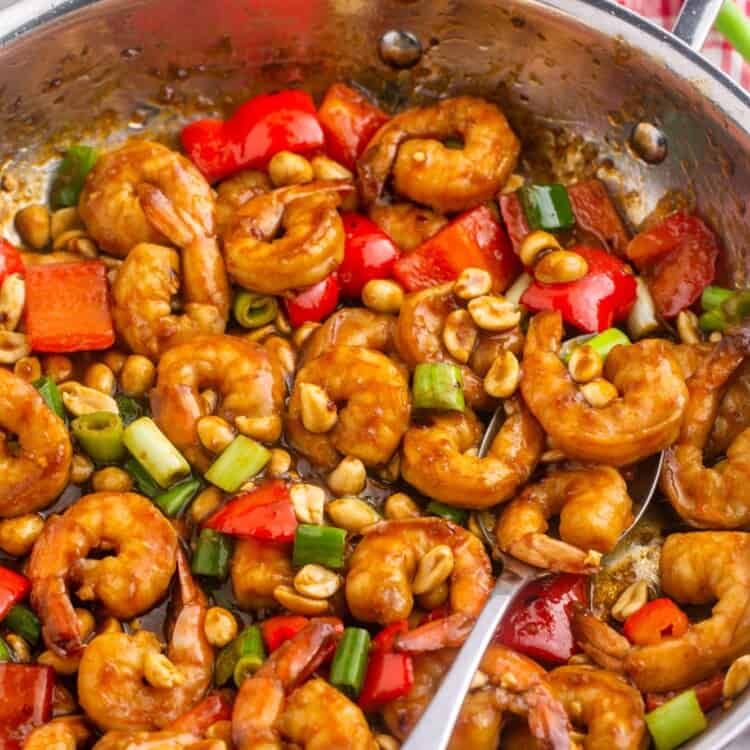
15-minutes is all you need to recreate your own homemade version of this Chinese take-out classic. This Kung Pao Shrimp recipe is bursting with bold flavor! Juicy shrimp and crisp peppers are stir-fried to perfection in a sweet and spicy sauce and topped with crunchy peanuts.
I love Chinese take-out and I love it, even more, when I can create the same flavors at home in my own kitchen! Not only do I get to save money, but I can control exactly which ingredients I’m using.
This Kung Pao Shrimp (or Kung Pao Prawn) recipe is one of my favorites. The sauce is sweet and savory and highly addictive! Plus, the shrimp stays incredibly plump and juicy.
Stir-fries are a great way to get dinner on the table in a hurry. You can have this Chinese shrimp recipe ready from start to finish in about 20 minutes. The leftovers also keep well in the fridge for a couple of days, so you can reheat them and enjoy them for lunch the next day too!
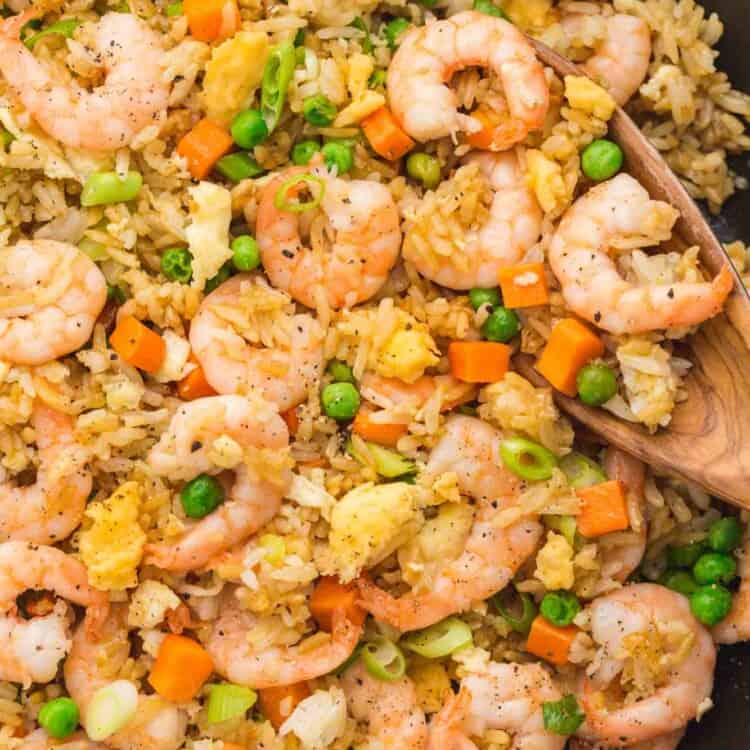
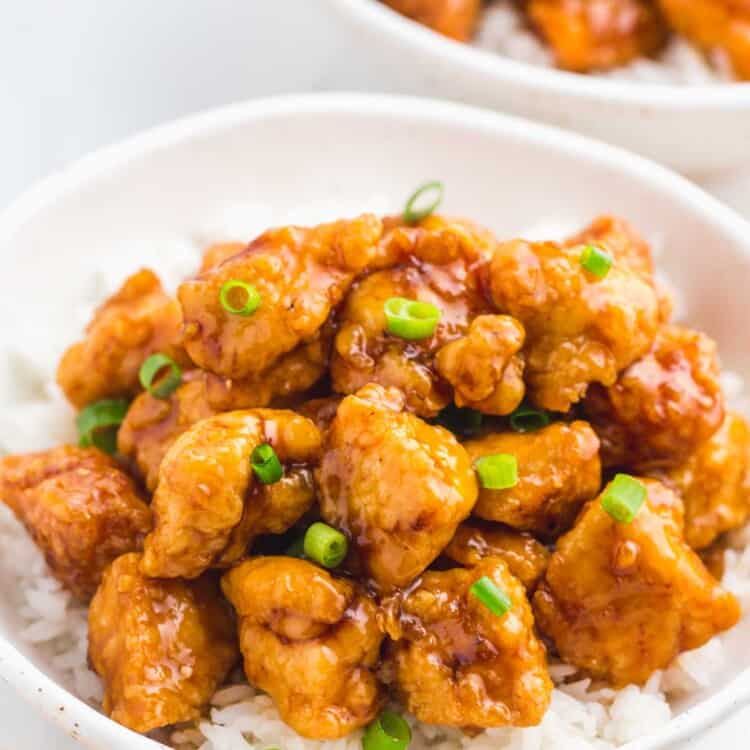
If you want to create a full-on Chinese takeout-inspired meal at home, you could serve this recipe with some Egg Drop Soup, Moo Goo Gai Pan, Orange Chicken and Shrimp Fried Rice. But be warned, once you start making this dish, your family will be asking for it all the time!
Why You’ll Love This Recipe
- It’s faster than takeout. You can whip up this version of Kung Pao Shrimp in a matter of minutes. It would take longer to place the order at your local Chinese restaurant!
- It’s full of flavor. Juicy pan-seared shrimp are covered in a delicious sweet and spicy sauce. So much flavor for such little effort!
- It’s customizable. You can easily turn up the heat by adding some dried chiles or throw in some other chopped vegetables based on what you have in the fridge.
key ingredients
It might look like a long list of ingredients, but they’re all pretty common and you probably already have a lot of them in your pantry already.
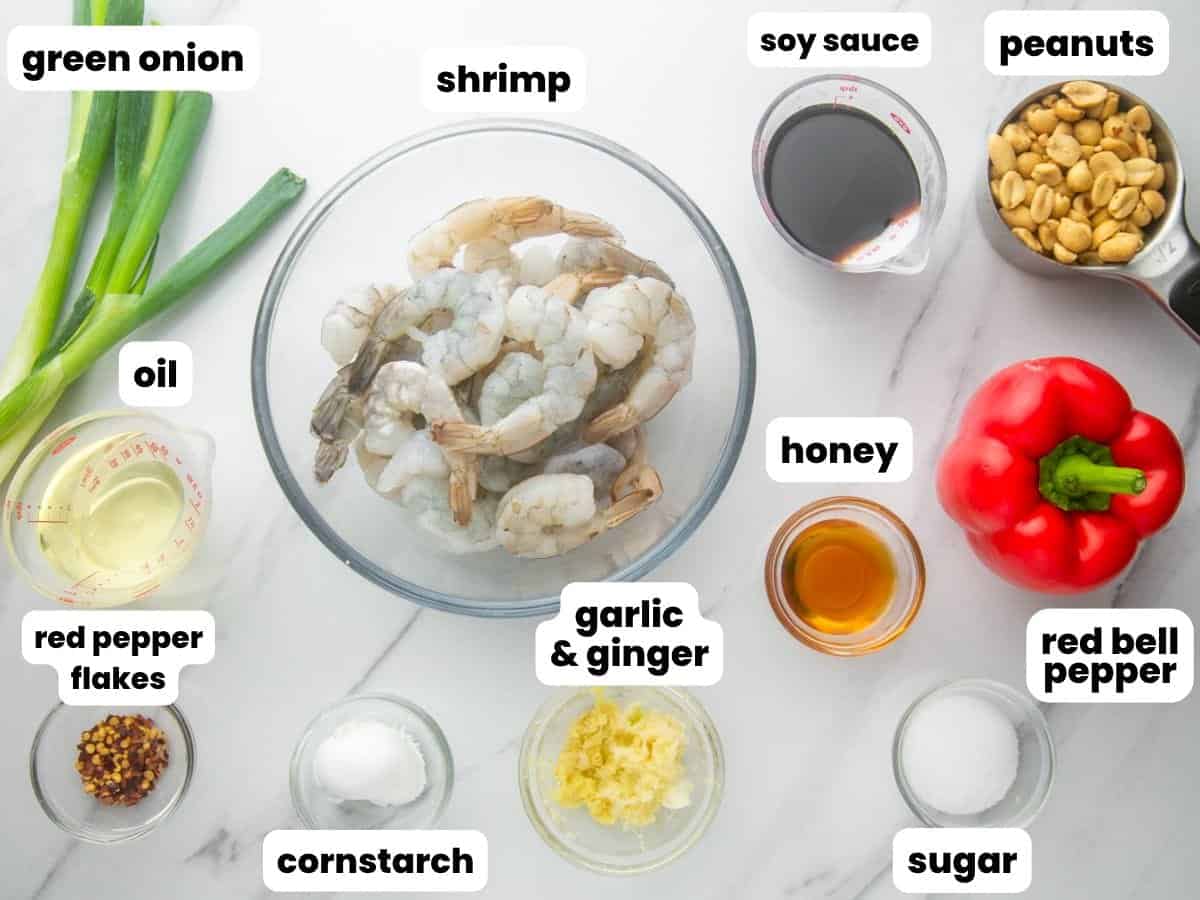
Complete list of ingredients and amounts can be found in the recipe card below.
- Shrimp: You need about a pound of medium-sized shrimp. I used 31-40 count per pound size. The shrimp should be thawed if you’re using frozen, as well as peeled and deveined.
- Marinade: I used soy sauce and cornstarch to add flavor to the shrimp.
- Oil: Vegetable oil is a good option for stir-fries because it is less likely to smoke at high temperatures compared to other oils.
- For the sauce: I use a blend of soy sauce, sesame oil, sugar or honey, red pepper flakes, and cornstarch as a thickener.
- Veggies: I keep it simple with red bell pepper, garlic, and fresh ginger. You can substitute the fresh ginger with ¼ teaspoon of dried ground ginger if that’s what you have on hand.
- Toppings: Chopped peanuts and green onions add a nice crunchy texture to the dish.
How To Make Kung Pao Shrimp
Assemble all of your ingredients ahead of time, so when you’re ready to stir fry, you’ll have everything ready to go!
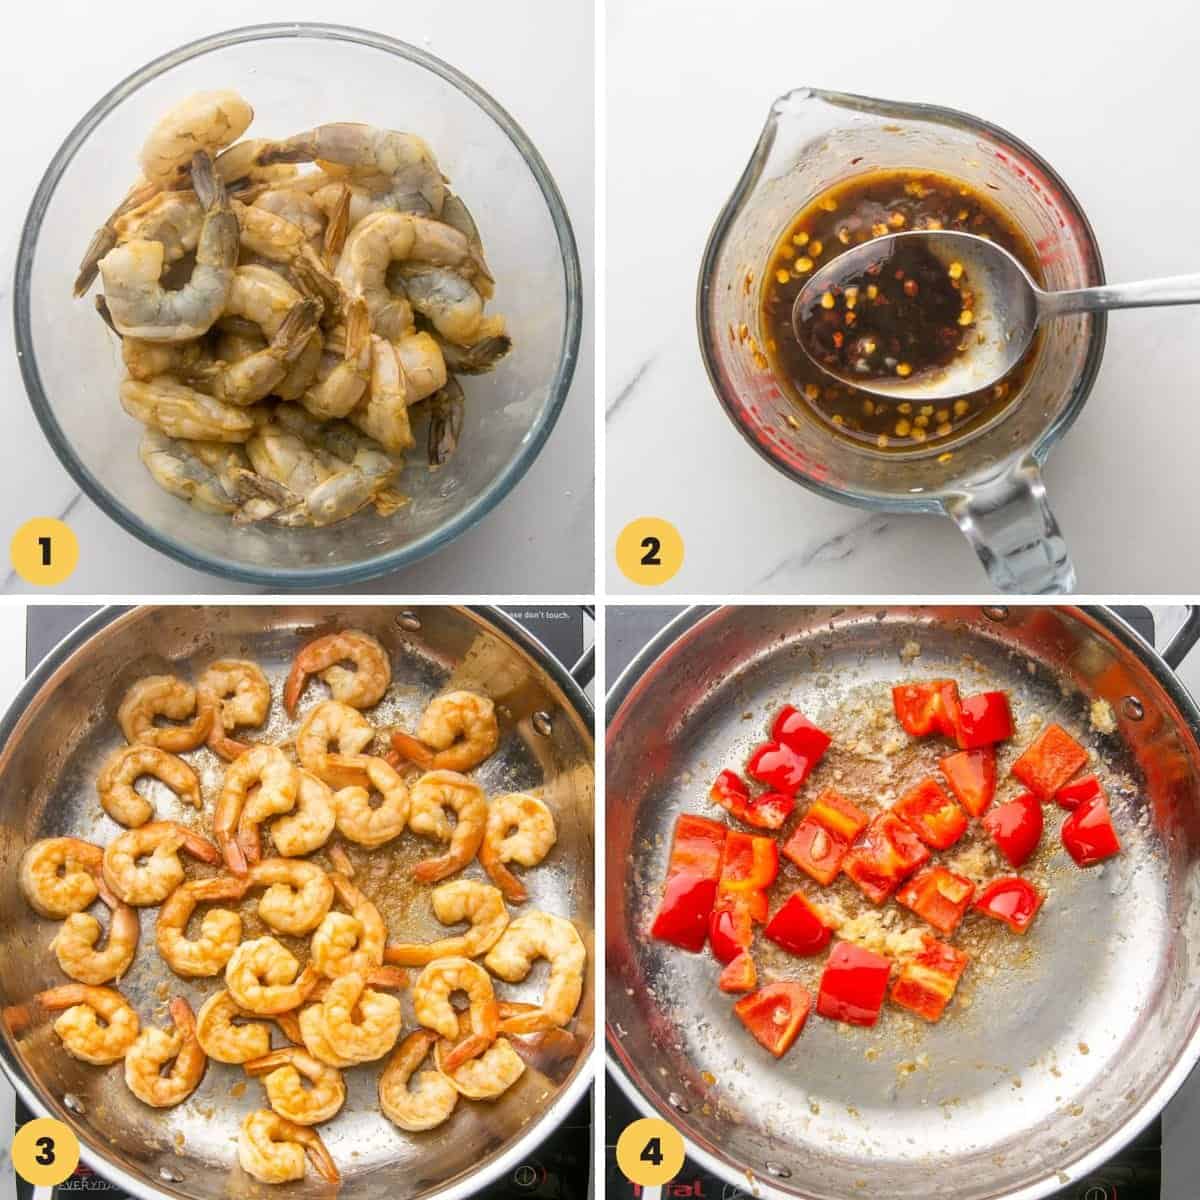
- Marinate shrimp. Combine the soy sauce and cornstarch in a bowl and then add the shrimp. Let it sit for 10 minutes. Marinating the shrimp-like this gives it great flavor.
- Make the sauce. Grab a small bowl and combine the sauce ingredients with a whisk.
- Cook shrimp. Cook the shrimp in a pan on the stovetop over medium-high heat until it is no longer grey. This should take about 1-2 minutes per side. Remove the shrimp from the pan.
- Cook the veggies. Cook the bell pepper, garlic, and ginger in the pan for 2–3 minutes until the pepper has softened a little. You don’t want them too mushy.
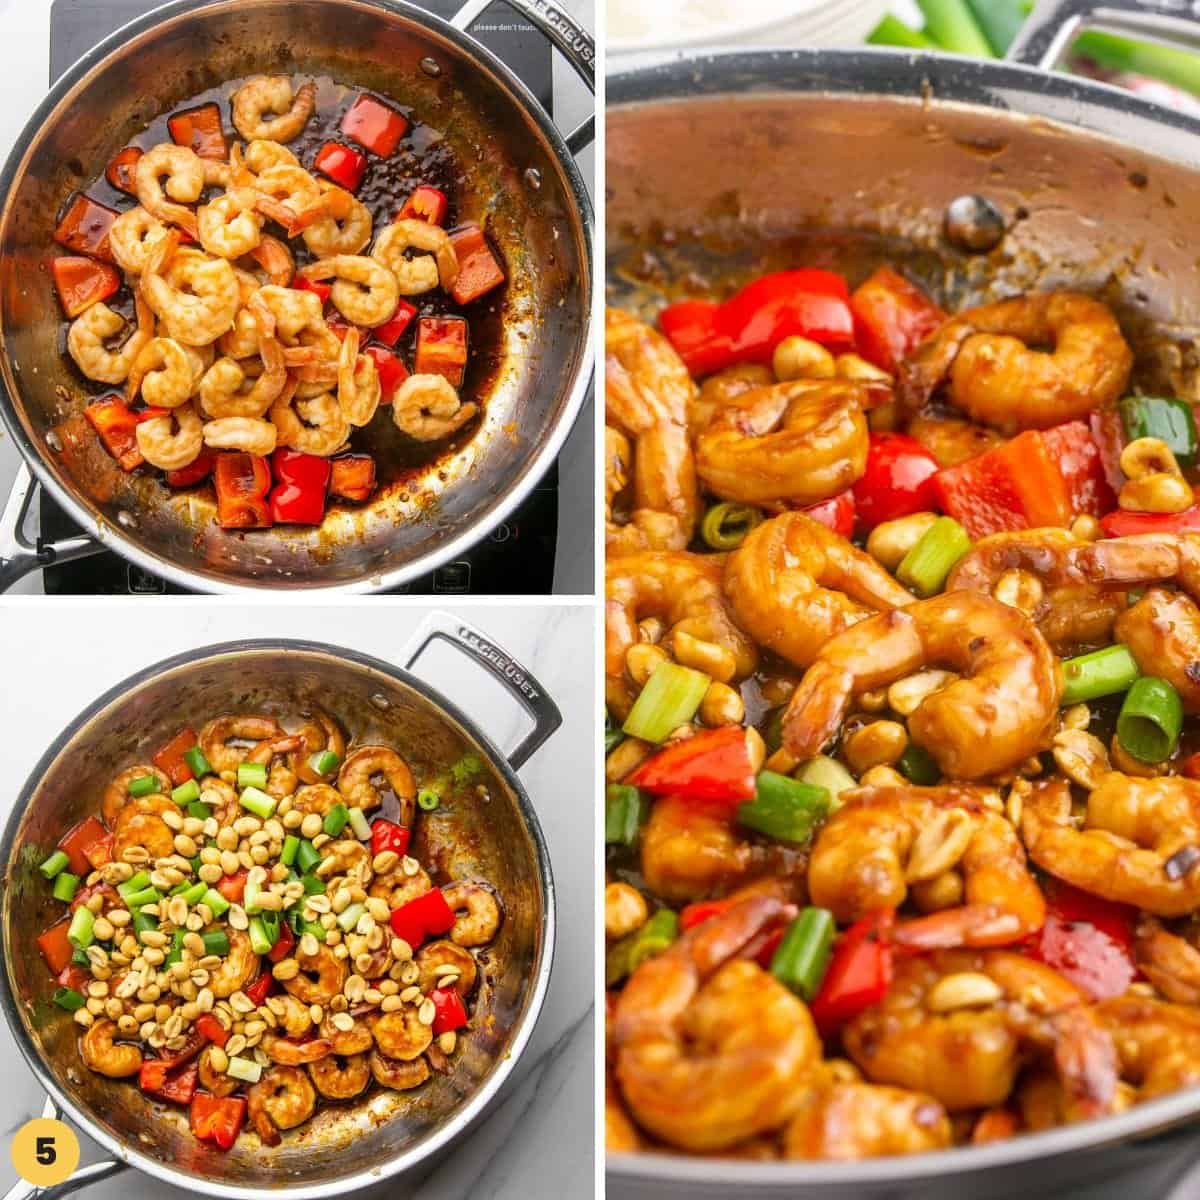
- Stir fry everything. Add the sauce to the pan and let it cook until it starts to thicken, then add the shrimp and cook for 30 seconds just until warm.
- Serve. Stir in the crunchy peanuts and green onions and serve everything over rice.
Tip!
Don’t skip the cornstarch! It helps to crisp up the outside of the shrimp and thicken the sauce!
Recipe Tips
- A very cool tip is freezing the ginger root (I always do this!). It’s so easy to use a Microplane or the small holes on your box grater to grate the ginger as you need it. Frozen ginger doesn’t get stringy the way fresh ginger does, plus freezing it makes it last so much longer.
- If you want to add dried chiles which is more traditional, you can add ¾ cup small dried red chiles (20 grams in total). They are found in Chinese supermarkets, but I left them out as they’re not accessible to everyone. You can also sub with chiles de árbol.
- Prep everything before you begin to cook. Stir-frying moves quickly, so having all your ingredients ready in advance is key!
Storing Tips
Store any leftovers in an airtight container for up to 3 days.
To reheat on the stove: I usually reheat my stir fries in a pan on the stovetop over medium-high heat. Add a drizzle of oil to the pan and when it gets hot, add the leftovers and heat for 2–3 minutes. Make sure you continue to stir the leftovers as they’re warming up.
To reheat in the microwave: You could also microwave in a microwave-safe bowl for 30-second intervals until warmed through.
What To Serve With
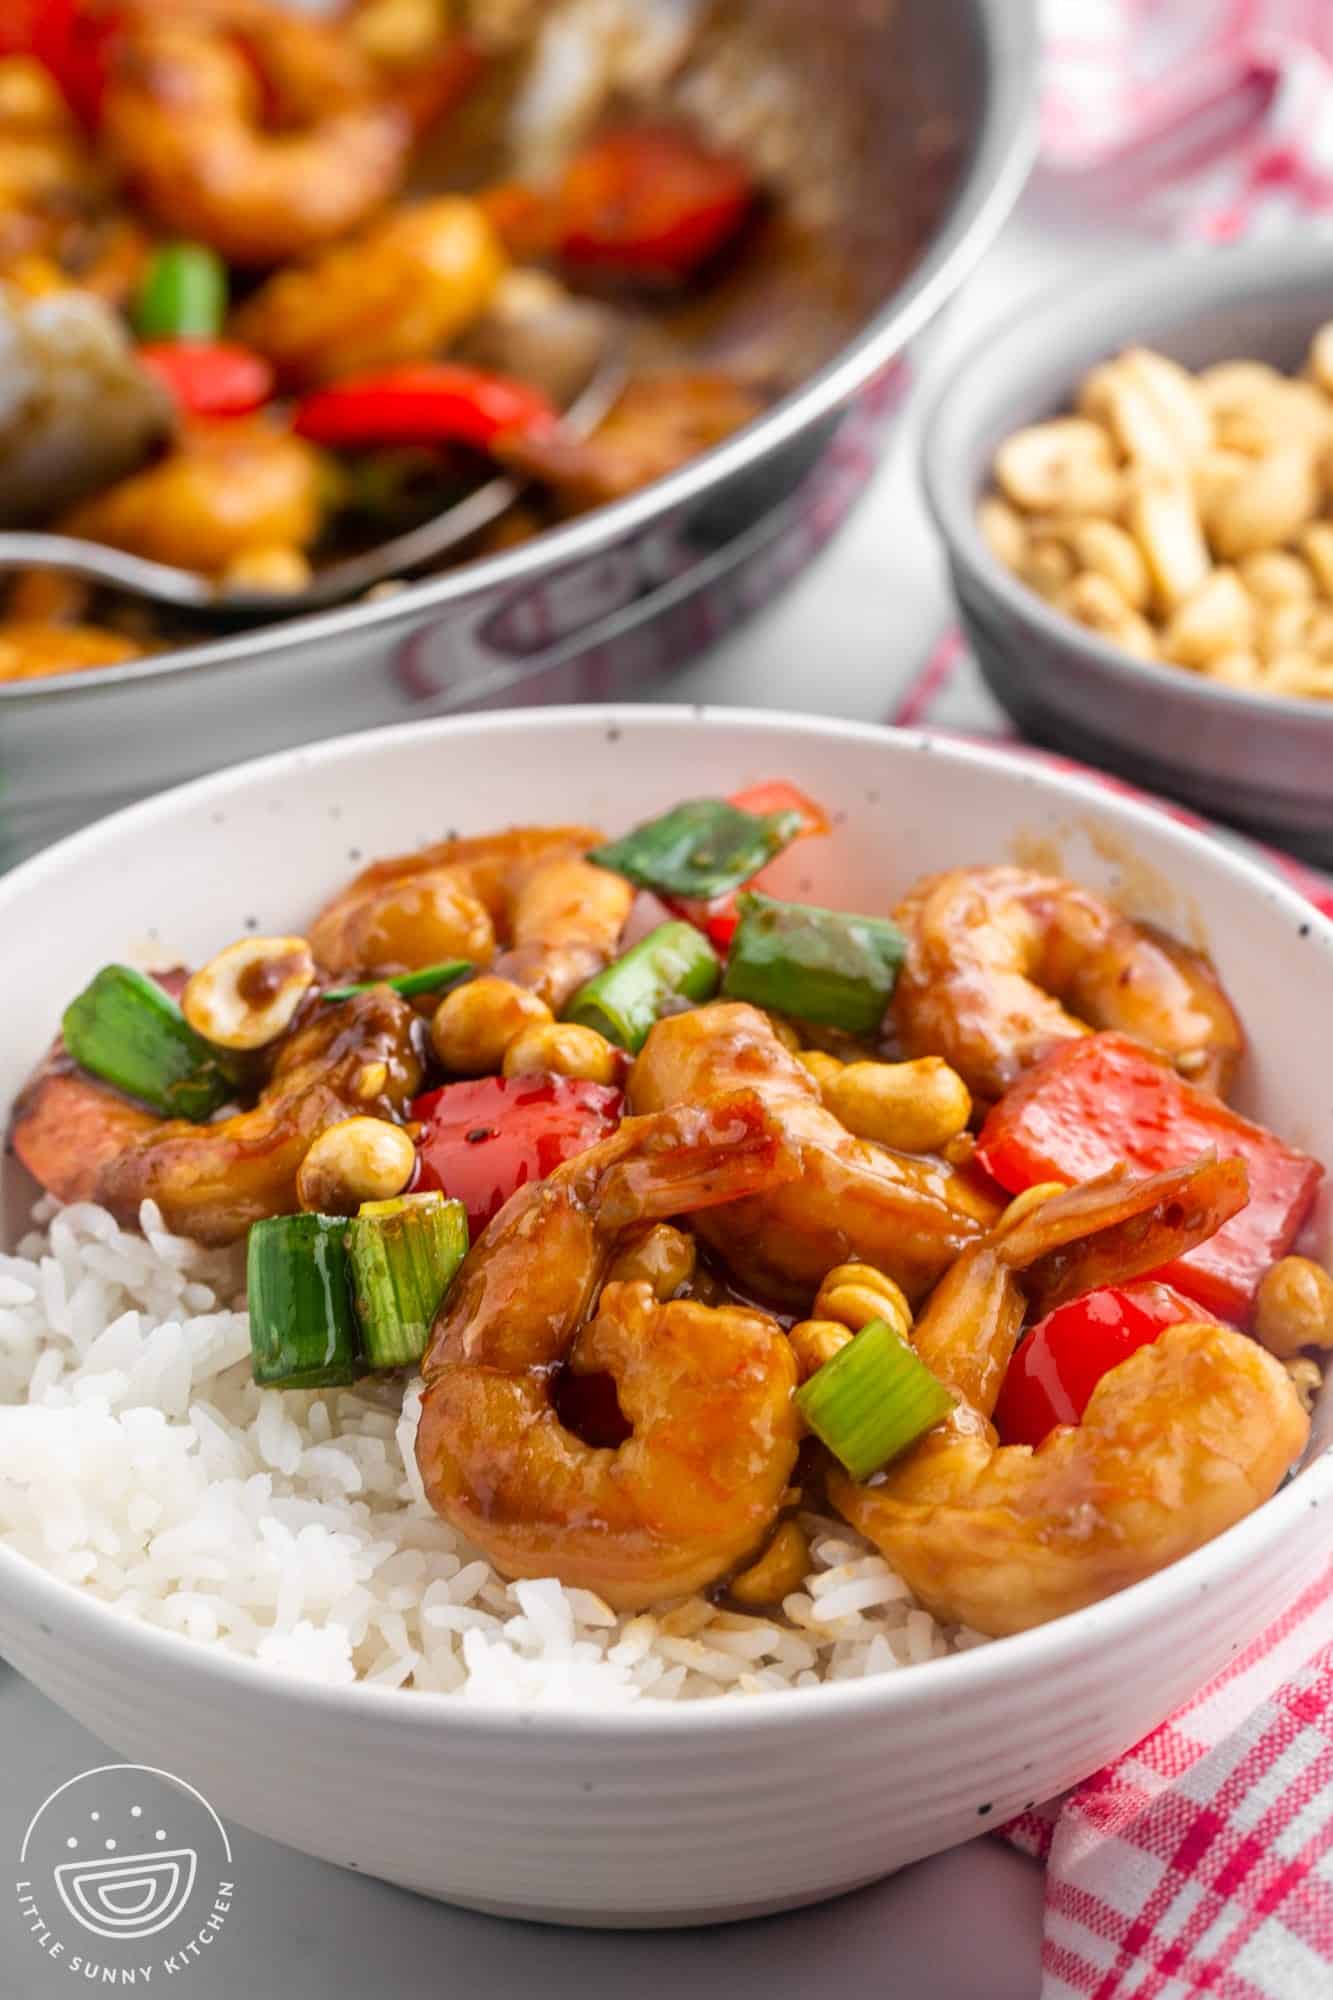
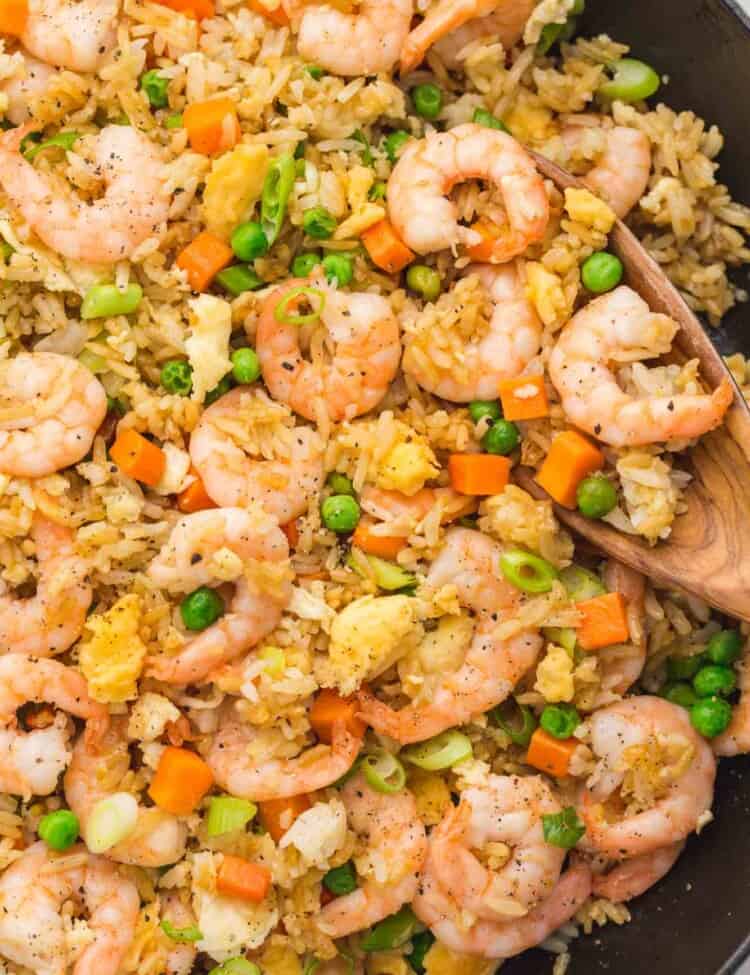
I usually serve this Kung Pao Shrimp with lots of rice like my fried rice or brown rice. The rice soaks up all the sauce and tastes amazing!
You could also serve it with rice noodles or cauliflower rice if you prefer.
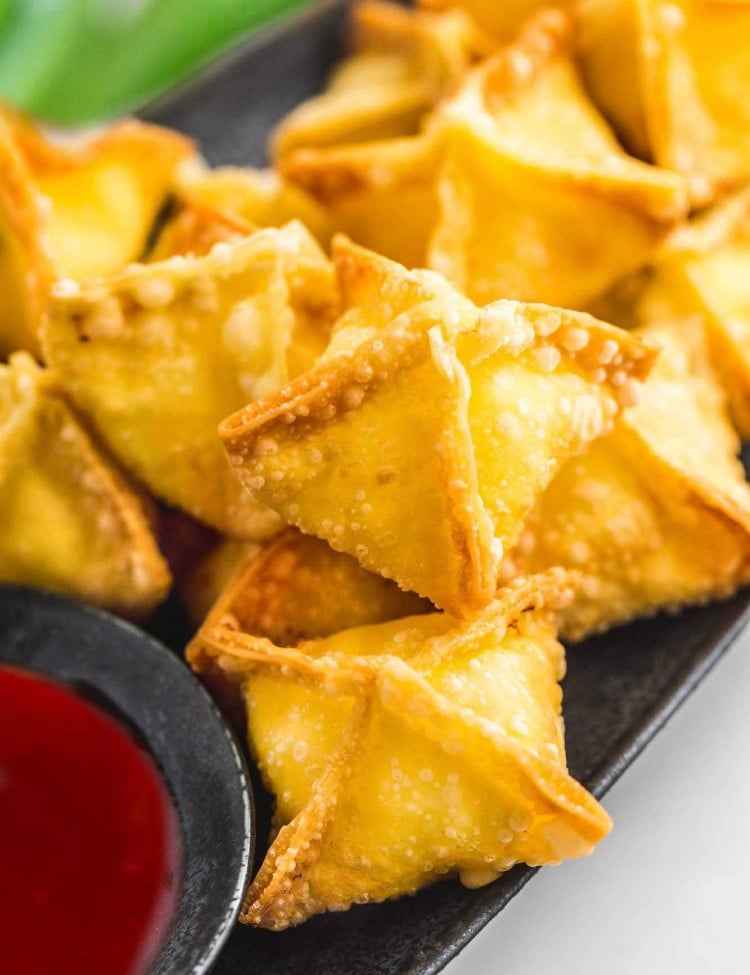
To round out the meal, you could also serve some cream cheese rangoons and some Chinese scallion pancakes. Homemade versions of takeout favorites are such a treat!
FAQs
If you’re using frozen shrimp in this recipe, you will want to defrost it first. There are a couple of options you can use.
If you remember ahead of time, put the frozen shrimp in a bowl in the fridge and leave them to defrost overnight.
If you forget to take the shrimp out ahead of time, no problem! Place the frozen shrimp in a ziptop bag and submerge the bag in a bowl filled with cold water. Leave the shrimp submerged for 20–30 minutes to let the shrimp thaw.
Look for neutral-tasting oils that have a high smoke point, which means they won’t burn when you cook using high temperatures. I prefer to use vegetable oil for stir-fries. Canola oil or peanut oil would also be good options.
The great thing about shrimp is that it cooks quickly. When it’s fully cooked, you’ll see that it changes from grey to pink and the shrimp will firm up. Make sure you don’t overcook the shrimp or it will turn tough and rubbery.
Skip the takeout tonight and make this Kung Pao Shrimp instead! Pin it for more people to enjoy too!
Did you make this? Be sure to leave a review below and tag me on Facebook, Instagram, or Pinterest!
Kung Pao Shrimp
Recipe Video
Equipment
- Skillet 12-inch size
Ingredients
- 1 pound (450 g) raw shrimp I used 31-40 count per pound size, thawed if frozen, peeled and deveined
- 1 tablespoon soy sauce I used gluten-free
- 2 teaspoons cornstarch
- 1 tablespoon vegetable oil
For the sauce:
- 3 tablespoons soy sauce or coconut aminos
- 1 teaspoon sesame oil
- 2 teaspoons granulated sugar or honey
- ½ teaspoon crushed red pepper flakes or 1 teaspoon sriracha
- 1 teaspoon cornstarch
For the stir fry:
- 2 tablespoons vegetable oil
- 1 red bell pepper diced into ½” pieces
- 4 medium cloves garlic minced
- 1 tablespoon grated ginger
- ½ cup unsalted roasted peanuts
- 3 large green onions cut into ½ inch pieces
Instructions
- In a bowl, combine shrimp with soy sauce and cornstarch and let it sit and marinate for 10 minutes as you prep the rest of the ingredients.
- In a small bowl, combine the sauce ingredients (soy sauce, sesame oil, brown sugar, crushed red pepper flakes, and cornstarch) whisk and set aside.
- Heat vegetable oil in a pan over medium high heat, add shrimp and cook until it’s pink and no longer gray (1-2 minutes per side). Remove onto a bowl, and set aside.
- To the same pan, add vegetable oil, bell pepper, garlic and ginger and cook for 2-3 minutes. You want the pepper to soften a little bit but stay crunchy.
- Add the sauce, stir and cook until it starts to thicken, add the shrimp and cook for 30 seconds then remove from heat. Stir in the peanuts and green onions and serve over rice.
Notes:
- Fresh Ginger Substitute: You can substitute the fresh ginger with ¼ teaspoon of dried ground ginger if that’s what you have on hand.
- A very cool tip is freezing the ginger root (I always do this!). It’s so easy to use a Microplane or the small holes on your box grater to grate the ginger as you need it. Frozen ginger doesn’t get stringy the way fresh ginger does, plus freezing it makes it last so much longer.
- If you want to add dried chiles which is more traditional, you can add ¾ cup small dried red chiles (20 grams in total). They are found in Chinese supermarkets, but I left them out as they’re not accessible to everyone. You can also sub with chiles de árbol.
- Prep everything before you begin to cook. Stir-frying moves quickly, so having all your ingredients ready in advance is key!
-
Store any leftovers in an airtight container for up to 3 days.
To reheat on the stove: I usually reheat my stir fries in a pan on the stovetop over medium-high heat. Add a drizzle of oil to the pan and when it gets hot, add the leftovers and heat for 2–3 minutes. Make sure you continue to stir the leftovers as they’re warming up.
To reheat in the microwave: You could also microwave in a microwave-safe bowl for 30-second intervals until warmed through.
Nutrition Information
This website provides approximate nutrition information for convenience and as a courtesy only. Nutrition data is gathered primarily from the USDA Food Composition Database, whenever available, or otherwise other online calculators.
© Little Sunny Kitchen

Shanna says
My family loved this recipe. It is a keeper!
Dana G says
So much better than takeout- and the whole family agrees!! I am absolutely making this again.
Little Sunny Kitchen says
So glad you and your family loved this recipe, Dana! Thanks for the great review
Cathy says
This is a new addition to my favorite Asian recipes! You’re right, it’s bursting with flavors, and the sauce is a winner, my fam loves it!
Little Sunny Kitchen says
Thank you for the wonderful review, Cathy! I’m happy to hear this is a new favorite!
Jess says
it is amazing how easy and fast this recipe is and I love it so much! thank you for sharing this amazing recipe
Little Sunny Kitchen says
Thank you so much, Jess! Happy to hear you loved this recipe!