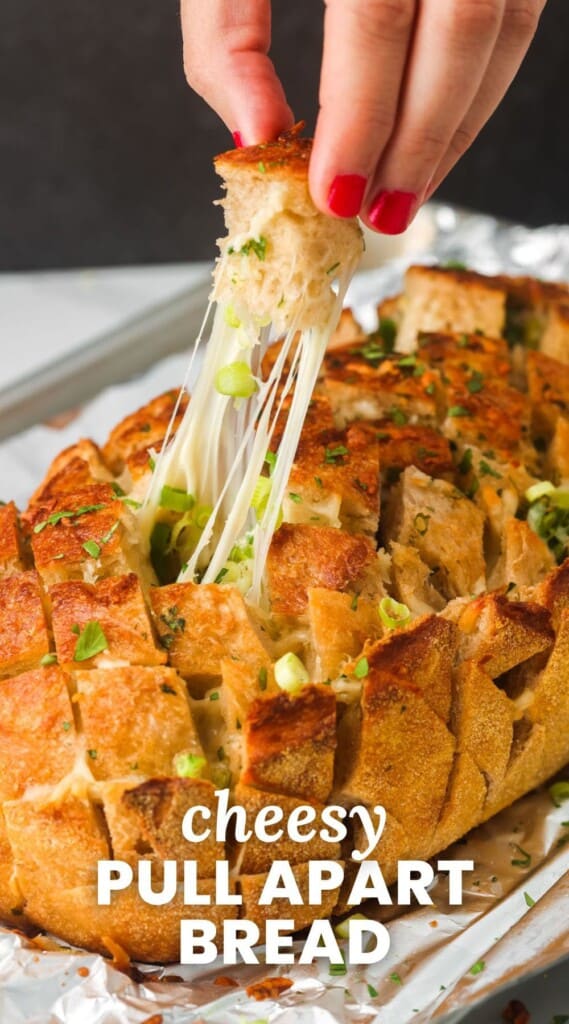
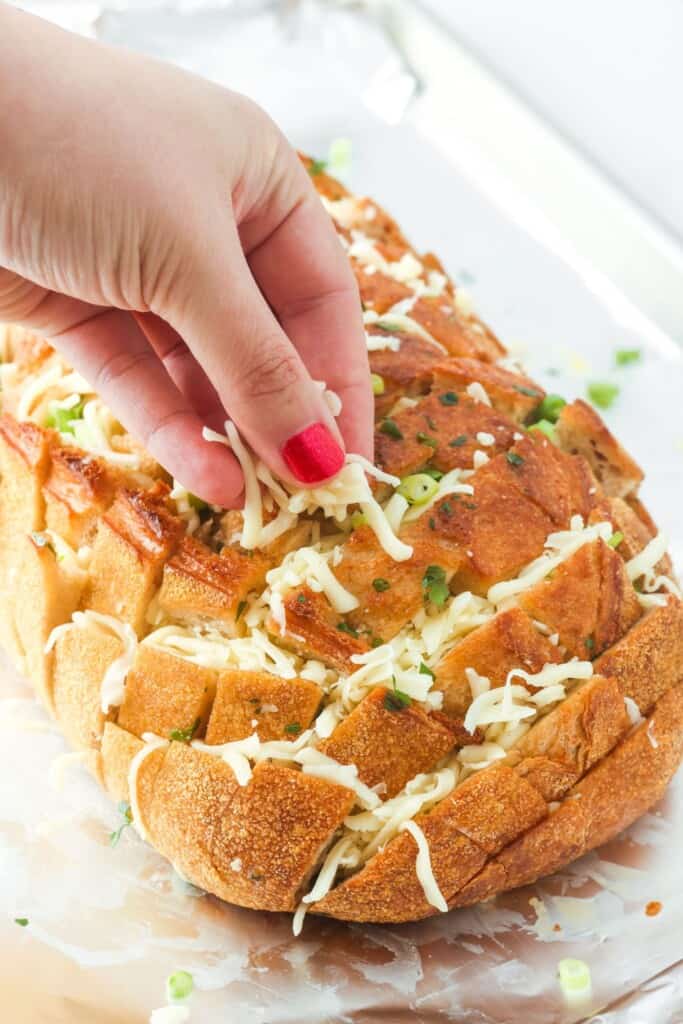
Impress your party guests with this amazing appetizer of Cheesy Pull Apart Bread stuffed with butter, garlic, and mozzarella cheese. It’s an irresistible snack, perfect for any occasion.
This amazing garlicky cheesy pull apart bread is so delicious, addicting, and quite possibly the best thing that I could ever do with a loaf of sourdough!
If you’re not already family with cheesy pull-apart bread (aka “crack bread” or “cheesy bread”), it’s the perfect appetizer recipe.
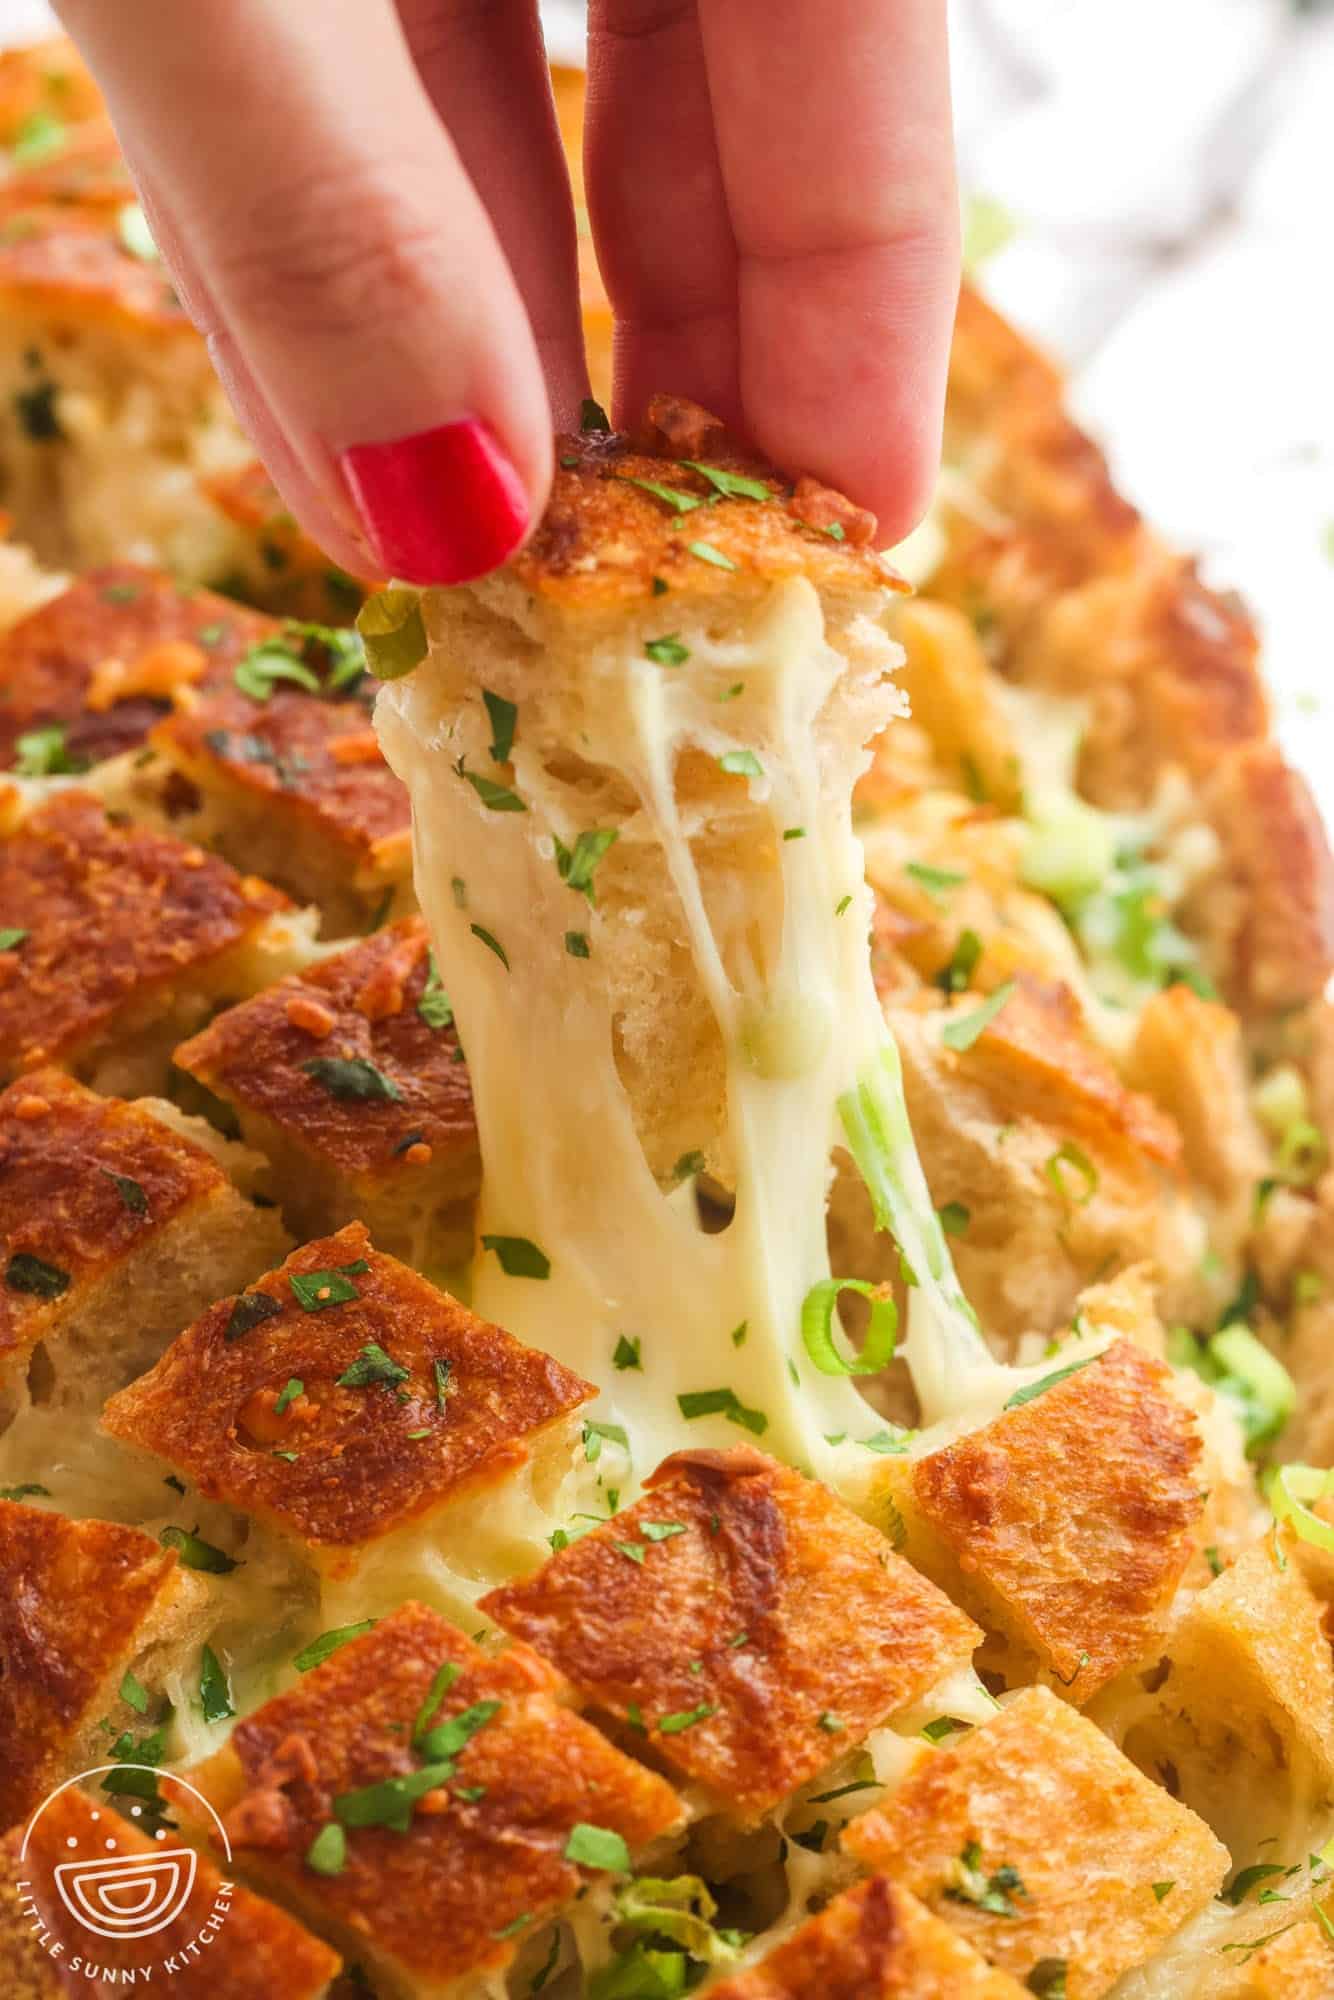
Take a whole loaf of bread and cut it into perfectly portioned, pullable pieces. Then fill up all the space you made with those cuts with garlic and herb butter, green onion, and plenty of melty cheese.
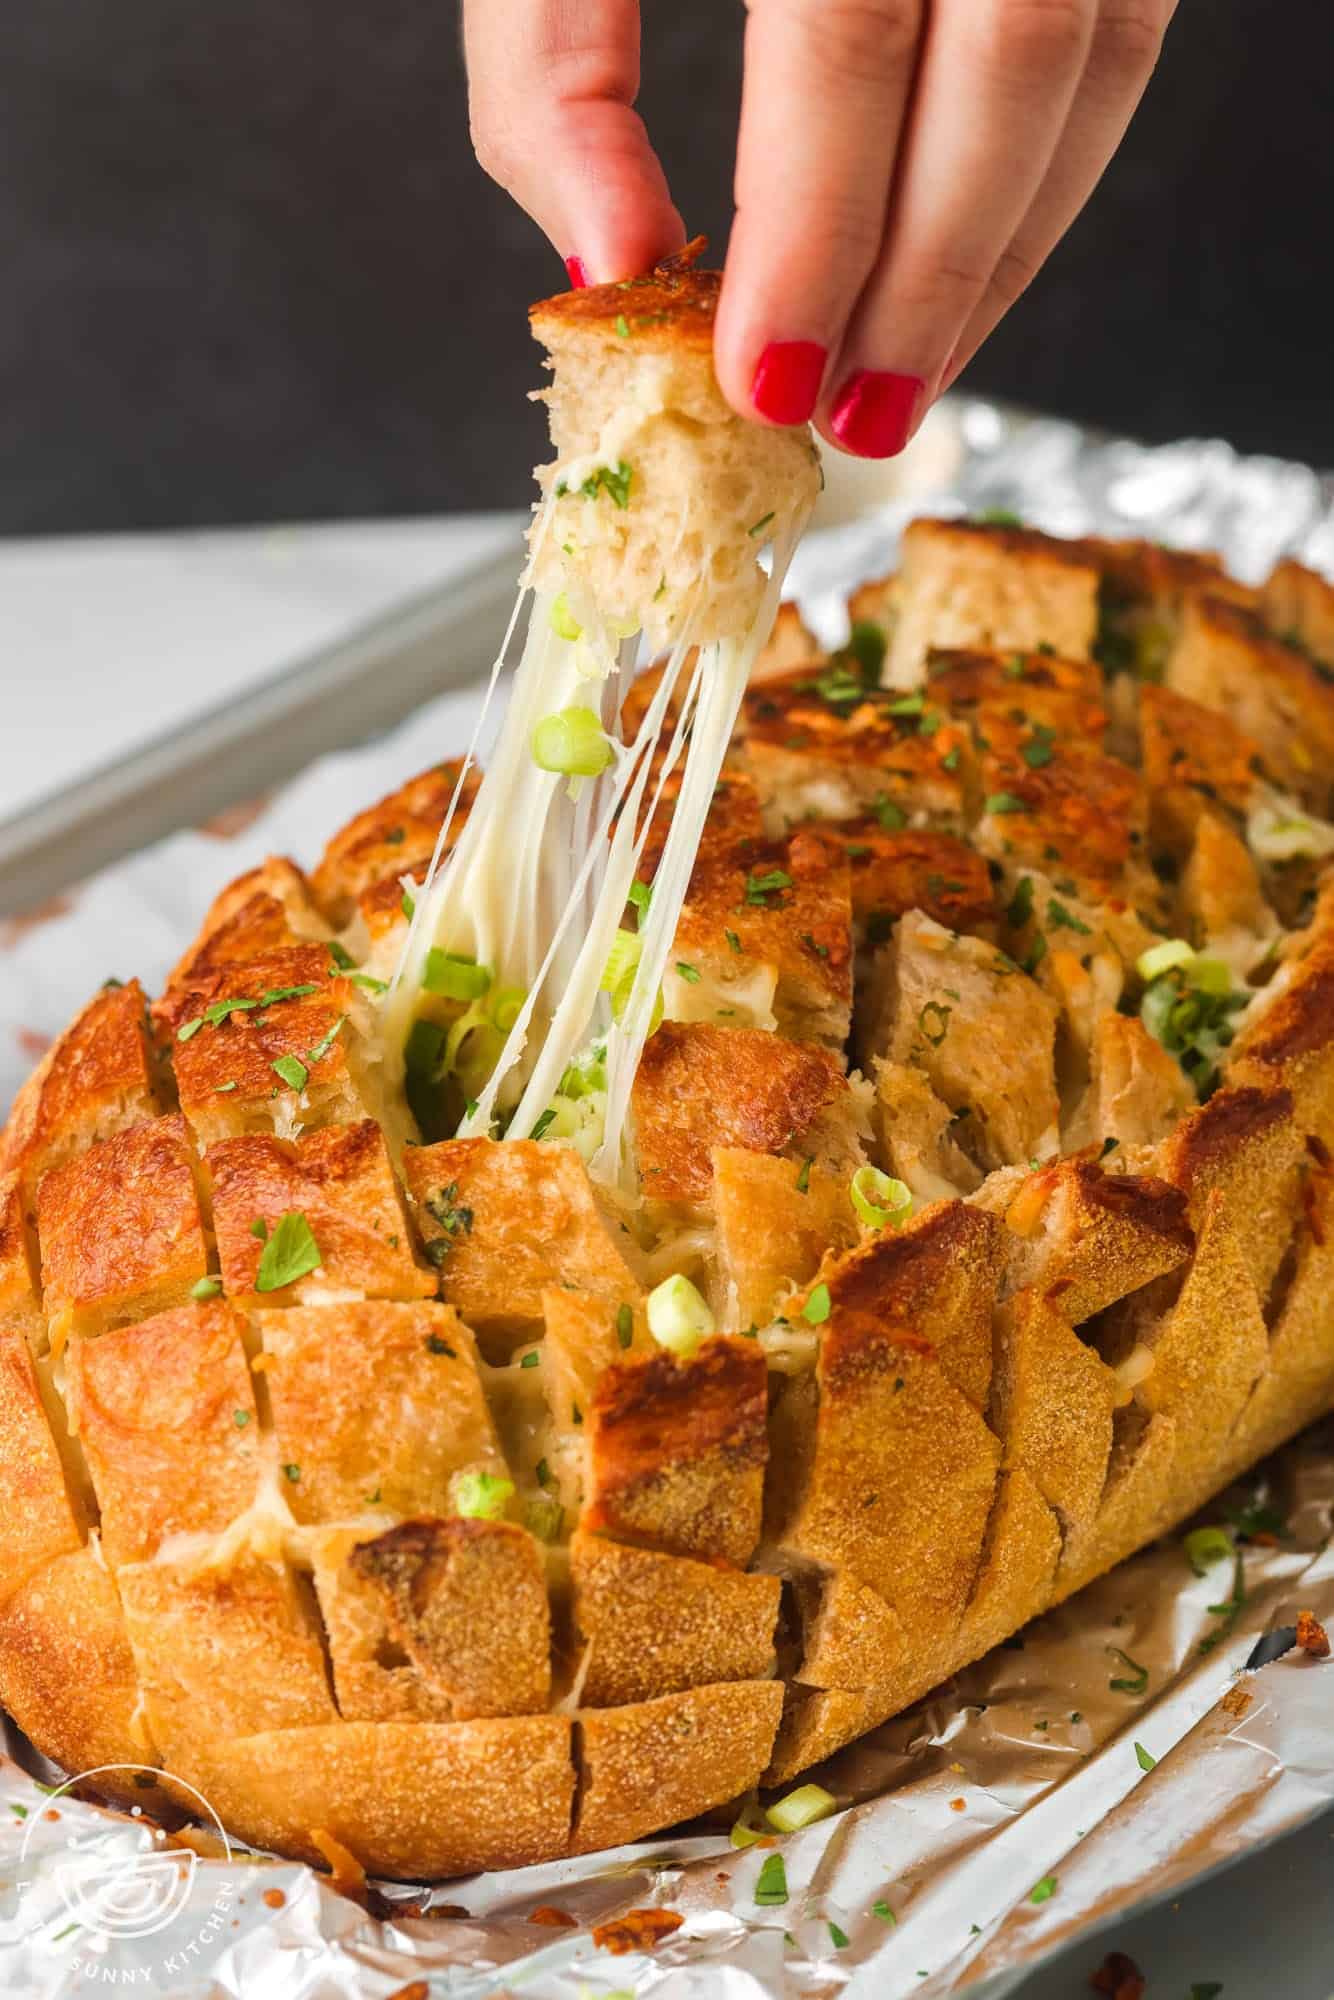
The result is a ridiculously good and shareable snack that is sure to be devoured as soon as you put it down on the table! You might want to make two of these so you can be sure to have some for yourself.
Or, make up a few other tasty appetizers, like my cheesy spinach artichoke dip or cheeseburger dip. Both of these are simple to make and always well-received by hungry party-goers.
Why You’ll Love This Recipe
Just look at this beautiful toasted loaf of bread! And look at all that melty cheese inside! Seriously, there’s nothing not to like about this recipe for cheesy pull apart bread.
This recipe will teach you how to make the most basic version of this appetizer, but I also think that it’s the best version. You can’t go wrong with butter, garlic, cheese, and bread.
If you want to make other flavors of pull apart bread, please feel free to experiment with this recipe. It’s super forgiving and ready for your special touches.
Ingredients In Pull Apart Bread
Here’s what you need to make this simple appetizer:
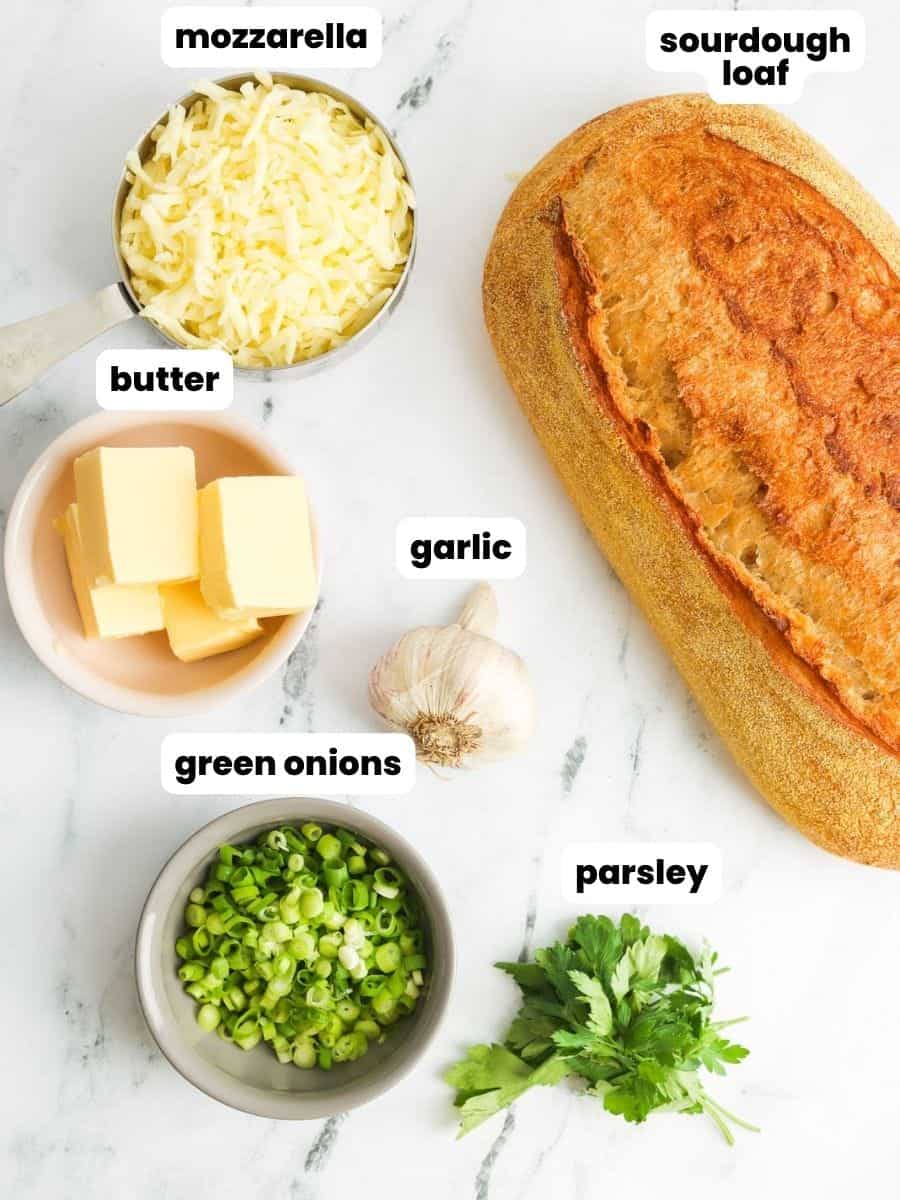
- A Loaf of Bread: Look for a sturdy loaf of bread that is about 2 pounds in weight. Here I’m using sourdough bread, but French loaf or Italian bread will also work well. You want the bread to be unsliced since we’ll be slicing it ourselves into bite-sized, pull-able pieces.
- Butter: A whole stick of butter will be melted and drizzled into the spaces of the bread. I like to use unsalted butter. This way I can season it myself with the perfect amount of kosher salt.
- Garlic: Use 2 cloves of fresh garlic, and mince it very finely. You can also use a garlic press if that’s easier.
- Parsley and Green Onion: Not only do these two offer a beautiful green contrast to the pale color of the bread, but they add tons of flavor too!
- Cheese: For the best melty, gooey texture, I suggest using shredded mozzarella cheese. But really, you can use any melting cheese that you like.
Complete list of ingredients and amounts can be found in the recipe card below.
How To Make Pull Apart Bread

- Melt Butter: In a small bowl, melt the butter in the microwave (it usually takes about 20 seconds). Then add minced garlic, salt, and half of the chopped parsley. Stir and set aside.
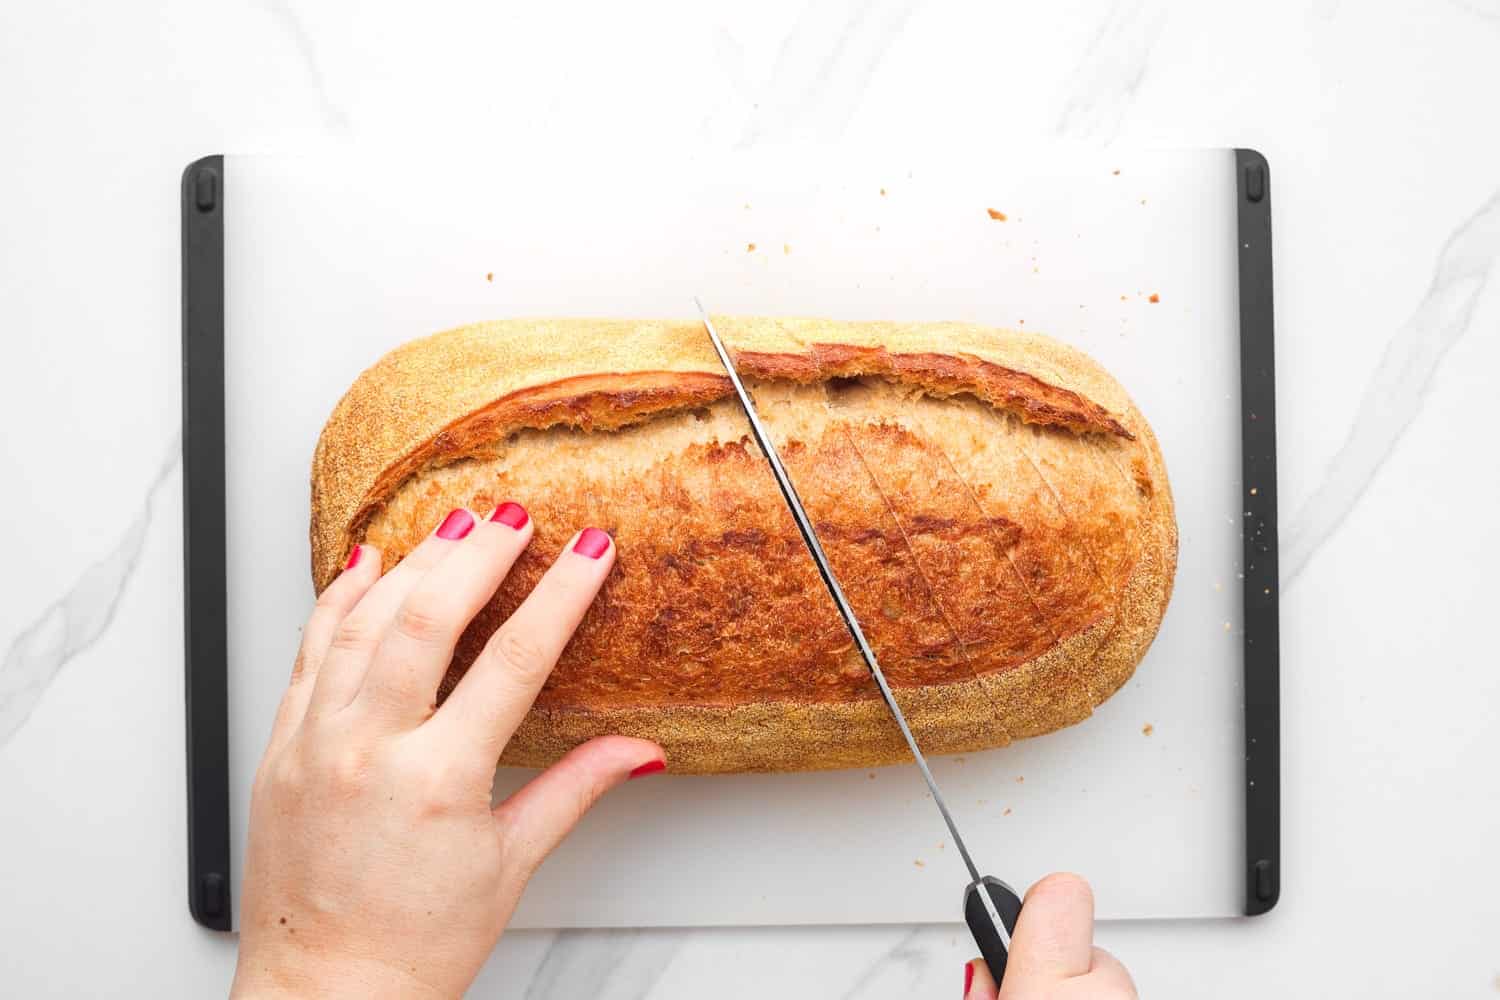
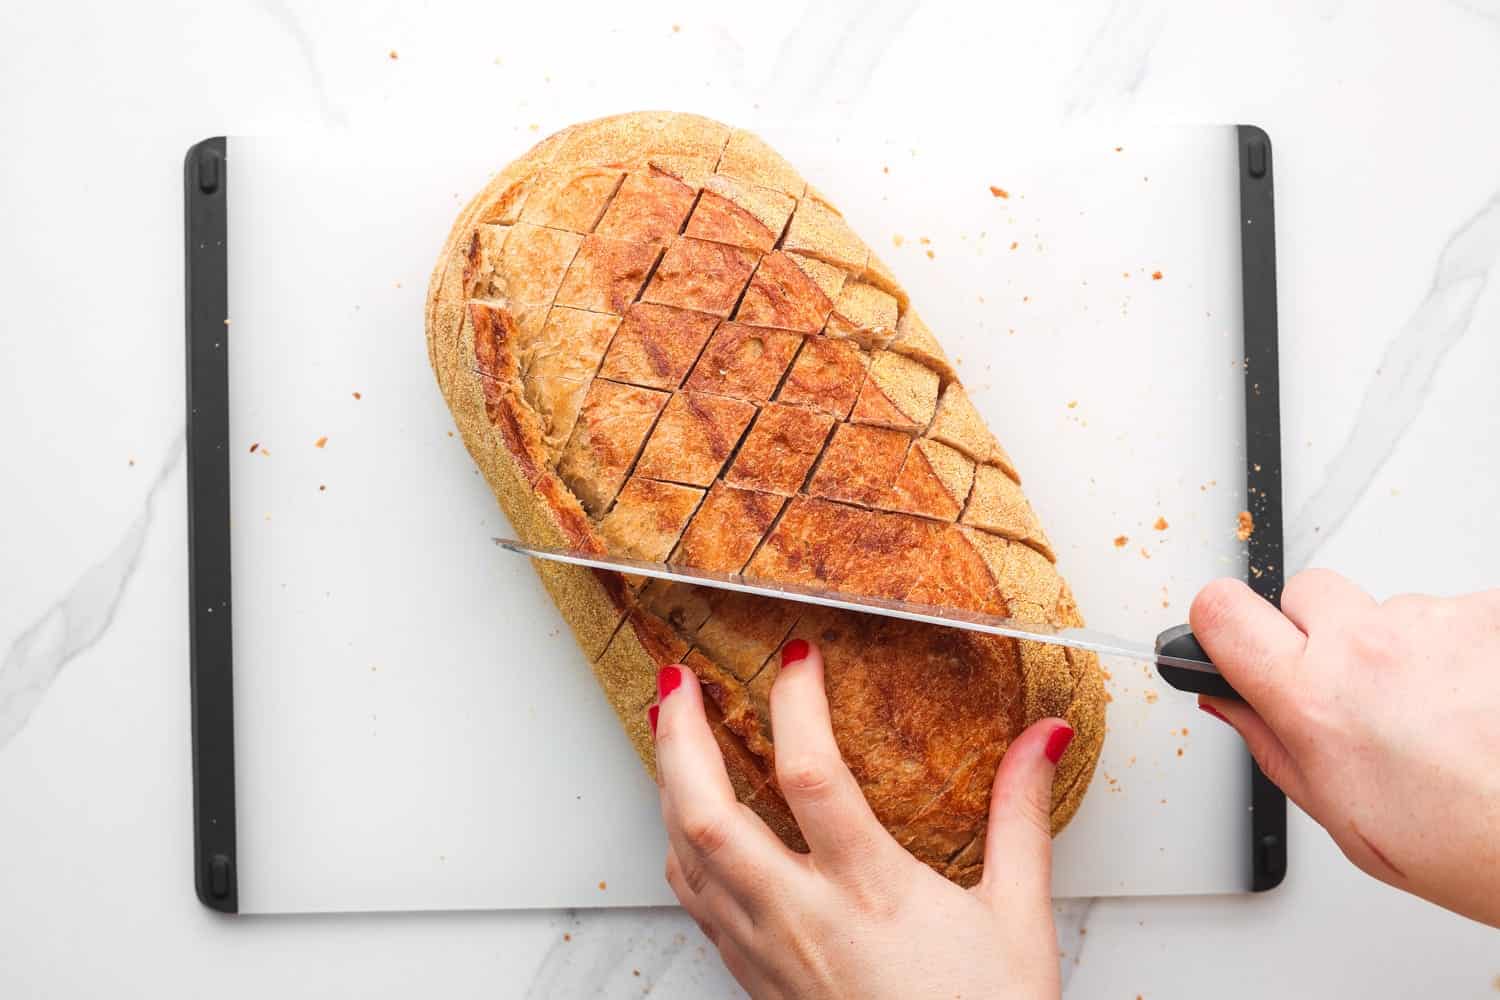
- Slice the Bread: Place the loaf of bread on a cutting board. Use a serrated knife to make diagonal cuts across the top of the loaf, and then repeat in the opposite direction to create a diamond pattern of 1-inch pieces.
Tip!
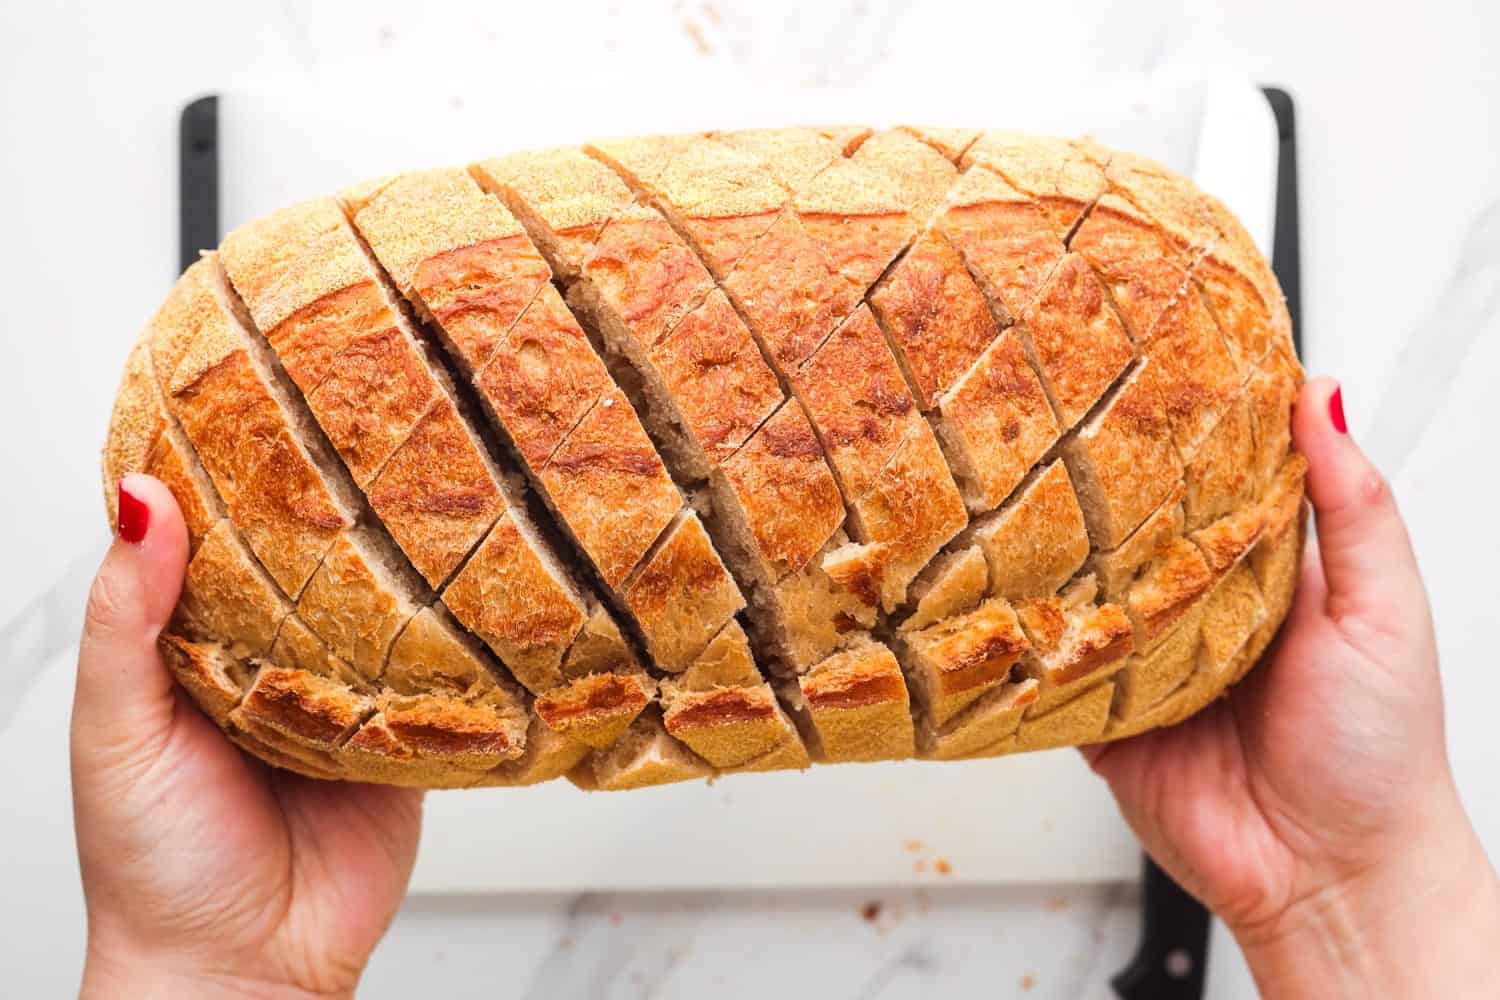
Be very careful that you don’t cut all the way though the bread! You want each piece to stay connected to the loaf.
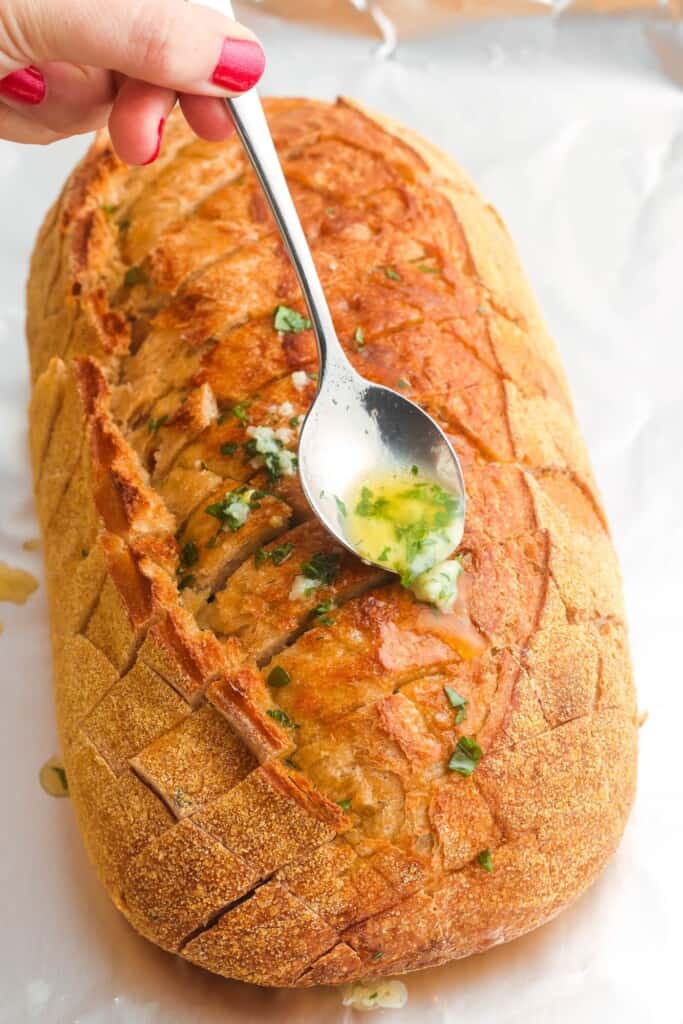
- Stuff: Place the loaf on a piece of foil on a sheet pan. Pour the butter mixture evenly into all the crevices of the bread. Then gently stuff the bread with sliced green onion and shredded cheese.
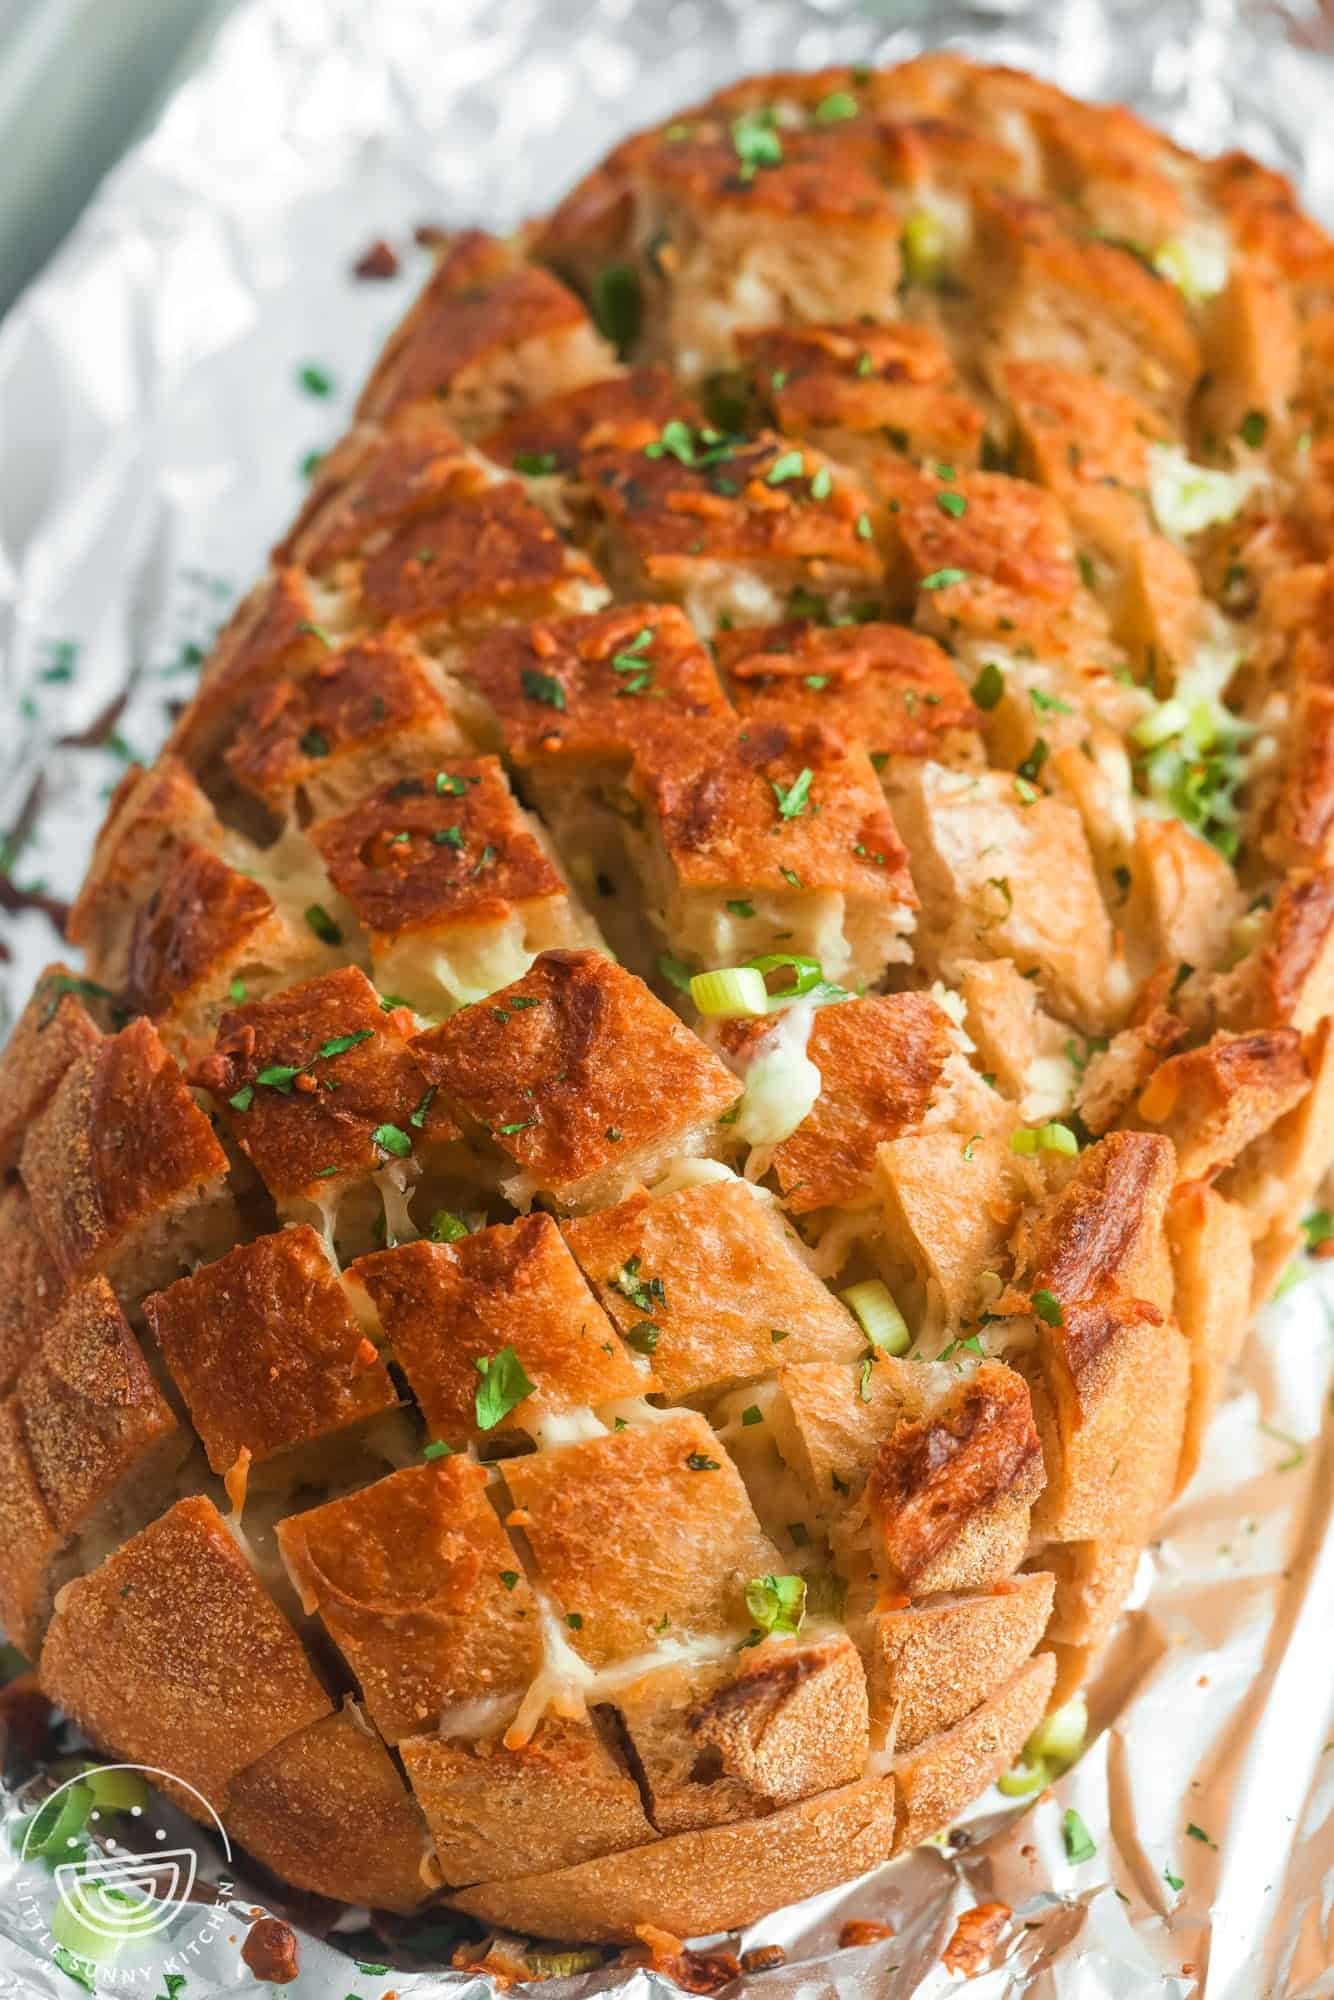
- Bake: Cover the bread with foil and bake in a preheated 350°F (180°C) oven for 15 minutes. For a crispy top, remove the foil and continue baking for 10 minutes or until browned. Garnish with the rest of the parsley before serving.
Recipe Tips
- A serrated knife is the best type of knife to use when cutting bread for this recipe. Cut in a gentle sawing motion to avoid squishing the bread while you cut it.
- Experiment with cheeses! This recipe is very versatile and can be stuffed with just about anything. Try it with different types of cheeses such as cheddar, swiss, or fontina.
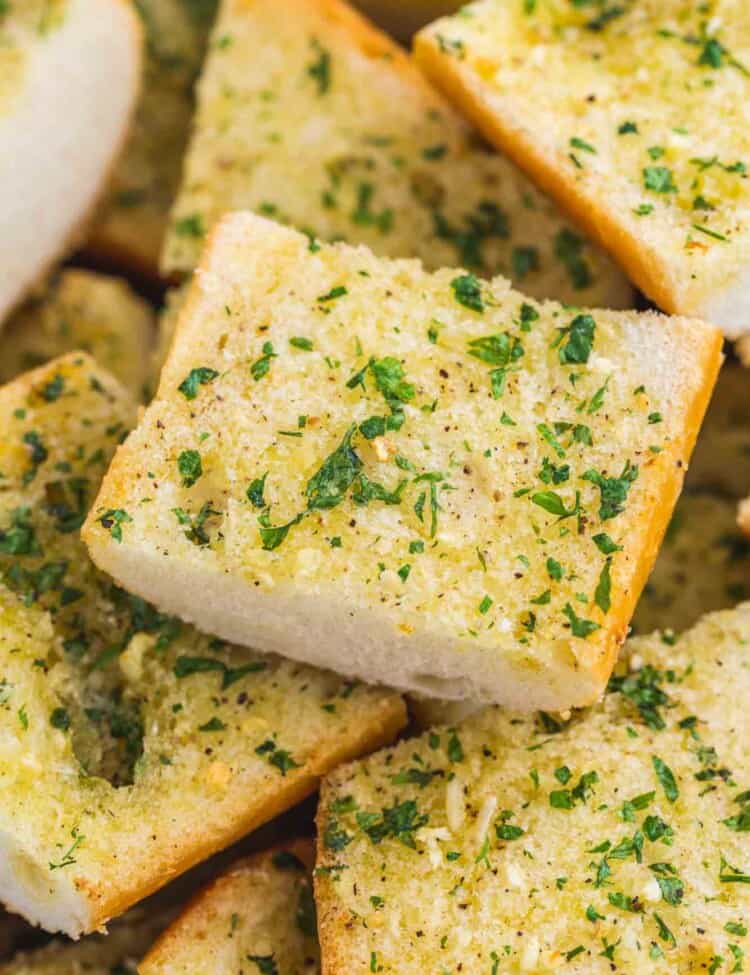
- Don’t forget about the bottom of the loaf. Once all of the cheesy squares are pulled out, you’ll be left with the base. That’s the best part! All of the extra butter drips down there. Save that part for yourself, or chop it up and share it as a second round of crispy garlic bread.
Storing Tips
To Store Baked Pull-Apart Bread: Once baked, the bread can be wrapped well and stored in the fridge for up to 5 days. To reheat it, preheat the oven to 350°F (180°C), wrap the bread with foil, and bake for 10-15 minutes or until the cheese is melty again.
To Store Unbaked Pull-Apart Bread: Prepare the loaf, filling it with butter and cheese. You can store it this way in the fridge for a couple of hours before baking, or wrap it tightly and store the loaf in the freezer for up to 1 month. If needed, you can bake it directly from frozen, adding a few extra minutes to the baking time.
More Easy Sharable Appetizers
If you’re making pull-apart bread, you’re likely hosting a get-together, so here are some more of my favorite party foods:
- Cheesy Spinach Artichoke Dip
- Swedish Meatballs (just like Ikea!)
- Deviled Eggs
- Ground Beef Nachos
- Stromboli
What Else To Add to Pull Apart Bread?
There are so many good options here! Try adding cooked bacon, pepperoni, artichoke hearts, sundried tomatoes, or chopped olives.
You can also change up the flavor by adding different herbs to the butter mixture. Try rosemary and garlic pull-apart cheesy bread, or add a couple of tablespoons of ranch seasoning to the mix.
Can You Freeze Cheesy Pull Apart Bread?
Yes! This is a great freezer recipe. Simply make the recipe as directed, but don’t bake it. Wrap the loaf well with foil, then place it in a freezer bag or container. Store it in the freezer for up to a month, then bake it from frozen when you’re ready to eat!
More Appetizer Recipes
All Appetizers →


This pull-apart bread is so unbelievably tasty! Make it for your next party, and watch it disappear. Don’t forget to save this recipe by pinning it!
Did you make this? Be sure to leave a review below and tag me on Facebook, Instagram, or Pinterest!

Cheesy Pull Apart Bread
Recipe Video
Equipment
- cutting board
- sheet pan
Ingredients
- 16 ounce (900 g) sourdough loaf or french loaf
- 1 stick (½ cup) (113 g) unsalted butter
- 1 teaspoon kosher salt
- 2 cloves garlic minced
- ½ cup green onion sliced
- ¼ cup fresh parsley chopped (divided)
- 8 ounces shredded mozzarella or any other melting cheese
Instructions
- Preheat your oven to 350°F (180°C), or 160°C for fan ovens.
- Melt the butter in a small bowl. Add minced garlic, salt, and half of the chopped parsley. Stir until well combined.
- Place the bread loaf on a cutting board. Using a serrated knife, make diagonal cuts across the top of the loaf, and then repeat in the opposite direction to create a diamond pattern of 1-inch pieces. Be careful not to cut all the way through the bread.
- Place the bread on a large piece of foil on a sheet pan. Pour the butter mixture into the crevices of the bread, ensuring it’s evenly distributed. Gently stuff the bread with sliced green onion and shredded cheese.
- Cover the bread with foil and bake in the preheated oven for 15 minutes.
- For a crispy top, uncover the bread and bake for an additional 10 minutes.
- Before serving, garnish the bread with the remaining parsley and additional green onion. Serve warm.
Notes:
- A serrated knife is the best type of knife to use when cutting bread for this recipe. Cut in a gentle sawing motion to avoid squishing the bread while you cut it.
- Experiment with cheeses! This recipe is very versatile and can be stuffed with just about anything. Try it with different types of cheeses such as cheddar, swiss, or fontina.
- Don’t forget about the bottom of the loaf. Once all of the cheesy squares are pulled out, you’ll be left with the base. That’s the best part! All of the extra butter drips down there. Save that part for yourself, or chop it up and share it as a second round of crispy garlic bread.
- To Store Baked Pull-Apart Bread: Once baked, the bread can be wrapped well and stored in the fridge for up to 5 days. To reheat it, preheat the oven to 350°F (180°C), wrap the bread with foil, and bake for 10-15 minutes or until the cheese is melty again.
- To Store Unbaked Pull-Apart Bread: Prepare the loaf, filling it with butter and cheese. You can store it this way in the fridge for a couple of hours before baking, or wrap it tightly and store the loaf in the freezer for up to 1 month. If needed, you can bake it directly from frozen, adding a few extra minutes to the baking time.
Nutrition Information
This website provides approximate nutrition information for convenience and as a courtesy only. Nutrition data is gathered primarily from the USDA Food Composition Database, whenever available, or otherwise other online calculators.
© Little Sunny Kitchen

Leave a Review!