
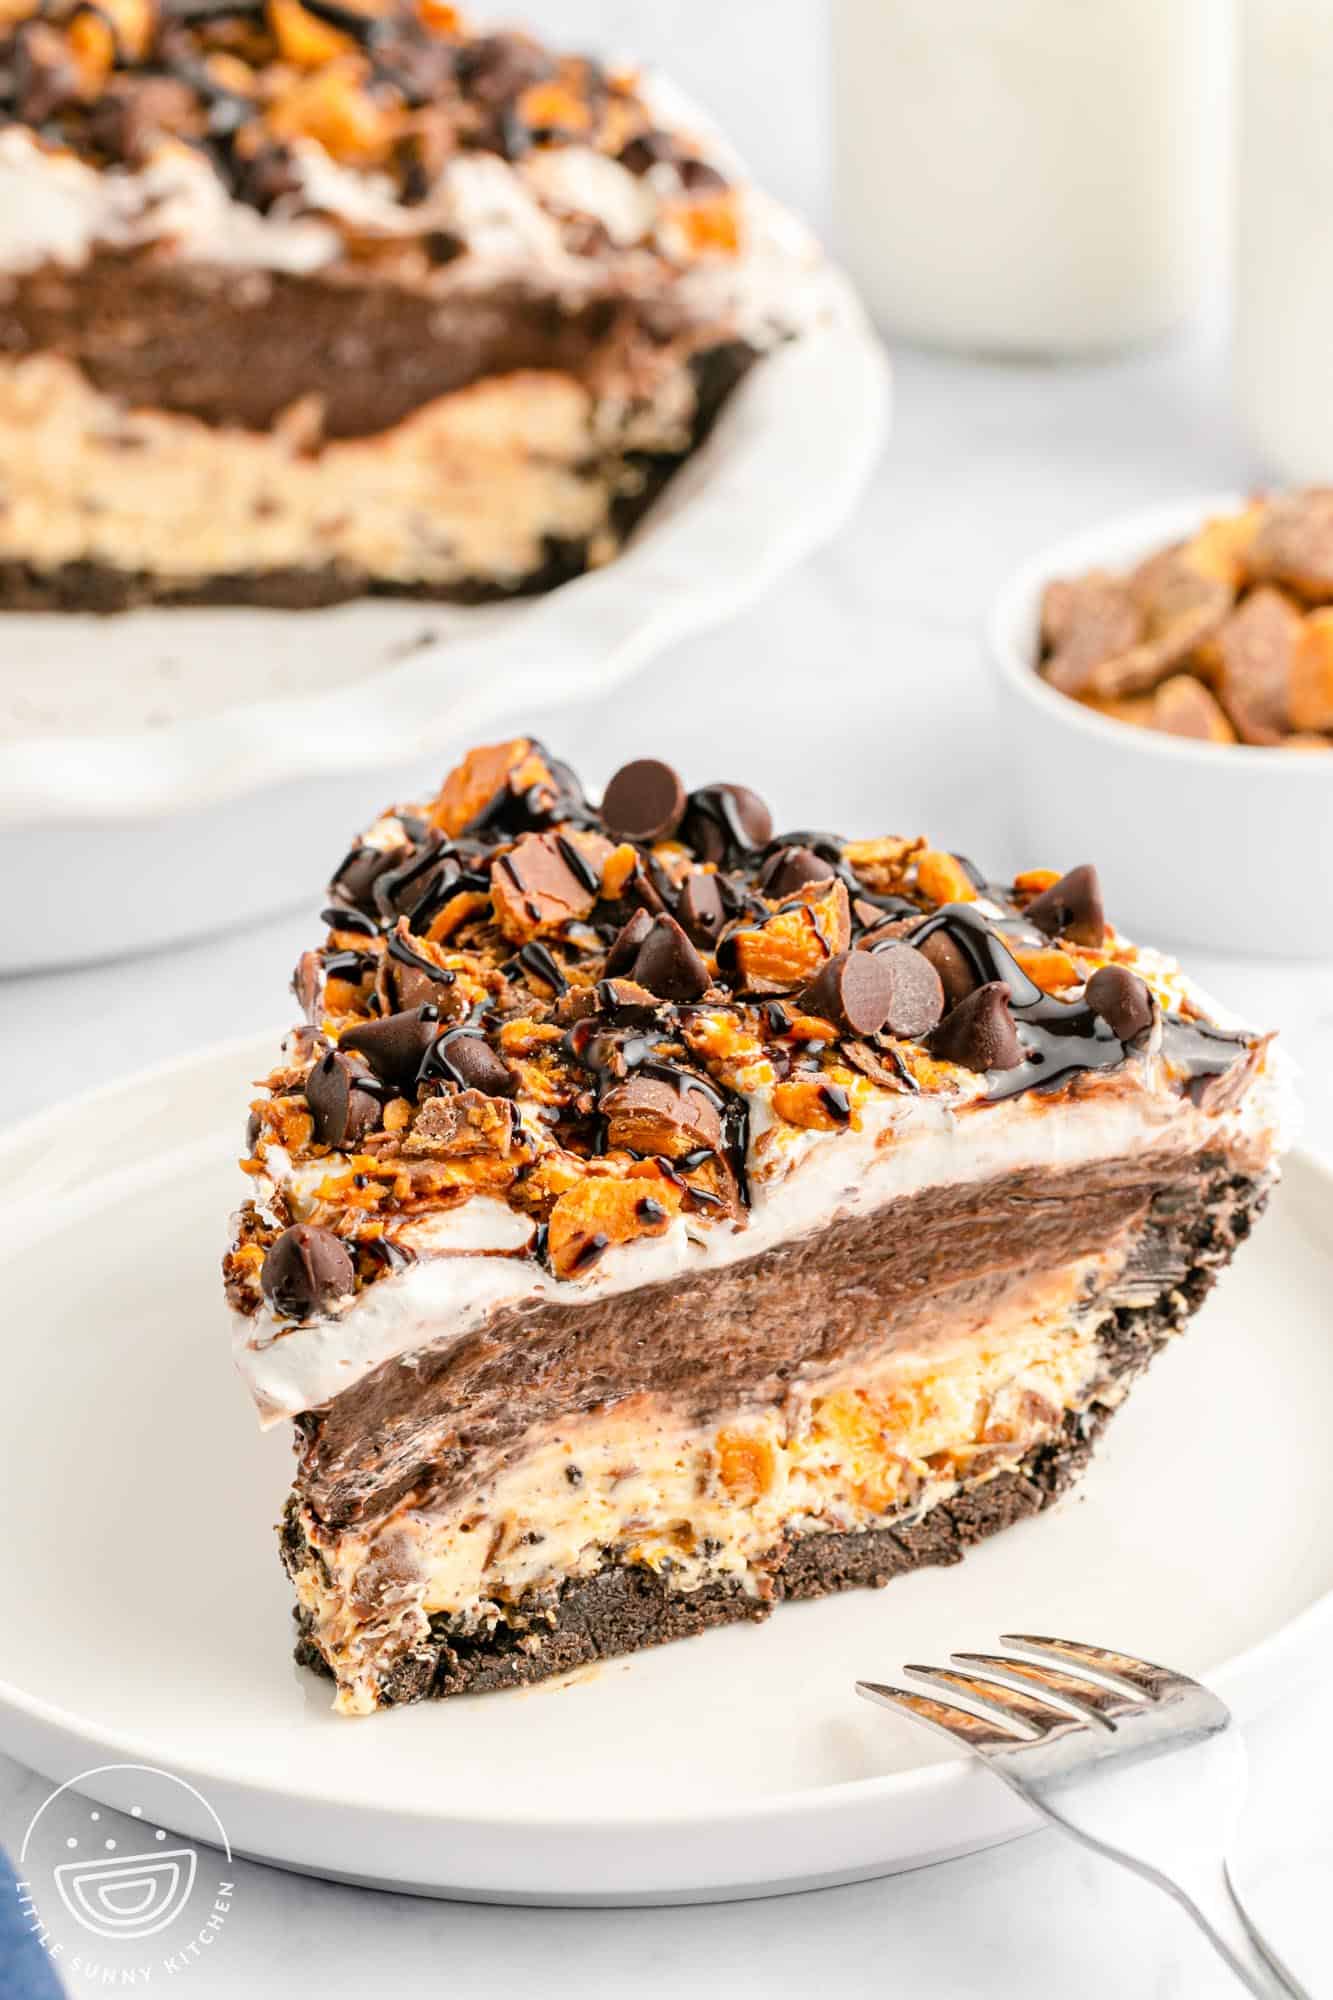
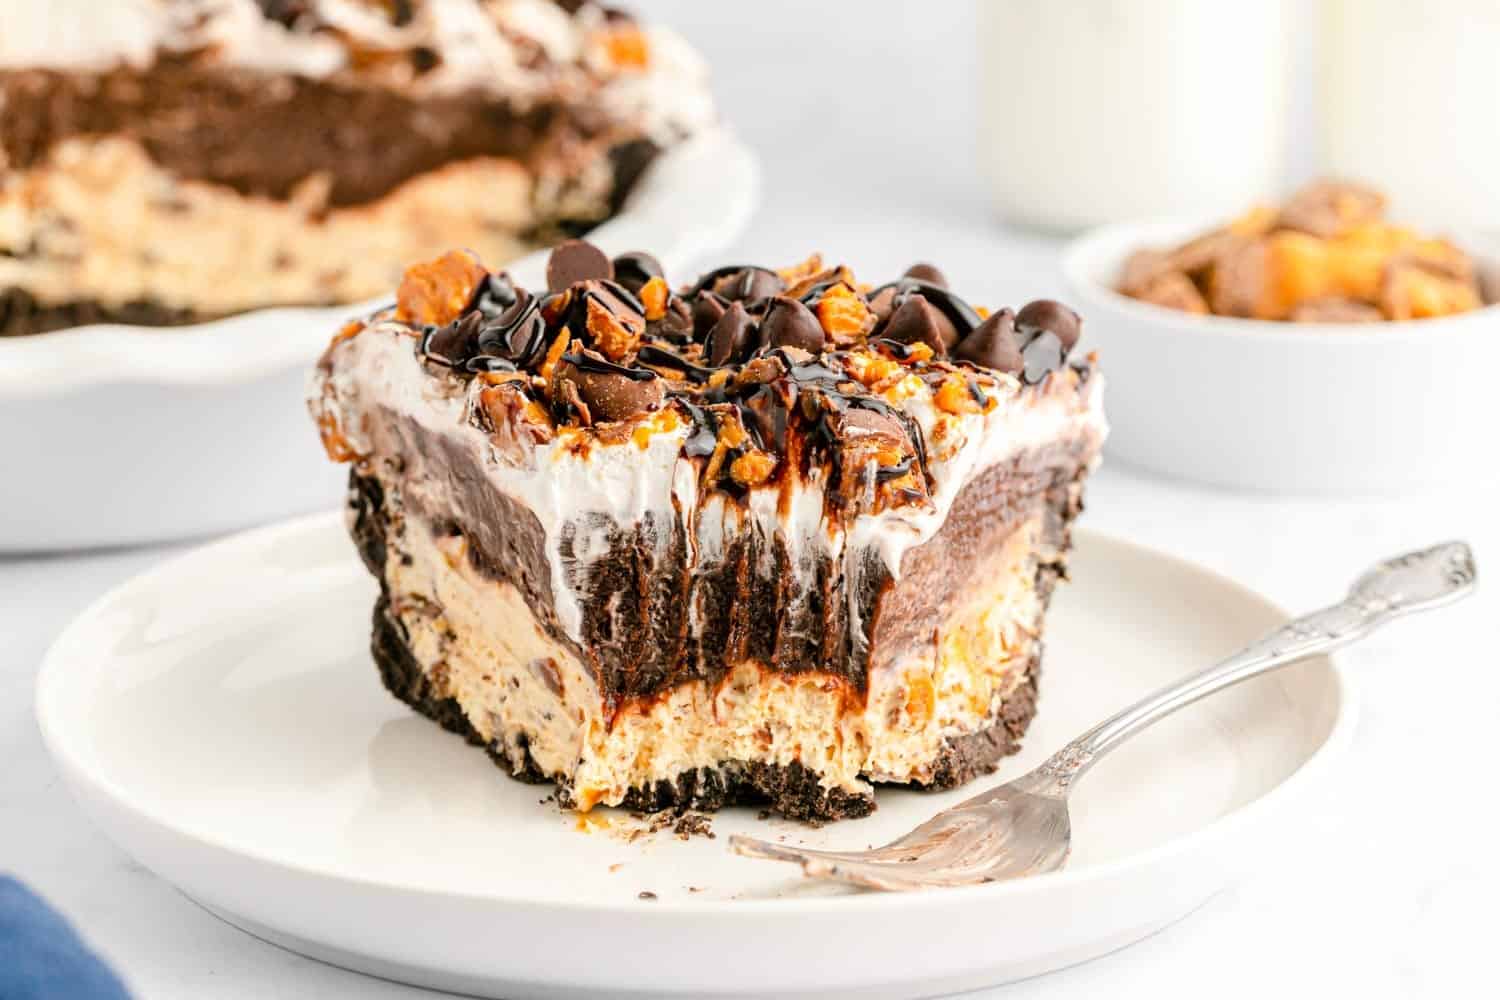
This No-Bake Chocolate Butterfinger Pie is a rich and creamy dessert that’s quick to make and full of flavor. It features an Oreo cookie crust, a fluffy peanut butter cream cheese layer with chopped Butterfingers, chocolate fudge pudding, and creamy whipped topping. Finished with more candy, chocolate chips, and syrup, it’s light in texture but decadently indulgent. Perfect for easy entertaining or satisfying your sweet tooth.

The First Dessert to Disappear!
We always made this pie in the summer, especially for BBQs, birthdays, or those extra hot days when turning on the oven wasn’t an option. But honestly, it’s way too good to save just for one season. I’ve brought it to Thanksgiving and even Christmas, and it still disappears faster than the pumpkin pie. It’s one of those easygoing, make-ahead desserts that somehow feels nostalgic and a little extra at the same time.
Kids absolutely love it, and it’s perfect for anyone who is obsessed with chocolate and peanut butter. Creamy, candy-filled, and loaded with texture, it’s a dessert that always gets people talking and asking for the recipe. If you love this kind of treat, you might also enjoy my no bake peanut butter pie or no bake Oreo pie which are both just as easy and irresistible.
Ingredient Notes
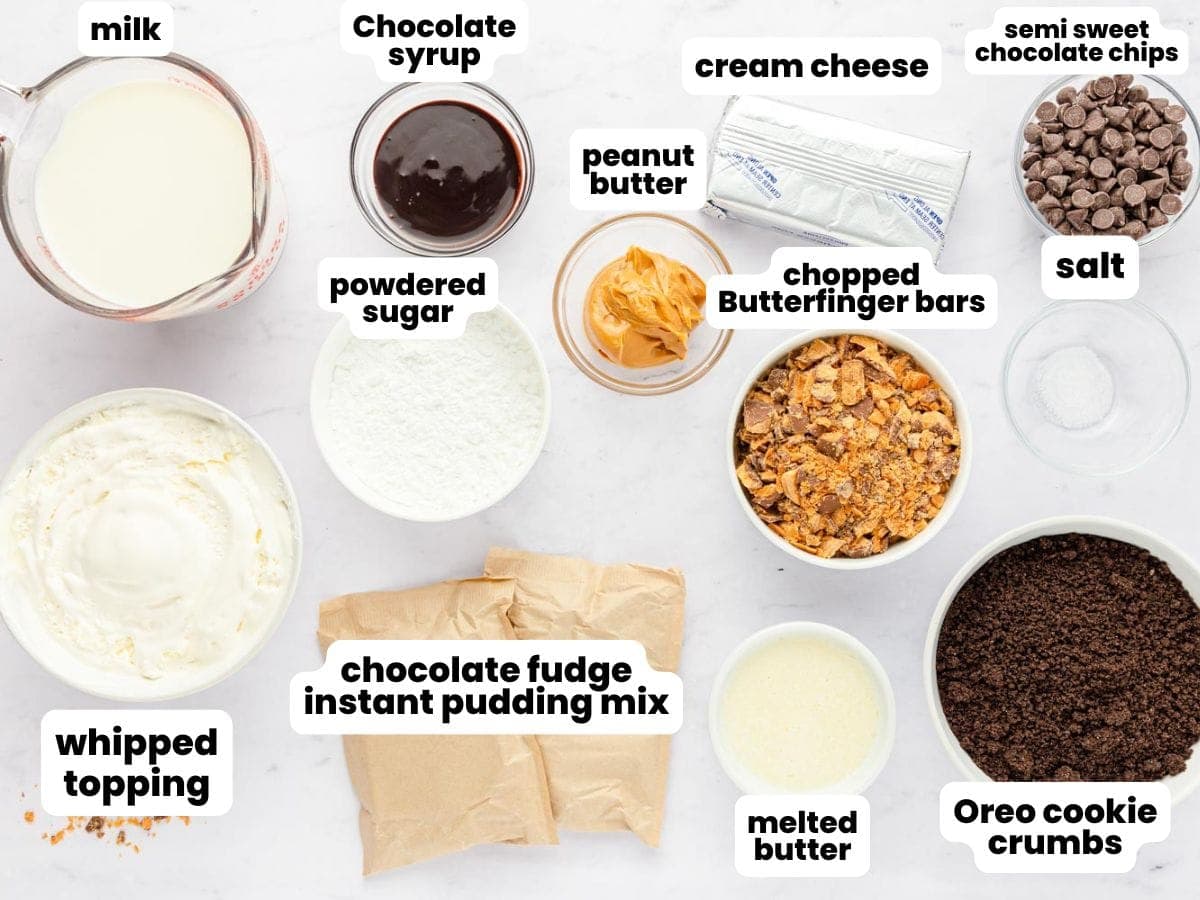
Complete list of ingredients and amounts can be found in the recipe card below.
- Cream cheese: Use full-fat block cream cheese. Whipped or low-fat will affect texture and structure.
- Peanut butter: Use processed brands like JIF or Skippy. Natural peanut butter separates and makes the filling unstable.
- Butterfinger bars: Chop finely for even distribution. If you’re outside the US, Butterfinger may be hard to find. In Canada, look for Crispy Crunch. In the UK, try Cadbury Picnic. In Australia, use Violet Crumble or Picnic. In parts of Europe, any chocolate bar with crisp peanut brittle or honeycomb can work as a substitute. You can also use chopped Reese’s, Clark bars, or similar peanut butter candy if available.
- Whipped topping: Use frozen whipped topping like Cool Whip. Or stabilized fresh whipped cream.
- Chocolate fudge instant pudding mix: Must be instant. Cook-and-serve pudding will not set properly.
- Milk: Use cold whole or 2% milk. Non-dairy or skim milk can prevent proper thickening.
- Oreo cookie crumbs: Process whole cookies with filling into fine crumbs. Do not remove the cream/filling.
- Melted butter: Let cool slightly before mixing. Needed to bind the crust.
- Semisweet chocolate chips: Use for topping. Mini chips provide a softer texture.

Did you make this? Be sure to leave a review below and tag me on Facebook, Instagram, or Pinterest!
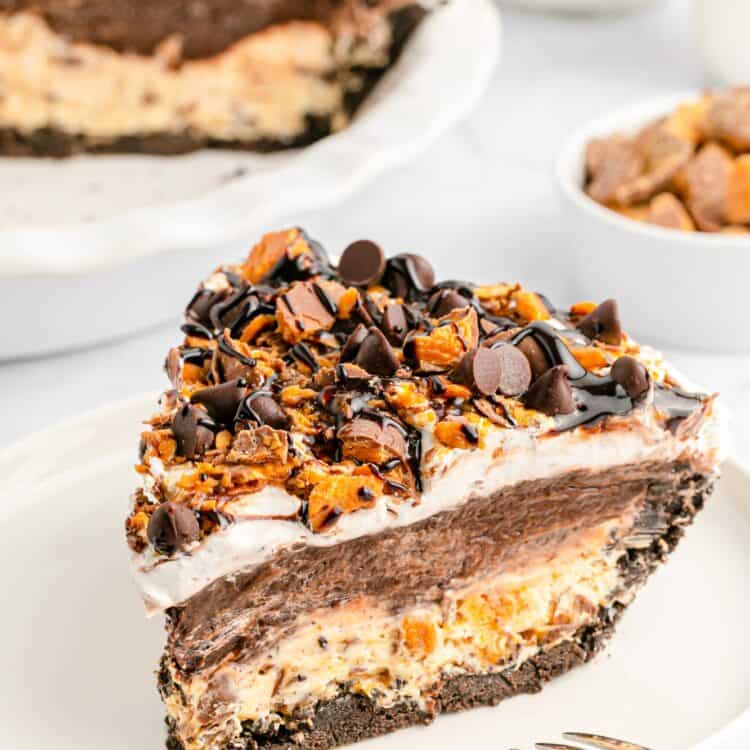
No Bake Butterfinger Pie
Equipment
- 9-inch pie pan or springform pan
- Hand mixer or stand mixer
- Rubber Spatula
Ingredients
For the crust:
- 2 ½ cups (250 g) Oreo cookie crumbs
- ½ cup (115 g) unsalted butter melted and slightly cooled
- ⅛ teaspoon salt
For the filling and toppings:
- 8 ounces (225 g) full-fat cream cheese softened
- ¼ cup (65 g) creamy peanut butter (JIF or Skippy recommended)
- ½ cup (60 g) powdered sugar
- 2 cups (280 g) chopped Butterfinger bars plus more for topping
- 16 ounces (450 g) Whipped Topping divided
- 2 3.4 oz boxes (96 g) chocolate fudge instant pudding mix
- 2 ½ cups (600 ml) milk
- 2 tablespoons (20 g) semisweet chocolate chips
- Chocolate syrup for drizzling
Instructions
- Lightly grease a 9-inch pie pan or springform pan with cooking spray. Set aside.
- In a medium bowl, mix the Oreo crumbs, melted butter, and salt until the mixture resembles wet sand. Press the mixture firmly into the bottom and up the sides of the pan. Refrigerate while preparing the filling.

- In a large mixing bowl, beat the cream cheese, peanut butter, and powdered sugar until smooth and fluffy.
- Add 2 cups (280 g) of chopped Butterfingers and half of the whipped topping. Gently fold until fully combined and no white streaks remain.
- Spoon the mixture into the chilled crust and smooth into an even layer.
- In another bowl, whisk together the chocolate fudge pudding mix and milk for 2 to 3 minutes until thickened.
- Spread the pudding evenly over the peanut butter layer.
- Top with the remaining whipped topping, smoothing it out to the edges.
- Sprinkle the top with additional chopped Butterfingers and chocolate chips. Drizzle generously with chocolate syrup.
- Chill for at least 4 hours, or overnight, until set and sliceable.


Notes:
- For a firmer, crunchier crust, bake it at 350°F (180°C) for 10 minutes. Let cool completely before filling.
- Chocolate fudge pudding is recommended, but feel free to swap in another flavor or use one packet each of chocolate and peanut butter pudding.
- You can replace Butterfinger with chopped Reese’s for a fun variation.
- The crust needs to chill to firm up, don’t skip that step.
Nutrition Information
This website provides approximate nutrition information for convenience and as a courtesy only. Nutrition data is gathered primarily from the USDA Food Composition Database, whenever available, or otherwise other online calculators.
© Little Sunny Kitchen
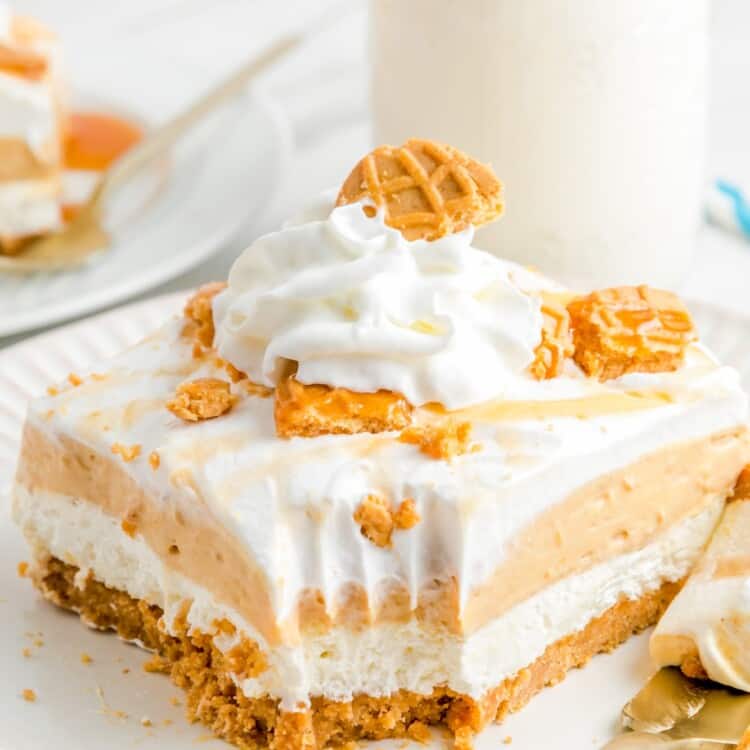
More No Bake Desserts To Try
All No Bake Treats →
Recipe Tips
- Press the crust mixture firmly and evenly into the pan, going up the sides, to prevent crumbling when slicing.
- If baking the crust (optional), let it cool fully before adding the filling or it will melt the layers.
- If the pudding seems too soft after mixing, let it stand for 5 minutes before layering to allow it to thicken fully.
- Use a deep 9-inch pie pan or a springform pan to contain all the layers without overflow.
- For a more defined top, chill each layer for 15–20 minutes before adding the next one.
- If layering is difficult, use an offset spatula or the back of a spoon to smooth gently without mixing layers.
- Cover tightly with plastic wrap when chilling to prevent skin from forming on the pudding layer.
- For easier serving, place the pie in the freezer for 15–20 minutes before slicing for cleaner cuts.
- To transport, chill the pie completely and use a frozen ice pack or insulated carrier to keep layers stable.
Storing/Making Ahead/Freezing Tips
- Storing: Refrigerate tightly covered for up to 5 days. Do not leave at room temperature for more than 1 hour.
- Make Ahead: Assemble up to 24 hours in advance. Add final toppings just before serving for the best texture.
- Freezing: Freeze fully assembled pie (without syrup or chocolate chips) in an airtight container for up to 1 month. Thaw overnight in the refrigerator. Serve cold or slightly frozen for a firmer texture. Do not freeze if using fresh whipped cream instead of whipped topping, as it will separate.


Leave a Review!