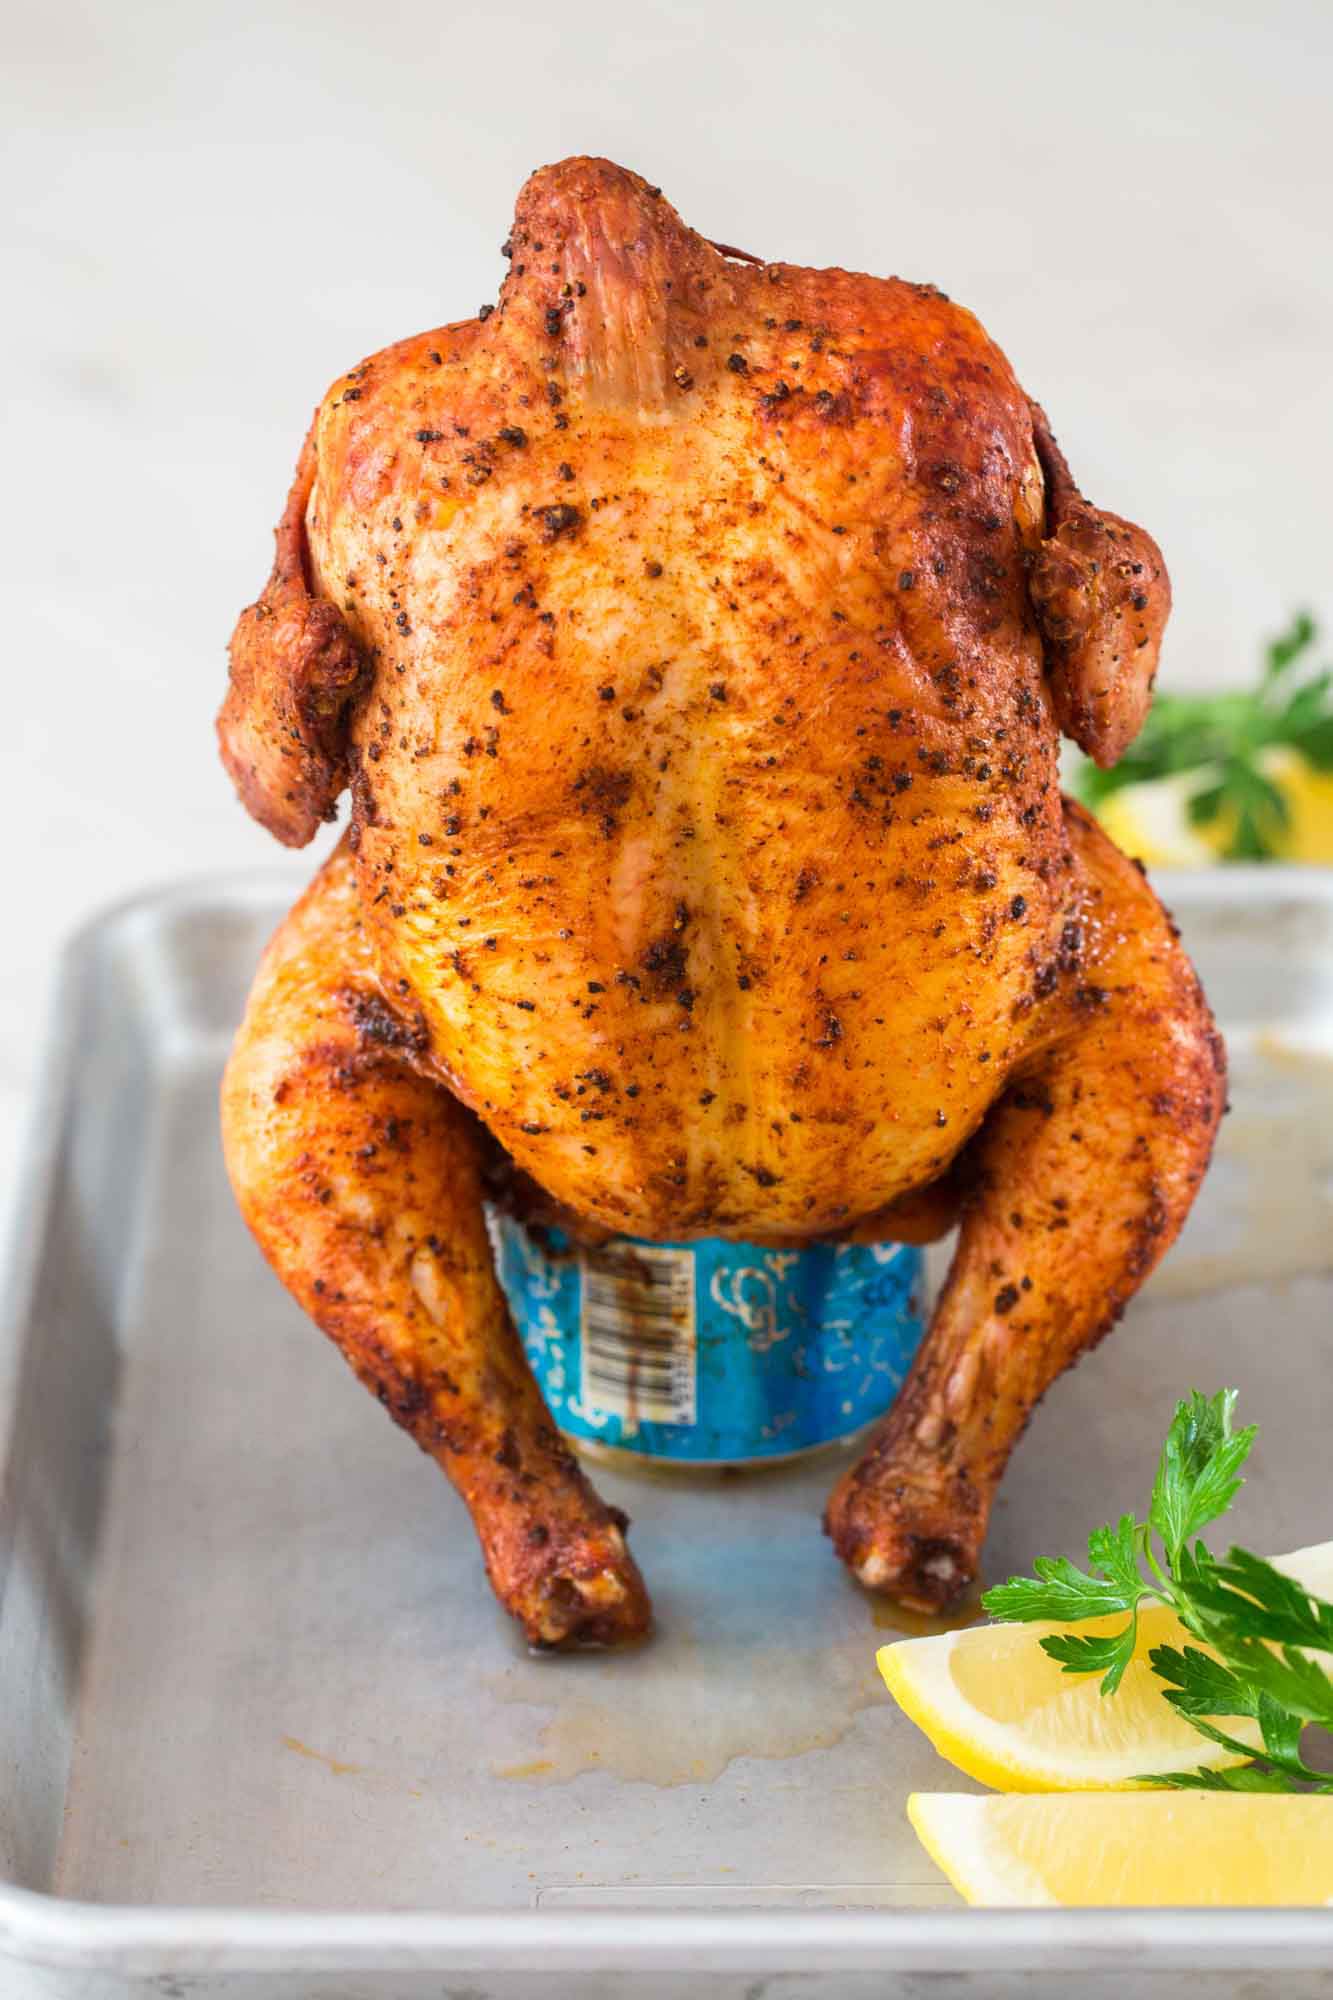
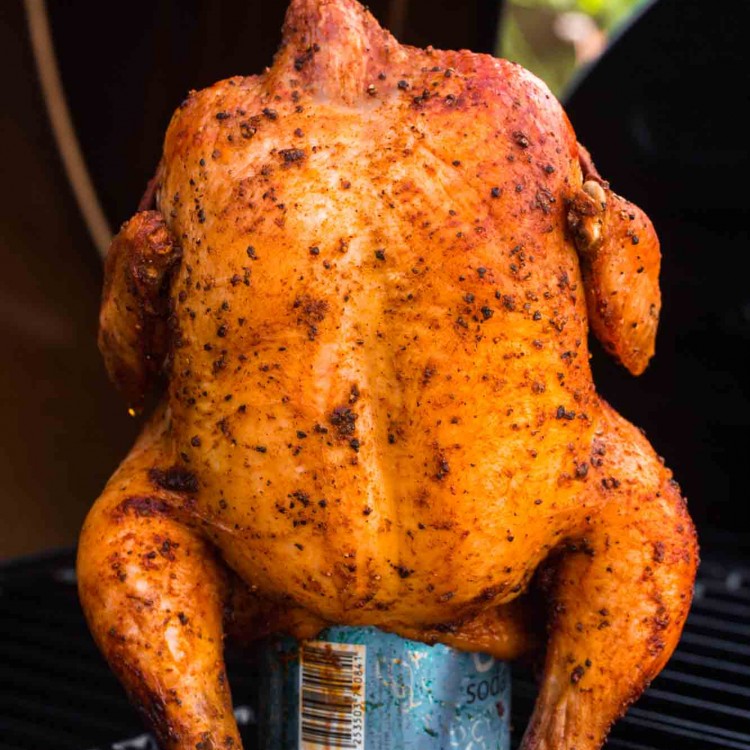
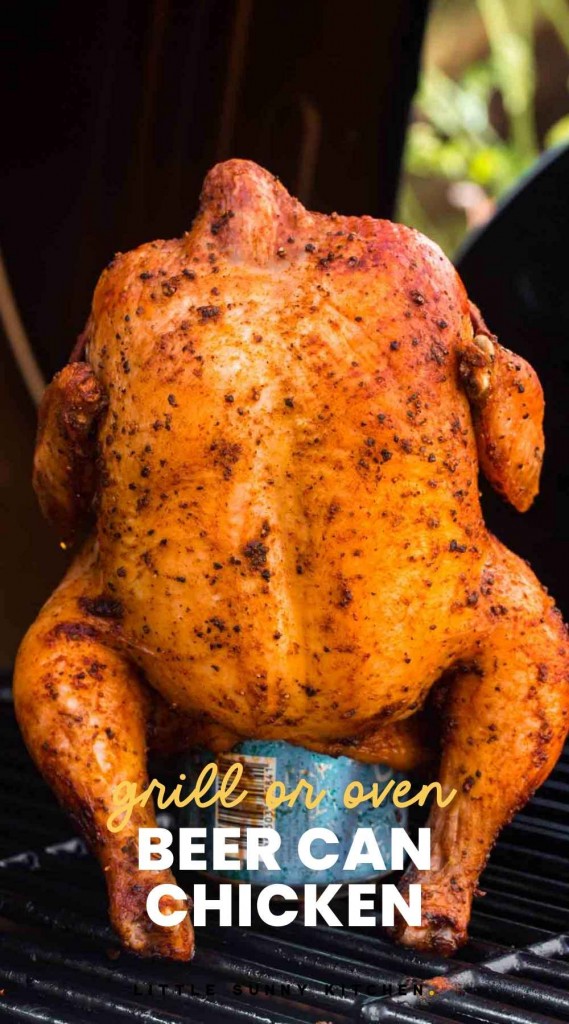
Have you had Beer Can Chicken? If not, you’re missing out! Beer Can Chicken is a whole chicken, cooked upright, “sitting” on top of an open can of beer. This creates a tender, juicy, chicken with crispy skin and meat that’s falling off the bones.
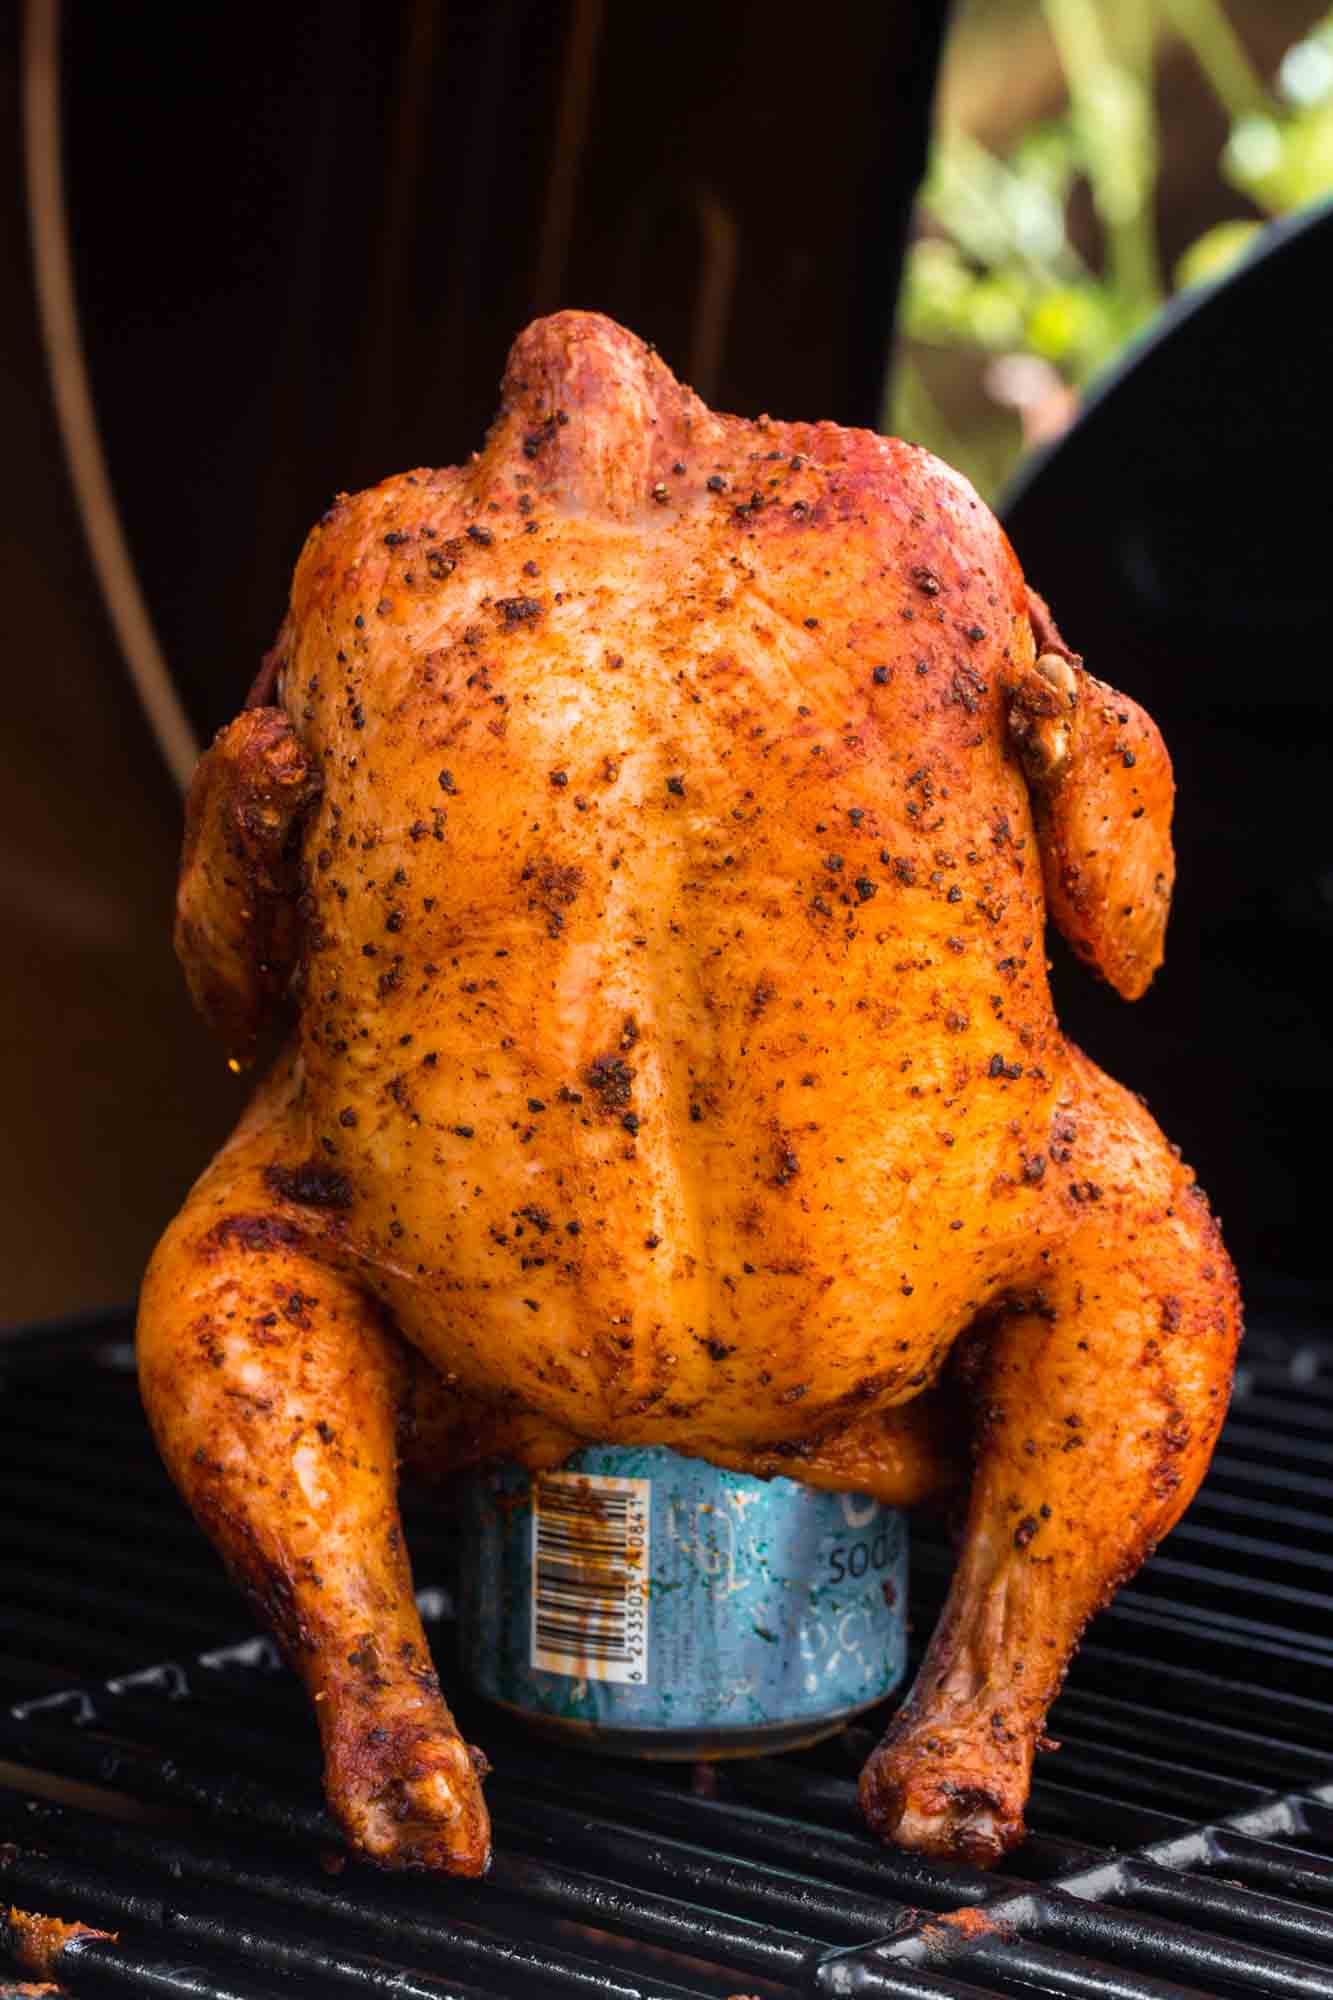
I’m not really sure who came up with the idea to make Beer Can Chicken, but it sure was a good one! This cooking method is sometimes called beer butt chicken, since you put the beer can… well, you get the idea. Some might call this recipe drunk chicken, or just chicken on a beer can. Whatever you call it, it’s easy to make, and I’m going to show you how.
You can make beer can chicken in the oven or on the grill. This is a fun recipe to make in the summertime and I love that I can do a whole chicken on the grill this way. It takes up less space than chicken pieces, and nothing gets burned or overcooked.
I find that the guys in my family really like making beer can chicken, maybe because it involves beer, or maybe because it’s super easy to make. After preparing the chicken with a delicious spice rub, you just need to stick a can of beer in the chicken and keep an eye on it on the grill for a while.
Why You’ll Love This Beer Can Chicken Recipe
- The Dry Rub – We’re rubbing our chicken down with a spicy and savory blend of spices plus salt and pepper so that it’s perfectly seasoned. This dry rub is tried and true at my house, we use it on all types of meats that we’re grilling or roasting.
- It’s Fun! – Cooking a whole chicken on top of a beer can is really a fun, novel cooking experience. Your guests will think it’s neat, and kids think it’s really funny to see the chicken standing up like that.
- This recipe is versatile – I’ll share instructions for making beer can chicken on either your outdoor grill or in your oven. You can adjust the spice rub to incorporate your favorite flavors too.
- Tender, Juicy Chicken – The chicken cooks up crispy on the outside, but the inside will be moist and juicy from the steaming beer. This drunk chicken recipe is amazingly good!
- Great for a Crowd – Because we’re standing the chickens up, you can fit 2 or 3 of them on the grill. This is great if you’re serving a large crowd.
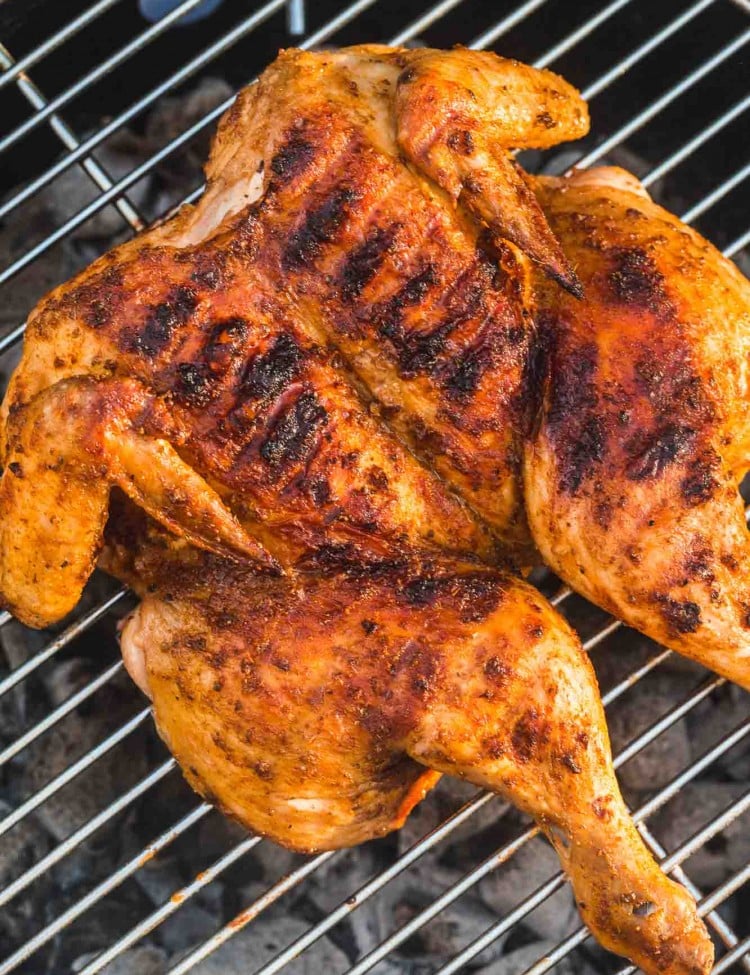
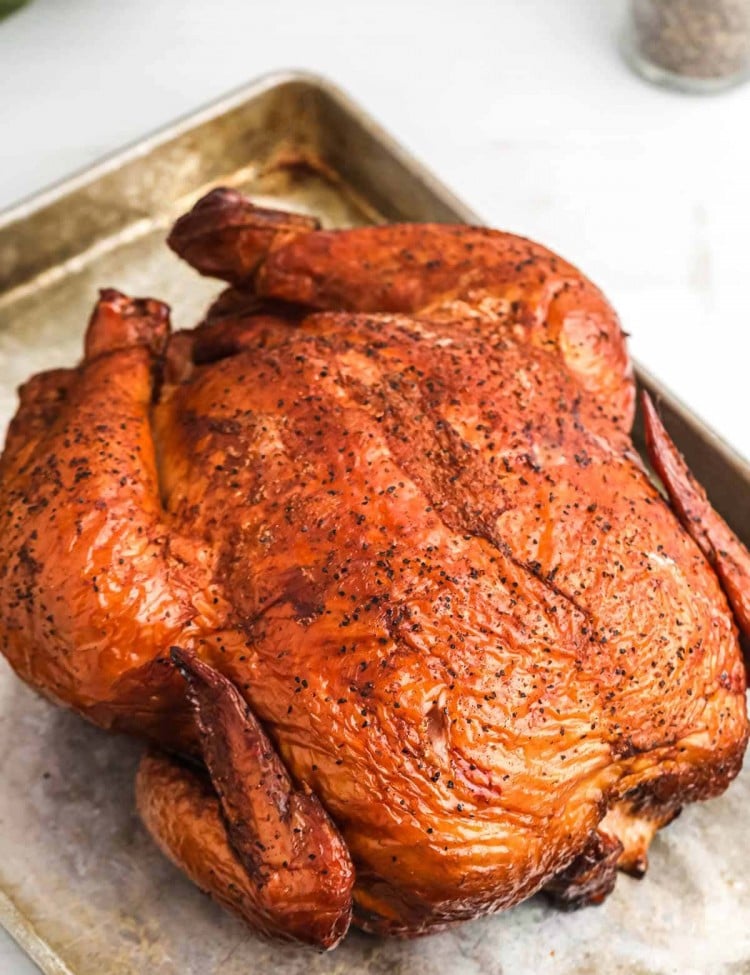
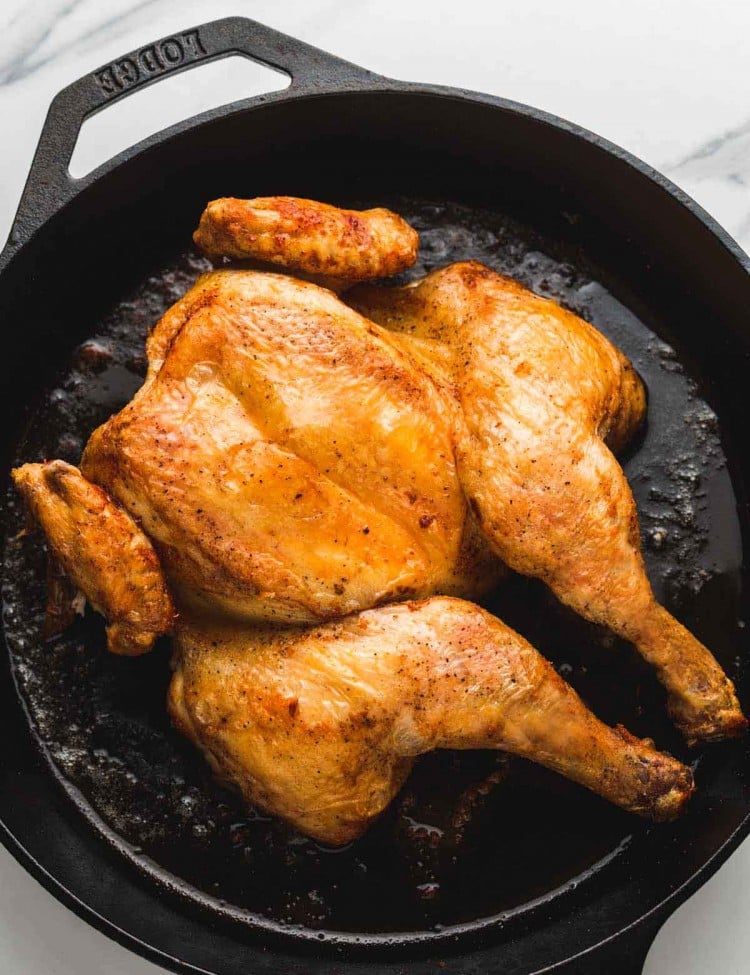
For more crowd pleasing whole chicken recipes that you can make outside, try my Smoked Whole Chicken, Grilled BBQ Chicken, or Grilled Spatchcock Chicken recipes.
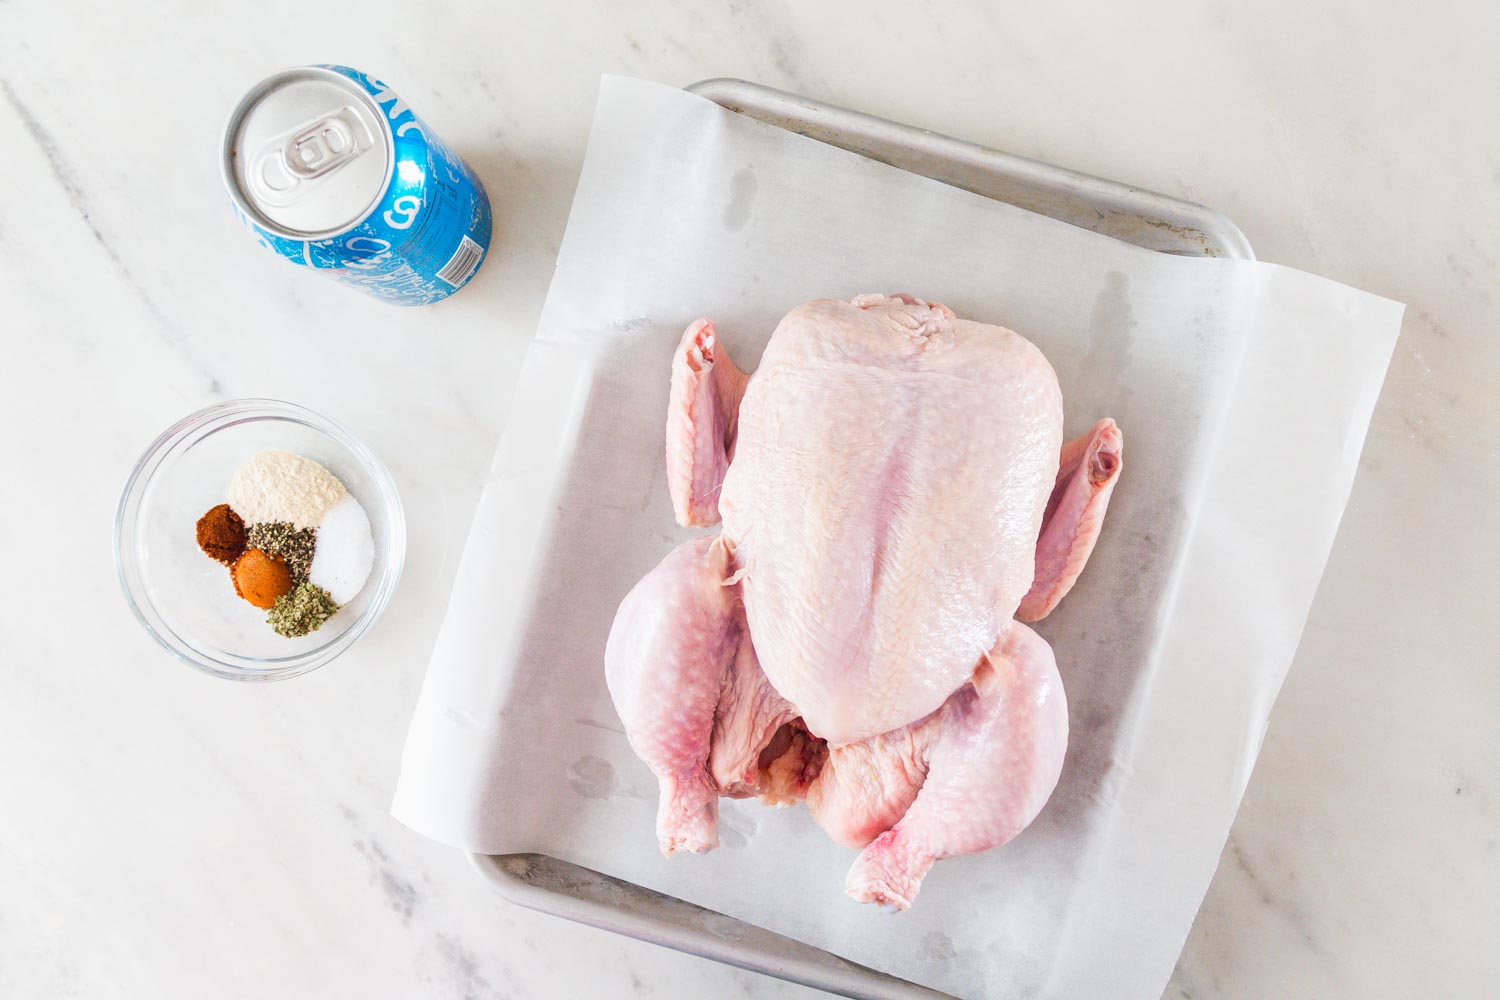
Ingredients in Beer Can Chicken
- Beer: You’ll need one regular 12 oz can of beer. Don’t bother buying anything fancy. I tried various types of beer to see if there was a major flavor difference, and there wasn’t. Just use whatever you like to drink or whatever’s cheap. If you don’t want to use beer for this recipe, you can use any soft drink can and fill it halfway with chicken stock.
- Chicken: I used a 3.5-pound chicken in the images here. You can use a larger chicken, but the cook time may need to be adjusted.
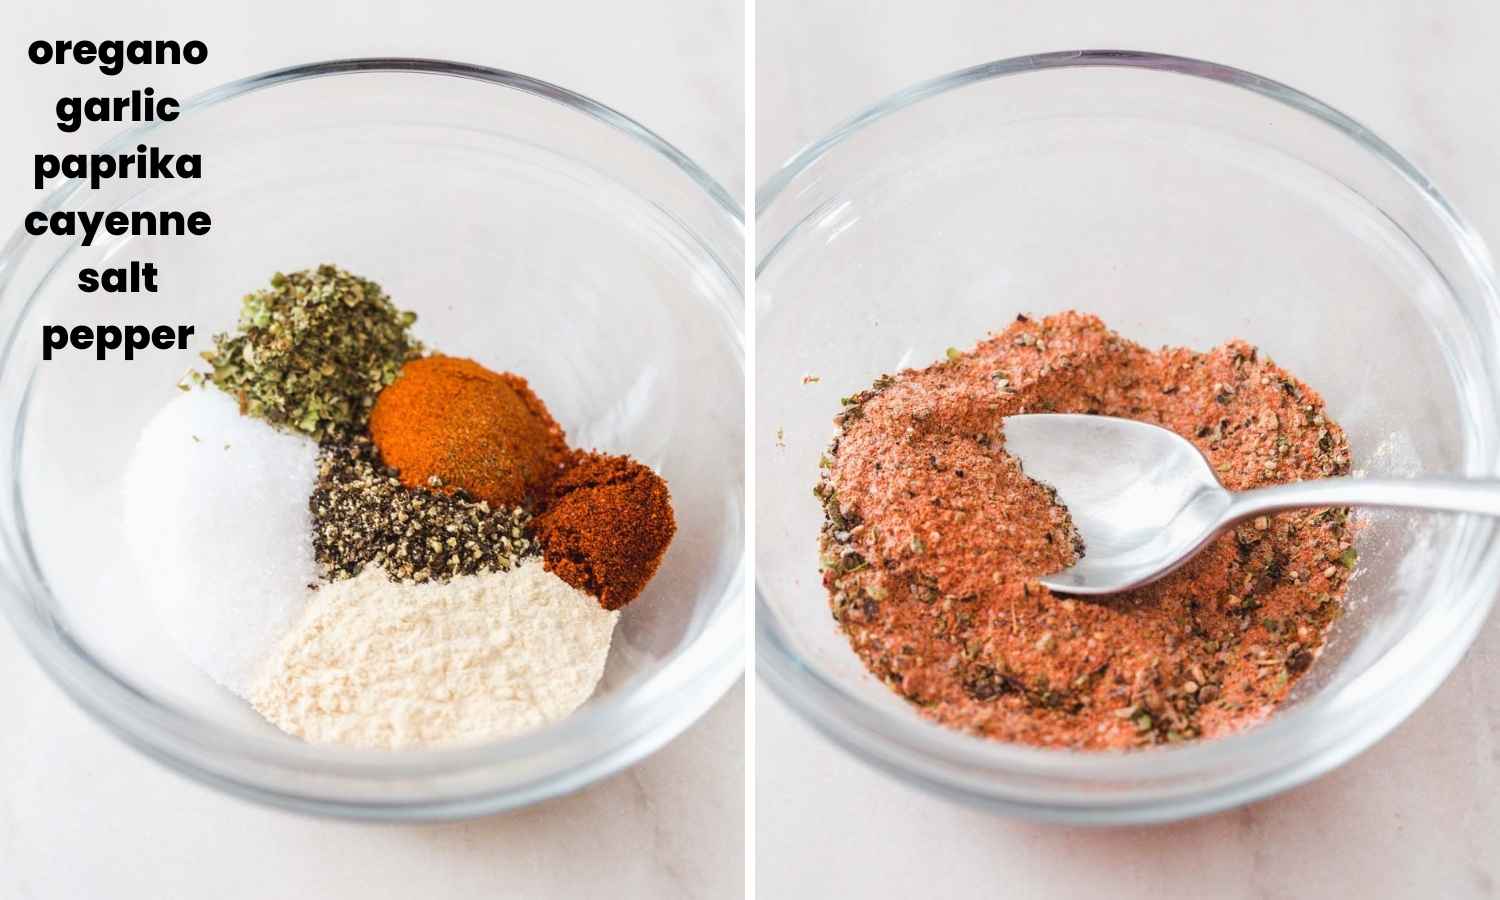
- Dry Rub: I like to mix up this rub ahead of time and often quadruple the batch so that I have it on hand. Feel free to adjust the amounts to your liking. Use more or less cayenne/chili powder to adjust the heat level.
Complete list of ingredients and amounts can be found in the recipe card below.
How to Make Beer Can Chicken
Remember that this can be a recipe for beer can chicken grilled, or beer can chicken in the oven. Use whichever works best for you.
- Prepare the Grill: Line the bottom of the grill with aluminum foil and then pour some water in. This will prevent spills and flames, and add steam to the grill. If using an oven, place a large baking sheet on the very bottom rack lined with foil with a splash of water in it.
- Preheat: Preheat the oven to 425-450°F. Do the same for the grill, lighting just 2 of 3 burners or 3 of 4, depending on how many burners your grill has.
- Make Spice Rub: Mix dry rub ingredients together in a small bowl.
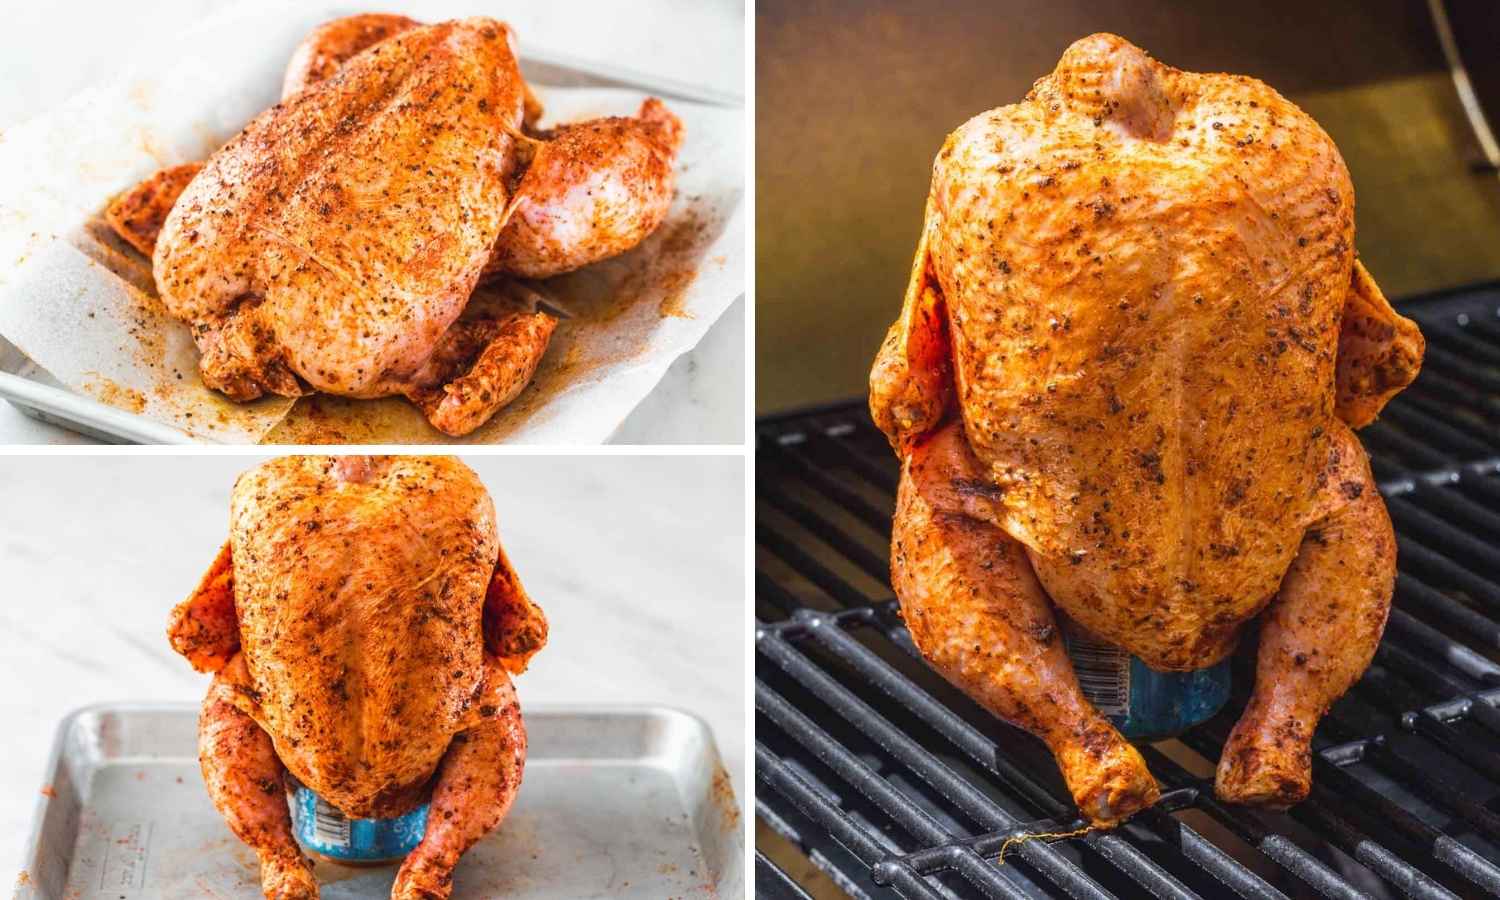
- Season Chicken: Spray the outside of the chicken with oil or cooking spray, then season the chicken generously with the dry rub, covering every inch of the bird.
- Position the Beer Can: It’s time to put the can of beer in the chicken! Open your beer and pour out (or drink) about half of it. Set the can down, and then slowly and carefully place the chicken over the can, legs side down. Adjust the position of the chicken and the can until it will stay upright on its own.
- Cook: Place the chicken on the grill over indirect heat (over the one burner that you didn’t turn on), or place the chicken in the preheated oven. Cover and grill for 1-1.5 hours or until cooked through.
- Check On It: Check on your chicken every 15-20 minutes during the cook time. If it’s browning too quickly on one side, rotate it away from the heat source.
- Cool: When the chicken is done cooking, remove it from the grill or oven and place on a cutting board. Allow it to cool for at least 5 minutes, then remove from the beer can. This is easiest to do with two people, one holding the chicken and the other holding the beer can. Be careful, everything is hot!
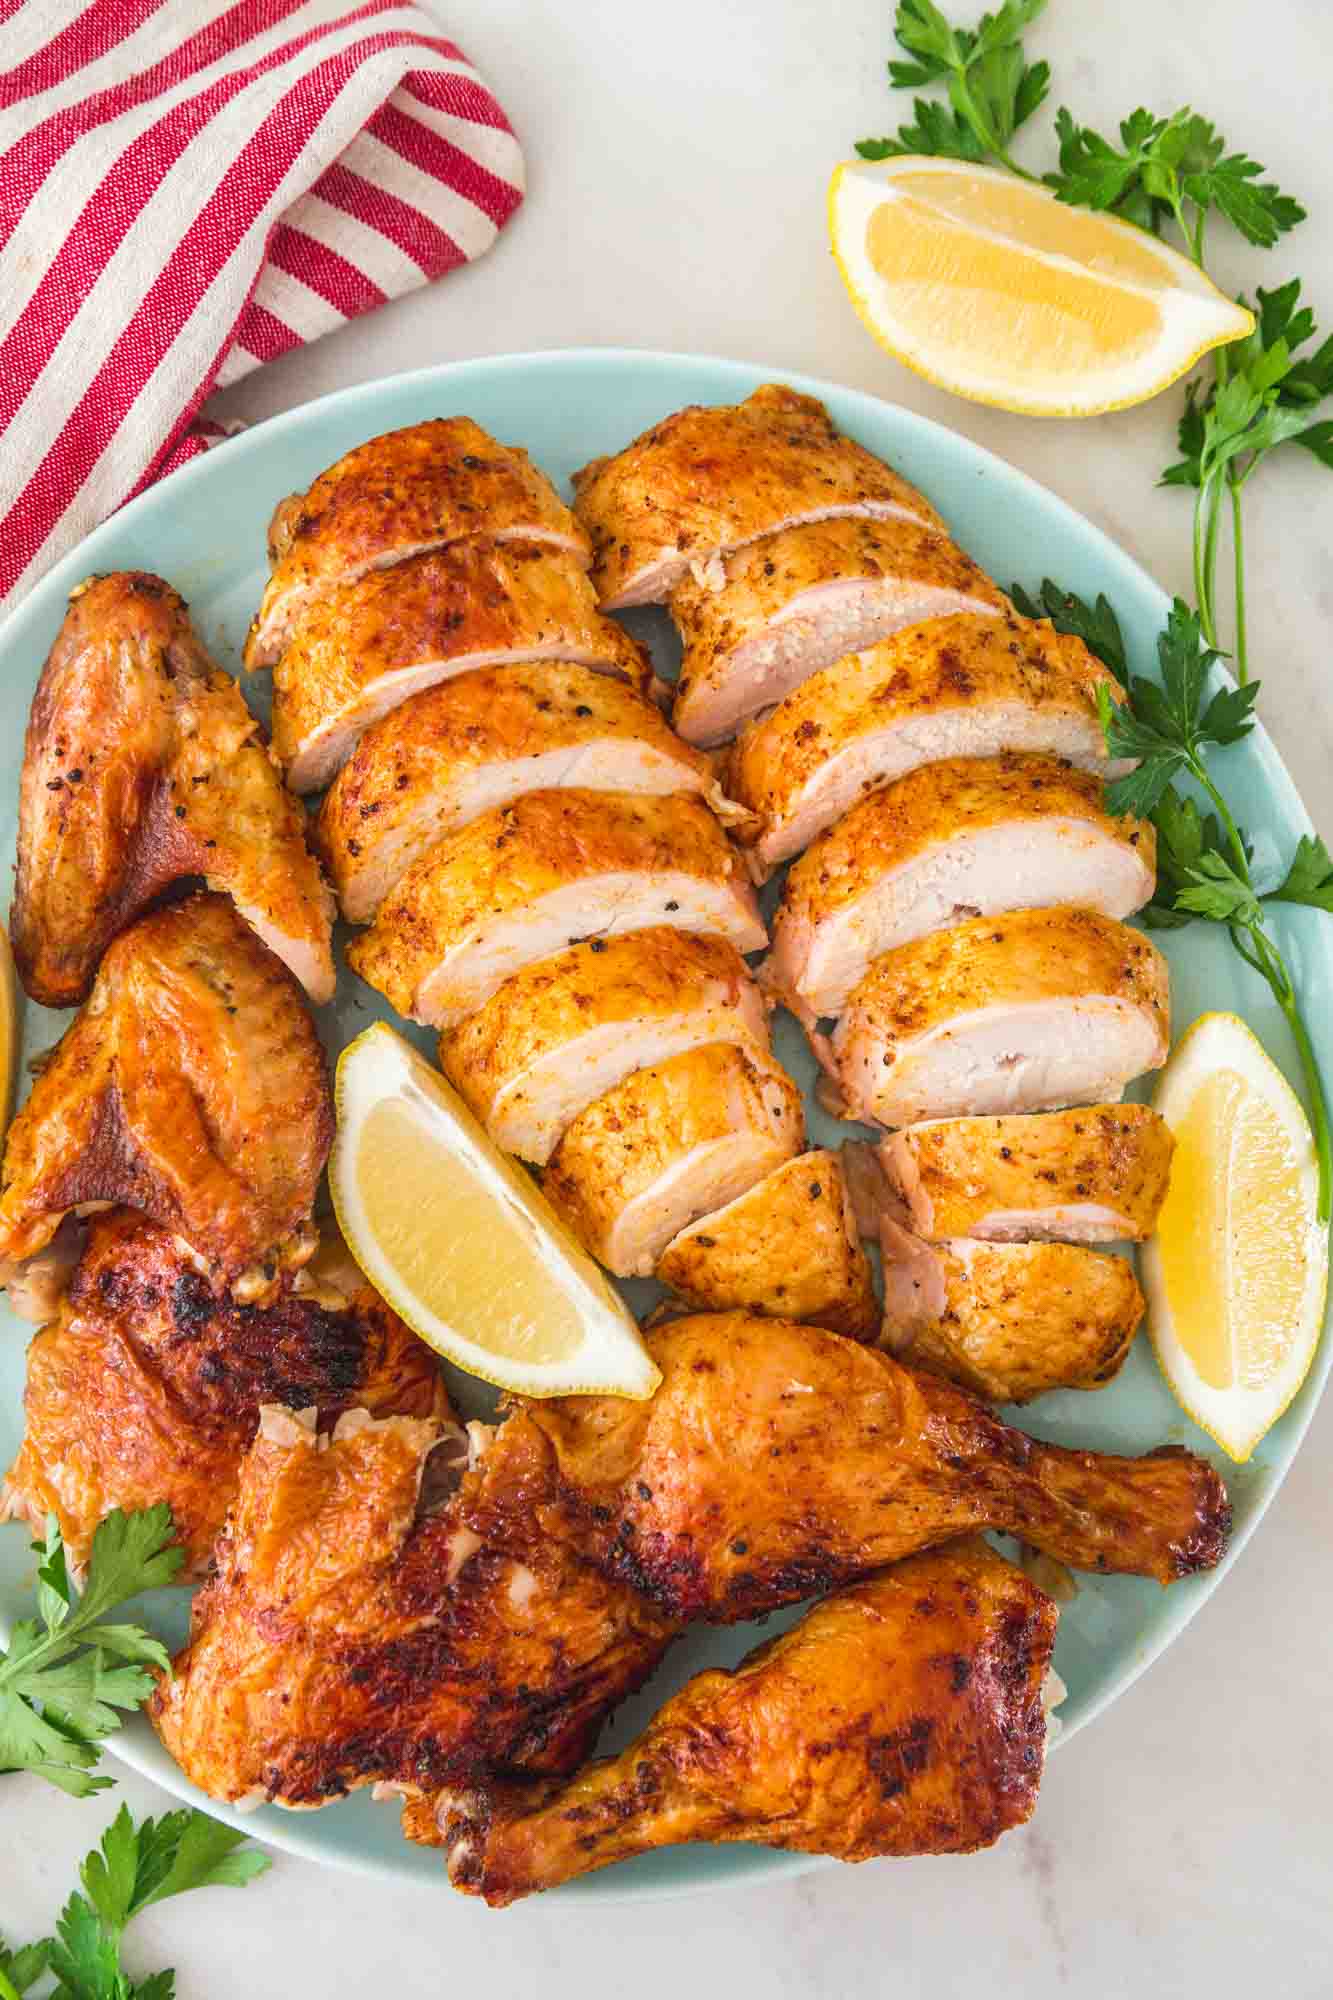
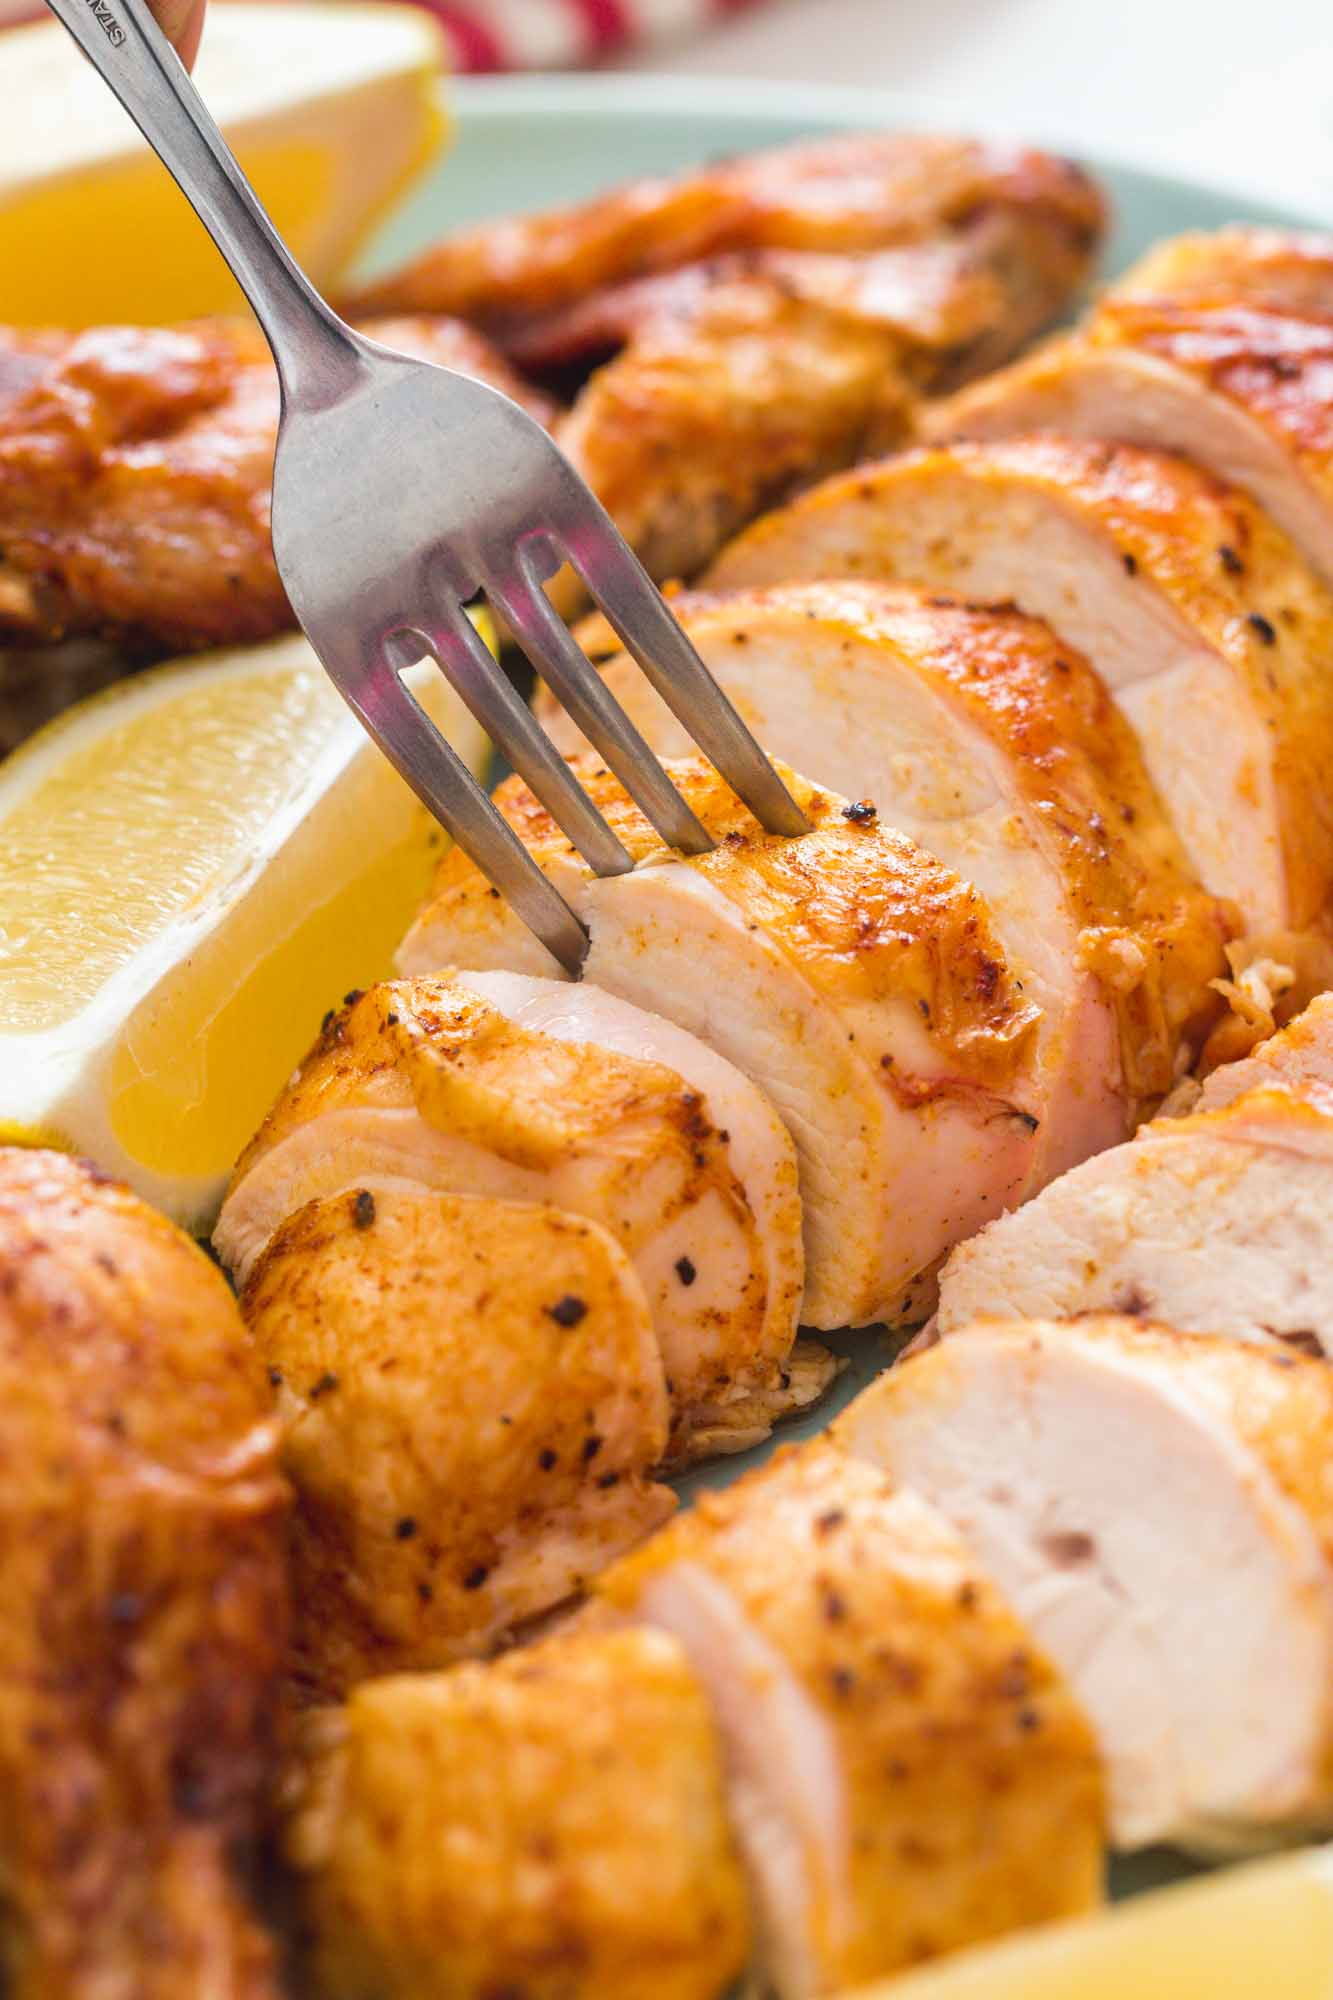
- Serve: Carve your beer can chicken and serve.
Tip!
Always take the chicken out of the fridge about 15-20 minutes prior to cooking to let it come to room temperature. Do not start cooking with a cold chicken.
Tips for Making the Best Chicken On a Beer Can
No matter if you’re making chicken on a beer can grilled or chicken on a beer can in the oven, I have tips to share that will help you make it perfectly.
- If making more than one chicken at a time, be prepared to carefully move the chickens around inside of the grill so that they don’t get too much direct heat.
- To make the physics of this recipe a bit simpler, there are special beer can chicken racks that you can use to make sure that your chicken will not tip over. See them here.
- Make sure you let the chicken rest before carving. Not only will this save you from burning yourself, but it also gives the meat time to redistribute the juices that were at the surface while it was cooking.
- If at all possible, get the seasoning under the skin as well as on top of it. The more seasoning the better.
- To make your beer can chicken extra crispy, spray with cooking spray as it cooks.
Frequently Asked Questions About Beer Can Chicken
The chicken is ready when the thickest part of the breast registers 165°F/74°C with a kitchen thermometer (I recommend the Thermapen or a cheaper OXO thermometer). And at the thickest part of the thigh near the bone it should register 180°F/82°C.
You can prepare and season the chicken up to two days ahead of time. Store it in the fridge until you’re ready to grill.
You can baste the chicken with beer as it’s cooking. I suggest basting with beer during the first half of cooking, then switching to cooking spray at the end to get it extra crispy.
You can use any outdoor grill that will fit an upright chicken in it. If you’re looking for a new grill option, I really love mine (it’s a gas and a charcoal grill) you can see it here on Amazon. Make sure you check out all of my grilling recipes! There’s so much you can do with an outdoor or indoor grill.
Other Ways to Prepare a Whole Chicken
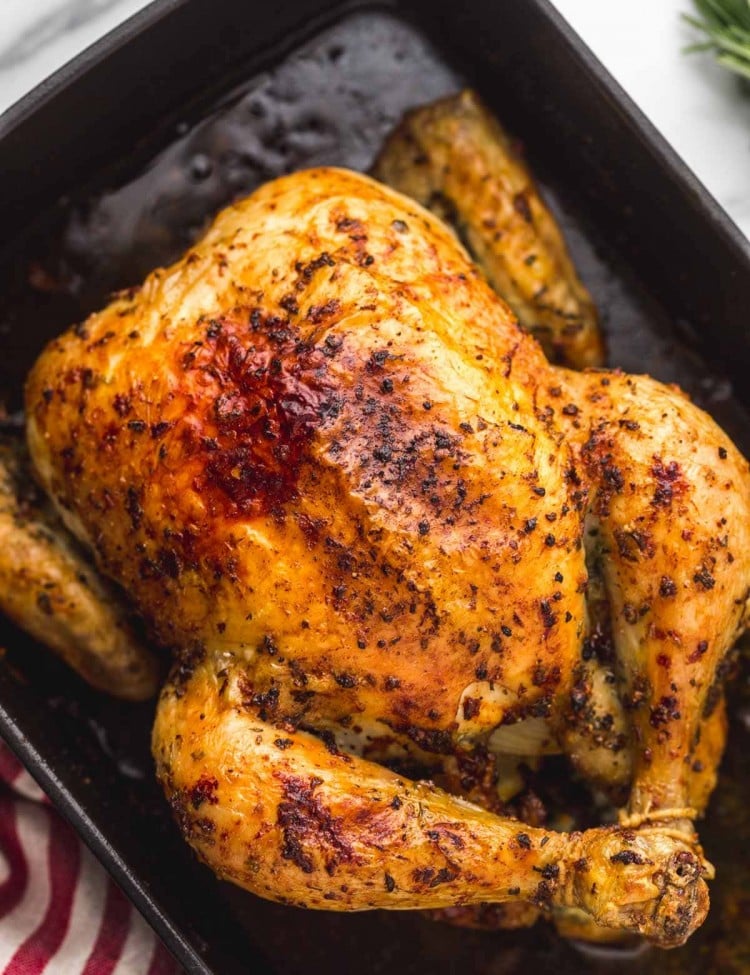
Above I mentioned my Smoked Chicken and Grilled Spatchcock Chicken recipes, but there are more!
Slow Cooker Whole Chicken (coming soon!)
What to Serve With
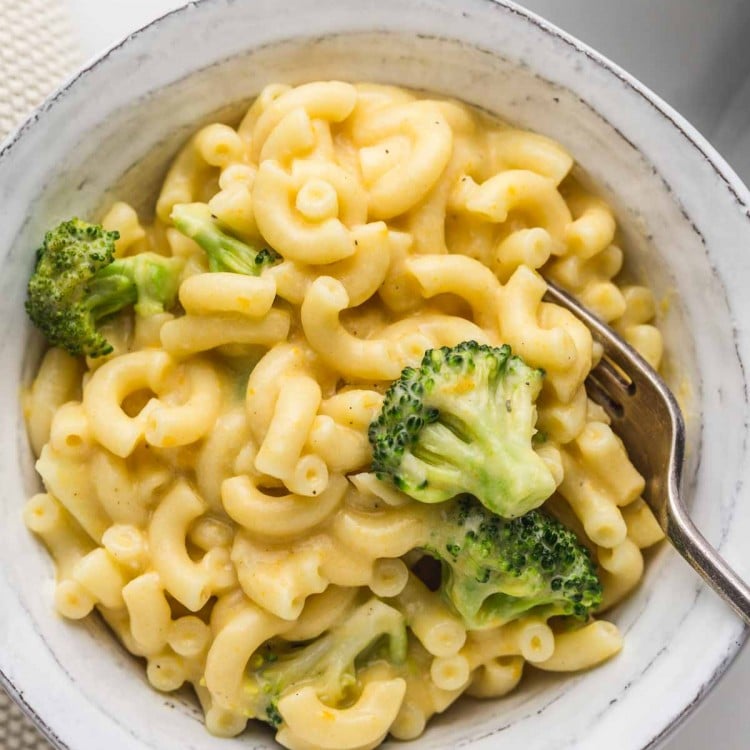
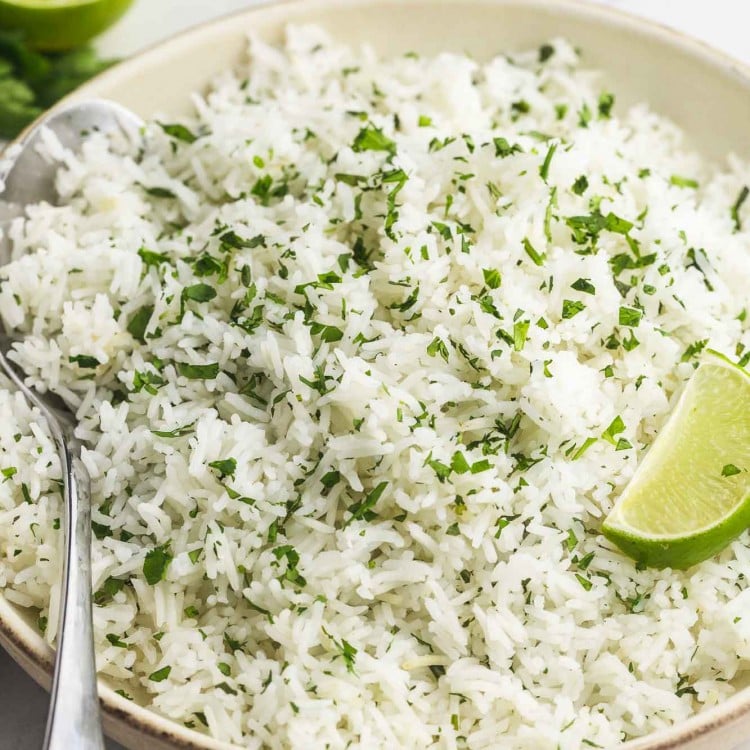
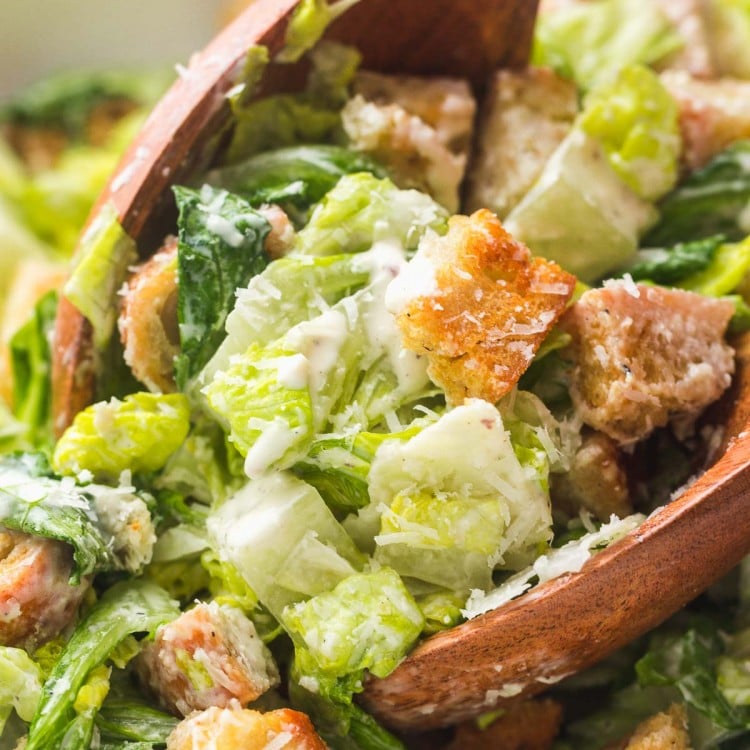
I love serving beer can chicken with roasted or steamed vegetables, a potato side, or a fresh salad. Here are a few more ideas!
Enjoy your beer can chicken with your friends and family. I know you’ll love it as much as they will. Be sure to pin this recipe so more people can enjoy it too.
Did you make this? Be sure to leave a review below and tag me on Facebook, Instagram, or Pinterest!
Beer Can Chicken
Ingredients
- 1 x 12-ounce 350ml beer
- 1 x 3-4-lb (1.5-2kg) whole chicken
Dry rub:
- 1 teaspoon garlic powder
- ½ teaspoon dry oregano
- ½ teaspoon smoked paprika
- ½ teaspoon cayenne or chilli powder
- 1 teaspoon salt or 2 teaspoons kosher salt
- ½ teaspoon ground black pepper
Instructions
- Line the bottom of the grill with aluminum foil and then pour some water in. This will prevent spills and flames, and add steam to the grill. If using an oven, place a large baking sheet on the very bottom rack lined with foil with a splash of water in it.
- Preheat the oven to 425-450°F. Do the same for the grill, lighting just 2 of 3 burners or 3 of 4, depending on how many burners your grill has.
- Mix dry rub ingredients together in a small bowl.
- Spray the outside of the chicken with oil or cooking spray, then season the chicken generously with the dry rub, covering every inch of the bird.
- It’s time to put the can of beer in the chicken! Open your beer and pour out (or drink) about half of it. Set the can down, and then slowly and carefully place the chicken over the can, legs side down. Adjust the position of the chicken and the can until it will stay upright on its own.
- Cook: Place the chicken on the grill over indirect heat (over the one burner that you didn’t turn on), or place the chicken in the preheated oven. Cover and grill for 1-1.5 hours or until cooked through.
- Check on your chicken every 15-20 minutes during the cook time. If it’s browning too quickly on one side, rotate it away from the heat source.
- When the chicken is done cooking, remove it from the grill or oven and place on a cutting board. Allow it to cool for at least 5 minutes, then remove from the beer can. This is easiest to do with two people, one holding the chicken and the other holding the beer can. Be careful, everything is hot!
- Carve your beer can chicken and serve.
Nutrition Information
This website provides approximate nutrition information for convenience and as a courtesy only. Nutrition data is gathered primarily from the USDA Food Composition Database, whenever available, or otherwise other online calculators.
© Little Sunny Kitchen


Leave a Review!