
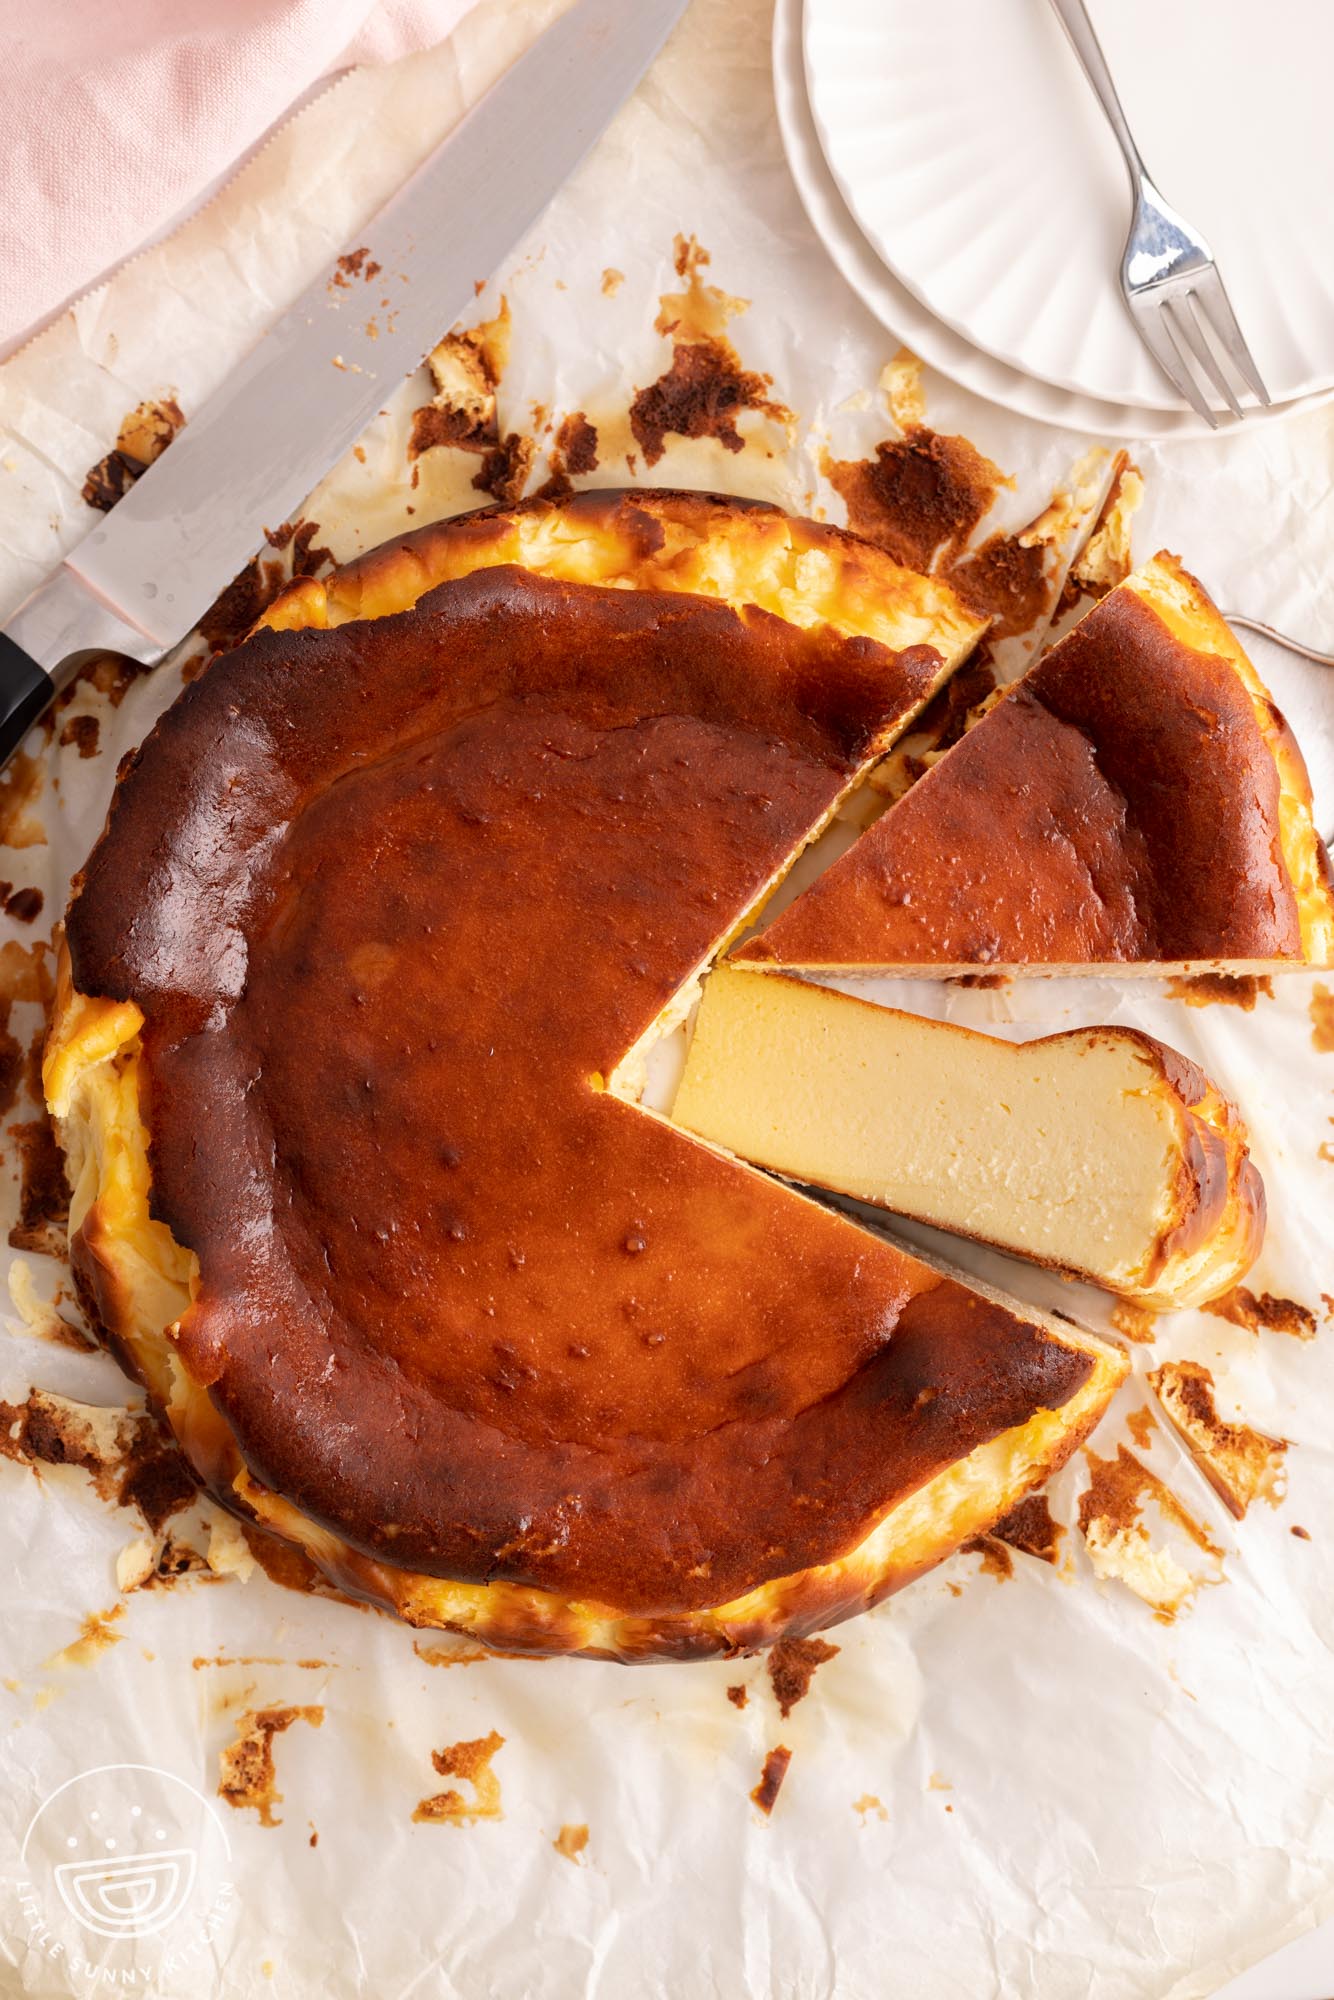
The most perfect, rustic, classic Basque Cheesecake is so simple to make, and completely decadent and delicious.
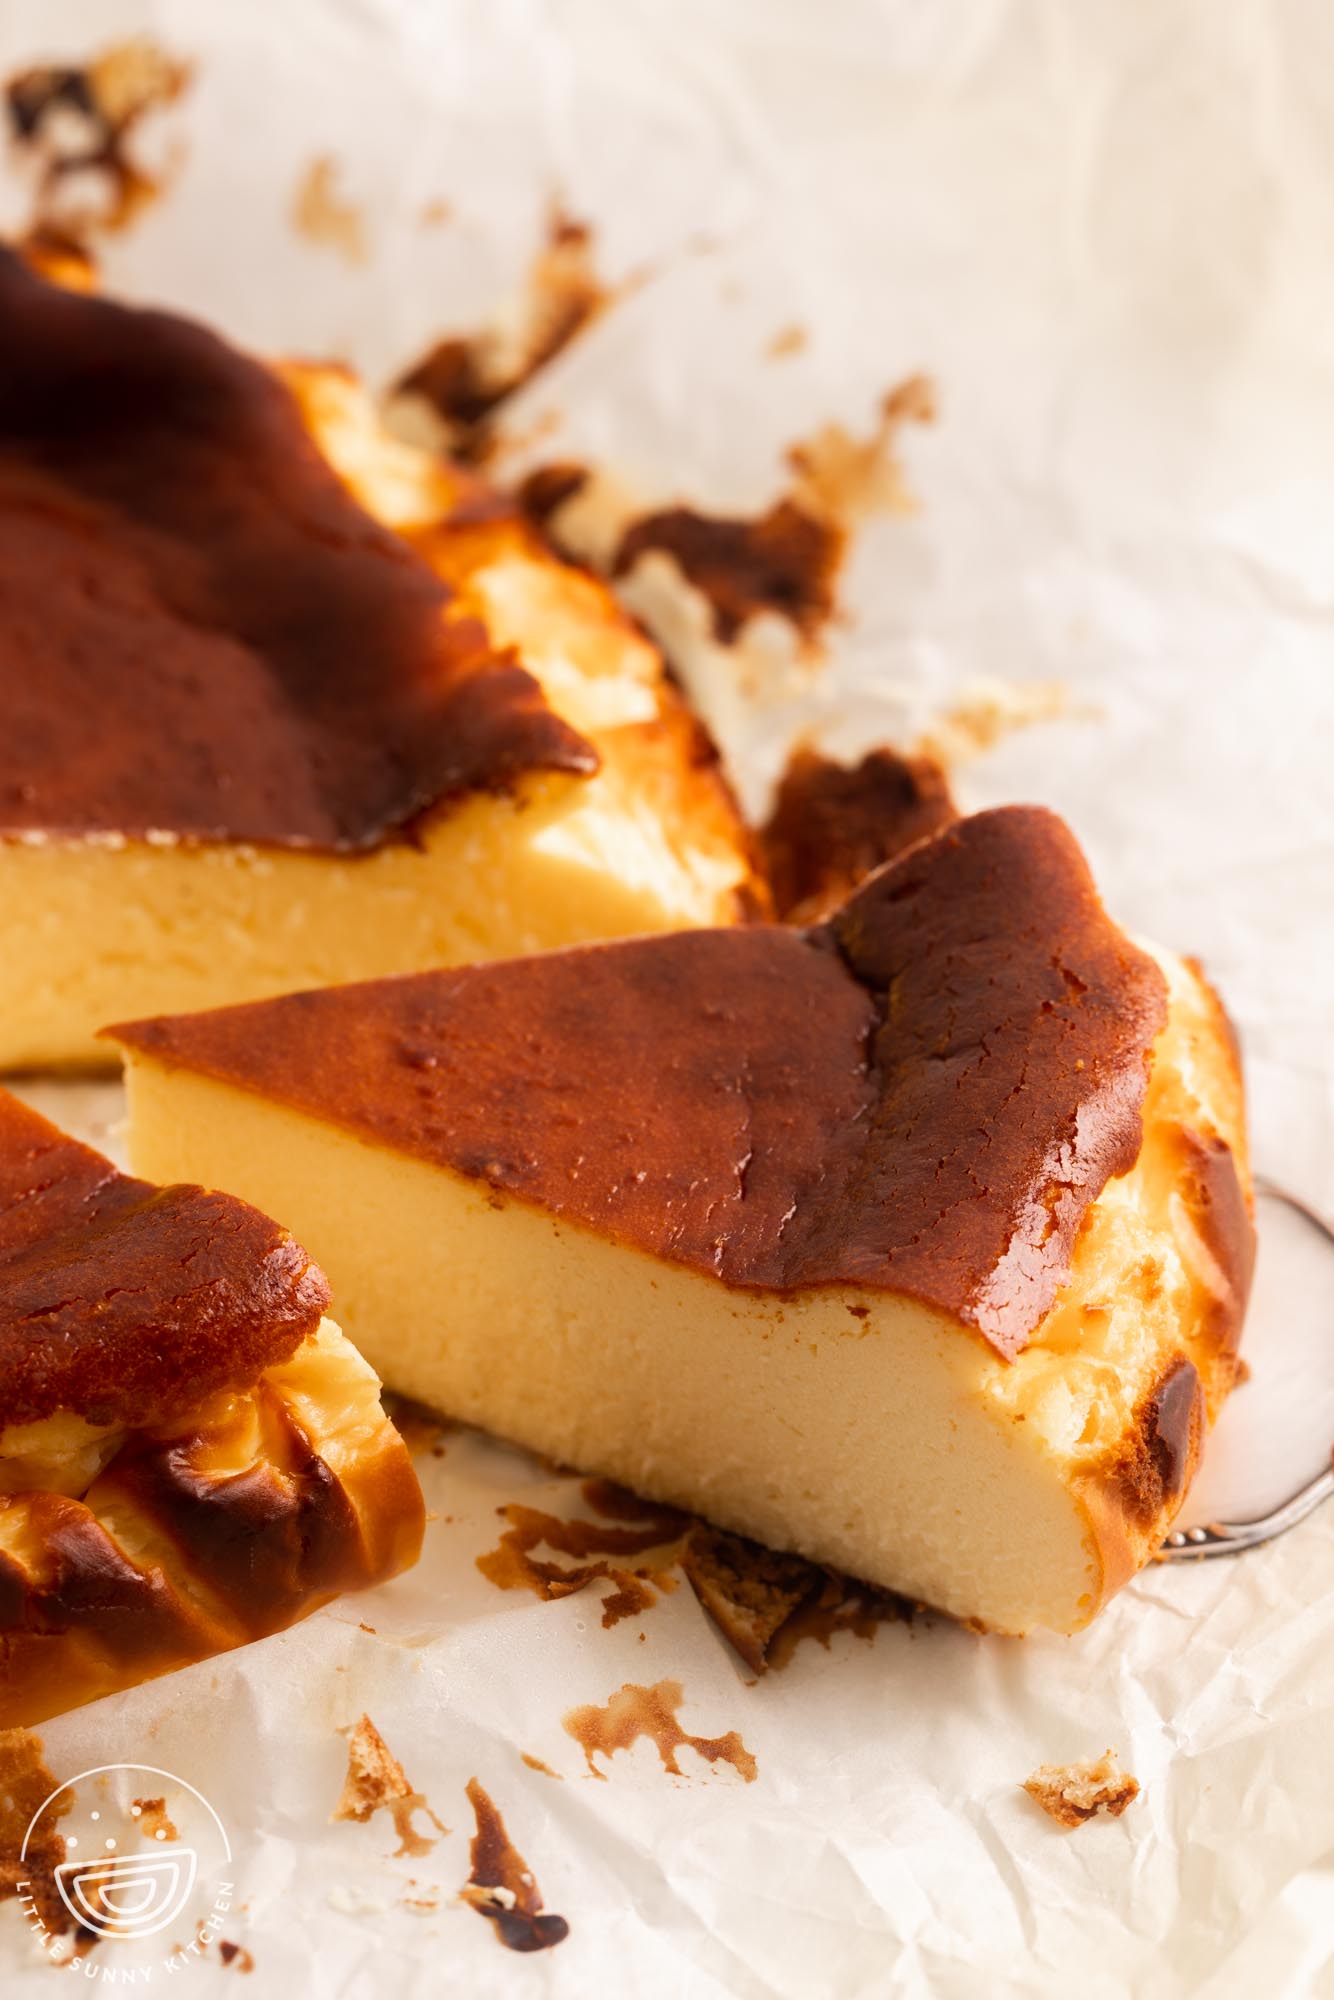
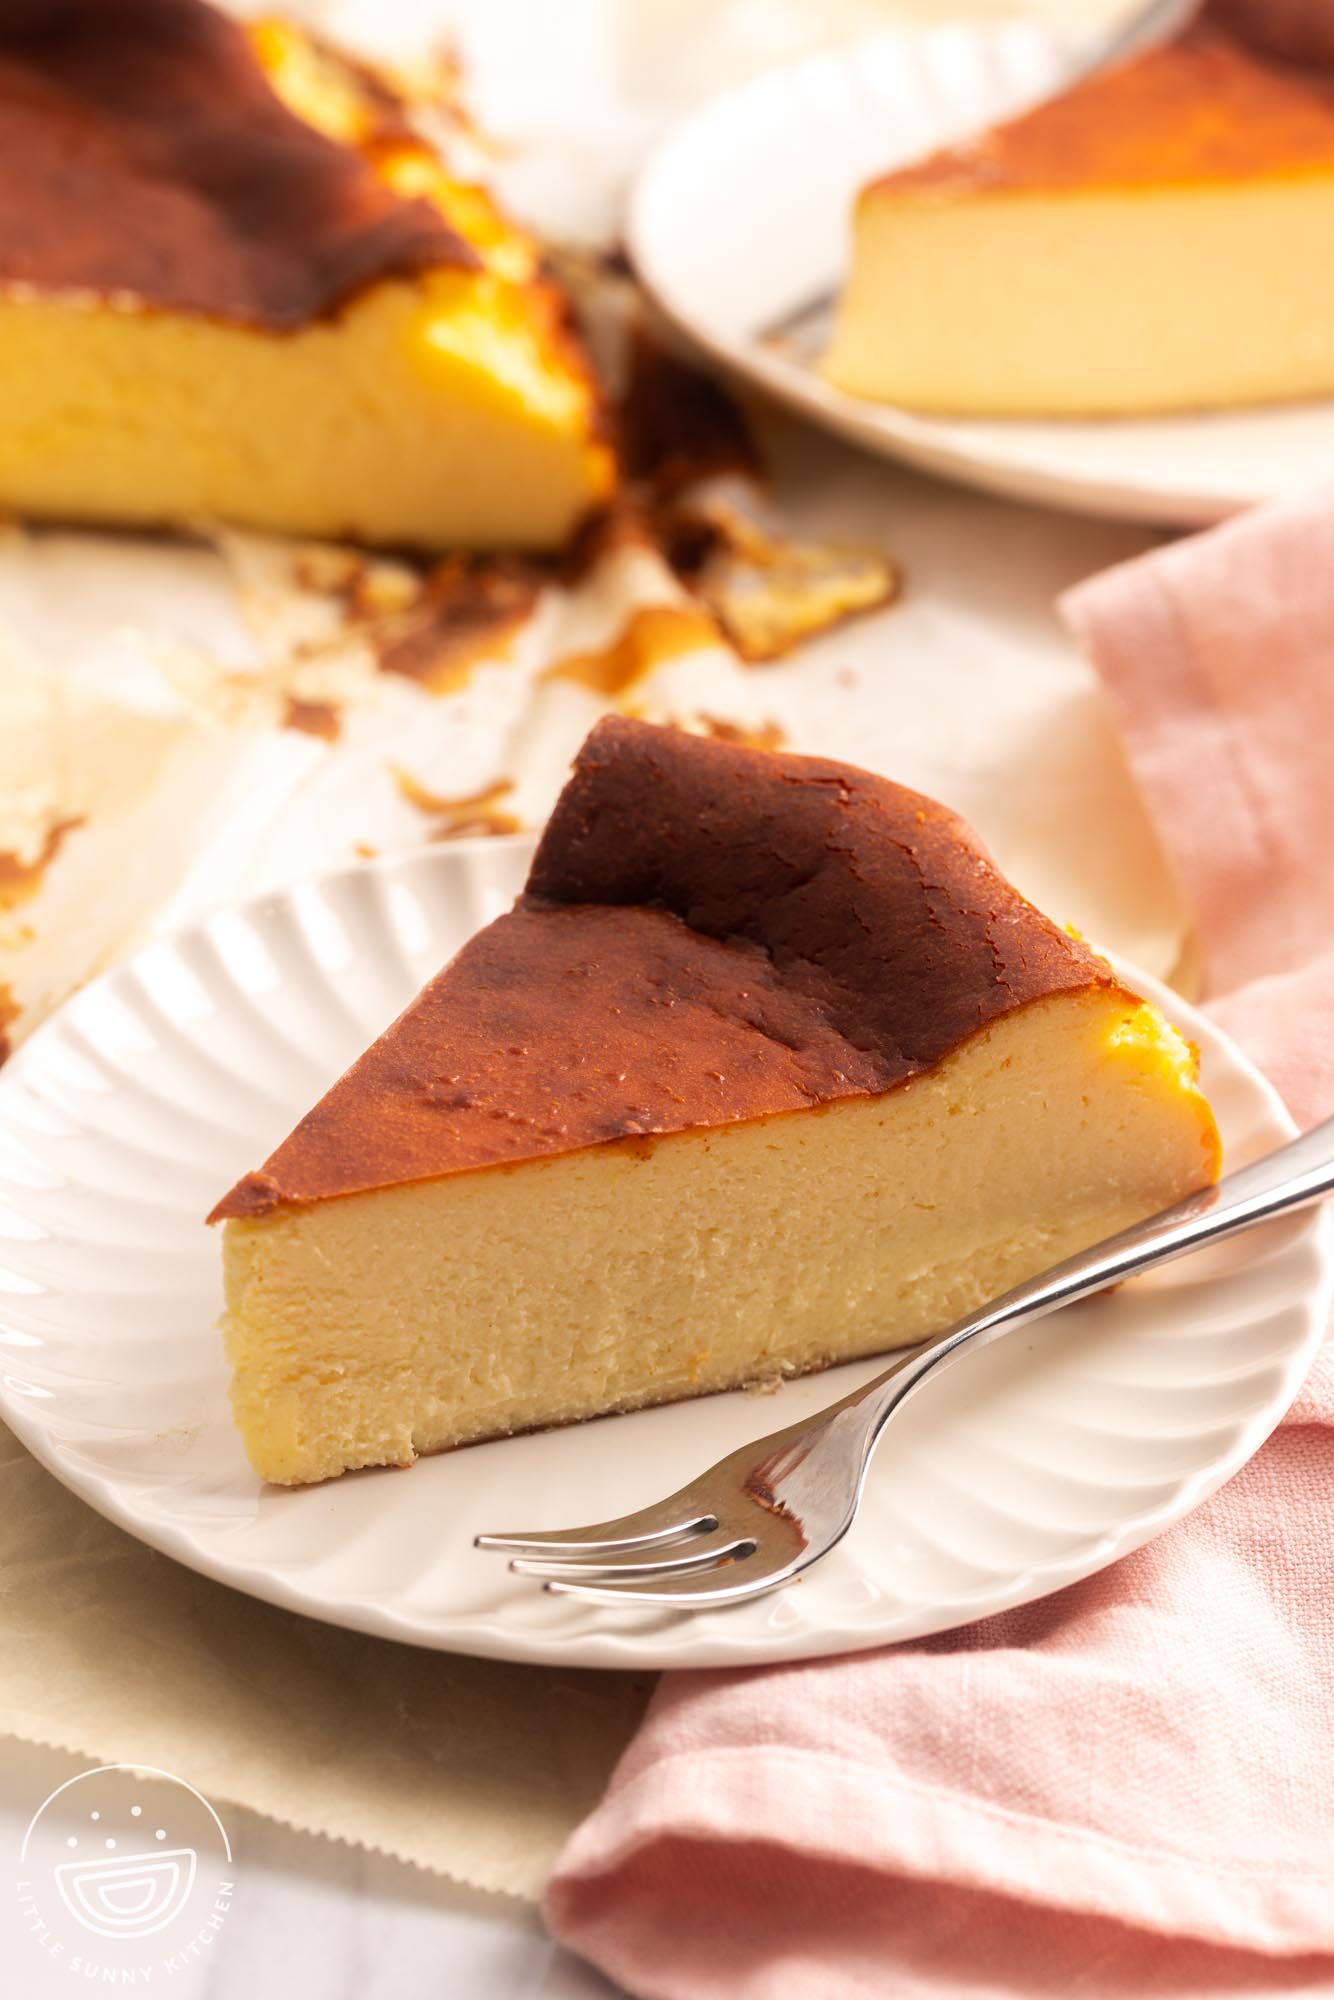
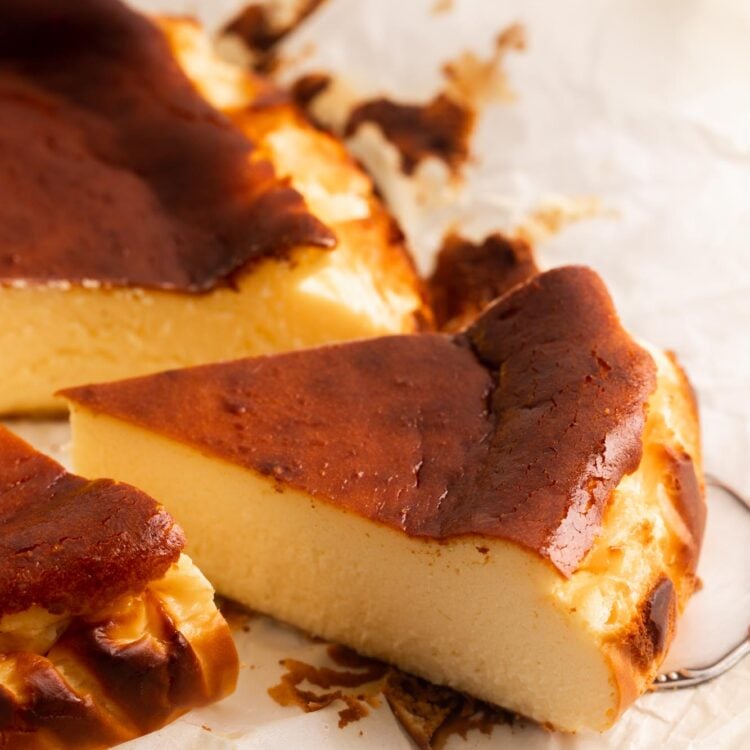
With it’s creamy, rich center, and deeply golden brown caramelized top and edges, this cheesecake has a flavor like crème caramel or crème brûlée.
What is a Basque Cheesecake?
Basque cheesecake was created in the 1990s by chef Santiago Rivera of La Viña, a restaurant in San Sebastián, the Basque region of Spain.
His goal was to create a unique dessert that was different than traditional cheesecake and New York style cheesecake, and what he came up with is just brilliant!
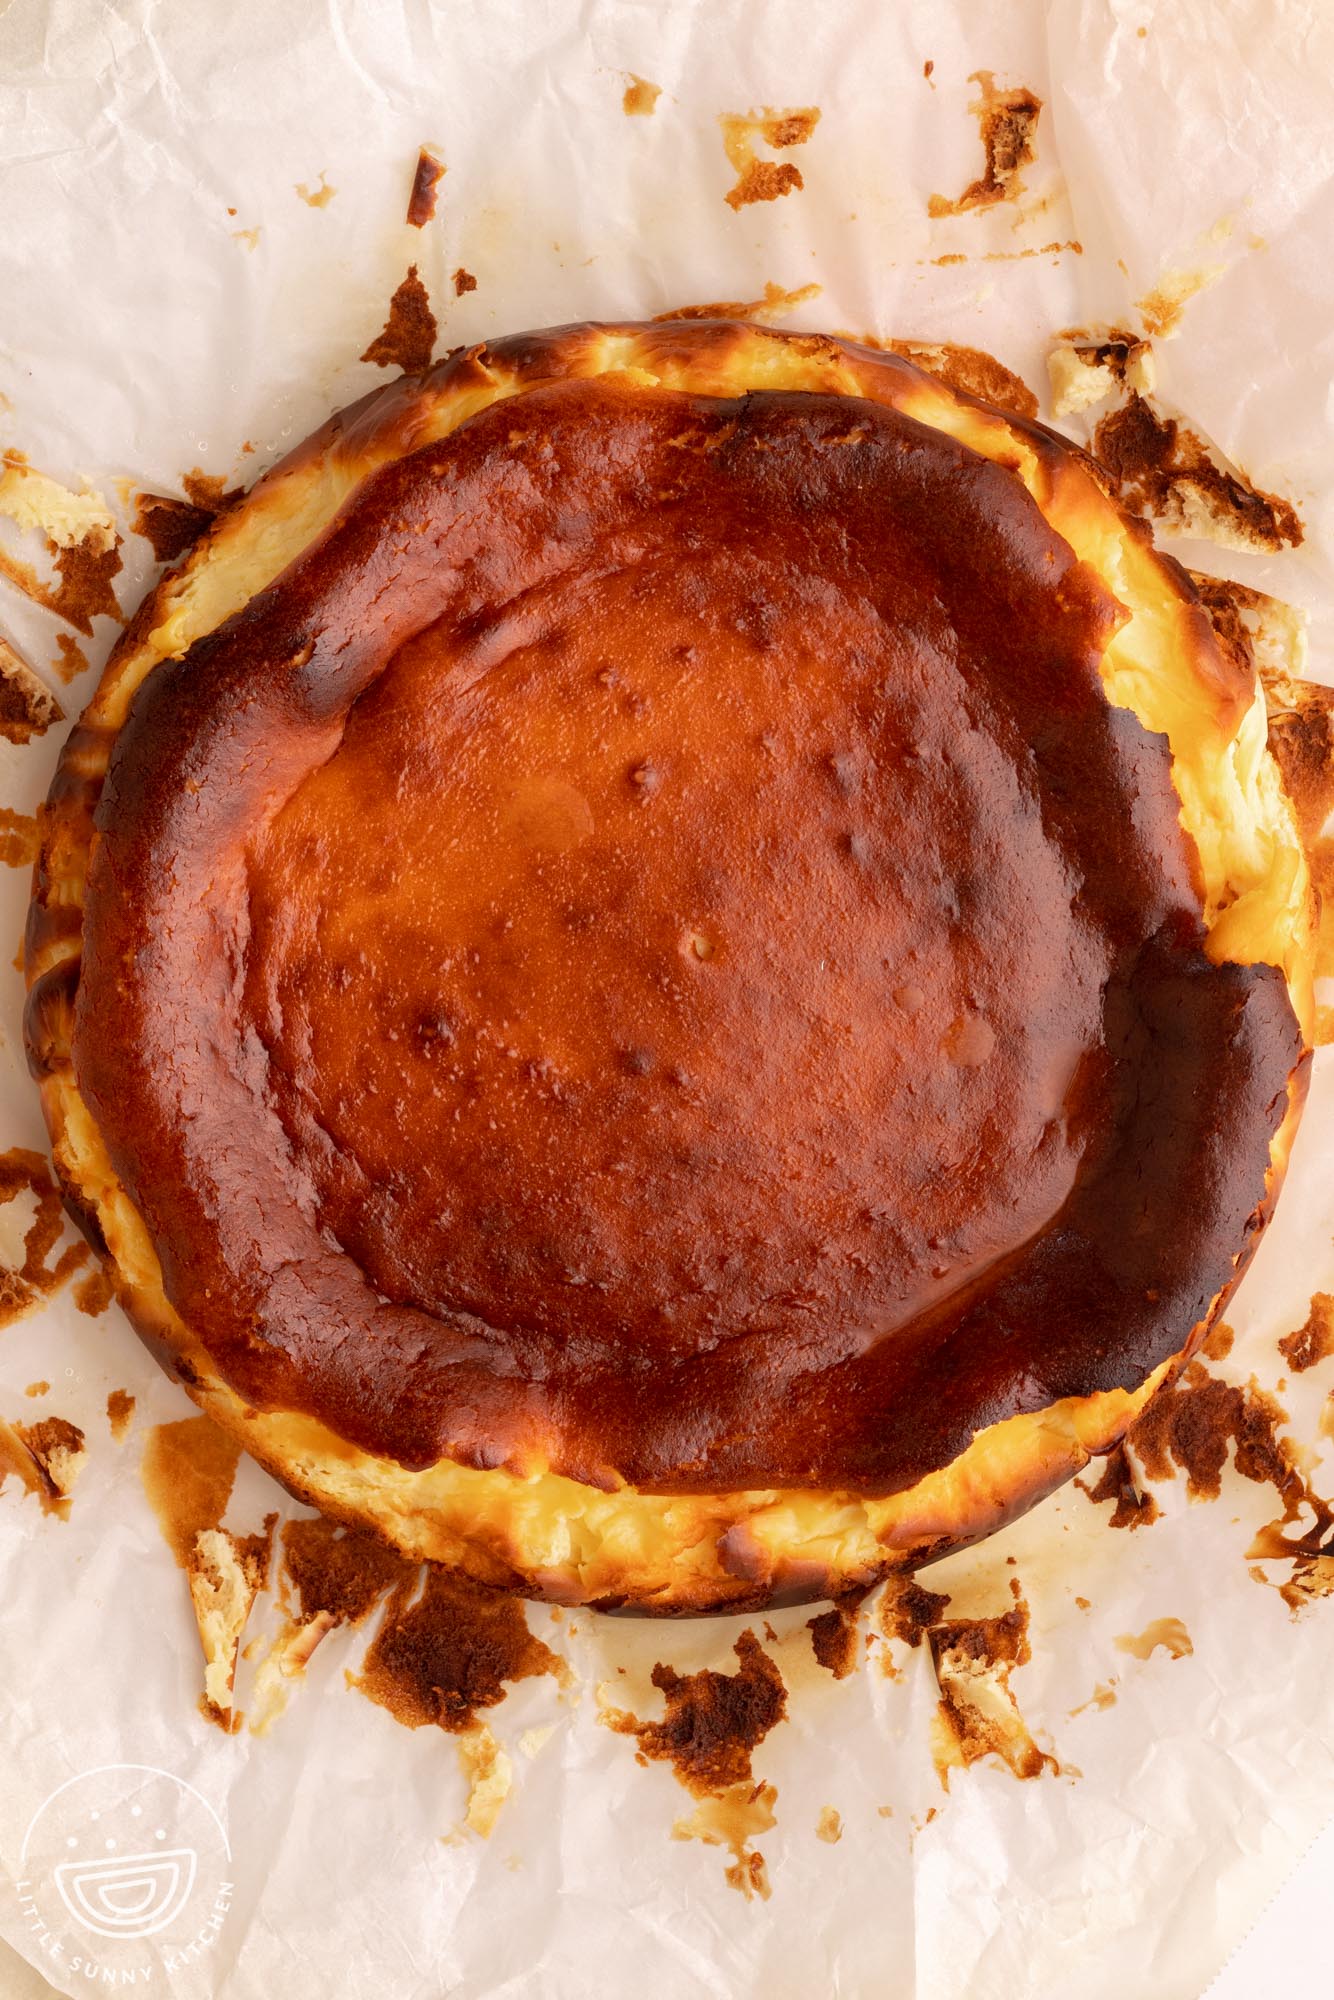
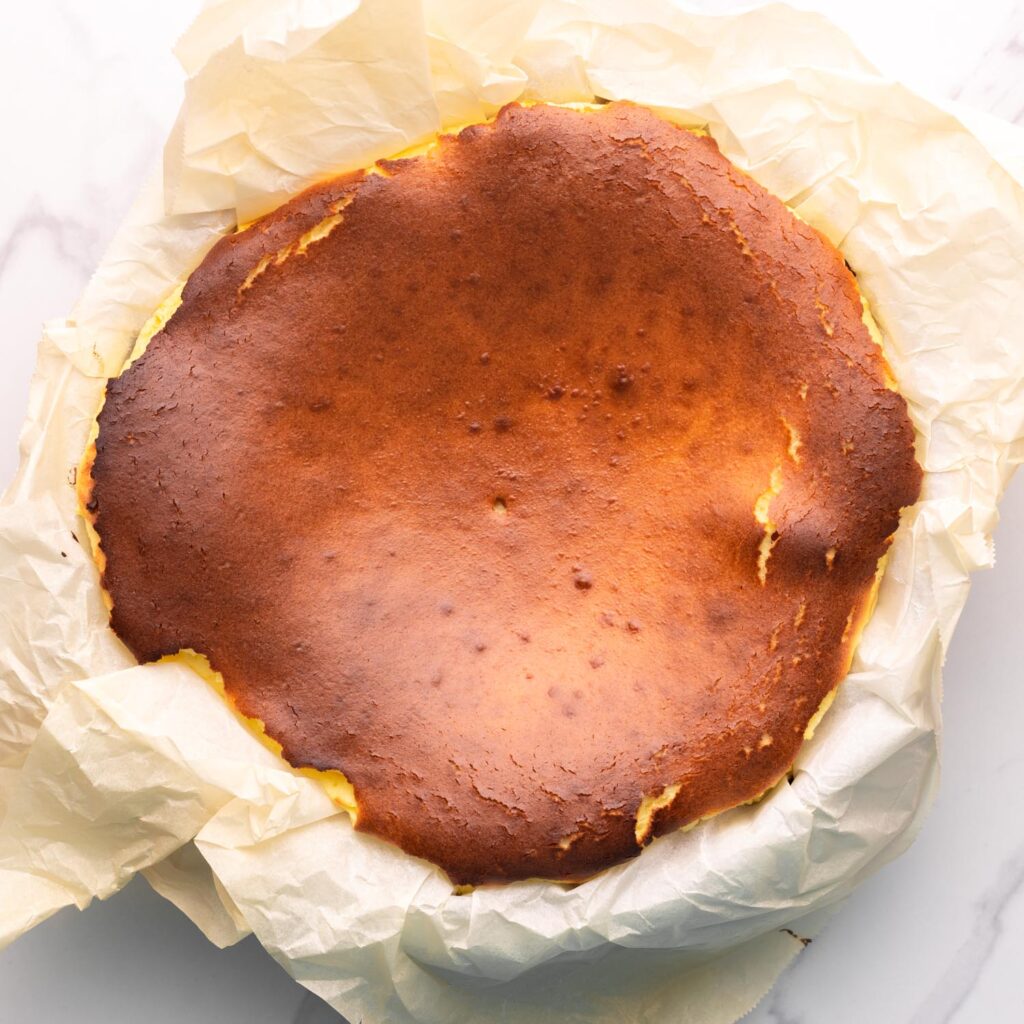
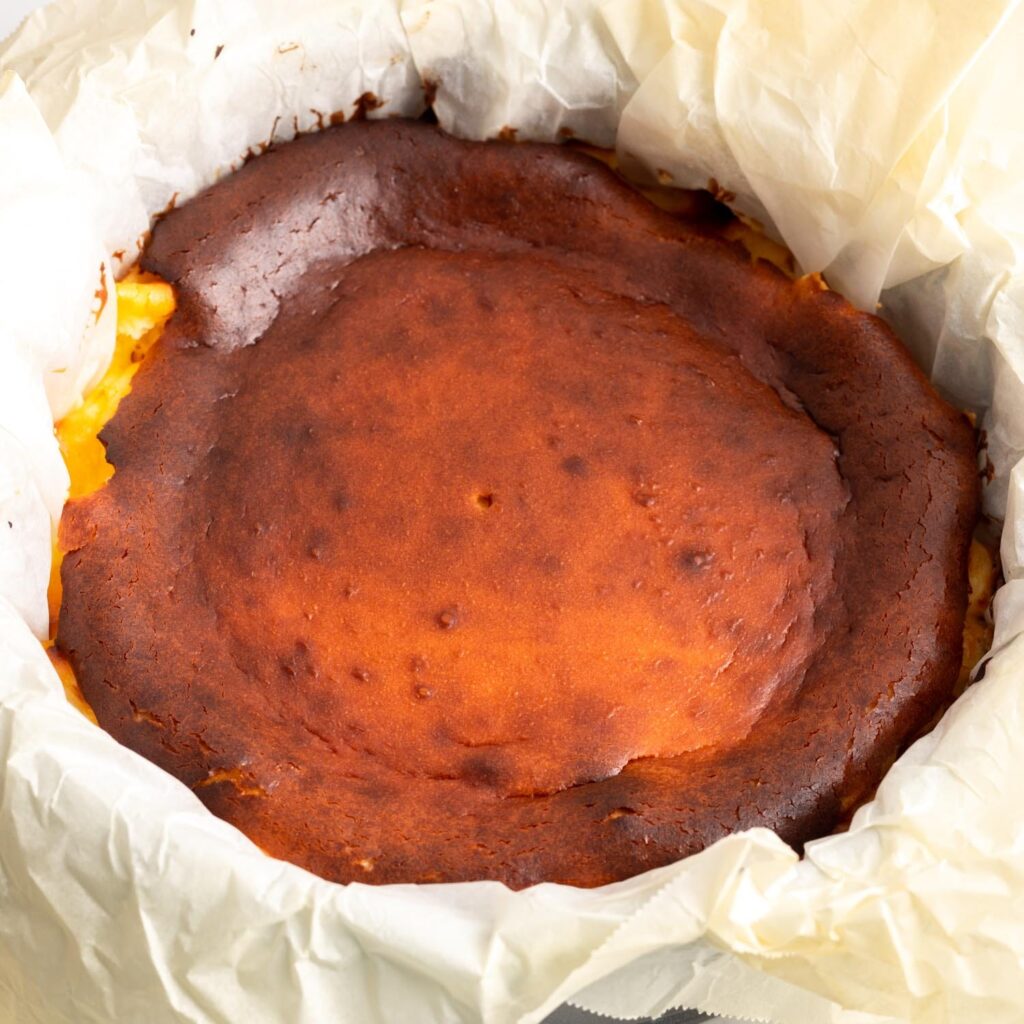
This type of cheesecake is baked without a crust, without a water bath, and at a high temperature. The result is a mousse-like cheesecake with rustic, almost burnt, caramelized top and outer crust.
Basque Burnt Cheesecake is easier to make than traditional cheesecake, and you’ll love my method which makes it even easier!
Basque Cheesecake Recipe Highlights
- Only 6 Ingredients – You will notice that this recipe doesn’t include any flavorings like vanilla extract or lemon zest. It’s really not needed here! The cooking method caramelizes the sugar, adding the perfect amount of flavor to the wonderfully creamy dessert.
- Not Overly Sweet – The cheesecake is sweet, but not as sweet as other styles. It’s a lovely dessert on its own, and I prefer it without any added toppings.
- My Recipe Shortcut – I’ve made the recipe for Basque Cheesecake even easier! Mine is made entirely in the food processor, blended until it’s silky smooth. You just need to mix and bake!
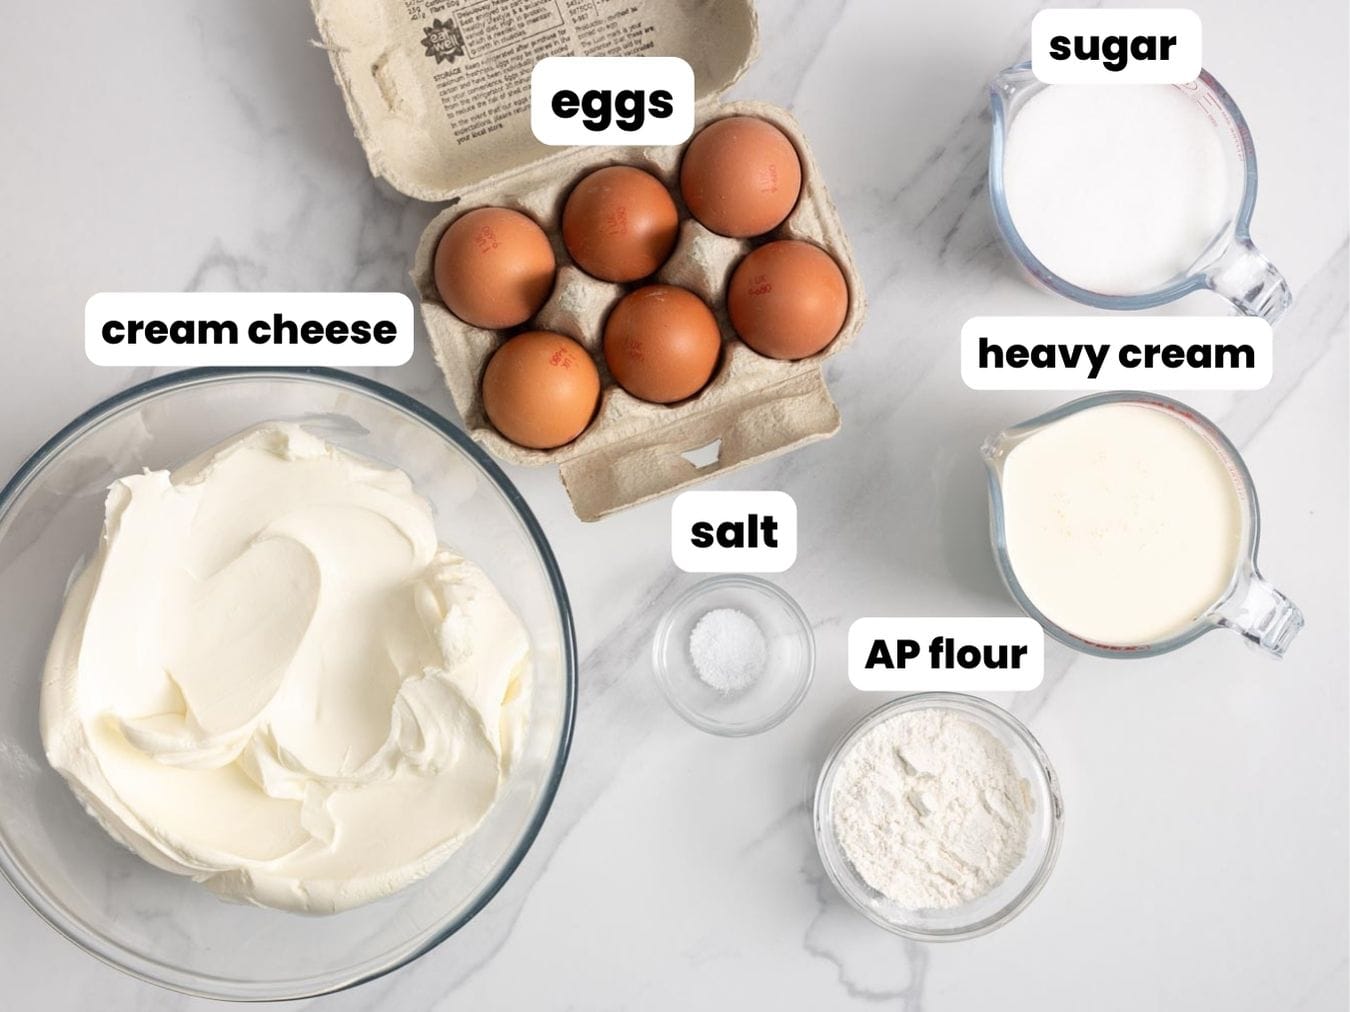
Ingredients In Basque Cheesecake
Here’s what you need to make this silky smooth cheesecake:
Complete list of ingredients and amounts can be found in the recipe card below.
- Cream Cheese: You’ll need 32 ounces of full fat regular cream cheese for this recipe. Philadelphia brand is typically my favorite, but other brands work just as well. Don’t try to make cheesecake with low fat cream cheese, it just won’t work.
- Eggs: Be sure to use large eggs for this recipe so that you get the right amount. 6 whole large eggs, at room temperature, give this cake structure.
- Superfine or Caster Sugar: This is an important ingredient, and can be tricky to find sometimes. You want to look for superfine sugar, also known as caster sugar. It’s finer than granulated sugar but not as fine as powdered sugar, and dissolves smoothly into the cream cheese mixture.
- Heavy Cream: Heavy whipping cream (double cream in the UK) should be at room temperature as well. Do not try to use milk, low fat cream, or half and half.
- Flour: This helps to stabilize the cream cheese filling so it stays light and fluffy, even after baking. You can use gluten free AP flour as well.
- Salt: Salt brings out and enhances the flavors of the cream, sugar, and eggs.
That’s it! Be sure that all of your ingredients are at room temperature before you start.
How To Make Basque Cheesecake
Tip!
I like to get rid of the bubbles on top of the cheesecake because I like the way it looks when it’s smooth, but some prefer to leave the bubbles, as they add to the rustic look of the whole thing. You can decide which you prefer!
Recipe Tips
- Choose the right pan: The easiest type of pan to bake a cheesecake in will be a springform pan with a removable outer ring. You can also use a 9-inch round cake pan. Just be careful removing the cake for serving.
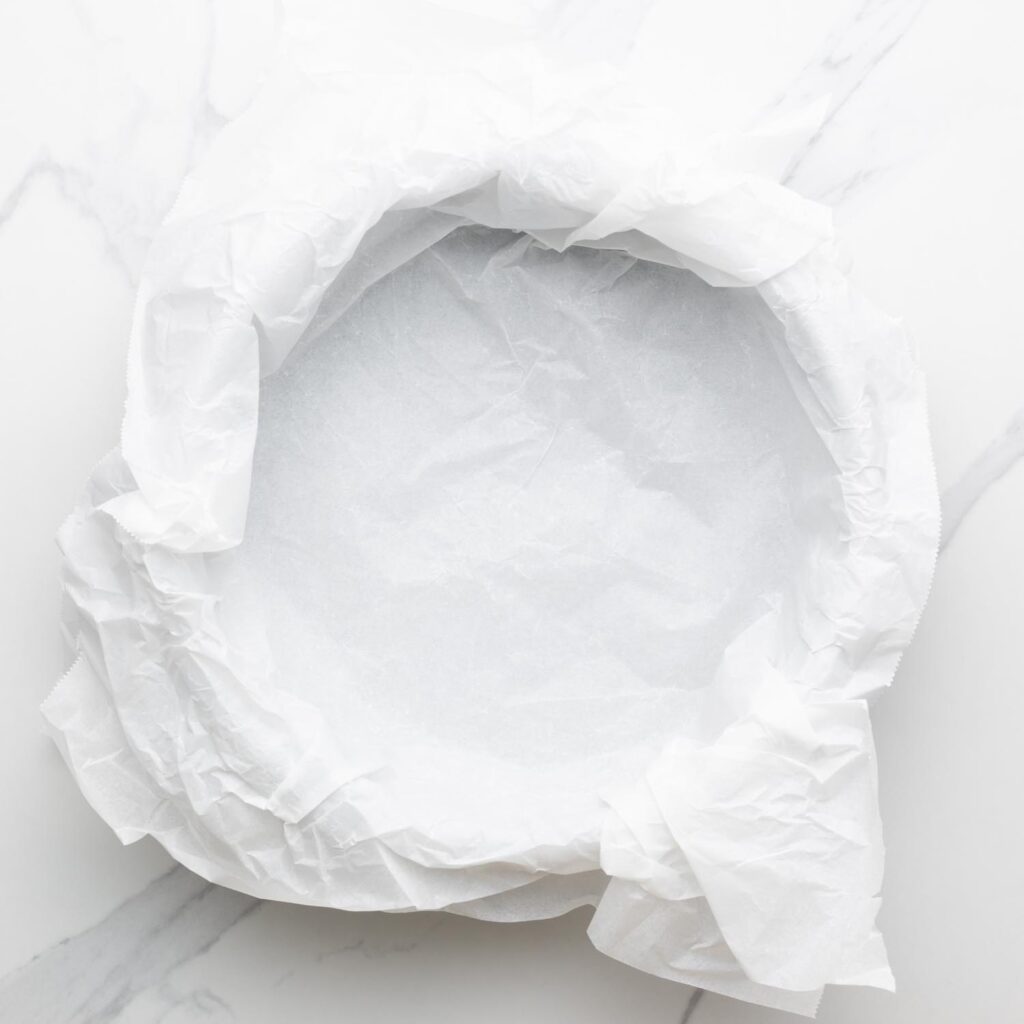
- Line with textured parchment: You don’t want to use smooth pieces of parchment paper to line this pan. Instead, crumple the paper and then gently smooth it out again. That texture will give you the iconic edges, cracks, lumps, and bumps of a burnt basque cheesecake.
- Bake time will vary based on your oven. You can test for doneness with a kitchen thermometer. The cheesecake is done when the internal temperature reaches 150-155°F (65-70C°).
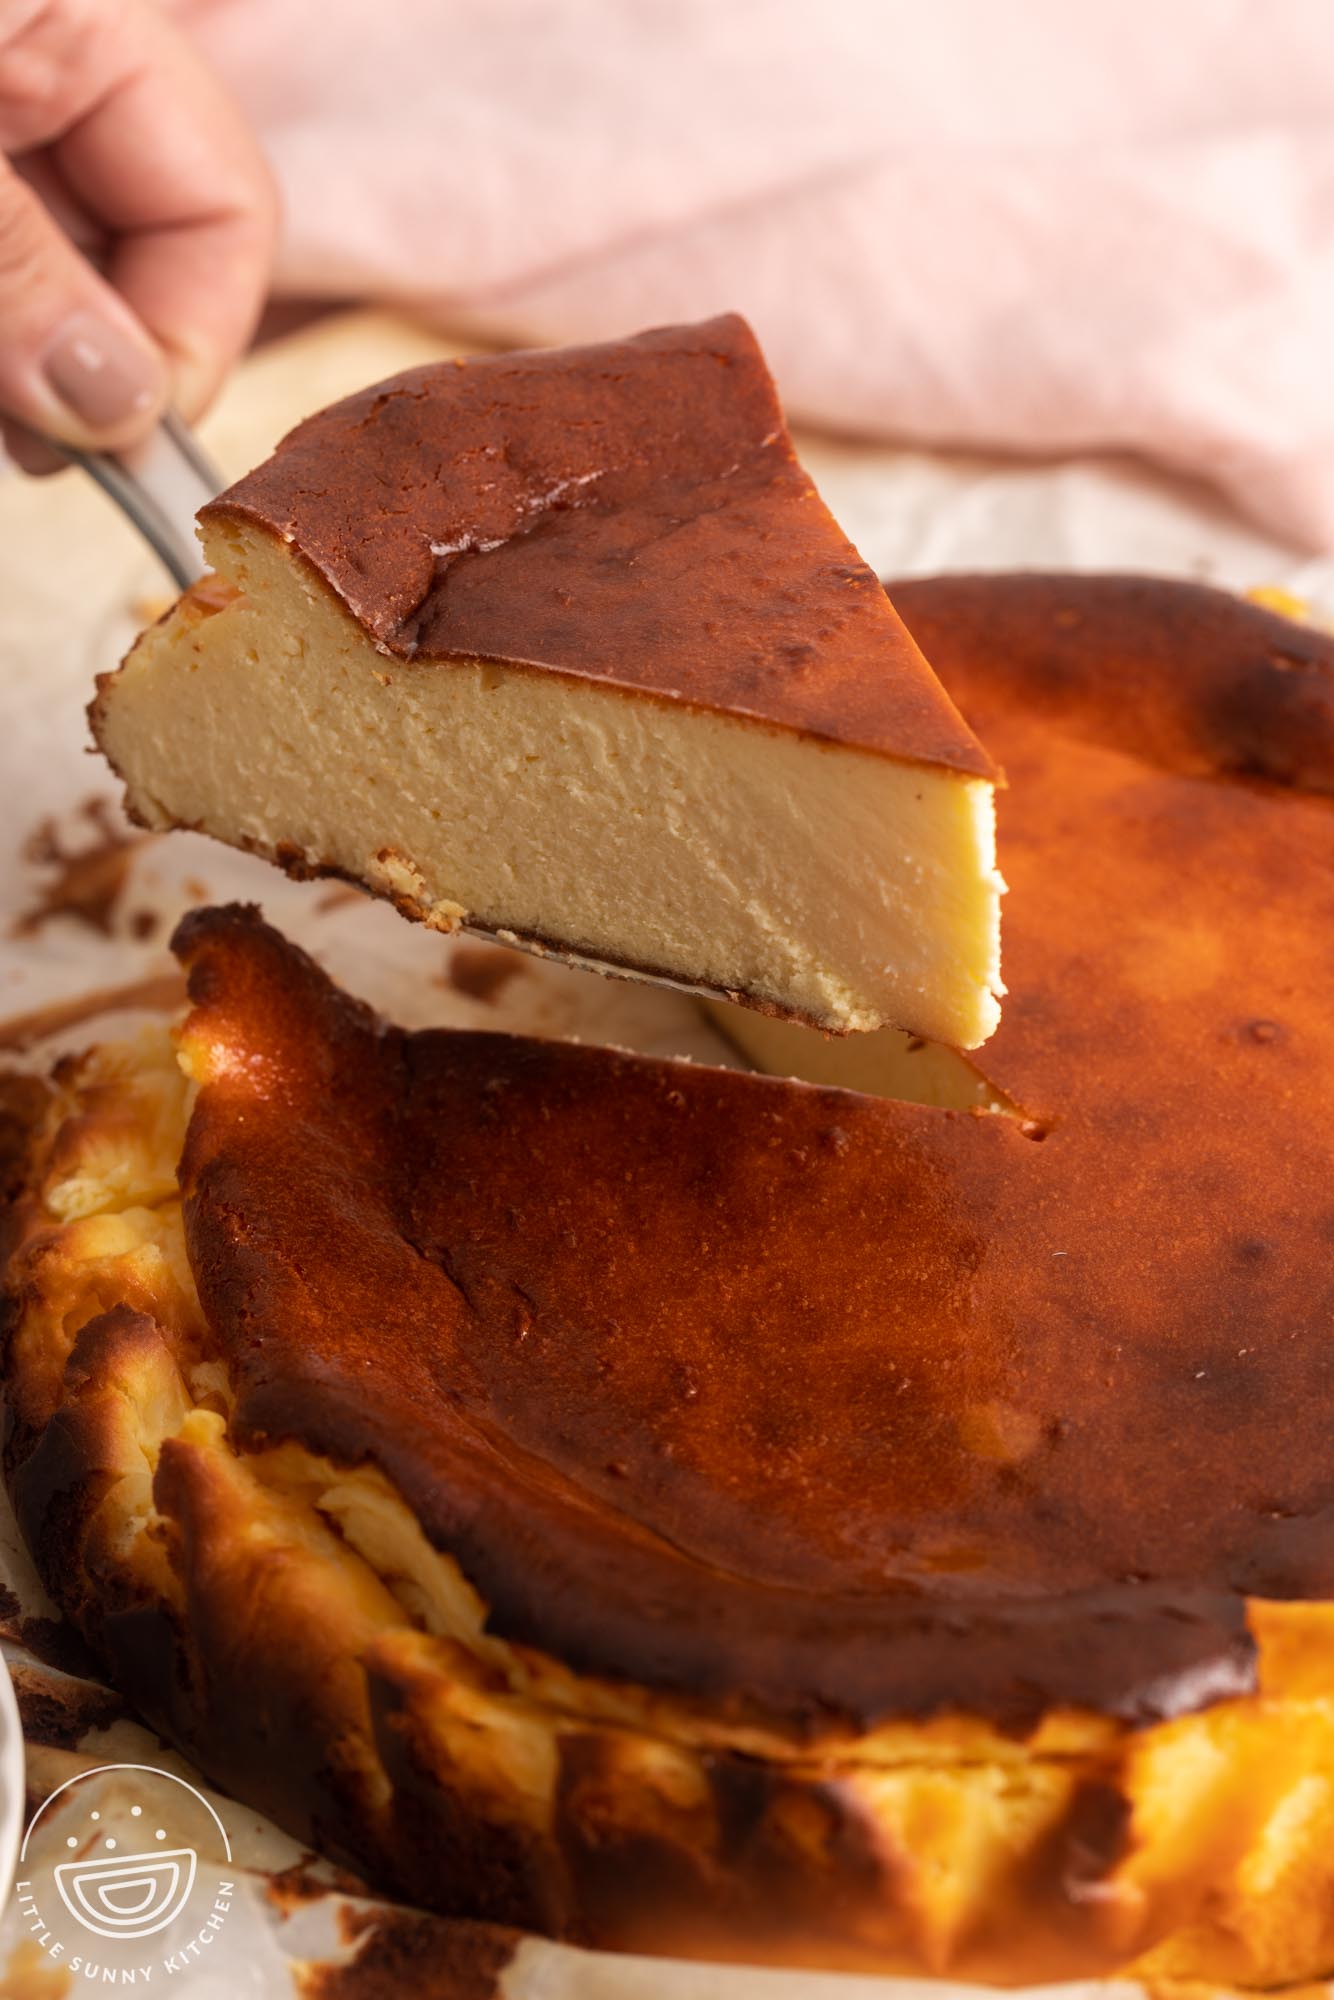
- The center should be jiggly. That jiggle will firm up as the cheesecake cools. If it’s not jiggly, it’s probably overcooked.
Storing Tips
Keep leftovers in the fridge for up to 3 days, uncovered. The flavor actually gets better with time! Enjoy chilled, or let slices come to room temperature before serving.
How to Serve Basque Cheesecake
This dessert is best served at room temperature.
You can also chill it, but you should avoid covering it. A cover will create condensation which will ruin the beautiful caramel colored top.
Basque cheesecake is also best served alone!
That’s right, no fruit, no sauce, no whipped cream. These things aren’t needed here! The caramelized flavor and rich texture are perfect as is.
Recipe FAQs
Do I have to use superfine sugar?
Generally if a recipe calls for superfine or caster sugar, there is a good reason for it! This sugar has smaller crystals than granulated sugar, and will dissolve more quickly and easily into the cheesecake batter.
If you tried to use regular granulated sugar in your Basque cheesecake, the result would be grainy and more dense than you’d like.
Can I Make this with low fat cream cheese?
You definitely should not try to make Basque cheesecake with low-fat cream cheese. It won’t set up properly, and it won’t taste quite right!
Is basque cheesecake the same as Japanese cheesecake?
The traditional Japanese cheesecake is very fluffy and soft. While it also doesn’t have a crust, it is a totally different texture than basque cheesecake, which is rich, dense, and almost gooey in the center.
Do basque cheesecakes have a crust?
There is no graham cracker crust or pastry crust under a basque cheesecake, but the outer layer does bake up to create a nearly burnt, caramelized crust all around.
Does basque cheesecake need a water bath?
Nope! That is one of the best parts about this recipe! Baking a basque cheesecake is very fuss-free, no water bath required.
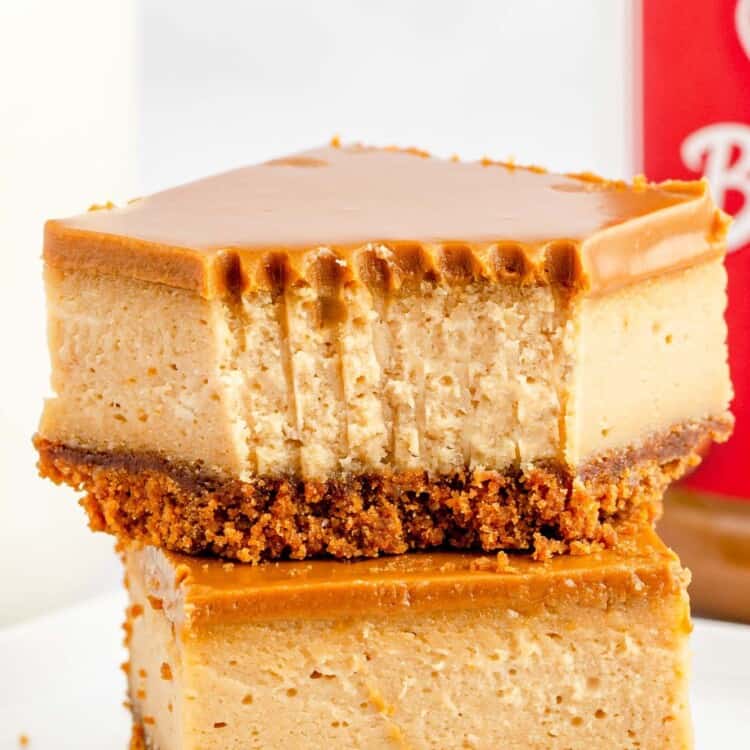
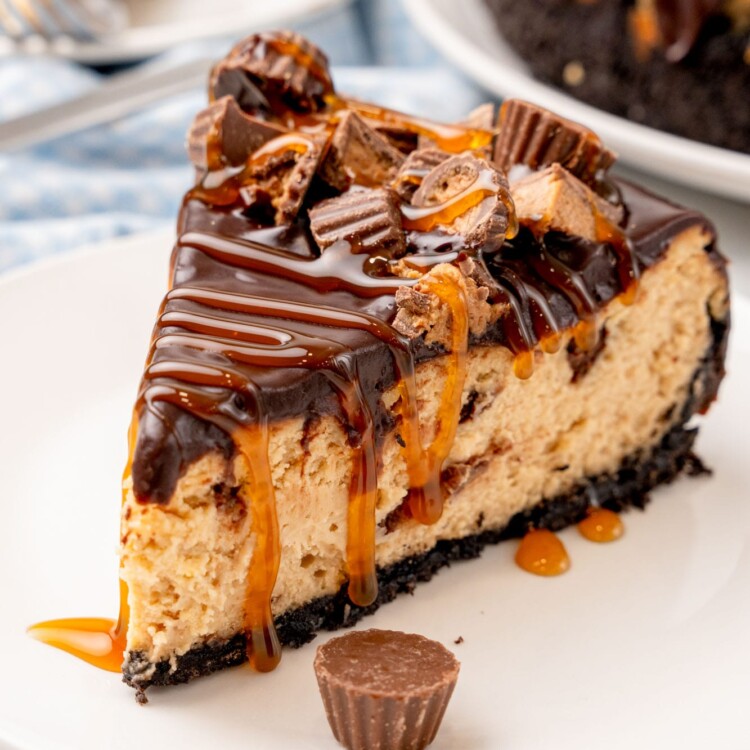
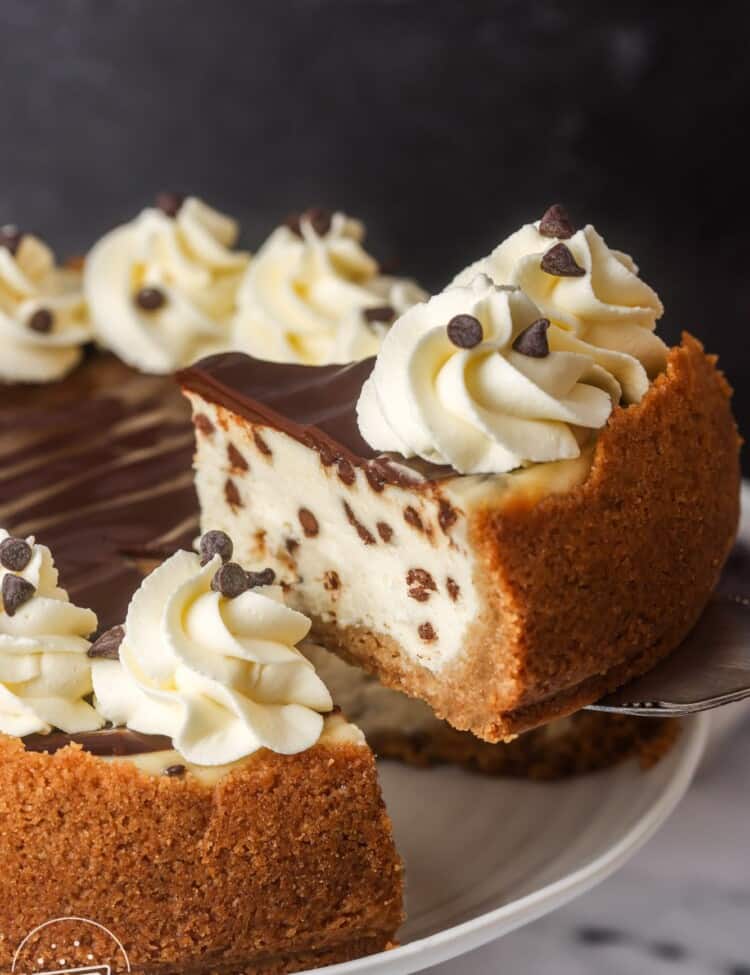
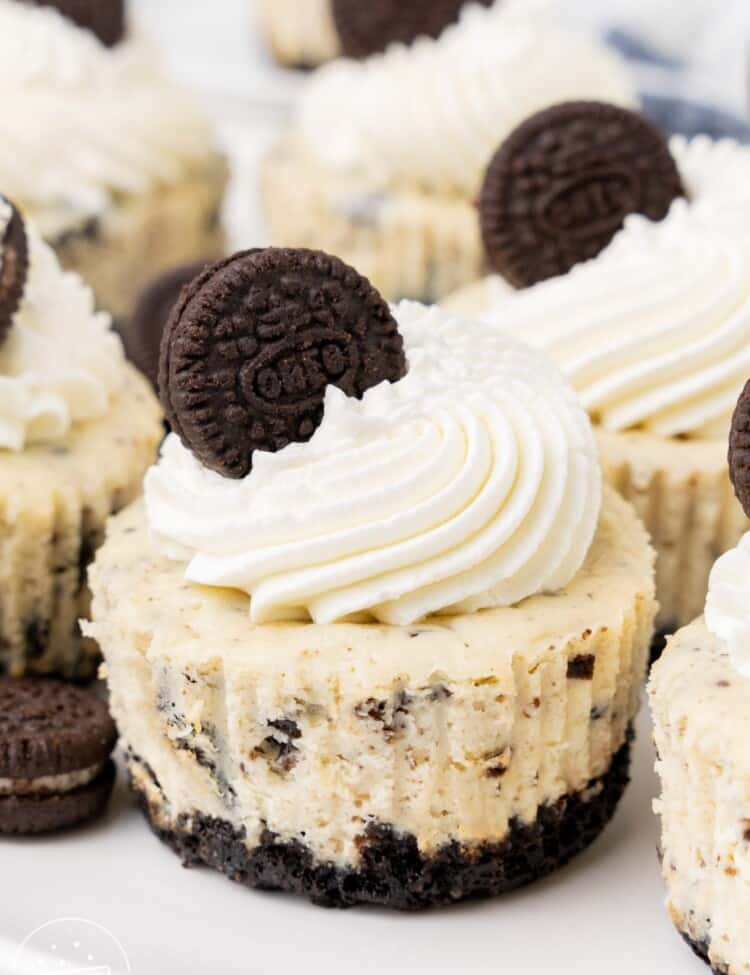
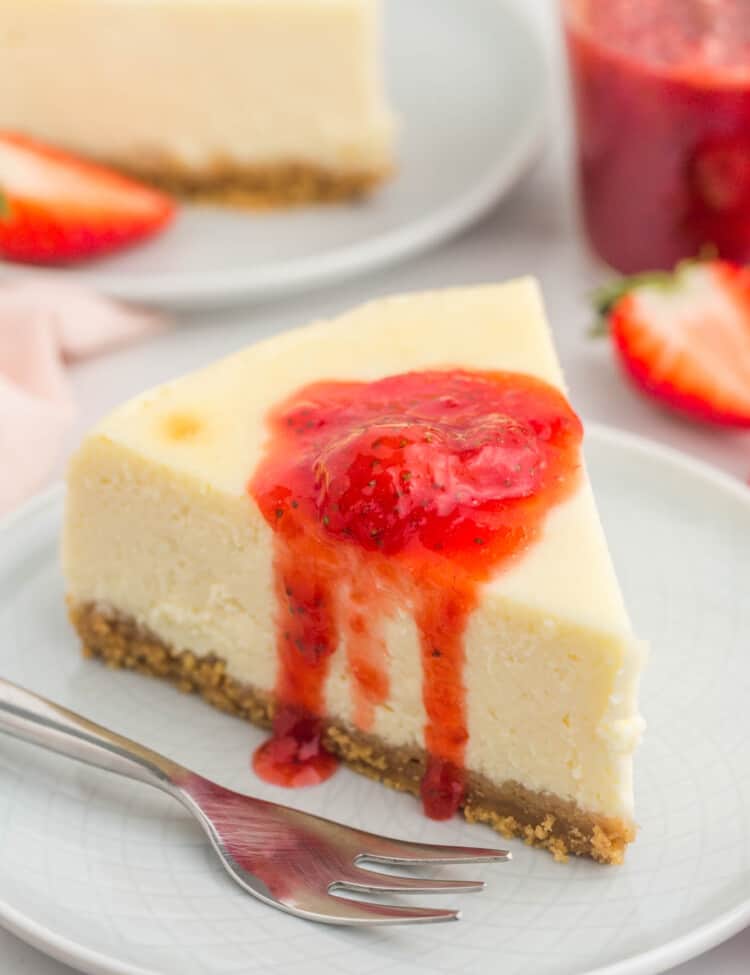
More Cheesecake Recipes to Try!
All Desserts →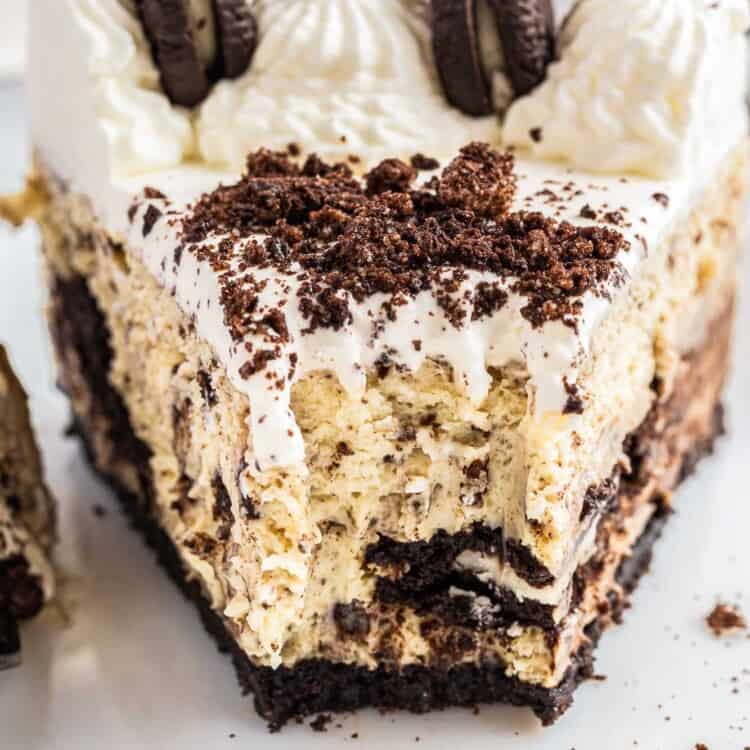

You are going to be amazed when you pull your perfect homemade Basque Cheesecake out of the oven! You’ll be even more amazed when you take the first bite!
This recipe is so simple and completely perfect, so be sure to Pin it for later.
Did you make this? Be sure to leave a review below and tag me on Facebook, Instagram, or Pinterest!
Basque Cheesecake
Recipe Video
Equipment
- 9 inch springform pan
Ingredients
- 32 ounces (900 g) cream cheese
- 1 cup (200 g) superfine sugar caster sugar in the UK
- 6 large eggs
- ¼ cup (30 g) all-purpose flour
- 1 cup (240 ml) heavy whipping cream
- ¼ teaspoon salt
Instructions
- Preheat the oven to 425°F (220°C), or 200°C for a fan oven.
- Cut two large pieces of parchment paper, each about 15 inches long. Crumple each piece into a ball, then unfold and smooth them out. Place the first piece in the pan, pressing it to fit snugly. Rotate and place the second piece across the first, forming a crisscross pattern. Adjust and crease the paper to fit the pan’s shape.
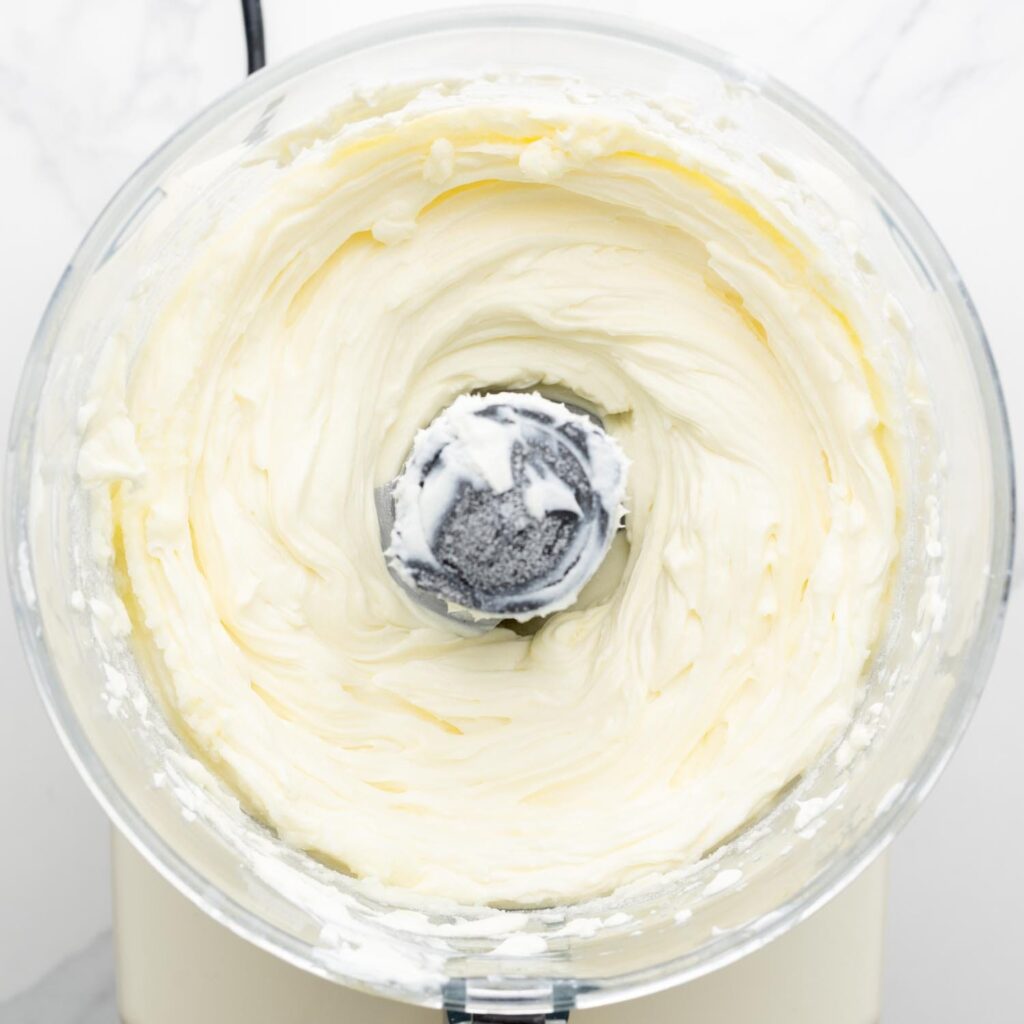
- In a large food processor, combine cream cheese with sugar and blend until combined (about 30 seconds).
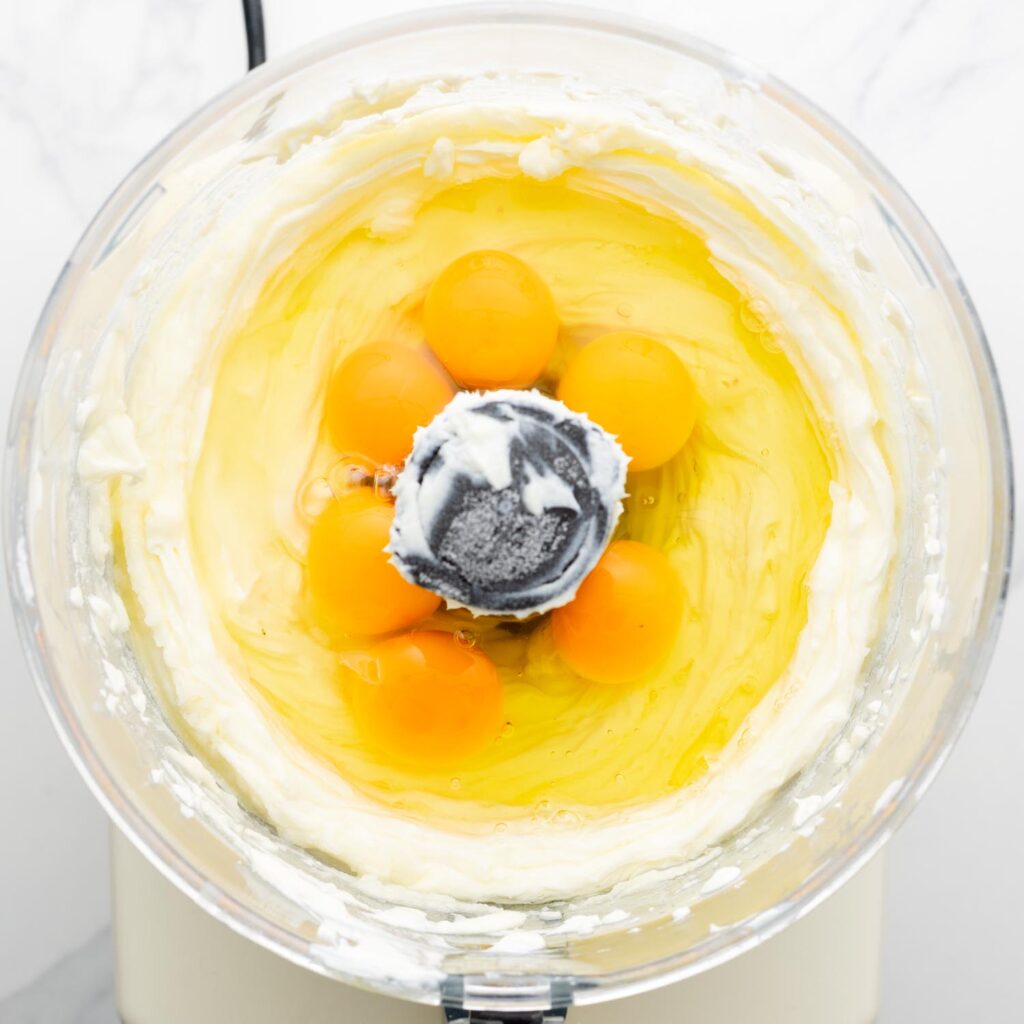
- Scrape the sides of the bowl with a spatula, and add the eggs, and blend again for 30 seconds.
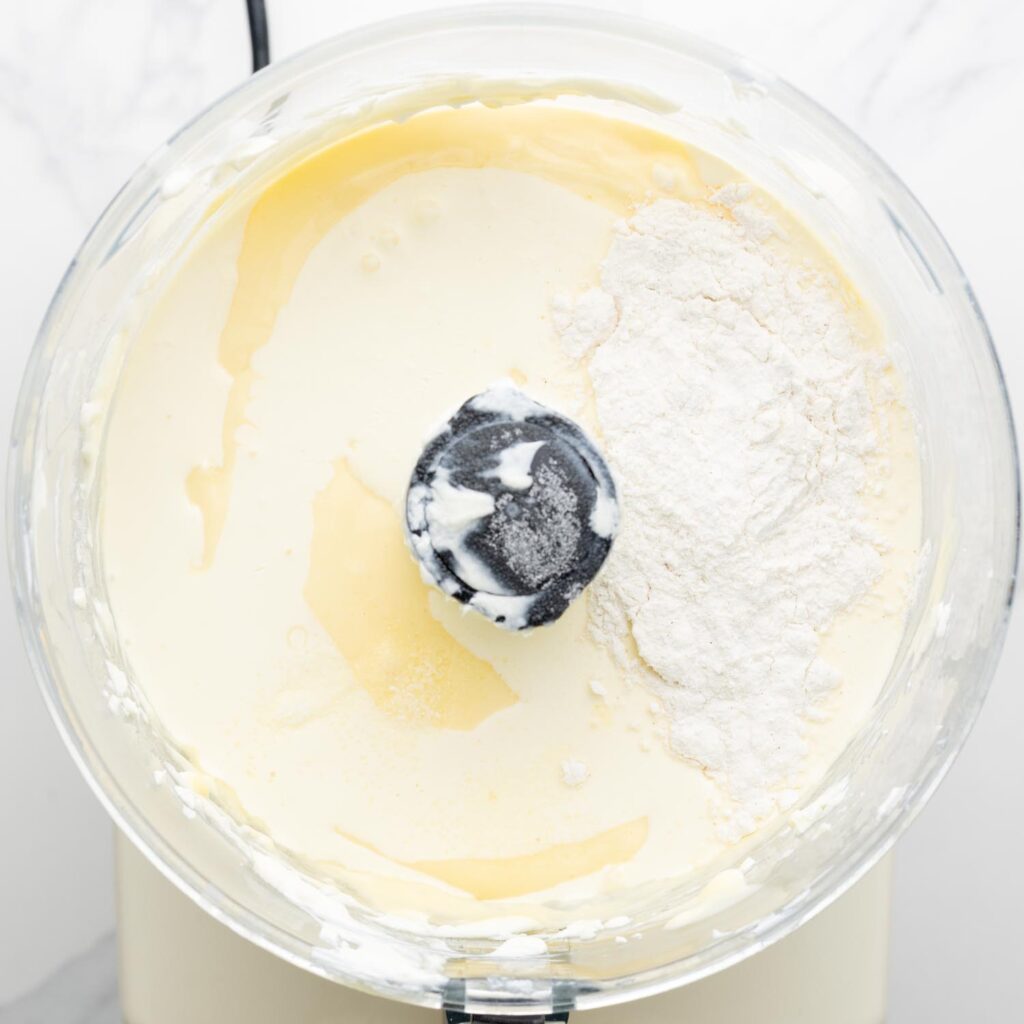
- Scrape the sides of the bowl with a spatula again, add heavy whipping cream, flour, and salt, and blend again for 1 full minute.
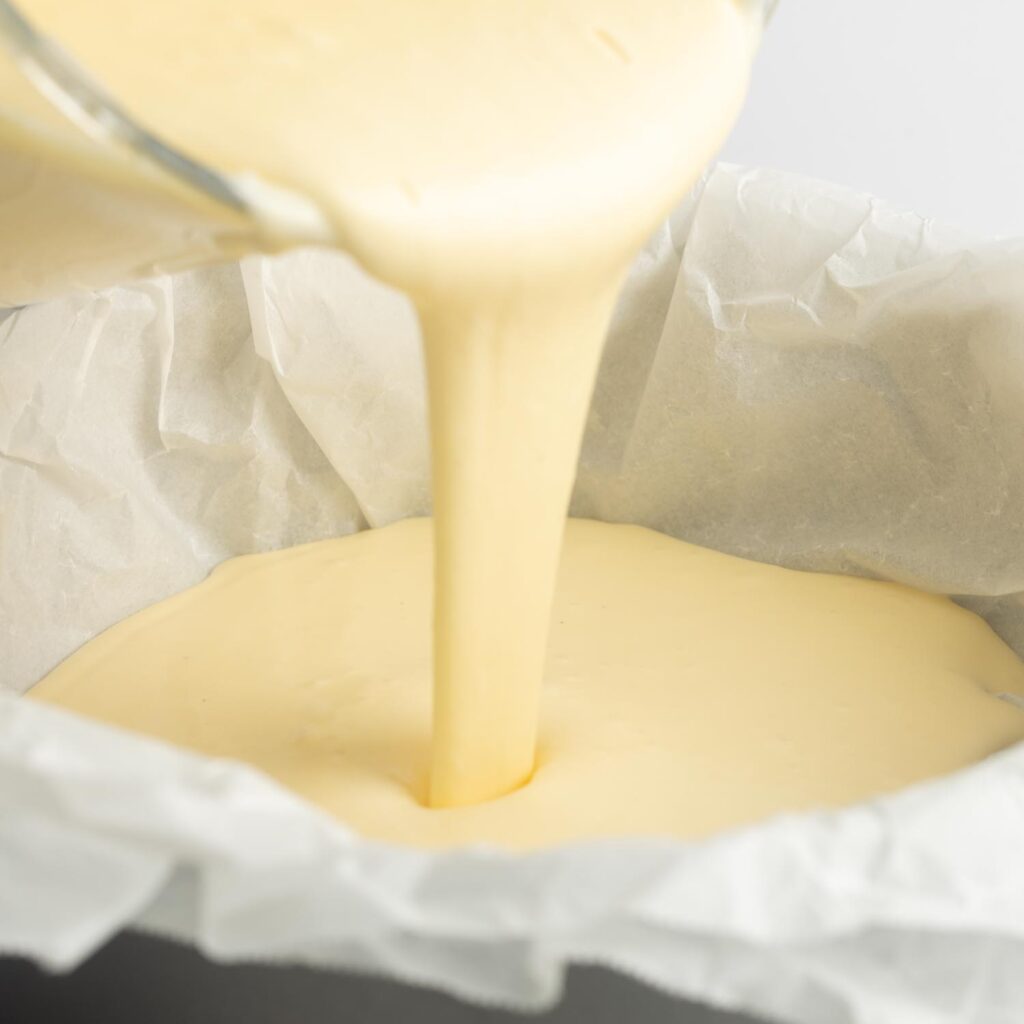
- Pour the batter in the prepared pan, and tap it a couple of times on the counter to get rid of any bubbles (you can also remove them with a toothpick if desired).
- Bake in the oven for 40-60 minutes. The time varies a lot depending on the oven, the cheesecake is done when it souffles up and jiggly in the center. The ideal internal temperature is 150-155°F (65-70C°).
- Remove the pan from the oven, and allow to cool at room temperature for 2 hours. The cake can be served at room temperature or chilled (uncovered).
Notes:
- Superfine sugar: This might not be easy to find, but it is important for this recipe! To make 1 cup of superfine or caster sugar, you can pulse 1 cup plus two teaspoons of regular granulated sugar in the food processor for about 30 seconds.
- Choose the right pan: The easiest type of pan to bake a cheesecake in will be a springform pan with a removable outer ring. You can also use a 9-inch round cake pan. Just be careful removing the cake for serving.
- Line with textured parchment: You don’t want to use smooth pieces of paper to line this pan. Instead, crumple the paper and then gently smooth it out again. That texture will give you the iconic edges of a burnt basque cheesecake.
- Bake time will vary based on your oven. You can test for doneness with a kitchen thermometer. The cheesecake is done when the internal temperature reaches 150-155°F (65-70C°).
- The center should be jiggly. That jiggle will firm up as the cheesecake cools. If it’s not jiggly, it’s probably overcooked.
- To store: Keep leftovers in the fridge for up to 3 days, uncovered. The flavor actually gets better with time! Enjoy chilled, or let slices come to room temperature before serving.
Nutrition Information
This website provides approximate nutrition information for convenience and as a courtesy only. Nutrition data is gathered primarily from the USDA Food Composition Database, whenever available, or otherwise other online calculators.
© Little Sunny Kitchen


Mari says
I absolutely loved this recipe, my cheesecake turned out amazing, tastes even better a day or two later from the fridge.
Little Sunny Kitchen says
Thank you so much for trying my recipe, Mari! Enjoy!
Michelle C says
Wow, I feel really accomplished! It has a delicious flavor and smooth texture. The only difficulty is that it sticks to the parchment paper on the sides and bottom.
Little Sunny Kitchen says
I’m glad you enjoyed! I didn’t have a sticking issue, but you may want to very lightly oil or butter your parchment next time to avoid that.